How to Spray Paint Light Fixtures
How to spray paint a light fixture so the finish sticks: picking a color that suits your room's light, the prep brass and chrome need, and safe dry times.

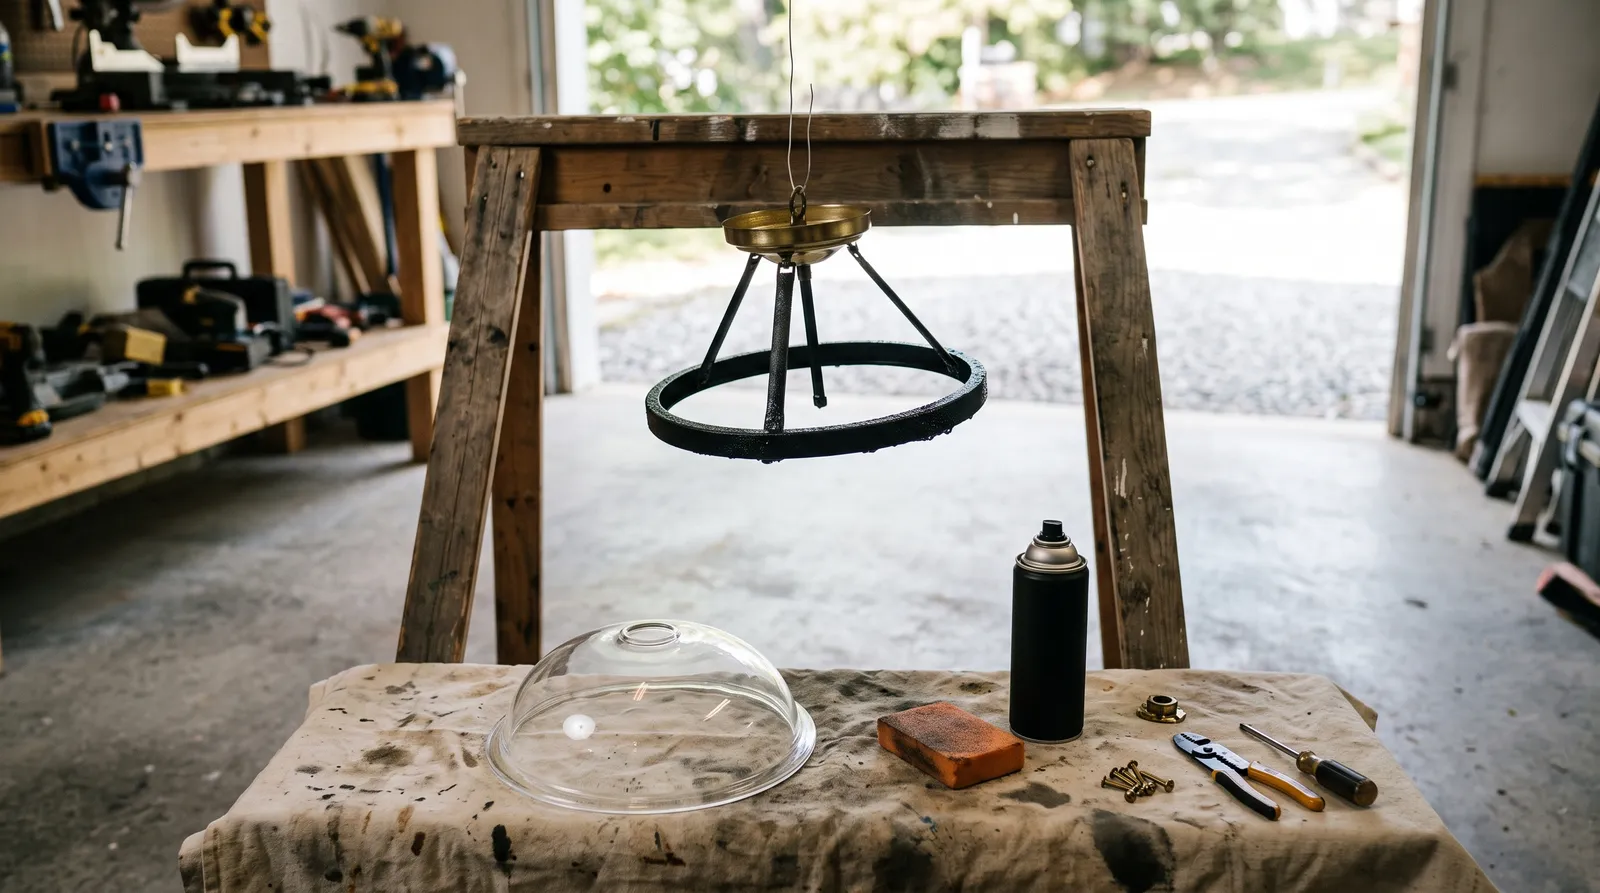
The flush-mount in my last hallway was polished brass, and by four in the afternoon it threw a warm yellow halo down a wall I had painted a careful cool grey. The grey lost that argument every single day. I didn’t need a new fixture. I needed the brass to stop talking.
Nine dollars of spray paint settled it in an afternoon. That’s the appeal of this project. A light fixture is one of the few things in a room whose whole mood you can change for the price of lunch, and nobody who walks in afterward guesses it used to be builder brass from 2004.
The catch is that fixtures are slick, they’re usually metal, and they sit within arm’s reach of a heat source. Prep them like a mailbox and they’ll hold for a decade. Prep them like a craft project and the arms will chip the first time you change a bulb.
What You’ll Get
A fixture that reads deliberate instead of leftover, finished in a color you actually chose. Roughly two hours of hands-on work, spread across a weekend because most of the schedule is dry time.
Honest Take on Difficulty and Time
This is one of the easiest projects on the site, and the only part that trips people is patience. Spray enamel feels dry in half an hour and is still soft underneath for a day.
| Fixture | Active time | Total elapsed | Skill |
|---|---|---|---|
| Flush-mount or semi-flush | 45 min | 1 day | Easy |
| Vanity bar, 3-light | 1 hr | 1 day | Easy |
| Pendant with a cord or chain | 1-1.5 hrs | 1-2 days | Easy |
| Multi-arm chandelier | 2-3 hrs | 1 weekend | Medium |
| Outdoor sconce or post lantern | 1.5 hrs | 1 weekend | Easy |
A chandelier moves into medium territory for one reason. Every arm has an underside, and undersides are the surfaces people standing below actually see.
Pick the Color for the Light in the Room, Not the Chip
A fixture is a small object living in the brightest part of the room, usually against a ceiling. So whatever color you put on it gets read as a silhouette rather than a field of color, and it sits inside the light it emits, which means the bulb’s temperature colors your paint before your eye ever gets to it.
Matte black is the default for a reason. It holds its edge against a white ceiling and it quietly disappears at night. Rust-Oleum 2X in Flat Black and Krylon COLORmaxx Flat Black both land in the right place. Where matte black goes wrong is a room already full of black hardware and black window frames. Add a sixth black object and the ceiling starts to look punched with holes. Charcoal is the underrated middle there: same graphic weight, softer cut, and in north-facing light it stays a color instead of collapsing into a void.
White is the invisibility choice, right above a dining table that’s already doing the work. Match the undertone, not the word. A fixture in a clean cool white against a creamy white ceiling reads as a repair patch, and you’ll see it forever. Bring a chip of the ceiling paint with you.
Bronze belongs in older homes. An oil-rubbed bronze over scuffed brass keeps warmth in a room with red oak floors and unlacquered brass hardware, where a cold black fixture fights the wood. Bronze sits against warm oak the way black never will. And if the fixture is genuinely nice under a bad finish, a metallic like Modern Masters or a Rub n Buff wax over a dark base gets you a hand-aged brass that looks like it cost four hundred dollars. Slower, fussier, not a first attempt.
One more thing about bulbs. A 2700K bulb pours warm light onto whatever you painted, so a neutral grey fixture will read warm and slightly brown once it’s lit. A 3000K bulb reads closer to true. Pick the bulb temperature and the fixture color the same afternoon. They’re the same decision.
What You’ll Need
Paint and Primer
Primer is where this project is won. Polished brass and chrome are glass-smooth, and nothing grips them without help. For bare shiny metal, a self-etching primer like Rust-Oleum Self Etching Primer bites into the surface chemically. For fixtures with an intact painted or powder-coated finish, a bonding primer such as Rust-Oleum Universal Bonding Primer or Zinsser Bulls Eye 1-2-3 Plus in a can is enough. The best spray primer round-up sorts out which does what, and the primer explainer covers why the etch version exists at all.
Color coat: Rust-Oleum 2X Ultra Cover, Krylon Fusion All-In-One, or Rust-Oleum Universal. Fusion is the one to reach for when the fixture mixes plastic canopies or diffuser rings in with the metal, because it bonds to both. Rust-Oleum Universal sprays at any angle, which is useful on the underside of a chandelier arm. Picks live in the best spray paint round-up and the metal-specific round-up, with a head-to-head in Rust-Oleum 2X vs Krylon Fusion.
Keep a can of Rust-Oleum High Heat enamel on hand for socket cups.
Tools
A respirator rated for organic vapors, not a dust mask. Spray enamel in a garage builds up fast and a paper mask does nothing against solvent. See the respirator picks if you don’t own one.
Beyond that: 220-grit and 320-grit sanding sponges, a degreaser or denatured alcohol, painter’s tape, masking paper, nitrile gloves, a tack cloth, and a screwdriver. A large cardboard box on its side makes a serviceable spray booth. Grit choices are covered in the sandpaper round-up.
The best trick in the project is a straightened coat hanger. Hang the fixture from a rafter or a sawhorse and you can walk around it, spray every angle including the underside, and never set a wet piece down on newspaper.
Method: Fixture Down or Fixture Up
Take it down. On a wire, off the ceiling, you reach every surface, you never fight gravity, and no overspray lands on the ceiling. For a flush-mount or a vanity bar it’s fifteen minutes with a screwdriver.
Leave it up. Only for a heavy foyer chandelier over a staircase, where getting it down means two people and a scaffold. Kill the breaker, bag every socket and bulb, tent the space below with masking paper, and accept that the top faces of the arms won’t get proper coverage. Anyone on the stairs looks straight at those faces.
Prep is identical either way.
Step 1 — Kill the Power and Take It Down
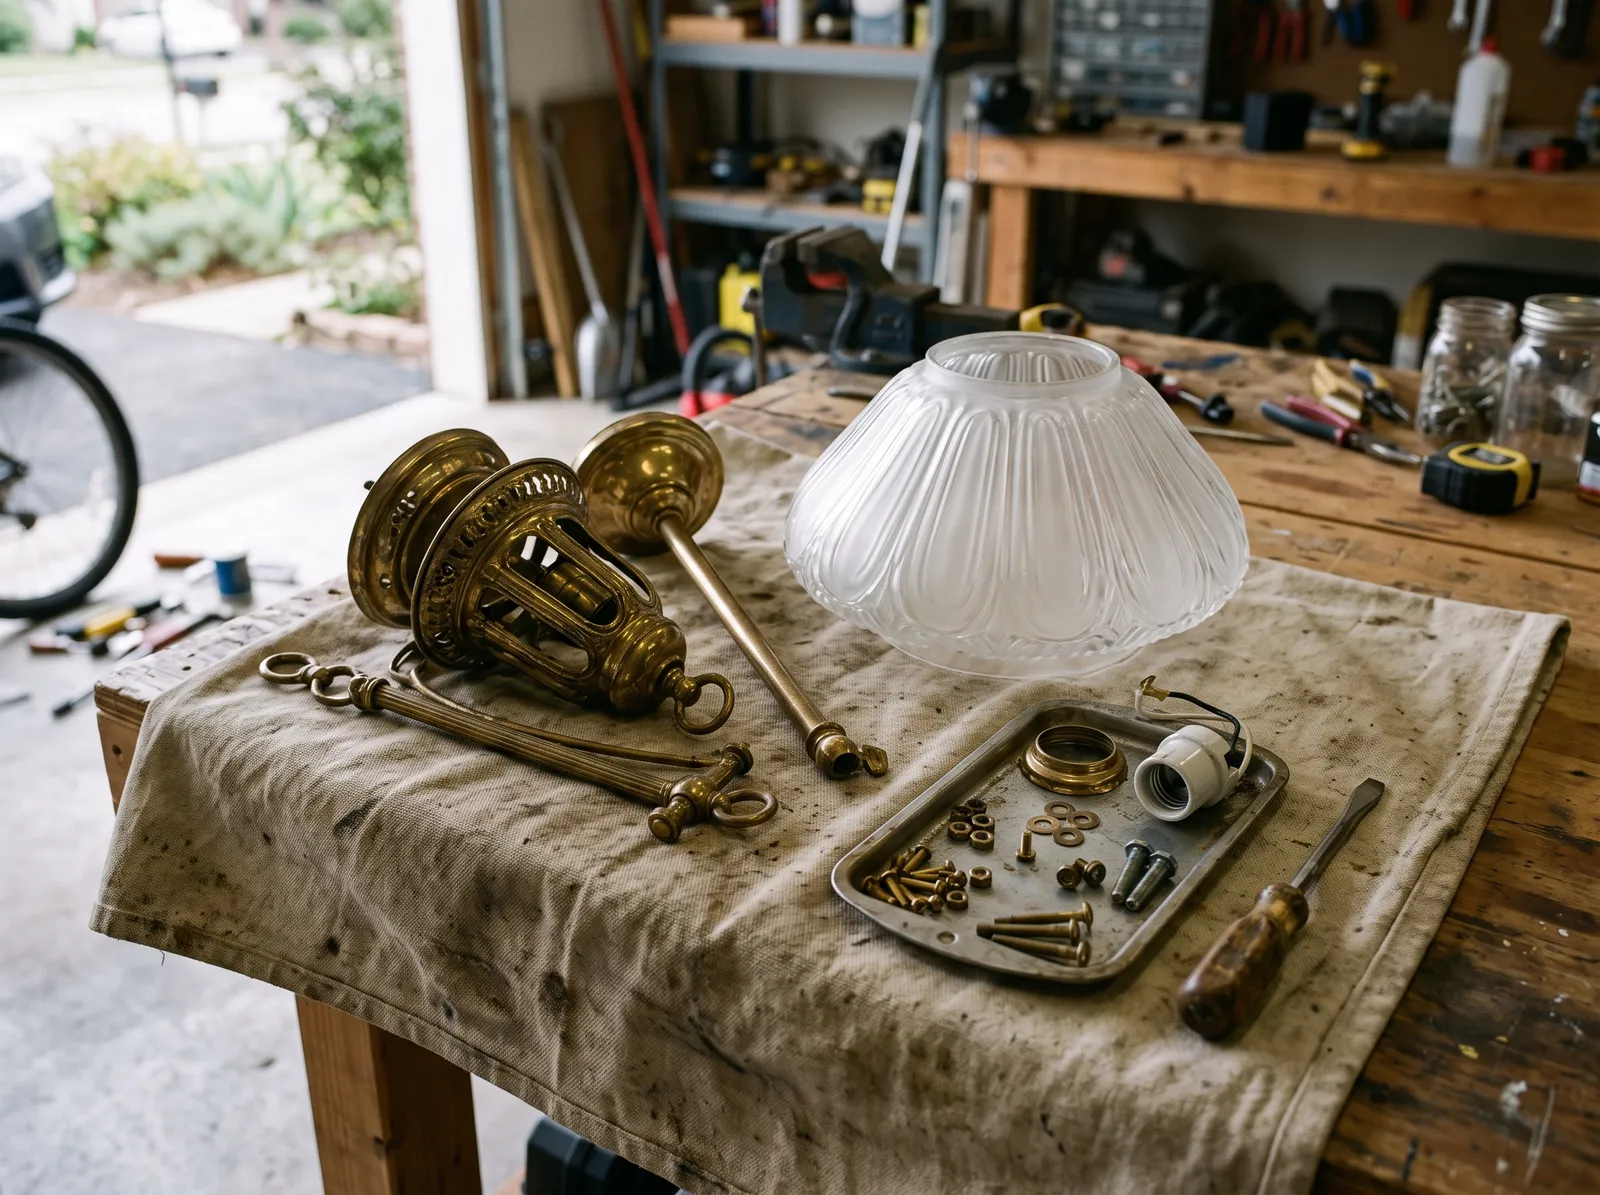 Breaker off, fixture off the ceiling, hardware grouped where you’ll find it again.
Turn the breaker off at the panel. The wall switch is not enough. Confirm with a non-contact voltage tester before your hands go near the wire nuts.
Drop the canopy, photograph the wiring, unscrew the wire nuts, and bring the fixture to a bench. Take the glass off, unscrew the sockets if they come out, and put every screw and washer into a shallow tray or a labeled bag.
Watch out for older fixtures where the socket is riveted rather than screwed in. If it doesn’t come out, tape and bag it in place. Never spray into a socket.
Step 2 — Degrease, Then Scuff Everything Dull
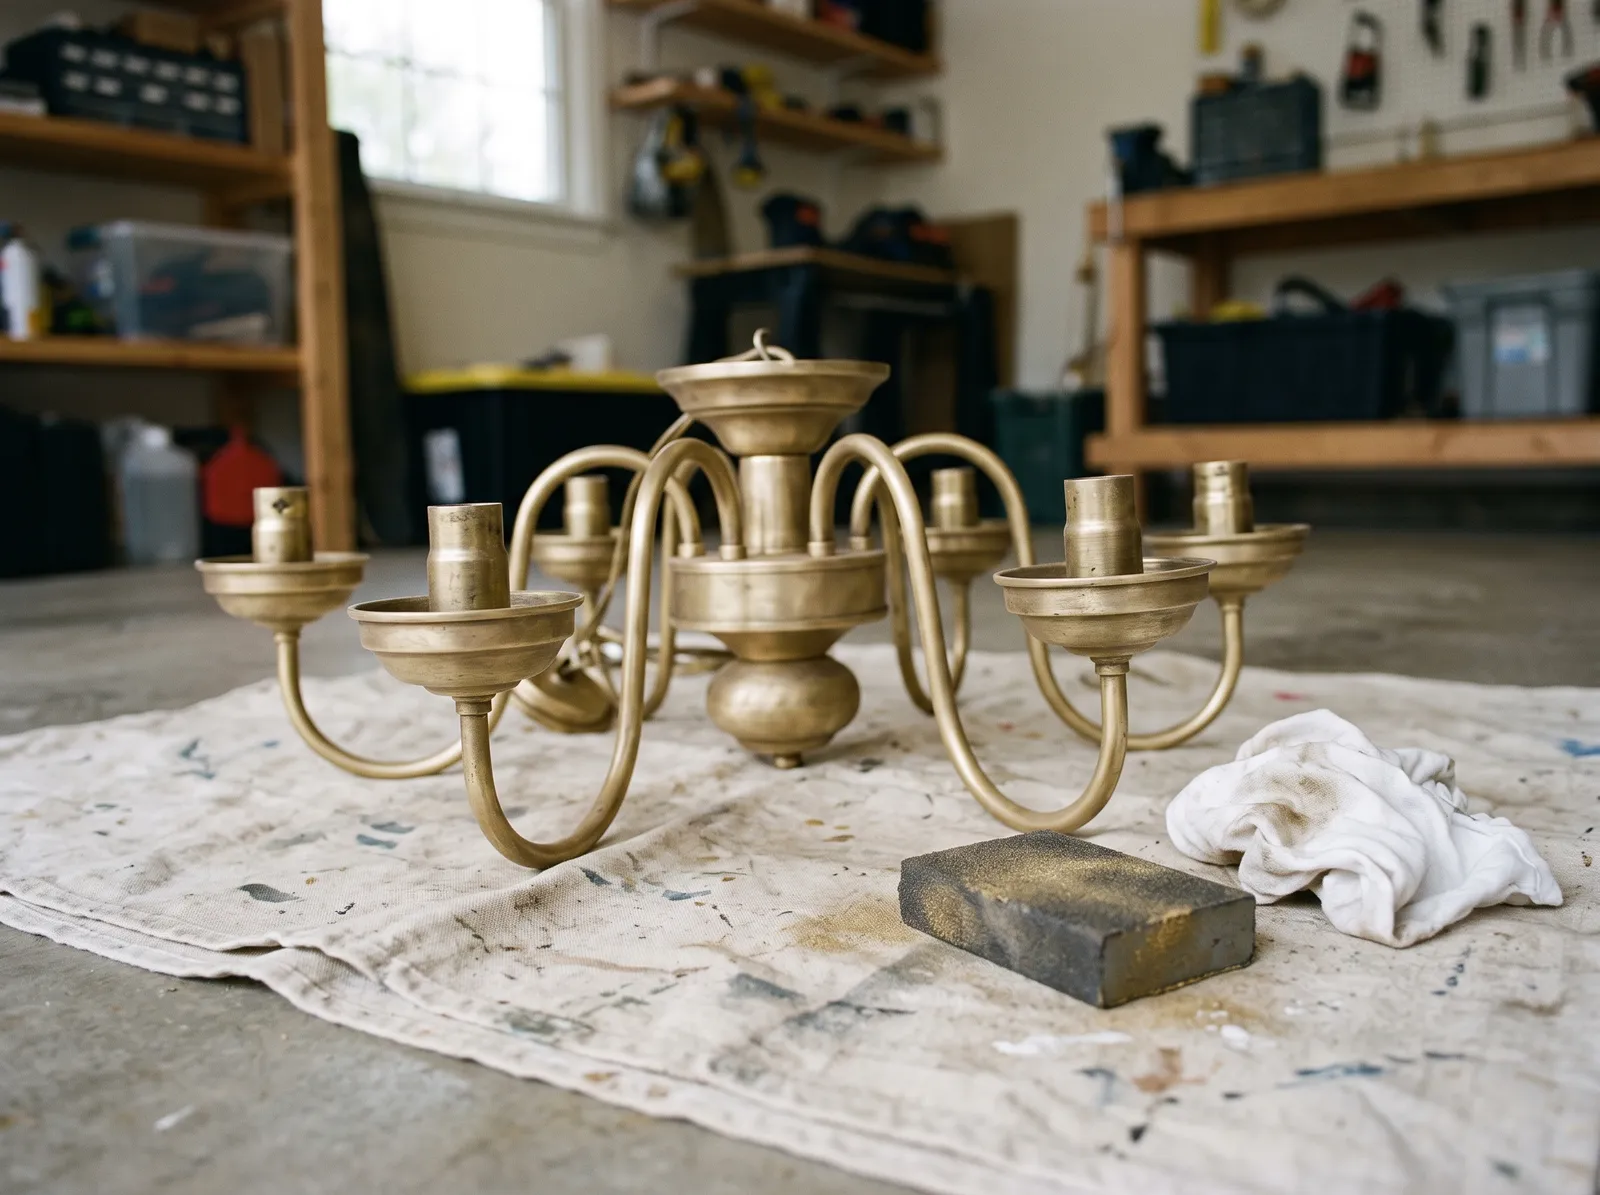 Cooking film and dust off first, then every reflective face knocked back to a haze.
Kitchen and bathroom fixtures carry a film you can’t see until you wipe one panel and compare it to the next. Wash the whole frame with a degreaser, rinse, dry fully. A TSP substitute works well on the greasy ones. Finish with a wipe of denatured alcohol.
Now scuff. A 220-grit sponge over every visible face until the shine is gone and the surface looks like fog. You aren’t removing the old finish, you’re removing the gloss. Sponges get into curves that flat paper can’t. On cast scrollwork a sponge won’t reach, skip the sanding there and lean on self-etching primer instead.
Tack cloth the whole thing. Sanding dust under primer shows up as tiny bumps that no topcoat hides.
Watch out for lacquered brass. Older fixtures often wear a clear lacquer that’s yellowed and flaking in patches, and sanding through it in spots leaves a visible edge under paint. If the lacquer is failing anywhere, take it all off with a chemical stripper. The paint stripper round-up has the products for it.
Step 3 — Mask the Sockets and Prime
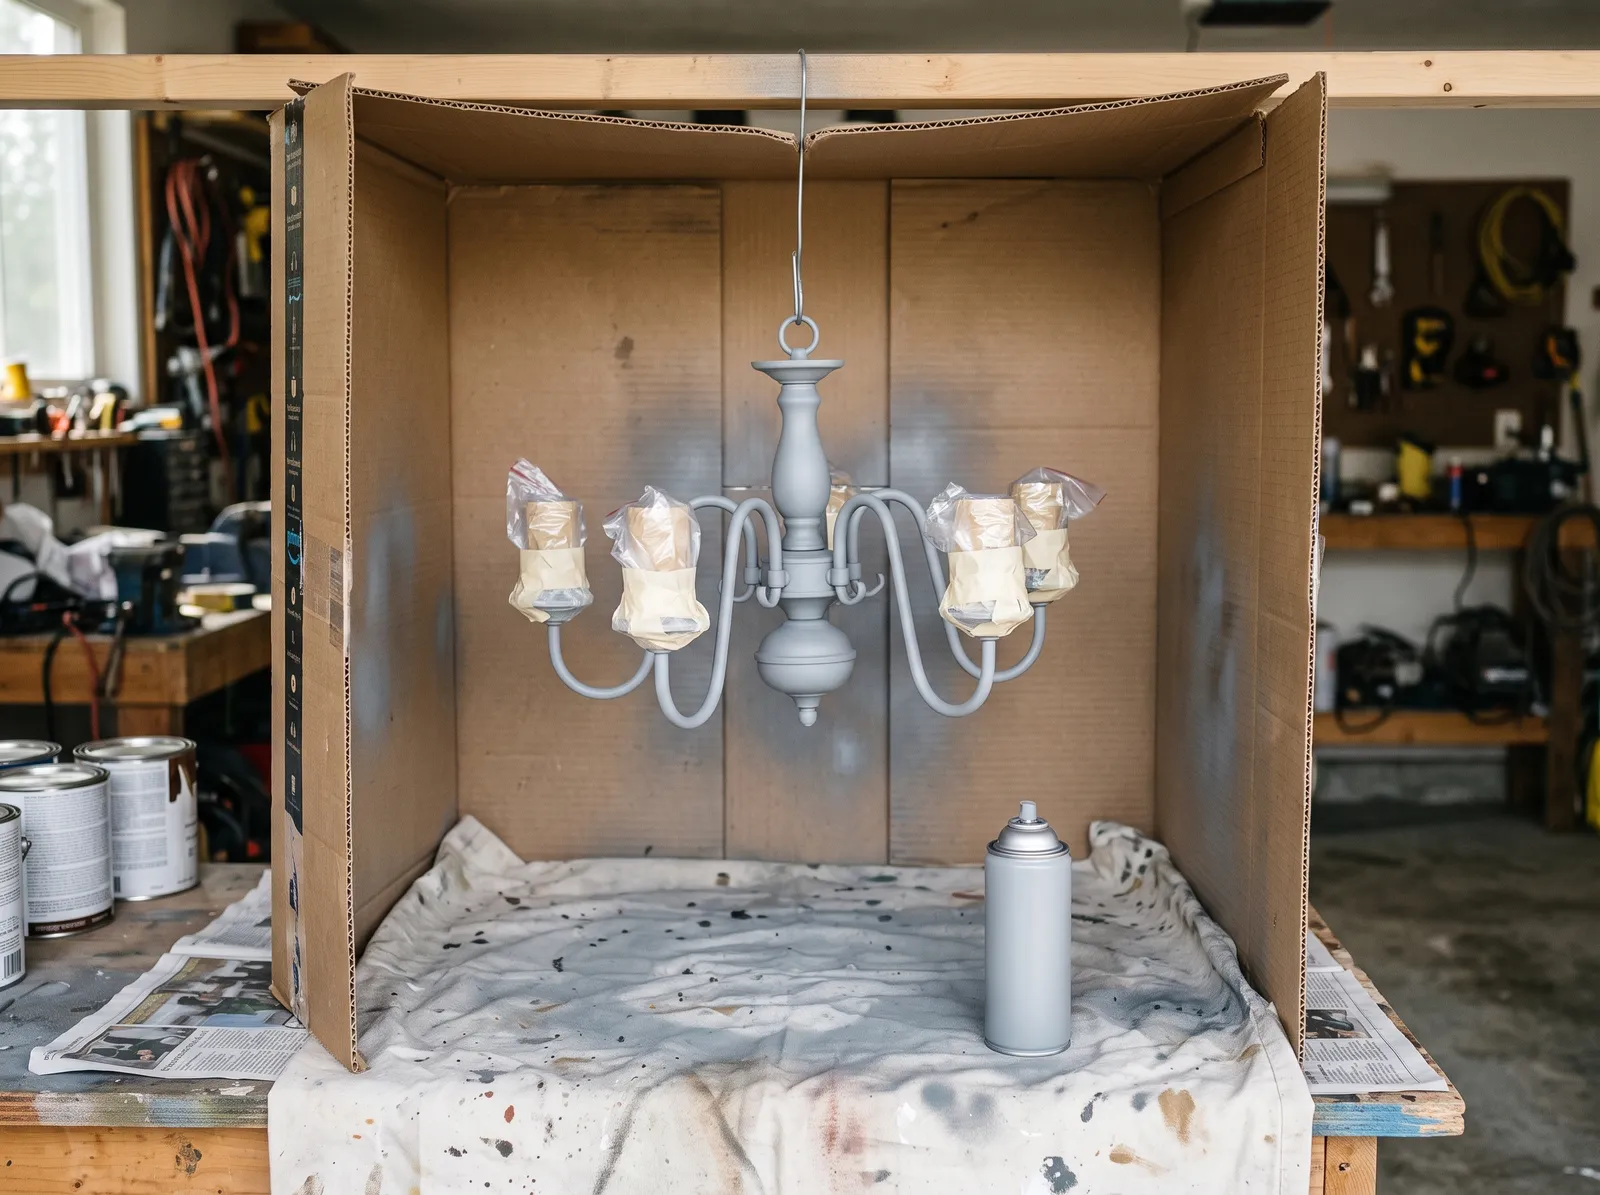 Sockets bagged and taped, two thin coats of bonding primer with the frame hanging free.
Wrap each socket in painter’s tape and a small bag. Tape the threaded ends of any mounting rods and the inside of the canopy where the ceiling wires pass. Paint on threads means chasing them with a tap later.
Hang the fixture on your wire at about chest height. Shake the can a full minute, hold it 10 to 12 inches off the surface, start the pass before the fixture and end it after, and keep moving.
Two thin coats of primer, not one heavy one. The first should look thin enough that you can still see metal through it. Ten minutes to flash, then the second. Etch primer goes on lighter still, since it’s a chemical grip rather than a build coat.
Once the primer is dry to the touch, run a 320-grit sponge over the flat faces with almost no pressure. Tack cloth again.
Step 4 — Color Coats
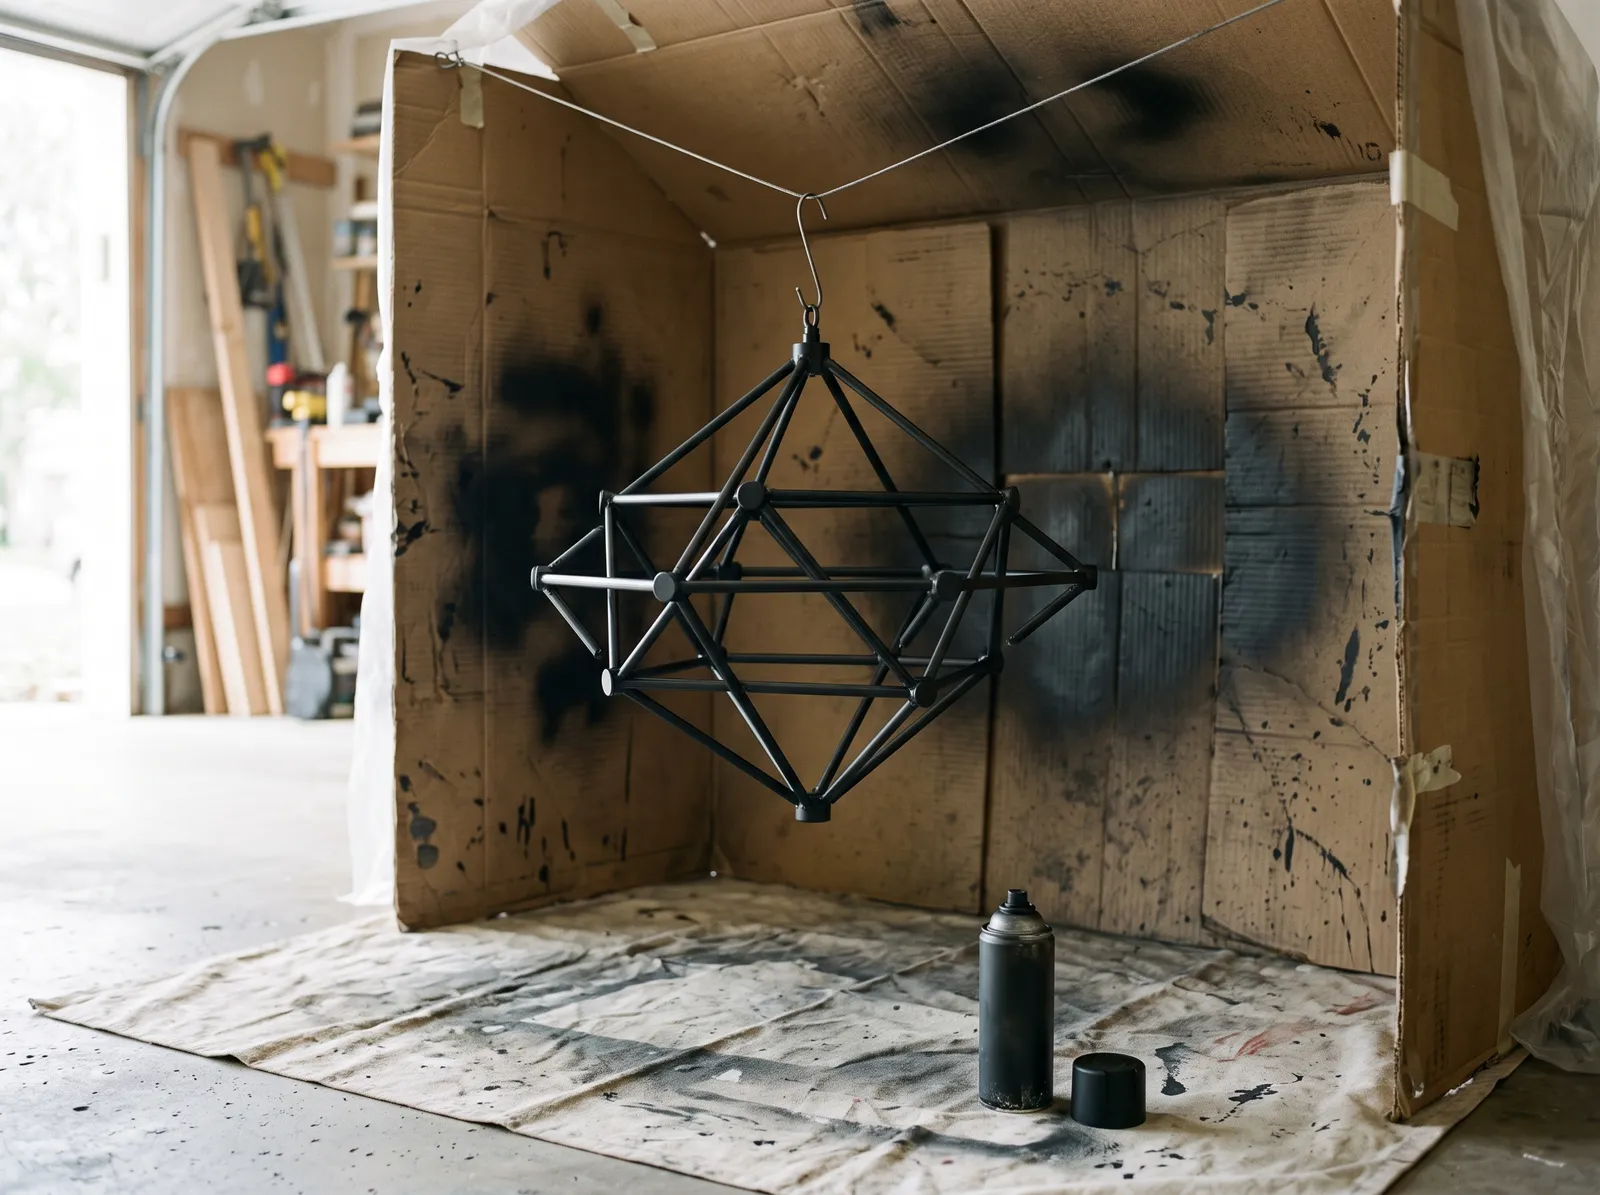 Three light coats, each one barely covering. The can never stops moving.
Three light coats beat two heavy ones every time. On a hanging fixture, gravity is doing its best to pull your paint into a run at the bottom of every curve, and the only defense is not giving it enough paint to run with.
Start with the undersides and the awkward interior faces while the piece is still bare enough that you can see what you’ve missed. Then work the outside. Overlap each pass by about a third and keep the can perpendicular to the surface rather than fanning your wrist, which leaves you heavy in the middle and dry at the edges.
Recoat inside the manufacturer’s window, usually the first hour. Miss it and you wait 48 hours, because fresh enamel over a half-cured coat wrinkles the film. The spray paint dry time guide has the full recoat table, and humidity moves it more than most people expect.
Watch out for cold garages. Below about 55°F the paint atomizes poorly and lands textured instead of smooth. Spray in the warmest part of the day and bring the can inside for an hour beforehand.
Step 5 — Clear Coat, and the High-Heat Exception
A clear topcoat isn’t required, and on a fixture nobody touches you can skip it. On a vanity bar or a pendant over an island, where hands reach in to change a bulb, it earns its ten minutes. Rust-Oleum Crystal Clear Enamel over satin, or Krylon Matte Finish over flat, adds a wearing layer at the socket ring and canopy. Two light coats an hour apart, and let the color sit an hour before the first clear pass.
The high-heat part matters more. Standard spray enamel starts to soften around 200°F, and socket cups on an incandescent or halogen fixture get there. Paint those specific parts with Rust-Oleum High Heat enamel, leave them bare and let the bulb hide them, or move the fixture to LED bulbs and the problem mostly goes away. An LED in an enclosed shade runs cool enough that ordinary enamel never notices.
Never paint wiring insulation, socket interiors, or the contact tab at the bottom of a socket.
Step 6 — Cure, Reassemble, Rehang
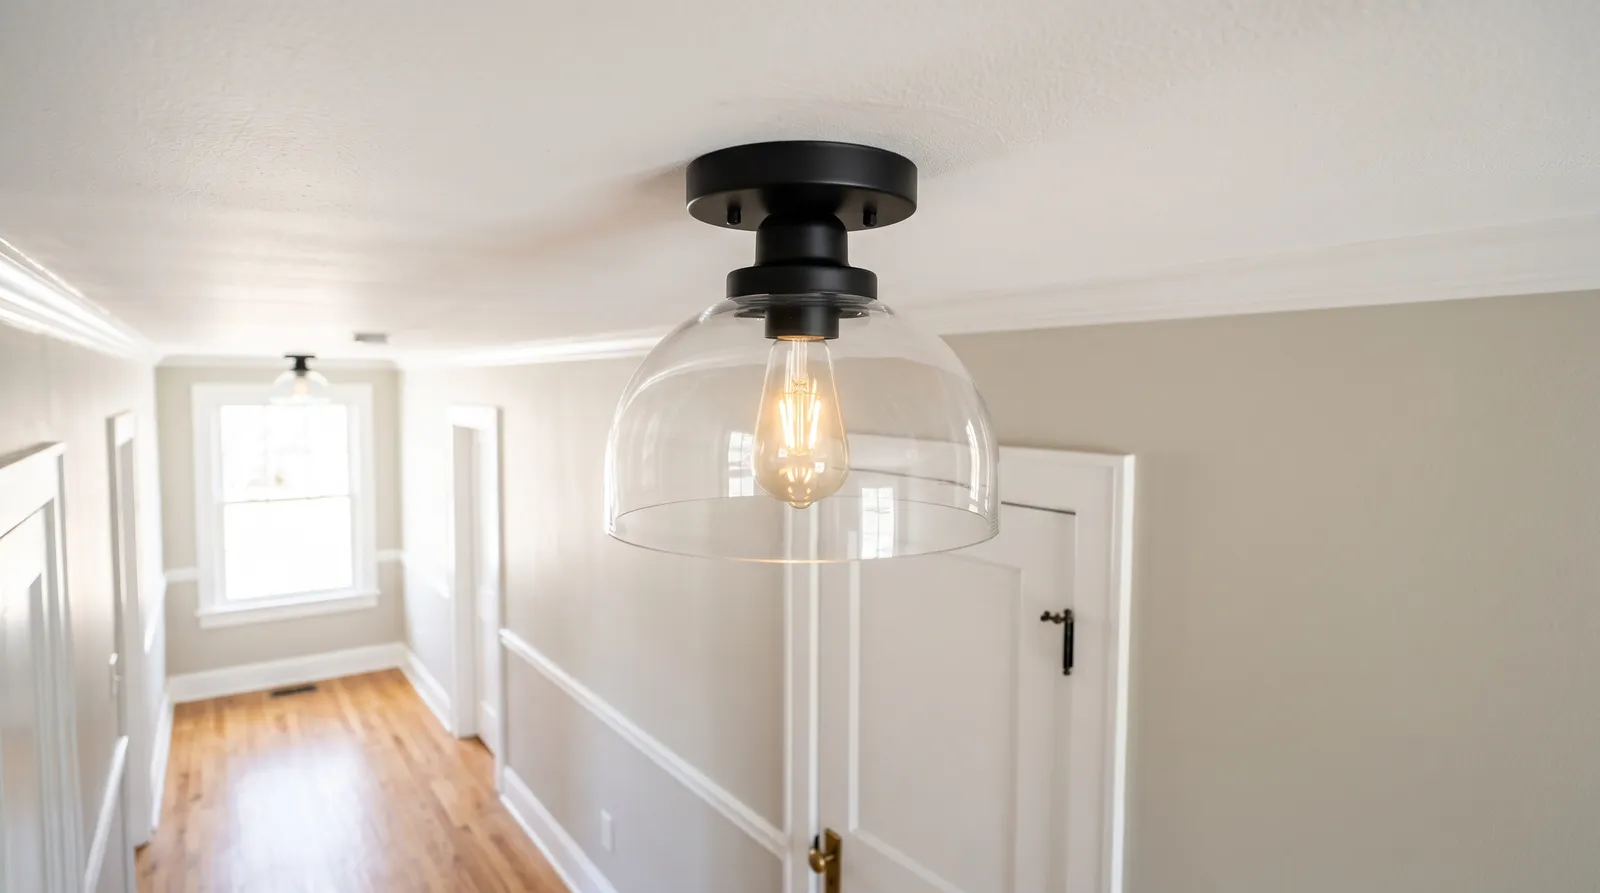 Glass cleaned, hardware back on, fixture up after a full day of cure.
Touch dry is not ready. Enamel stays soft under its skin for a day, and a mounting screw tightened against soft paint leaves a pressed ring in the canopy you’ll notice every time you look up.
Twenty-four hours minimum before you handle it with any force. Clean the glass while you wait, because a freshly painted fixture with cloudy shades looks worse than it did before you started. Reinstall the sockets, reconnect the wiring to match your photo, seat the canopy, breaker back on.
Then look at it with the light on and the light off. Those are two different objects.
Common Mistakes
- Painting over polished brass without scuffing or etching. The finish looks flawless for four months, then chips off the arms in flakes wherever a hand touched. Dull it or etch it. There’s no third option.
- One heavy coat instead of three thin ones. Runs form on the undersides of curved arms, where you can’t see them until the piece is dry and hanging back up. Thin coats, can moving, always.
- Spraying near the sockets. Paint in a socket is an electrical problem, not a cosmetic one. Tape and bag every one before the primer comes out.
- Rehanging after four hours because it feels dry. Screw rings, fingerprints in the canopy, and a dent wherever the mounting bracket pressed. Wait the day.
- Choosing a white that doesn’t match the ceiling white. A fixture two shades cooler than the ceiling above it reads as a patch. Bring the ceiling color with you or paint the fixture the same paint.
- Skipping the degrease on a kitchen fixture. Cooking film is invisible and it stops primer cold. The paint peels in a sheet a few months later and takes the primer with it.
Cure Schedule
| Time after final coat | What’s safe |
|---|---|
| 20-30 minutes | Touch dry, tape can come off |
| 1 hour | Recoat window closes; clear coat can go on |
| 24 hours | Handle firmly, reassemble, rehang |
| 3 days | Bulb changes, wiping with a dry cloth |
| 7 days | Full cure, cleaning with a damp cloth |
Humidity stretches every row. Above 70 percent, add half again to everything up to the 24-hour line.
Maintenance and Touch-Ups
A properly prepped indoor fixture holds its finish for as long as you own the house, because nothing abrades it but the occasional bulb change. Outdoor sconces and post lanterns are the exception. Those want a fresh clear coat every three or four years, and a south-facing lantern chalks slightly before it fails.
For a chip, scuff with 320, dab primer on with a small artist’s brush if you went to bare metal, then touch the color on. Spray a little paint into the can’s cap and brush from the puddle rather than spot-spraying a hanging fixture.
Keep the leftover can and label it with the room and the date, because five years from now you will not remember whether the hallway fixture was flat or satin.
Cost
| Item | Cost |
|---|---|
| Bonding or etch primer (1 can) | $7-$12 |
| Color coat (1-2 cans) | $6-$18 |
| Clear topcoat (1 can) | $7-$10 |
| Sanding sponges, tape, masking paper | $10-$15 |
| Respirator (one-time) | $25-$40 |
| Total per fixture | $20-$45 |
A replacement flush-mount runs $50 to $140 and a decent multi-arm chandelier starts around $250. If the fixture is structurally sound and the shape is one you like, painting it wins on every axis except novelty.
A Specific Recommendation
Builder-brass flush-mount in a hallway with warm white walls: degrease, scuff with 220, one coat of Rust-Oleum Self Etching Primer, three light coats of Rust-Oleum 2X Ultra Cover in Flat Black, no clear coat. Do it Saturday morning, hang it Sunday afternoon, and put a 3000K bulb in it so the black stays black instead of going brown under 2700K light.
Same fixture in a room with red oak floors and unlacquered brass hardware: swap the black for an oil-rubbed bronze and keep the warmth. Black in that room turns the fixture into a hole in the ceiling, and you’ll spend a year not quite knowing why the hallway feels off.
Ask a Question