How to Repaint Old Wood Furniture (Dressers, Tables, Chairs)
Honest, step-by-step furniture refinishing — identifying the old finish, prep paths for shellac vs melamine, chalk paint vs cabinet enamel, and the wax that yellows your white.

Okay, so you found a dresser at an estate sale. Or your grandmother’s end table is finally yours, or the dining chairs from your old apartment look tired. You want to repaint. The piece in front of you isn’t a kitchen cabinet (nobody opens it sixty times a day) and it isn’t bare wood from a lumber yard. It’s something with thirty or eighty years of finish on it already. The question nobody answers up front is: what is that finish?
That’s where this guide starts, because every prep decision flows from it.
What You’ll Get
A piece of furniture that looks intentional instead of tired. A weekend of work, plus a week of cure before you use it. The math on a thrifted dresser: $40 at a yard sale, $60 in materials, and you have something that would cost $400 new and wouldn’t be solid wood.
Honest Take on Difficulty and Time
One of the easier paint projects. No ladder, no ceiling, no taping off a wall. The hard part is patience between coats and the willingness to do the prep that the YouTube videos skip.
| Method | Active time | Total elapsed | Skill |
|---|---|---|---|
| Chalk paint, real wood, sealed with polycrylic | 3–4 hrs | 1 weekend + 1 week cure | Easy |
| Cabinet enamel, real wood, scuff-sanded | 4–6 hrs | 1–2 weekends + 30 days cure | Easy-medium |
| Cabinet enamel, melamine/laminate, primed | 5–7 hrs | 2 weekends + 30 days cure | Medium |
| Spray cans (small accent piece) | 1–2 hrs | 1 weekend | Easy |
Chalk paint is forgiving. It is not foolproof. Skip the prep on a glossy lacquered dresser and your forgiving paint peels off in a week.
Step 1 — Identify What’s Already on the Piece
Before you sand, before you prime, before you buy anything: figure out what finish is currently on the furniture. Old furniture wears one of seven coats, and each one wants different prep.
- Shellac (pre-1950s pieces). Amber, slightly soft, scratches easily.
- Lacquer (mid-century factory finish). Glossy, hard, brittle.
- Varnish (old furniture and trim, often yellowed).
- Oil-based polyurethane (1970s through today). The thick amber finish on a lot of dressers from your parents’ house.
- Milk paint. Vintage, chalky, often layered.
- Chalk paint. Somebody already DIY’d this piece. Matte, sometimes waxed.
- Factory melamine or laminate (IKEA, 1990s ready-to-assemble). Slick, shiny, no actual wood underneath.
The denatured alcohol test handles most of these in two minutes. Wet a cotton ball with denatured alcohol and rub it on a hidden spot (inside a drawer, the underside of a tabletop, the back of a leg) for 30 seconds.
If the finish dissolves and feels sticky on the cotton ball, it’s shellac. Shellac strips clean with more alcohol; it doesn’t need chemical stripper.
If the finish softens but doesn’t dissolve, it’s old varnish. Varnish wants 220-grit scuff and a bonding primer.
If nothing happens, it’s lacquer, polyurethane, or factory melamine. Now look at the surface. Lacquer and polyurethane have visible wood grain. Melamine and laminate look slick and uniform under a fingernail; run your nail across, wood texture catches, plastic film doesn’t. Lacquered or polyurethaned wood: 220-grit scuff is enough. Melamine and laminate: bonding primer or your paint won’t stick.
If the piece might have old enamel paint underneath (paint, not a clear finish), the xylene test is your second check. A drop on an inconspicuous spot: old oil enamel softens, modern latex paint doesn’t react. If oil paint shows up, plan on Zinsser BIN shellac primer to lock it in before your topcoat.
Ten minutes of testing saves a refinish that fails in three months.
Step 2 — Pick Your Prep Path
Real wood, sound finish (lacquer, varnish, polyurethane): light scuff with a 220-grit sanding sponge over every face. Roughing the gloss, not stripping. Vacuum, wipe with a tack cloth.
Real wood, peeling finish: strip first. Citrustrip is the friendly option. Paint it on, wait two hours, scrape with a plastic scraper. The old finish lifts off like wet wallpaper. Sand bare spots smooth with 220 once the stripper is neutralized.
Melamine or laminate: bonding primer is non-negotiable. INSL-X Stix or Zinsser Bulls Eye 1-2-3 Plus, one full coat. Light 220 scuff first helps even though both cans say it’s optional.
Old enamel paint underneath: Zinsser BIN shellac primer, two thin coats. BIN locks in oil pigment that would otherwise bleed through and yellow your topcoat.
Factory chalk paint, sound: scuff with 220 and paint over. If the previous owner waxed it, clean the wax off with mineral spirits first or your new paint won’t bond.
A liquid deglosser (Klean-Strip Easy Liquid Sander) chemically dulls the gloss in 15 minutes if you’d rather not sand. Works on lacquer and polyurethane, not melamine.
Step 3 — Prime If Your Prep Path Called for It
Skip this step if you’re chalk-painting real wood with a sound matte finish. That’s the one scenario where chalk paint bonds without primer.
For everything else, prime. INSL-X Stix for melamine, laminate, and glossy real wood. Zinsser BIN for old oil-based paint. Roll the flats with a foam-mini, brush the routed details with a Wooster Silver Tip. One coat of Stix is enough; BIN wants two.
Dry overnight. Light scuff with 220 to knock down nibs. Tack cloth.
Step 4 — Paint, in the Right Order, with the Right Product
Three paths, picked by use.
Chalk paint (Annie Sloan, FAT Paint, Country Chic, Behr Chalk Paint) for a matte, aged look on a piece that doesn’t get touched daily. An entryway console, a side table, a bedroom chair. Goes on thick, self-levels poorly, two coats. Dries chalky and feels soft under your fingernail until it cures.
Cabinet enamel (BM Advance, SW Emerald Urethane, INSL-X Cabinet Coat) for dressers and chairs that get daily use. Goes on thinner, self-levels beautifully, cures rock-hard. Same waterborne alkyd as kitchen cabinet paint (see our cabinet paint round-up for the SKU comparison). Floetrol at 5% (about 6 oz per gallon) extends the wet edge and erases brush marks.
Spray cans (Rust-Oleum 2X Ultra Cover) for small accent pieces. A stool, a magazine rack, a single chair. Only worth it down to about 12 inches across; bigger than that and you waste cans chasing coverage.
Order on a dresser: tops and visible sides first, drawer fronts laid flat on sawhorses (pull them out, paint flat to avoid drips), then the legs and kick-rail. Inside the drawer? Most people don’t. The original wood is fine and saves you a quart.
Two thin coats beat one thick coat. Thick coats sag, dry unevenly, never cure as hard. Recoat window: chalk paint 2 hours, BM Advance 16, spray cans 1. Read the can.
Watch out for: the over-loaded brush. Drips on a horizontal drawer front dry as bumps you can’t sand out without going back to primer. Dip a third of the way, tap once on the inside of the can.
Step 5 — Top Coat, Only If You Used Chalk Paint
Most chalk paint tutorials underplay this. Chalk paint without a sealing top coat is not wipeable. Spill water, dab with a paper towel, and the paint comes off on the towel.
Minwax Polycrylic in matte. Water-clear, doesn’t yellow. Two thin coats, brushed on with a soft synthetic brush. The right call for white and pale-color chalk paint, always.
Furniture wax (Annie Sloan Soft Wax, Minwax Paste Finishing Wax). Apply with a clean cotton rag, wait 15 minutes, buff with a second rag. Adds a soft sheen. The catch: most clear waxes have a faint amber tint that turns whites slightly yellow over a few months. Use wax on darker chalk paint colors (charcoal, deep green, black) where the amber disappears into the color.
Cabinet enamels (BM Advance, SW Emerald, INSL-X Cabinet Coat) are self-sealing. No top coat required. The cure is the seal.
The Hardware Question
The original drawer pulls, knobs, and hinges, ranked by effort:
- Clean and reuse. Soak in warm soapy water, wire-brush corrosion. If brass is dull, Bar Keeper’s Friend brings it back. Cheapest, fastest, and the original hardware almost always looks better than big-box replacements. Right answer 80% of the time.
- Paint over. Spray with Rust-Oleum metallic. Matte black is having a moment. Painted hardware doesn’t last as long as real metal; expect chips at the screw heads within a year or two.
- Replace. Most expensive. Pick this only if hardware is missing or broken. Match the screw-hole spacing exactly; vintage bolt-pattern is rarely the modern 3-inch standard.
Common Mistakes
- Skipping bonding primer on melamine or laminate. Your topcoat lifts off in sheets within months. No chalk paint bonds to factory IKEA melamine without primer; the marketing claims it does, the paint does not.
- Recoating before the first coat is dry. The brush drags, the second coat lifts the first, you get wrinkles like rumpled fabric. Fix is sanding back to primer. Set a timer.
- Brush marks on cabinet enamel. Add Floetrol at 5%, use a Wooster Silver Tip (not a chip brush), don’t go back over a stroke that has started to skin.
- Top-coating white chalk paint with clear wax. Wax has an amber tint; the paint yellows in months. Polycrylic for whites; wax only for darker colors.
- Painting drawers while still in the dresser. Drips on the carcass and brush marks on the drawer faces. Pull them out, paint flat on sawhorses.
Cure Schedule
| Time after final coat | What’s safe |
|---|---|
| 4 hours | Touch dry; don’t touch |
| 24 hours | Re-handle gently with clean hands |
| 7 days | Put items inside drawers; light daily use |
| 30 days | Full cure; wipe down with mild soap |
Chalk paint sealed with wax keeps curing for several weeks beyond the 30-day mark. Don’t stack heavy books on a freshly waxed surface in week two or you’ll see the imprint when you lift them.
Cost
| Item | Cost |
|---|---|
| Chalk paint or cabinet enamel (1 quart) | $25–$45 |
| Bonding primer (1 quart, optional) | $15 |
| Top coat (polycrylic or wax) | $15 |
| Wooster Silver Tip brush | $20 |
| Foam-mini roller + sleeves | $15 |
| Sponges, tack cloth, Floetrol | $20 |
| Total per piece | $60–$130 |
Thrifted dresser at $40 plus $80 in materials lands at $120. New mid-range dresser of the same size: $400–$700, almost always particle-board.
Maintenance
Chalk paint sealed with polycrylic lasts 5–8 years on a dresser, less on something handled daily. Wax-finished pieces want re-waxing every two or three years. Cabinet enamel runs 8–12 years before a refresh.
For a chip, dab the original paint on with a small artist’s brush. Don’t feather across a whole panel; the touch-up reads brighter than the cured paint and you’ll see the seam.
A Specific Recommendation
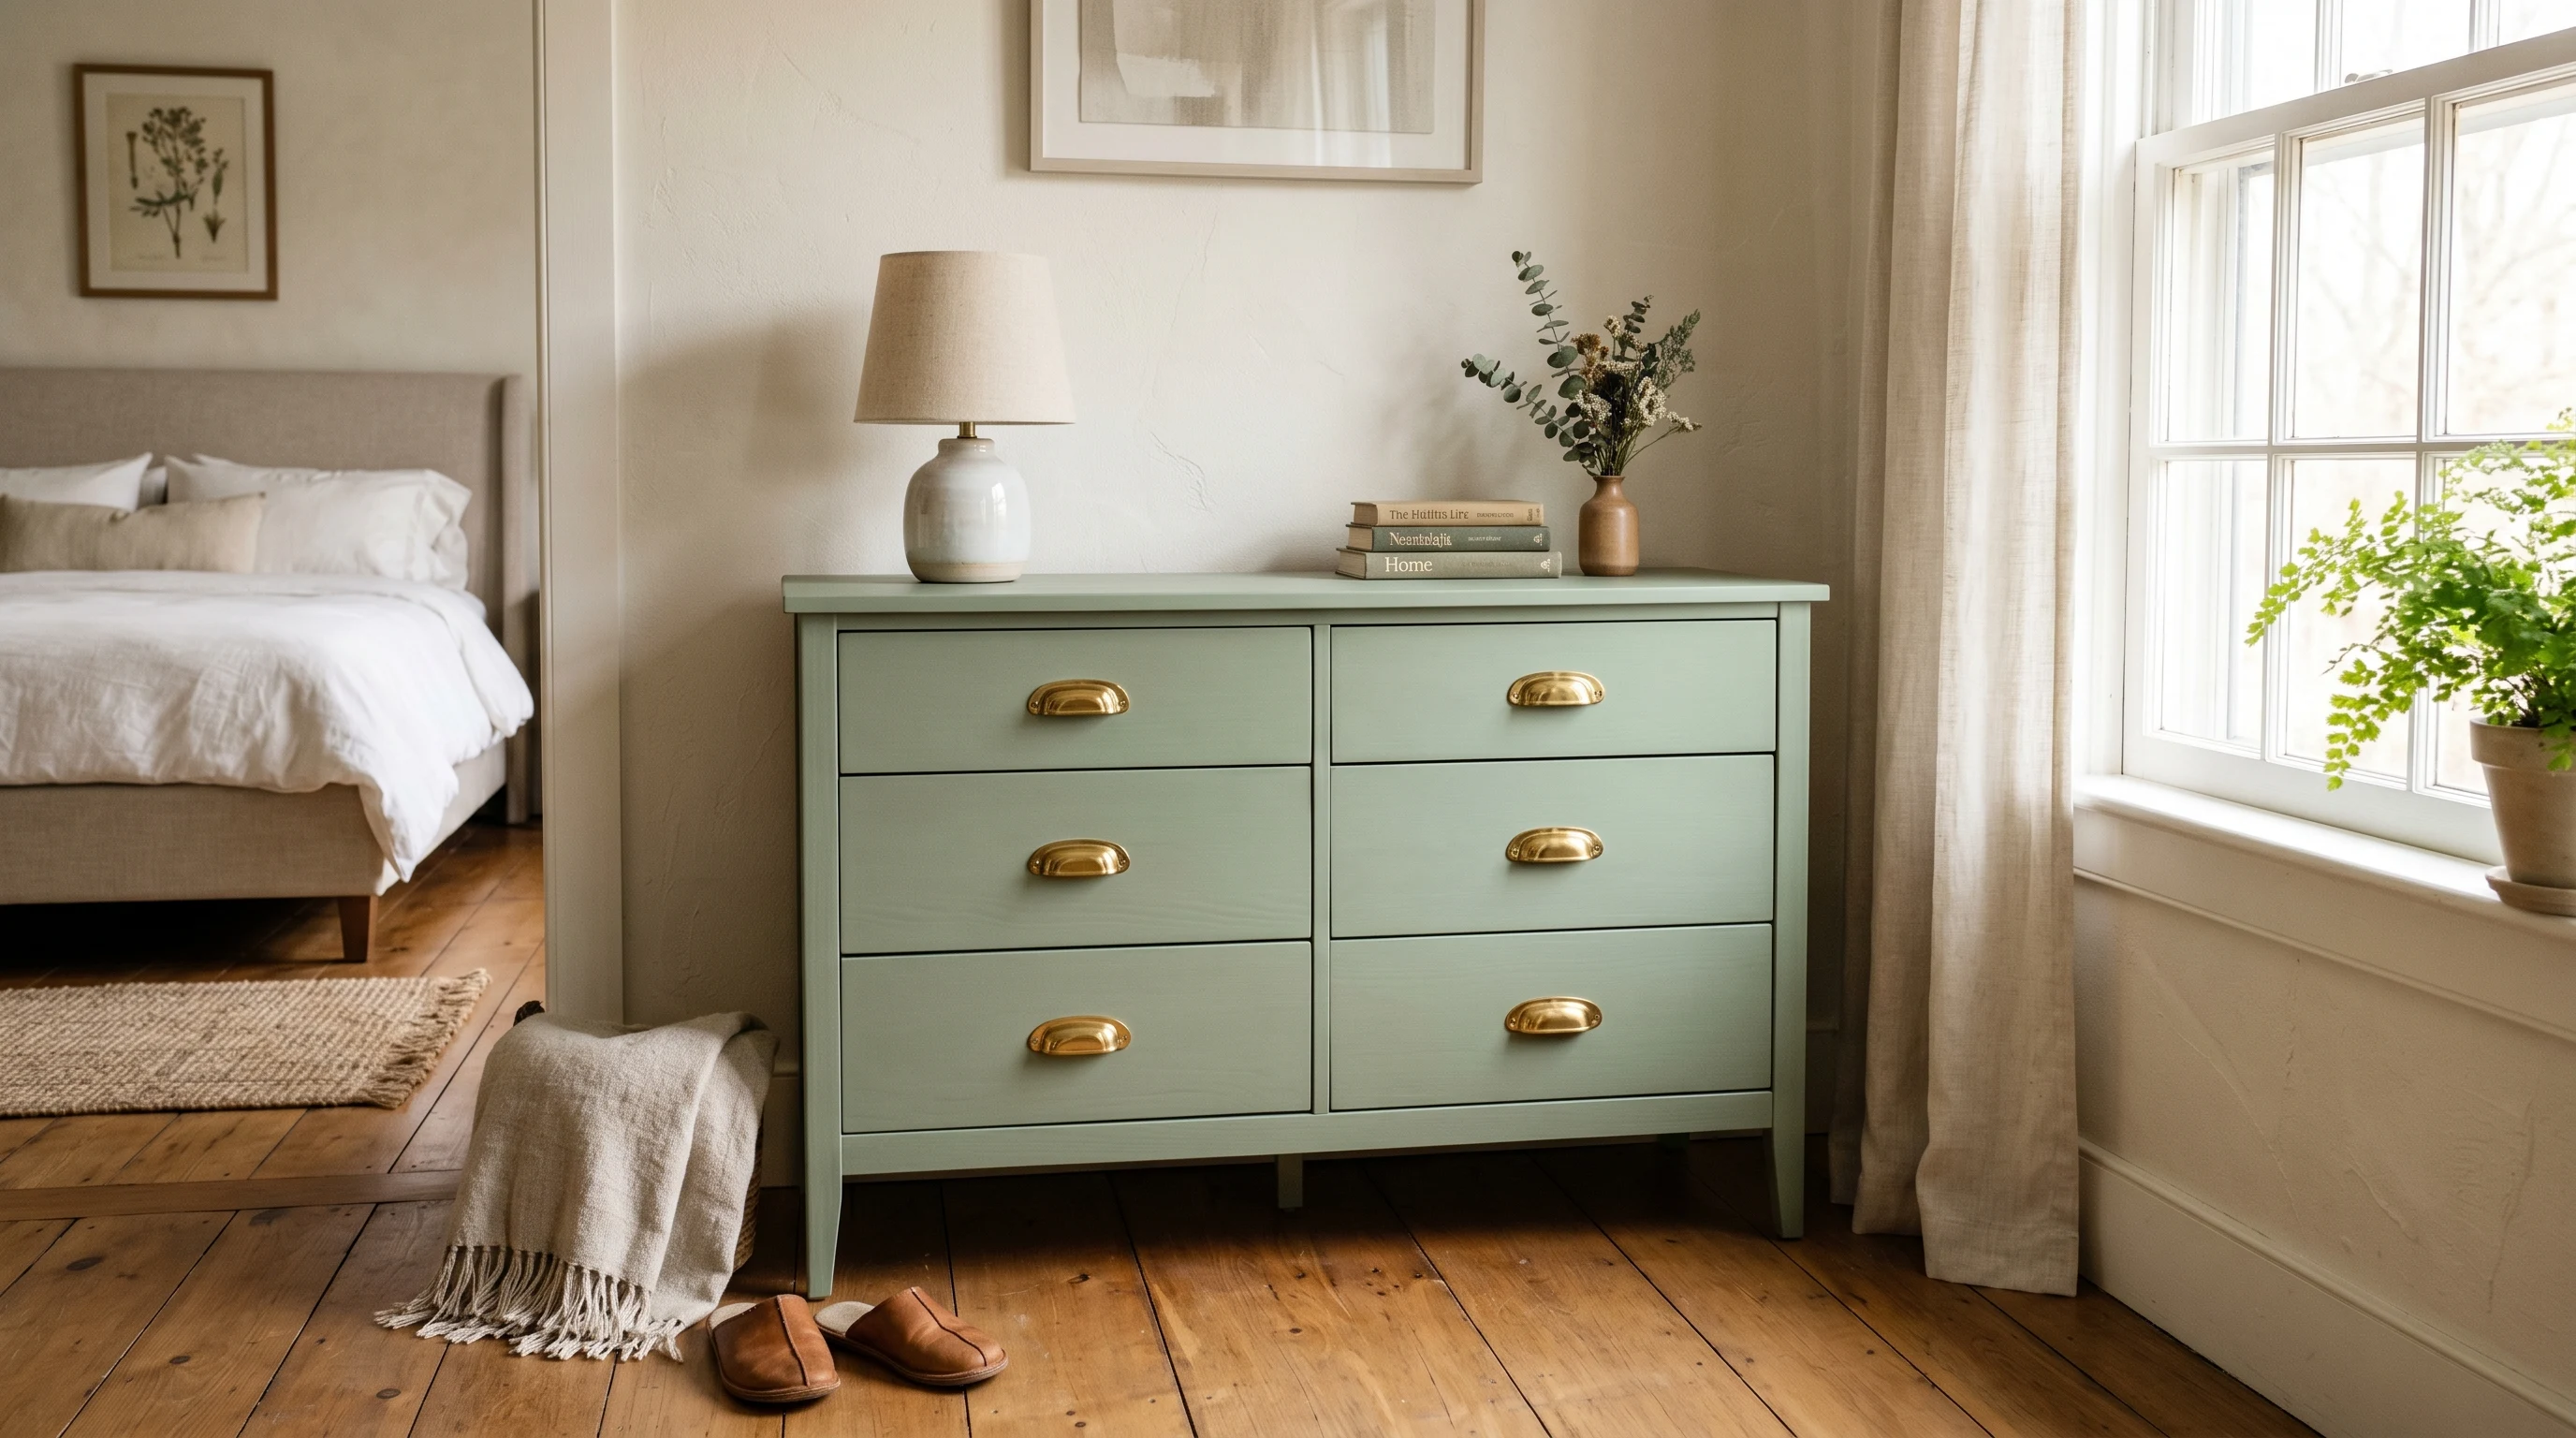
First-time refinish, real wood dresser, sound original finish: a quart of Country Chic chalk paint, a Wooster Silver Tip, a 220 sponge, and a quart of Minwax Polycrylic in matte. Alcohol-test Friday night, scuff Saturday morning, two coats Saturday and Sunday, top coat Monday evening. The dresser is back in the bedroom by next weekend.
Daily-use piece (kid’s dresser, dining chair): skip the chalk paint. Use Benjamin Moore Advance in satin. The cure is harder, the top coat is built in, the finish wipes clean for a decade.