How to Seal Knots Before Painting
Sealing knots in wood before painting: why latex primer fails, when to reach for shellac vs alkyd, and the two-coat spot-seal that stops amber bleed for good.

You paint a knotty pine board white, it looks clean, and three weeks later a row of amber rings has surfaced right over every knot. The paint didn’t fail. The knot did, and it would have done the same thing under any topcoat you chose. The fix lives in the step most people skip.
TL;DR
- Seal first: spot-prime every knot before any full primer or paint
- Best sealer: pigmented shellac (Zinsser BIN), two thin coats
- Alkyd alternative: oil-based stain blocker (Zinsser Cover Stain) on exterior wood
- Never: latex primer or paint-and-primer alone over raw knots. Resin walks through it
- Then: full bonding primer over the whole surface, then your topcoat
- Skill: easy. The whole job is one careful step
- Time: an hour of work, the rest is drying
Why Knots Bleed in the First Place
A knot is where a branch joined the trunk. The wood there grew under different stress, packed denser, and loaded itself with resin and pitch to seal the wound. Kiln drying pulls moisture out of a board, but it doesn’t fully cure the resin trapped in a knot. That pitch stays semi-liquid for years.
Here’s the chemistry. Your topcoat is pigment and a few additives suspended in a binder, and that binder is a polymer that stays slightly permeable even after the film dries. Warm the wood, from afternoon sun, a heat register, a south wall, and the resin in the knot softens and dissolves into the binder above it. Once it’s in solution, it migrates toward the surface as the film breathes. What you see is a yellow-to-amber halo, sometimes a sticky weep, centered on the knot.
The resin is the colorant and the binder is the road. Take away the road and the resin stays put. That’s the entire logic of a knot sealer: lay down a film the pitch can’t dissolve into, and the bleed stops before it starts.
What Makes a Good Knot Sealer
Three primer chemistries show up on the shelf, and they don’t all stop knots.
Shellac (pigmented). Shellac is a natural resin dissolved in alcohol. When the alcohol flashes off, what’s left is a hard film that pitch and tannin can’t re-dissolve into, because pitch isn’t soluble in cured shellac. This is the reason BIN blocks knots, water stains, smoke, and marker bleed that nothing water-based can touch. It dries in about 45 minutes and you can recoat in under an hour.
Oil-based alkyd. Cover Stain and similar oil primers carry their binder in mineral spirits. They block knot resin well, penetrate bare wood, and hold up better than shellac outdoors where shellac gets brittle. The trade-off is a longer recoat window, a stronger smell, and mineral-spirit cleanup.
Latex bonding primer. Insl-X Stix and Bulls Eye 1-2-3 grip glossy and chalky surfaces and they’re the right call for a full prime coat. On their own over a raw knot, they fail. The binder is waterborne and stays permeable to the pitch, so the knot reads through within weeks. Use these over the spot-seal, not instead of it.
The shortcut everyone reaches for, paint-and-primer-in-one straight over the knots, has no stain-blocking mechanism at all. It’s a hide-and-bond claim. The knots come through. For the longer version of why one product can’t do both jobs, see the primer vs paint-and-primer-in-one breakdown.
Tools and Materials
- Pigmented shellac primer (Zinsser BIN) for spot-sealing
- Oil-based stain blocker (Zinsser Cover Stain) if the wood is exterior
- Waterborne bonding primer (Insl-X Stix or Bulls Eye 1-2-3) for the full coat
- Denatured alcohol and a clean rag
- 120-grit and 220-grit sanding sponges
- Paintable latex wood filler for cracked or hollow knots
- A narrow artist brush or 1-inch chip brush for the spots
- A 2-inch angled sash brush and a 1/4-inch foam roller for the field
- Nitrile gloves, eye protection, and ventilation (shellac and oil both off-gas)
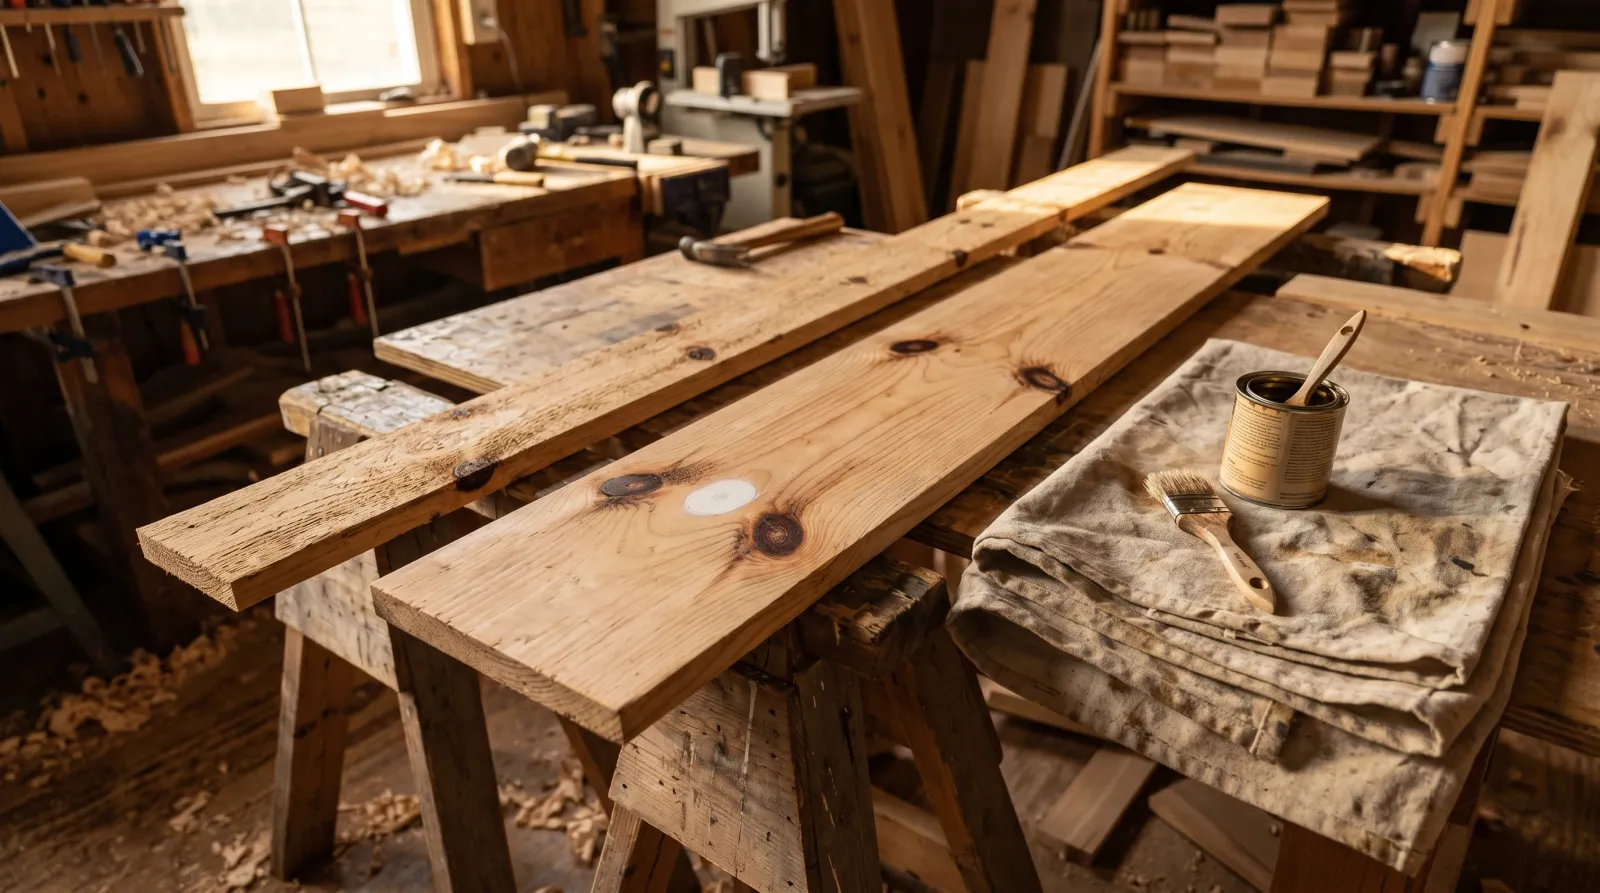
Step 1: Clean, Sand, and Wipe the Knots
Scrape the hardened resin bead off the proud knots, sand the face flat, then wipe each knot with denatured alcohol to pull the surface oil.
Some knots sit slightly proud and carry a glassy bead of hardened resin on top. Knock that off with a plastic scraper or a chisel held flat. If you paint over a resin bead, you’ve sealed the surface but trapped soft pitch under it, and it pushes the film off in a blister.
Sand the whole face at 120-grit to flatten the surface and cut any mill glaze, then a quick pass at 220 over the knots themselves. Vacuum and tack the dust.
Now the step that separates a seal that holds from one that lifts: wipe each knot with denatured alcohol on a rag. The alcohol pulls the surface film of oil and loose pitch off the knot so the shellac bonds to clean wood instead of to a slick of resin. Let it flash off for a few minutes. The knot will look slightly lighter and matte when it’s ready.
If a knot is cracked, hollow, or weeping, fill it. Press paintable latex wood filler into the void with a 1.5-inch flex knife, slightly proud, and sand flush once it’s hard. A loose knot that you don’t fill will telegraph a crack through the paint even if the bleed is blocked.
Step 2: Spot-Seal Every Knot
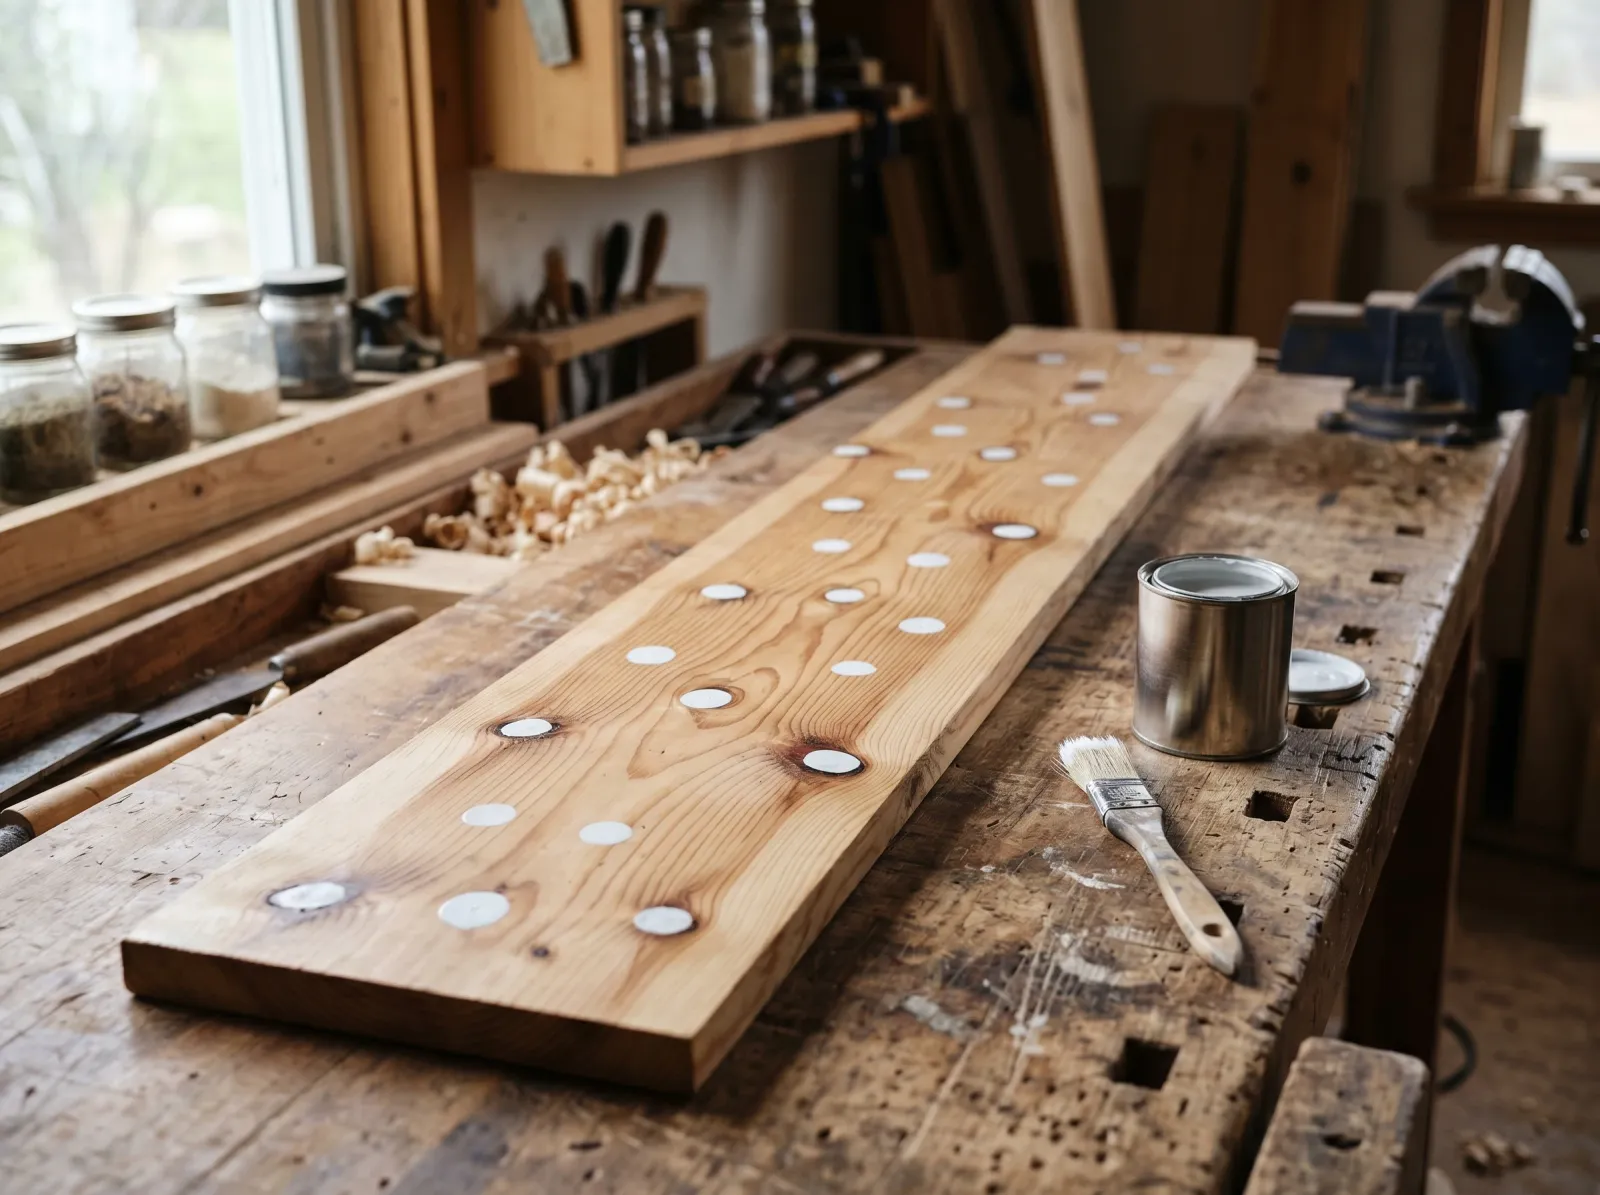
Two thin coats of pigmented shellac dabbed onto every knot and resin streak, fifteen minutes apart. White rings mark the sealed spots.
Load a narrow brush with BIN and dab a thin coat over each knot, extending about half an inch past the edge onto sound wood. Don’t forget the resin streaks that run off a knot along the grain. Those bleed too, just in a line instead of a ring.
Wait fifteen minutes and lay a second thin coat. One coat almost always leaves a pinhole or a thin patch over the densest center of the knot where the pitch is richest, and that pinhole is exactly where the bleed comes through later. Two thin coats close it. Resist the urge to lay one fat coat instead. Thick shellac skins on top and stays soft underneath, which gives the resin a soft layer to work into.
BIN is brittle once cured, which is why this stays spot work. You’re sealing knots, not the whole board. For an exterior project, swap to Cover Stain on the knots, since shellac gets chalky and cracks under UV and freeze-thaw.
Clean the brush in ammoniated water or denatured alcohol while the shellac is still wet. Dried shellac doesn’t come out.
Step 3: Full Prime the Surface
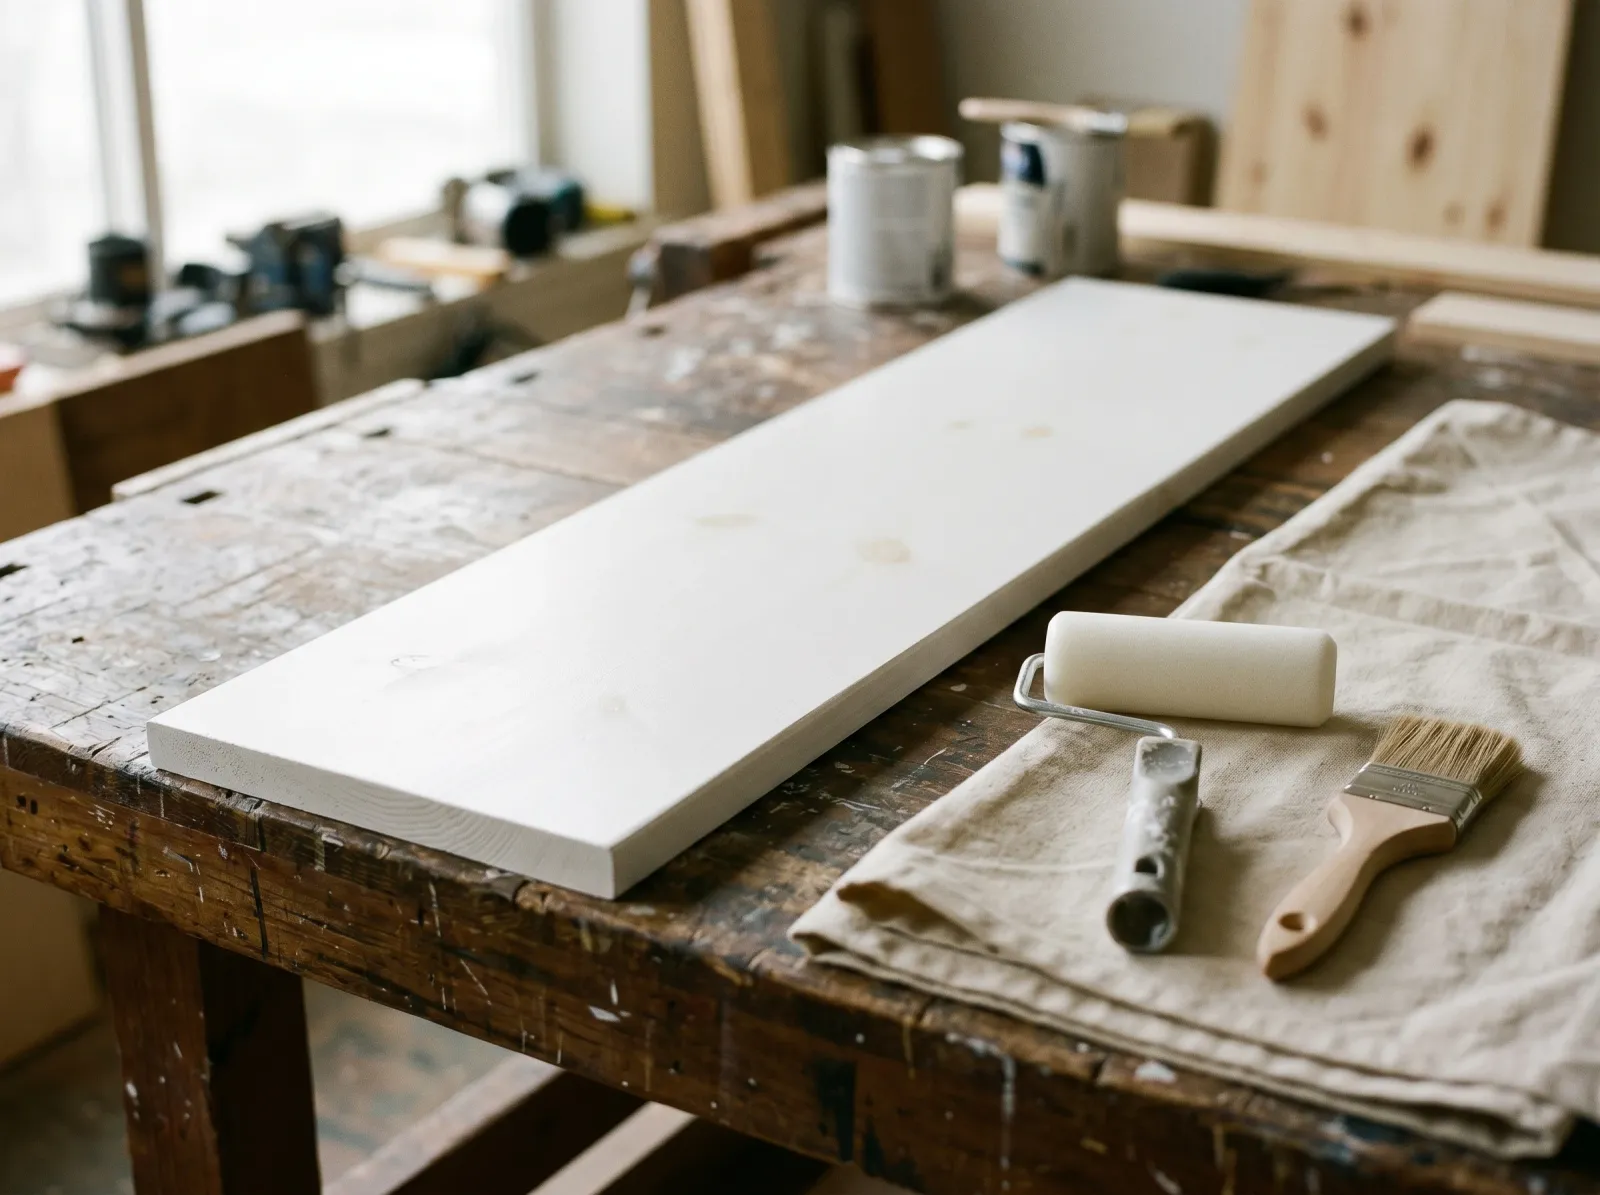
One full coat of bonding primer over the whole board once the spot-seal is dry. The knots have disappeared under uniform white.
With every knot sealed, the rest of the board behaves like ordinary wood. Roll or brush one full coat of a waterborne bonding primer (Insl-X Stix or Bulls Eye 1-2-3) across the entire surface. This coat does the jobs the spot-seal can’t: it evens out the porosity of the field wood, hides the shellac rings so they don’t read through the topcoat, and gives your paint a uniform surface to grip.
Brush the profile and edges with the 2-inch sash, roll the flats with the 1/4-inch foam roller. One coat is enough over sealed knots and sanded pine. Let it dry per the can, usually an hour for a waterborne primer, then scuff lightly at 220 if the grain raised.
If you’re skipping the separate bonding primer and going straight to a self-priming topcoat, the spot-seal still has to happen first. The shellac under the paint is what stops the knot. The paint over it is just paint.
Step 4: Paint
Topcoat goes on like the wood was never knotty. Brush the profile, roll or brush the flats, keep a wet edge.
Now it’s a normal paint job. For interior trim, doors, and paneling, a waterborne alkyd (Benjamin Moore Advance, Sherwin Emerald Urethane Trim Enamel) in satin or semi-gloss lays down hard and levels like oil without the yellowing. For walls and ceilings in knotty paneling, a 100% acrylic in matte or eggshell hides the grain texture better than a higher sheen.
Two coats. Brush the profile and corners, roll or brush the flats, keep a wet edge and don’t stop mid-board. For the sheen decision on trim versus walls, the sheen guide lays out where each one belongs. For the topcoat SKU shortlist on trim, see the best interior trim paint round-up.
Dry, Recoat, and Cure
The spot-seal and primer move fast: shellac recoats in under an hour, the bonding primer in about an hour. Your topcoat is the slow part. Waterborne alkyds want sixteen hours between coats; check the can, because it varies by product and by how warm and humid the room is.
Touch-dry doesn’t mean cured. A waterborne alkyd reaches full hardness in fourteen to thirty days. During that window, don’t scrub it, don’t set heavy objects on a painted shelf, and don’t lean things against trim. The film is still cross-linking and a hard knock leaves a permanent dent or print.
Common Mistakes
- Latex primer or self-priming paint straight over raw knots. Result: amber rings within weeks on any warm wall. Fix is to spot-seal every knot with shellac first, then prime and paint.
- One coat of shellac instead of two. Result: a pinhole over the dense center of the knot lets a small bleed through. Fix is always two thin coats, fifteen minutes apart.
- Skipping the alcohol wipe. Result: shellac sits on a film of surface resin and lifts off in a blister months later. Fix is wipe each knot with denatured alcohol before sealing.
- Painting over a proud, glassy resin bead. Result: trapped soft pitch pushes the film off in a blister. Fix is scrape the bead flat first, then seal.
- Using clear shellac under white paint. Result: clear shellac blocks the resin but doesn’t hide the dark knot, so a brown shadow ghosts through a white topcoat. Fix is the pigmented version (BIN), which seals and hides at once.
- Shellac on exterior knots. Result: shellac goes brittle under UV and freeze-thaw and cracks within a year. Fix is Cover Stain on outdoor knots.
How Long Does a Sealed Knot Stay Sealed?
A properly spot-sealed knot under two finish coats stays put indefinitely indoors. The seal doesn’t wear out; it’s buried under the paint film and protected from the heat cycling that would otherwise drive the resin up. If you ever see a knot return years later, it almost always traces to a missed knot or a one-coat thin spot, not to the seal degrading.
Outdoors is different. UV and moisture work on the topcoat, and the same maintenance that any exterior wood needs applies here: inspect annually, wash gently, and recoat the film before it chalks through. The Cover Stain seal under it holds far longer than the paint above it.
If a knot does come back on you after the fact, you don’t have to repaint the whole surface. Sand the bleed back to a dull spot, wipe with alcohol, hit the knot with two coats of BIN, and feather the topcoat over it. The walk-through for an active bleed is in the block knots that are already bleeding guide.
FAQ
Why do knots bleed through paint? Knots are dense with resin and pitch that never fully cured, even after kiln drying. Heat softens that resin, and it dissolves into your paint’s binder and migrates to the surface as a yellow or amber ring. Sealing the knot with a film the resin can’t dissolve into stops the migration.
What is the best primer for sealing knots? Pigmented shellac (Zinsser BIN). Shellac carries its resin in alcohol and dries to a film that pitch can’t re-dissolve into. Oil-based stain blockers like Cover Stain also work and hold up better outdoors. Plain latex primer doesn’t stop knot bleed on its own.
Can I just use a paint-and-primer-in-one over knots? No. Self-priming paint is a bonding and hide claim, not a stain-blocking one. It has no way to stop resin migration, so knots telegraph through within weeks. Spot-seal with shellac first, then the self-priming paint goes over a sealed surface.
How many coats of shellac do I need on a knot? Two thin coats, about fifteen minutes apart. One coat usually leaves a pinhole over the densest part of the knot. Keep both coats thin, since thick shellac skins on top and stays soft underneath.
Do I need to seal knots on wood I’m staining instead of painting? No. A pigmented sealer would block the stain and leave a white blotch. On stained knotty pine the knots are part of the look. A clear dewaxed shellac can calm a weeping pitch knot without hiding the grain.