Primer vs Paint-And-Primer-In-One: When the Marketing Claim Actually Works
Self-priming paint works on four jobs and fails on seven. The honest field guide to when to skip primer and when skipping it costs you a $2,000 repaint.

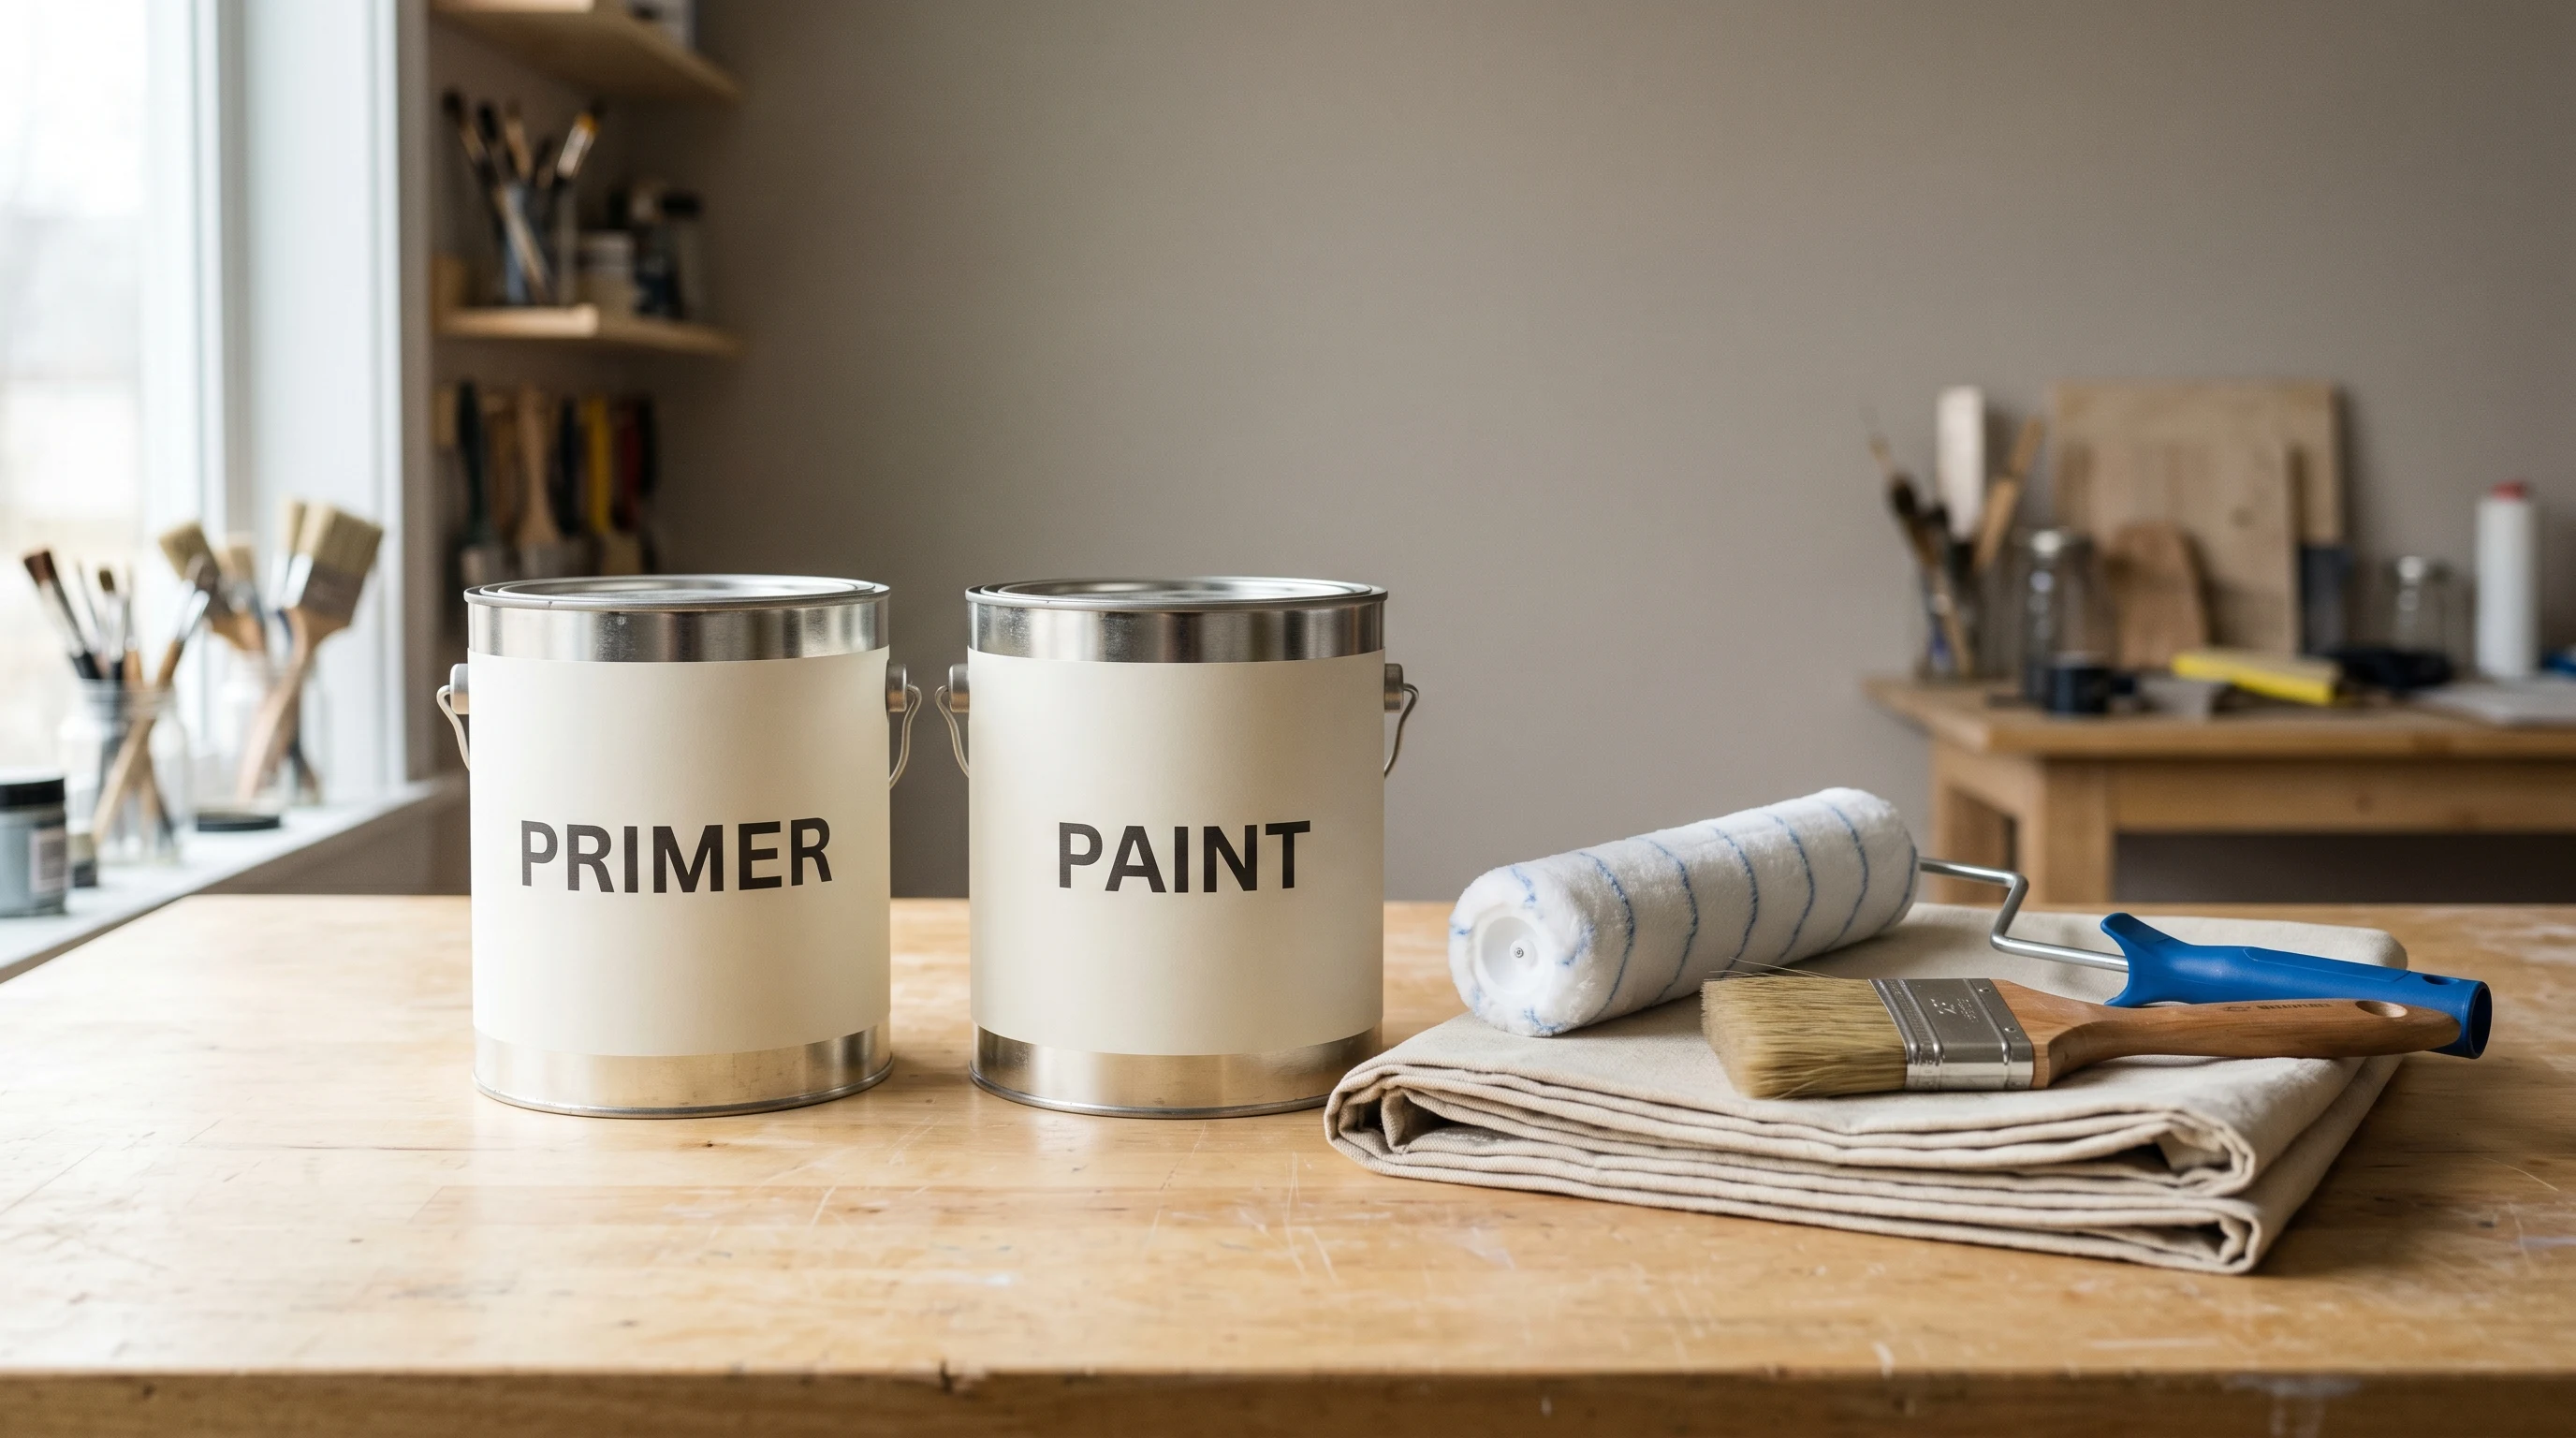
Paint-and-primer-in-one is a topcoat with more solids in the can. That’s it. The binder load is higher, the pigment load is higher, and the dried film is a hair thicker than standard wall paint. Every major brand has sold a version of it since around 2008, and the marketing has convinced two generations of homeowners that the primer step is optional. On the jobsite, it’s optional in exactly four situations. In the other seven, skipping primer is how you end up calling me back in eighteen months to repaint the whole side of the house.
Real primer is a different chemistry. Bonding primers like Insl-X Stix have resins that grip slick substrates the way regular paint can’t. Stain-blocking primers like BIN shellac actually seal pigment and tannin under the film so they can’t migrate up through your finish coat. Self-priming topcoat does neither of those things, no matter what the can says.
When Paint-And-Primer-In-One Actually Works
Use it when all four of these are true:
- Previously painted, sound surface, same chemistry. Latex over latex, in good shape, no peeling, no chalk, no flaking. Scuff with 220 first.
- Light color change. White to off-white, beige to greige, gray to slightly different gray. Two coats of self-priming gets you there.
- No stain-blocking required. No water rings, no smoke, no marker, no nicotine, no rust bleed.
- No dramatic substrate change. Same wall, same surface, same conditions. You’re refreshing, not rebuilding.
That’s a kitchen wall going from one beige to another. That’s a hallway you painted six years ago that needs a freshen-up. That’s a bedroom getting a color change from cool gray to warm gray. Self-priming earns its keep in those rooms. Skip the primer step and save the half-day.
When Paint-And-Primer-In-One Fails
Seven failure modes. I see all seven every year.
1. Bare wood. New trim, new siding, new doors, new MDF. Wood absorbs unevenly, raises grain, and on tannin-bleeding species, leaches brown through the finish. You need a sealing primer. Zinsser Cover Stain for general bare wood. BIN Shellac for knots and dramatic tannin. Self-priming latex sits on top of bare wood, not in it.
2. Bare drywall. Fresh rock, fresh mud, taped seams. The paper face and joint compound drink at different rates. Without a drywall primer (Zinsser Bulls Eye 1-2-3 or PVA primer), your topcoat flashes. The joints read shinier than the field, every time, in raking light.
3. Bare metal. Railings, doors, ductwork, fasteners. Latex topcoat doesn’t bond to clean metal and doesn’t inhibit corrosion. You need a metal primer with rust inhibitors, oil-based for ferrous metal, or a direct-to-metal acrylic with proper prep.
4. Chalky old exterior paint. Run your hand down the south face of a 12-year-old house. If you come away with white powder on your palm, the paint is chalking. Latex won’t bond through chalk. You either pressure-wash, scrub, and prime with a chalky-surface conditioner, or you watch your new topcoat sheet off in two seasons.
5. Glossy oil-based trim. Old enamel doors, old window casings, anything with a hard slick film from before water-based trim took over around 2010. Latex can’t bite into cured oil gloss. You scuff-sand to break the surface, then bond-prime with Insl-X Stix or a comparable adhesion primer. Self-priming acrylic over glossy oil peels in sheets the first humid summer.
6. Mold, mildew, water stains, smoke stains. Bathroom ceilings, kitchens with a smoker, basements with a past leak, anywhere you can see a brown ring or black spotting. These migrate through latex film. You need a biocidal stain-blocker. KILZ Mold & Mildew for active growth, BIN Shellac for tough water and smoke stains, Zinsser Cover Stain for general staining. Topcoat alone won’t bury them.
7. Tannin-bleeding species. Cedar, redwood, mahogany, and the knots in pine, spruce, and oak. Tannin is water-soluble and your latex topcoat is water-based. The math doesn’t work. You’ll see brown ghosting on white siding within weeks. Self-priming exterior is a marketing claim. Your bare cedar still needs Cover Stain. Or BIN, if it’s a knot.
How Real Primers Compare
| Primer | Type | Solves | When to reach for it |
|---|---|---|---|
| Zinsser Bulls Eye 1-2-3 | Water-based bonding | Drywall, light stain, mild adhesion | All-around interior primer |
| Zinsser Cover Stain | Oil-based stain-block | Bare wood, tannin, water stains | Cedar, knotty pine, smoke |
| BIN Shellac | Shellac stain-block | Knots, severe water/smoke, odor | The nuclear option |
| Insl-X Stix | Bonding acrylic | Glossy oil trim, tile, glass, PVC | Cabinet repaints over old enamel |
| KILZ Mold & Mildew | Biocidal water-base | Active mold, bathroom ceilings | After a bleach-and-rinse cleaning |
For the deeper picks and where to buy each, the exterior paint round-up covers the matching topcoats and the peeling paint guide walks the failures back to which primer you skipped.
How to Tell at the Wall
You don’t need a lab. You need three field tests.
- Chalk test. Drag your palm or a black cloth down the siding. White or gray residue means chalking. Wash, then bond-prime.
- Gloss test. Hit the trim with a flashlight at a low angle. If it reflects sharp and even, it’s still cured oil gloss. Scuff-sand and use Stix, not self-priming acrylic.
- Tannin spot test. Wipe a small area of cedar or knotty pine with denatured alcohol. If the rag pulls a brown stain, that wood will bleed through latex. Prime it.
Five minutes of testing saves you from the call I get every spring: “the paint is bleeding through, I bought the expensive can, what happened.”
The Cost Reality
A gallon of Zinsser 1-2-3 runs about $30. A gallon of Cover Stain, $35. BIN, $45 to $50. Stix, $40. The premium primer that solves your specific failure mode costs less than the brush you’re using to apply your topcoat.
A botched repaint (peeling exterior, ghosted tannin, flashed drywall, mildew bleed) runs $300 to $3,000 in labor and materials, depending on whether it’s a bathroom ceiling or the south side of a two-story. The labor on the redo is more than the labor on the original job, because somebody has to scrape off your failed topcoat first.
I’ve watched homeowners argue with me over a $35 gallon of primer for thirty minutes while they’re spending $4,000 on the topcoat job. The math doesn’t work. Buy the primer. The marketing department doesn’t have to live with the wall. You do, and you’ll be looking at it for the next eight to ten years.
Common Mistakes
- Trusting the can over the substrate. The label says “self-priming.” Your wall says bare drywall. The wall wins.
- Using one primer for everything. Bonding primer doesn’t block tannin. Stain-blocker doesn’t bond to gloss. Pick the primer for the failure you’re solving.
- Skipping the scuff-sand under self-priming paint. Even on previously-painted sound walls, 220-grit improves your bond. The “no sanding needed” line is sales copy.
- Tinting the wrong primer. White primer under a deep-base color costs you a third coat. Most primers tint 50%. Get it tinted to a gray or a half-strength of your finish color. Saves a coat.
What You’ll See in Two Years If You Got It Wrong
Tannin bleed shows up in the first season: brown halos on white cedar, sharpest on south and west faces. Adhesion failure on glossy trim shows up the first humid stretch. Paint comes off in sheets when you nick it with a fingernail. Chalky-substrate failure shows up at year two, when the new topcoat sheets off in tape-pull strips, taking the chalk layer with it. Mildew bleed comes back through within a year if you didn’t biocide-prime. Drywall flashing shows up the day you turn the lights on and never goes away.
None of these are repaintable in place. They all require scrape, sand, prime correctly, and topcoat, which is the job you should have done the first time. Buy the gallon of primer.