How to Paint Baseboards Without the Wall Bleed
First-timer's baseboard guide — caulk the gap, tape the floor (not newspaper), two coats semi-gloss, pull the tape while it's wet. Crisp lines, no bleed.

Okay, so your baseboards are the saddest thing in the room. Scuffed at the corners, yellowed where the sofa pushed up, and there’s a hairline gap at the top edge that’s been bothering you for two years. You’re going to fix all of it in one Saturday. The fear is that paint will bleed onto the floor and you’ll spend Sunday scraping.
The trick is two small things almost no first-time guide mentions: caulk the gap before you paint, and use 1.88-inch tape on the floor instead of newspaper. The rest is patience.
What You’ll Get
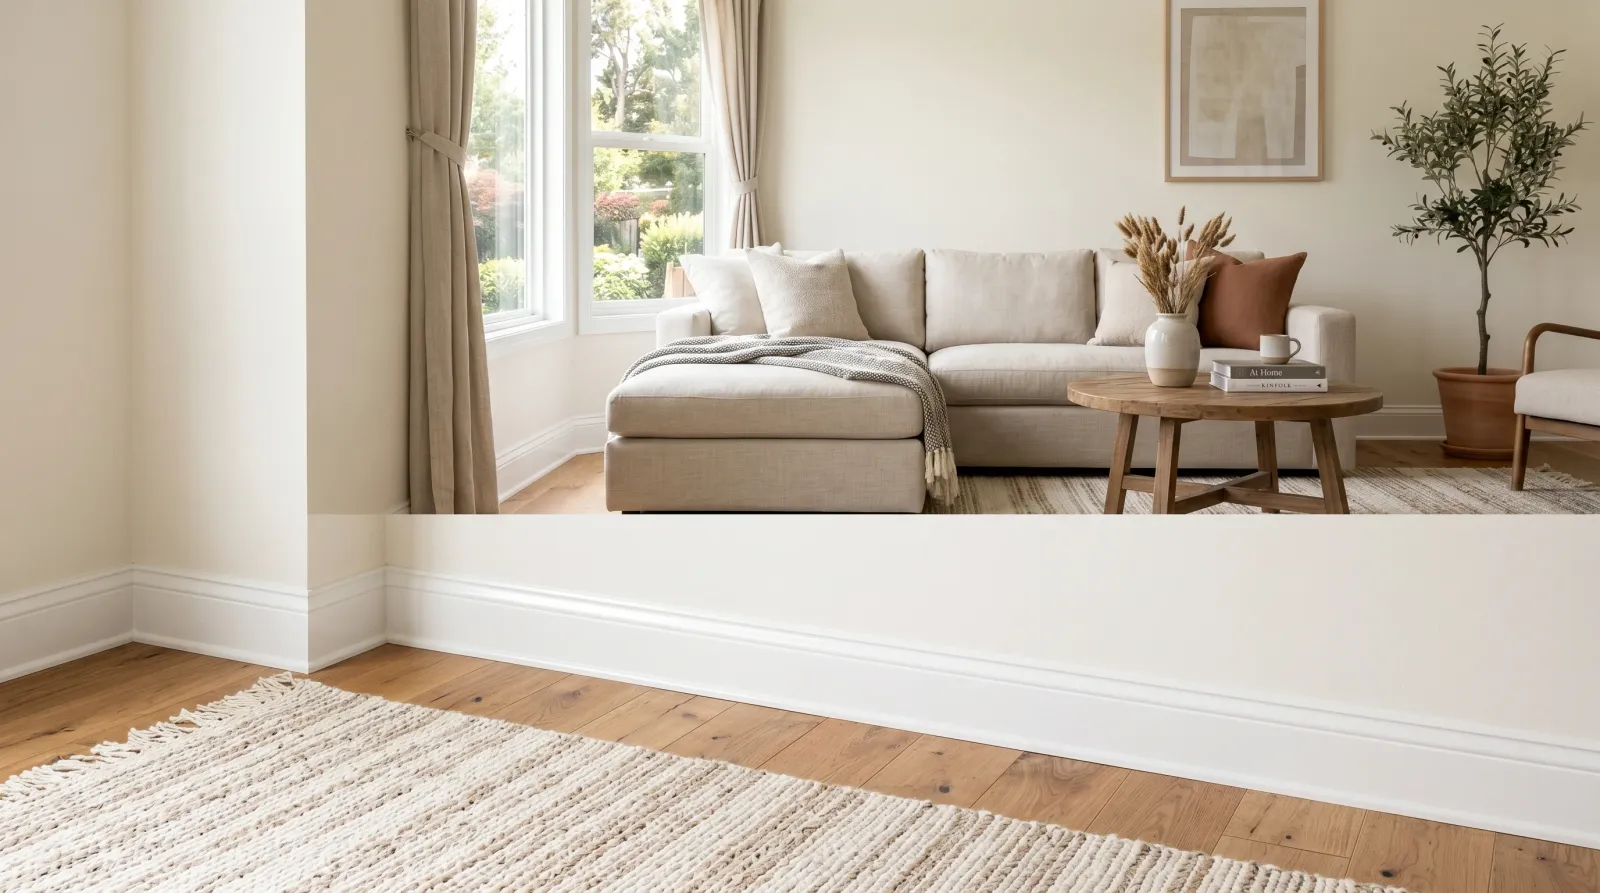
Crisp white semi-gloss baseboards with a clean, knife-edge line along the floor, no gap at the top, no bleed on the hardwood. Two coats, one Saturday, one quart of paint.
Honest Take on Difficulty and Time
This is an easy project that goes wrong in two specific ways, both preventable. Caulking the gap takes ten minutes once you’ve done it once. Masking the floor with proper tape (not newspaper) takes about an hour for a 12x12 room and is the single decision that separates a clean job from a smeared one.
| Method | Active time | Total elapsed | Skill |
|---|---|---|---|
| Single room, in place | 3–4 hrs | One Saturday | Easy |
| Single room, baseboards removed | 4–5 hrs | One weekend | Easy-medium |
| Whole floor (3–4 rooms) | 8–10 hrs | One long weekend | Easy |
Painting in place is the standard approach. Removing the baseboards gets you cleaner lines and lets you spray, but you’ll fill nail holes and re-caulk after reinstall. For a first project, leave them on the wall.
What You’ll Need
Paint
- 1 quart of semi-gloss trim paint. Covers the baseboards in a typical 12x12 room, two coats. For a whole floor, get a gallon. See the best trim paint round-up for picks.
- White or off-white. Match existing trim color if you’re doing one room; otherwise pick a clean white that reads slightly warmer than your wall.
Tools
- 2-inch angled sash brush. The angle lets you cut a clean line along the top of the baseboard where it meets the wall.
- 1.88-inch wide FrogTape Multi-Surface (yellow) or ScotchBlue Original (blue). The width matters. Anything narrower leaves a strip of floor exposed at the heel of the baseboard.
- One tube of paintable acrylic-latex caulk and a caulk gun. DAP Alex Plus works fine; any tube labeled “paintable” does.
- Small plastic putty knife
- Canvas drop cloth (the thin plastic kind slides under your knees and you’ll hate it by hour two)
- A folded towel or a kneeling pad. You’ll be on the floor for most of this.
The brush is the tool that matters most. See the brush picks if you don’t have a decent angled sash brush yet.
Step 1 — Clean and Inspect Every Foot
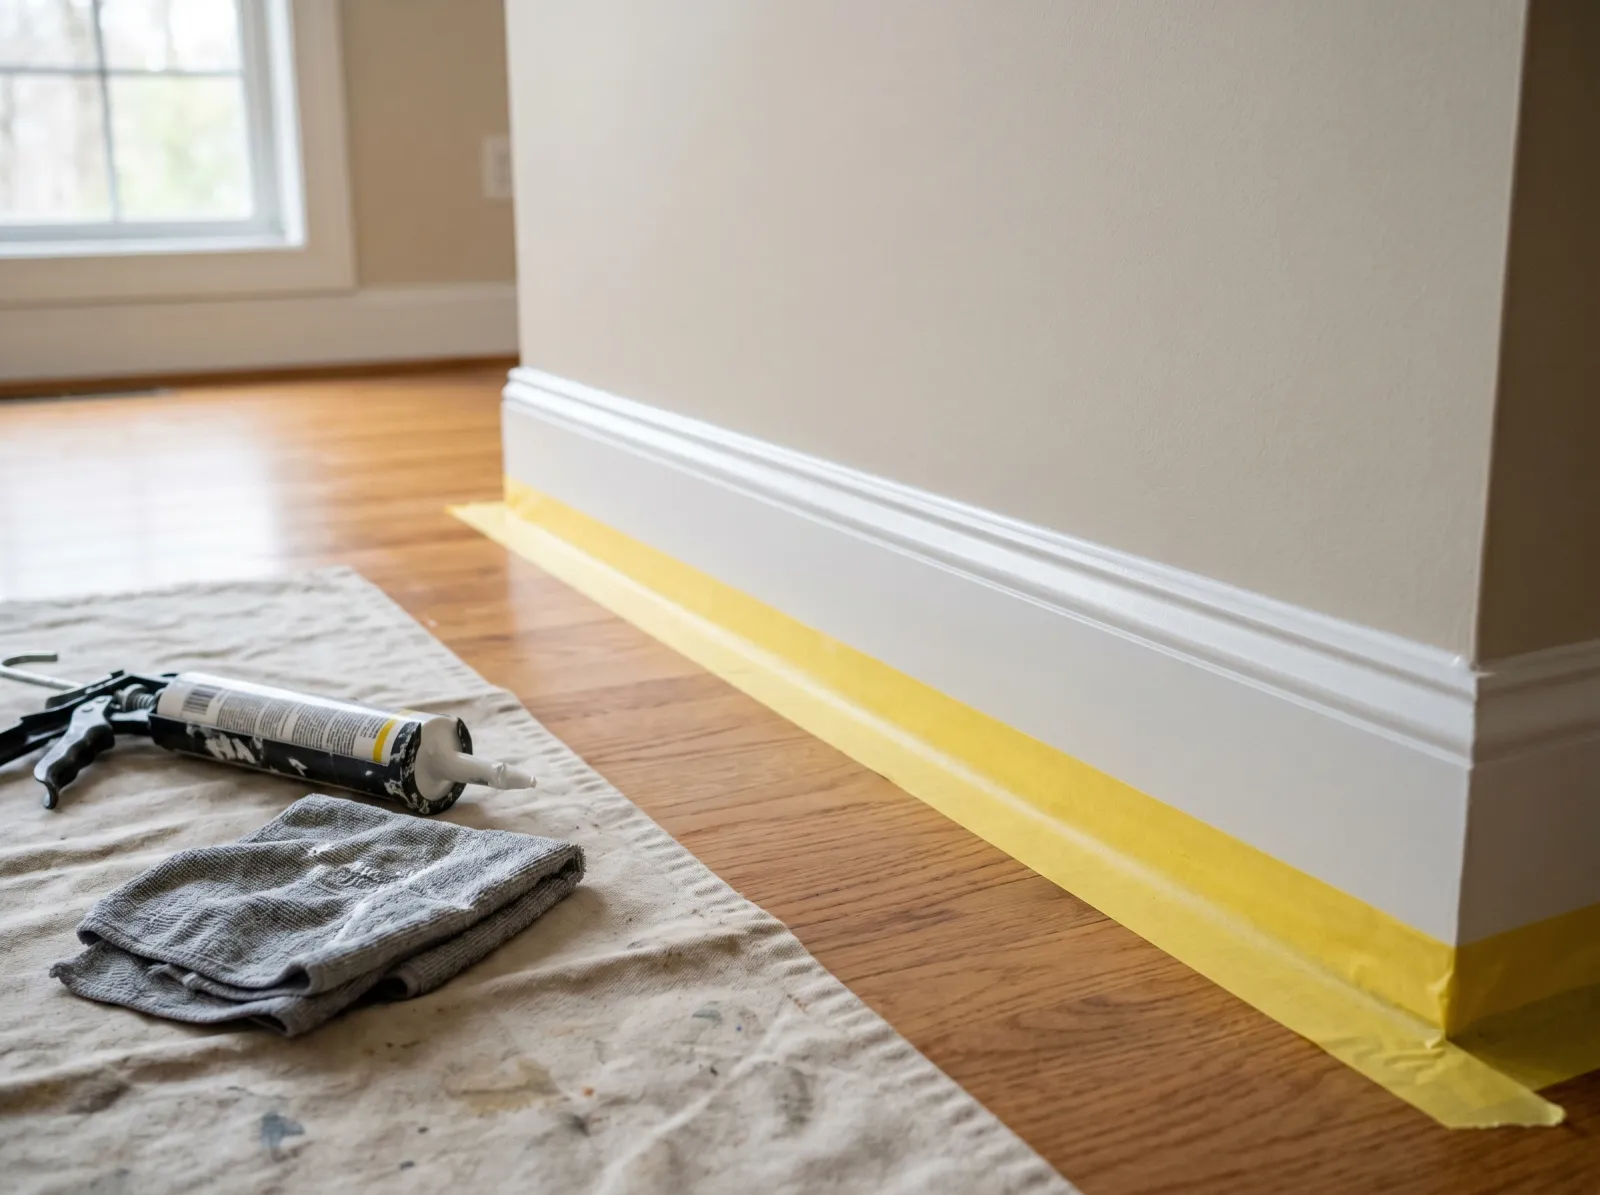
Baseboard wiped down, the gap between trim and wall run with a fresh bead of paintable caulk, floor masked with 1.88-inch painter’s tape.
Wipe the entire length of every baseboard with a damp microfiber rag. You’ll be surprised what comes off (dust, pet hair, old splatter). Let it dry while you walk the room and look at each baseboard from the side.
You’re looking for two things: dings or chips, which get a fingertip of spackle and a 30-minute dry; and gaps along the top edge where the baseboard meets the wall. Gaps are the universal failure of first-time baseboard paint. Paint won’t fill them. Caulk will.
Watch out for: glossy old oil-based trim. If the paint feels like glass under a fingernail, scuff lightly with the 220-grit foam block first. Waterborne paint over old oil without scuff-sanding peels in sheets.
Step 2 — Caulk the Gap Between Baseboard and Wall
Cut the caulk-tube tip at a 45-degree angle, with the smallest opening you can manage. Load the gun.
Run a thin bead along the top edge of the baseboard where it meets the wall, in two-foot sections. Then drag a wet fingertip along the bead immediately. This smooths the caulk into the seam and removes the excess. Wipe your finger on the damp rag and move to the next section.
The bead should be barely visible when you’re done. If it looks like a thick white worm sitting on top of the baseboard, you cut the tip too wide; wipe most of it off with the damp rag and start over with a smaller cut.
Let the caulk dry 30 minutes before you tape. (Paintable means paintable; it doesn’t mean instant.)
Watch out for: caulking gaps at the floor edge too. Don’t. The bottom of the baseboard is supposed to float slightly above the floor so the wood floor can expand. Caulking the bottom locks it, and you’ll get cracks at the seam when the floor moves seasonally.
Step 3 — Mask the Floor with 1.88-Inch Tape
Pull a length of 1.88-inch tape and lay it flat against the floor, top edge pressed firmly against the bottom of the baseboard. Work in three- to four-foot sections, pressing each one down with your thumbnail or the edge of a plastic putty knife. The press is what seals it.
For hardwood floors, run the tape edge tight to the baseboard. For tile or vinyl, leave a hair of clearance. Tape pressed too tight on slick surfaces sometimes pulls up a microthin layer of finish when you remove it.
Skip the newspaper. It curls, paint soaks through it, and corners around door jambs are impossible to mask cleanly. A roll of 1.88-inch tape costs about ten dollars and does the job in a fraction of the time.
Step 4 — Brush on the First Coat
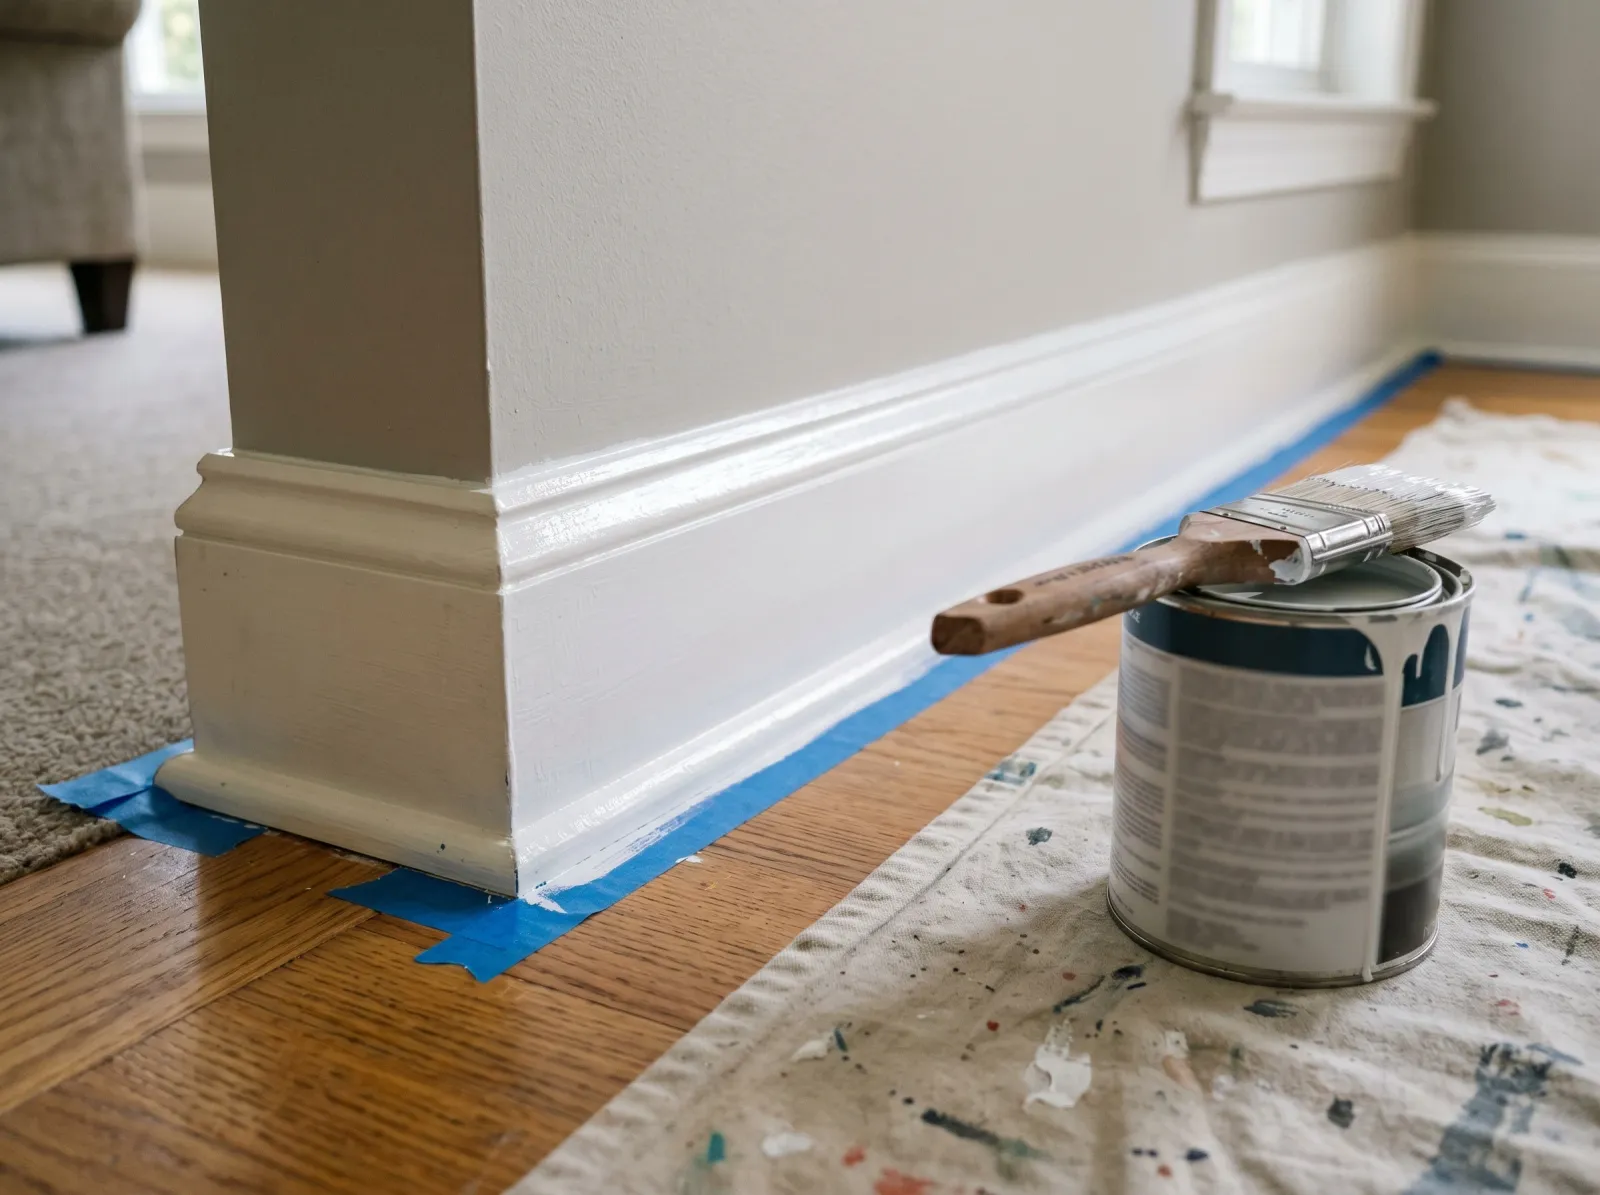
Two-inch angled brush, one even pass along the top, one along the face, one to feather the bottom.
Load the angled brush by dipping a third of the way into the paint and tapping (not wiping) on the inside of the can to knock off the drips.
Start at one corner. Three passes per section, in this order: the top edge along the caulk line (with the long side of the angle leading), the face of the baseboard, and a final light pass along the bottom to feather any thick spots toward the tape. Work in two- to three-foot sections so the brush strokes can blend into the wet edge.
The first coat will look streaky and patchy in raking light. That’s fine. The second coat does the cosmetic work.
Watch out for: sags at the inside corners. Two baseboards meeting at a corner create a natural pocket where paint pools. Brush corners out of the pocket, not into it, and check each one again at the ten-minute mark with the brush nearly dry to lift any sag before it sets.
Step 5 — Light Sand, Then the Second Coat
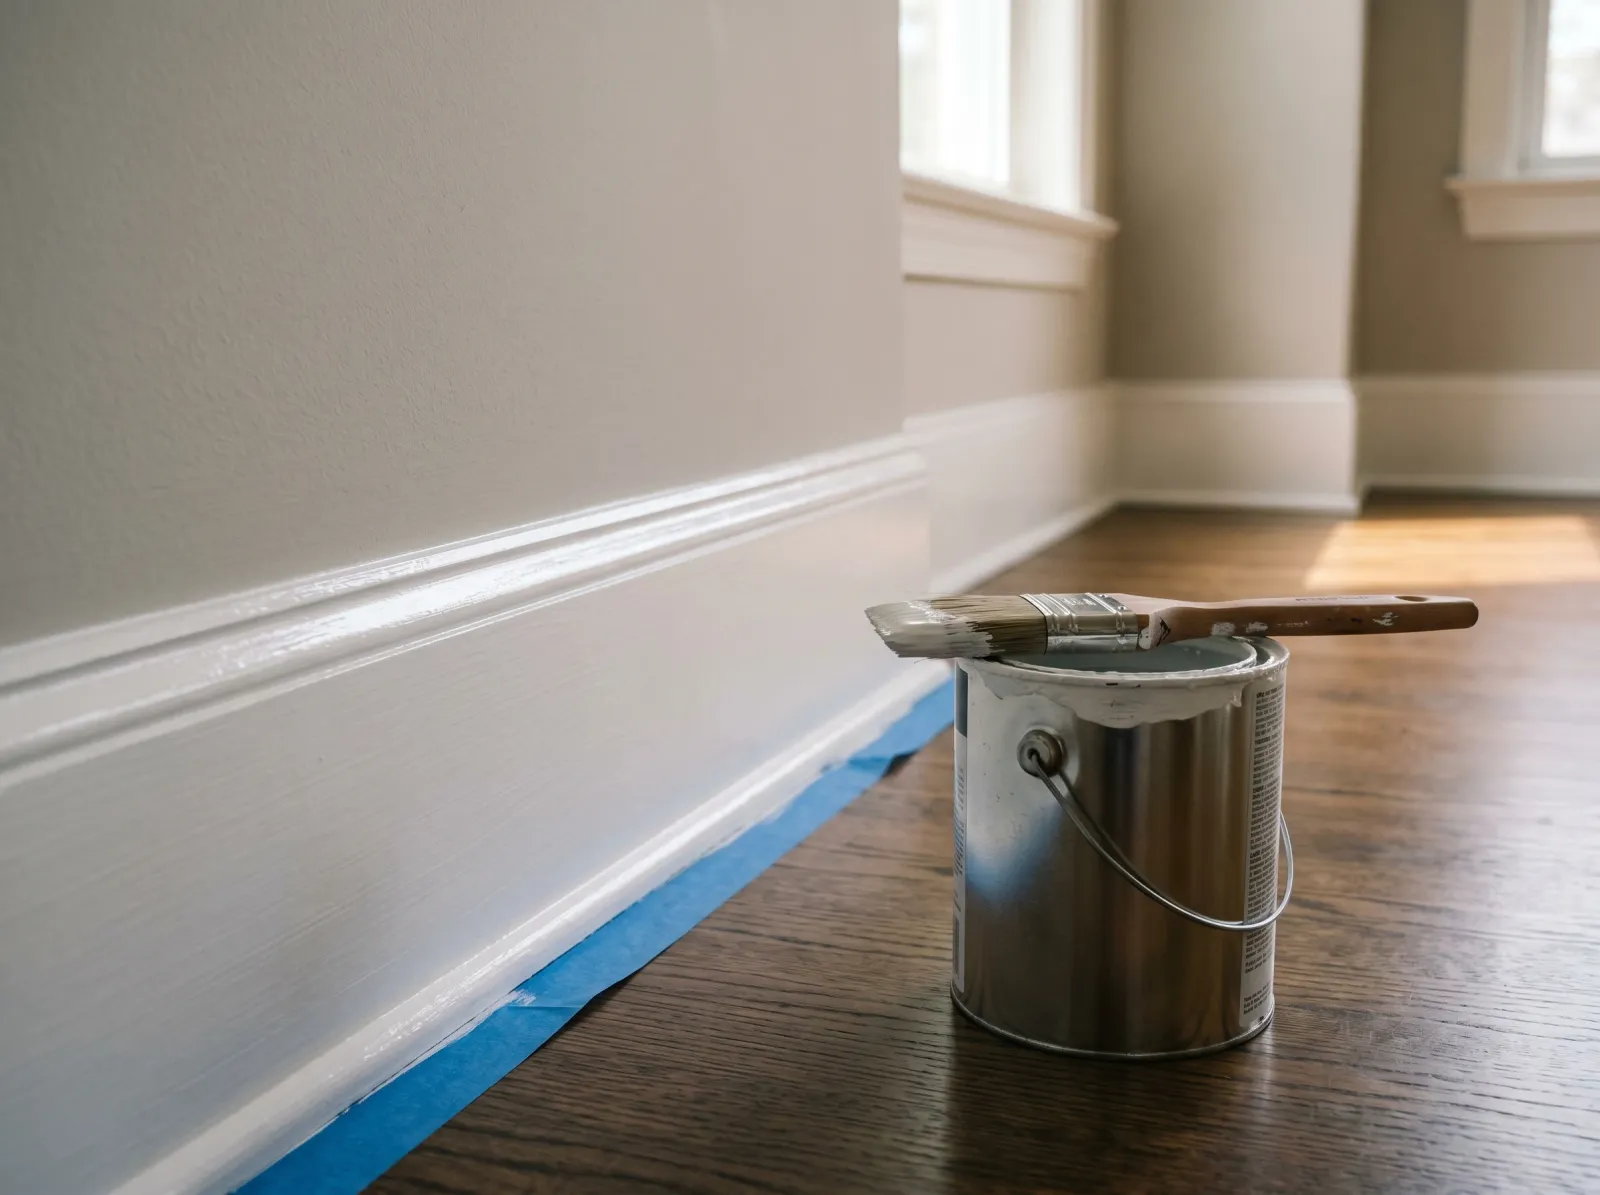
Light sand after coat one, wipe with a tack cloth, lay the second coat in long even strokes.
Wait the recoat time on the can (usually 2 to 4 hours for waterborne semi-gloss). When the first coat is dry to the touch and not tacky, give every baseboard a feather-light pass with the 220-grit foam block. You’re knocking off dust nubs and brush ridges, not sanding paint off. Wipe with a tack cloth or barely-damp microfiber.
Lay the second coat the same way as the first: top, face, feather the bottom. Don’t go back over a stroke that’s started to skin. You’ll pull the brush through tacky paint and leave a track. The second coat is the one that decides whether the room reads “freshly painted” or “someone tried.”
Step 6 — Pull the Tape While It’s Still Tacky
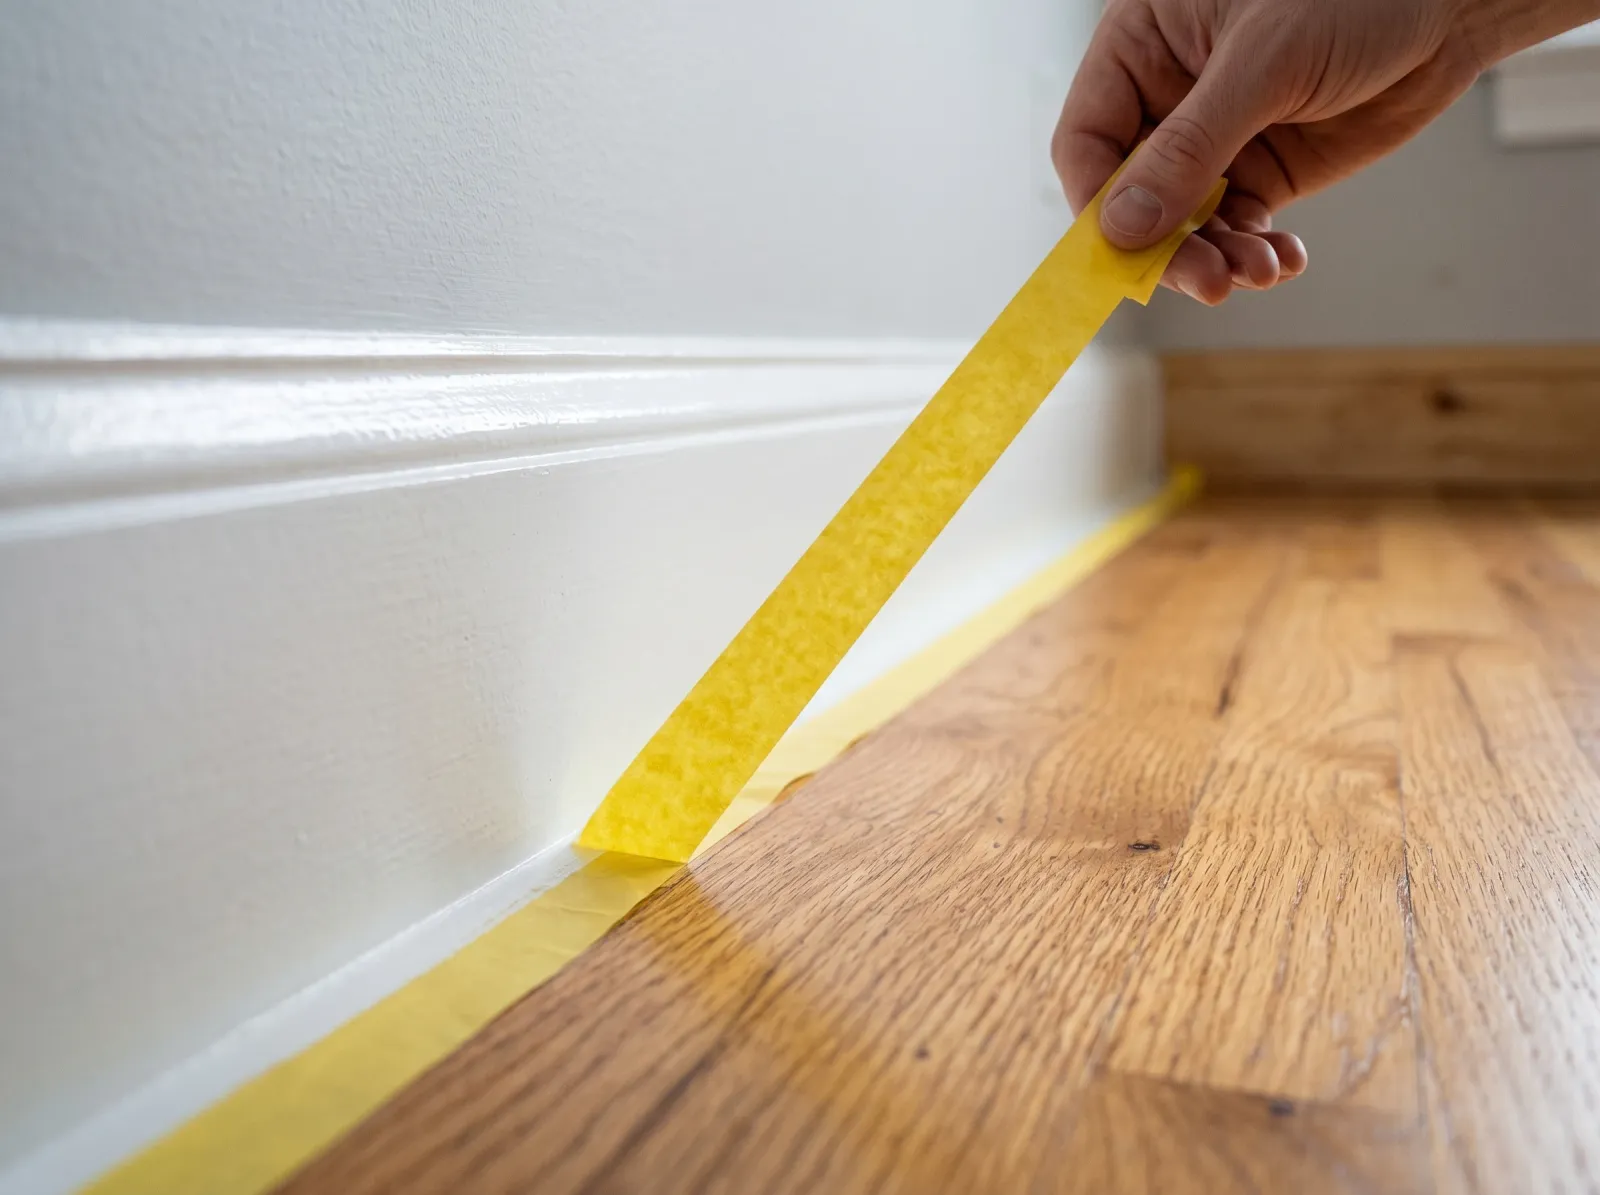
Pull the tape at a 45-degree angle while the second coat is still slightly tacky.
This is the step almost everyone gets wrong. The tape comes off while the second coat is still slightly tacky, not after it dries. About 30 to 60 minutes after you finish brushing is the window. Touch dry, no tackiness on a fingertip, but the film still soft.
Pull slowly, at a 45-degree angle, away from the baseboard. One continuous strip per section. If the tape resists, score the paint edge with the corner of the putty knife first.
Why this matters: as the paint cures, the film bonds across the tape edge. Pull at four hours and you’ll peel a ragged strip of paint off the baseboard along with the tape. Pull at thirty minutes and the film releases cleanly. You’ll know it when you see it. The line will be sharp enough that you’ll grin a little.
Step 7 — Finished, Drop Cloth Rolled Up

Crisp white baseboards along a clean floor line, the room reads finished from the doorway.
Wait 4 hours before sliding furniture back. The paint is dry to the touch but not cured; a couch shoved against fresh trim at hour two leaves a fabric impression.
Walk the room. Tiny bleed wipes off the floor with a damp rag if you catch it within an hour; dry bleed comes up with a plastic scraper or a Q-tip of denatured alcohol.
Common Mistakes
- Skipping the caulk. The hairline gap between trim and wall stays visible after paint, sometimes more visible, because the paint frames it in a slightly different sheen. Ten minutes with a caulk gun, every time.
- Newspaper instead of real tape. Paint soaks through, edges curl, corners around door jambs leak. 1.88-inch tape is the right call.
- Pulling tape after the paint cures. The film has bonded across the edge. Pull at 30 to 60 minutes, not at hour four.
- One coat to save time. Semi-gloss is unforgiving in raking light. Brush ridges and uneven coverage are visible from across the room. Two coats. Always two coats.
- Painting over old oil without a scuff-sand. Slick old oil-based trim rejects new waterborne paint. A light pass with 220-grit changes the project from “peels in three months” to “lasts a decade.”
Cure Schedule
| Time after final coat | What’s safe |
|---|---|
| 30–60 min | Pull the painter’s tape |
| 4 hrs | Slide furniture back against the baseboards |
| 24 hrs | Vacuum near the baseboards normally |
| 7 days | Wipe with a damp cloth |
| 30 days | Full cure; mop and scrub if needed |
Maintenance
A semi-gloss waterborne baseboard in a normal home stays looking new for 7 to 10 years. First wear shows where the vacuum hits, near doorways, and behind the sofa. Save the quart with an inch left in the bottom (label the lid with the room and date). For scuffs, dab with a small artist’s brush. For longer damage, sand the section lightly and recoat the whole length of that baseboard run, not just the patch. Spot touch-ups on semi-gloss show their seams.
If It Goes Wrong
The most common thing that goes wrong is a small bleed under the tape at an inside corner where the tape didn’t quite seat. Wipe it off the floor while the paint is wet, or scrape it later with a plastic putty knife.
The second-most common is a streak of unevenness on the face that catches light from one angle. Wait until it cures, lightly sand that one board, put a third thin coat on. Nobody will know.
Baseboards are forgiving. Your eye doesn’t sit on them the way it sits on a wall. Get the line clean at the floor and the top, two coats of semi-gloss in between, and the room reads finished.
Related
Frequently asked questions
Do I really need to caulk the gap before painting?+
Which tape — FrogTape or ScotchBlue?+
Can I just use the wall paint on the baseboards?+
When do I pull the tape?+
Semi-gloss or satin?+
What if paint bleeds under the tape anyway?+
- Best paint for trim and baseboards
- Best angled brushes for trim
- How to paint an interior door
- Sheen guide — matte, eggshell, satin, semi-gloss
- Painting wood trim — the full prep guide