How to Paint Interior Doors (The Honest Way)
Step-by-step interior door painting — hardware off, primer, panel order, brush vs roller vs spray, and the dry-flat-then-upright trick that saves your finish.

Okay, so you’ve decided to paint your interior doors. You’re staring at a hollow-core slab with thirty years of fingerprints around the knob and you’re not sure where to start. Don’t worry. This looks intimidating because there are a lot of small surfaces, but it’s mostly patience and a couple of decisions you make once.
The first decision: take the door off the hinges. We’ll get to why.
What You’ll Get
A door that looks new. Smooth panels, clean reveals around the routed edges, no brush tracks running down the stiles. A couple of long evenings per door if you brush and roll, half that with a sprayer.
Honest Take on Difficulty and Time
| Method | Active time per door | Total elapsed | Skill |
|---|---|---|---|
| Brush + foam-mini roller | 3–4 hrs | 1 long weekend (with cure) | Medium |
| HVLP spray (off the hinges) | 1.5–2 hrs | 1 weekend | Medium-hard |
Most people brush and roll. A self-leveling waterborne alkyd like Benjamin Moore Advance closes most of the gap to a sprayed finish. What surprises people is the calendar, not the active time: BM Advance has a 16-hour recoat window, so two coats plus a 24-hour wait before re-hanging is three days per door whether you’re doing one or five in parallel.
What You’ll Need
Paint & Primer
- Primer: INSL-X Stix Bonding Primer (1 quart covers about 4 doors)
- Paint: waterborne alkyd. See our trim and door paint round-up →. Top pick: Benjamin Moore Advance.
Tools
- Wooster Silver Tip 2“ angled brush (the brush matters; cheap brushes leave tracks in self-leveling alkyd)
- 4“ foam-mini roller with a mohair or microfiber sleeve, not yellow foam (yellow foam pinholes)
- 220-grit sanding sponge
- Two sawhorses, or a set of painter’s pyramids
- Cordless drill for the hinge screws
- Quart-size zip-top baggies and a Sharpie for labeling hardware
- Painter’s tape and a drop cloth
- Floetrol latex extender (5% additive; extends the wet edge so brush marks self-level)
See our paint roller picks → and trim brush picks → if you don’t already have these.
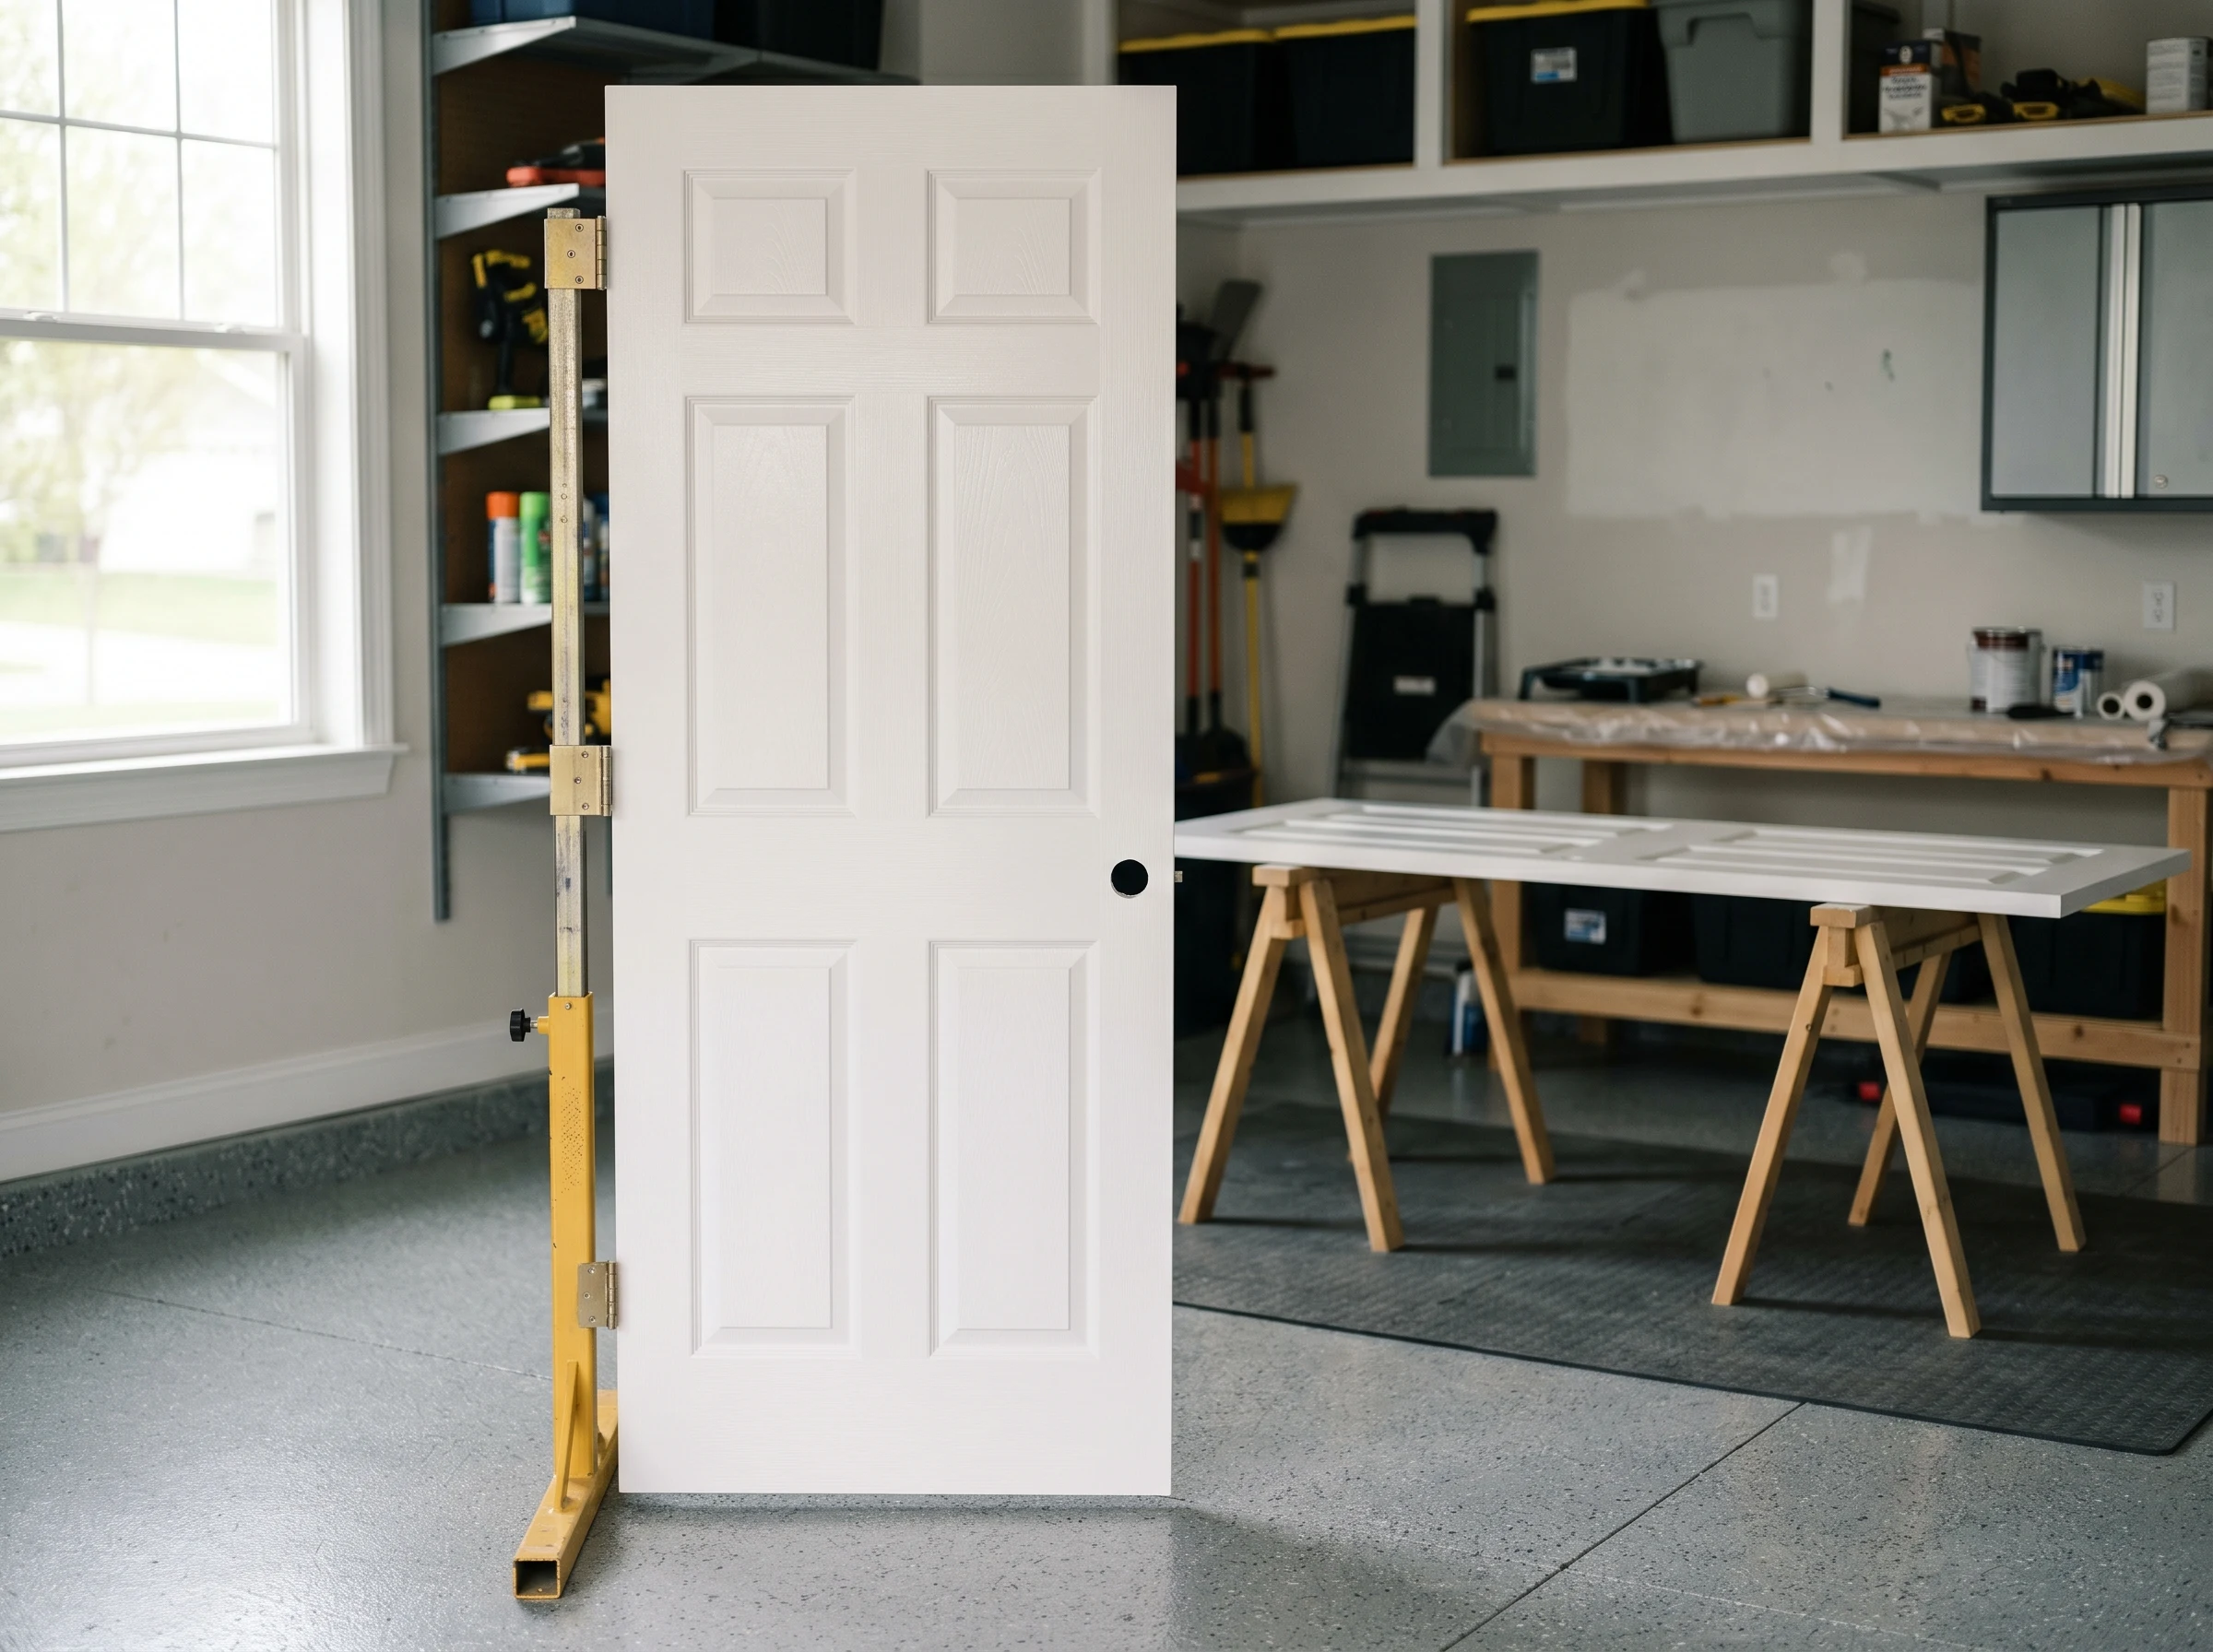
Step 1 — Pull the Door and Label Every Piece of Hardware
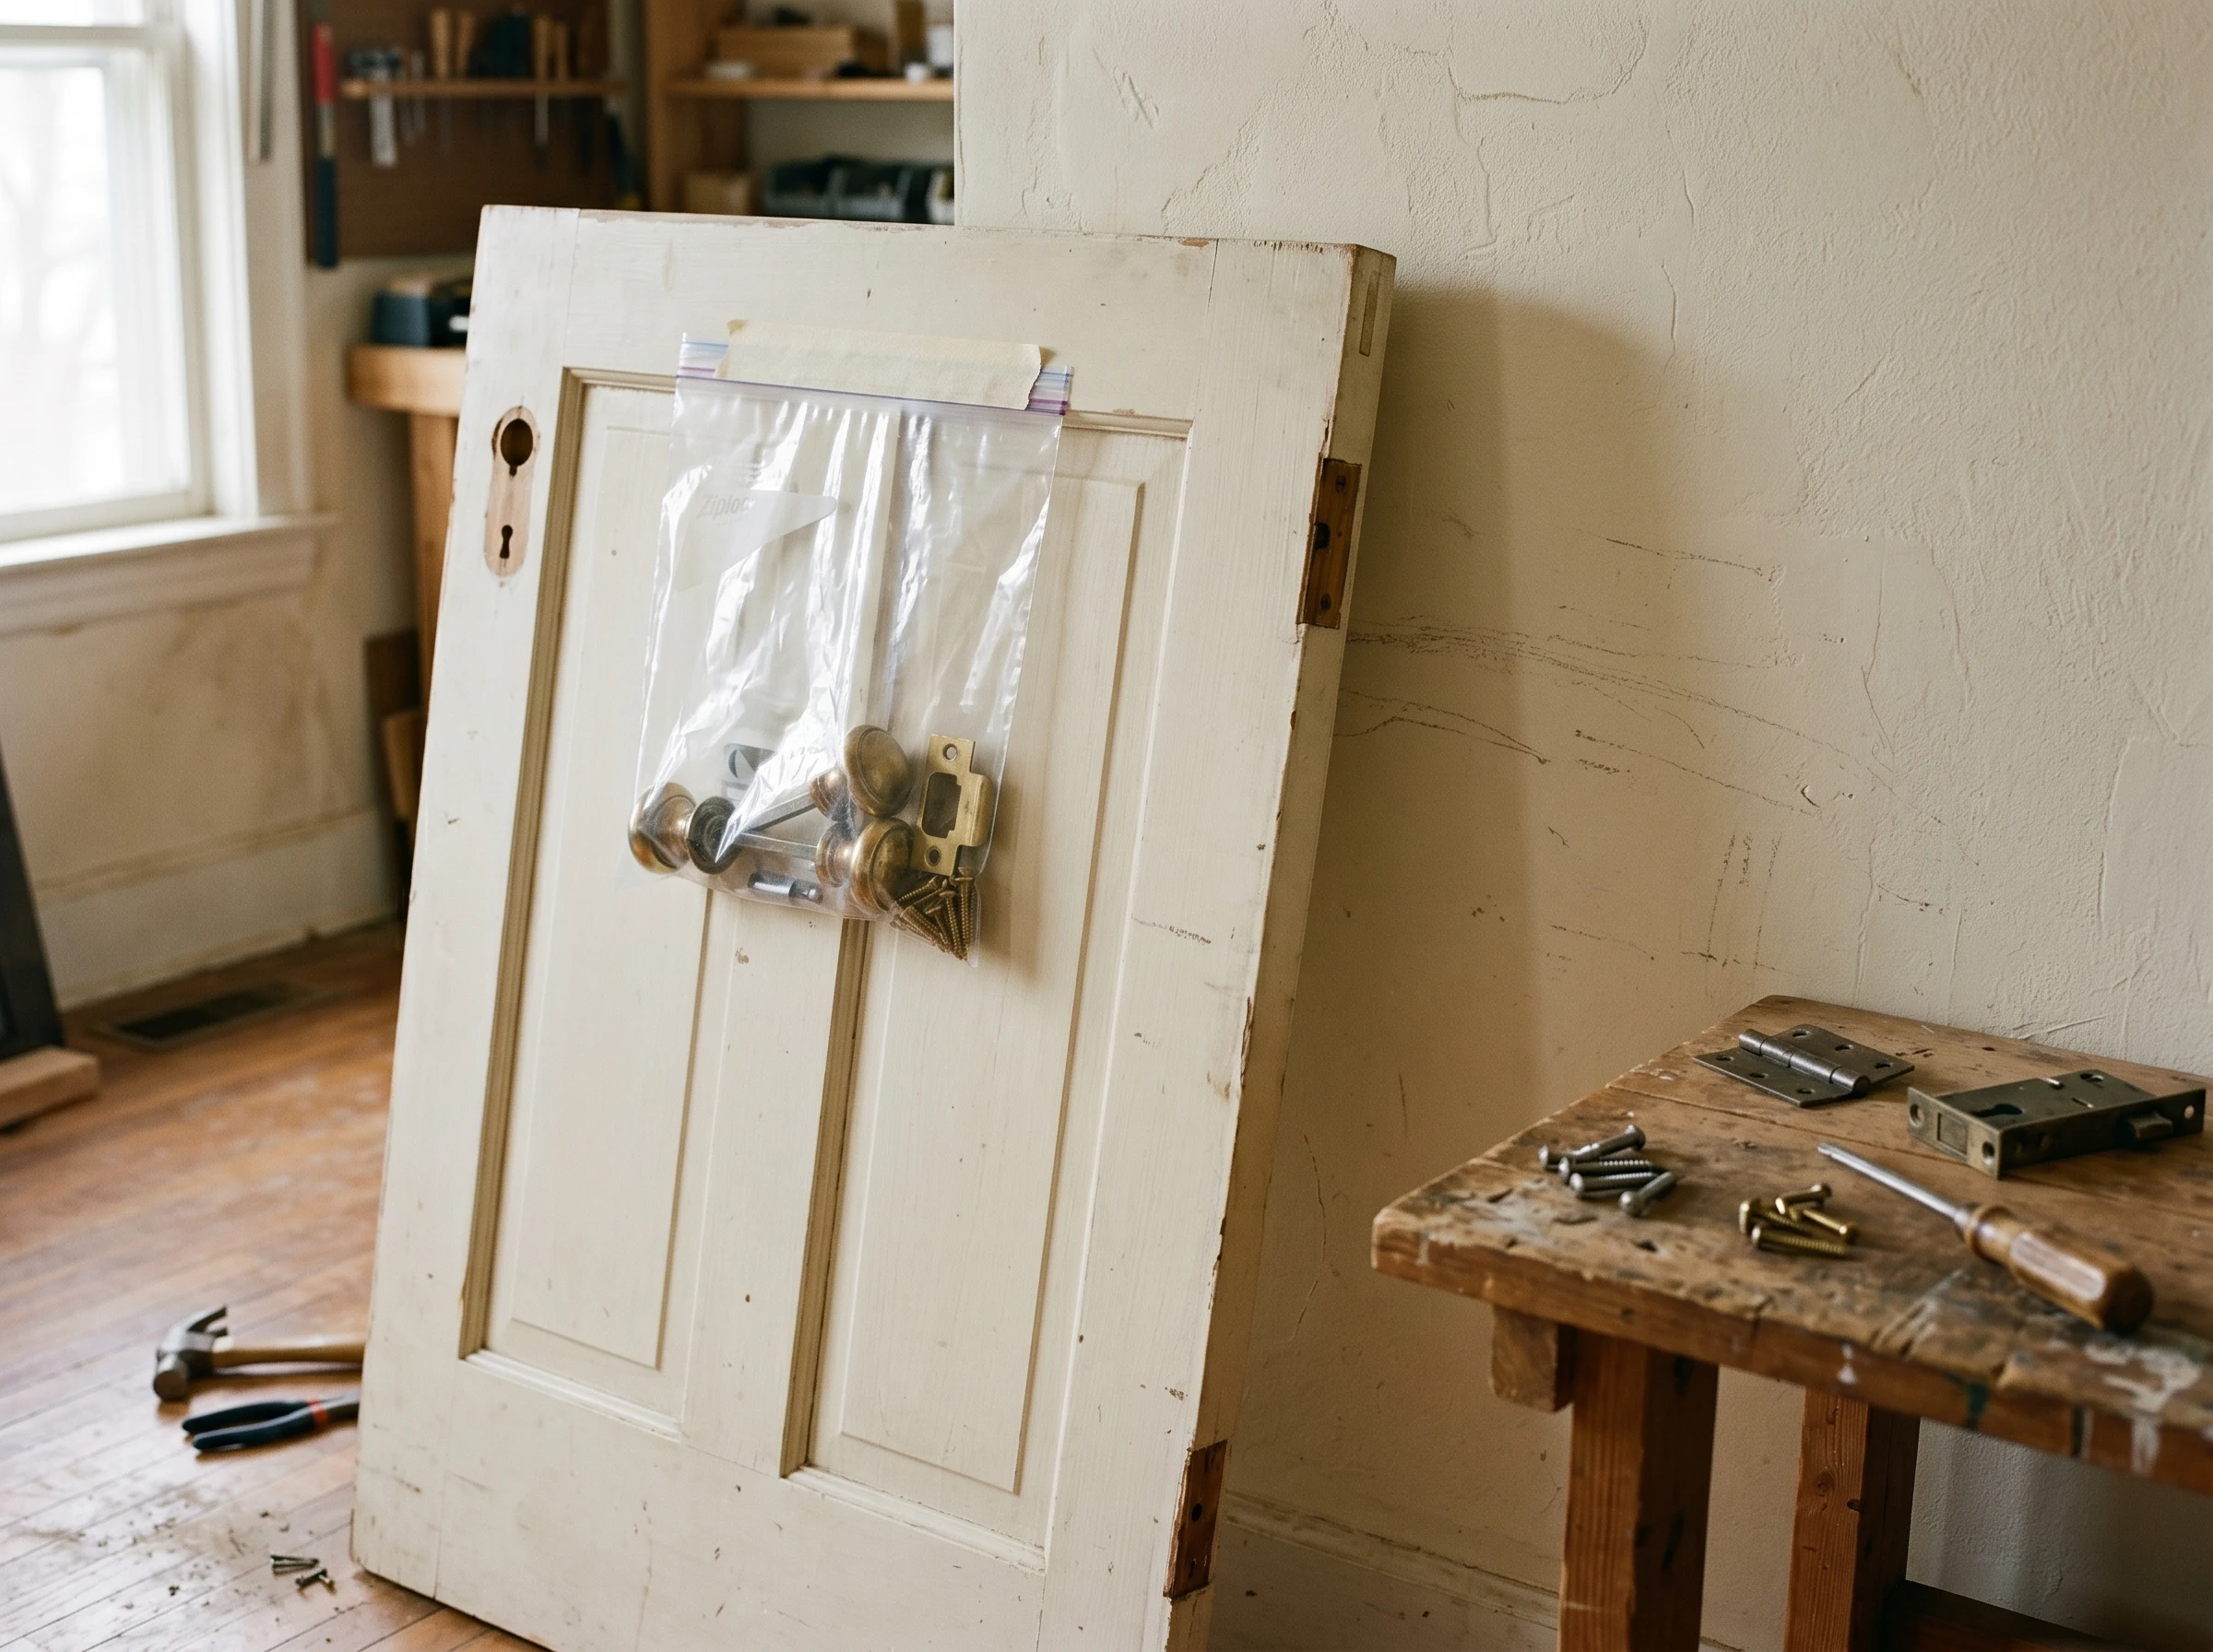
Every hinge pin out. Knobs, strike plates, and screws go into a labeled baggie taped to the back of the door.
Tap the hinge pins out from the bottom with a nail set (gentle taps). Lift the door off and lay it across the sawhorses.
The labeling system is the part everyone underrates. Take a Sharpie and a zip-top baggie; into it goes both knobs, the strike plate, latch screws, and hinge screws. Write the door’s location on the bag (“guest bath”, “kid’s room”) and tape it to the back of the door. Don’t toss every door’s hardware into one big bag. Knobs from a 1990s door and knobs from a 2010 door look identical in your hand, but the spindles are different lengths and the strike-plate alignment is off if you mix them up.
Step 2 — Sand, Wipe, Prime
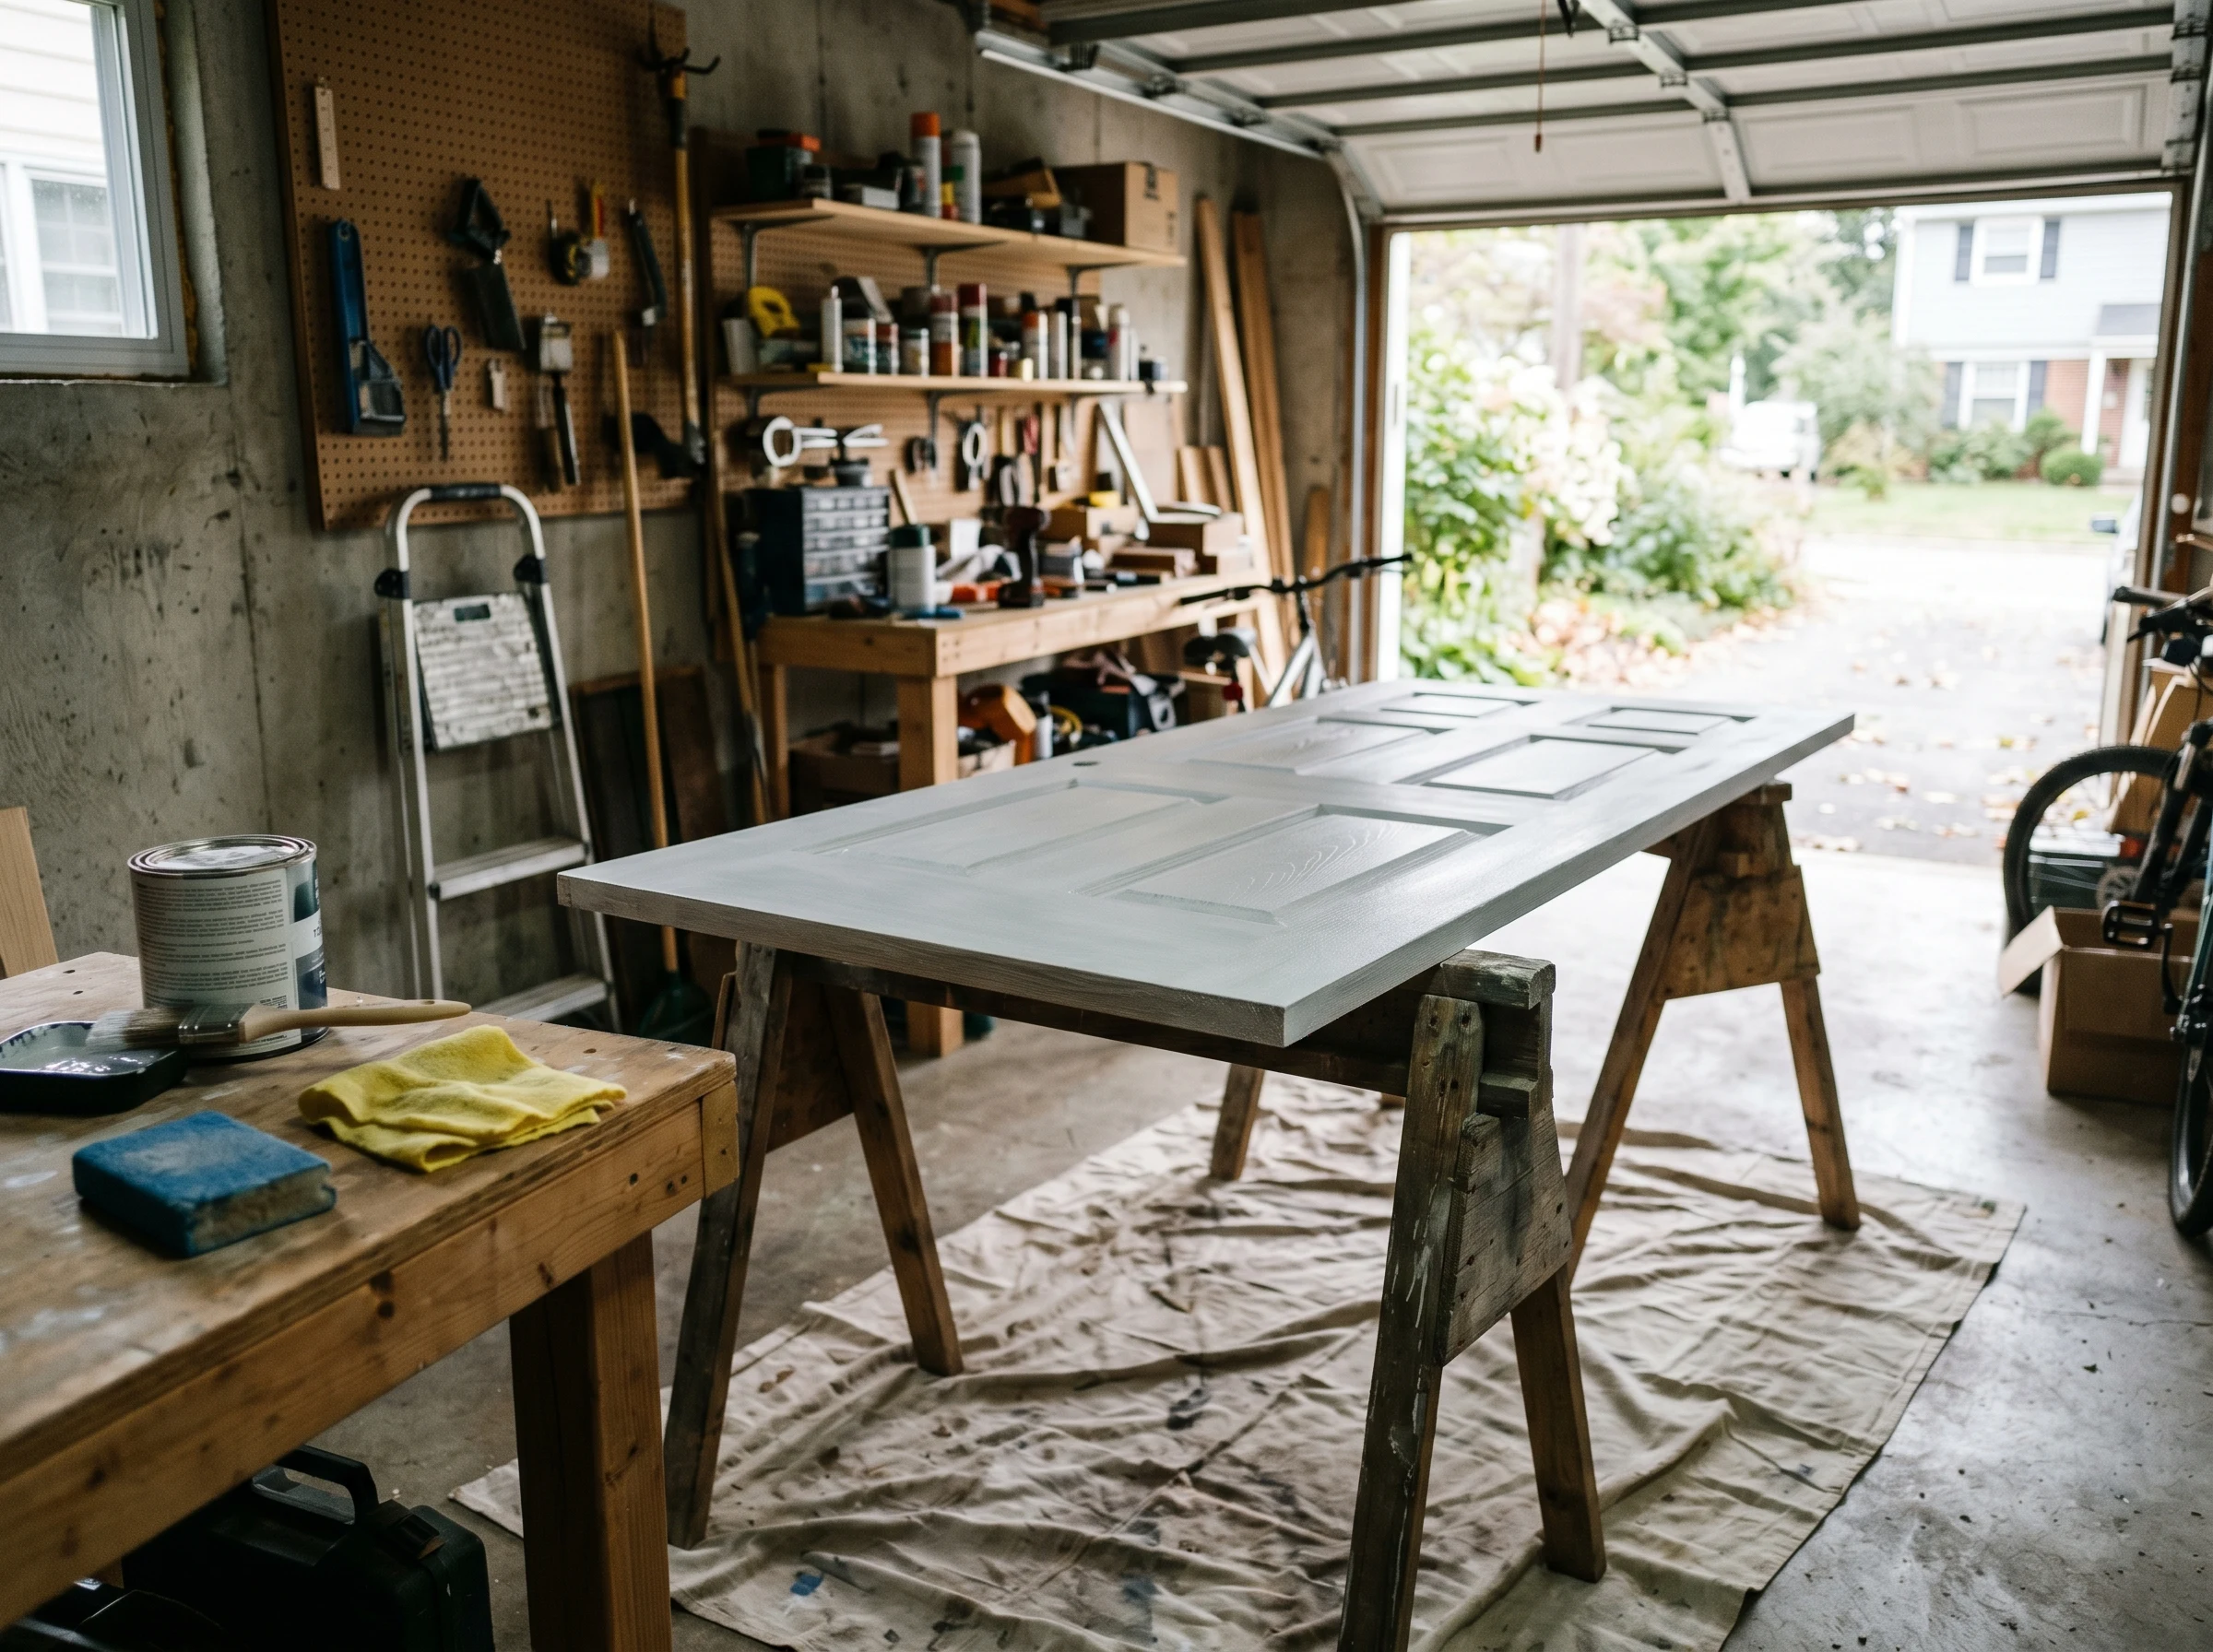
220-grit scuff over every panel and stile. Stix bonding primer goes on thin; one coat is enough.
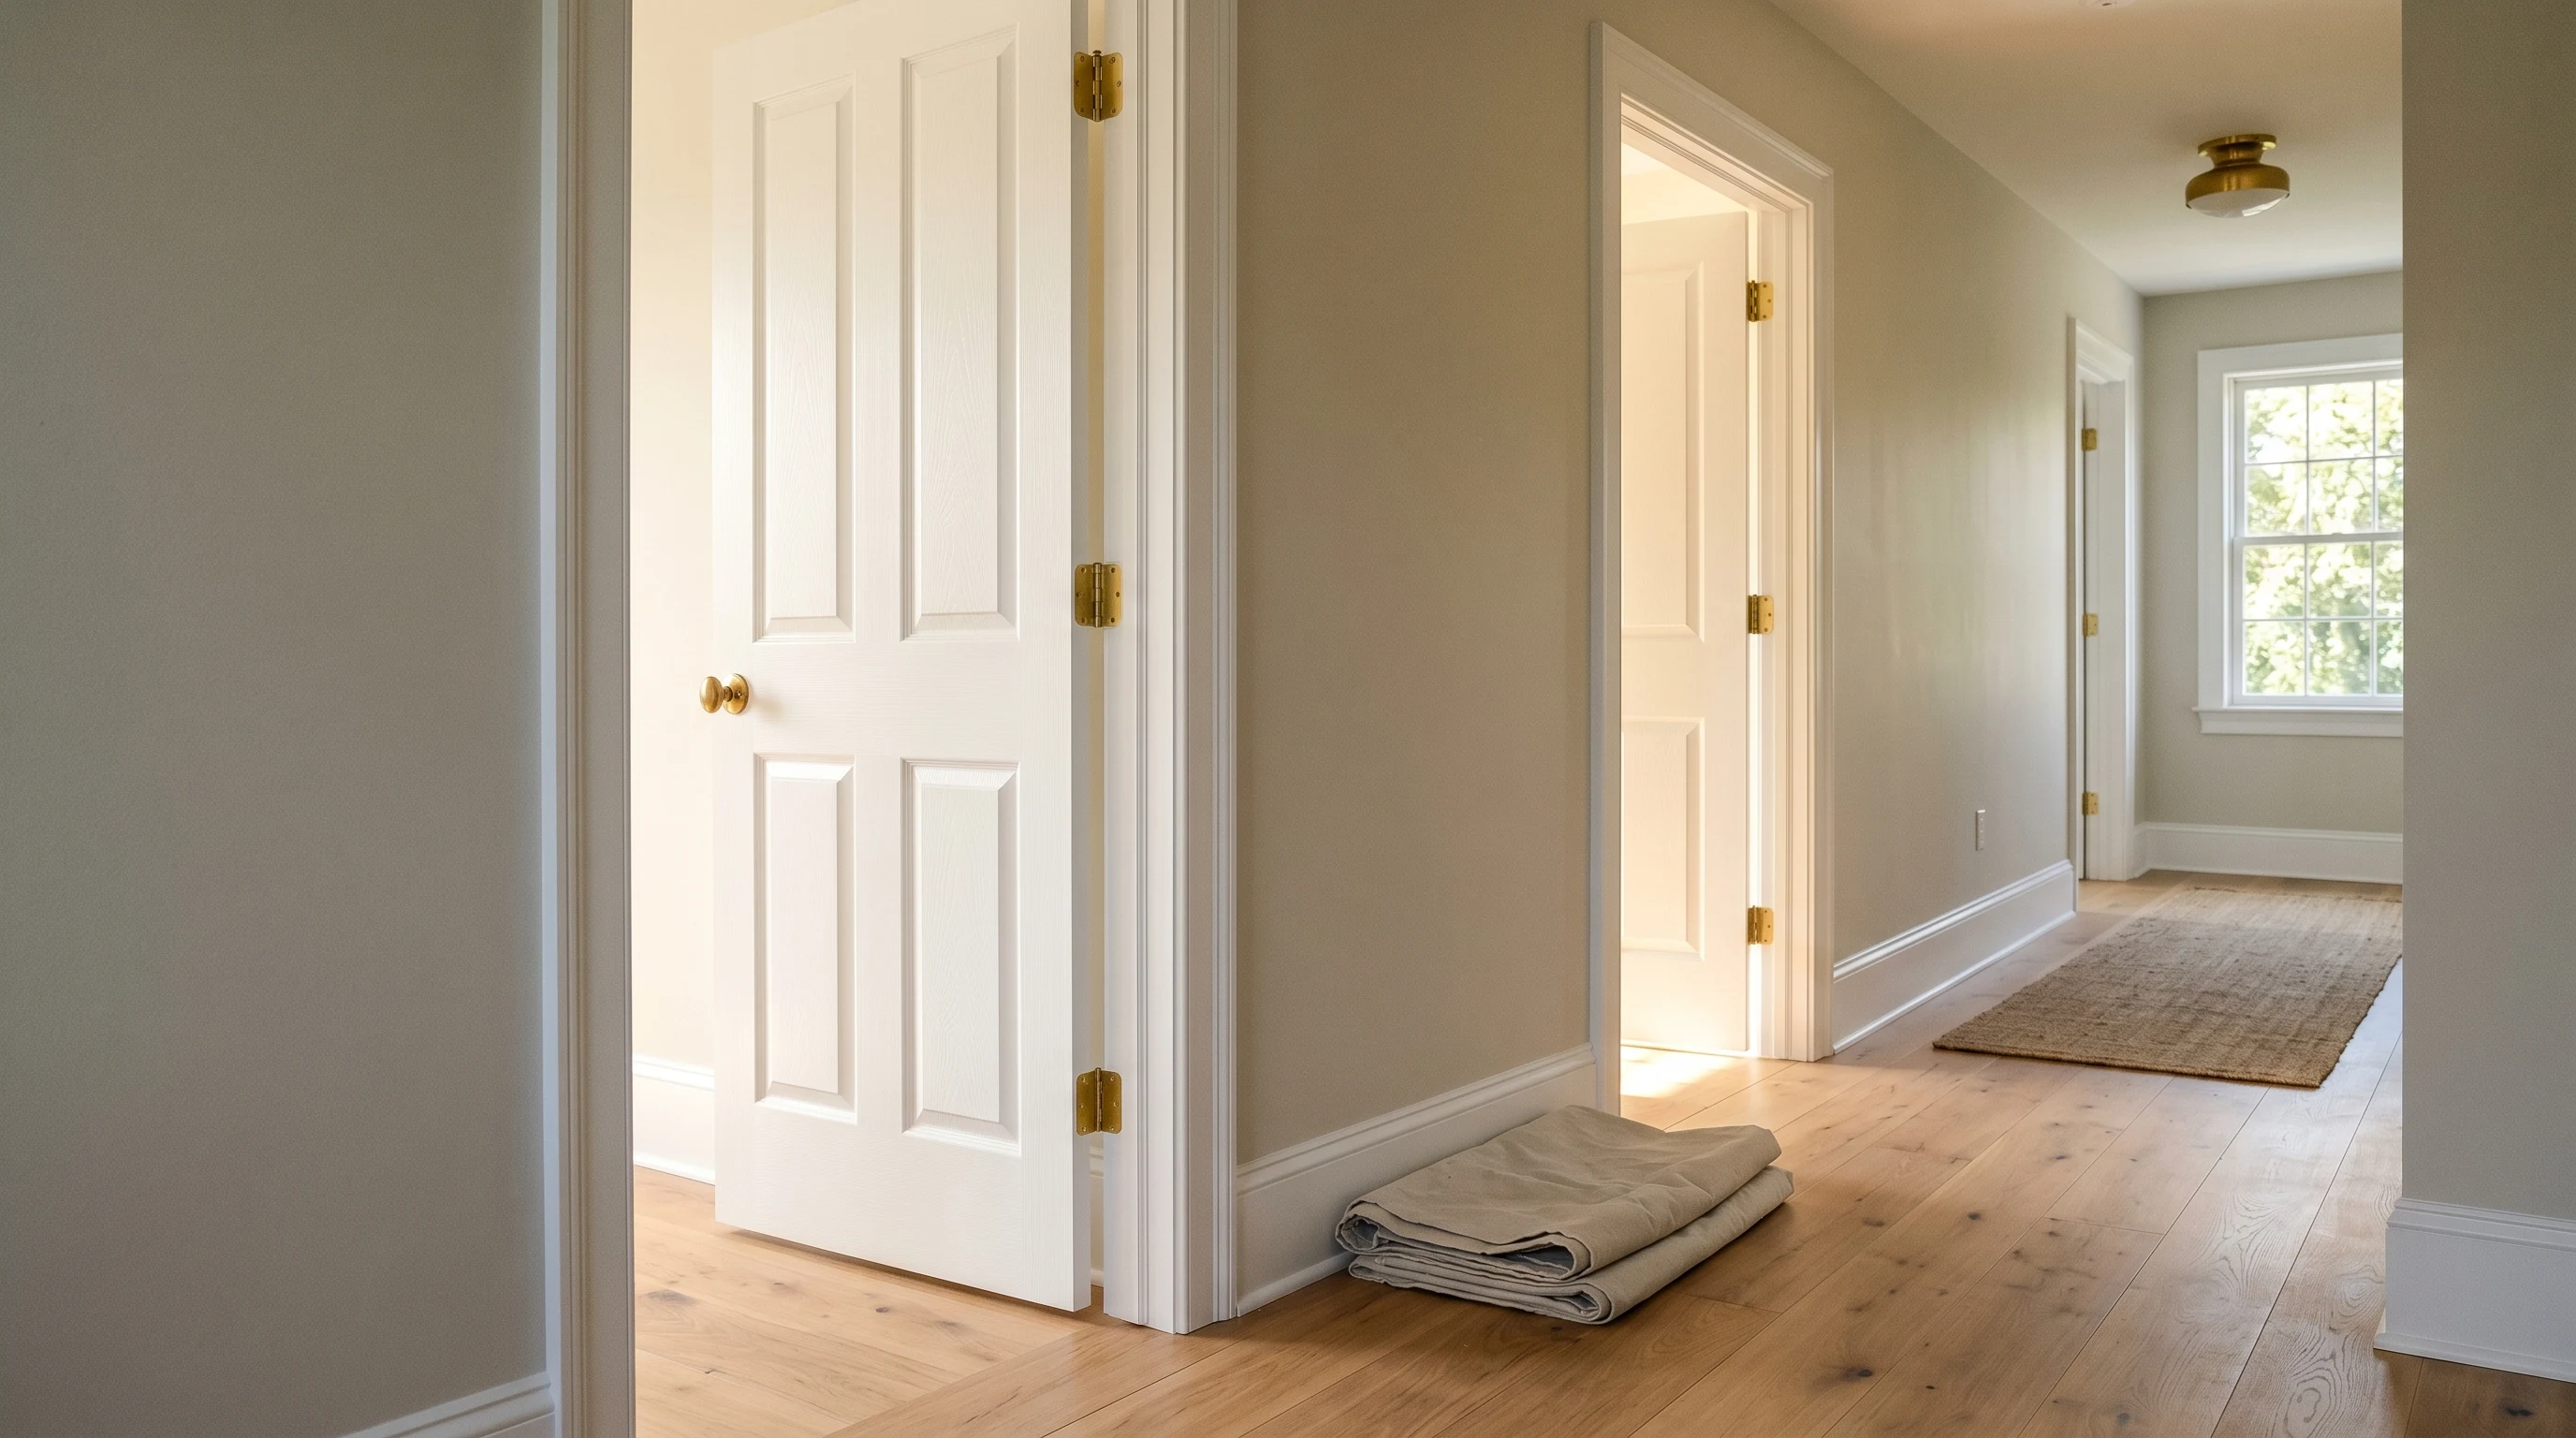
Garage is best, basement fine, spare bedroom works if you can leave the door alone for three days. For the upright cure phase, drive a long screw partway into a 2x4 base and slide the bottom hinge knuckle onto the screw; the door balances on the single pin. The paint-can-lid trick (an empty lid flipped under each bottom corner) works for the flat phase if you’d rather not mar a drop cloth.
Scuff the whole door with the 220-grit sponge. You’re not stripping; you’re roughing the existing finish so primer has something to bite into. Vacuum the dust, wipe with a tack cloth.
If the existing finish is glossy or the door is bare wood, prime. If it was previously painted with oil paint (common on doors older than about 2005), use Zinsser BIN shellac instead of Stix. Quick test: rub an inconspicuous spot with denatured alcohol on a rag. Latex softens, oil doesn’t.
One coat of Stix. Roll the panels, brush the routed edges and stile-rail joints. Dry overnight, light scuff and tack cloth before paint.
Step 3 — First Finish Coat, in the Right Order
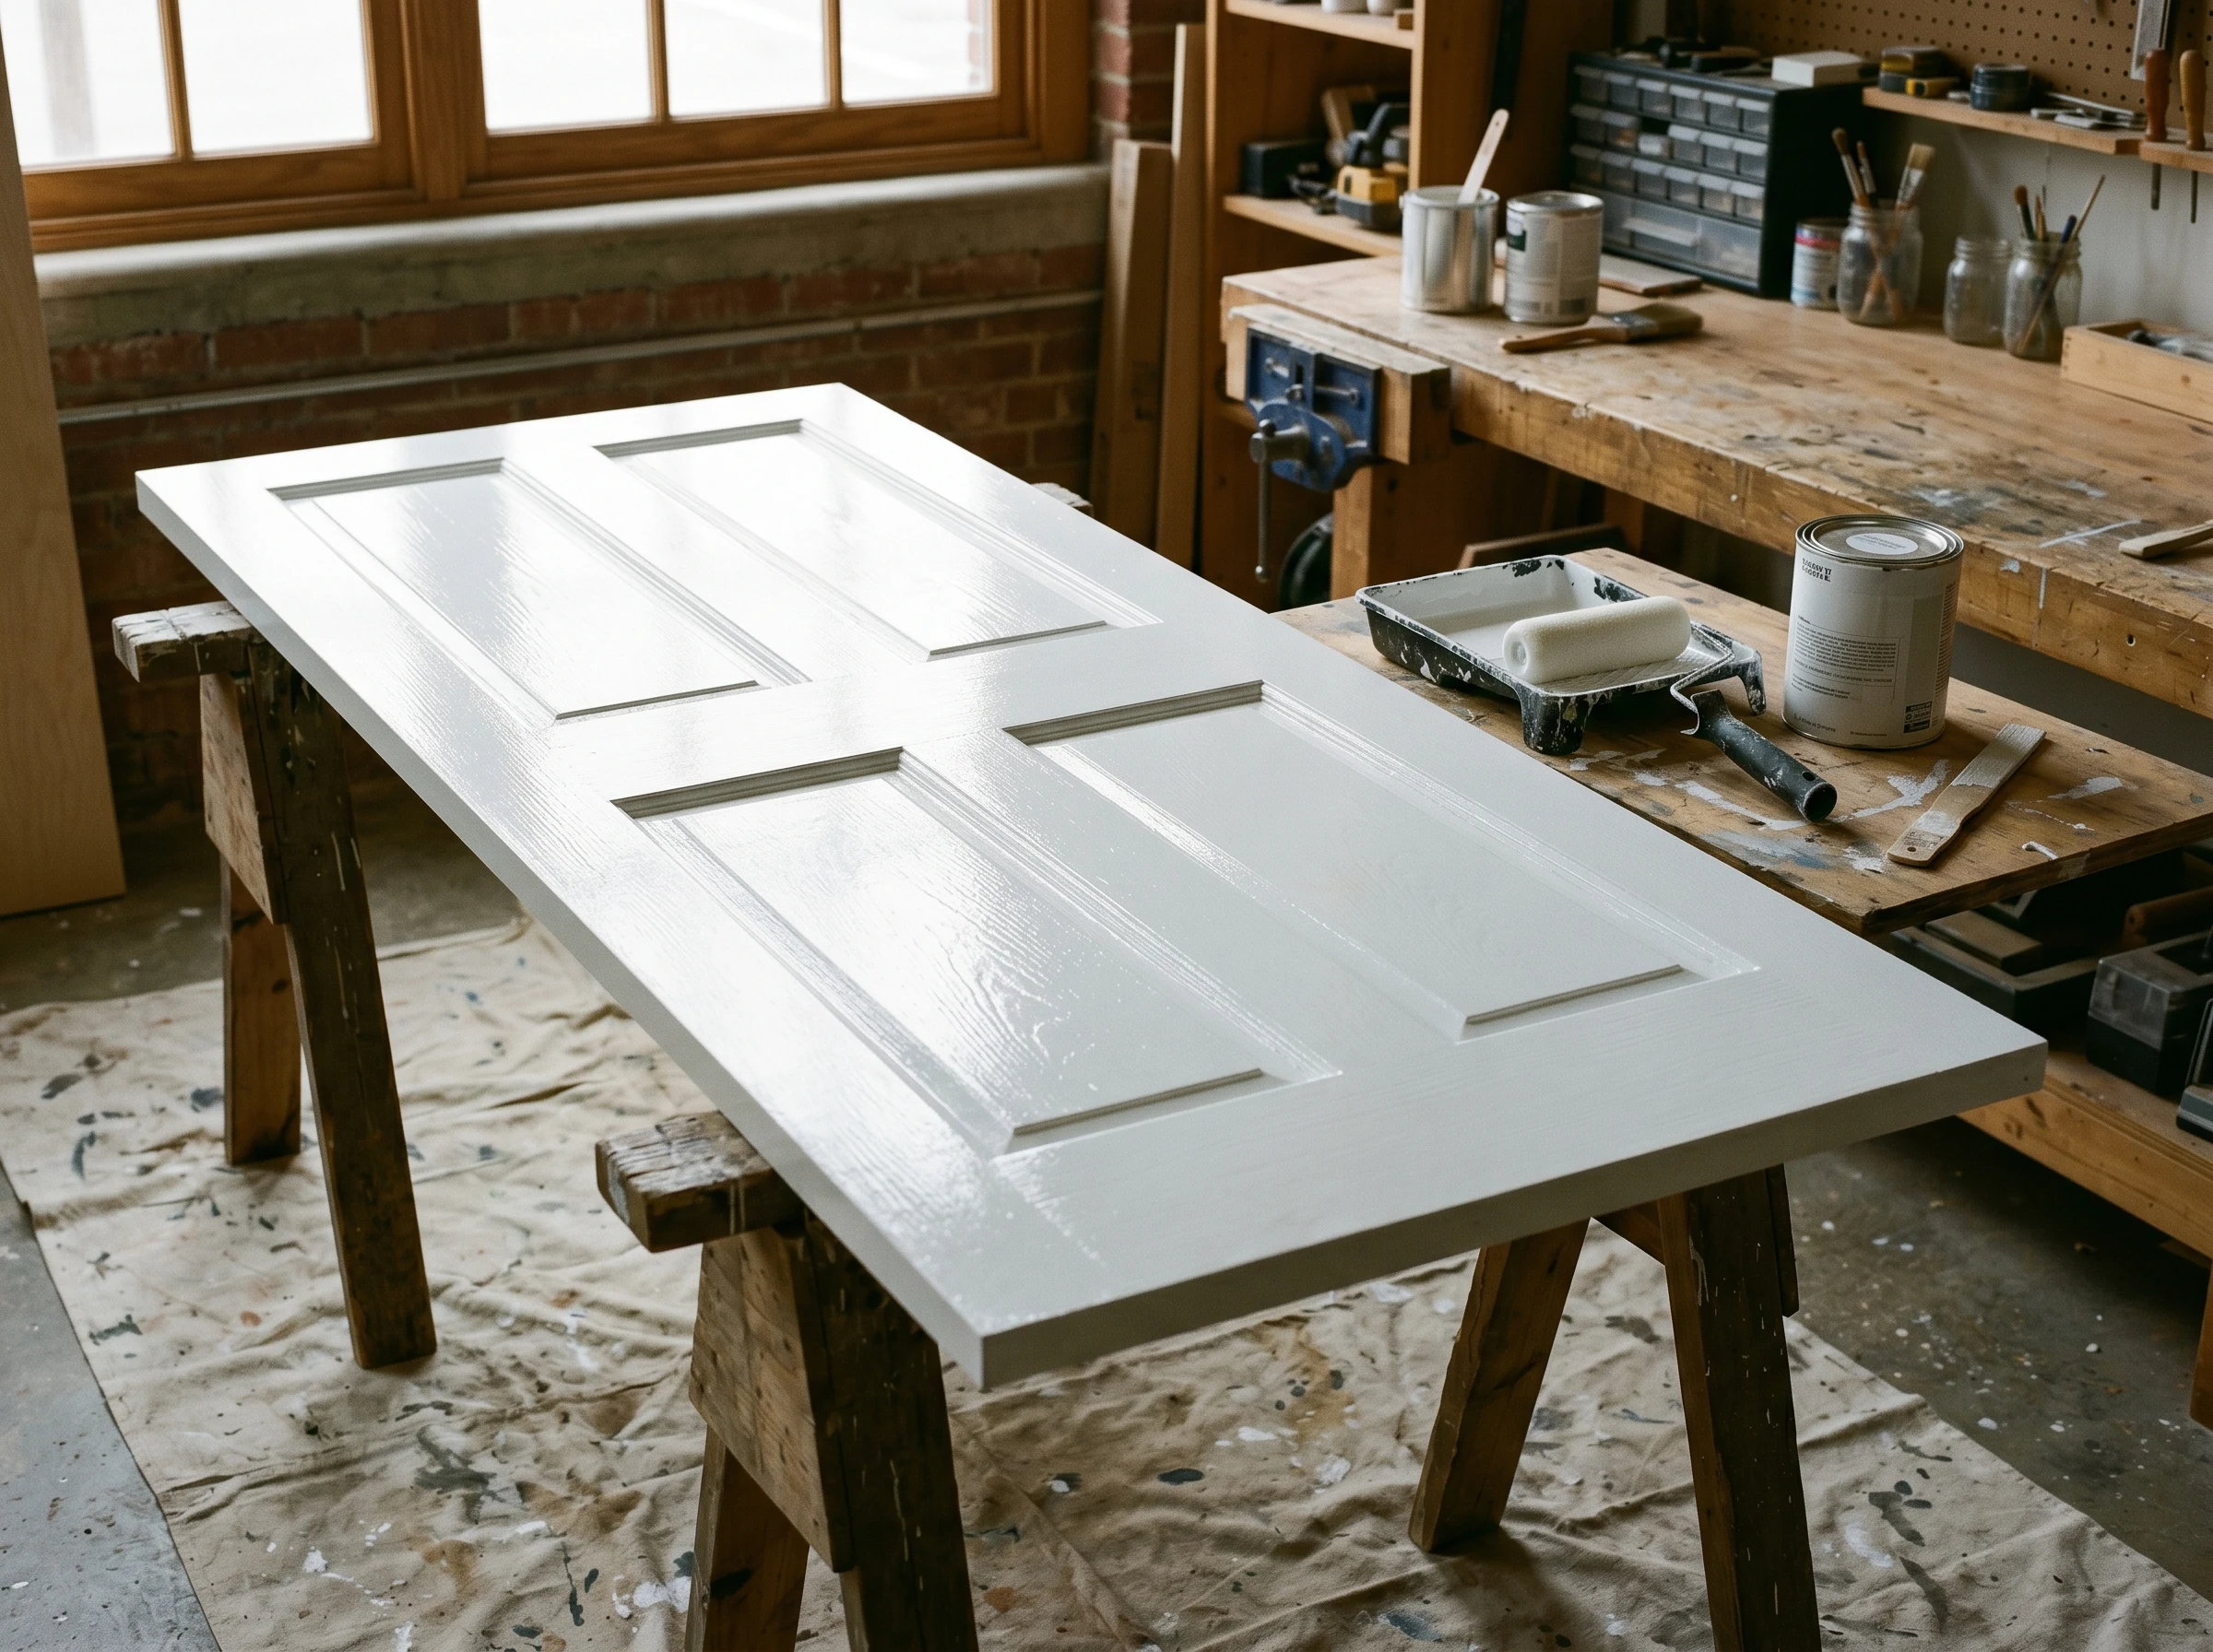
Foam-mini roller for the flats, angled brush for the panels and routed edges. Don’t chase the wet edge.
The order of paint application on a panel door is one of those small-but-real things:
- The panels first (the recessed squares in the middle of the door).
- The center vertical stile that runs between the panels.
- The top rail and the bottom rail (the horizontal pieces).
- The two outer vertical stiles last.
This keeps the wet edge moving outward. Brush marks happen where wet paint meets paint that has started to skin over; doing the outer stiles first means cutting into half-dry stiles every time you reach a panel, and the marks catch the light right where the eye lands.
Brush technique on the panels: load the brush, lay paint into the recessed corners with the bristle tip, then drag the bristles outward across the panel face in one direction. Don’t go back over a stroke that’s started to set up. Roll the larger flats with the foam-mini in two passes. Floetrol (5%, about 6 oz per gallon) extends working time; without it, Advance starts to drag in 90 seconds.
Watch out for: the over-loaded brush. Dip a third of the way, tap once on the inside of the can. Drips on a horizontal door dry as small bumps you can’t sand out without going back to primer.
Step 4 — Second Coat, Then Flat for Two Hours, Then Upright
Second coat down. Door stays flat for the first two hours, then goes upright on a hinge stand to finish curing.
The recoat window is where most door projects go wrong. BM Advance wants 16 hours between coats; Sherwin Emerald Urethane wants 4. Read your specific can. Recoat too early and the second coat lifts the first as the brush passes over it; you get wrinkles like rumpled fabric, with no fix except sanding back to primer. Set a timer and don’t touch the door until it goes off.
Second coat goes down the same way as the first. Same order, same Floetrol, same brush.
Now the dry-flat-versus-upright question. For the first two hours after the second coat, leave the door flat. Waterborne alkyds flow as they level (that’s why they look so good), and standing the door upright too soon means gravity pulls the still-flowing paint into sags on the lower stiles. After two hours the paint has skinned enough; move it to the hinge stand and finish curing upright for the remaining 22 hours. Upright cure is faster and avoids the dust nibs that flat-cured doors collect on the upper face.
The two-hour rule is for waterborne alkyds. Pure latex enamels (BEHR Premium Plus, Glidden Premium) set up in 30 to 45 minutes flat. Oil-based alkyds flow much longer; leave them flat for 4 hours or accept the sags.
Step 5 — Re-Hang and Reinstall Hardware
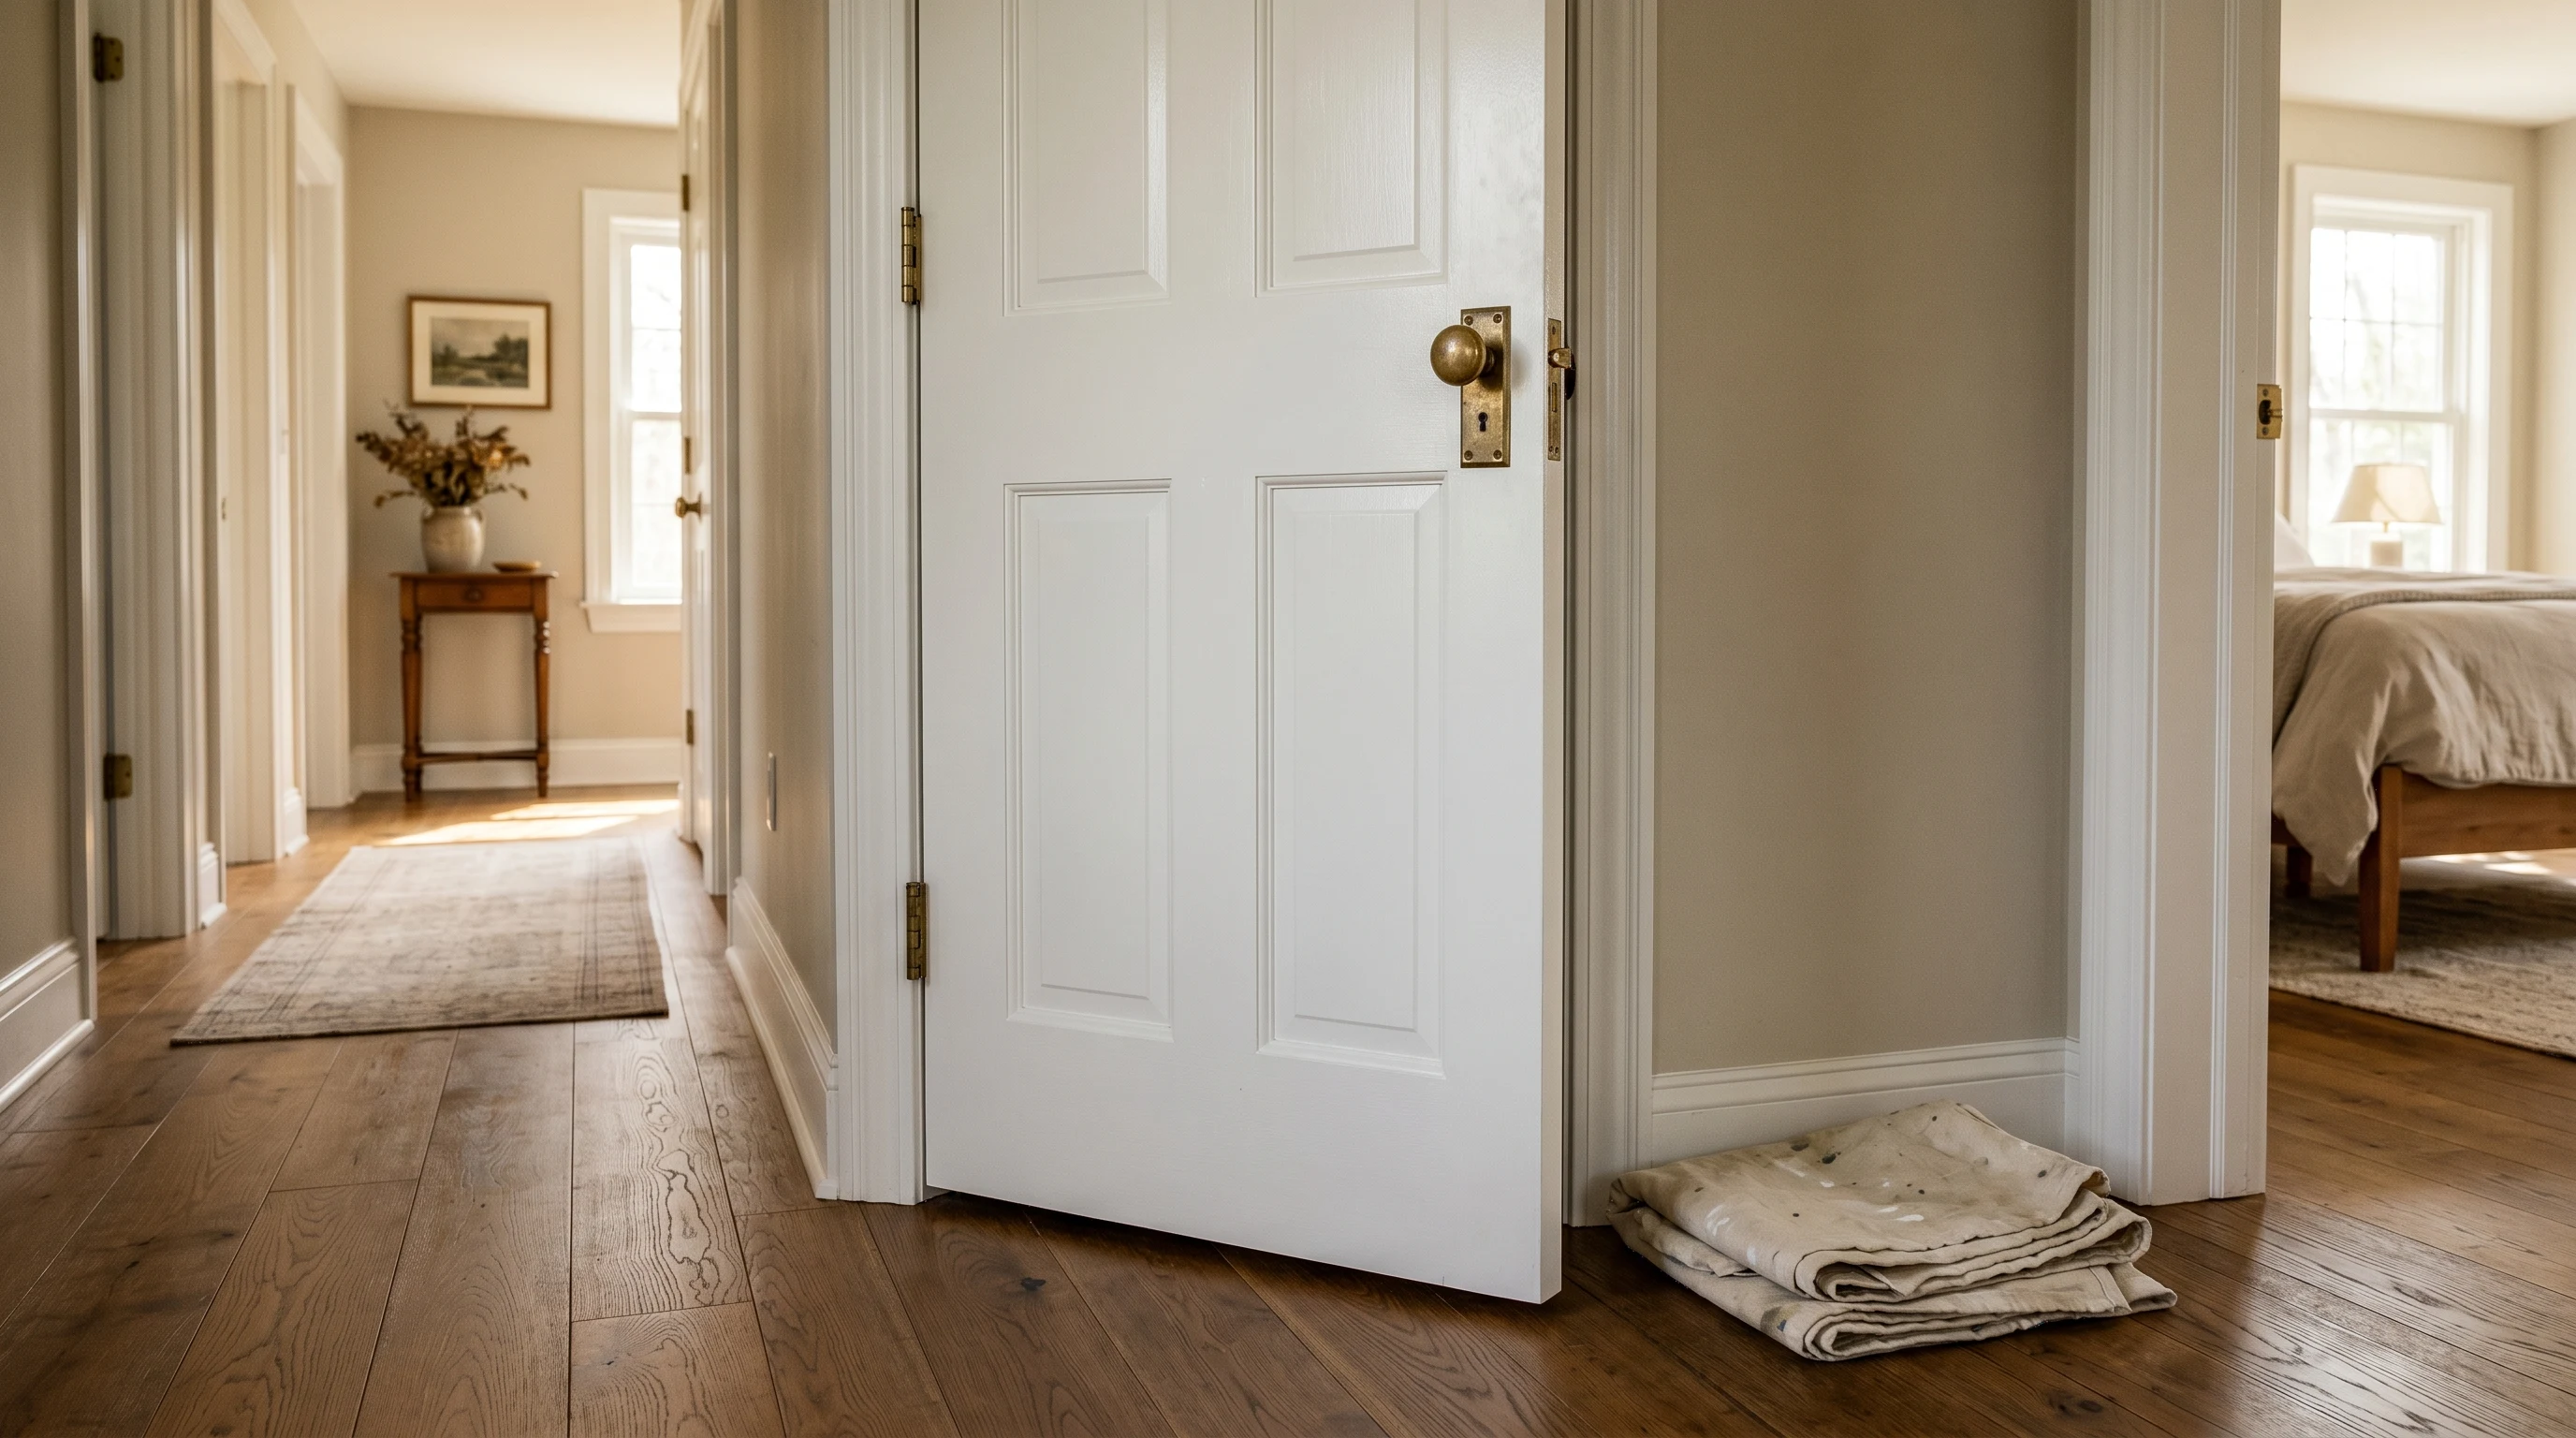
Hinges re-pinned 24+ hours after the final coat. Knobs and strike plates go on last, not first.
24 hours after the final coat, the door is hard enough to handle. Walk it back to the jamb, line up the hinge leaves, drop the pins. Reinstall the knob, strike plate, and screws from the baggie.
Don’t slam the door for the first week. The film is dry to the touch but not cured; slamming compresses the latch edge against the strike plate and you’ll see a divot. Soft-close it for seven days.
Cure Schedule
| Time after final coat | What’s safe |
|---|---|
| 2 hours | Move from flat to upright on the hinge stand |
| 24 hours | Re-hang the door, reinstall hardware |
| 7 days | Normal use; don’t slam, don’t scrub |
| 30 days | Full cure; wipe down with mild soap |
Brush vs Spray, the Short Version
If you have one or two doors, brush. Equipment is cheap, cleanup is a sink, and a self-leveling alkyd hides most brush marks. If you have a houseful, rent or buy an HVLP. Break-even is around three doors. The catch with spraying is masking: overspray drifts into every adjacent room, so plan double the active time of brushing for plastic and tape.
Common Mistakes
- Skipping primer because the existing paint is sound. If it’s glossy or oil-based, your latex topcoat won’t bond. A scuff and one coat of Stix takes ninety minutes and prevents the year-two peel.
- Brushing when the can wants a roller. Some interior trim paints (Aura Bath & Spa, certain Sherwin satins) are formulated for roller application and dry too fast for a clean brushed finish. Read the can.
- Over-loaded brush. Drips on a horizontal door dry as bumps you can’t sand out. Dip a third of the way, tap once, paint with a half-loaded brush.
- Painting the door upright in place. Sags on the lower stiles, brush marks on the verticals, dry paint on the hinges. Take it off.
- Reinstalling hardware before the paint cures. A knob installed at four hours pulls a halo of paint off when you remove it again.
Cost
| Item | Cost |
|---|---|
| Topcoat (1 quart of BM Advance) | $25 |
| Primer (1 quart Stix, 4 doors per quart) | $13 |
| Wooster Silver Tip brush | $20 |
| Foam-mini roller + 2 sleeves | $15 |
| Sponges, tack cloth, Floetrol | $15 |
| Drop cloth, painter’s tape | $12 |
| Total (first door) | ~$100 |
| Each additional door | ~$25 |
Maintenance
A properly primed and painted door should look new for 5 to 8 years, longer in low-traffic rooms. First wear shows around the knob and the bottom rail. Keep leftover paint in a labeled quart jar. For a scuff, sand the spot with 220 and dab the paint on with a small artist’s brush; don’t feather a touch-up across a whole stile or you’ll see the seam. For a real impact, repaint the whole door.
A Specific Recommendation
One or two interior doors, first time: a quart of Benjamin Moore Advance in satin, a quart of INSL-X Stix, a Wooster Silver Tip, a 4“ mohair foam-mini, a bottle of Floetrol, a sanding sponge. Pull the doors off Friday evening, prime Saturday morning, first coat Saturday night, second coat Sunday morning, re-hang Monday after work. The doors will look better than the trim around them, which is the next project.