How to Paint Pine — Trim, Furniture, and Knotty Boards
Pine bleeds knots and tannin through latex within weeks. BIN on every knot, alkyd over the run, two coats — the system that holds on softwood for a decade.

Pine looks easy. It sands like butter, takes a brush like a dream, and a single coat covers better than half the hardwoods you’ll touch. Then six weeks later the knots come up amber through your white trim and you wonder where you went wrong.
You went wrong at the primer.
TL;DR
- Clean: TSP wipe, fully dry
- Prep: fill, caulk, sand 120 then 220, vacuum and tack
- Knot sealer: Zinsser BIN on every knot and sap pocket, twice
- Primer: Zinsser Cover Stain alkyd over the full run
- Paint: waterborne urethane trim enamel, two coats
- Cure: 14 days before scrubbing or loading
What “Pine” Actually Means Today
Pine is a family, not a species. The lumber yard sells you whatever’s cheapest that week: eastern white pine if you’re lucky, southern yellow pine if you’re in the southeast, and increasingly radiata or other plantation pine shipped from New Zealand, Chile, or the southern US. They paint differently.
Old-growth white pine had tight grain, small infrequent knots, and resin that had decades to cure in the tree. You could prime it once and forget about it. Plantation pine is the opposite. Fast-grown on 20-year rotations, wide growth rings, knots every six inches, and sap pockets the size of a fingernail still wet to the touch.
If your boards smell like Christmas tree at room temperature, that’s pitch. It will keep weeping for years if you don’t seal it.
Why Pine Punishes Shortcuts
Three things go wrong when you treat pine like primed drywall.
Knots bleed. Every knot in pine is a node of compressed resin. Latex paint and waterborne primers let pitch migrate through. Within weeks — sometimes days under sun — you get a brown halo on every knot in your white trim.
Sap pockets weep. Plantation pine has visible amber pockets on the surface and at cut ends. They’re not blemishes you can sand off; they’re pitch reservoirs the depth of the board. Heat the room, sun the wall, and they liquefy and seep right through your finish.
The grain raises. Pine is soft and porous. Waterborne primer swells the fibers, they dry rough, you sand, the next coat raises them again. Without a sealing primer that locks the surface down once, you fight grain forever.
The job’s not hard. It’s that every step skipped on pine shows up in the first season.
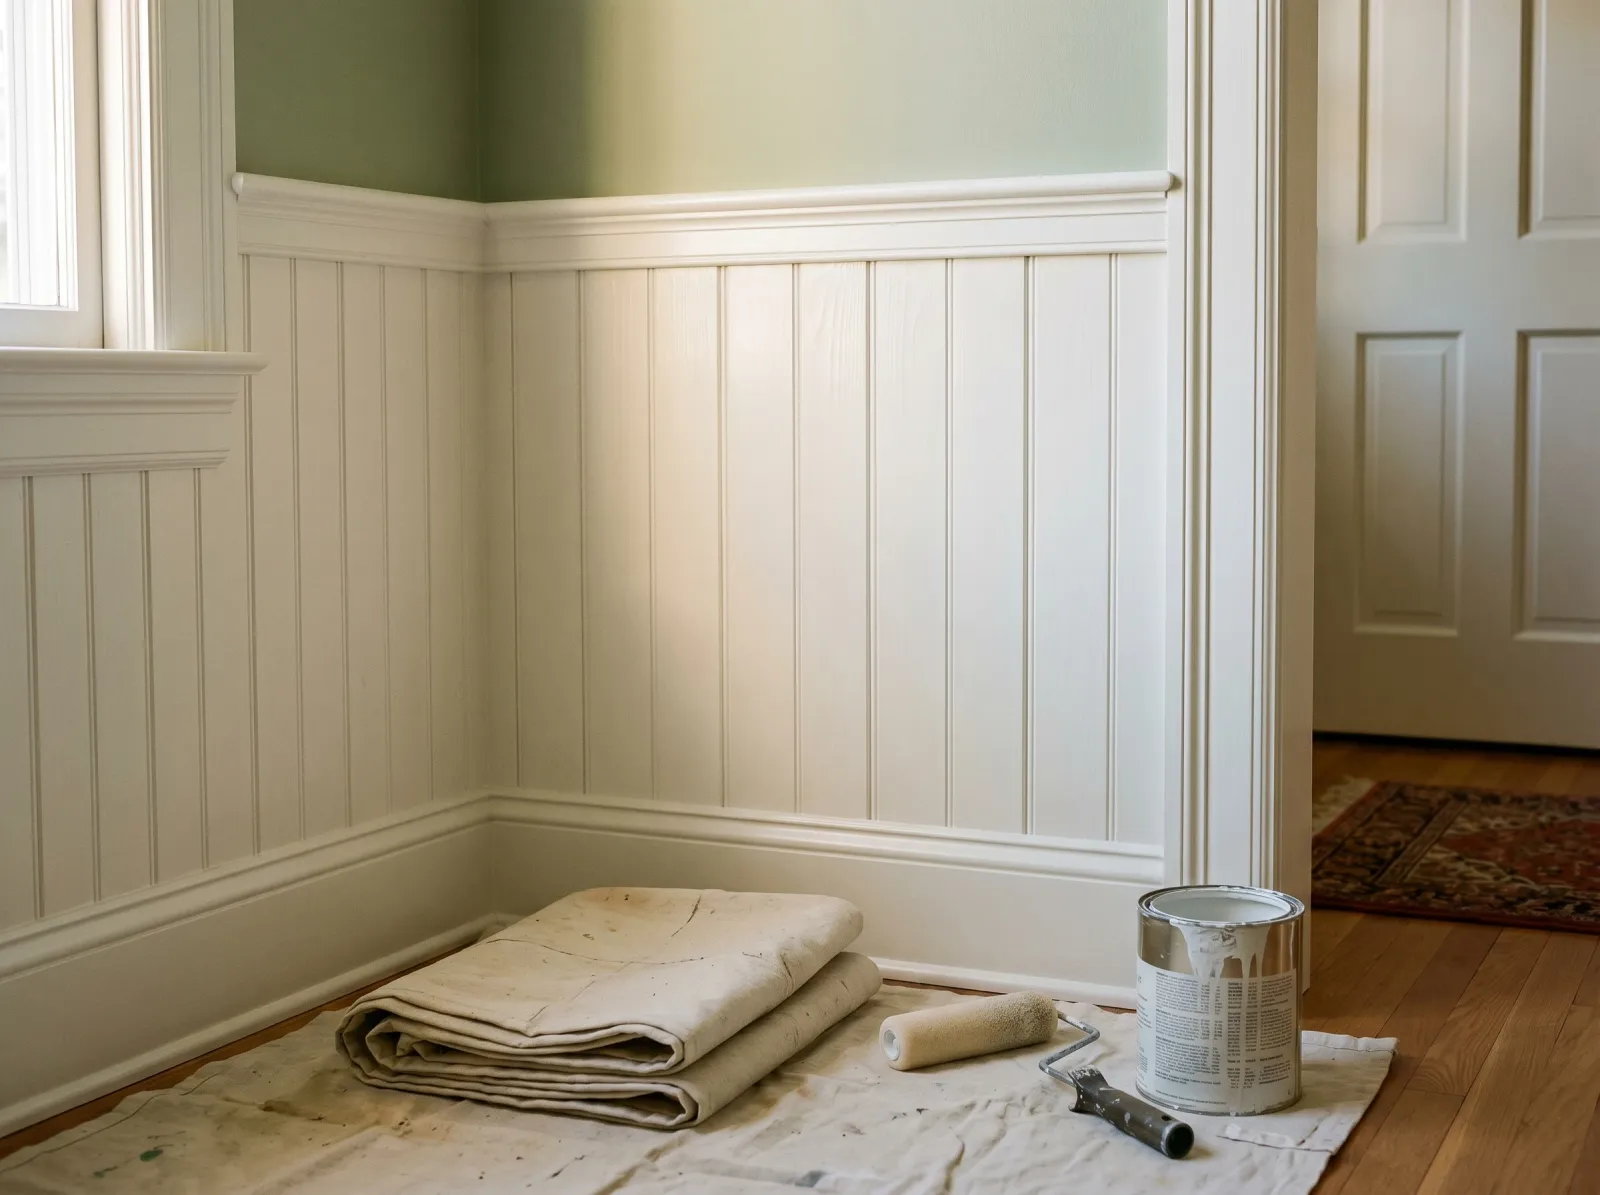
Step 1: Clean
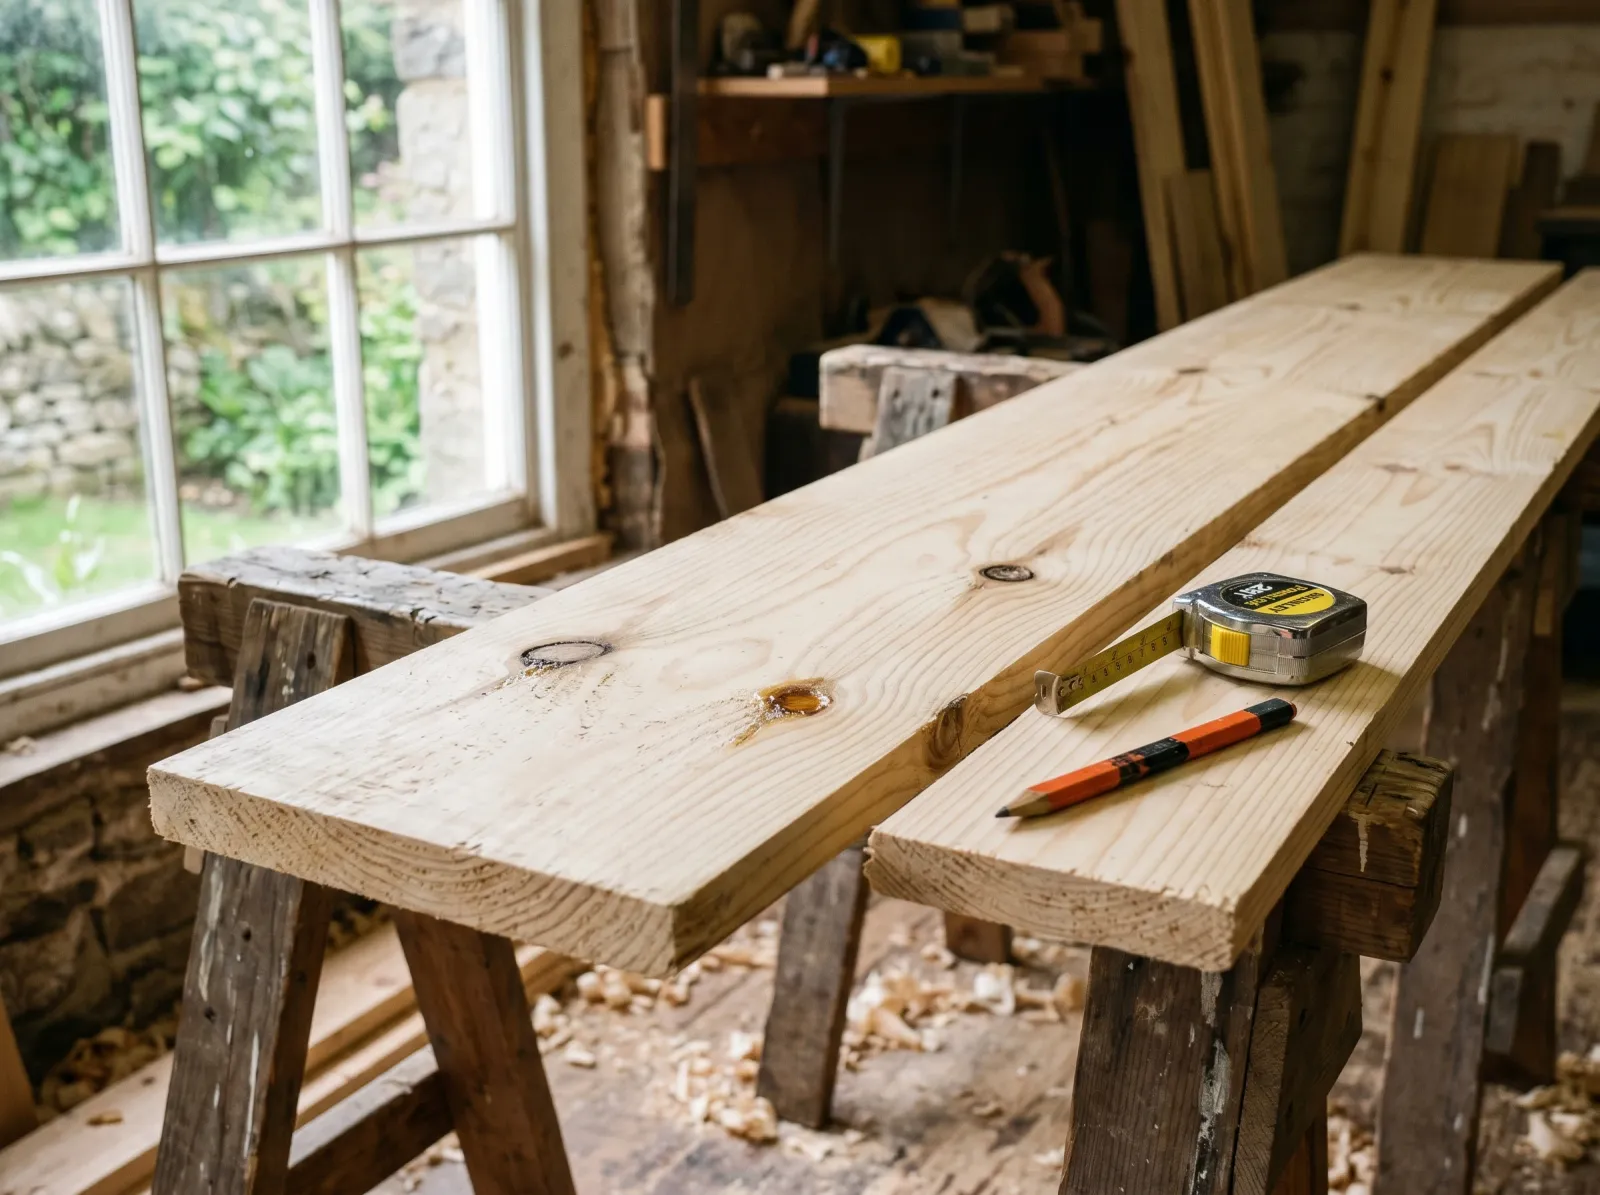
Plantation pine straight off the rack. Count the knots before you count your hours.
New pine from a lumber yard is dirty in ways you can’t see. Mill oils, rack dust, fingerprints, sometimes a thin wax skin to slow moisture transfer in transit. None of that takes paint.
Wipe everything down with a TSP solution or TSP substitute. Damp rag rinse with clean water. Let it dry overnight. If the trim’s already installed, mask the wall and floor first, then wash. Don’t soak the wood. The point is to lift contamination, not to drive water into the grain.
Step 2: Fill, Caulk, Then Sand
Fill nail holes and seams with paintable latex wood filler. Two passes with a 1.5-inch flex knife. Overfill the first pass, sand flat once it dries, fill any low spots. Caulk the wall-to-trim joint with paintable acrylic, smoothed with a wet finger.
Sand in two passes. 120-grit across the whole surface to flatten mill marks and the proud edges of filler. 220-grit second to refine. Always with the grain.
Two cautions on pine specifically.
Don’t aggressive-sand the routed profiles. Pine is soft, paper cuts fast, and the bead and ogee details round off before you notice. Use fingers and a folded sponge on the profile, a block only on the flats.
If you hit a sap pocket while sanding and it gums up your paper, stop. Scrape the surface pitch off with a putty knife, wipe the spot with denatured alcohol on a rag, let it flash, then resume. Sanding pitch just smears it deeper.
Vacuum everything. Tack-cloth pass after. Dust under primer is the nib you stare at in raking light six months from now.
Step 3: Seal the Knots and the Sap Pockets
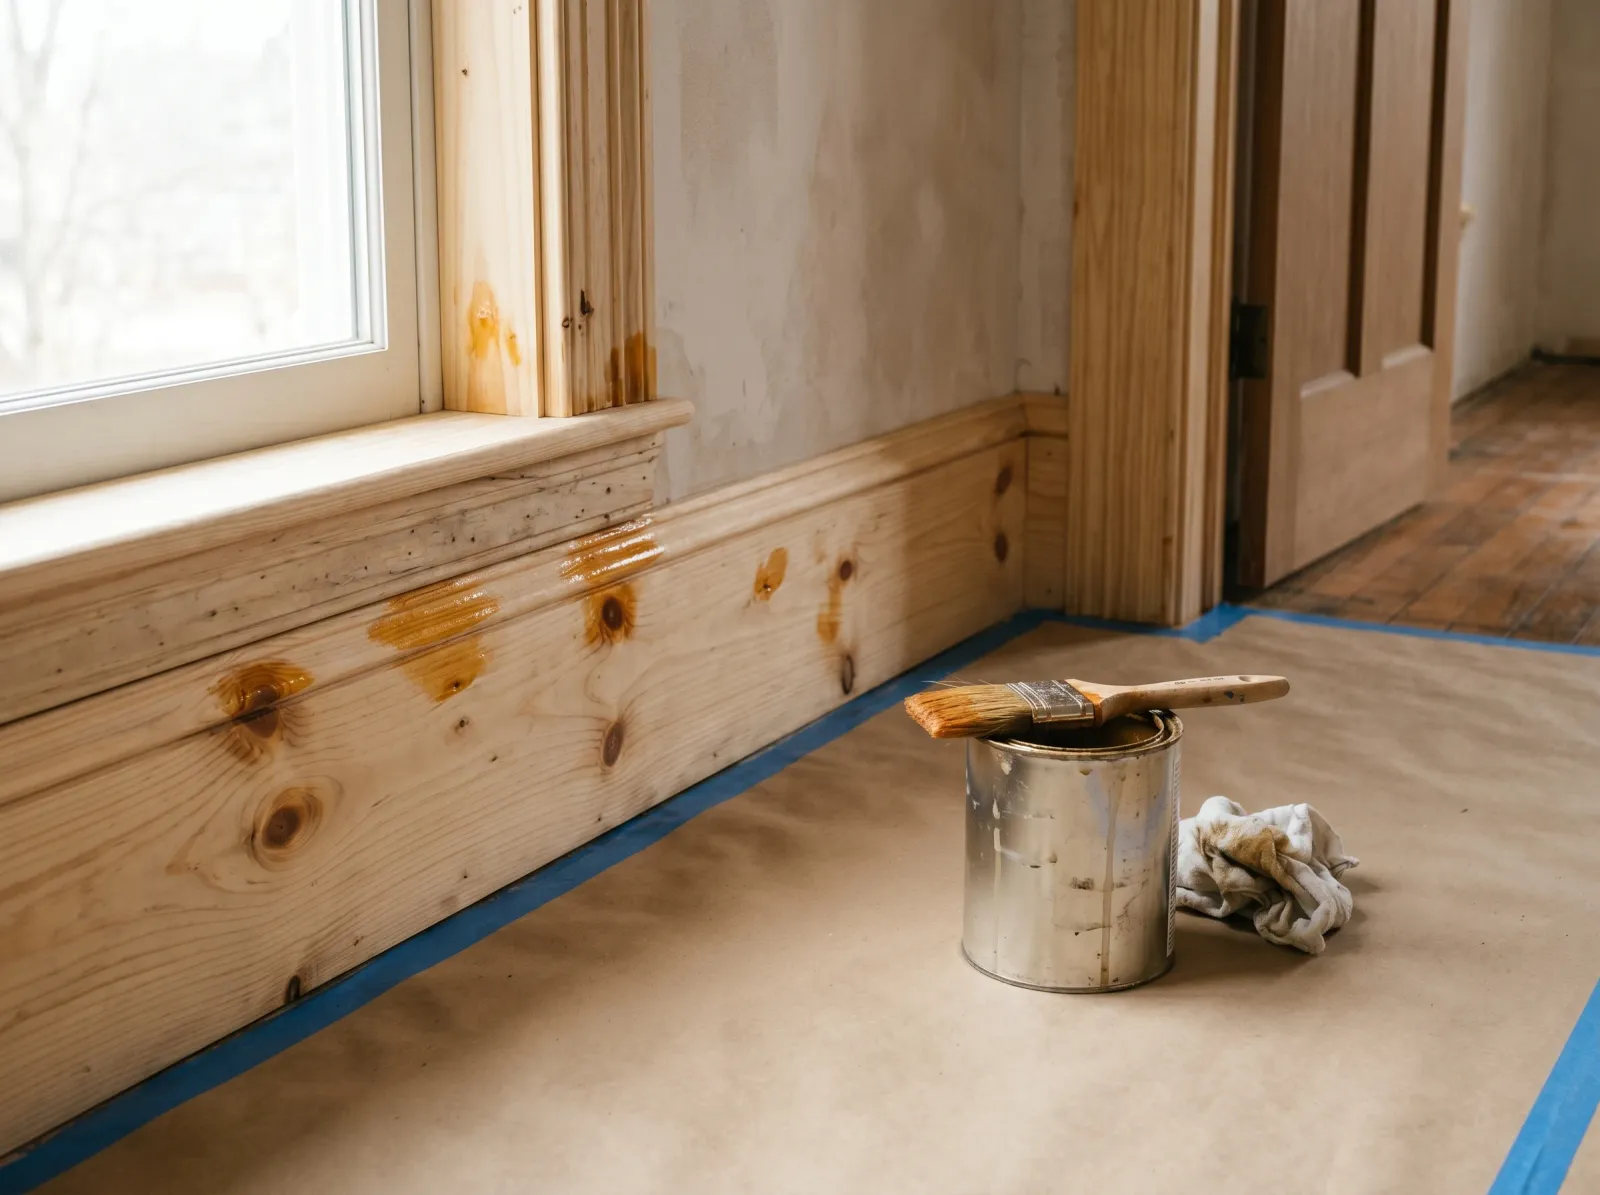
Two dabs of shellac on every knot and sap pocket. This is the step nobody skips twice.
Zinsser BIN, white or clear, on every visible knot. Every one. Twice. Use a cheap artist’s brush, dab a small disk over each knot, wait fifteen minutes, dab a second coat. An hour to dry.
Same treatment on every sap pocket. The amber spots on plantation pine are not cosmetic; they are pitch reservoirs and they will weep through anything that isn’t shellac.
BIN is the only knot sealer worth using on pine. Shellac is alcohol-based. It locks pitch and tannin into the substrate and doesn’t let solvent or water reactivate them. “Knot sealer” products sold as latex won’t hold pitch on a sun-warm window casing — you’ll see the bleed in the first heat wave.
Ventilate the room. The alcohol carrier flashes off fast and smells sharp. Open a window, run a fan, take a break if you’re sealing a whole wall.
Step 4: Full Primer Coat With Cover Stain
Cover Stain rolled flat, brushed into the profile. One full coat, recoat after eight hours.
Over the spot-sealed knots, prime the whole run with Zinsser Cover Stain alkyd. Cover Stain is oil-based, dries to recoat in eight hours, blocks tannin and minor stain bleed the BIN didn’t catch, and locks the grain down so it doesn’t rise under your waterborne topcoat.
Roll the flats with a 1/4-inch foam roller, brush the profile with a 2-inch angled sash. Don’t overwork it. Let it level. One full coat is enough on properly sealed pine.
You can substitute a second full coat of BIN if you’re working in a small space and need fast recoat. BIN dries in 45 minutes and sands like glass. The trade-offs: it’s brittle, smells stronger than Cover Stain, and costs more per quart. For a full room of pine wainscot, Cover Stain is the better call. For a single piece of furniture, BIN’s faster.
Skip the bonding primers (Insl-X Stix, Kilz Premium) on raw pine. They’re built for adhesion problems, not stain blocking. Pine doesn’t have an adhesion problem; it has a pitch problem.
If the grain raised after the primer dried (and on plantation pine, sometimes it does), hit it with 220 lightly, vacuum, tack, then move on. One pass is enough on a Cover Stain base.
For SKU picks on the topcoat that goes over this primer system, see the interior trim paint round-up.
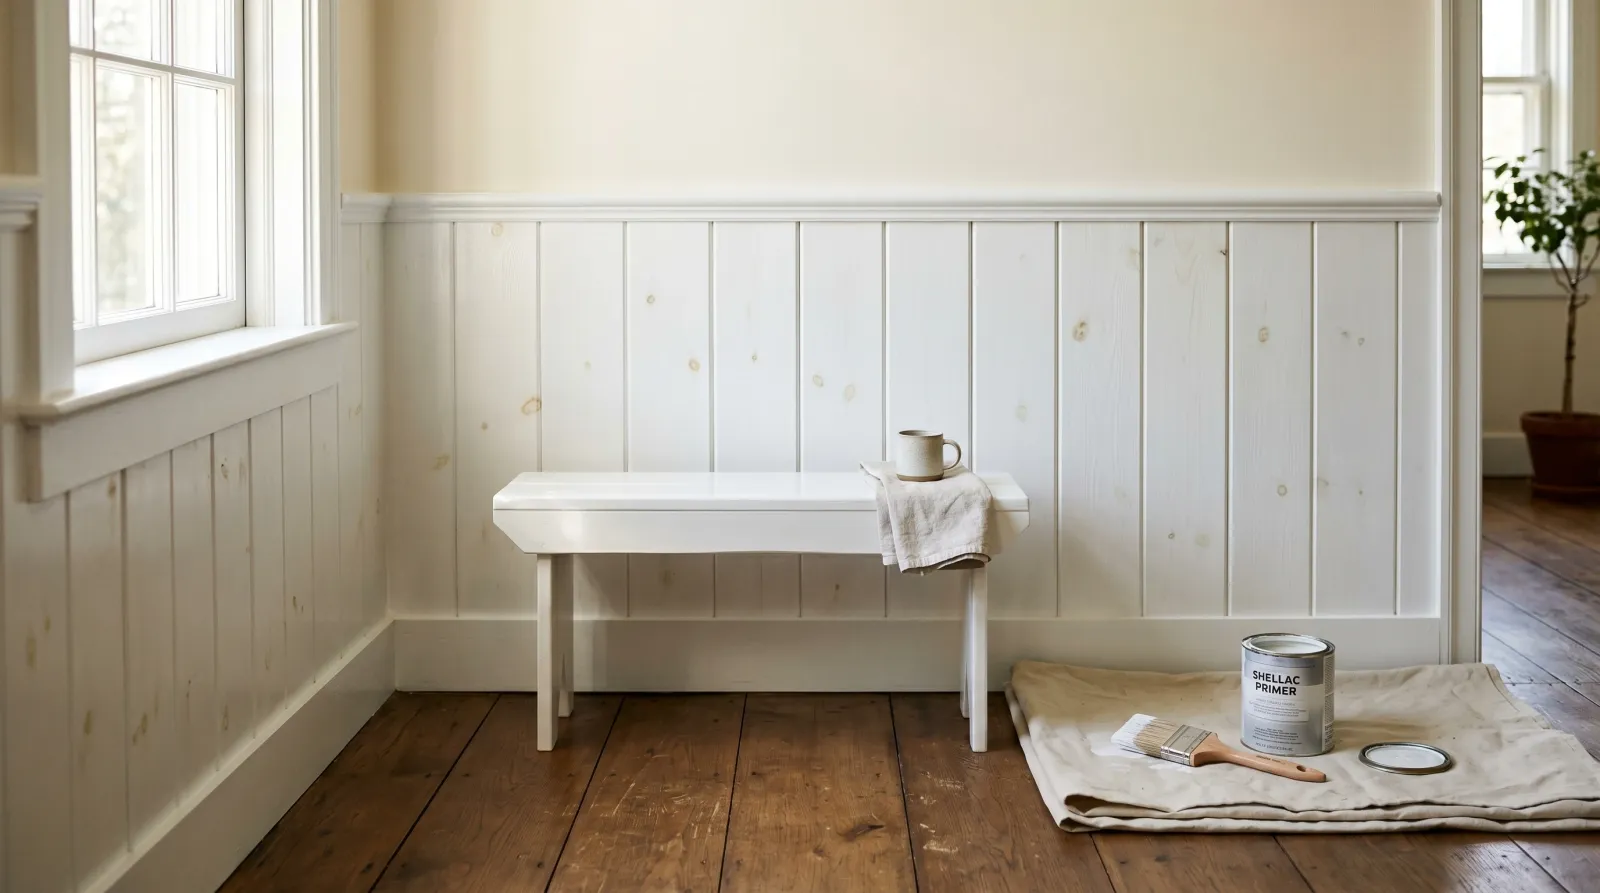
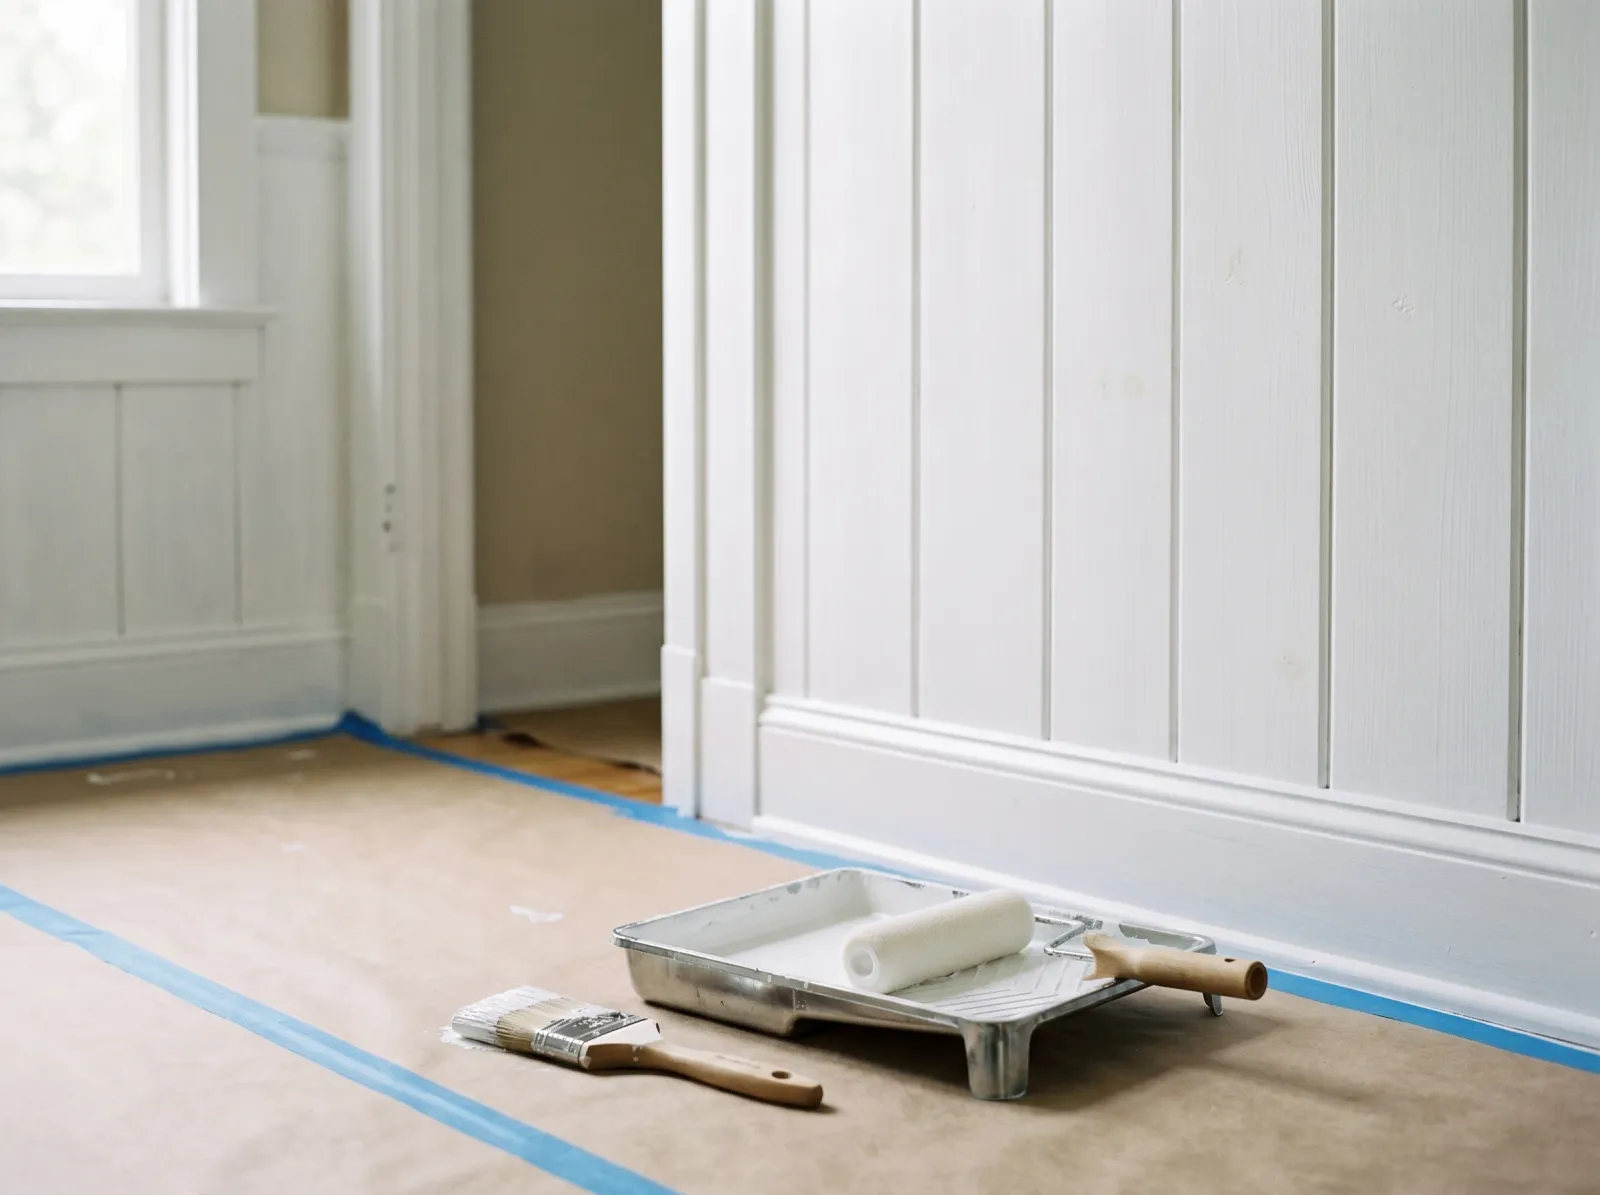
Step 5: Two Coats of Waterborne Urethane
Satin waterborne urethane topcoat. Brush the profile, roll the flat, sixteen hours between.
Waterborne urethane trim enamel over the alkyd primer. Benjamin Moore Advance and Sherwin-Williams Emerald Urethane are the two I reach for. Both level like sprayed lacquer under a decent brush, harden enough to wipe down a year in, and don’t yellow on pine the way old-school oil enamels do.
Two coats. Always two. Sixteen hours between on Advance, four on Emerald Urethane. Brush the profile, roll the flat panels, keep a wet edge. Don’t stop in the middle of a long run of trim or you’ll get lap marks that show the second a sconce throws raking light across the surface.
Sheen logic in plain terms: satin or semi-gloss on trim, doors, and furniture because they get touched and need to wipe clean. Eggshell on wainscot and accent walls because they don’t. Higher sheen reads cleaner and wipes better; lower sheen hides surface texture. Pine, properly primed, can carry any sheen. Pine with rushed prep can carry matte and nothing else.
Common Failures on Pine
- Skipping the BIN dab on knots. Result: amber rings on every knot inside a month. Fix is to scuff-sand, hit each knot with BIN, repaint over the spots.
- Using a generic latex primer over the whole run. Result: blotchy topcoat, raised grain, knots bleeding. Strip and start over with shellac and alkyd.
- Ignoring sap pockets. Result: weeping amber spots through finished trim, usually after the first warm week. Spot-strip, seal with BIN, touch up the topcoat.
- One coat of finish over primed pine. Result: thin, semi-translucent coverage where the primer ghosts through. Two coats fixes it; doing it right the first time saves you a Saturday.
- Painting pine in a humid bathroom or unventilated basement. Result: waterborne paint dries slow, dust nibs everywhere, gritty finish. Open a window or dehumidify before you open the can.
Maintenance and Longevity
Pine done with this system holds 10–15 years on interior trim, 15–20 on wainscot and paneling, 5–8 on doors and furniture that get heavy use. Watch the bottom edge of doors and the cut ends of any board exposed to sun heat — those are first failure points. Wipe gently with a damp cloth, never with a Magic Eraser, which burnishes cured alkyd to a dull spot you can’t unburnish. If a knot starts coming through after five or six years, that’s the BIN seal finally giving up. Dab another coat of BIN, touch up the finish from your saved quart, done.
What’ll Bite You in Two Years
Skip the shellac on knots and you’ll see amber rings before the first anniversary of the paint job. Skip the alkyd primer and use latex instead and the grain will telegraph through the topcoat the first time a winter day raking-lights the wall. Skip the second finish coat and the primer will ghost through every spot the brush worked thin. Pine forgives nothing, and the failures don’t show until the room’s furnished and the cans are in the garage.
Do the five steps. BIN, BIN again, Cover Stain, two coats of urethane. That’s the system. It works on every pine I’ve put a brush to in twenty-two years.