How to Fix Surfactant Leaching (Brown Drips)
Surfactant leaching makes brown, soapy drips on fresh latex paint. Here is the chemistry behind it and how to wash it off, plus how to stop it coming back.

Most people meet surfactant leaching the morning after they paint a bathroom. The walls looked perfect when you cleaned the brushes, and overnight thin brown or tan drips have run down the surface, glossy and faintly soapy where you swear there was nothing. The paint isn’t bad and the wall isn’t stained. Those streaks are additives that all latex paint carries, weeping to the surface because the film cured in air that was too cold or too damp. The fix is usually a wet sponge.
TL;DR
- Surfactant leaching is the water-soluble additives in latex paint (the surfactants that keep pigment and binder suspended in the can) rising to the film surface as it dries and concentrating into a soapy, often brown, residue.
- What you see: tan to brown glossy drips, streaks, or a slick film on fresh paint, usually within a day or two of painting, worst on bathroom walls, ceilings, and dark deep-base colors.
- It’s a curing-condition problem, not a defect. Cold air, high humidity, and condensation are what trigger it. The same can cures clean in warm, dry, ventilated conditions.
- The fix: let the paint set up, then wash the residue off with clean water and a soft sponge. Most of it rinses away because it’s water-soluble.
- Don’t panic and don’t repaint blindly. Fix the conditions feeding it first, or a fresh coat will leach the same way.
Does This Match What You’re Seeing?
Surfactant leaching has a recent, weepy, water-soluble look that sets it apart from the stains people confuse it with. Run a damp finger across a streak before you decide.
- Tan, amber, or brown drips and streaks running down fresh paint within a day or two. The classic tell. Gravity pulls the concentrated surfactant downward, so it streaks.
- A glossy or soapy film over an otherwise flat or matte finish. The leached additives are slick, so leached areas shine where the paint around them is dull.
- It wipes off, or smears, with a damp cloth. Surfactant is water-soluble. If a wet finger lifts or smears it, that’s the diagnostic.
- Worst on bathroom walls, ceilings, exterior siding overnight, and deep or dark colors. Those are the high-moisture, high-surfactant, slow-drying situations.
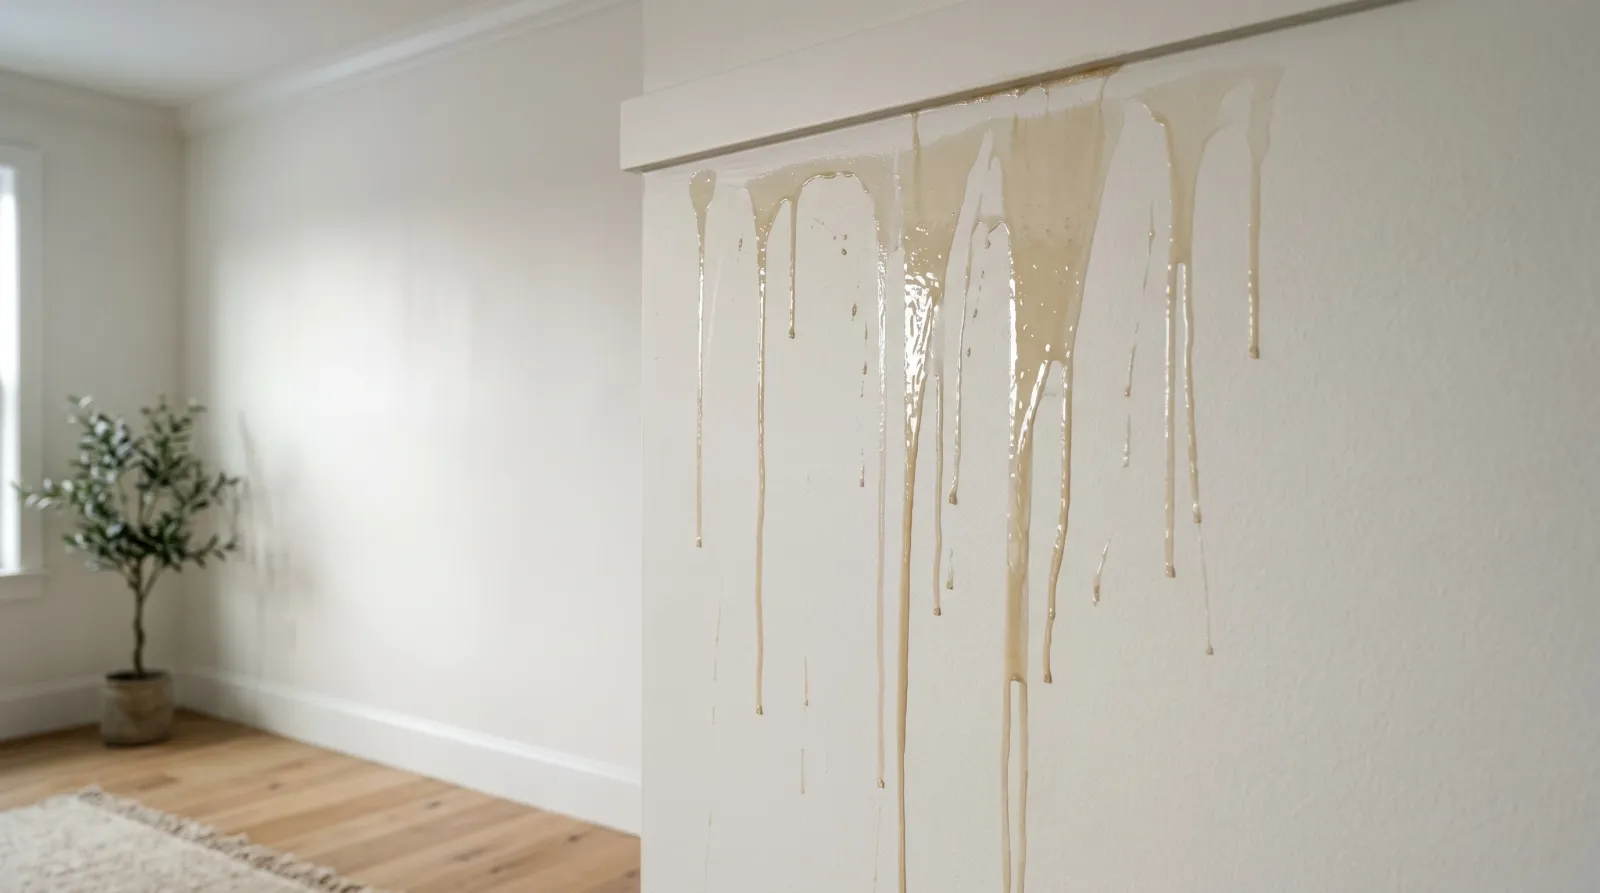
 Surfactant leaching on a fresh bathroom wall: glossy tan streaks that wipe off, not a stain coming from behind the paint.
Look-alikes to rule out. Tannin bleed is a dry amber stain that follows the grain on cedar, redwood, and knots, and it won’t rinse off because it migrates from inside the wood; the tannin bleed fix covers that one. A water stain is a dry ring or blotch fed by a leak above, covered in how to fix water stains on a ceiling. And saponification leaves a soft, soapy film too, but the paint itself goes tacky and won’t harden, which surfactant leaching never does. If the streaks are recent, glossy, and wash away, you’re in the right place.
How Serious Is This?
Cosmetically annoying, structurally nothing. The paint film underneath is sound, and in most cases the fix is one wash. The honest severity ladder:
- Light streaks on an interior wall, painted in marginal weather: a wipe-down once the film sets. It rarely returns after the first cleaning.
- Recurring leaching in a bathroom every time the room steams up: the film hasn’t finished curing and condensation keeps re-wetting the surface. Manage the moisture and give it time.
- Leaching that keeps coming back weeks later, or pairs with peeling: a real moisture source is feeding the wall. That’s not a paint problem, and washing won’t fix it.
It repeats for one reason: the surface keeps getting wet before the paint finishes curing. Stop the water reaching it and the leaching stops with it.
Why This Is Happening (the Chemistry)
Every can of latex paint is a suspension. Pigment particles and binder particles are kept floating in water and kept from clumping by surfactants, the same family of molecules that does the work in soap and detergent. They have a water-loving end and an oil-loving end, so they sit at the boundary between the water and the solid particles and keep everything dispersed. Without them the pigment would settle into a brick at the bottom of the can. They’re not a flaw. They’re how the paint stays paint.
Here’s what goes wrong on the wall. A latex film forms in two stages: the water evaporates, then the binder particles fuse together into a continuous film, a process called film formation or coalescence. The surfactants are supposed to get stranded inside that film as it closes up, harmless and locked in. That works when the water leaves at a normal rate. The reason for that is timing: the binder needs the water gone and the temperature warm enough to fuse before the surface seals.
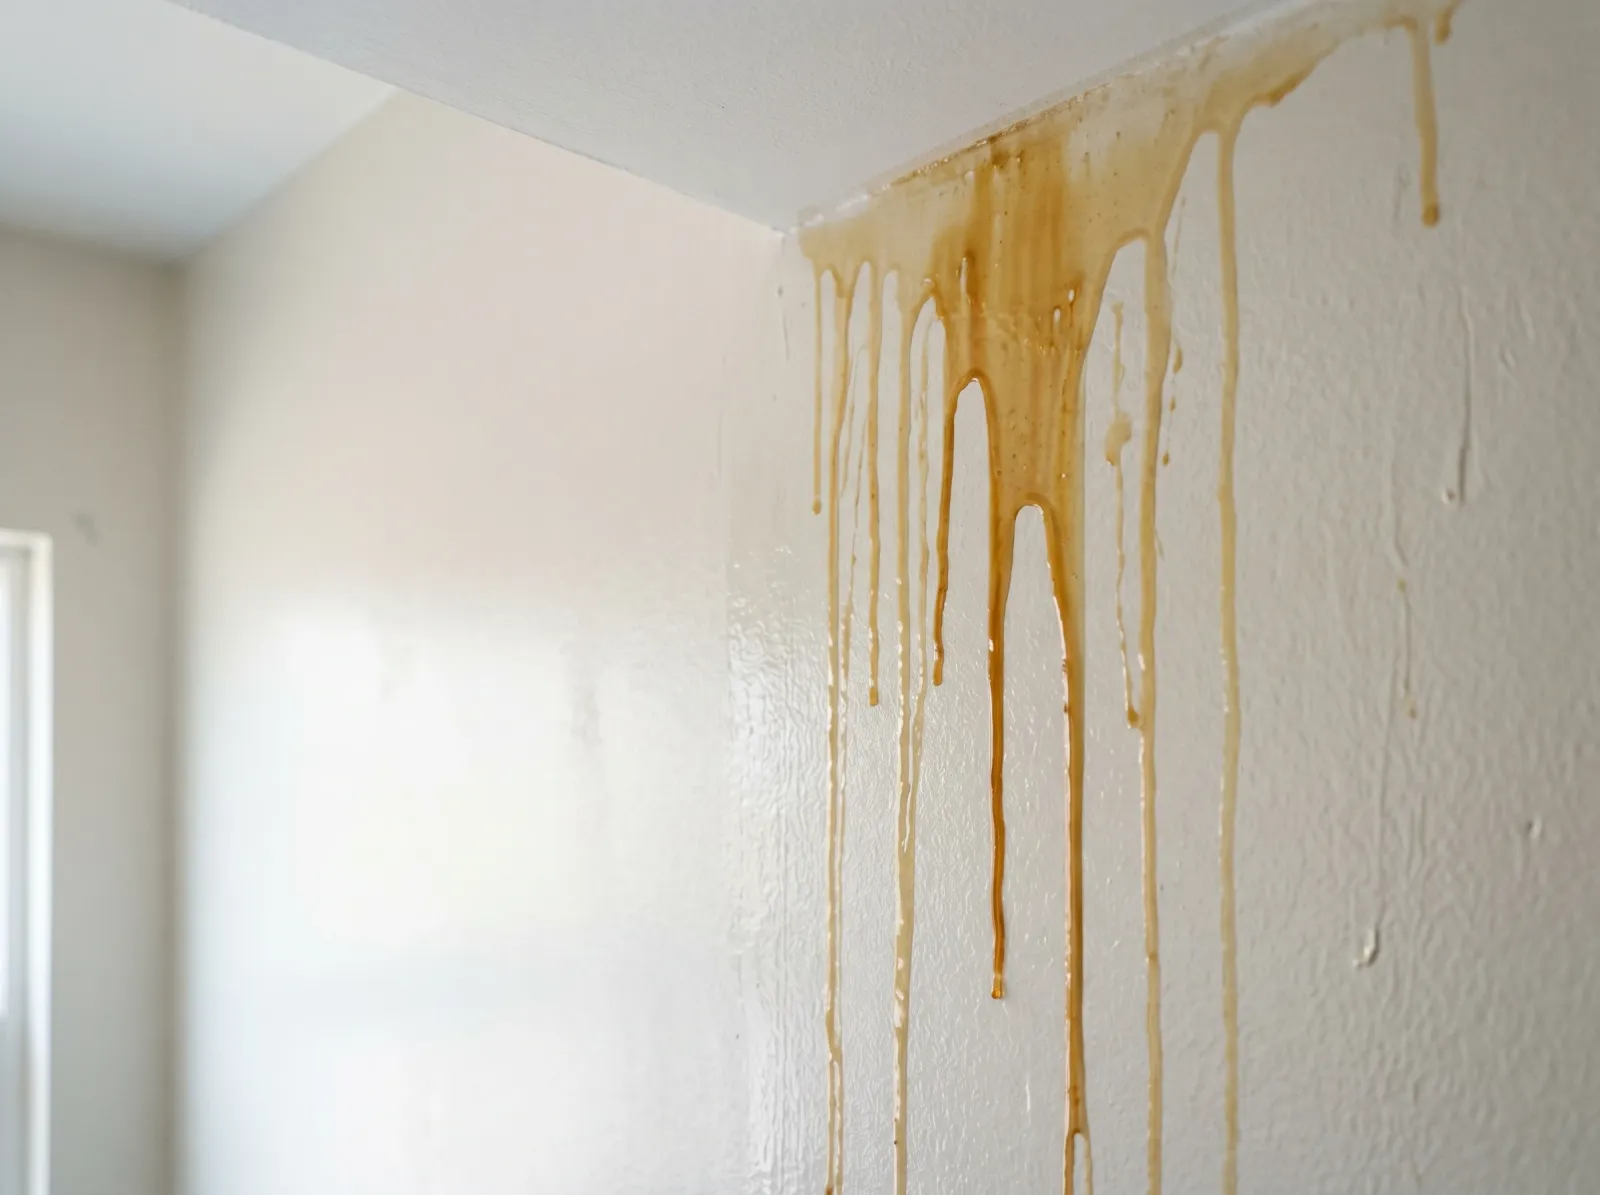
When the air is cold, humid, or the surface is wet with condensation, the water can’t evaporate. It lingers at the surface, and the surfactants, which love water, travel with it and concentrate at the top of the film instead of getting buried in it. As that water finally dries off, it leaves the surfactant behind as a slick residue. The brown color comes from the surfactants themselves plus a little of the paint’s tinting and additives carried along with them. Gravity does the rest, dragging the concentrated film down the wall into drips.
 Because the residue is water-soluble, a damp sponge lifts it and the cured film underneath stays intact.
Three conditions stack the odds. Low temperature, below roughly 50°F, slows coalescence so the film stays open longer. High humidity or condensation keeps the surface wet, giving the surfactant a ride to the top. And high surfactant load, which is why deep-base and dark colors leach more, because they’re tinted into bases that carry extra additives. For the longer version of the mechanism, see what surfactant leaching is. Knock out the moisture and the warmth problem and the surfactant stays where it belongs.
The Fix
Work in order. The most common mistake is washing too soon or repainting into the same conditions that caused it.
Step 1. Wait for the Film to Set
Don’t touch it the first night. The film is still soft, and scrubbing a half-cured wall burnishes it or pulls paint off with the residue. Give the paint at least a few days to harden, and a week is safer in cool or humid rooms. Latex keeps curing for two to four weeks after it feels dry, so patience here costs you nothing. While you wait, the leaching may stop on its own as the film finishes closing.
If you’re seeing it on exterior siding, wait for a stretch of warm dry weather before you wash, so you’re not adding water to a wall that’s already struggling to dry.
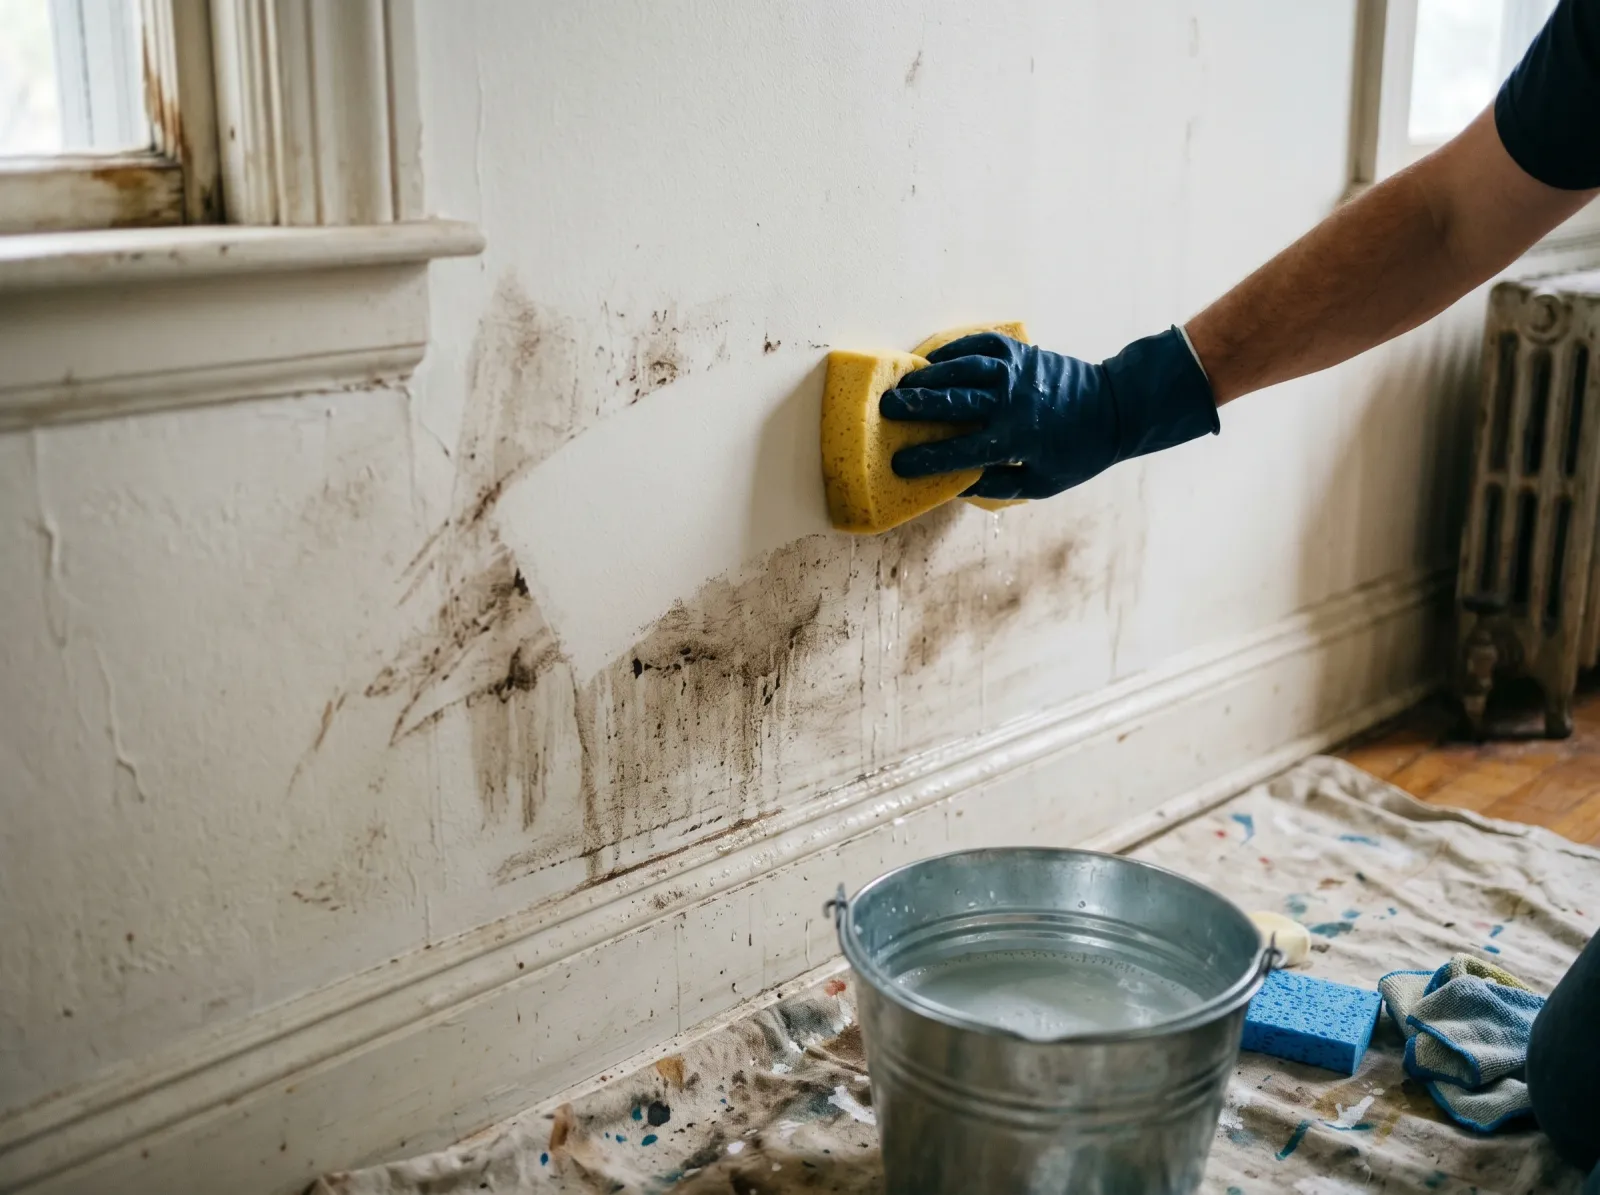
Step 2. Wash With Clean Water
The residue is water-soluble, which is the whole reason this fix is easy. Wipe the streaks with a clean, damp sponge or a soft cloth and plain warm water. Work top to bottom so you don’t drag dirty runoff over clean paint, and rinse the sponge often. For stubborn glossy areas, a drop of mild dish soap in the water helps, followed by a clean-water rinse so you don’t leave new soap on the wall.
Wipe gently. You’re lifting a film off the top, not scrubbing the paint. If color comes off on the sponge, stop and give the film more time to cure before you try again.
Step 3. Let It Dry, Then Check for More
Surfactant can keep migrating as long as the wall goes damp, so one wash isn’t always the end of it. Let the surface dry fully, then look again over the next several days. In a bathroom, watch what happens after a couple of hot showers. If a faint film weeps back, wash again. Each pass pulls less to the surface, and once the film fully cures the supply runs out.
If heavy leaching keeps returning after two or three washes and a few weeks, the wall is staying wet from a moisture source, not from slow curing. That’s the cue to chase the water, not the paint.
Step 4. Recoat Only If Needed
Most walls don’t need repainting. Washing clears the residue and the cured paint underneath looks normal. Recoat only if the finish is left blotchy or uneven after cleaning, and only after you’ve fixed the conditions that caused the leaching. Repainting a cold, damp bathroom on another cold, damp day just makes more drips. Warm the room, ventilate it, and paint when the surface is dry and above 50°F.
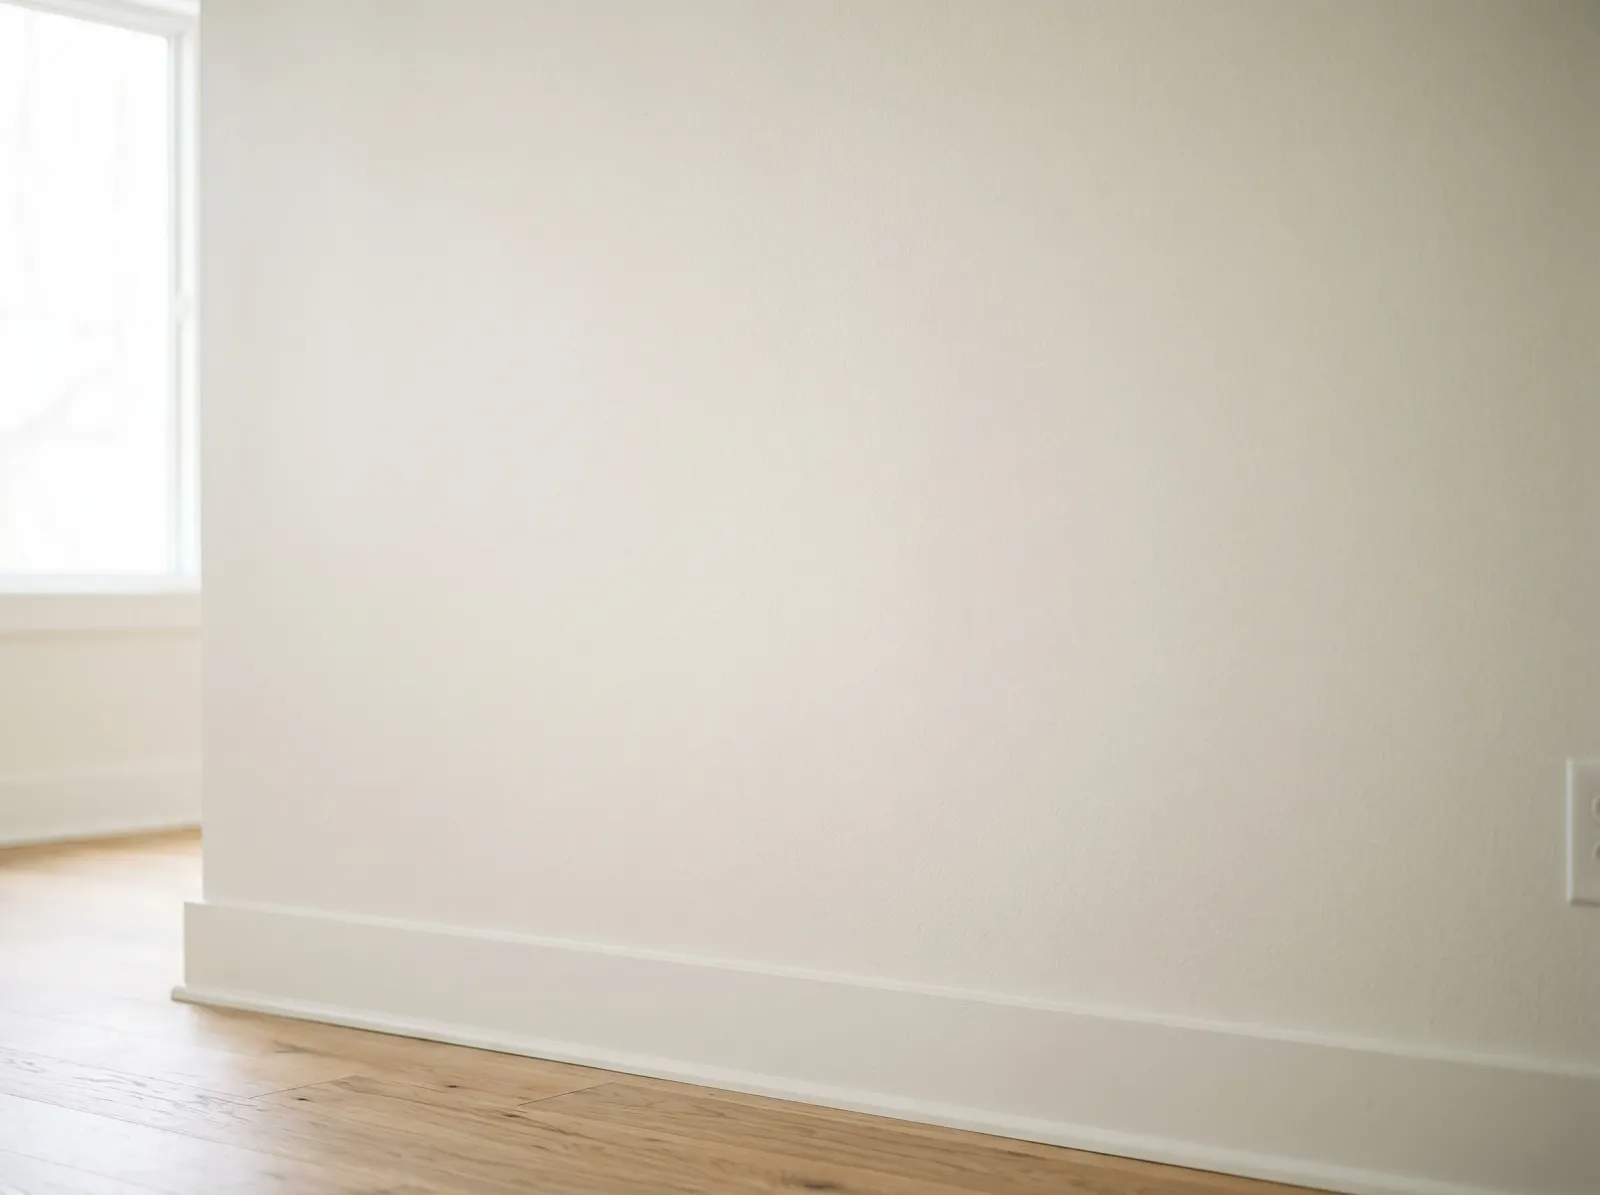 Once washed and fully cured, the film reads even and matte with no soapy residue.
Safety
This is a low-hazard fix, but a few rules still apply. Wear gloves if you’re sensitive to detergents, and keep a bathroom ventilated while you work. Never mix bleach with vinegar, ammonia, or hydrogen peroxide. That combination produces toxic chlorine or chloramine gas, and people reach for those cleaners when they mistake leaching for mildew. If the room also has mold, treat that separately and never combine cleaners; rinse one off fully before introducing another.
Common Mistakes
- Washing the first night. The film is soft. You’ll scrub off paint along with the residue. Wait several days.
- Mistaking it for a stain and priming over it. Surfactant is on top of the film and water-soluble. Wash it; don’t seal it under a stain blocker.
- Repainting into the same conditions. Cold, damp, unventilated. A fresh coat leaches exactly the same way.
- Scrubbing hard with abrasives. You’ll burnish flat paint to an uneven sheen. Gentle damp wiping is enough.
- Assuming the paint is defective. It isn’t. The conditions during curing are the cause, not the can.
- Confusing it with mold in a bathroom. Surfactant wipes off clean; mold leaves a stain and regrows. If you’re unsure, see how to fix bathroom ceiling mold.
Prevention
Surfactant leaching is almost entirely a matter of when and how you paint, so prevention is mostly about conditions, not products.
- Paint warm and dry. Keep the surface and the air above 50°F during application and for the first 48 hours, and below about 70 percent relative humidity. Cold and damp are the two biggest triggers.
- Ventilate while it cures. Move air across the surface so water can leave the film. Run the bathroom exhaust fan, crack a window, or set up a fan. Trapped humid air is what feeds leaching. See how to fix condensation on walls for the moisture side of this.
- Avoid painting late in the day in cool seasons. Temperatures drop and dew forms overnight, re-wetting a film that hasn’t closed up. Paint in the morning so the film has the warm part of the day to set.
- Wait to use a fresh bathroom. Don’t shower in a freshly painted bathroom for a couple of days if you can avoid it. Steam on a wet film is the perfect setup for leaching.
- Go easy on deep and dark colors in wet rooms. Deep-base paints carry more surfactant and leach more. If you want a dark bathroom, give it ideal curing conditions and extra patience.
- Don’t over-thin the paint. Extra water lengthens the time the film stays open and gives surfactant longer to migrate. Thin only as the label allows, if at all.
A primer doesn’t prevent leaching, since the surfactant comes from the topcoat, not the substrate. But priming for an even, sealed surface does help the topcoat cure uniformly, which is worth understanding either way; see what primer actually does.
When to Call a Pro
- Leaching that keeps returning after several washes and a month of curing, which points to an ongoing moisture source behind the wall.
- Visible water damage, soft drywall, or peeling alongside the streaks, meaning liquid water is reaching the substrate.
- Persistent condensation you can’t control with ventilation, often a sign of a building envelope or insulation problem.
- Recurring dampness with mold over about 10 square feet, the EPA threshold for professional remediation. A mold-resistant paint helps in damp rooms, but it won’t fix an active leak.