How to Spray Paint Picture Frames
Spray paint picture frames without runs, sticky corners, or clogged detail: how to tell what your frame is made of, which primer it needs, and how thin the coats have to be.

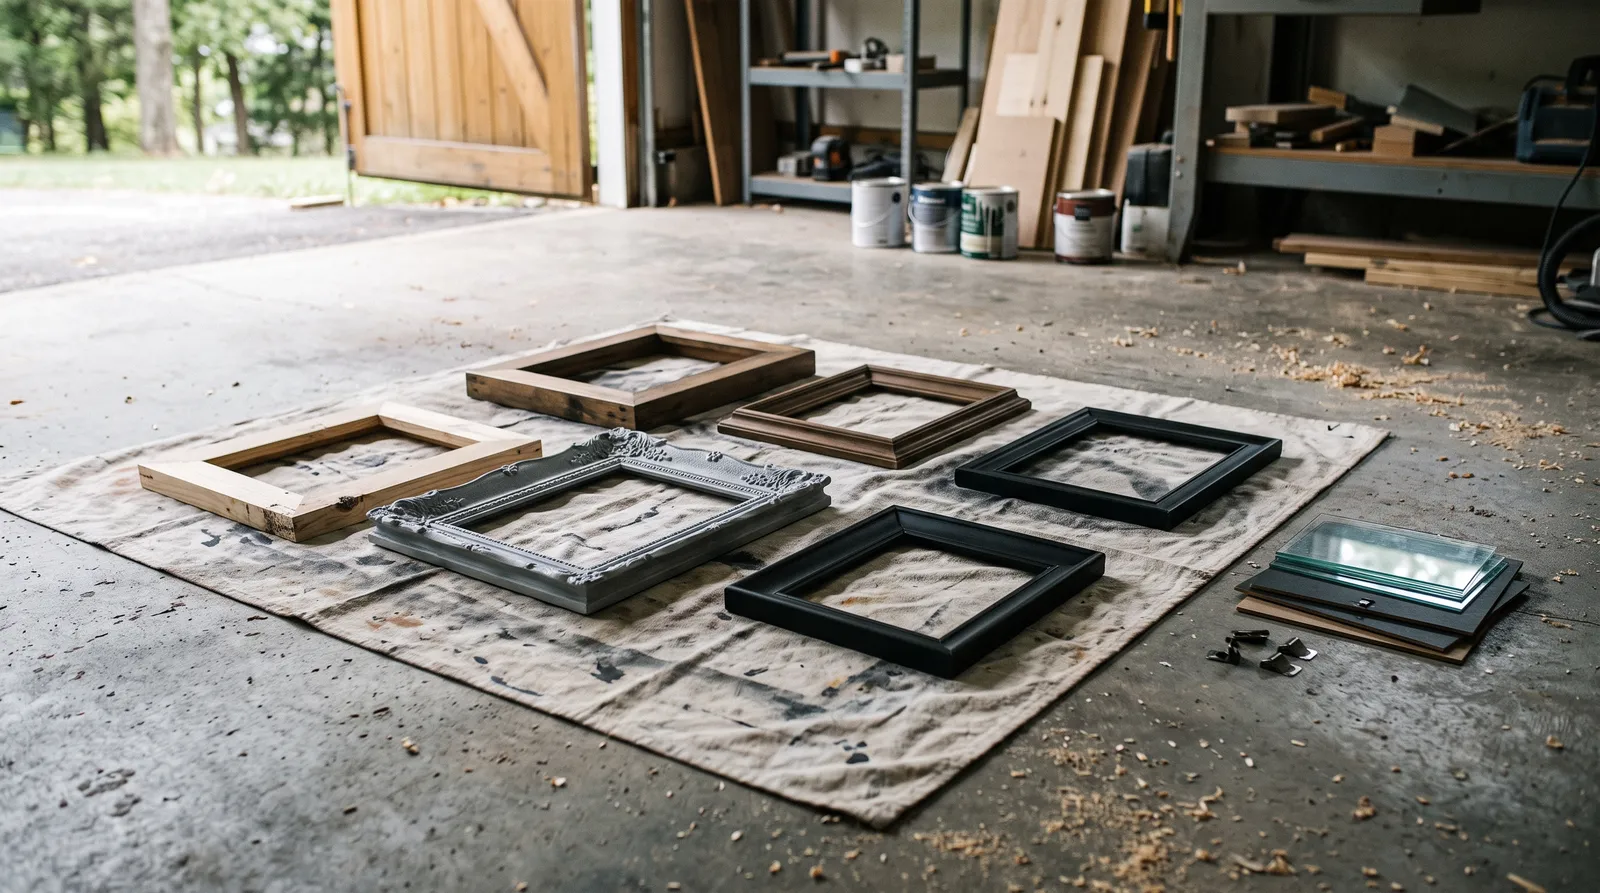
Okay, so you have five picture frames from five different places and not one of them matches. Or you found a good ornate frame at a thrift store and it’s the exact wrong shade of gold. Spray paint fixes both problems for about six dollars a can, and you already know that, which is why you’re here. What you’re actually worried about is ending up with a gummy, drippy frame with all the carved detail filled in, looking worse than the thrift-store version you started with.
That does happen. It happens for two reasons: too much paint at once, and skipping the two minutes of prep that let the paint stick. Both are fixed before you ever press the nozzle.
What You’ll Get
A set of frames that match each other, with the molding detail still sharp, a finish that doesn’t chip when you bump the corner hanging it. Total hands-on time for six frames is under two hours.
Honest Take on Difficulty and Time
This is the easiest project on the site, with one catch: almost all of it is waiting. The actual spraying takes ten minutes per frame. The dry time between coats is what stretches it across a weekend.
Realistic schedule for a batch of six frames: half an hour to take them apart and clean them, half an hour to scuff and wipe, then coats. Primer needs about 30 minutes before color. Color coats want 10 to 15 minutes between them. After the last coat, leave them alone overnight before you touch anything, and give it two days before you reassemble.
| Frame type | Prep needed | Active time (6 frames) | Total elapsed |
|---|---|---|---|
| Raw or painted wood | Scuff + wipe | 1.5 hrs | 1 day |
| Stained or varnished wood | Scuff + shellac primer | 2 hrs | 2 days |
| MDF / composite molding | Scuff + primer, seal cut edges | 2 hrs | 2 days |
| Plastic or resin | Scuff + bonding paint | 1.5 hrs | 1 day |
| Metal | Degrease + metal primer | 1.5 hrs | 1 day |
Figure Out What Your Frame Is Actually Made Of
This is the step everybody skips, and it’s the one that decides whether your paint stays on. Frames look like wood. Most modern ones are not wood.
Tap the back of the molding with a fingernail. Solid wood sounds dull and you’ll see grain on the unfinished back edge. MDF (medium-density fiberboard, basically compressed wood dust and glue) sounds denser and the back edge looks smooth and uniform with no grain at all. Resin and plastic-composite frames feel slightly warm and light, and if you look at the inside corner you’ll often see a faint seam line from the mold. Metal frames are obvious.
Here’s the thing about the ornate gold frames you find at every thrift store: nine times out of ten, the “carving” is molded resin or composite applied over a plain wood core, then sprayed gold at the factory. That factory gold is slick, and regular spray paint slides right off it. It needs a bonding primer. You’ll know it when you see it because a fingernail leaves a shiny mark instead of a scratch.
For frames that are genuinely stained-and-varnished hardwood, the tannins in the wood can bleed up through light-colored paint and leave you with pink or tan blotches weeks later. The guide to painting over stained wood covers that in full. The short version for a frame is one coat of shellac-base primer (Zinsser B-I-N spray) and the bleed stops there.
What You’ll Need
Paint and Primer
For wood and MDF frames, a general spray primer like Zinsser Bulls Eye 1-2-3 Plus in a can. For plastic, resin, or that factory gold finish, Rust-Oleum Universal Bonding Primer. For stained or varnished wood, Zinsser B-I-N shellac primer to block the bleed. Full breakdowns of all three live in the spray primer round-up.
Color coat: Rust-Oleum 2X Ultra Cover or Krylon ColorMaxx will handle almost anything with primer under it. On plastic frames, Krylon Fusion All-In-One skips the separate primer step entirely because it bonds to plastic on its own. Those two brands behave differently in the hand and it’s a real decision, covered in the Rust-Oleum 2X vs Krylon Fusion comparison. For picks by finish and color range, see the spray paint round-up. Metal frames want a metal-rated enamel; the spray paint for metal picks go through those.
Metallics behave differently from flat colors. Rust-Oleum Universal Metallic and Krylon Premium Metallic both spray heavier, need more coats to look even, and show every fingerprint until they’re clear-coated. Budget an extra can.
Tools
A big cardboard box turned on its side, opening facing you, is the best overspray shelter there is and it costs nothing. Add a drop cloth or flat cardboard underneath, four small blocks or push pins to lift the frame off the surface, a 220-grit sanding sponge, 320-grit paper for between coats, a tack cloth (a sticky cheesecloth that picks up sanding dust), and a degreaser. Picks for the abrasives are in the sandpaper round-up, and cover options are in the drop cloth round-up.
Wear a respirator. Spray paint solvents are not something to breathe in a closed garage, and a paper dust mask does nothing against vapor. See the painting respirator round-up for what actually filters this.
Two Ways to Do This
Full disassembly (glass out, backing out, frame bare) versus taping the glass off in place. Disassembly wins on anything you care about. It takes about a minute per frame, you get clean inside edges, and you never have to scrape cured overspray off glass.
Tape-in-place is defensible on cheap frames with a very tight lip, or on shadow boxes where the glass is glued in. Use a good tape and burnish the edge down hard with a fingernail, because your eye follows that straight inner line and any bleed shows. The painter’s tape round-up has the ones that seal cleanly on glass.
Step 1 — Take the Frame Apart
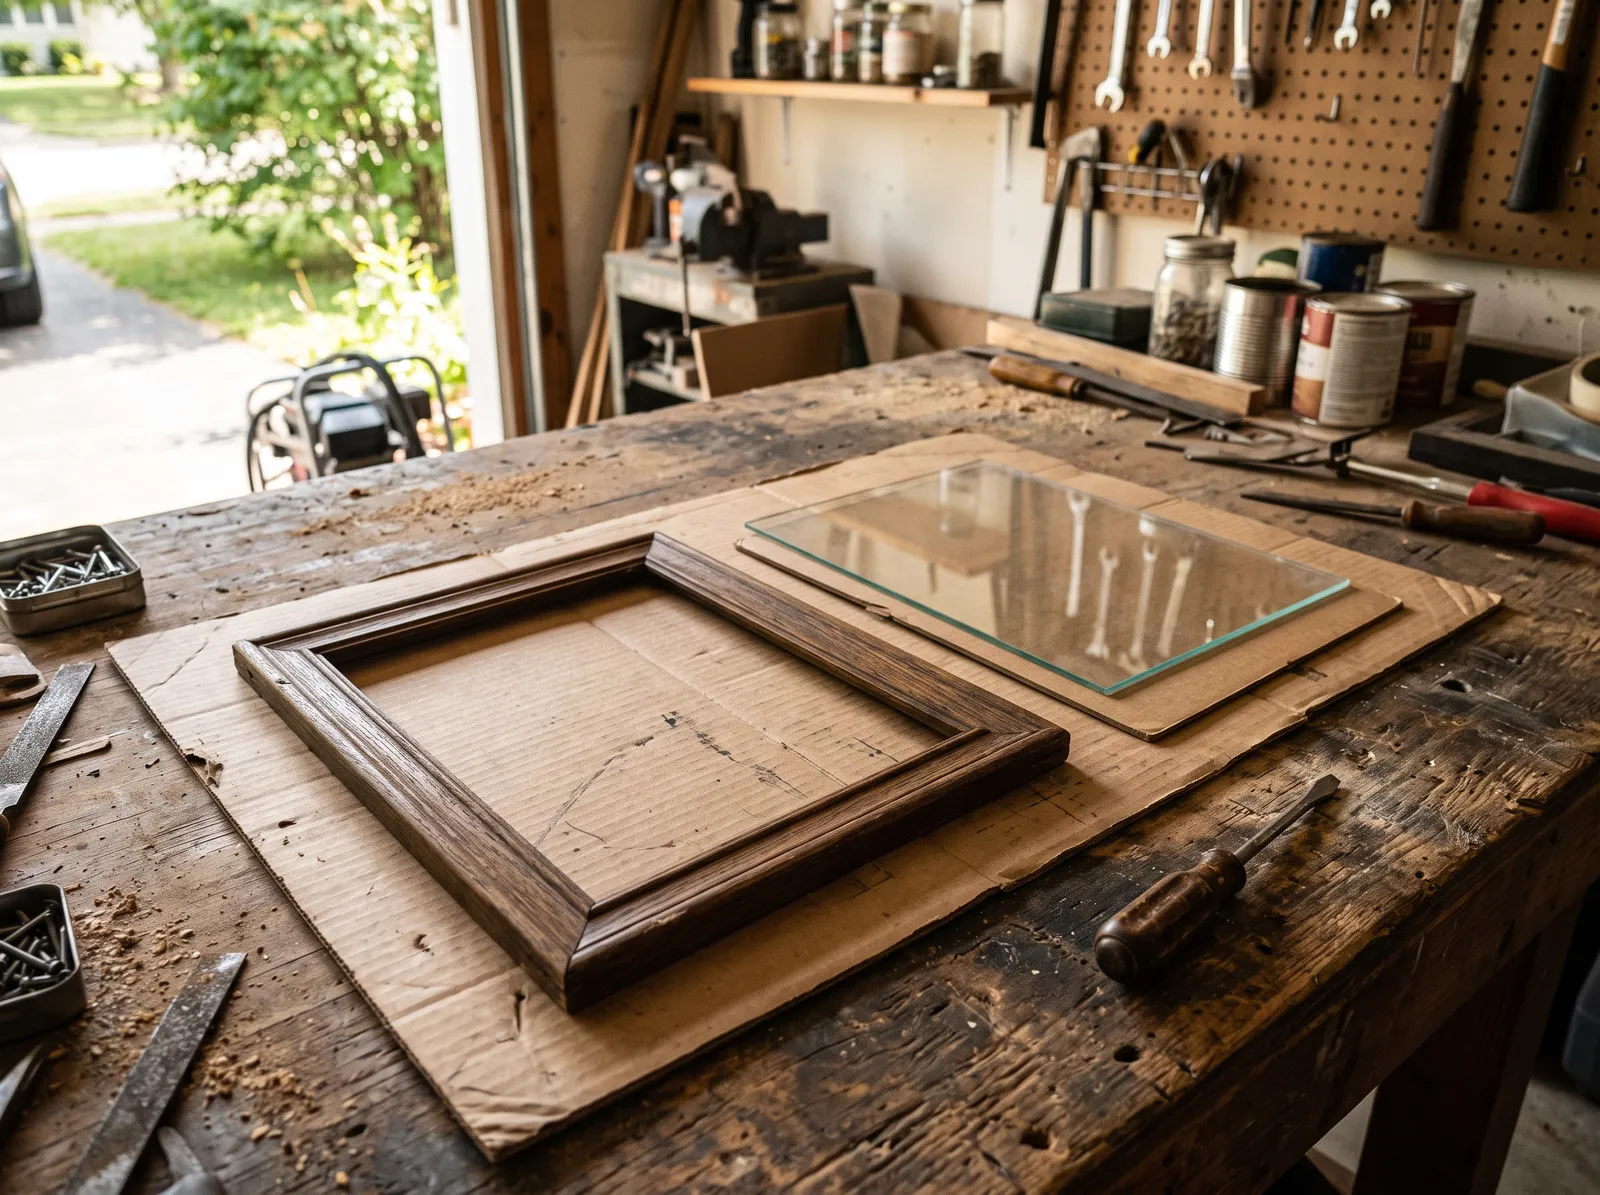 Glass and backing out, stacked somewhere safe. Only the empty frame gets paint.
Flip the frame face-down. Most frames hold the backing in with small bent metal tabs (called points) or a spring clip. Bend the tabs up with a flat screwdriver, lift out the backing, the artwork, and the glass.
Stack the glass panes flat, in order, somewhere nobody will step on them. Label the backing boards if you’re doing more than three frames, because they all look identical in an hour and they’re never quite interchangeable.
Watch out for old frames where the glass is loose in the rabbet (the little inner ledge the glass sits on). Support the glass with your hand before you lift, or it slides out and breaks on the bench.
Step 2 — Clean, Then Scuff
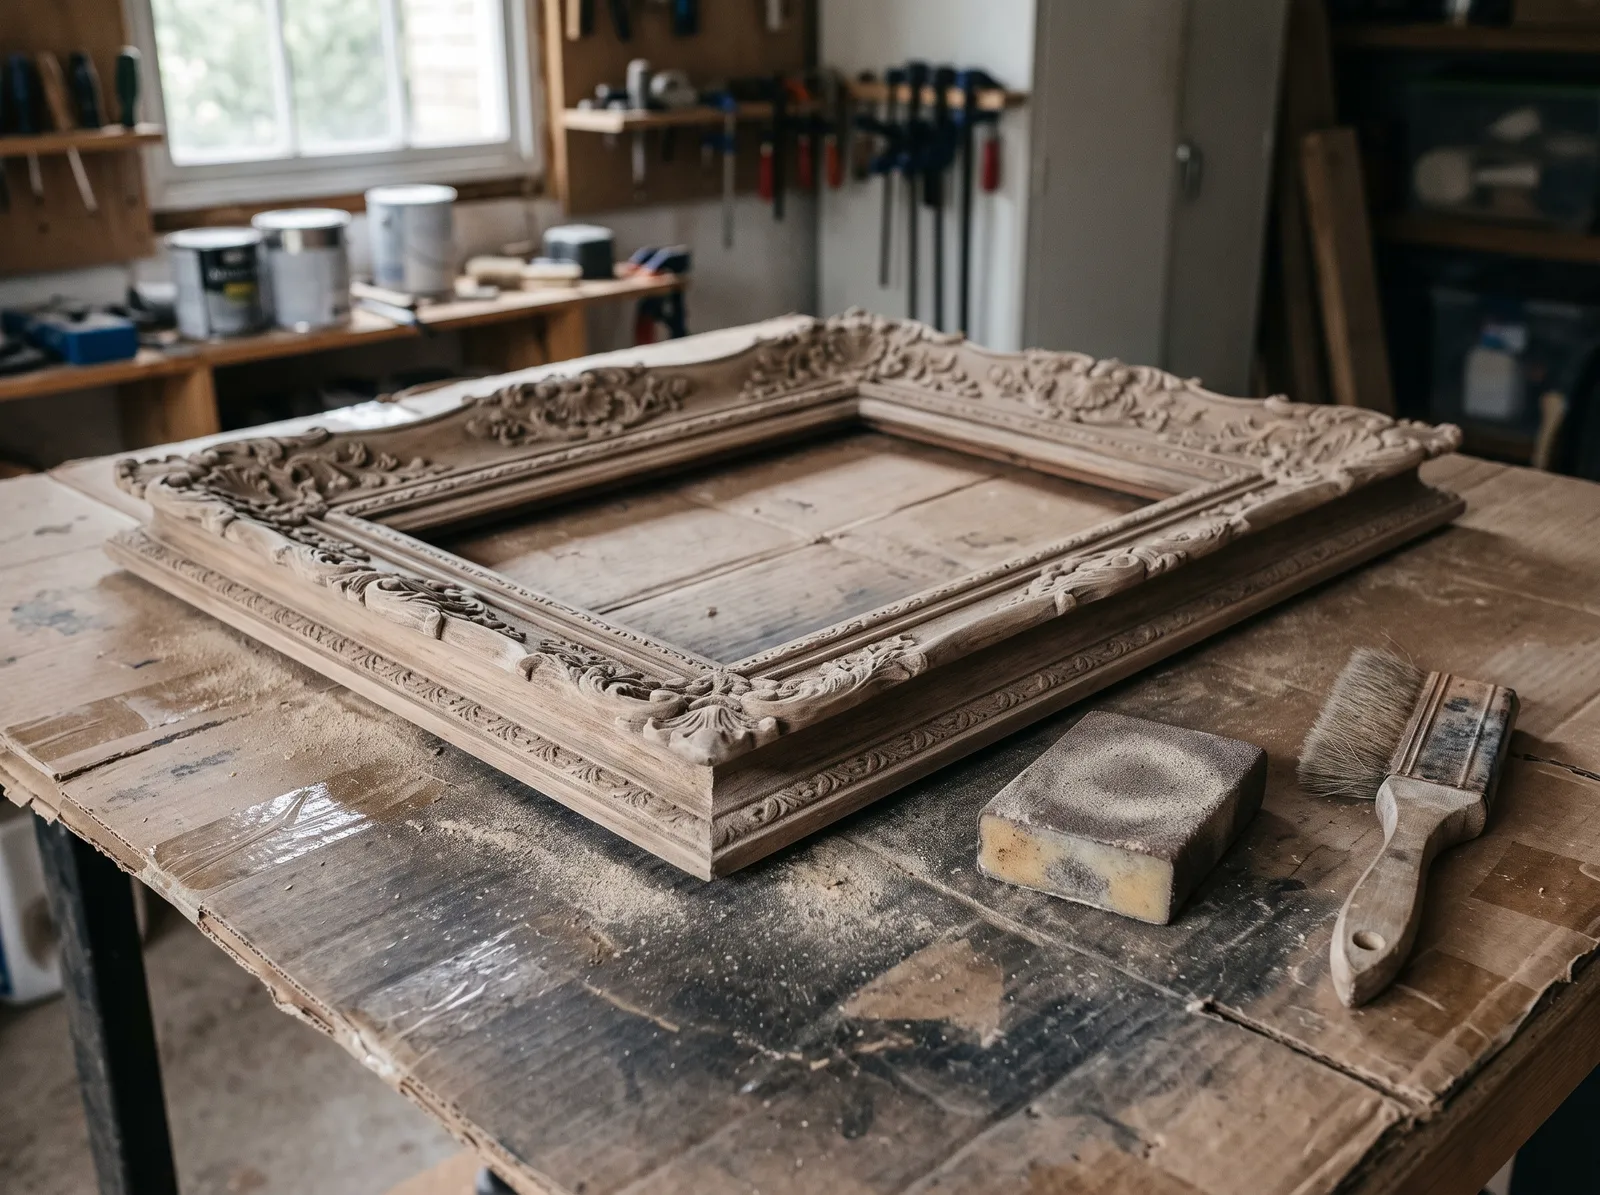 Dull everywhere, including down in the carved grooves. That’s the whole goal.
Wipe the frame with a degreaser and let it dry. Frames that have hung in a kitchen or been handled a lot carry a film of cooking grease and finger oil, and paint will not stick to that no matter how good the primer is.
Then scuff. A 220-grit sanding sponge, light pressure, until the shine is gone everywhere. You’re not removing the old finish, you’re taking the gloss off so primer has tooth to grab. On carved or beaded molding, work the sponge into the grooves with a corner, or use an old toothbrush with a little sanding dust as an abrasive. Finish with a tack cloth to lift the dust.
Watch out for MDF frames with a chipped corner. Bare MDF drinks paint and swells. Fill the chip with a little wood filler, sand it flat, and hit it with an extra pass of primer or it’ll show as a dull patch through the color.
Step 3 — One Thin Coat of Primer
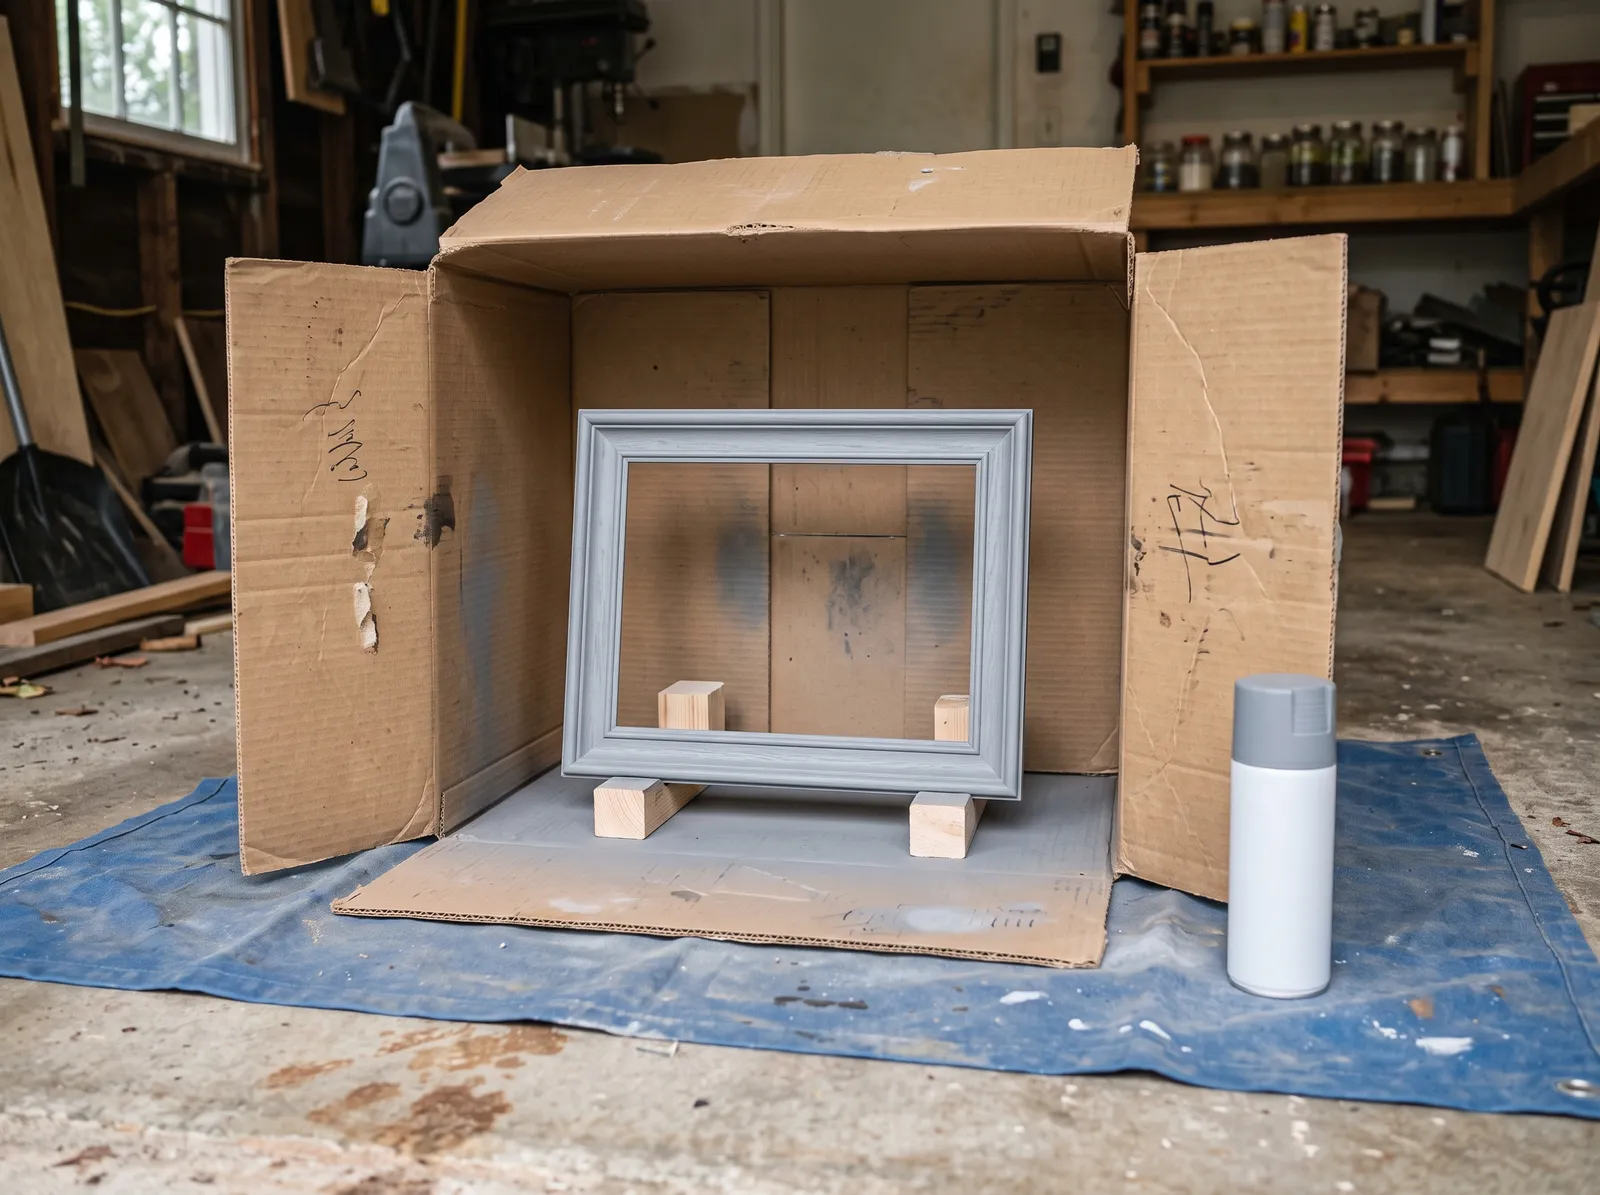 Propped on blocks inside the box, so the outer edges get coated without touching anything.
Set the frame face-up on four small blocks inside your cardboard shelter. The blocks matter: they lift the frame so you can spray the outside edge without the paint welding the frame to the drop cloth.
Shake the can for a full minute. Not ten seconds. A full minute, until the ball rattles freely. Then hold the can 10 to 12 inches away, start spraying past the edge of the frame, sweep across, and release past the other edge. Never start or stop the spray over the frame itself, because that’s where the paint dumps and runs.
One light coat is enough. If you can still see the frame color faintly through it, that’s correct. Give it 30 minutes, then knock down any rough grit with a quick pass of 320-grit and tack it off.
Step 4 — Color, in Three Passes
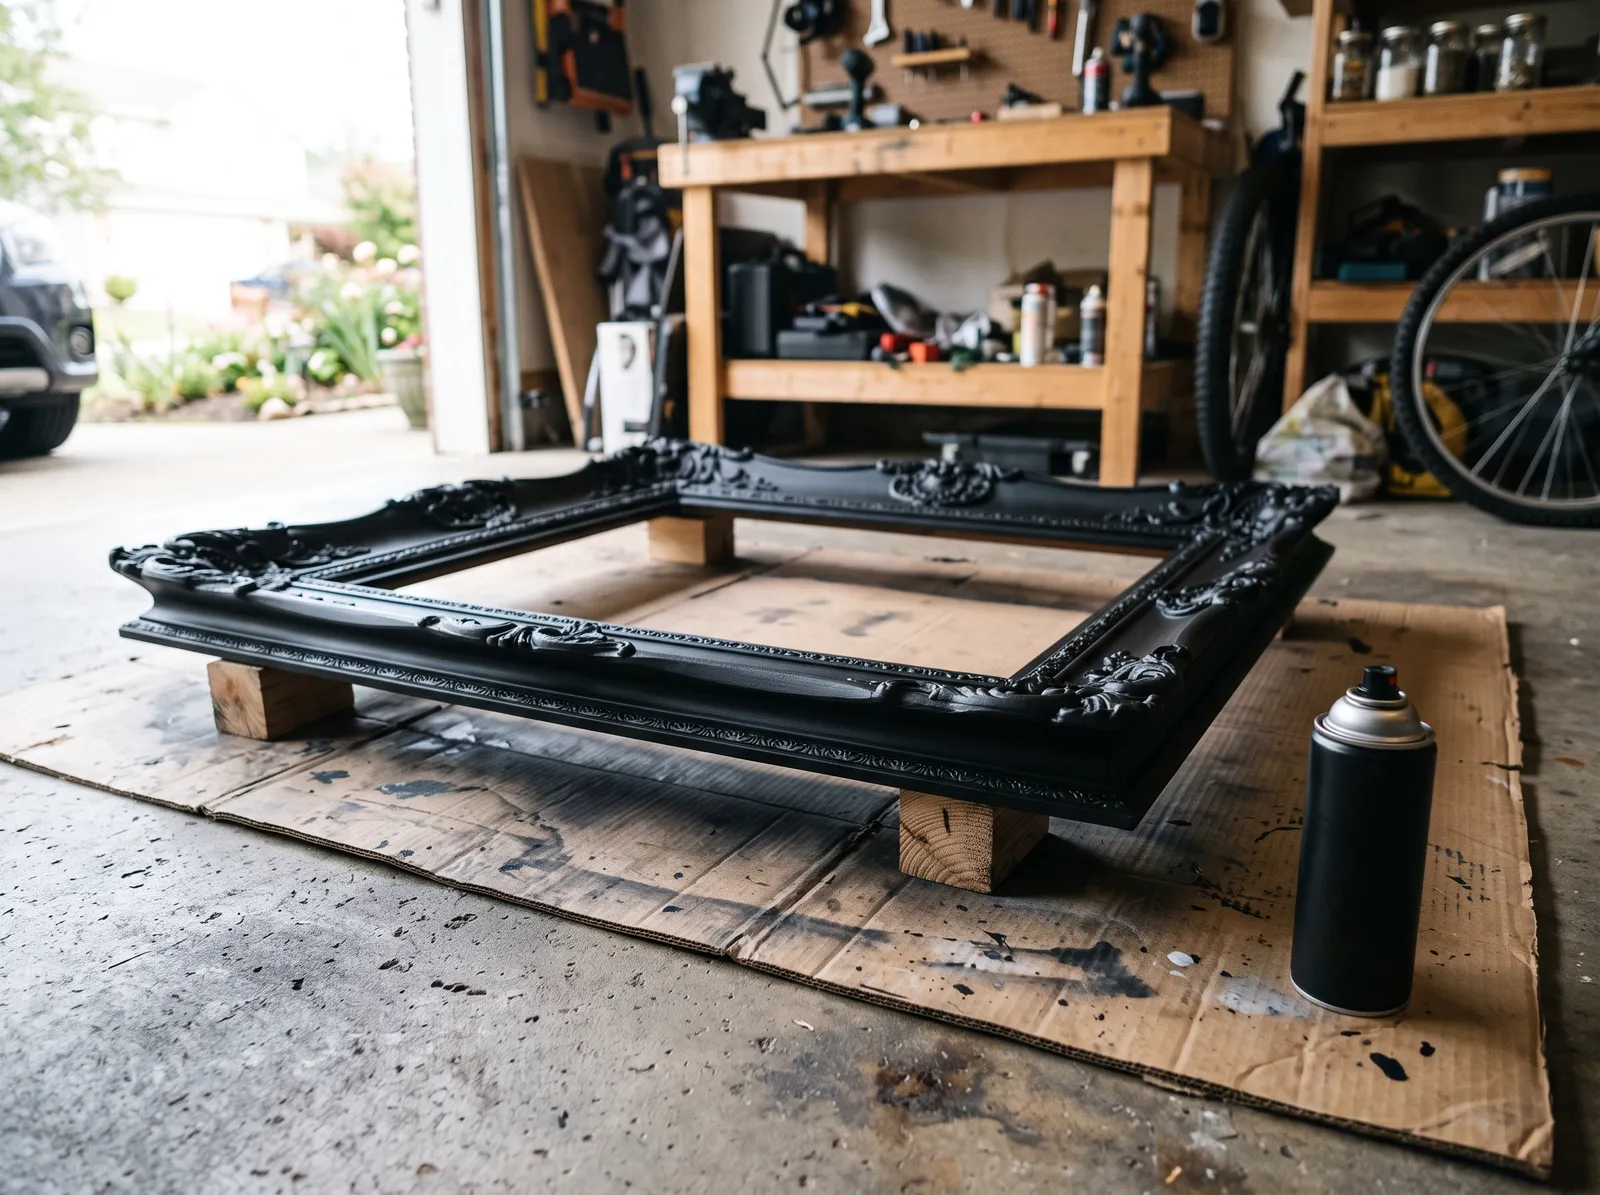 Three thin coats. The carving is still crisp because nothing pooled in it.
Same technique, same distance, same sweeping motion. The first coat should look patchy and thin, and that is what you want. The second fills most of it in. The third evens it out.
Rotate the frame between coats so you’re spraying from a different angle each time, which gets the inner rabbet edge and the outer profile without extra passes. Wait 10 to 15 minutes between coats. Rust-Oleum 2X gives you a recoat window of one hour, and after that you have to wait 48 hours before recoating or the fresh coat will wrinkle the one underneath. For the full picture on spray timing, see the spray paint dry time explainer.
Watch out for the inside corners of the frame. That’s where two surfaces meet at an angle, you get double coverage without meaning to, and it’s the first place a run appears. Ease off as you cross the corners.
Step 5 — Clear Coat and Reassemble
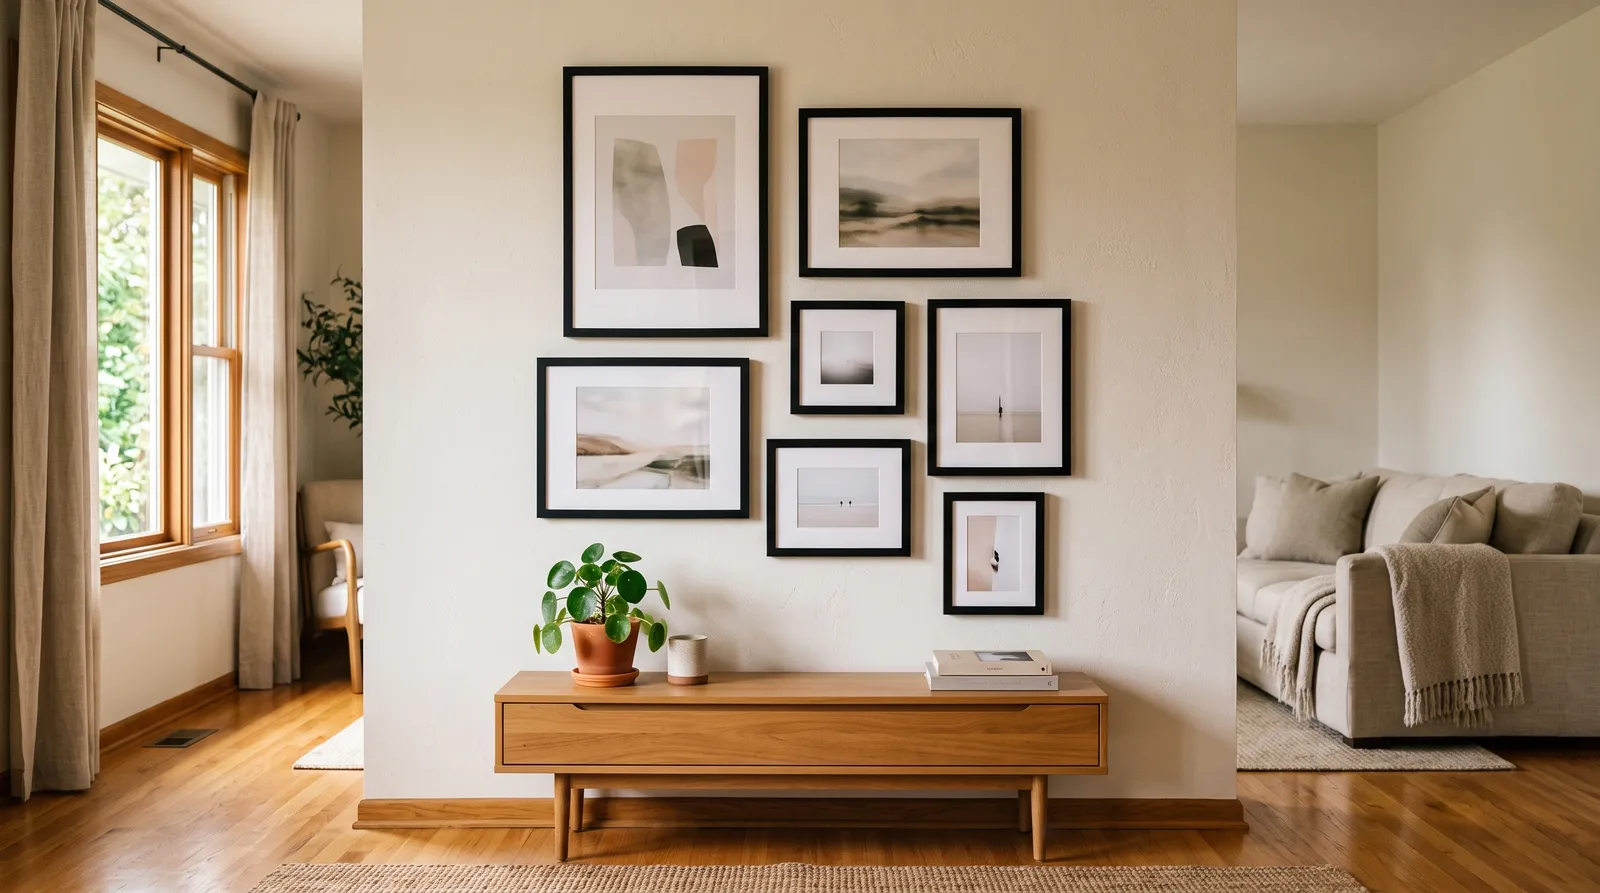 Reassembled after two days of cure, hung as a set.
Clear coat is optional on a frame that hangs on a wall and never gets touched. It’s worth doing on a metallic finish (fingerprints show badly on unsealed metallic), on frames that live on a shelf or desk, and on anything going in a kid’s room. Rust-Oleum Specialty Matte Clear or Krylon Crystal Clear, two light coats, same technique. Clear coat only over fully dry color, minimum 24 hours, or you’ll trap solvent underneath and get a soft finish that stays soft.
Then wait. Spray paint feels dry to the touch in under an hour and it is nowhere near hard. Reassembling too early is how you get glass-shaped pressure marks pressed permanently into the finish, and it’s the single most common way this project goes wrong at the last minute.
Clean the glass on both sides before it goes back in, because you will not want to take the frame apart again to fix a smudge.
Common Mistakes
- One heavy coat instead of three light ones. The paint pools in the low points of the molding, fills the carved detail, and runs down the inside edges. Three passes with waiting time between beats one wet pass every single time.
- Spraying too close. Under 8 inches, the can lays down more paint than the surface can hold and it sags. Ten to twelve inches, can moving the whole time.
- Skipping primer on that factory gold finish. It’s slick plastic-composite, paint won’t grip it, and the color flakes at the corners within weeks. Bonding primer or Krylon Fusion, no shortcut.
- Spraying in a cold or damp garage. Below 50°F or above 85% humidity, the finish goes cloudy or stays tacky for days. Wait for a better day.
- Reassembling on day one. The film is soft for 48 hours minimum. Glass set into a soft finish leaves a dent you can’t buff out.
Cure Schedule
| Time after final coat | What’s safe |
|---|---|
| 20 minutes | Touch dry at the edges |
| 1 hour | Handle by the edges, move to a shelf |
| 24 hours | Clear coat, if you’re using one |
| 48 hours | Reinsert glass and backing, hang it |
| 7 days | Wipe with a damp cloth without marking it |
| 30 days | Fully hard |
Maintenance and Touch-Ups
A properly primed and cured frame holds up for years on a wall. The wear points are the outer corners, which take the knocks when you rehang or move, and the bottom edge if the frame sits on a shelf.
For a chip, scuff the spot with 320, then spray a little paint into the can’s cap and dab it on with a small artist’s brush. Spraying directly at a chip on a hung frame gives you a halo of overspray around the repair that’s more visible than the chip was.
Keep the leftover can. Label it with masking tape and the room it went in, because six months from now every black spray can in your garage looks identical, and matte black from two brands does not match.
Cost
| Item | Cost |
|---|---|
| Spray primer (1 can, covers 4–6 frames) | $6–$10 |
| Color coat (1–2 cans) | $6–$18 |
| Clear coat (optional) | $7–$10 |
| Sanding sponge, tack cloth, degreaser | $10–$15 |
| Total for a set of six frames | $25–$45 |
Six matching frames from a store run $60 to $150. Thrift-store frames cost two dollars each and this is the whole reason the project exists.
Where to Start
Wood or MDF frames going matte black for a gallery wall: scuff with 220, one coat of Zinsser Bulls Eye 1-2-3 Plus spray, three light coats of Rust-Oleum 2X Ultra Cover in flat black. Do it Saturday morning, hang them Monday.
Thrift-store gold ornate frame: Rust-Oleum Universal Bonding Primer first, no exceptions, then your color. If the finish goes wrong on that one, don’t panic. Let it cure hard for a week, sand it back with 220, and start over. Spray paint on a frame is a two-hour mistake, not a permanent one, and the second attempt always comes out better because you already know how the can behaves in your hand.
If you catch the bug and start eyeing the side table next, the furniture repainting guide picks up where this one stops.
Ask a Question