How to Spray Paint Outdoor Planters and Pots
How to spray paint flower pots so the finish survives a season outdoors: drying terracotta out, sealing the inside, picking a color that holds up in full sun.

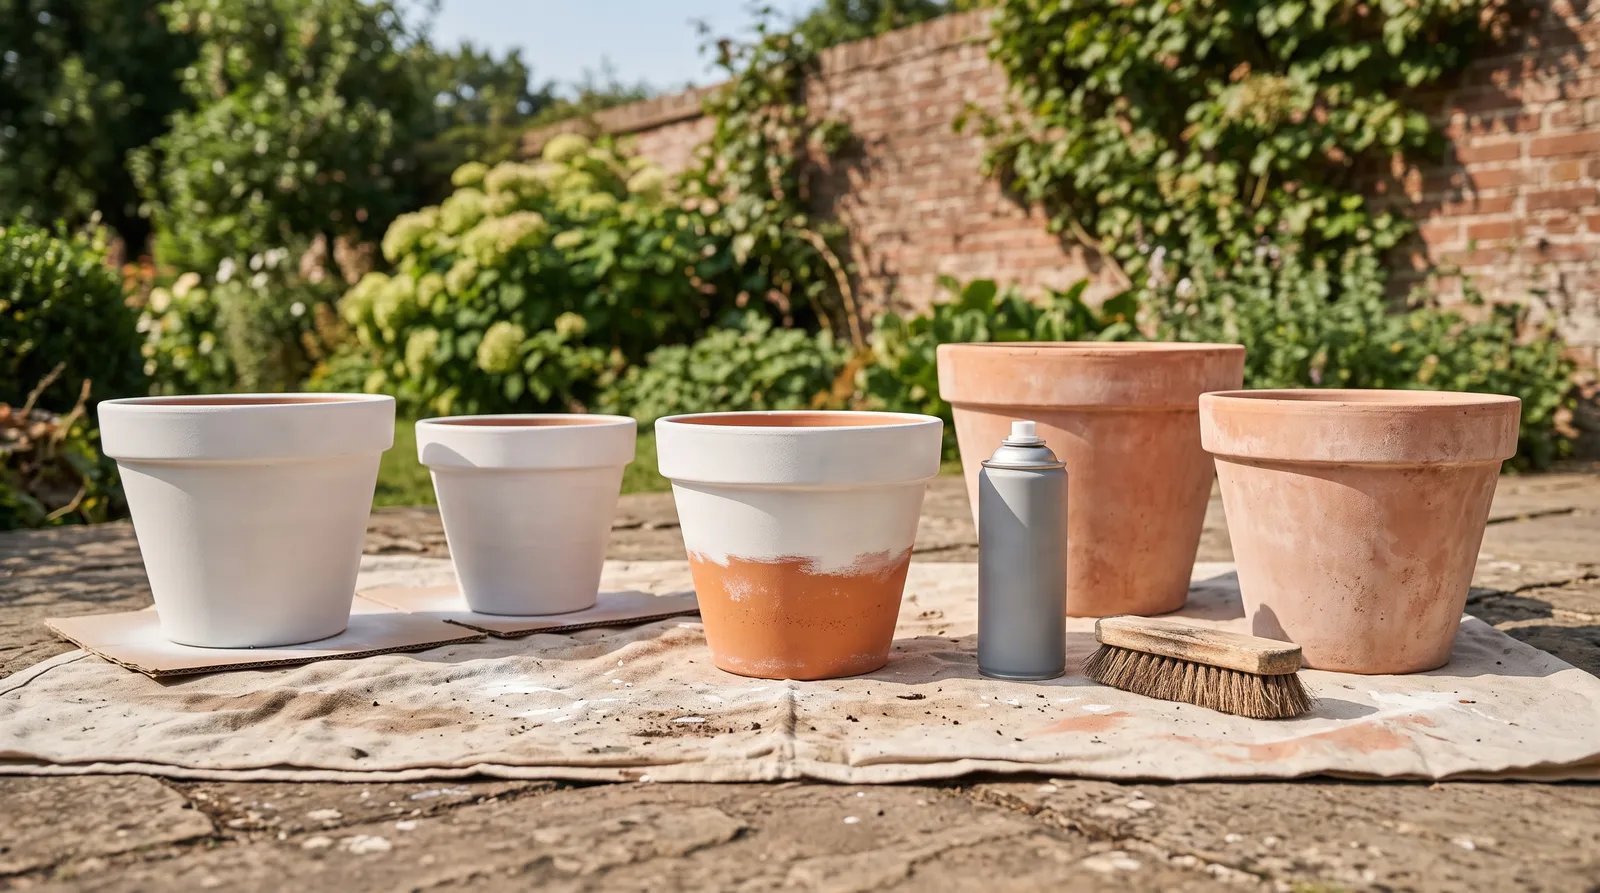
Terracotta doesn’t age the same way in every yard. In a Charleston courtyard it goes soft and pink and chalky and looks like it has been sitting there since 1890. On a Chicago balcony in March the same pot just looks tired, with a white salt bloom creeping up the sides and a green ring around the base where the water pooled all winter.
That second pot is the one worth painting. A can of spray paint and one dry afternoon turns a shelf of mismatched leftovers into a set that looks bought together, and the plants stop competing with five different shades of orange clay.
The trap is moisture. Almost every failed paint job on a flower pot comes from the same place, and it isn’t the paint. It’s water inside the clay, pushing out from behind the film while the outside looks perfectly dry.
What You’ll Get
A matched group of planters in a color you chose, holding their finish for three or four seasons instead of flaking by the end of summer. Around two hours of hands-on work, spread over a weekend because the drying schedule runs the show.
Time, Difficulty, and Where the Weekend Goes
Spraying pots is easy. Waiting on them is the hard part, and terracotta asks for the longest wait of anything on this site.
| Pot type | Active time | Total elapsed | Skill |
|---|---|---|---|
| Plastic or resin, 3 pots | 30 min | 1 day | Easy |
| Glazed ceramic, 3 pots | 45 min | 2 days | Easy |
| Terracotta, previously used | 1 hr | 1 week of drying, then 1 weekend | Easy |
| Cast concrete, large | 1-1.5 hrs | 1 weekend | Easy |
| Galvanized tub or bucket | 1 hr | 1 weekend | Easy |
A used terracotta pot needs about a week upside down in a dry garage before a can ever comes out. Skip that and everything downstream fails, no matter how carefully you spray.
Choosing a Color That Survives Full Sun
Outdoor light is roughly ten times brighter than the lamp light you picked the color under, and it flattens everything. A color that read as a soft warm grey on the chip goes pale and slightly chalky on a patio at noon, then drops back into its true undertone the moment a cloud passes. Pots move around, too, which means the same paint has to work in the morning shade by the door and in the four o’clock glare at the far end of the yard.
Start from what’s going in the pot. Every plant you own is some version of green, and green sits against warm neutrals without any effort. Soft warm whites, bone, greige, and clay-toned putty all let foliage stay the loudest thing on the patio. That’s usually what people want and rarely what they buy.
Cool grey is the common mistake. On a north-facing porch a cool grey planter goes flat and slightly blue by mid-afternoon, and next to green leaves it reads dead. A greige with a warm undertone does the same modern job and stays a color instead of collapsing into concrete.
Charcoal and near-black are worth the risk in the right yard. Against brick, weathered cedar, or a stone wall, a matte charcoal pot looks like garden center money. It has one real problem, and it’s physical rather than visual. Dark pots absorb heat, and a small dark pot in southern exposure can push the root ball fifteen degrees hotter than the air. Keep dark colors for planters bigger than about 14 inches across, and put light colors on anything small that sits in all-day sun.
Sheen matters more outside than in. Gloss on a curved pot catches the sun in a hard white stripe and shows every hard-water spot from the hose. Matte and satin hide the clay’s texture and read closer to unglazed stoneware. For the fuller version of that conversation, see the sheen guide.
One thing I’d tell anyone doing a whole set: paint them the same color and let the shapes vary. Six pots in six colors reads as clutter from the kitchen window. Six pots in one soft white reads as a plan.
What You’ll Need
Paint and Primer
The color coat depends on the material. Terracotta, glazed ceramic, and concrete take standard spray enamel like Rust-Oleum 2X Ultra Cover, which builds a matte film over porous clay in two coats. Plastic and resin want Krylon Fusion All-In-One, because it bonds to flexible plastic without a separate primer. Galvanized buckets and steel tubs want Rust-Oleum Stops Rust or Rust-Oleum Universal, and Universal sprays at any angle, which is useful when you’re reaching under a rolled rim. Picks live in the best spray paint round-up and the metal-specific round-up, and the two most common cans go head to head in Rust-Oleum 2X vs Krylon Fusion.
Primer earns its place on anything slick or anything porous. Glazed ceramic gets a bonding primer such as Zinsser Bulls Eye 1-2-3 Plus in a can. Bare galvanized metal gets self-etching primer, and nothing else grips zinc. Raw terracotta drinks the first coat of whatever you put on it, so a primer coat is what stops your color coat from disappearing into the clay. The spray primer round-up sorts out which is which, and the primer explainer covers why an etch primer exists at all.
You also want a masonry or concrete sealer for the inside of terracotta and cast concrete. That’s the piece most tutorials skip.
Tools
A respirator rated for organic vapors. Spraying five pots means a lot of solvent in the air, and a paper dust mask does nothing about that even outdoors. Picks are in the respirator round-up.
Beyond that: 220-grit sanding sponges, a stiff scrub brush, white vinegar, nitrile gloves, painter’s tape, a tack cloth, and something to spray over. A flattened cardboard box beats a bedsheet, and a proper canvas from the drop cloth picks beats both if you’re doing this every spring.
Raise every pot on a pair of bricks or an upturned bucket. Off the ground you can walk around it, hit the bottom edge, and never set a wet pot down in grit.
Method: Seal It or Line It
Seal the inside. A coat of clear masonry sealer on the interior walls stops water migrating out through the clay and lifting your paint from behind. This is the durable version and it costs one extra step. It does slow the pot’s breathing slightly, which plants that like fast-draining soil will notice.
Line it instead. Leave the terracotta unsealed and drop a plastic nursery pot inside. The clay keeps breathing, the soil never touches the painted wall, and this is the right call for herbs, vegetables, and anything you eat.
Either way, the outside prep below is identical.
Step 1 — Empty It, Scrub It, Then Wait
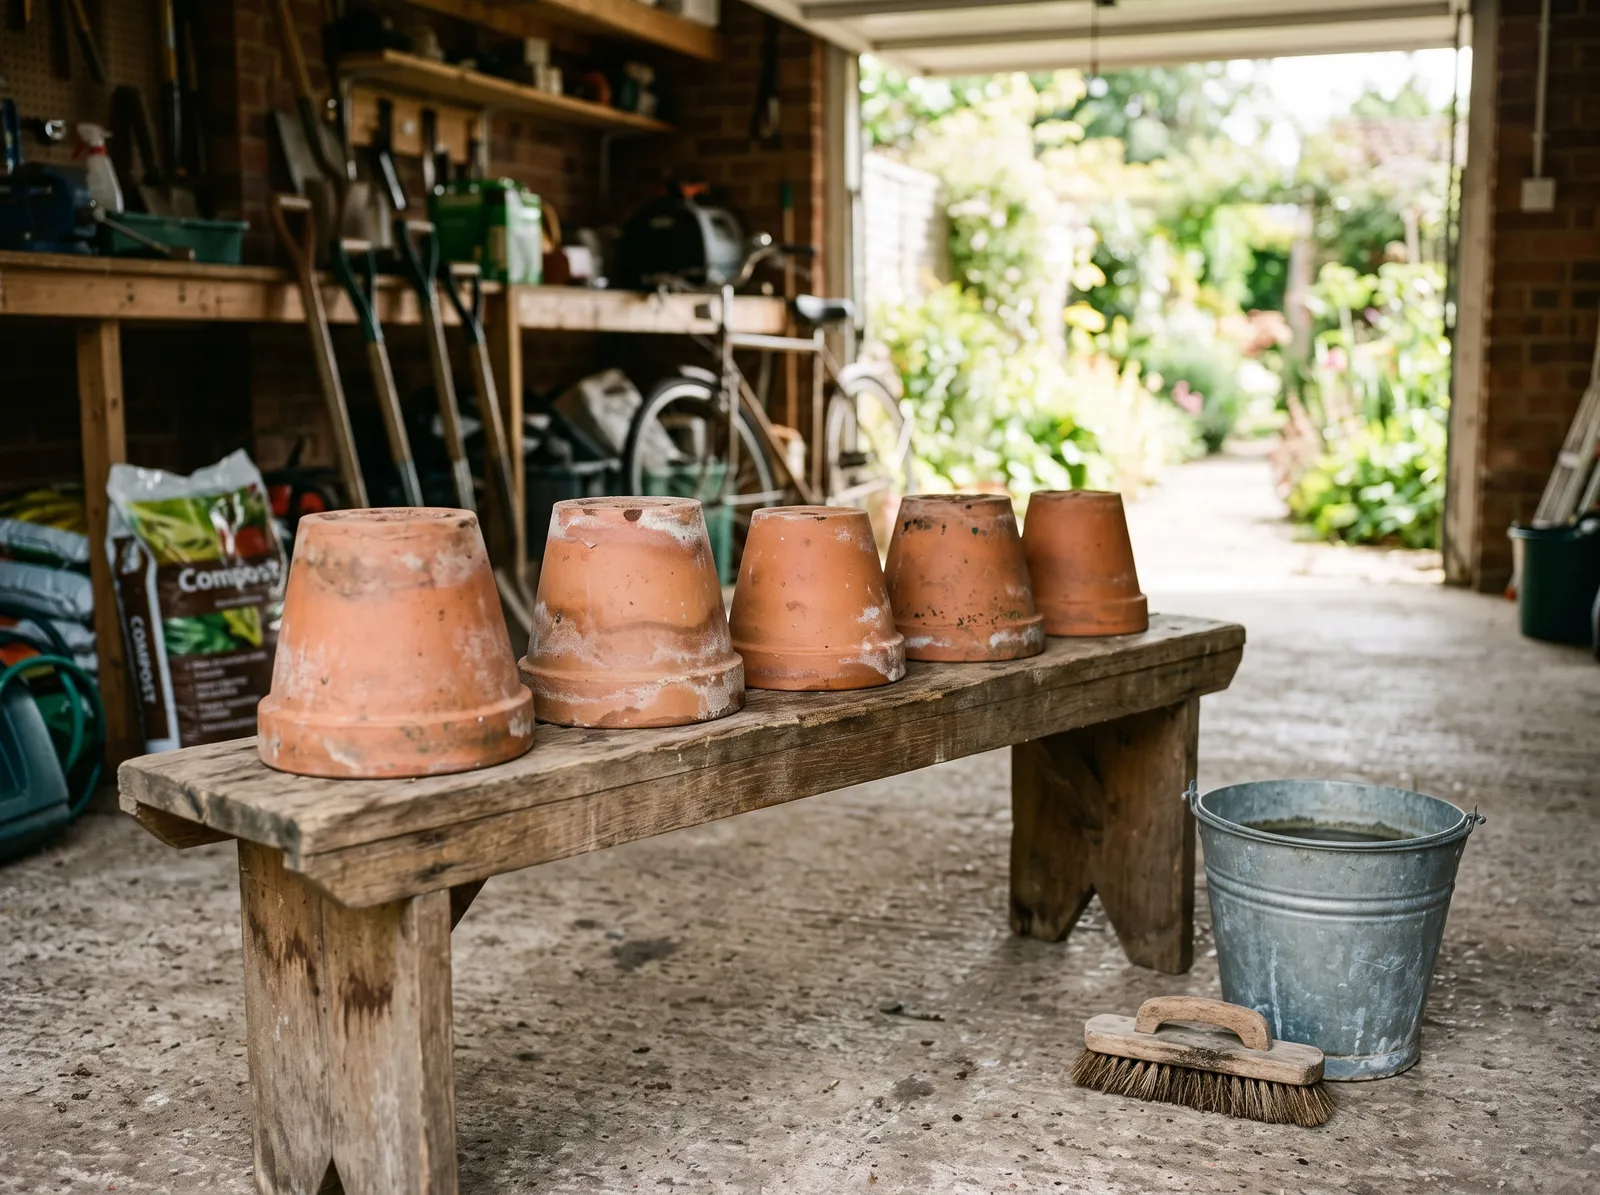 Soil out, salt bloom scrubbed off, pots turned over to give the clay days to dry.
Take the plant out, dump the soil, and scrub the pot with a stiff brush. That white crust on old terracotta is mineral salt from years of watering, and paint won’t hold on top of it. A 1:1 mix of white vinegar and water dissolves it. Rinse well afterward, because vinegar residue interferes with adhesion the same way the salt did.
Then leave it alone. Upside down, out of the rain, for a week if it was recently planted. Clay that feels dry on the surface can still be holding water half an inch in.
Watch out for the cool-to-the-touch test. If a spot on the pot feels noticeably cooler than the rest, it’s still damp inside. Give it more days.
Step 2 — Scuff and Seal the Inside
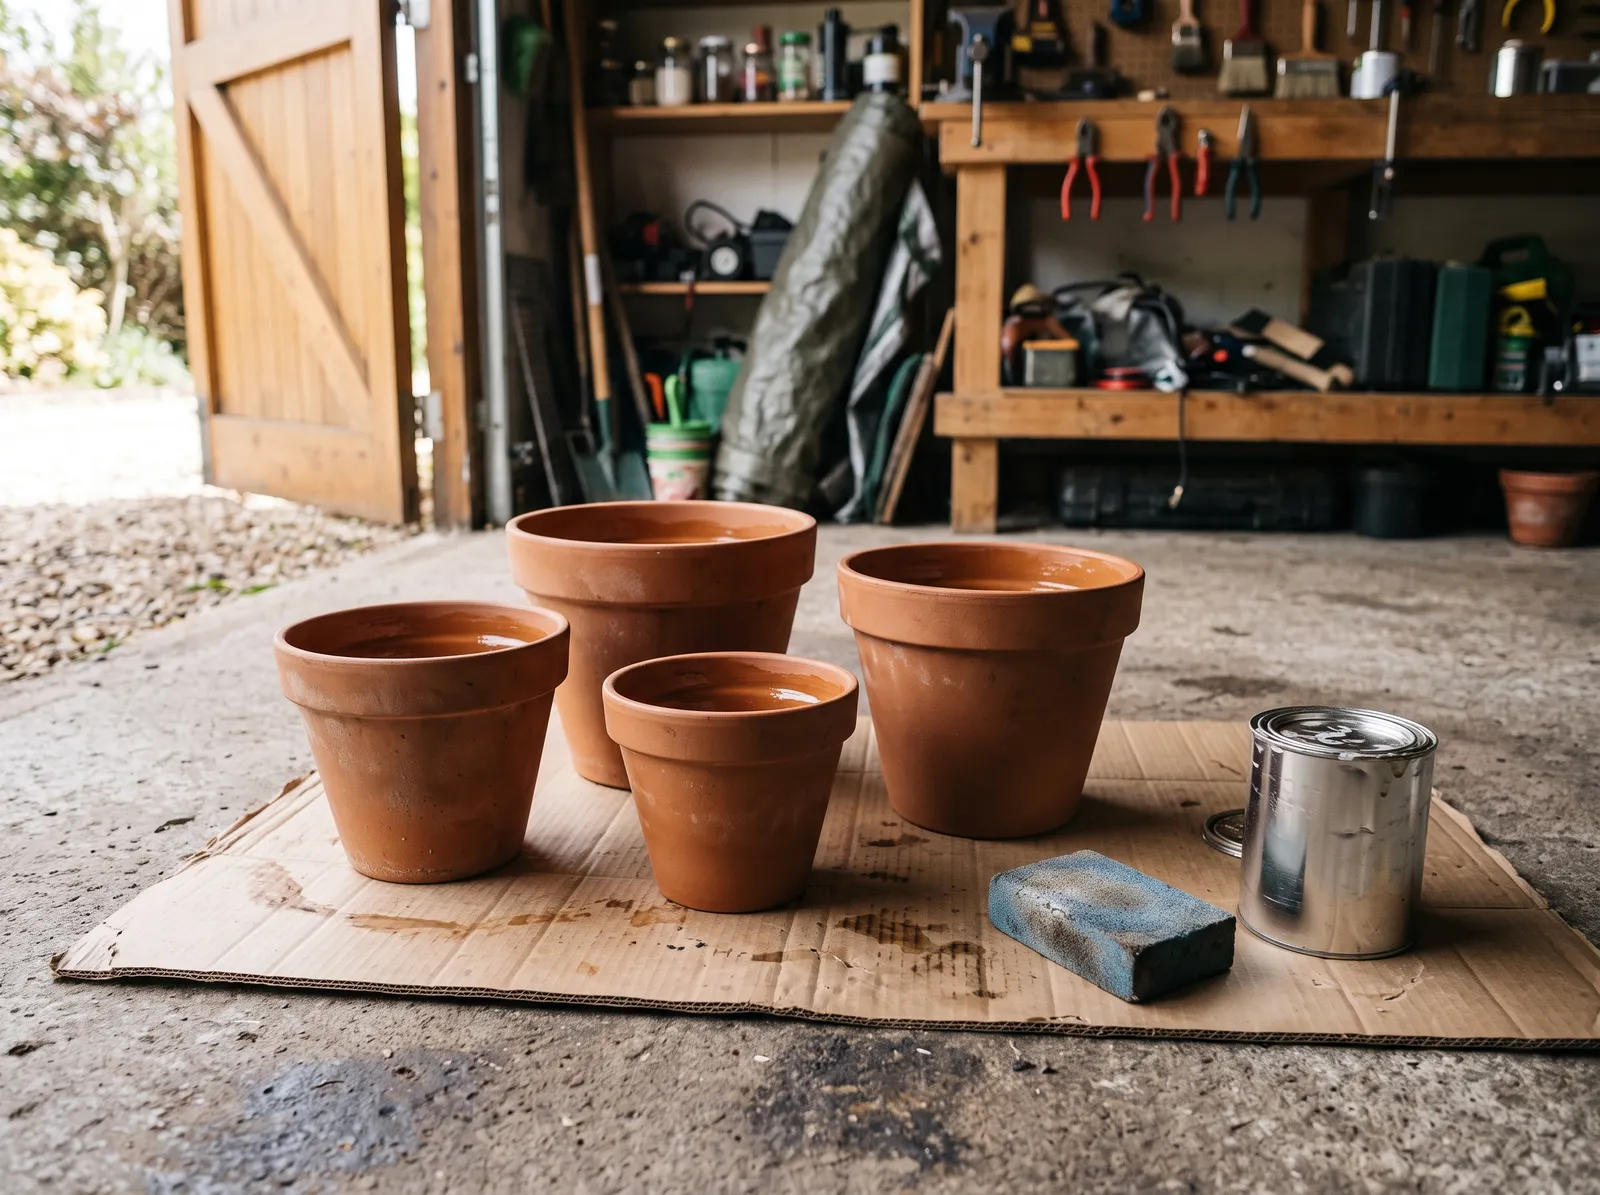 Glazed surfaces scuffed dull, interiors coated in masonry sealer.
Anything shiny gets scuffed dull with 220-grit: glazed ceramic, the glazed band on a decorated terracotta pot, plastic, and any pot that’s been painted before. You’re not removing the finish, only killing the gloss so primer has something to bite. Grit choices are covered in the sandpaper round-up.
Now seal the inside if you’re going that route. Brush or spray masonry sealer over the interior walls and the drainage hole, let it dry per the can, and give it a second coat. Keep sealer off the outside surface. Wipe everything down with a tack cloth when you’re finished.
Watch out for old flaking paint on a pot that’s been done before. Anything lifting has to come off, or your new coat peels along with it. The peeling paint fix walks through how far back to take it.
Step 3 — Prime
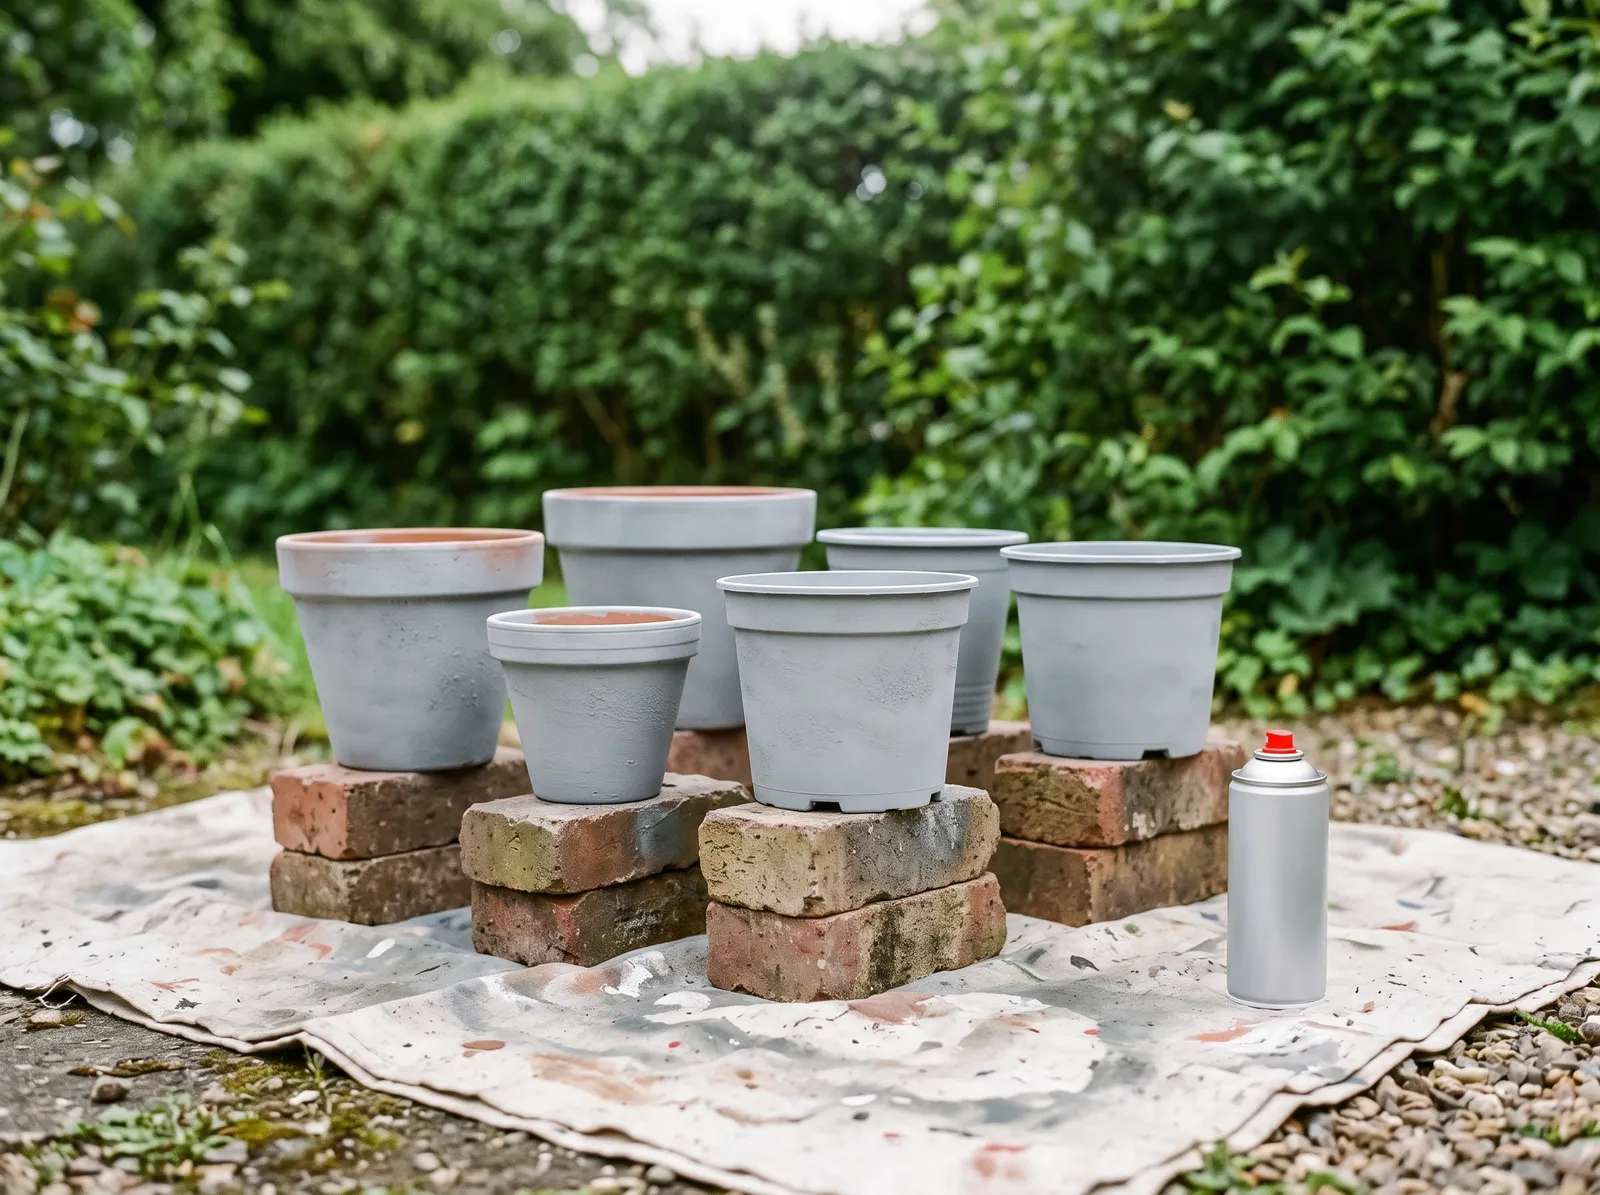 One light coat over everything, pots raised on bricks so the bottom edge gets covered.
Spray outdoors on a still day, ideally between 60 and 85 degrees with humidity under about 70 percent. Cold air makes the can spit and high humidity leaves a cloudy finish.
Hold the can 10 to 12 inches off and keep it moving before you press, past the edge before you release. One light coat, not a wet one. Terracotta will look patchy and thin after the first pass, which is correct. Give the rim and the bottom edge a straight-on pass of their own, since curved shoulders leave those two places thin.
Let it flash off for the time the can specifies, usually 10 to 20 minutes for spray primer.
Step 4 — Color, in Light Passes
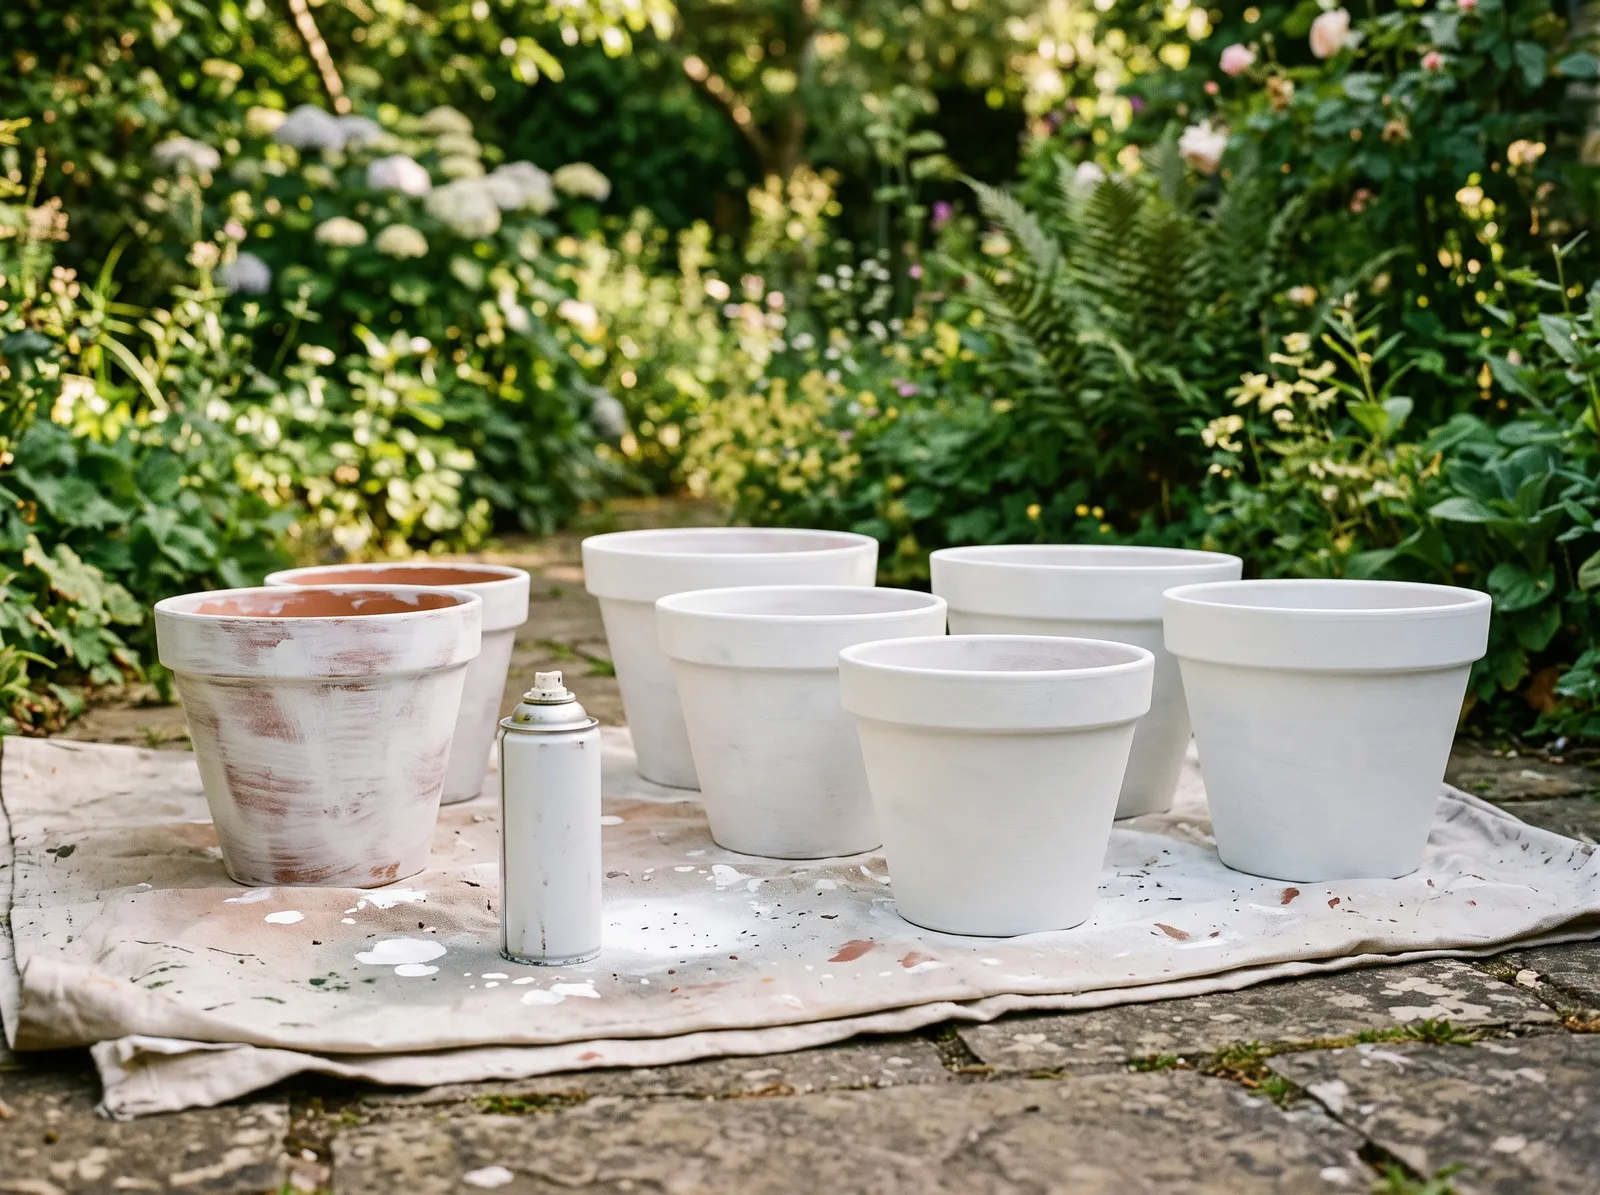 Two or three thin passes, each one light enough to look patchy on its own.
Two to three coats, all of them thin. Overlap each pass by about a third and work in one direction, then turn the pot rather than reaching around it. Runs on a pot always land in the same two spots: the rolled lip and the tapered lower third where the surface turns away from you.
Watch the recoat window. Rust-Oleum 2X wants a second coat within an hour or after 48 hours, and coming back at the six-hour mark wrinkles the film underneath. The spray paint dry time chart has the numbers for the common cans.
Mask the inside rim with a plastic grocery bag tucked into the pot. Let the color wrap about an inch over the inside lip and stop there. That line disappears the moment soil goes in.
Watch out for spraying in direct sun. Paint skins over before it levels and you get a gritty, dusty-looking surface. Work in shade or wait until the pot has cooled.
Step 5 — Clear Coat, Cure, Replant
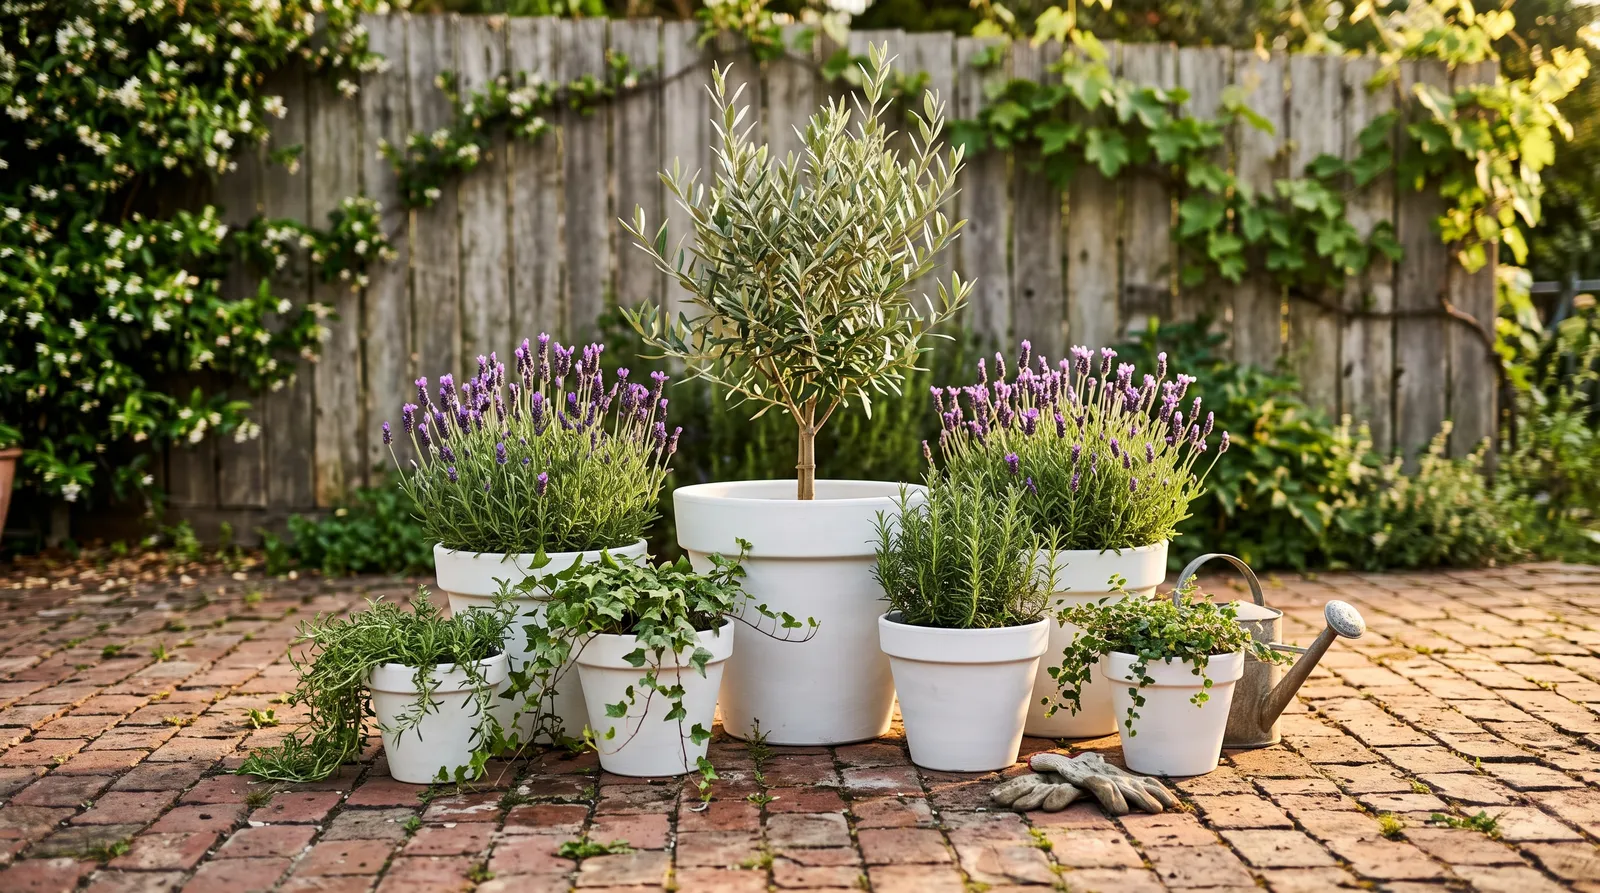 Clear-coated, cured three days, back on the patio.
A UV-resistant clear coat is optional on white and near-neutrals and worth doing on anything saturated. Reds, deep blues, and bright yellows fade fastest outdoors. Two light passes of Rust-Oleum Crystal Clear Enamel or Krylon UV-Resistant Clear buys a season or two, and a matte clear won’t change the sheen you picked.
Then wait. Touch dry is not cured. Give the pots at least 48 to 72 hours before soil and water go anywhere near them, and a week before they sit out through rain. A pot planted the same afternoon will take the imprint of every wet stone you set against it.
If the planters live next to painted garden furniture, match the palette while you’re at it. The garden furniture project covers the brush-grade side of the same yard.
Common Mistakes
- Painting damp terracotta. The single biggest failure. Moisture moves out through the clay and lifts the paint from behind in dime-sized flakes. A week upside down in a dry space, minimum.
- Skipping the vinegar scrub. That white salt bloom is a release layer. Paint over it and the finish comes off in sheets the following spring, still carrying the crust on its back.
- Regular enamel on a plastic pot. Plastic flexes in heat and the rigid film cracks. Krylon Fusion, or a bonding primer first.
- Recoating at the wrong hour. The four-to-twelve-hour window on most spray enamels is where a second coat wrinkles the first. Either within the hour or after two days.
- Leaving painted terracotta out over a hard winter. Freeze-thaw pops the paint off from inside the clay. Garage or shed for anything below freezing.
Dry and Cure Schedule
| Time after final coat | What’s safe |
|---|---|
| 20-30 minutes | Touch dry, pull the masking bag |
| 1 hour | Recoat window closes on most 2X-style cans |
| 24 hours | Move the pot, handle gently |
| 48-72 hours | Clear coat, then plant it up |
| 7 days | Leave it out through rain, wipe it down |
| 30 days | Full cure, scrub-safe, fully weather-hard |
Keeping Them Looking New
A sealed, primed, painted terracotta pot holds three to four seasons before it wants a refresh. Plastic and concrete go longer because they don’t breathe moisture out through the wall. The first thing to go is always the bottom two inches, where the pot sits in standing water on a saucer.
Set painted pots on pot feet or a couple of flat stones. Lifting them a half-inch off the patio does more for the finish than any clear coat.
For a chip, scuff the spot with 220-grit, dab primer if you’re down to bare clay, and hit it with the leftover can from a foot away in a quick burst. Matte blends nearly invisibly. Gloss shows a halo, which is one more reason to go matte outdoors. Keep the can on a garage shelf; a ten-second touch-up in April is the difference between a set that looks intentional and a set that looks like it’s been through something.
Cost
| Item | Cost |
|---|---|
| Spray color coat (2 cans) | $12-$20 |
| Bonding or etch primer (1 can) | $7-$11 |
| Masonry sealer (1 quart) | $10-$16 |
| UV clear coat (1 can) | $8-$12 |
| Sanding sponges, tape, vinegar | $8-$14 |
| Total | $25-$60 |
That covers four to six mid-size pots. A single glazed ceramic planter of the same size runs $40 to $90 on its own, so painting a shelf of tired terracotta pays for itself on the first pot.
Where I’d Start
Old terracotta with salt bloom, going on a sunny patio: scrub with vinegar, dry a full week, seal the interior with masonry sealer, one coat of bonding primer, two light coats of Rust-Oleum 2X Ultra Cover in a flat warm white. Give it three days before you plant.
Mixed plastic nursery pots you want to stop looking like nursery pots: scuff with 220-grit, wipe down, two coats of Krylon Fusion All-In-One in a matte charcoal, and no primer needed. That one’s a Saturday morning, and by dinner the whole group looks like it came from somewhere.
Ask a Question