How to Fix Peeling Exterior Paint
Diagnose exterior peel by failure pattern — between coats, off the substrate, or in sheets — then scrape, sand, Cover Stain prime, and two-coat acrylic. A 22-year contractor's playbook.

Exterior paint doesn’t peel because the paint was bad. It peels because something underneath gave up — moisture pushing out, a substrate the topcoat never bonded to, or a UV-cooked film that ran out of flex. Read the failure pattern first, fix the cause, then paint. Skip the diagnosis and you’re on the same ladder next spring.
Does This Match What You’re Seeing?
How the paint comes off the wall tells you what failed. Look before you scrape.
- Between coats (top layer lifts, primer or older paint still stuck): intercoat failure. Wrong primer, glossy surface, or a topcoat applied over a film it never bonded to.
- From the substrate (paint and primer release together, bare wood underneath): moisture from behind, or no primer in the first place. Most common on north-facing siding, gable ends, and anywhere a gutter overflows.
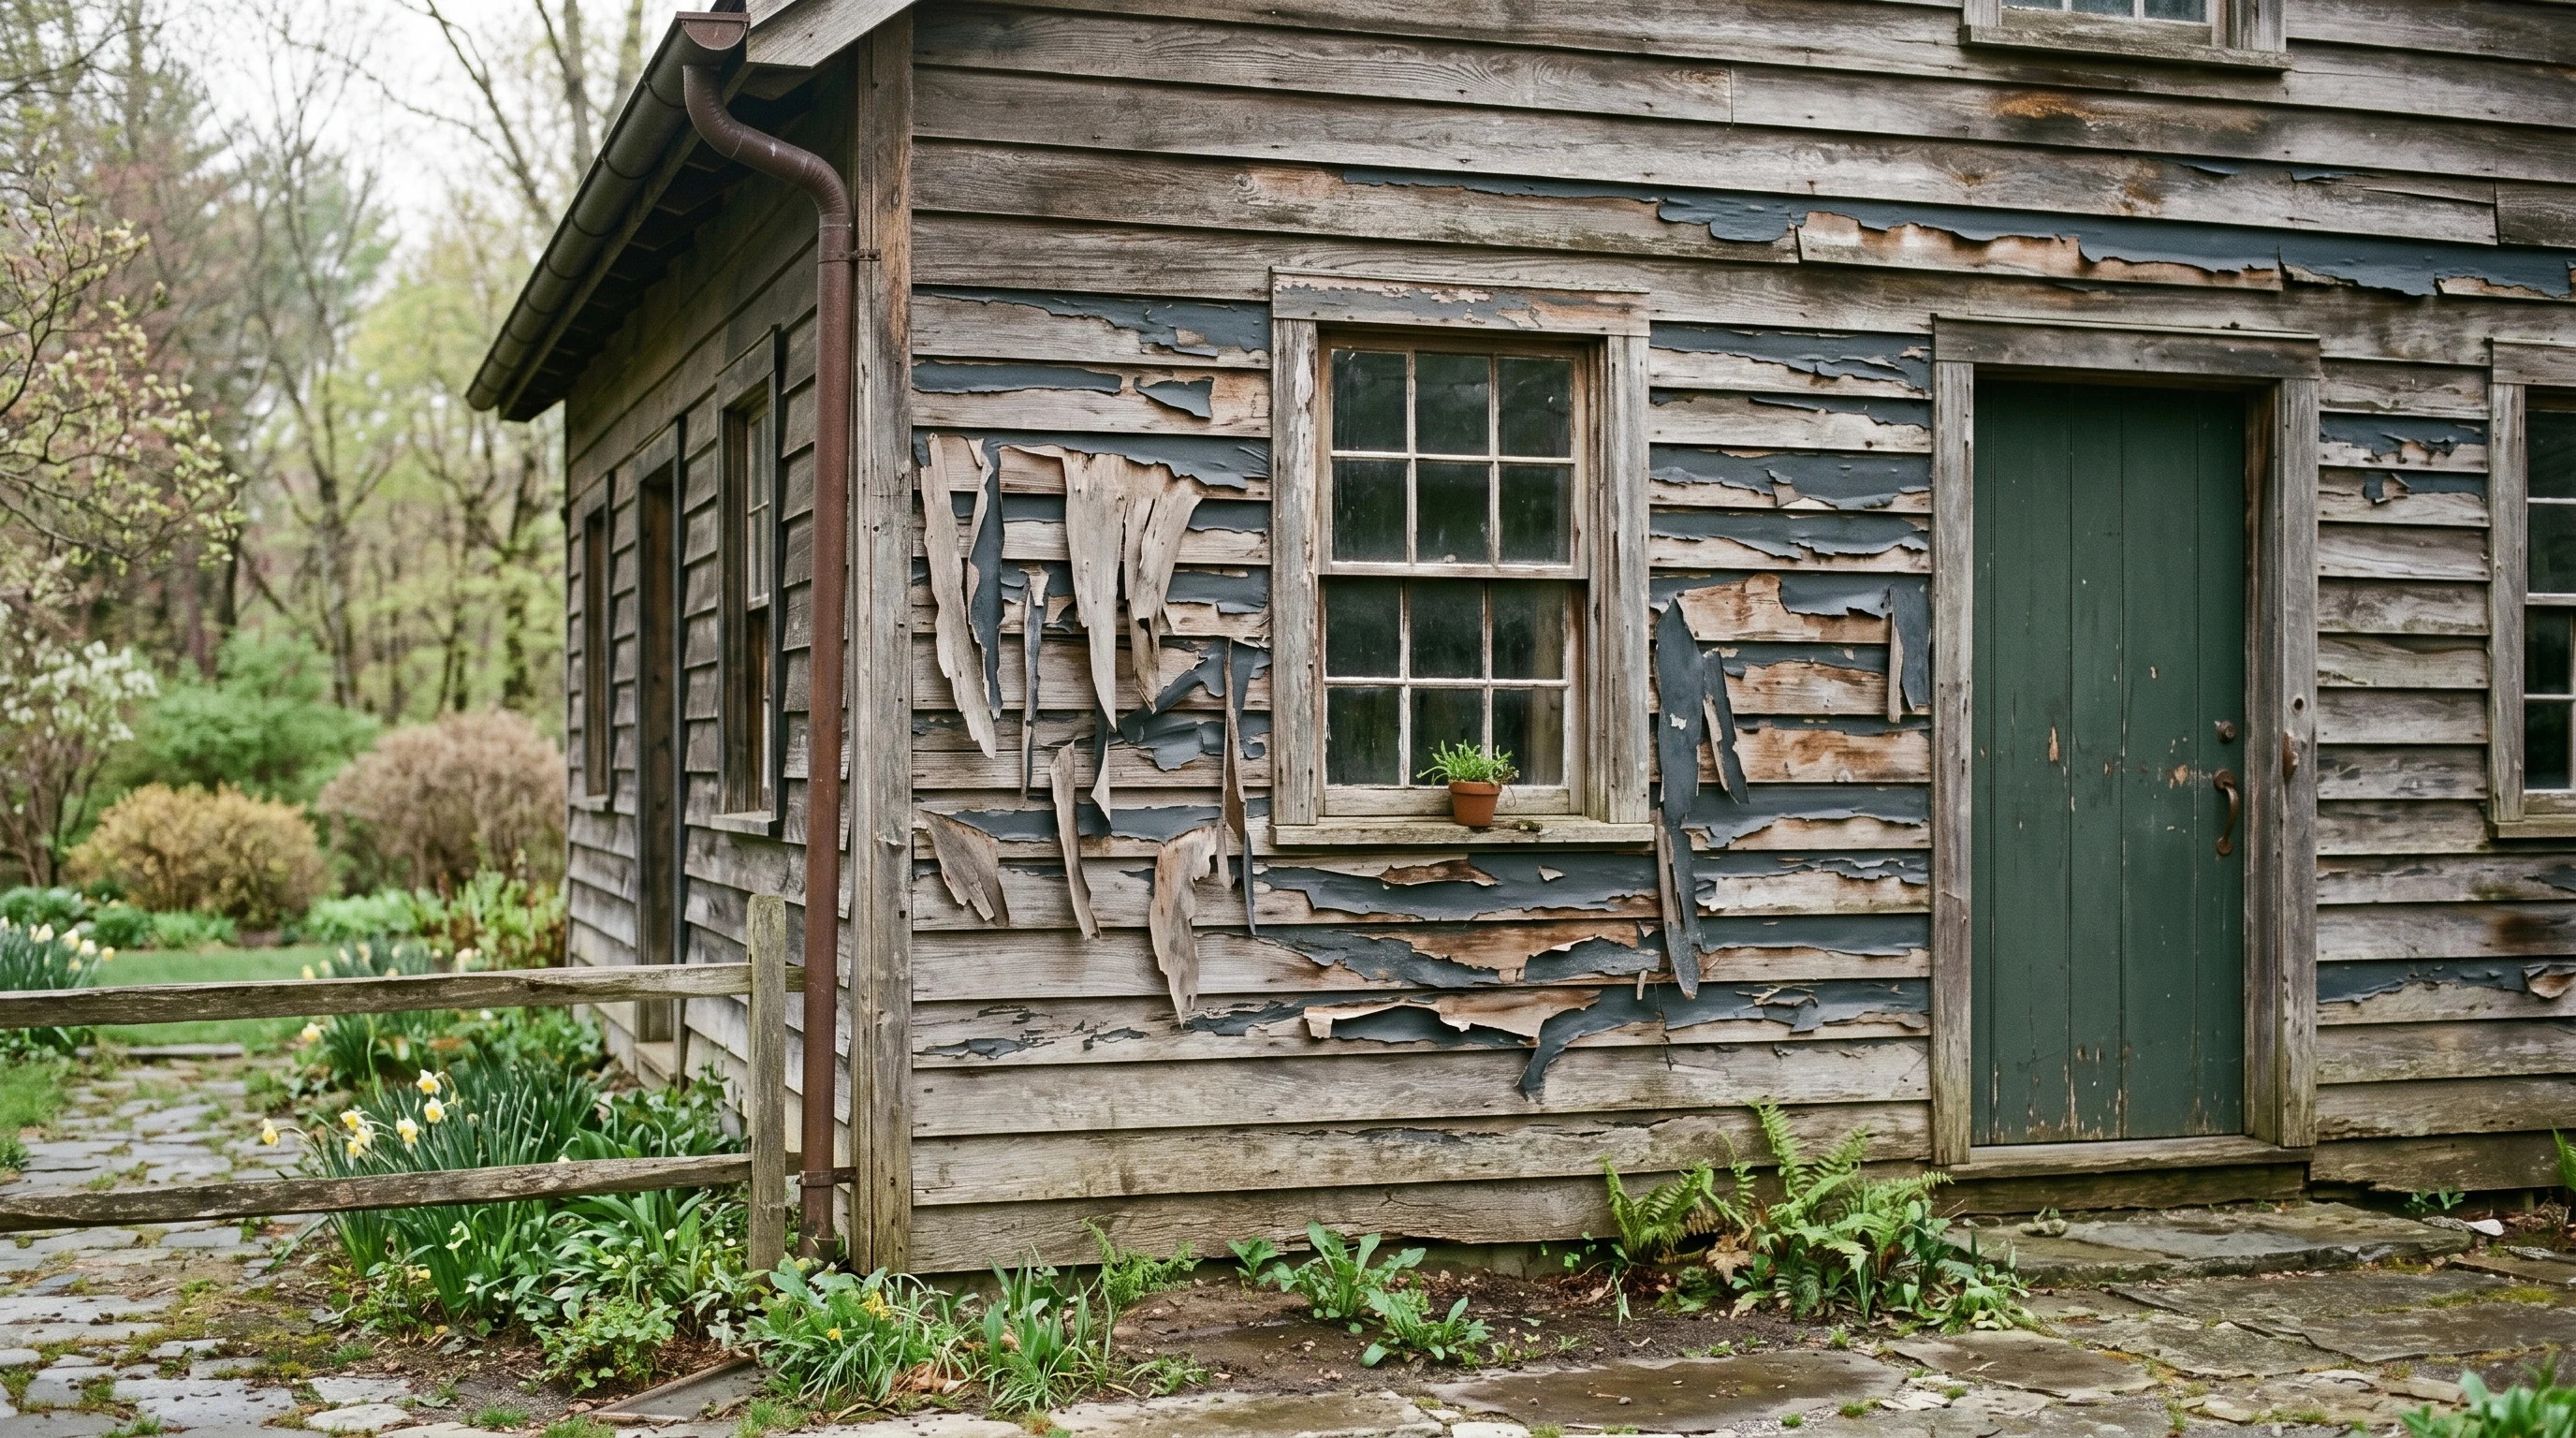
- In sheets (large flexible pieces coming off intact): old film lost adhesion across a wide area. Usually a chalked or weathered original coat that nothing was going to stick to without binding it down first.
- Small flat chips, no curl, no flexibility: the film is dead. UV-baked acrylic that’s already lost its elasticity. Alligatoring usually precedes this by a season.
- Bubbles or blisters that pop and reveal wet substrate: liquid water. Caulk failure at trim, flashing dumping water behind the boards, or a bath fan venting into the soffit.
If the pattern is mixed, it usually is. Moisture problems pull primers off, and the topcoat that was already going to fail goes with them.
How Serious Is This?
A few feet of trim peel is a Saturday. A whole gable end coming off in strips is a two-weekend job plus a moisture investigation. Three things push it to high severity:
- Pre-1978 home. Lead until tested. EPA RRP rules apply, full stop.
- Soft, dark, or sagging wood under the peel. The substrate is rotting. Replace boards; paint won’t save them.
- Same spot peeled within 18 months of the last repaint. The moisture source is still active. Stop painting and start diagnosing.
Why This Is Happening (root Cause)
Three forces drive most exterior peel, and on a real house they usually overlap.
Moisture from behind. Vapor migrates from the warm side of a wall to the cold side. On a north-facing exterior in winter, that’s outward, through the sheathing, through any gap in the vapor barrier, behind the paint film. The film blocks the vapor, pressure builds, the bond breaks. Bath fans venting into the soffit do this to whole roof edges. Overflowing gutters do it to the strip of siding directly below them.
Bad bond, usually because of bad prep. Bare cedar and pine drink binder out of any waterborne topcoat applied straight. The film looks fine for a season and sheets off in the second freeze-thaw cycle. Painting over a chalked old coat without a binding sealer is the same failure with a different cause: the chalk is the bond layer, and chalk doesn’t hold anything.
UV fatigue plus thermal cycling. Acrylic film expands and contracts every day for a decade. Eventually it can’t anymore. You get alligator cracks, then small chips, then flat peel. South and west walls in high-UV zones hit this first. There’s no fixing a film that’s done. It has to come off.
Press painter’s tape against the existing film before you do anything else. If paint releases with the tape, your problem is the bond, not the topcoat you were planning to roll on.
The Fix
Step 1. Find and Stop the Moisture Source
Walk the wall. Look up first. Gutter overflowing or pitched wrong? Fix it before you scrape a single chip. Downspout dumping at the foundation? Add an extension. Bath fan ducting visible in the soffit? Reroute through the roof. Trim caulk cracked at every window? Re-caulk with a 50-year urethane, not painter’s acrylic.
If you can’t find a source, run a hygrometer inside for two weeks. Indoor RH above 60% in winter is the source. Add bath-fan runtime, kitchen exhaust, or a dehumidifier before you paint anything.
Don’t paint until the substrate has been dry for 48 hours. A moisture meter in bare wood should read under 15%.
Step 2. Scrape
A 2-inch carbide scraper, two-handed, pulled toward you at about 30 degrees. Anything that releases under light pressure is failing. Get it off. Don’t fight sound paint loose; you’ll chew the substrate and add another sanding pass.
For pre-1978 homes, wet-scrape only. Mist the area as you go, plastic sheeting on the ground to catch chips, P100 respirator, HEPA vacuum at the end. A shop vac spreads lead dust; it doesn’t capture it.
Step 3. Feather the Edges
Scraping leaves cliffs: bare wood next to a hard edge of remaining paint. Top-coat over a cliff and the transition telegraphs through every coat forever. You’ll see it from the street the morning after.
Sand each edge with 80 grit, then step to 120, then 220, until the transition feels flush under your fingertip. Random-orbit sander on the lowest setting; finish by hand. Power sanders eat cedar fast.
Safety (read Before Step 4)
N95 minimum during any sanding. P100 for pre-1978 homes, no exceptions. Eye protection overhead; chips fall fast. Never mix bleach with vinegar, ammonia, or hydrogen peroxide. Produces toxic chlorine gas. If you’re cleaning mildew off siding, use one cleaner or the other, rinse fully between products.
Step 4. Wash and Dry
Aged exterior wood carries chalk, pollen, mildew, and pollution film even after sanding. TSP or a TSP substitute, soft-bristle brush, rinse top-down, dry 48 hours. If you saw mildew anywhere, hit it first with a 1:3 bleach solution or Concrobium Mold Control. Let it dry completely before primer. See the mold-on-walls fix if it covers more than a small patch.
Step 5. Prime with Cover Stain
Match the primer to the substrate:
| Substrate | Primer | Why |
|---|---|---|
| Bare cedar, pine, or fir | Zinsser Cover Stain (oil) | Locks tannin, seals end grain, won’t raise the wood |
| Chalky old paint, still bonded | Zinsser Peel Stop | Binds the chalk so the next coat has something to grab |
| Glossy alkyd trim | Zinsser Bulls Eye 1-2-3 or INSL-X STIX | Bonding primer; sticks to slick surfaces without sanding to dull |
| Severe stains, knot bleed, smoke | Zinsser BIN (shellac) | Blocks anything from bleeding through, dries in 45 minutes |
| Fiber-cement siding | 100% acrylic exterior primer | Cement is alkaline; oil saponifies on alkaline substrates |
For most exterior wood peel, the answer is Cover Stain. One full coat, brushed into bare wood and feathered edges, cut in your trim transitions. Dry to recoat: 2 hours at 70°F, longer on a cool morning. Sand 220 lightly before topcoat.
If the substrate drinks the first coat into a flat dead spot, apply a second. Bare cedar often needs two.
Step 6. Fill, Caulk, Skim
Gouges, nail holes, and split board edges need exterior wood filler. Bondo or Abatron LiquidWood for structural, lightweight exterior spackle for cosmetic. Sand flush at 220 grit. Spot-prime any filled area; filler absorbs differently than the wood around it.
Re-caulk trim-to-siding joints with a 50-year urethane or hybrid polyether. Painter’s acrylic caulk fails in two years on an exterior.
Step 7. Two Coats of 100% Acrylic
Two coats. Always two coats. One-coat coverage on the can means one coat under perfect conditions, and your repaired panel isn’t perfect conditions.
For most repaints:
- Siding and trim, general: Sherwin-Williams Duration, Benjamin Moore Aura Exterior, or Behr Marquee in satin or low-gloss
- South and west walls in high-UV zones: prioritize fade-resistance. Duration or Aura Exterior over Marquee
- Cedar shake and shingle: flat or low-luster acrylic solid stain over Cover Stain works better than full paint; less film to peel
Cut in the edges, roll or spray-and-back-roll the field while the cut-in is still wet. Don’t stop in the middle of a wall. Stopping mid-wall is how you get lap marks, and lap marks show up the second the morning sun hits the wall in October.
Apply between 50°F and 85°F, surface temperature not air temperature. Direct sun on a dark wall reads 130°F on an infrared thermometer in August. Paint flashes, never builds adhesion. Work the shaded side of the house.
Recommended Product
Zinsser Cover Stain. Oil-based exterior primer. Locks tannin from cedar and redwood, bonds to bare wood and weathered paint, dries hard enough to sand in 2 hours. The default exterior primer for this fix and the only one I’d cut in on a paying job without thinking twice about it.
Cover Stain on Amazon · Manufacturer page
Prevention
- Gutters. Clean twice a year, replace any section pitched wrong. The strip of siding under an overflowing gutter is the single most common peel zone.
- Caulk. Inspect every spring. Re-caulk trim joints with a 50-year urethane, not painter’s acrylic. Budget caulk is why you’re repainting trim every four years.
- Bath fans into soffits. Reroute through the roof. Venting moist indoor air into the soffit destroys north-facing siding from the inside.
- Downspouts. Extend at least 4 feet from the foundation. Splash blocks aren’t enough.
- Two coats on every repaint. One coat is half the protection.
- Repaint cycle. 7 to 10 years on prepped wood, 5 to 7 for a south wall in high UV. Plan around it instead of waiting for peel.
Lead-Paint Warning (pre-1978 Homes)
If your house was built before 1978, assume the paint underneath the failing coat is lead-based. Disturbing it without containment is a real hazard, especially for kids and pregnant women. Regulated under EPA RRP.
Test with 3M LeadCheck swabs (about $10 at any home center). Cut a notch through every paint layer; swab each one separately.
Positive result: DIY under RRP-equivalent practices means wet-scrape only, 6-mil plastic containment on the ground out 10 feet, P100 respirator, HEPA vacuum at cleanup, no dry sanding, no heat guns. Heat volatilizes lead. If the area is more than a few square feet, or you have kids living in the house, or you don’t own a HEPA-rated sander, hire a certified RRP contractor.
When to Call a Pro
- Pre-1978 home with widespread peel
- Soft, dark, or sagging boards under the failing paint (rot, not peel)
- Peel returning on the same wall within 18 months of a proper repaint
- Mold area larger than 10 sq ft alongside the peel (EPA threshold)
- Two-story gable ends or anything over 12 feet without scaffolding
- Alligatoring across a full elevation. Full strip job, not a touch-up
What’ll Bite You in Two Years
Skip the moisture diagnosis and you didn’t fix the peel. You covered it. Two clean coats of Aura on a wall that still leaks vapor will be peeling again by the second winter. Paint is the visible layer of a system. Diagnose the wall, then paint it. Other order doesn’t work.