How to Paint Outdoor Furniture
Painting outdoor furniture so it survives a season outside: how to prep wood, metal, and resin, which exterior paint actually holds, and the steps that stop peeling.

Outdoor furniture fails in one of two ways. Either the paint never bonded, so it peels off in sheets after the first wet week. Or you used the wrong paint, and it chalks down to a dull powder by August. Both come from skipping prep and grabbing whatever’s on the shelf. Painting outdoor furniture isn’t hard. It’s just unforgiving, because the weather tests every shortcut you took.
The rule up front: match the prep to the material, then use a real exterior enamel. Do that and a thrifted patio set outlasts the cheap new one at the big-box store.
TL;DR
- Clean first, always. Outdoor furniture is coated in pollen, grime, and a chalky film. Paint won’t stick to it. Degrease, rinse, dry.
- Prep by material. Wood gets a scuff or bonding primer. Metal gets a wire brush and rust primer. Resin and plastic get an adhesion spray primer or nothing sticks.
- Use exterior enamel, not wall paint. Exterior acrylic or porch-and-floor enamel flexes and sheds UV. Interior paint chalks off in a season.
- Two thin coats beat one thick one. Thick coats sag on slats and never cure hard.
- Cure before you use it. Touch-dry in hours, but a week before it takes daily abuse without marking.
What You’ll Get
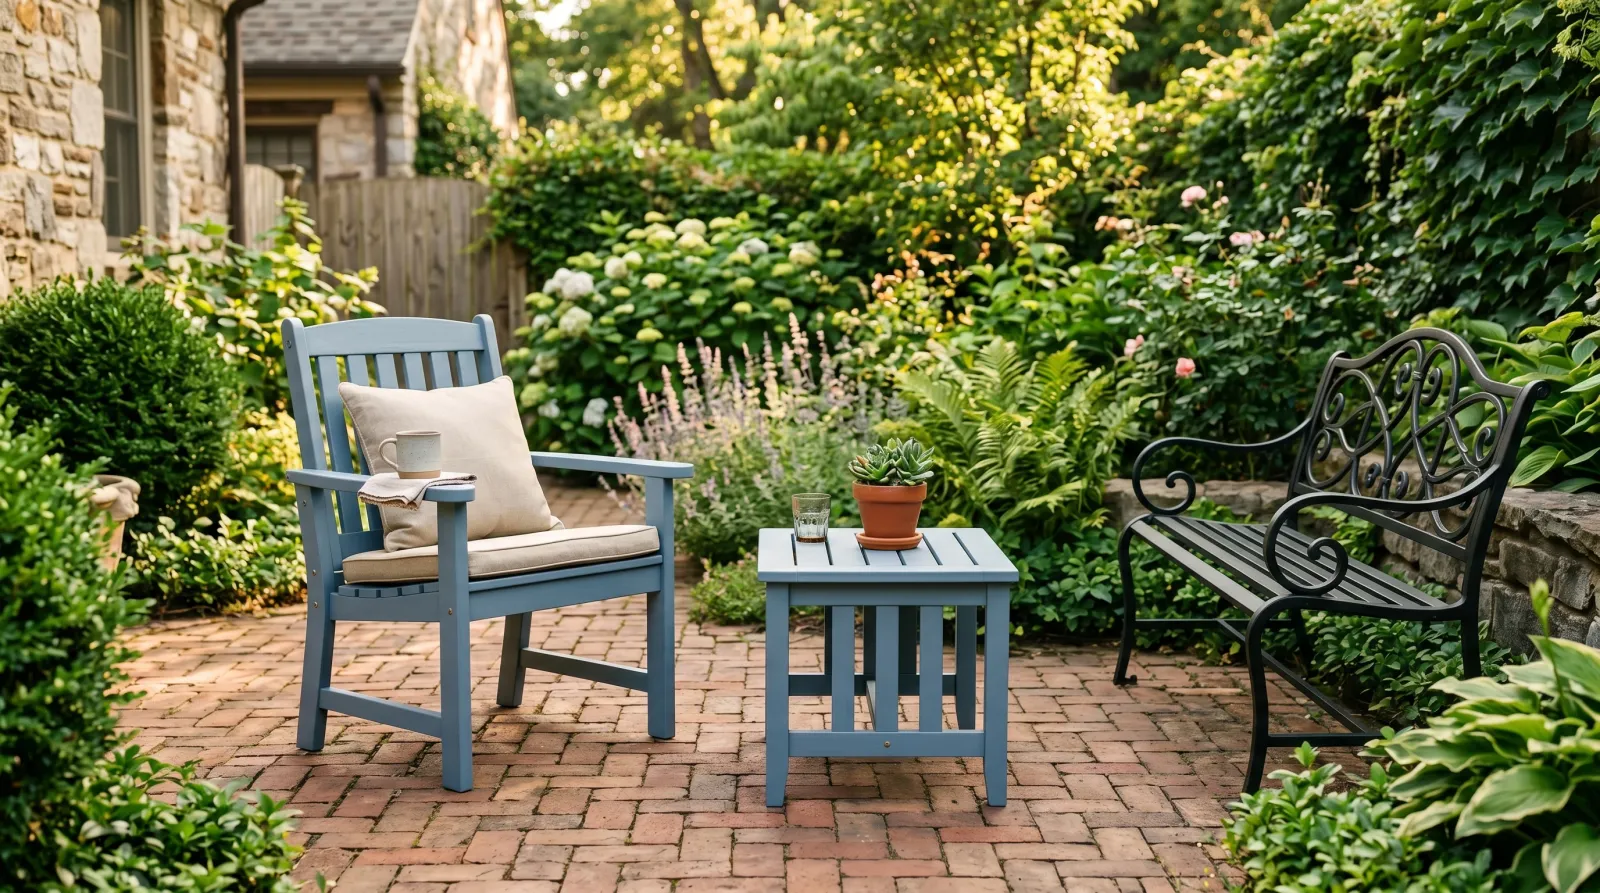
A patio set that looks intentional and survives a full season outside without peeling at the joints. A weekend of work, plus a week of cure before the cushions go back on.
The math: a curbside Adirondack chair, $60 in paint and primer, and you’ve got furniture that reads like the $300 version. The catch is the prep.
Honest Take on Difficulty and Time
One of the easier paint projects. No ladder, no ceiling, no cutting in against trim. The work is bending over slats and getting into the spindles, tedious more than hard.
Realistic time is one weekend for a small set if the weather cooperates. What wrecks the schedule isn’t the painting. It’s dew, humidity, and direct sun. Paint in the morning shade, not the afternoon blaze.
| Material | Active time | Total elapsed | Skill |
|---|---|---|---|
| Sound painted wood, scuff and recoat | 2-3 hrs | 1 weekend | Easy |
| Bare or weathered wood, primed | 4-5 hrs | 1 weekend + 1 week cure | Easy |
| Wrought iron / metal, wire-brushed and rust-primed | 3-4 hrs | 1 weekend | Easy-medium |
| Resin / plastic, spray-primed | 1-2 hrs | 1 weekend | Easy |
What You’ll Need
Paint and Primer
For wood, an exterior acrylic enamel or a porch-and-floor enamel (BM Aura Exterior, Sherwin-Williams Emerald Urethane Trim Enamel, Behr Premium Porch & Patio). Both flex as the wood swells and shrinks through the seasons, and both shed water and sun. See the best exterior paint round-up for the full SKU comparison.
Primer is the part nobody wants to buy and the part that decides whether this lasts. Bonding primer (INSL-X Stix or Zinsser Bulls Eye 1-2-3 Plus) for slick or new wood. Rust-converting primer (Rust-Oleum Rusty Metal Primer) for metal. For resin and plastic, an adhesion spray primer like Krylon Fusion. If you’re fuzzy on which primer grabs what, here’s what bonding primer actually does.
Skip interior wall paint outside. It has no UV package and no flex. It chalks down to powder and rinses off in the first hard rain.
Tools
A 2.5-inch angled brush for the slats and spindles, a 4-inch foam-mini roller for any wide flat faces, a wire brush for flaking metal, a putty knife, sanding sponges, a drop cloth, and rags. The brush is where you don’t cheap out. A $4 brush sheds bristles into the wet enamel and you’ll be picking them out for an hour. Picks are in the best paint brushes round-up.
Method: Brush vs. Spray
Two valid paths. Brush exterior enamel for wood, where you want a thick protective film and you don’t mind getting into the slats. Spray for metal and resin, where the surface is smooth and a brush leaves marks the weather will find. You can spray wood too, but in open air you’ll waste half the can to overspray and wind. For a slatted chair outdoors, the brush wins on control and coverage.
Step 1 — Clean Everything First
Outdoor furniture carries a film. Pollen, tree sap, grill grease, and a chalky residue from whatever finish is breaking down. Paint won’t bond to that film, no matter how good the primer is.
Wash the whole piece with a degreaser or a TSP substitute and a stiff brush. Rinse with a hose. Let it dry completely. Wood needs a full day in the sun to give up its moisture; trapped water under fresh paint blisters within weeks.
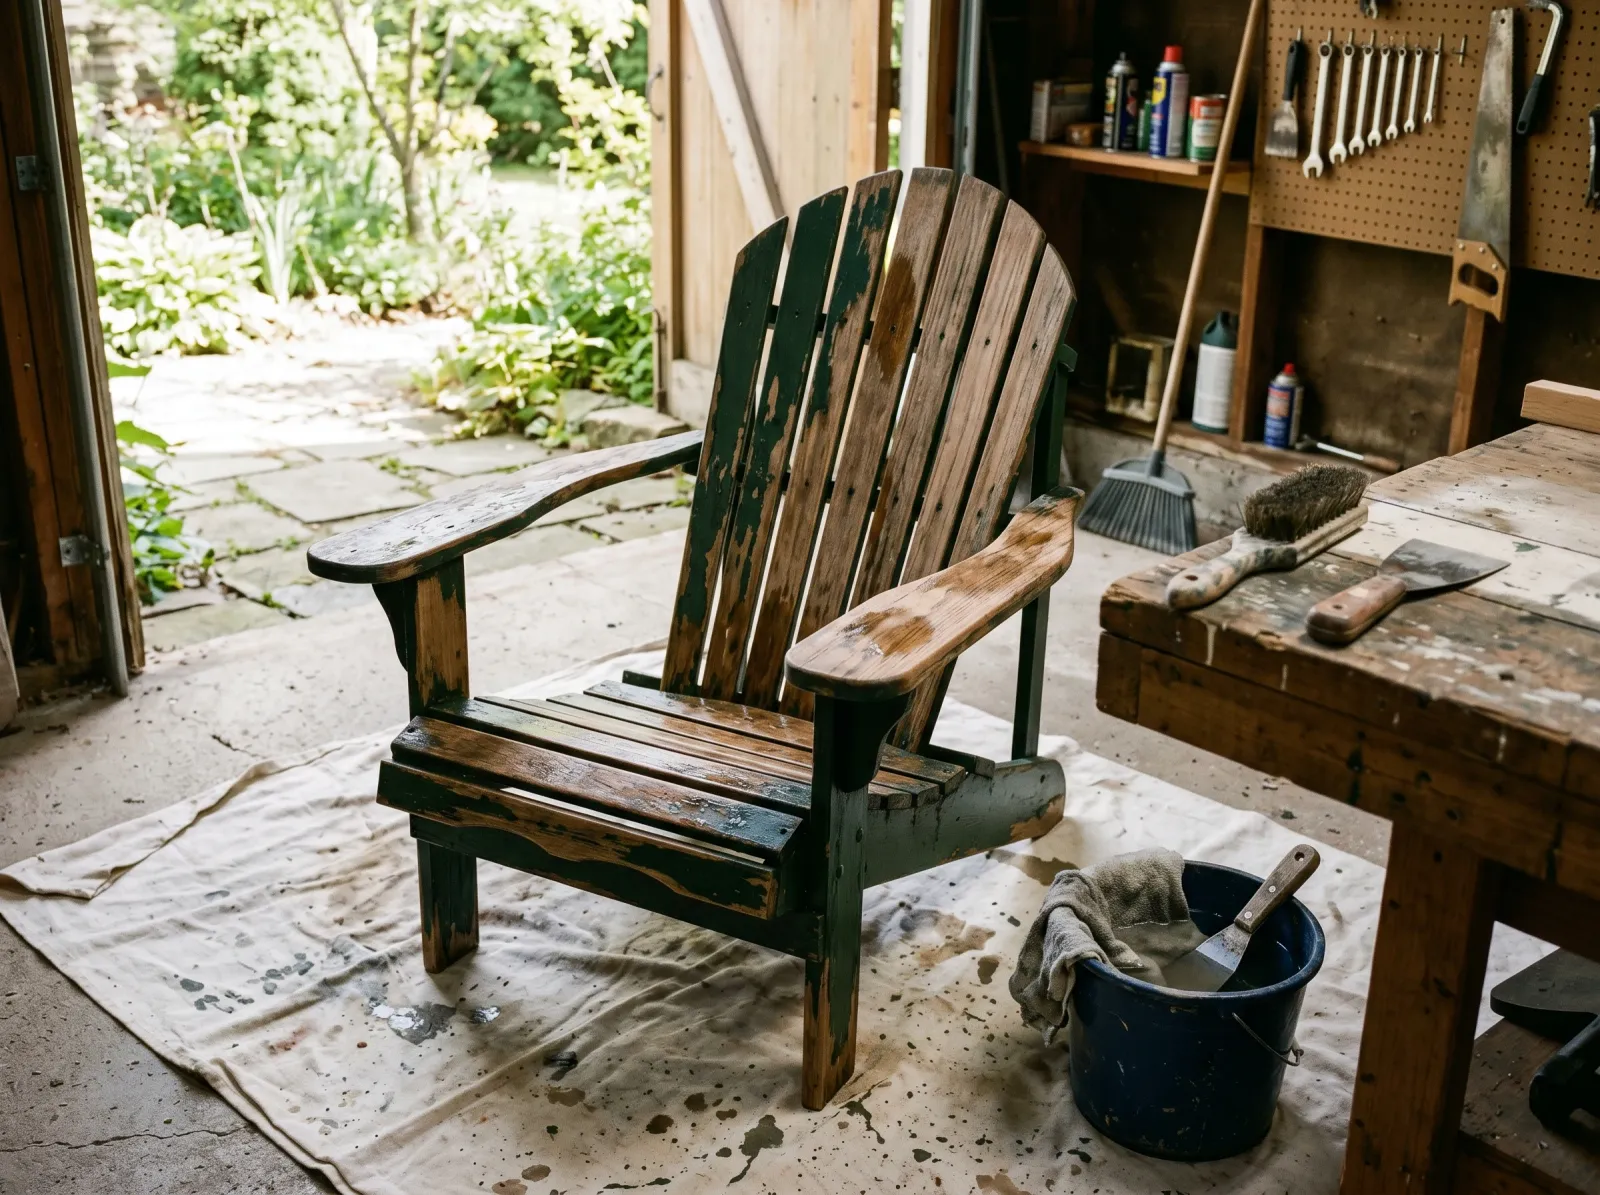 Hardware off, flaking paint scraped, the whole piece washed and left to dry before anything else happens.
Watch out for the chalk test. Rub a dark rag across the old finish. If it comes back coated in colored powder, the old paint is chalking. Wash harder, because primer won’t stick to a powdery surface.
Step 2 — Prep by Material
This is where the project actually splits. Match the prep to what’s in front of you.
Sound painted wood: scuff every face with a 220-grit sponge until the gloss is dull. Tack cloth. You can skip primer if there are no bare spots.
Bare or weathered wood: sand smooth with 120, then 220. Prime with an exterior bonding primer, one full coat. Bare wood drinks the first coat of paint and goes blotchy without it.
Wrought iron and metal: wire-brush every flaking spot until you hit sound metal or a stable rust layer. Then a rust-converting primer over the bare and rusted areas. That primer stabilizes light surface rust so it stops spreading under your topcoat.
Resin, plastic, and powder-coated: these are the slick ones. Scuff with 220, wipe with a degreaser, then an adhesion spray primer made for plastic. Brush-on house primer doesn’t grab plastic; it peels off in a sheet you can pull with a fingernail.
For deeper material-specific prep on bare and weathered boards, see the exterior wood guide.
 Glossy faces scuffed, bare wood and rusty metal hit with the right primer for each.
Step 3 — First Coat of Exterior Enamel
Thin coats. Always thin coats. Slatted furniture has a hundred edges, and a loaded brush pools paint at every one. Those pools dry as sags you can’t sand out without going back to primer.
Dip the brush a third of the way, tap once on the rim. Paint the slats edges-first, then the flat face, with the grain. Get into the spindles and joints; that’s where water sits and where peeling starts. Lay the chairs on their backs to reach the undersides. Water finds the spot you skipped.
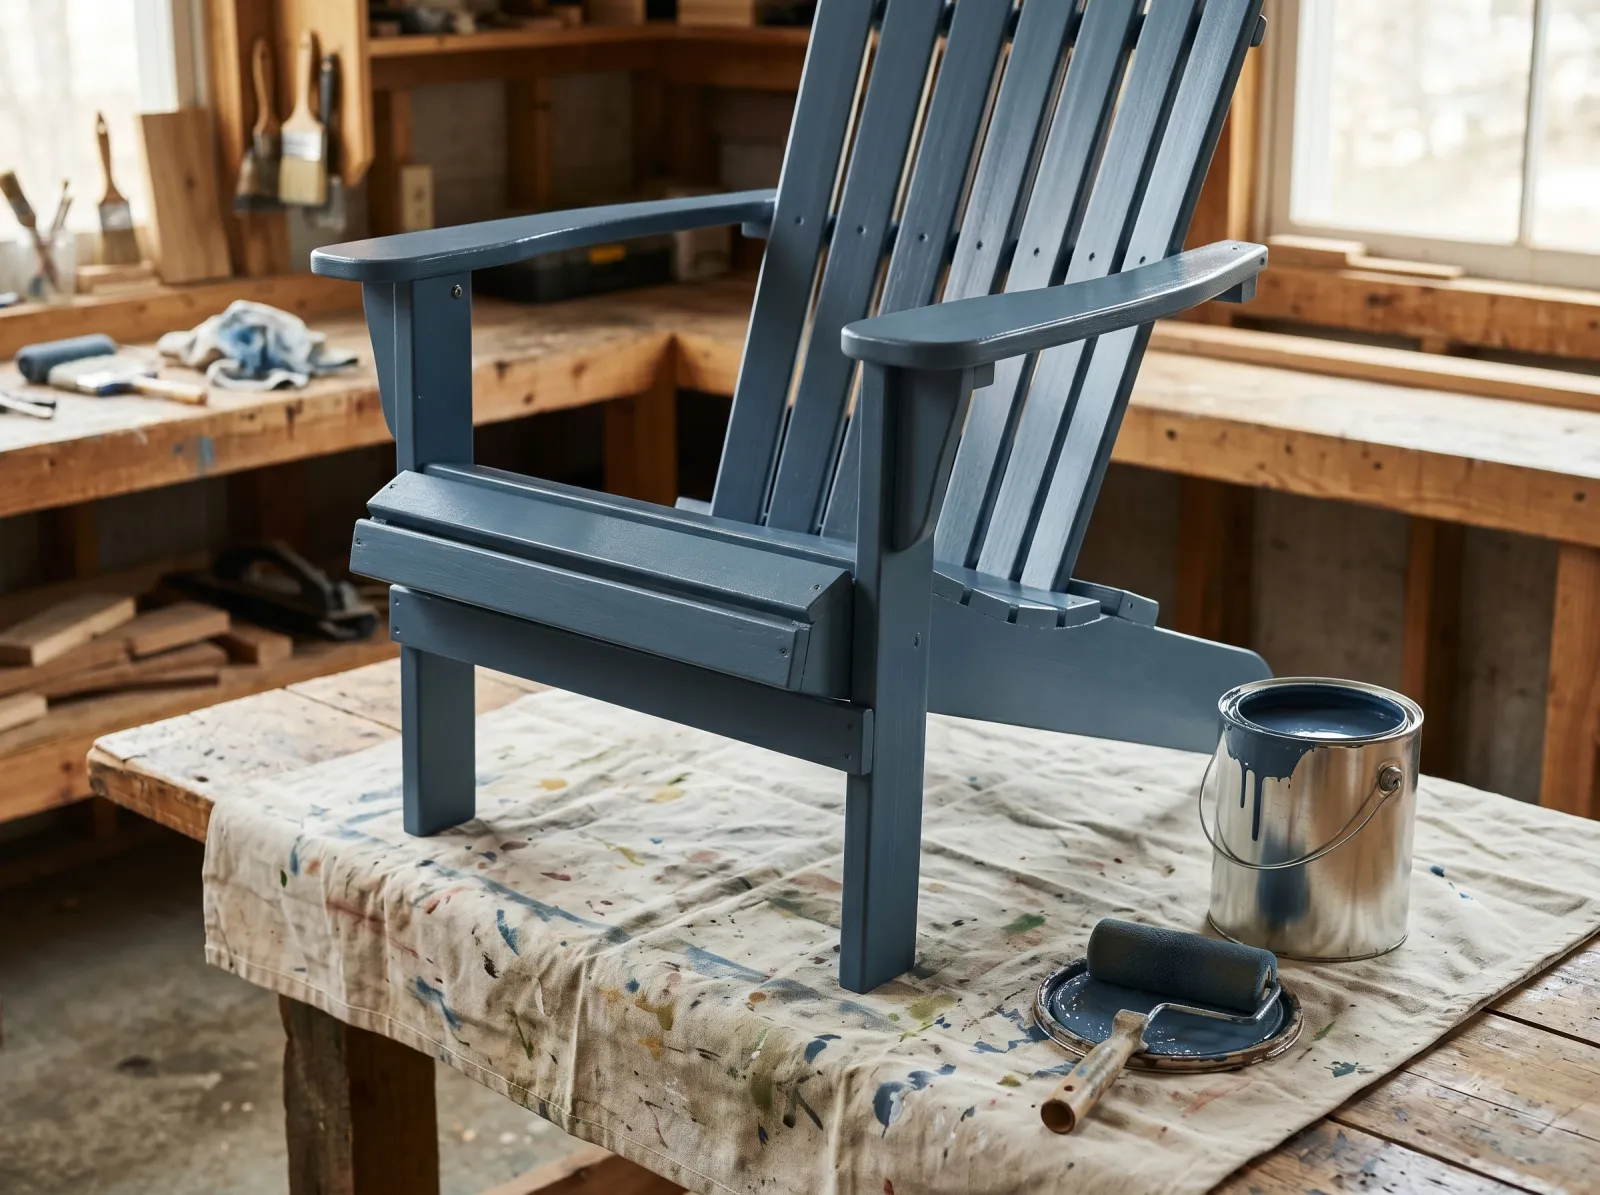 Thin first coat laid with the grain, slats painted edges-first so nothing pools at the corners.
Watch out for painting in direct sun. The enamel skins over before it levels, and you get lap marks and a rough texture. Work in the shade and chase the shade around the yard if you have to.
Step 4 — Second Coat, Then Cure
Let the first coat dry the full time on the can, usually 4 to 6 hours for exterior enamel at normal temperatures. Light scuff with 220 if the surface feels gritty, tack it, and lay the second coat the same way as the first.
Two coats is the minimum outside. One coat looks fine in the driveway and fails at the first joint by midsummer.
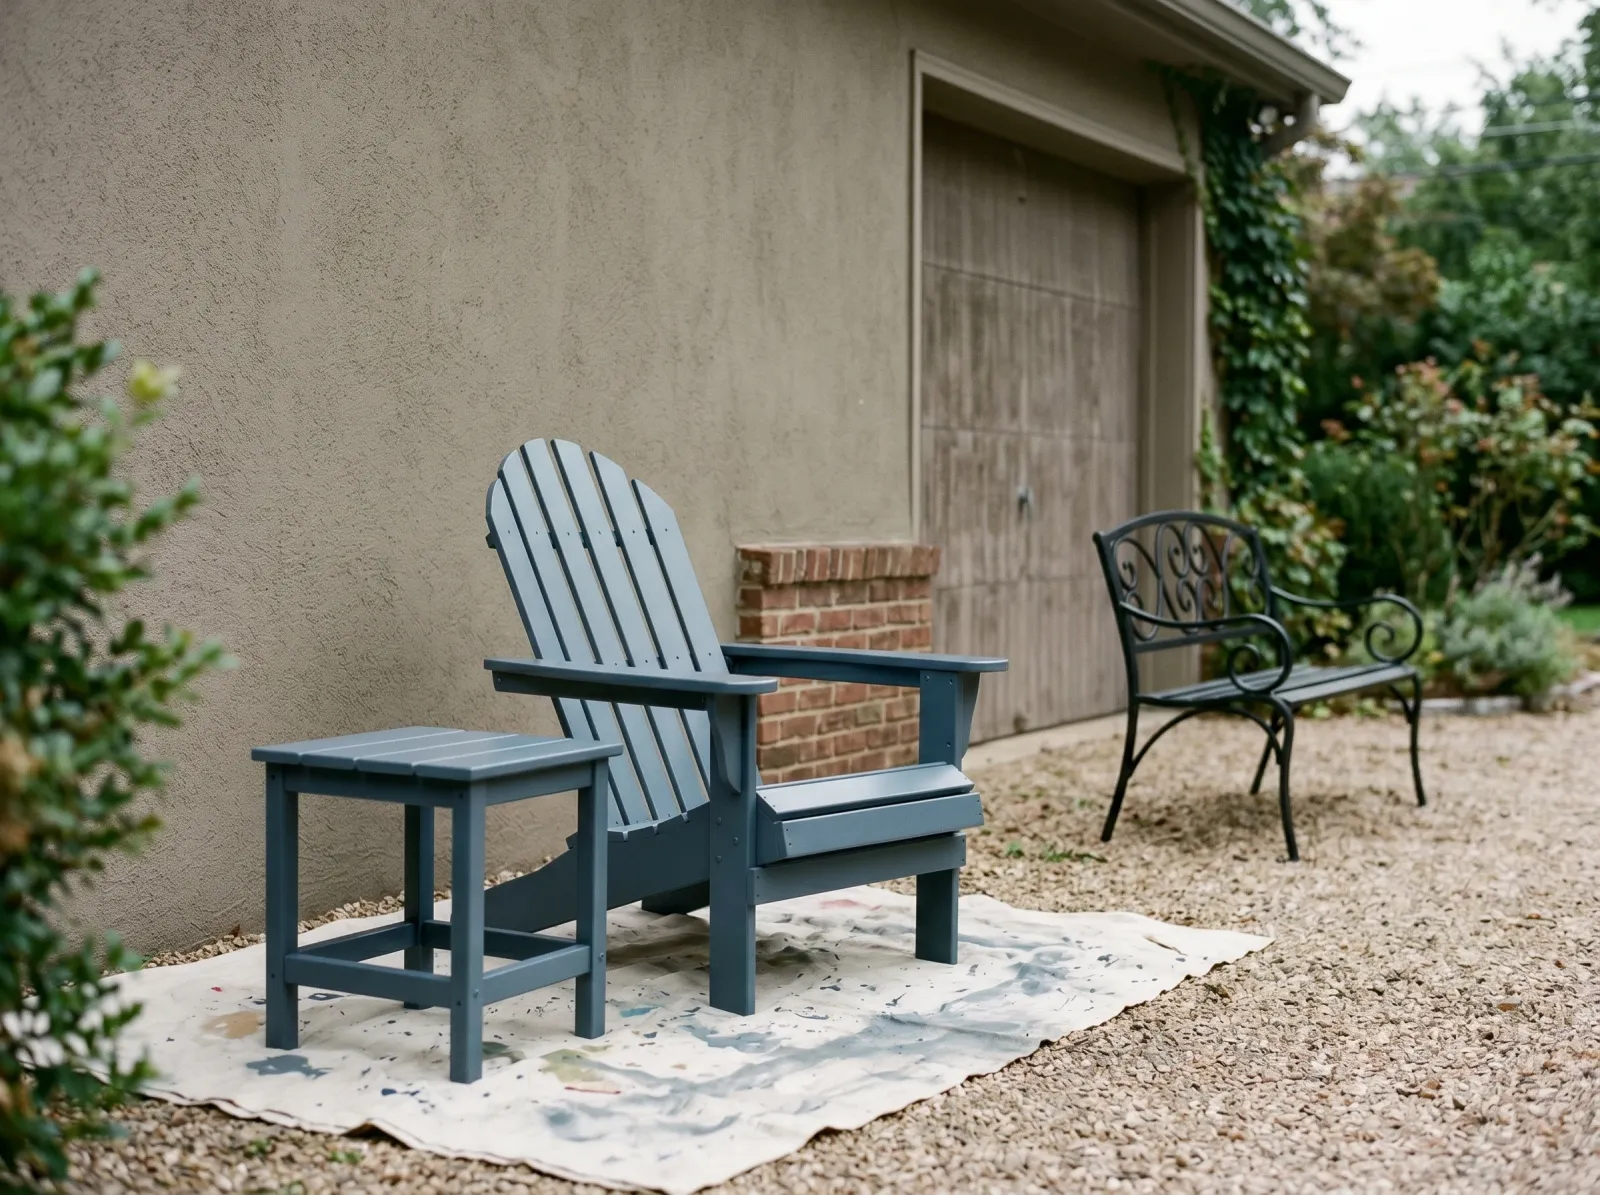 Second coat on, pieces moved into open shade to cure away from direct sun and morning dew.
Move the pieces out of the weather to cure. Morning dew on a half-cured enamel leaves water spots that won’t buff out. A garage or covered porch for the first 48 hours.
Common Mistakes
- Painting over a dirty or chalky surface. The number-one cause of peeling outdoor furniture. The paint bonds to the grime, not the wood, and grime lets go in the first wet week. Wash and let it dry before anything.
- Using interior or wall paint outside. No UV package, no flex. It chalks down to powder by August and rinses off in the rain. Exterior enamel only.
- Skipping the adhesion primer on resin or plastic. House primer peels off slick plastic in a sheet. Resin furniture needs a spray adhesion primer made for plastic, full stop.
- Painting bare metal without dealing with rust. New paint over loose rust lifts when the rust does. Wire-brush to sound metal, then rust-converting primer.
- Thick coats on slats. They sag at every edge, dry soft, and never cure hard enough to take a season outside. Two thin coats, not one heavy one.
Cure Schedule
| Time after final coat | What’s safe |
|---|---|
| 4-6 hours | Touch dry; don’t sit on it |
| 24 hours | Move it, handle it gently |
| 7 days | Normal daily use, cushions back on |
| 14 days | Light rain exposure |
| 30 days | Full cure; hose it down, scrub it |
Don’t rush the cushions. Vinyl and foam left on uncured enamel will print a pattern into the finish and sometimes stick to it. A week of patience saves you a redo.
Maintenance and Touch-Ups
Painted wood with a real exterior enamel runs three to six years before a refresh. Full-sun exposure shortens that; covered storage over winter roughly doubles it. Metal and resin done with adhesion primer and spray enamel run two to four years before the edges start to chip.
For a chip, scuff the spot, dab the original paint on with a small brush, feather the edge in. Don’t repaint a whole slat over one chip or the patch reads brighter than the weathered paint around it.
Hose the furniture off a couple of times a season. Most of what looks like worn paint is dirt and pollen baked on by the sun.
Cost Breakdown
| Item | Cost |
|---|---|
| Exterior enamel (1 quart) | $20-$35 |
| Bonding or rust primer (1 quart) | $15-$20 |
| Spray primer + enamel (resin/metal) | $12-$20 |
| Brush + foam-mini roller | $20 |
| Sponges, tack cloth, degreaser | $15 |
| Total per set | $60-$90 |
A curbside Adirondack chair plus $40 in materials lands under $50. A new solid-wood one is $150 and up, and the cheap ones are pine that grays out in two summers anyway.
A Specific Recommendation
For a weathered wood patio set: wash it Friday, dry overnight, scuff and spot-prime Saturday morning, two coats of Behr Premium Porch & Patio or BM Aura Exterior across the weekend. Cure under cover for a week. Cushions back on the following weekend.
For a rusted wrought-iron bench: wire-brush, Rust-Oleum Rusty Metal Primer, then two coats of Rust-Oleum 2X in satin black from a can. Done in an afternoon.
What’ll bite you in two years: the joints and the undersides you couldn’t be bothered to coat. Water pools there, sneaks under the film, and lifts the paint from the back. Paint the parts nobody sees. That’s the half of the job that decides whether you’re doing this again next spring.