How to Refinish Old Wood Furniture With Paint
A plain, weekend guide to refinish old furniture with paint: clean, scuff, prime the right surfaces, pick chalk paint or cabinet enamel, and seal so it lasts.

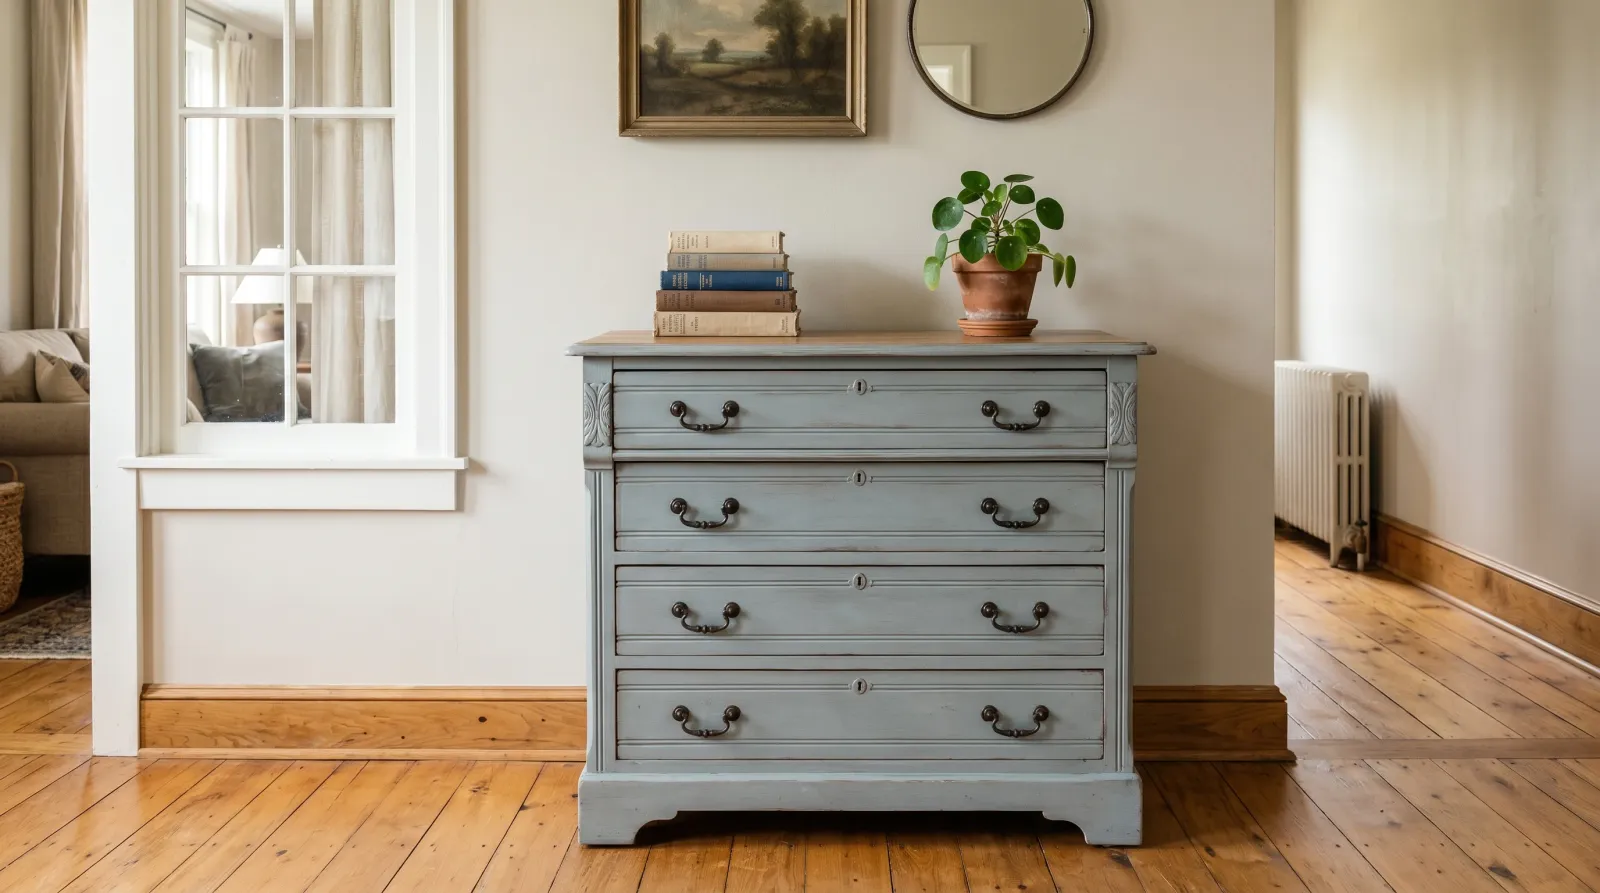
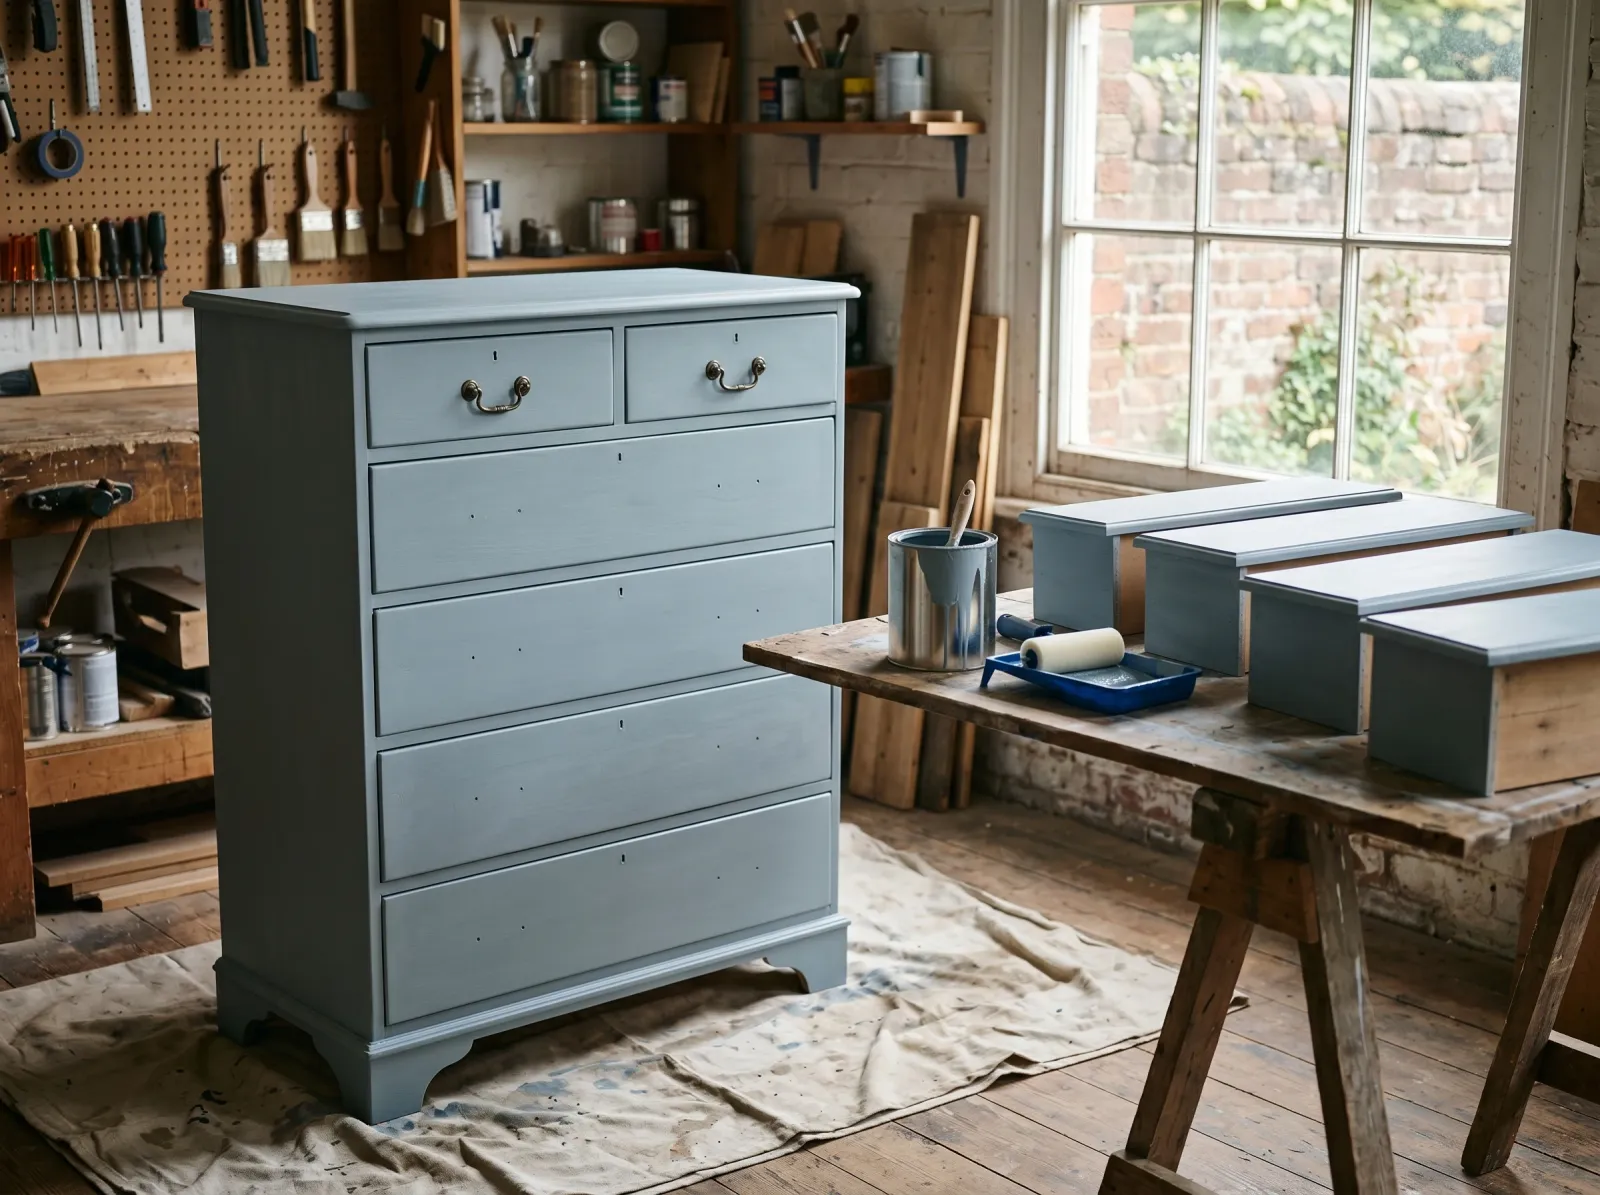
Okay, so you’ve got a piece you can’t bring yourself to throw out. A dresser from your first apartment, a side table that was your grandmother’s, a bookcase that’s the right size but the wrong tired brown. Here’s the thing most people get wrong before they even open a can: they think refinishing means stripping the whole thing down to raw wood. It doesn’t, not when you’re painting. Stripping is for when you want to stain and show off the grain. To paint, you clean it, you dull the shine, and you put the right product on in the right order.
That’s the whole job. The rest is patience.
What You’ll Get
A piece that looks like you chose it, not like you settled for it. One weekend of work, a week of cure before you load it back up. A $30 thrift dresser plus $70 in materials gives you something that would run $400 new and wouldn’t be solid wood.
Honest Take on Difficulty and Time
One of the friendliest paint projects there is. No ladder, no ceiling cricking your neck, no taping off a whole room. The two hard parts are both about waiting: waiting for coats to dry, and resisting the urge to skip prep because a video made it look optional. Prep is where painted furniture lives or dies.
| Your situation | Active time | Total elapsed | Skill |
|---|---|---|---|
| Real wood, sound finish, chalk paint | 3-4 hrs | 1 weekend + 1 week cure | Easy |
| Real wood, sound finish, cabinet enamel | 4-6 hrs | 1-2 weekends + 30 day cure | Easy-medium |
| Glossy lacquer or factory melamine, primed | 5-7 hrs | 2 weekends + 30 day cure | Medium |
| Flaking finish that needs stripping first | 7-9 hrs | 2 weekends + 30 day cure | Medium |
If someone tells you a dresser is a two-hour job, they’re not counting dry time. Two coats with a recoat wait in the middle is most of a day on its own.
What You’ll Need
Paint and Primer
For the color coat, you’re choosing between two families. Chalk paint (Country Chic, Annie Sloan, Behr Chalk Paint) goes on thick and matte and gives that soft old-world look. Cabinet enamel (BM Advance, SW Emerald Urethane, INSL-X Cabinet Coat) goes on thinner, levels itself smooth, and cures into a hard shell you can wipe down. One quart covers a small-to-medium dresser in two coats. The SKU comparison lives in our best furniture paint round-up, and if you’ve never used it, here’s what chalk paint actually is.
Primer isn’t always needed, which surprises people. You prime the trouble spots, not the whole piece, unless the whole piece is the trouble. A bonding primer (INSL-X Stix, Zinsser Bulls Eye 1-2-3 Plus) for anything slick: glossy lacquer, factory melamine, slippery old varnish. A shellac primer (Zinsser BIN) to lock in knots, old stain, or smoke yellowing that would otherwise bleed up through your fresh paint as a brownish ghost.
Tools
A 2-inch angled brush (Wooster Silver Tip, Purdy Clearcut) for the corners and routed details, and a 4-inch foam-mini roller for the flat faces. A drill or screwdriver for hardware. A 220-grit sanding sponge, a tack cloth, painter’s tape, and a drop cloth. A little wood filler for the dents.
The brush is where you don’t go cheap. A $3 brush sheds bristles into your wet paint and leaves a streaky line. A $14 one holds a clean edge for years.
Step 1 - Clean It, Then Figure Out What’s on It
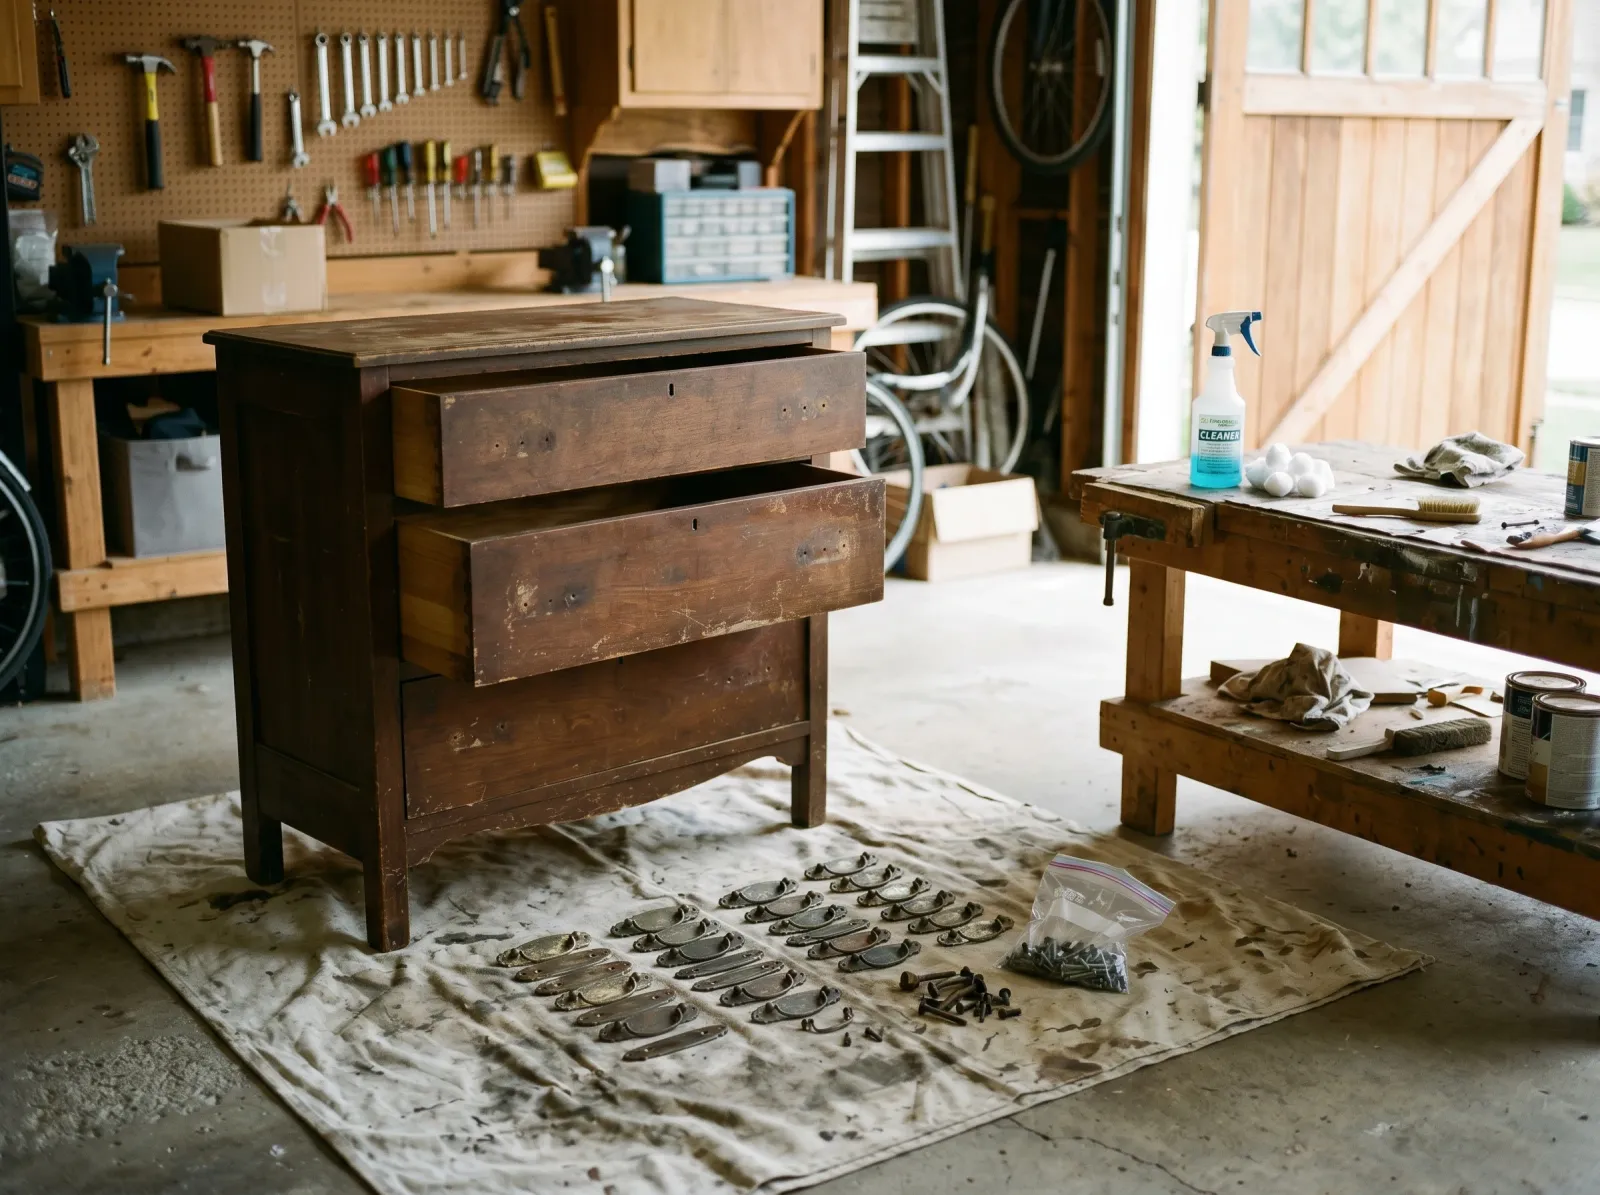 Hardware off and bagged, decades of polish wiped away, and a hidden spot ready for the alcohol test.
Old furniture is coated in years of furniture polish and hand oils. Paint will not stick to any of that. Wipe the whole piece down with a degreaser (Krud Kutter, or warm water with a squirt of dish soap), rinse, and let it dry. This step feels boring and gets skipped constantly. It’s the number-one reason a refinish peels later.
While it dries, take the hardware off. Drop every screw into a baggie and label it with a Sharpie. You will not remember where they go in three days.
Now find out what finish is under there, because every prep choice flows from it. Wet a cotton ball with denatured alcohol and rub a hidden spot (inside a drawer, the underside of a top) for about 30 seconds.
- It dissolves and goes sticky: shellac. Common on pre-1950s pieces. Scuffs easily.
- It softens but doesn’t dissolve: old varnish. Wants a scuff and usually a bonding primer.
- Nothing happens: lacquer, polyurethane, or factory melamine. Look at the surface. Real wood grain shows through lacquer and poly. Melamine and laminate look slick and uniform, like a plastic film, because that’s what they are.
That last group splits two ways. Lacquered or polyurethaned real wood just needs a 220 scuff. Melamine and laminate need bonding primer, full stop, or your paint slides right off. For a deeper read on the slippery-finish problem, see our guide to painting over stained wood.
Step 2 - Fill, Scuff, and Knock Off the Shine
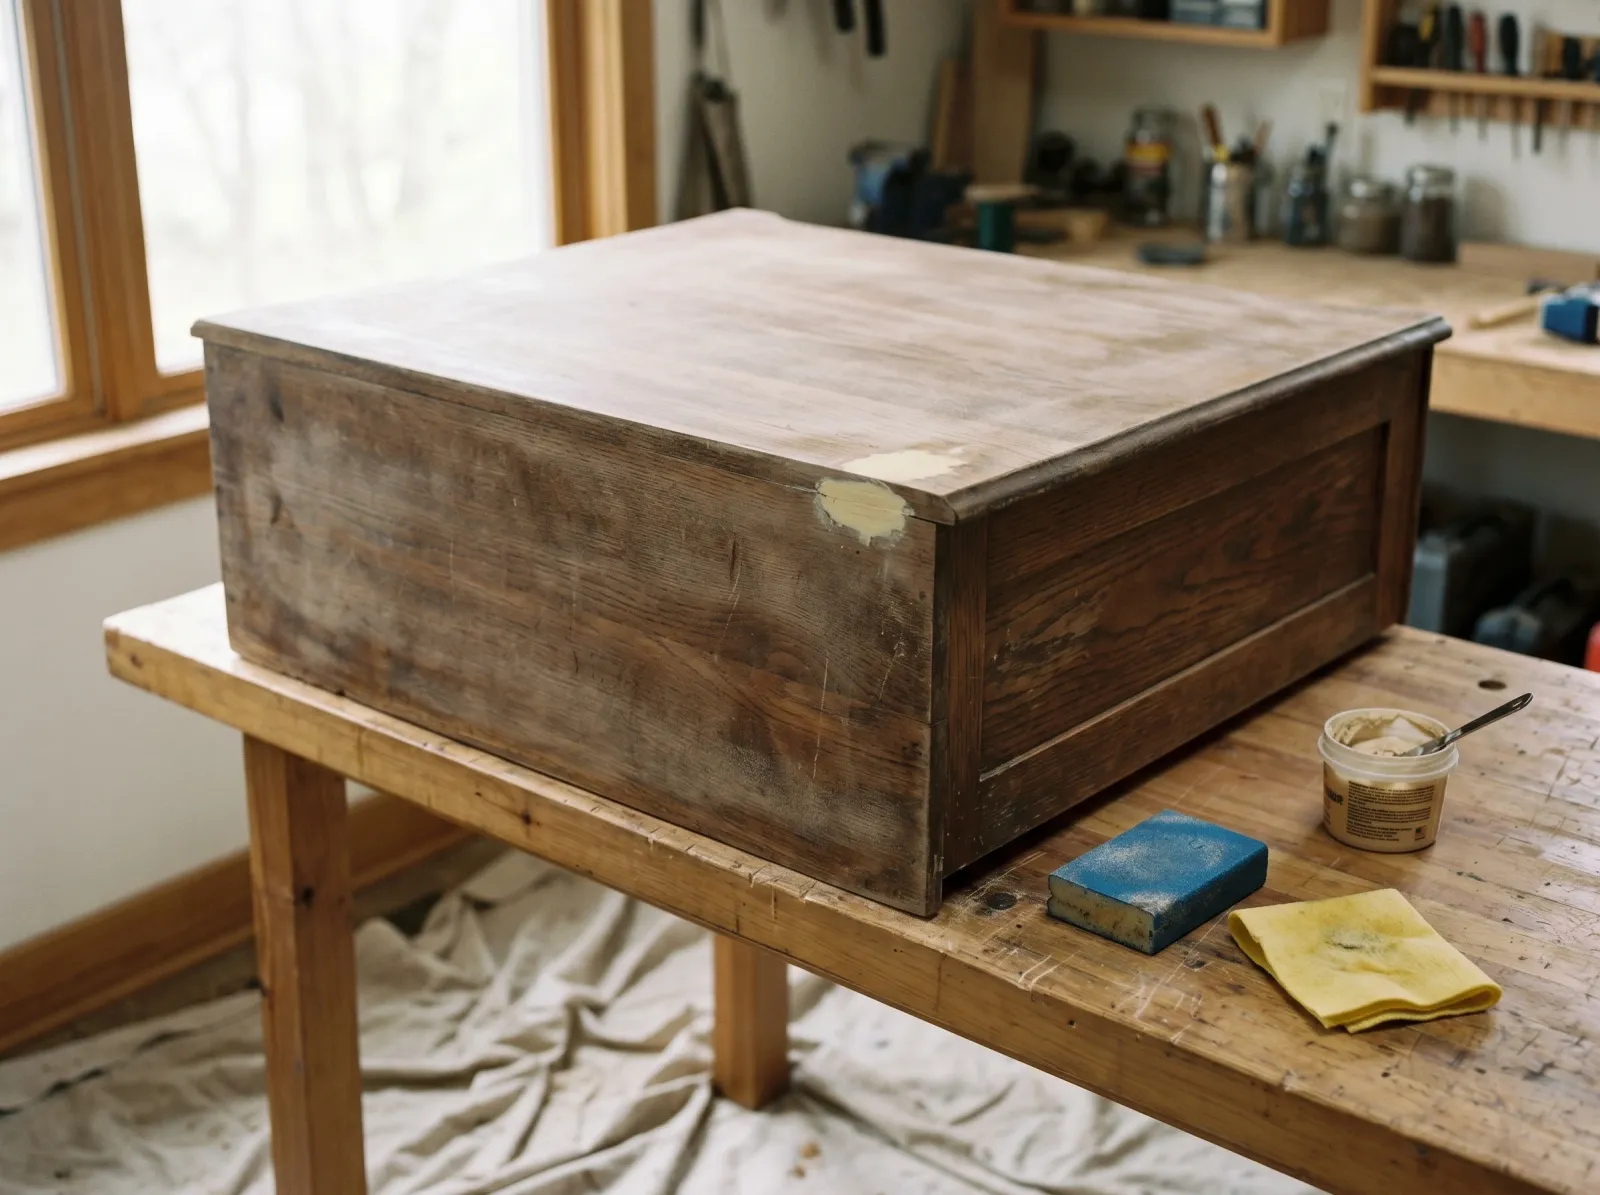 Gouges packed flush, the whole surface scuffed hazy so the paint has teeth to grab.
Fix the damage first. Pack dents and gouges with wood filler, let it set, sand flush with 120-grit, then feather the edges with 220. Loose veneer lifting at a corner gets a dab of wood glue and a clamp overnight.
Then scuff the whole piece. You’re not sanding to bare wood. You’re dulling the gloss so paint has something to bite into. A 220-grit sanding sponge over every face, just until the shine goes hazy. You’ll know it when you see it: the surface stops reflecting and goes flat. Vacuum the dust, then wipe with a tack cloth so nothing grainy ends up trapped under your first coat.
Watch out for rounded edges and carved details. The sponge skips over those and leaves the gloss intact, which is exactly where paint starts peeling. Hit the curves and grooves by hand with a folded piece of 220.
If sanding a big piece sounds miserable, a liquid deglosser (Klean-Strip Easy Liquid Sander) chemically dulls lacquer and polyurethane in about 15 minutes with a rag. It won’t touch melamine, though. That still needs primer.
Step 3 - Prime Only Where You Have To
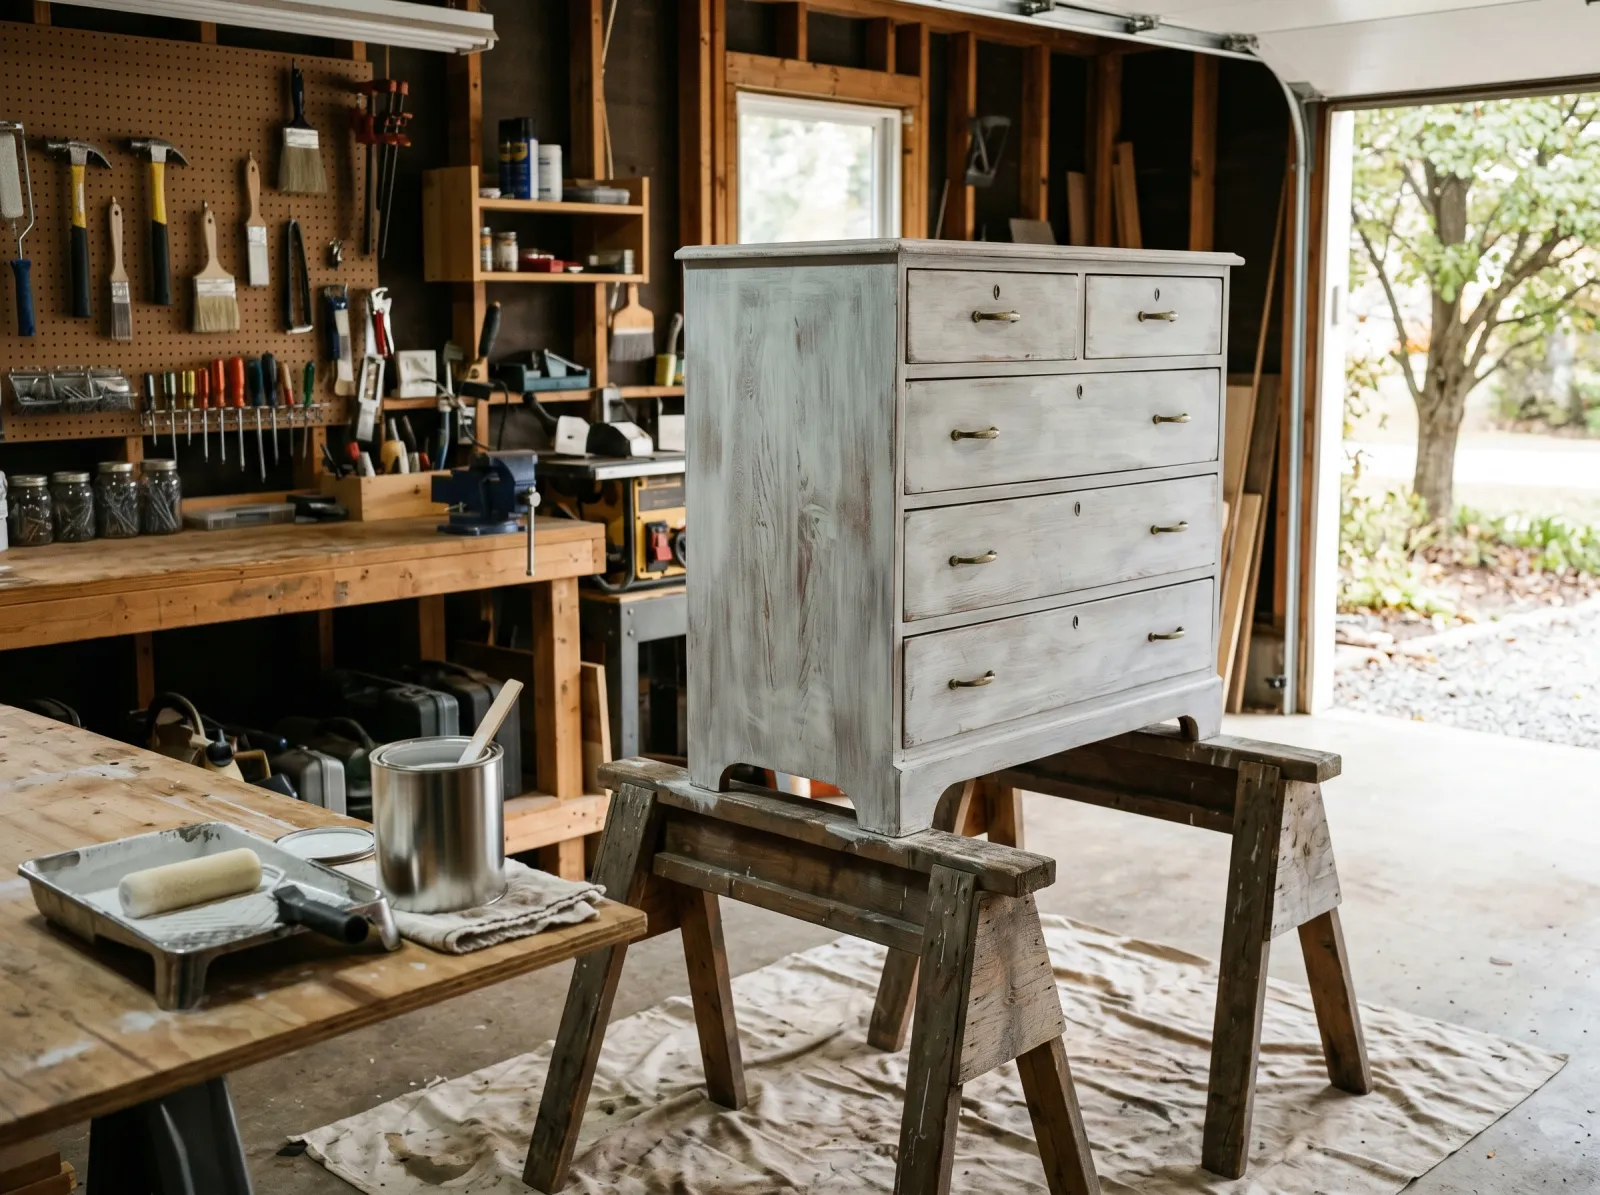 Slick faces sealed with one coat of bonding primer; knots and old stain spot-hit with shellac primer.
Here’s the part that saves you money and time: you skip this step entirely if you’re putting chalk paint on real wood with a sound matte finish. That’s the one scenario where chalk paint genuinely bonds bare. Everywhere else, prime.
Bonding primer (INSL-X Stix or Zinsser 1-2-3 Plus) goes on slick surfaces: melamine, laminate, glossy lacquer, slippery varnish. One full coat. Roll the flats with the foam-mini, brush the details. Shellac primer (Zinsser BIN) is for spot problems: visible knots, dark old stain bleeding through, smoke or water staining. Two thin coats on just those spots.
Let primer dry overnight, give it a quick 220 scuff to knock down any nibs, tack-cloth it, and you’re ready for color. For the why behind bonding primer, our explainer on bonding primer covers it.
Step 4 - Paint, in Order, in Two Thin Coats
 Drawers pulled and painted flat so nothing runs; first coat thin, second coat even.
Pull the drawers out and paint the fronts laid flat on a couple of cans or a sawhorse. Flat means no runs. Then do the carcass: top first, then the sides, then the legs and the bottom rail last. Skip the inside of the drawers. The original wood is fine in there and you’ll save a third of your paint.
Two thin coats beat one thick one every time. A thick coat sags, dries with brush marks, and never cures as hard. Dip the brush a third of the way and tap it on the inside of the can instead of dragging it across the rim. Roll the big flats, brush the corners, and feather the wet edges together while they’re still wet so they blend.
If you’re using cabinet enamel and seeing brush marks, add Floetrol at about 5% (roughly 6 ounces a gallon). It keeps the paint open a few seconds longer so the strokes flow out flat. Recoat windows vary a lot: chalk paint is ready in 1-2 hours, BM Advance wants a full 16. Read the can, set a timer.
Watch out for recoating too early. If the first coat isn’t fully dry, the second coat drags it up into wrinkles like rumpled fabric, and the only fix is sanding back to primer. When in doubt, wait an extra hour.
A Quick Word on Color
A muted blue-grey, a soft sage, a warm off-white, a moody charcoal: these read as intentional and forgiving. Pure bright white is the hard one, because every brush mark and dent shows under it.
Buy a sample pot and paint a scrap of the actual scuffed surface, not a paper card. Color shifts under warm bulbs versus daylight, and a chip in the store lies to you. If you want the why behind a color reading cool or warm, our undertone explainer covers it.
Step 5 - Seal It, Then Put It Back Together
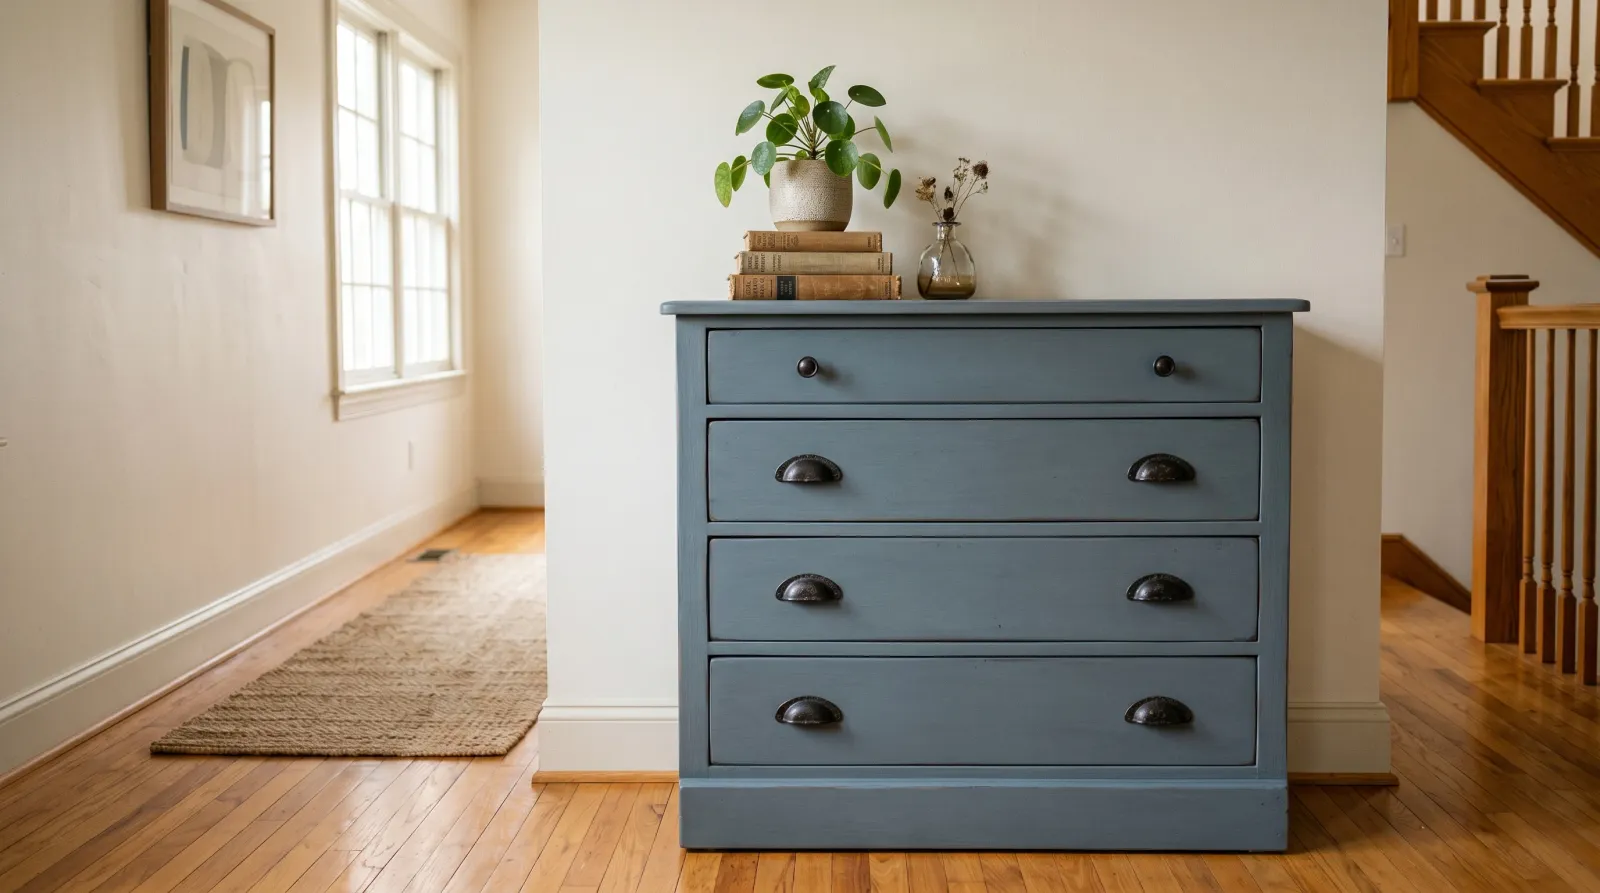 Sealed and reassembled. Cleaned-up original hardware almost always beats a big-box replacement.
Whether you seal depends on what you painted with.
Chalk paint must be sealed. On its own it’s porous, and a water spill wipes the color right off onto the towel. Use Minwax Polycrylic in matte for whites and pale colors, because it dries water-clear and won’t shift the tone. Two thin coats with a soft synthetic brush. Clear furniture wax is the other option, but skip it on anything white or pale: most waxes carry a faint amber tint that turns a white piece slightly yellow over a few months. Save wax for charcoals, blacks, and deep greens where the amber disappears.
Cabinet enamel needs nothing. It seals itself as it cures. The hard shell is the whole point.
Reinstall the hardware last. The original pulls almost always look better than anything from the big-box aisle. Soak them in warm soapy water, hit corrosion with a wire brush, and bring dull brass back with Bar Keeper’s Friend. If a piece is broken or missing, match the screw-hole spacing exactly when you replace it, because vintage spacing rarely lines up with the modern 3-inch standard.
Common Mistakes
- Skipping the degrease. You can’t see old polish and hand oil, but paint can feel it, and it refuses to stick. Wipe the whole piece with degreaser before you do anything else.
- Painting over gloss without scuffing or priming. Slick lacquer, varnish, and melamine shrug paint right off within weeks. Dull the shine, prime the slick stuff, then paint.
- One thick coat instead of two thin ones. Thick paint sags, holds brush marks, and stays soft for months. Thin coats level out and cure hard.
- Recoating before the first coat is dry. The second coat drags the first into wrinkles. Sand back to primer is the only fix, so set a timer and wait.
- Waxing white chalk paint. The amber in clear wax yellows pale colors over a season. Use matte polycrylic on whites and save wax for dark colors.
Cure Schedule
| Time after final coat | What’s safe |
|---|---|
| 4 hours | Touch dry; don’t touch it |
| 24 hours | Re-handle gently with clean hands |
| 7 days | Items back in drawers, light daily use |
| 30 days | Full cure; wipe down with mild soap |
Chalk paint sealed with wax keeps hardening for several weeks past the 30-day mark. Don’t set anything heavy on a fresh shelf in the first couple of weeks or you’ll lift it off to find the shape pressed in.
Cost Breakdown
| Item | Cost |
|---|---|
| Chalk paint or cabinet enamel (1 quart) | $25-$45 |
| Bonding or shellac primer (1 quart, if needed) | $15 |
| Top coat (polycrylic or wax) | $15 |
| Wooster Silver Tip brush | $20 |
| Foam-mini roller and sleeves | $12 |
| Sponges, tack cloth, filler, Floetrol | $20 |
| Total per piece | $45-$110 |
A $30 thrift dresser plus $80 in materials lands around $110. The same-size dresser new runs $400-$700 and is usually particle board.
Maintenance and Touch-Ups
Cabinet enamel holds up 8-12 years on a dresser before it wants a refresh. Chalk paint sealed with polycrylic runs 5-8 years, less on a piece handled daily. Waxed pieces want re-waxing every two or three years.
For a chip, dab the original paint on with a small artist’s brush and stop there. Don’t feather it across the panel, because fresh paint reads brighter than the cured coat and you’ll see the seam. Keep the leftover quart labeled with the piece’s name. That’s how you fix a corner ding in two minutes instead of repainting the whole thing.
A Specific Recommendation
First refinish, real wood with a sound finish: a quart of Country Chic chalk paint, a Wooster Silver Tip, a 220 sponge, and a quart of Minwax Polycrylic in matte. Degrease Friday night, scuff and fill Saturday morning, two coats over the weekend, seal Monday.
Piece that gets daily use, like a kid’s dresser or an entry table: skip the chalk paint and use Benjamin Moore Advance in satin. The cure is harder, the seal is built in, and it wipes clean for a decade.