How to Paint Interior Doors
Painting interior doors without brush marks or drips: panel order, the right sheen, doors-on or doors-off, and how to keep the edges from sticking shut.

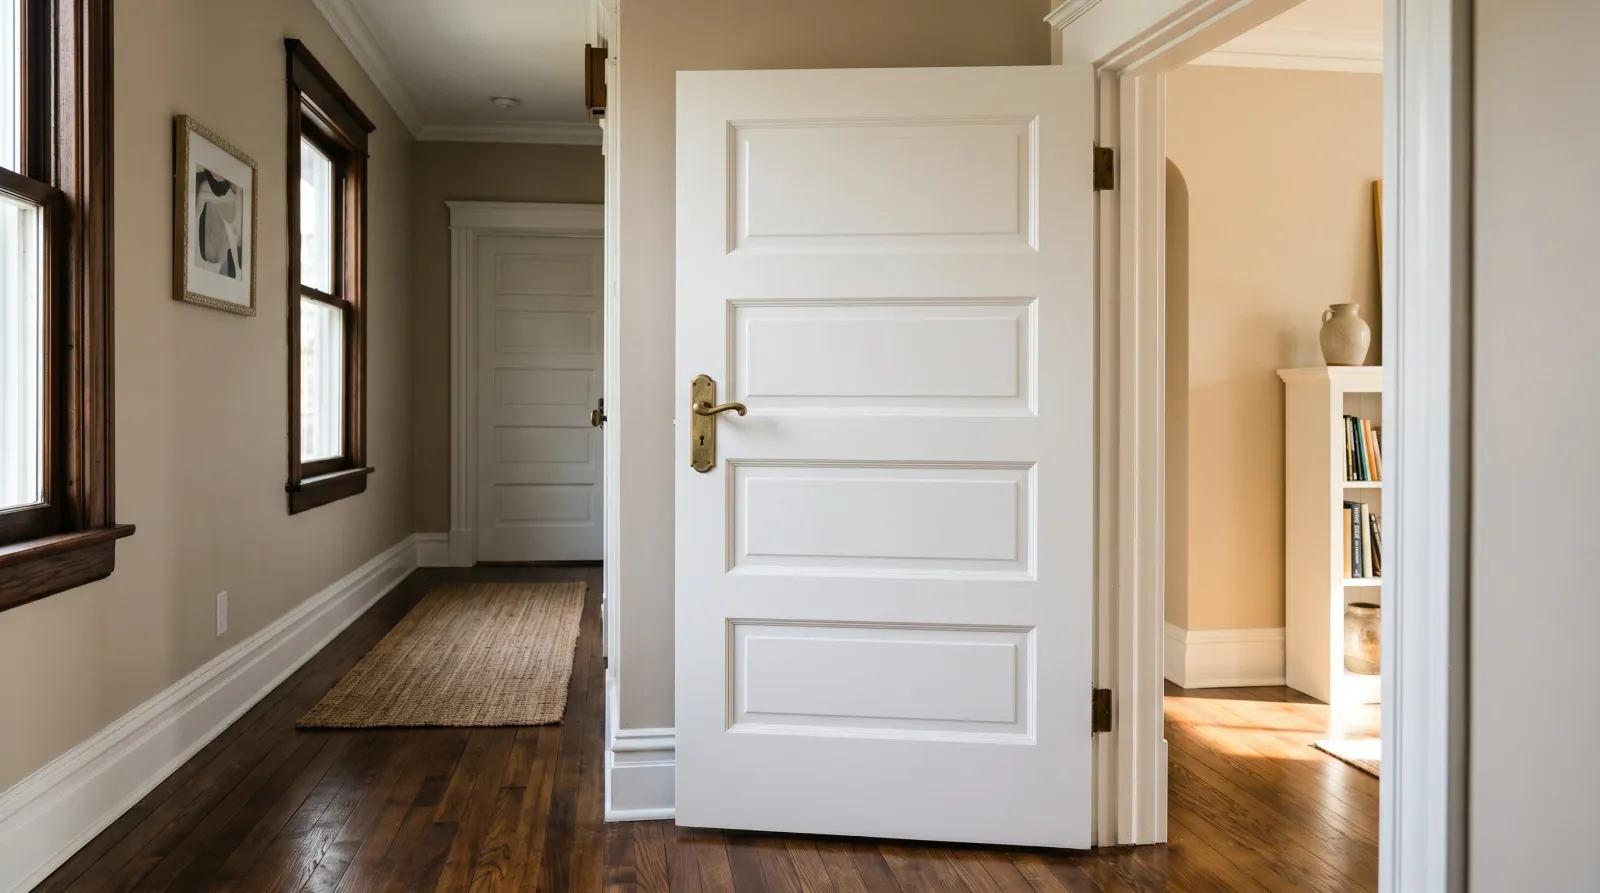
Okay, so you’ve decided the scuffed-up doors in your hallway need painting, and now you’re standing there with a brush wondering if it’s going to look streaky and amateur. It doesn’t have to. Here’s the thing about interior doors: the part that goes wrong isn’t the painting, it’s the two things nobody warns you about. Brush marks that only show up in side light. And a door that sticks to its own frame after you rehang it.
This guide fixes both. The right paint handles the brush marks. A little patience and a bar of soap handles the sticking. The actual painting is the easy part.
What You’ll Get
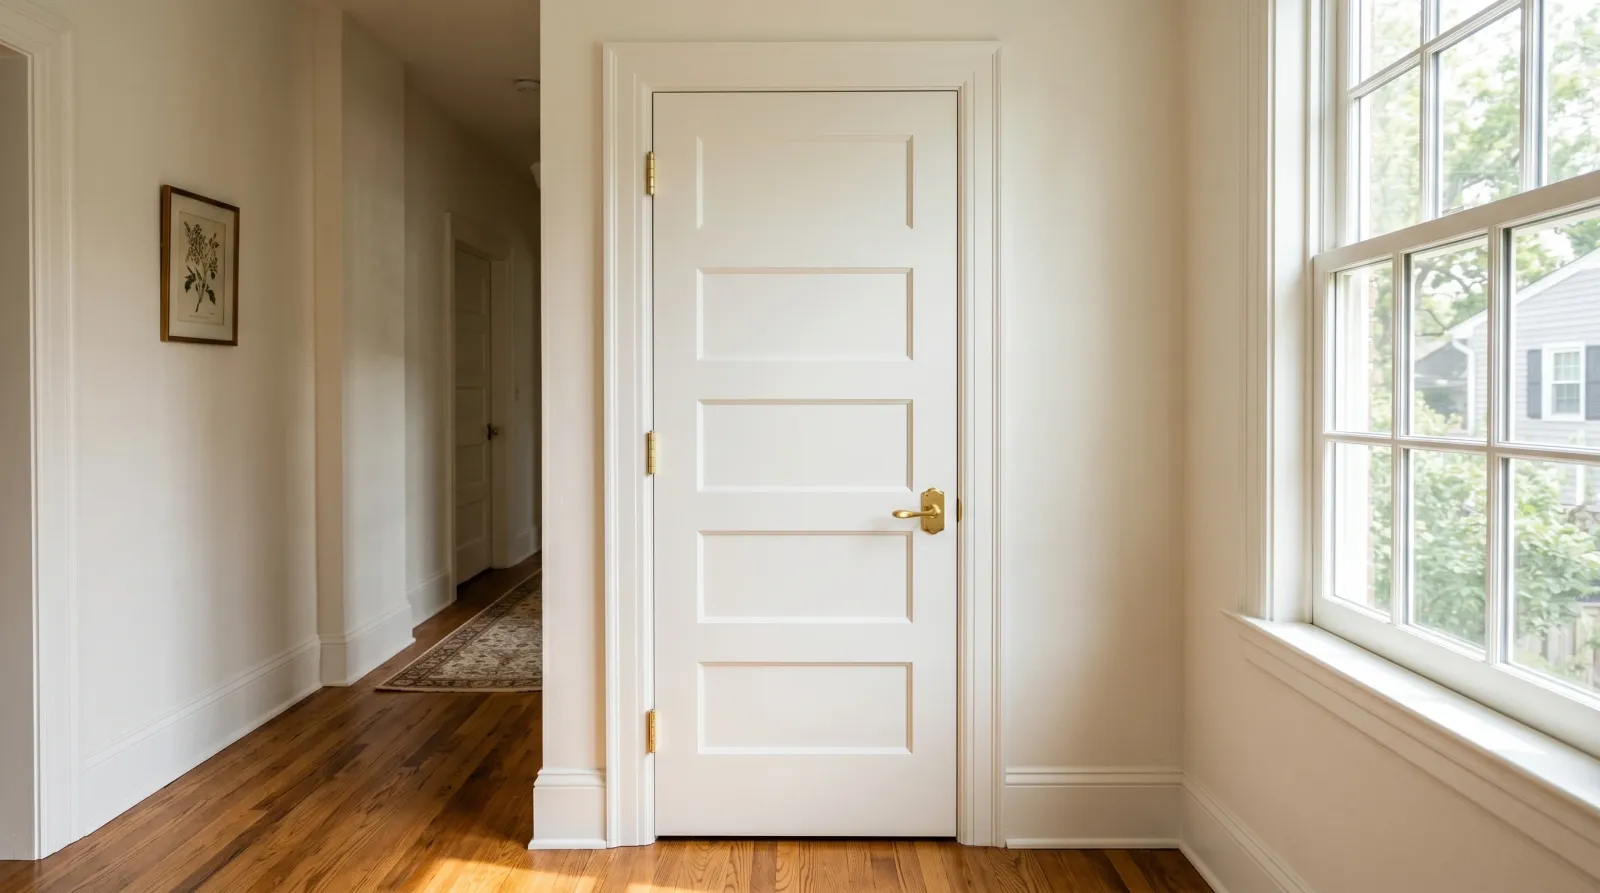
A door that looks factory-smooth, wipes clean at the handle, and opens without a tug for years. One door is a low-stakes afternoon, which makes it a good first project before you tackle a whole room repaint.
Honest Take on Difficulty and Time
The hands-on work is about two hours per door. The rest is dry time. Enamel that levels nicely also dries slow, so you’ll prime, wait, coat, wait, coat again, and wait overnight before rehanging.
Plan a full day per door even though you’re only touching it for two hours of it. If you’ve got five doors in a hallway, do them as a batch over a weekend. Pull them all, line them up on sawhorses, and prime, coat, and recoat them together.
The one thing that turns this easy project hard is rushing the cure. A door you close too soon sticks, peels at the edge, or leaves a paint print on the doorstop. The waiting is the job.
What You’ll Need
Paint and Primer
A quart of trim and door enamel covers about two standard doors with two coats. Enamel is a hard-curing paint built to level itself out so brush marks flatten before they dry. BM Advance, SW ProClassic, and Behr Alkyd Enamel all do this. The picks live in the best interior trim paint round-up.
Sheen is satin or semi-gloss. Satin is a soft shine that hides surface flaws. Semi-gloss is shinier and wipes cleaner, which matters at the handle. Don’t put flat or eggshell wall paint on a door; it scuffs at the first knock and won’t clean up. The sheen guide walks through the trade-off if you’re undecided.
Primer only if the door needs it. A door that’s bare wood, stained, or a slick factory-finished slab needs a bonding primer (Zinsser BIN or KILZ Adhesion) so the paint has something to grip. A door that already has sound paint on it just needs a scuff-sand, no primer.
Tools
A 2-inch angled sash brush for the recessed panels and the edges. A 4-inch foam roller for the flat rails, stiles, and the slab face. The foam roller is the trick for a smooth finish; it lays paint down without the streaks a brush leaves on a big flat surface. Brush picks are in the best paint brushes round-up.
You’ll also want two sawhorses (or two sturdy chairs), a screwdriver, painter’s tape, spackle, a 220-grit sanding sponge, a tack cloth, and a drop cloth.
Step 1 — Take the Door Down and Strip the Hardware
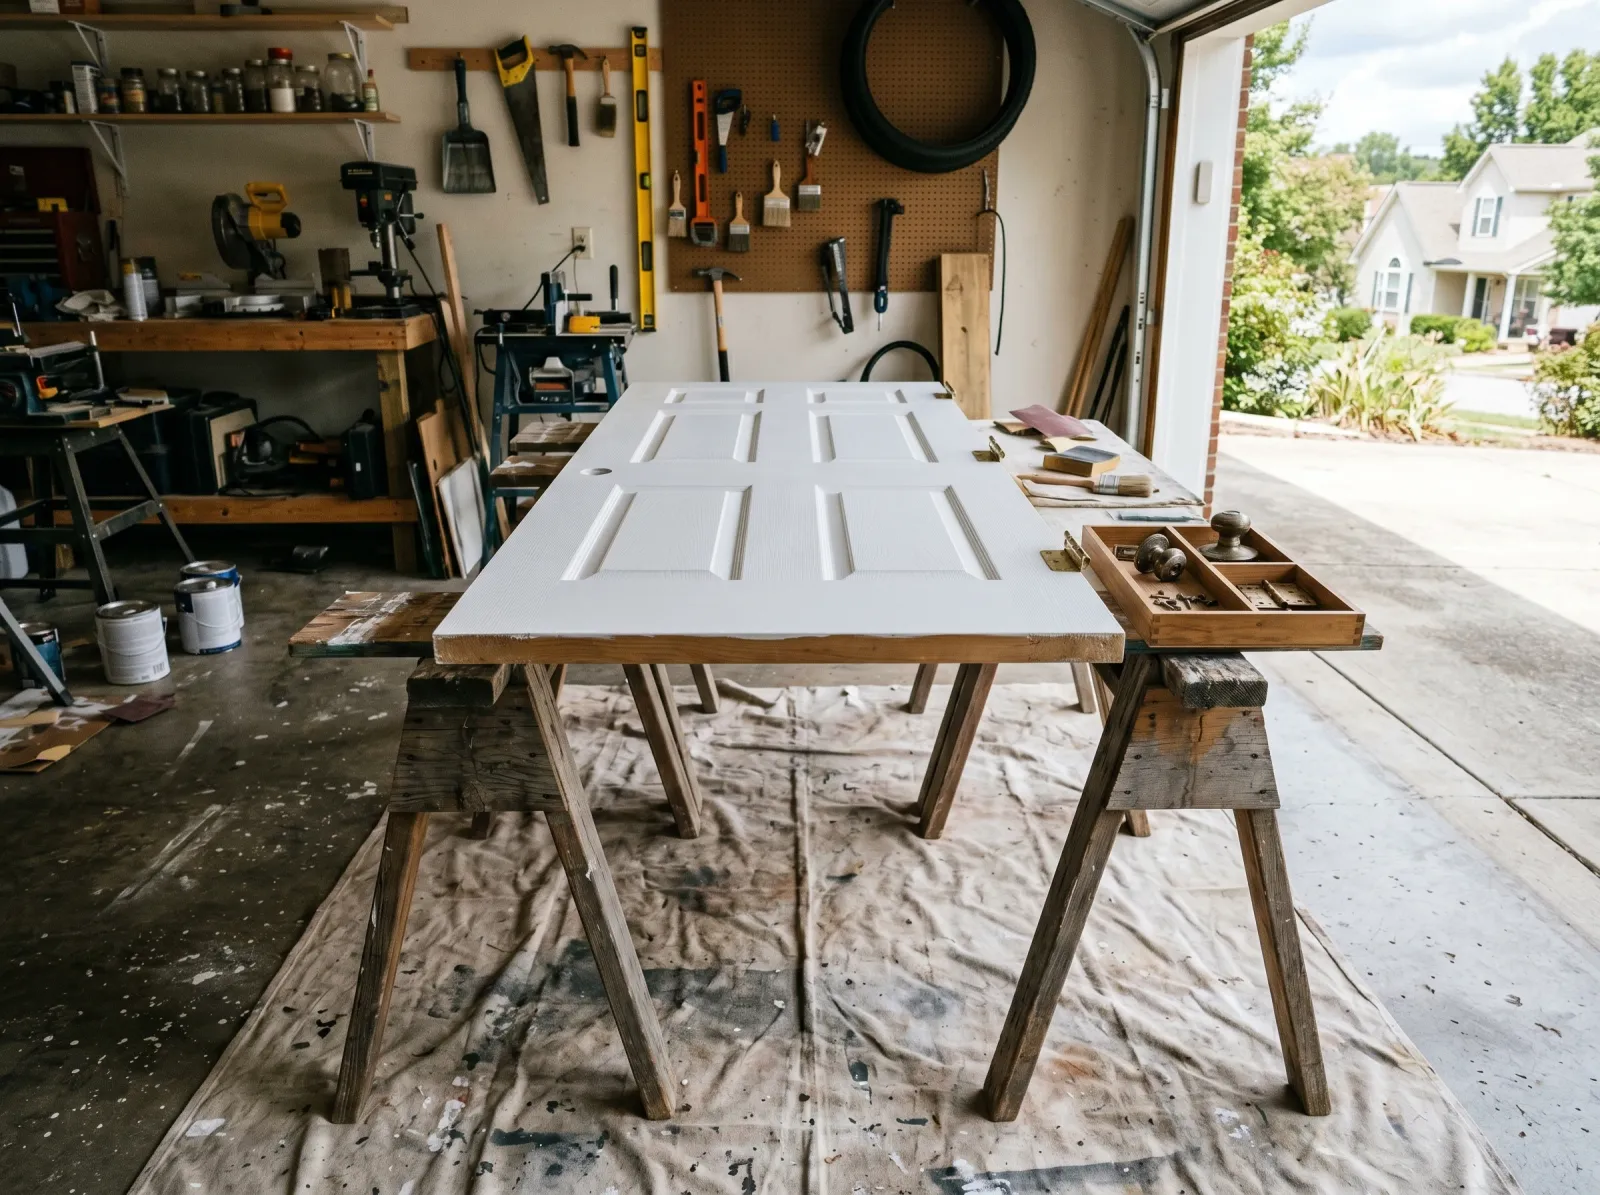
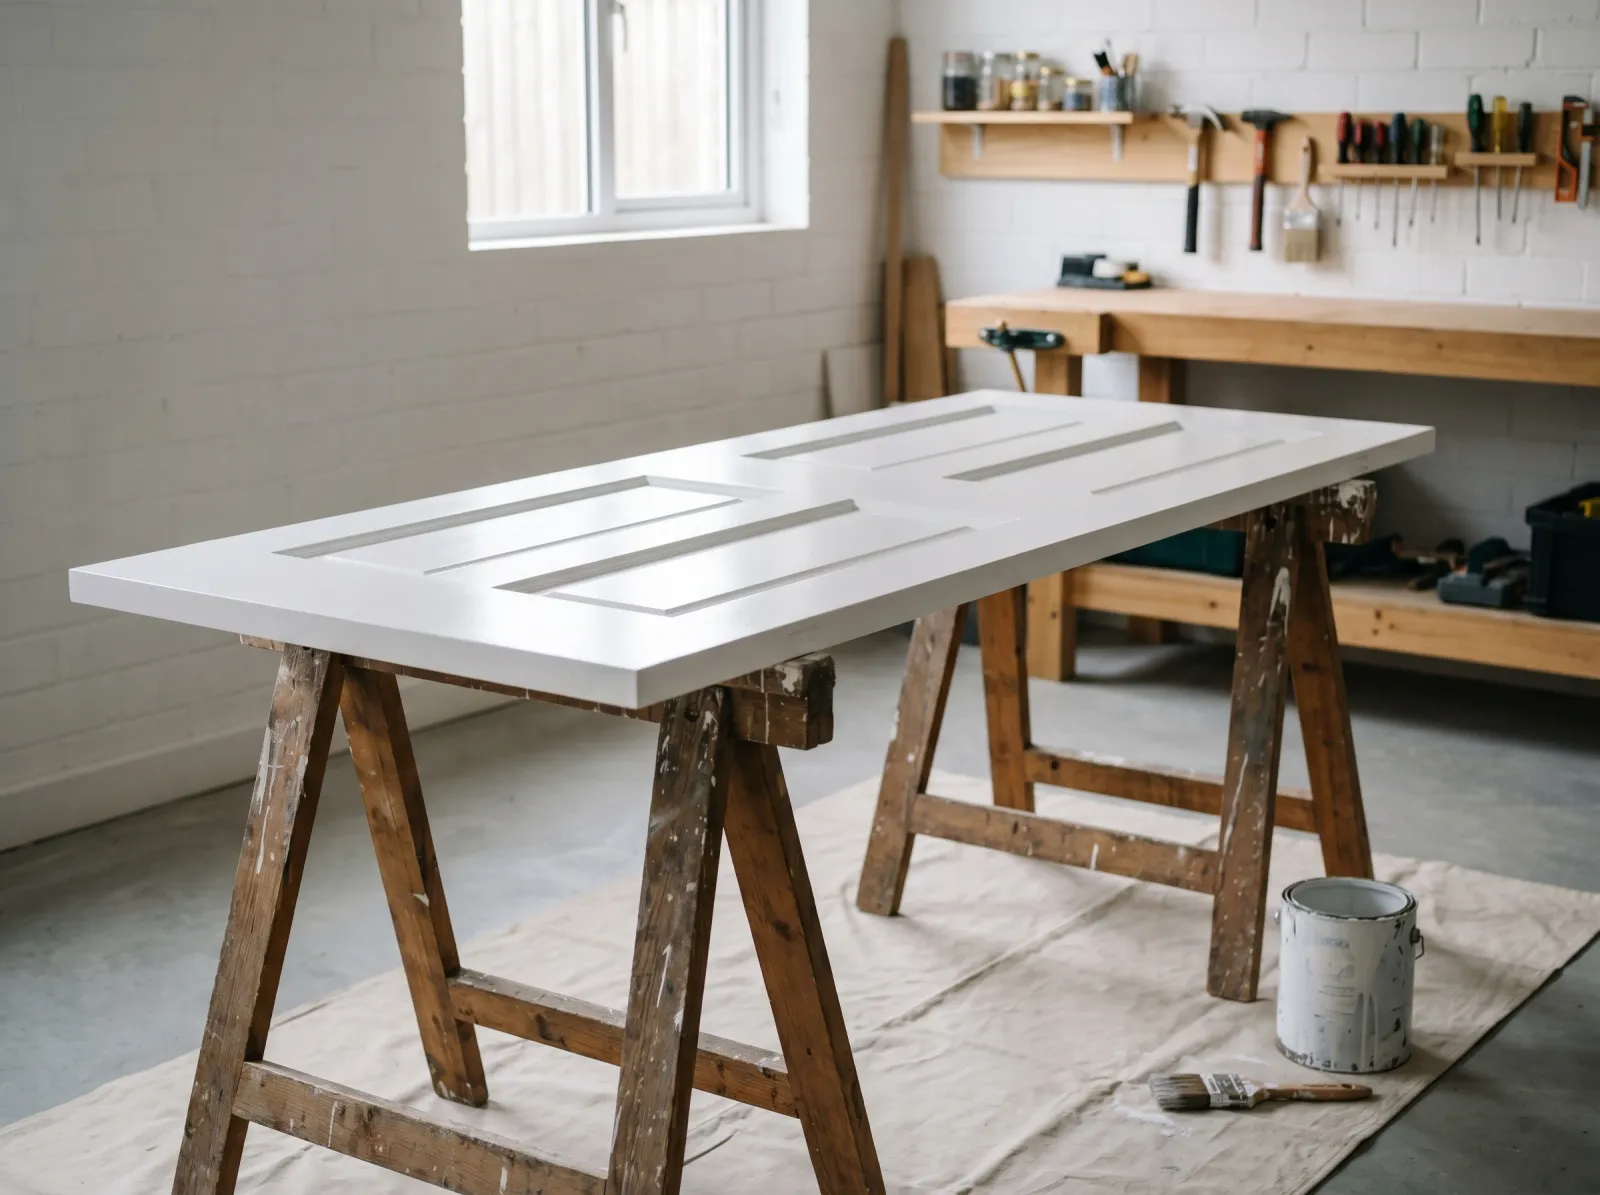
Door laid flat across two sawhorses, knob and hinges removed, holes filled, surface sanded dull.
Open the door, then tap the hinge pins up and out from the bottom with a screwdriver and a light hammer tap. Lift the door off and carry it to your sawhorses. Painting flat is what gives you a smooth, drip-free finish, because the paint levels instead of sagging down a vertical surface.
Unscrew the knob, the latch plate, and the hinges. Drop every screw into a labeled bag. Fill any old hardware holes or dings with spackle, let it dry, and sand flush.
Wipe the area around the doorknob with a degreaser. Hands leave an oily film there that paint won’t stick to, the same invisible-grease problem you get on kitchen walls.
Watch out for doors you can’t take down. Painted-over hinge pins that won’t budge, or a tight closet you can’t fit sawhorses in. If that’s you, paint it hanging. Wedge it open, work top to bottom, and check the panel grooves for drips every few minutes.
Step 2 — Sand, Tape, and Prime
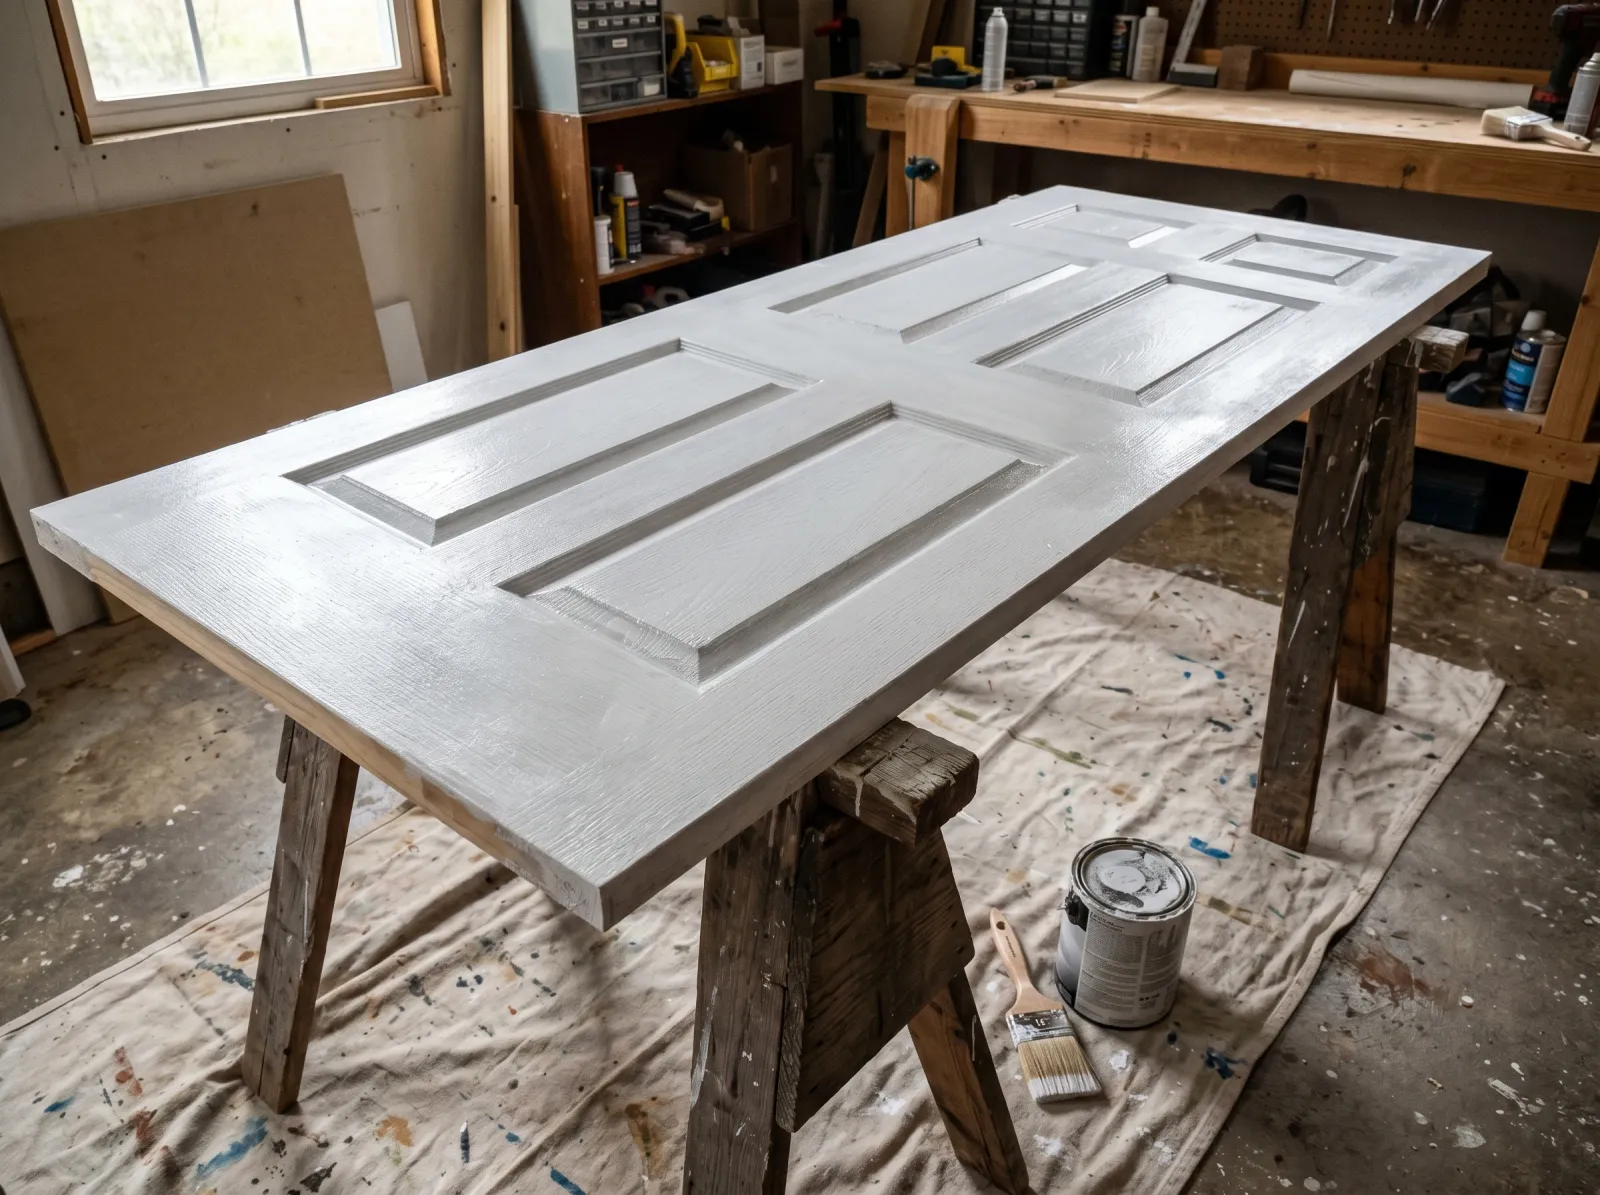
A thin bonding-primer coat on the bare or slick spots, brushed into the panel grooves.
Scuff the whole door with the 220-grit sponge. You’re not stripping it, just dulling the shine so the new paint can bite. Wipe the dust off with a tack cloth.
If the door has a glass panel, tape the edge of the glass. Then prime, but only if you need to. Bare wood, a stained door, or a slick factory slab gets a thin coat of bonding primer. Brush it into the panel grooves first, then roll the flats. A door that already has sound paint can skip this.
Watch out for knots in bare wood. They bleed a yellow-brown stain through paint over time. Hit any knots with a shellac-based primer like Zinsser BIN so they stay sealed. There’s more on stopping that bleed in the guide to knots bleeding through paint.
Step 3 — First Coat, Panels Before Flats
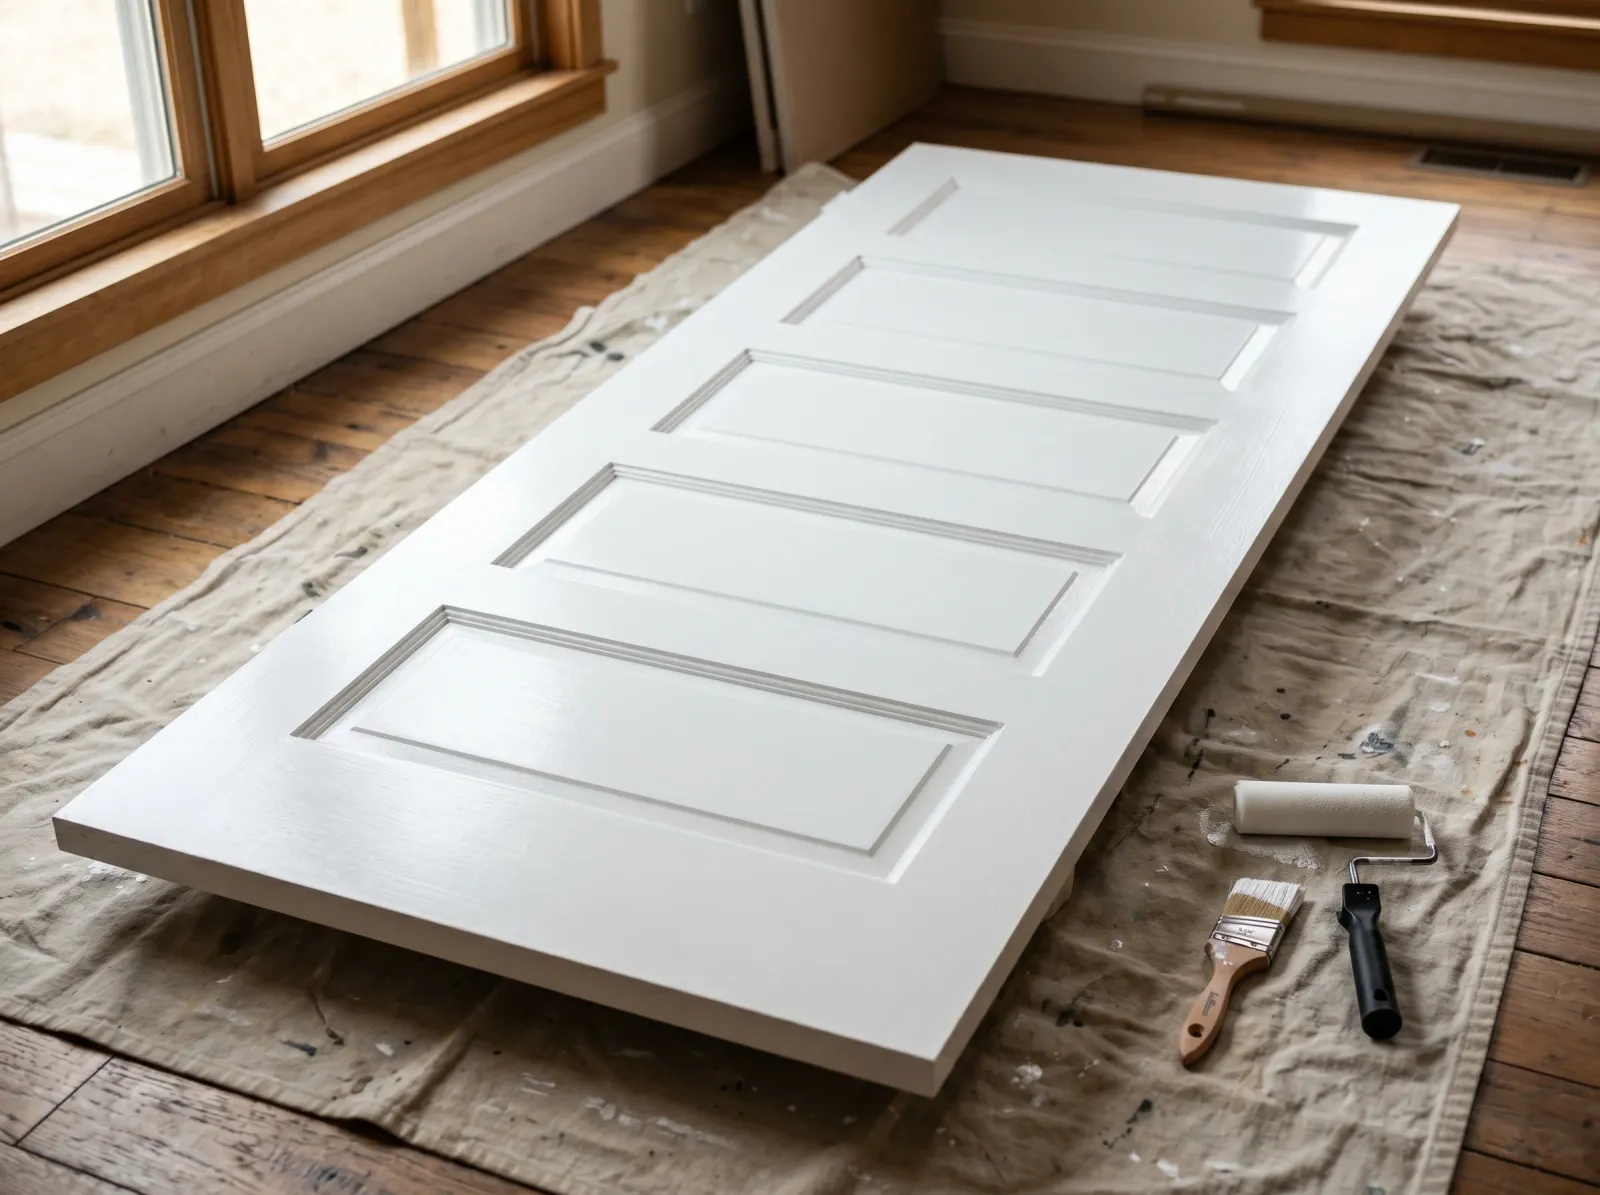
Recessed panels brushed, then the flat rails and stiles rolled with foam. Brush marks leveled out.
Order matters on a paneled door. Paint the recessed panels first with the angled brush, working the paint into the grooves and out onto the flat panel face. Then the horizontal rails (the cross-pieces), then the vertical stiles (the long side-pieces). Going detail-to-flat lets you catch paint that pools in the grooves before it dries into a ridge.
On the flat rails, stiles, and a slab door, roll the paint on with the foam roller. Then lightly drag the brush through it in one direction, top to bottom. That last light pass is called tipping off, and it’s what flattens the texture into a smooth film.
A flat slab door has no panels. Just roll the whole face with the foam roller, tip it off, and do the edges with the brush.
Watch out for overworking the paint. Enamel starts to set up after a few minutes. Once it does, leave it alone. Going back over a half-set section drags fresh marks into it that won’t level out.
Step 4 — Wait, Then Second Coat
Second coat down, door left flat overnight so it cures without drips or sags.
The first coat will look thin and a little uneven. That’s normal. Don’t try to fix it with more paint; the second coat covers it.
Let the first coat dry the full recoat time on the can. Enamel is slow, usually 4 to 16 hours depending on the brand and the room temperature. Touch a corner with a knuckle; if it’s dry and not tacky, scuff it lightly with the 220-grit sponge, wipe the dust, and put the second coat down the same way. Panels, rails, stiles, tip off.
Leave the door flat overnight after the second coat. Standing it up too soon lets the still-soft film sag at the bottom edge.
Step 5 — Rehang It and Don’t Let It Stick
Door rehung on its hinges, hardware reinstalled, edges dry enough not to stick.
Rehang the door after the second coat has cured at least overnight, longer in a humid room. Slide it onto the bottom hinge, line up the top, drop the pins back in. Reinstall the knob and latch plate.
Here’s the part that saves you. Rub a bar of soap or a little paste wax along the latch edge of the door and on the doorstop where the door meets the frame. The paint on those two surfaces is still soft for days, and pressing two soft enamel films together makes them fuse, which is called blocking. The wax keeps them from bonding. Leave the door cracked open the first night if you can.
Watch out for closing the door all the way too soon. Even with wax, give enamel a few days before you latch it shut for hours.
Common Mistakes
- Painting the door hanging when you didn’t have to. Vertical paint sags and the back edge never gets coated. If you can pull the pins, lay it flat. The finish is noticeably smoother.
- Wall paint instead of enamel. Flat or eggshell wall paint on a door scuffs at the handle, won’t wipe clean, and shows every brush mark. Use a self-leveling trim enamel.
- Brushing the big flat sections. A brush leaves streaks across a wide rail or a slab face. Roll those with foam and tip off lightly. The brush is only for the panels and tight edges.
- Rehanging before it cures. A door closed at hour two sticks to the frame, blocks against the doorstop, and peels at the edge when you finally yank it open. Wait overnight, wax the contact edges.
- Skipping the scuff-sand between coats. New enamel doesn’t grip the cured first coat as well without a light sanding. Two minutes with the 220-grit sponge stops the second coat from peeling later.
Cure Schedule
| Time after final coat | What’s safe |
|---|---|
| 1 hour | Touch dry, don’t bump it |
| Overnight | Rehang the door, leave it cracked open |
| 2–3 days | Close the door, gentle use |
| 7 days | Normal use, wipe the handle area |
| 30 days | Full cure, scrub-clean |
Maintenance and Touch-Ups
A door painted in a quality enamel holds up for 8 to 12 years before it needs more than a touch-up. The handle area wears first because that’s where hands and rings hit it.
For a scuff, wipe it with a damp microfiber cloth and a drop of dish soap. Most marks are dirt, not paint damage. For a real chip, sand the edge of the chip smooth, dab in a little leftover enamel with a small brush, and feather it out. Keep the leftover quart with the color code written on the lid.
If a door starts sticking a year later, it’s usually humidity swelling the wood, not the paint. Run a candle or a bar of soap along the latch edge and it’ll glide again.
Cost Breakdown
| Item | $ |
|---|---|
| Trim enamel, 1 quart (covers 2 doors) | $25 |
| Bonding primer, 1 pint (if needed) | $12 |
| 2-inch angled brush | $14 |
| Foam roller + tray | $10 |
| Tape, spackle, sanding sponge | $15 |
| Total (one door, with a brush you keep) | ~$45–$75 |
Per door, the cost drops fast when you batch. Five hallway doors share one quart of enamel and the same brush, so each door after the first runs closer to $10 in paint.