How to Paint a Room (Start to Finish) — First-Timer's Guide
First time painting a room? Trim, ceiling, walls — in that order. Every term defined inline, every mistake explained, and what to do when something goes wrong.

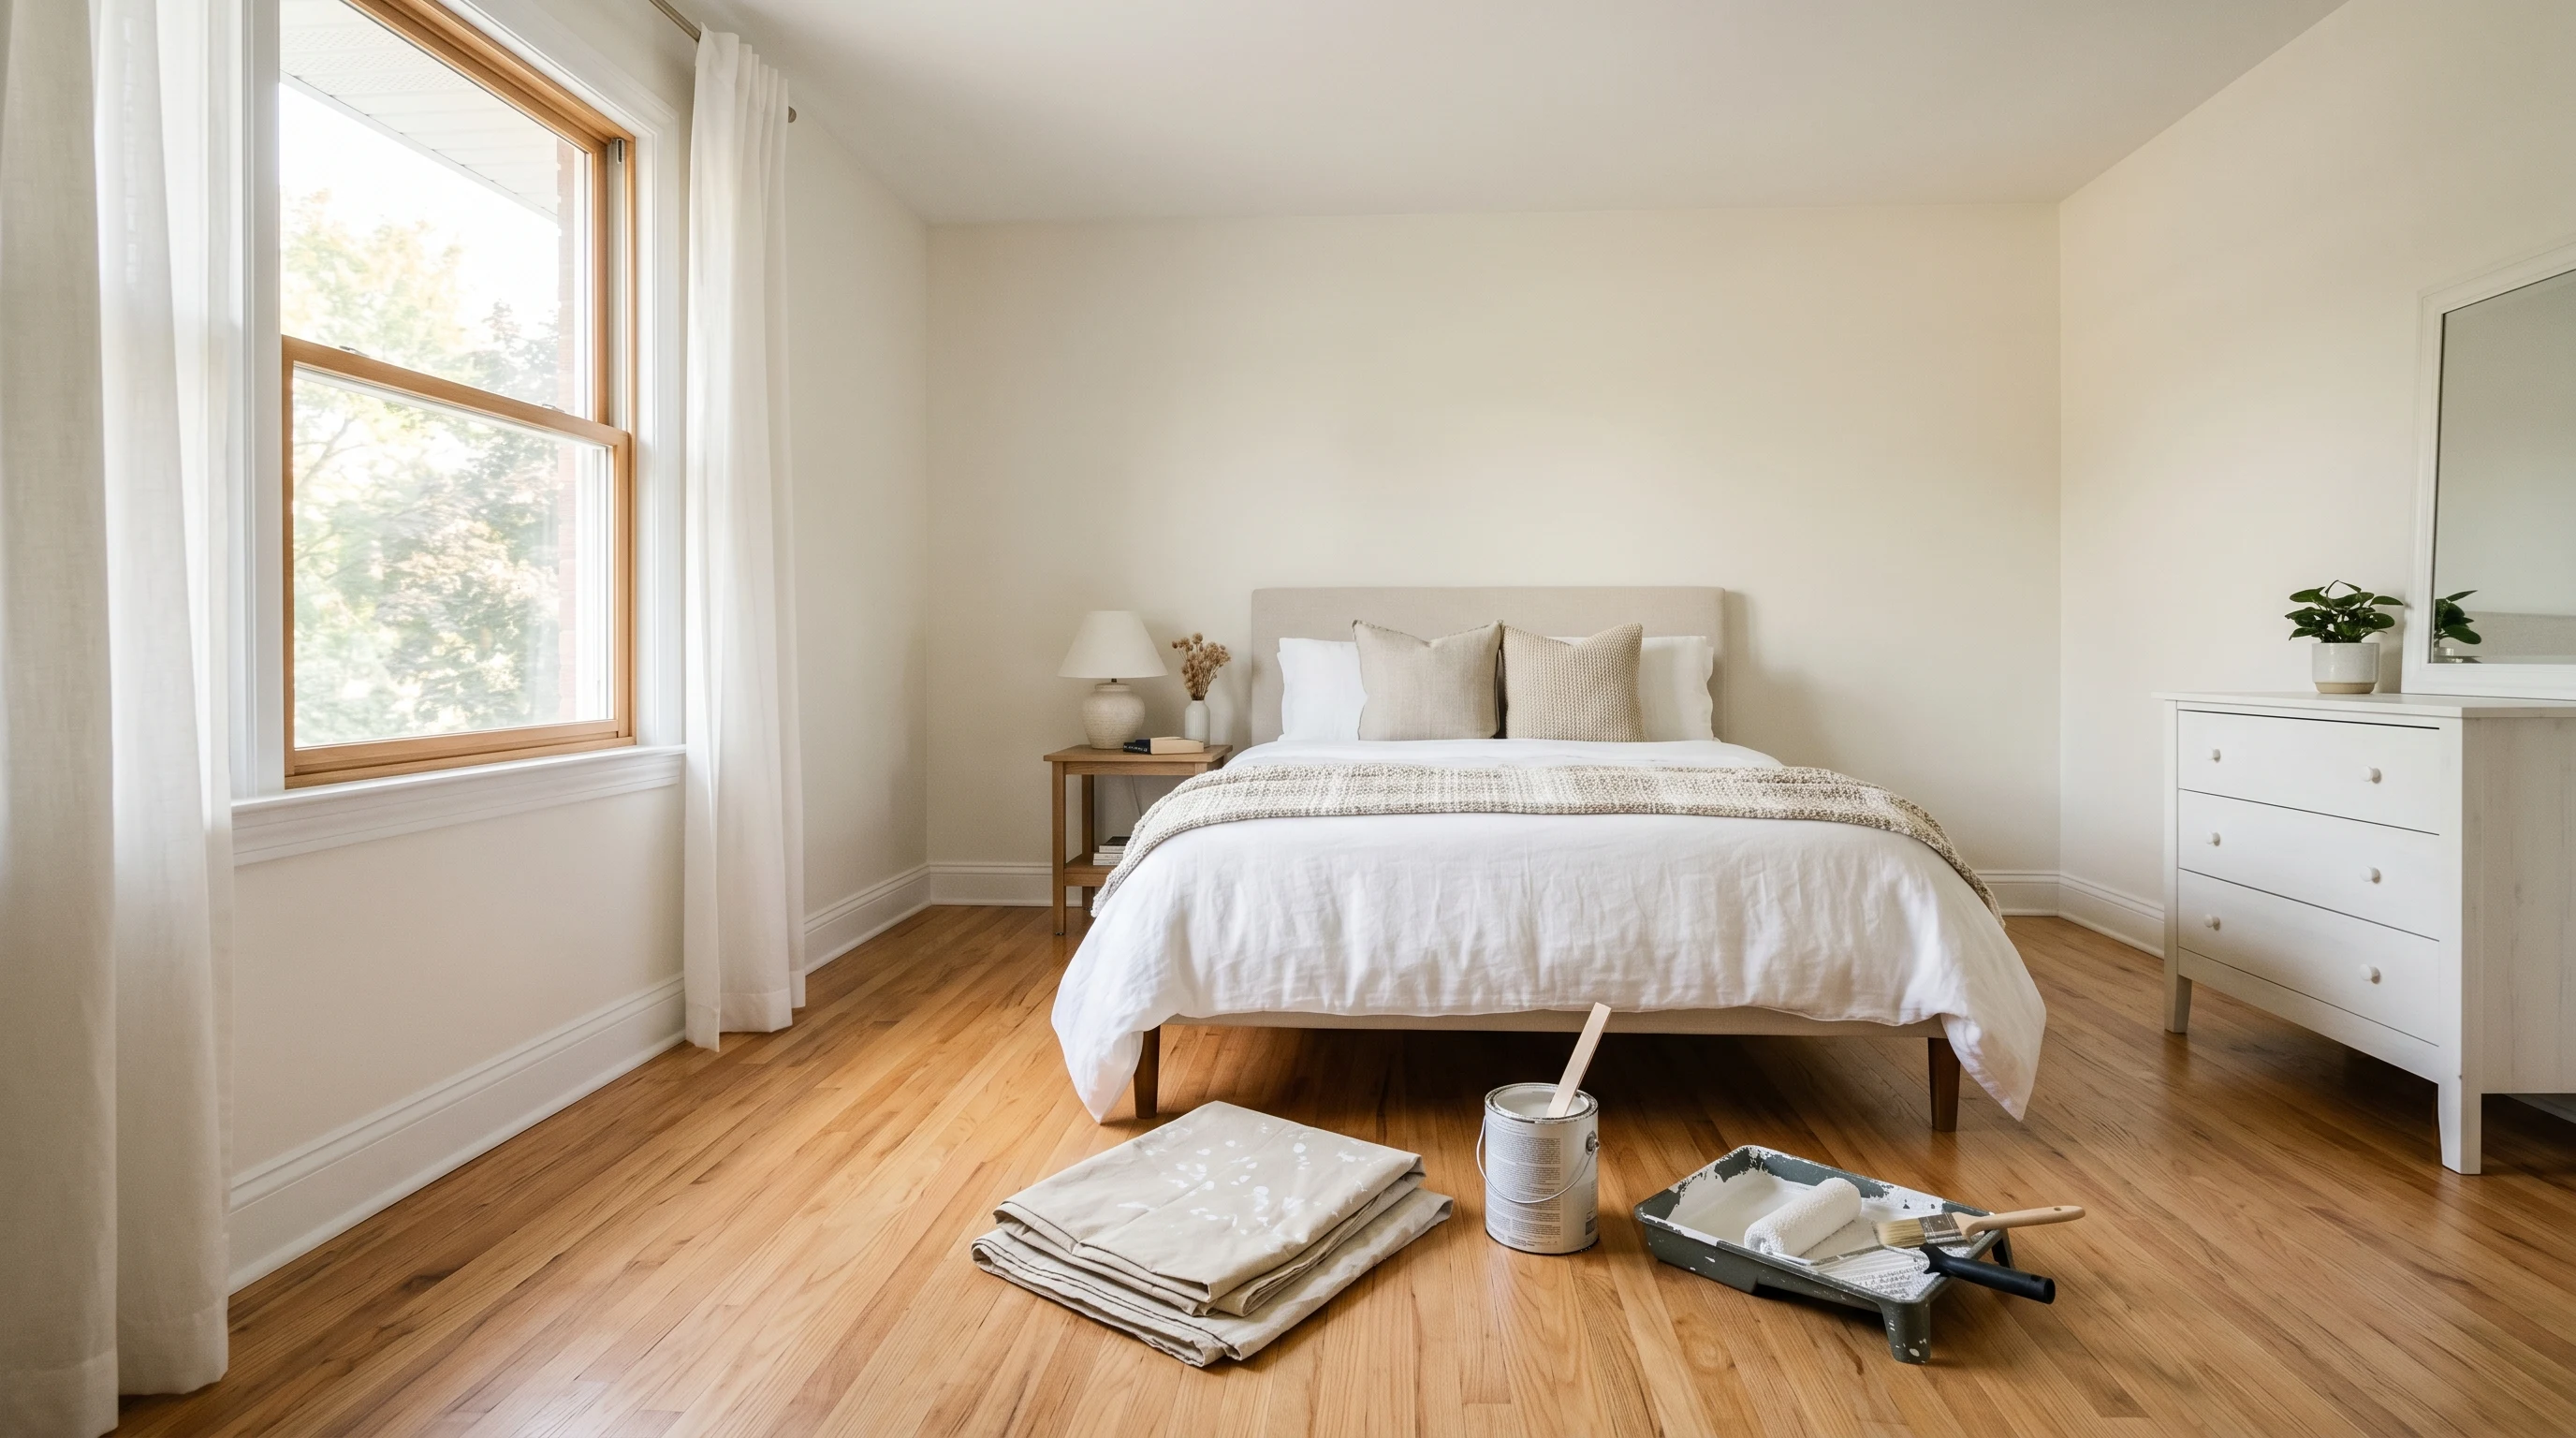
Okay, so you bought the paint, you bought the roller, and now you’re standing in the middle of your living room wondering if you’re about to ruin the floor. You’re not. Here’s the thing about painting a room for the first time: the worst thing that can happen is you have to do a second coat, which you were going to do anyway. A drip on the floor is the second-worst thing, and a damp rag fixes that.
This guide does the order most YouTube videos get wrong for first-timers. Trim first. Then ceiling. Then walls. Trim is the slow careful part, and you’ll do it better when you’re fresh. Walls are forgiving and feel like a reward by the time you get to them.
What You’ll Get
A clean, fully painted room (walls, ceiling, trim) in one weekend. The room will look like a different room.
Honest Take on Difficulty and Time
A standard 12×12 bedroom takes a first-timer about 12 working hours spread over two days. Day one: clear the room, patch holes, tape off, paint the trim. Day two: roll the ceiling, paint two coats on the walls. Add 24 hours of dry time before you put pictures back up.
If anyone tells you it’s a four-hour project, they’ve painted a hundred rooms and aren’t counting the prep. Prep is half the job.
What You’ll Need
Paint and Primer
A 1-gallon can of wall paint in eggshell (a soft low-shine finish, not flat, not glossy, the safest sheen for bedrooms and living rooms). For trim, a 1-quart can of semi-gloss (a shiny finish that wipes clean, what trim is supposed to look like). For the ceiling, a 1-gallon can of flat ceiling paint. Flat hides drywall flaws, eggshell shows them.
A 12×12 room takes about 1.25 gallons of wall paint for two coats. Buy the second gallon anyway. Leftovers are how you fix scuffs for the next five years.
Going from a dark color to a light one, or covering water stains or smoke yellowing? You need stain-blocking primer (Zinsser BIN or KILZ Original) on the problem spots. Not the whole wall. Just the trouble.
See the best bedroom paint round-up for full SKU picks and the sheen guide if you’re still deciding between eggshell and satin.
Tools
A 2.5-inch angled brush for cutting in (painting a clean edge along the trim and ceiling that the big roller can’t reach). A 9-inch roller frame, two 3/8-inch nap microfiber sleeves, a tray, an extension pole, a step ladder, painter’s tape, spackle, and a canvas drop cloth.
The brush is where you don’t cheap out. A $4 brush leaves bristles in the paint and a streaky cut line. A $14 Wooster or Purdy holds its edge for years. Picks live in the best paint brushes round-up.
Step 1 — Clear the Room and Patch Holes
Move every piece of furniture to the middle of the room and throw a bedsheet over it. If something is too heavy to move, push it 3 feet from the wall and drape it. Take down curtains, curtain rods, outlet covers, and switch plates. Put the screws in a labeled bag. You will lose them otherwise.
Find every nail hole, screw hole, and small crack. Press a little spackle into each with the putty knife, scrape flush, let it dry 30 minutes, then sand smooth with the 220-grit sponge. DryDex goes on pink and turns white when dry, which is its whole job.
Watch out for outlet covers stuck with old paint. Don’t yank. Score the edge with a utility knife first or you’ll tear the wall.
Step 2 — Tape Everything Off
Painter’s tape goes along the top edge of the baseboard, around window and door casings, and at the ceiling line. Press the edge down hard with your fingernail or a putty knife so paint doesn’t bleed under it. Bleed is paint sneaking past the tape and leaving a fuzzy line on the wood. Pressing the edge prevents it.
Lay the canvas drop cloth over the floor against the wall you’re working on. Canvas doesn’t slide like plastic and it soaks drips instead of letting them pool.
Step 3 — Paint the Trim First
Start with the baseboards, then window casings, then door frames. Use the 2.5-inch angled brush. Dip the brush only one-third of the way in. Fully loaded brushes drip.
Brush in long smooth strokes in the direction of the wood grain. Two thin coats look better than one thick one. Let the first coat dry for the time on the can (usually 4 hours for water-based) before the second.
Watch out for drips along the bottom edge of the baseboard. Check them every few minutes for the first half hour. Catch one while it’s wet and brush it out. Find one dry and you’ll have to sand it flat and recoat.
Trim takes most of day one. That’s normal. The walls will go three times faster tomorrow.
Step 4 — Roll the Ceiling
Tape the ceiling-wall corner if your ceiling and walls are different colors (they usually are). Put on safety glasses. Rolling overhead means paint mist in your eyes.
Cut in around the edges of the ceiling with the brush first, in a 2-inch band along the wall line. Then roll the rest with the extension pole. Load the roller in the tray, roll off the excess on the tray’s ramp, and roll the ceiling in W-shapes. Make a big W, then fill it in with back-and-forth strokes.
One coat is usually enough for ceilings. If you can still see the old color after it dries, do a second.
Watch out for roller spatter. Wear an old shirt and don’t look straight up while the roller’s moving.
Step 5 — Cut in the Walls
Trim and ceiling are dry. Now the walls. Same routine as the trim: angled brush, dip a third of the way, smooth even strokes. Cut in a 2- to 3-inch band along the ceiling, the floor, around windows, doors, and outlets.
The tape protects you. Brush right onto the tape. That’s what it’s for.
The trick is to cut in one wall at a time and roll it before the cut-in dries. If the cut-in dries before you roll, you get a visible line where brush meets roller, called a halo. Working wall-by-wall stops the halo before it starts.
Step 6 — Roll the Walls
Pour wall paint into the tray about a third up. Dip the roller, roll it on the tray’s ramp until it’s evenly loaded (not dripping, not dry), then onto the wall.
Same W-shape as the ceiling. Start at a top corner. Big W about 3 feet wide, then fill it in with up-and-down strokes. Move to the next section, overlap the wet edge by a few inches, and keep going. Don’t stop in the middle of a wall to take a break. The wet edge dries and you’ll see the seam.
One full coat takes about 45 minutes per wall for a first-timer. Let it dry the time the can says (usually 4 hours), then do a second coat. You will need a second coat. Almost every wall paint looks patchy after one. Don’t panic when the first coat looks bad. It always does. You’ll know it when you see it on the second pass; the color fills in and smooths out.
Step 7 — Pull the Tape and Reset the Room
Pull the tape while the last coat is still slightly tacky, not bone dry. Pull at a 45-degree angle, slow and steady. If you wait until the paint is fully cured, dry paint can chip off with the tape and you’ll have to touch up the edge.
Take the drop cloths outside and shake them off. Wash brushes and roller sleeves under warm water until the water runs clear. Put the furniture back in 24 hours. Hang pictures in 48.
Common Mistakes
- Skipping the trim and going straight to walls. Pros cut clean against trim freehand. You can’t yet. Trim first means tape protects you on the walls.
- Loading the roller too heavy. A dripping roller leaves ridges and runs. Roll it on the tray’s ramp until it stops dripping.
- Painting over a half-dry first coat. The roller drags the under-layer up and you get a streaky mess. If the can says 4 hours, wait 4 hours.
- Pulling the tape too late. Bone-dry paint cracks where the tape edge sits. Pull while it’s still slightly tacky.
- Stopping mid-wall. The wet edge dries, the next section doesn’t blend, you can see the seam in side light. Finish a whole wall before setting the roller down.
Cure Schedule
| Time after the second coat | What’s safe |
|---|---|
| 1 hour | Pull the tape |
| 4 hours | Touch dry, don’t bump it |
| 24 hours | Furniture back against the wall |
| 48 hours | Hang pictures and curtains |
| 7 days | Wipe scuffs with a damp cloth |
| 30 days | Full cure, scrubbable, washable |
What to Do If It Goes Wrong
A few things will go wrong. They go wrong for everyone. Here’s the fix for each.
You got a drip on the floor. If it’s wet, wipe it with a damp rag. Water-based paint comes off hardwood and tile easily for the first ten minutes. If it’s dry, scrape it gently with a plastic putty knife or the edge of an old credit card, then wipe with a damp rag.
You painted over the tape and now there’s a fuzzy line on the trim. Wait until everything’s dry. Take a small artist’s brush, dip in trim paint, repaint the edge. From three feet away nobody sees the repair.
Your wall has roller streaks after the second coat. The roller wasn’t loaded evenly, or you didn’t overlap the wet edge enough. Wait until it’s fully dry, sand lightly with the 220-grit sponge, and roll a third coat. Light streaks usually vanish on the third pass.
You hate the color. Live with it for a week before deciding. Color looks different at every hour of the day and your eye adjusts. If you still hate it on day eight, repaint. That’s what the leftover gallon is for.
You ran out of paint halfway through the second wall. Stop at a corner, not the middle. Go buy more. Tell the paint counter the brand, color name, and code from the lid sticker so they match exactly.
Maintenance and Touch-Ups
Eggshell walls in a bedroom hold up for 7 to 10 years before they need a refresh. Trim lasts 10 to 15 years unless kids and pets bang it up.
Wipe scuffs with a damp microfiber cloth first. Most scuffs are dirt, not paint damage. For a real scratch, dip a small artist’s brush in your leftover paint and dab just the scratch. Don’t paint a whole patch or you’ll see the edge. For a wall ding, spackle, sand, then dab paint with a small piece of roller (not a brush, since a brush leaves a different texture than the surrounding wall).
Keep a quart of each color in the basement labeled with the room name.
Cost Breakdown
| Item | $ |
|---|---|
| Wall paint, 1.25 gallons eggshell | $55 |
| Ceiling paint, 1 gallon flat | $30 |
| Trim paint, 1 quart semi-gloss | $20 |
| Brushes, roller, tray, sleeves | $35 |
| Tape, drop cloth, spackle | $25 |
| Total | $165 |
Numbers are mid-tier paint (Behr Premium Plus or BM Regal Select). Cheaper runs about $120. Top-shelf (BM Aura, SW Emerald) closer to $220.
Related
Frequently asked questions
Do I really have to paint the trim before the walls?+
How much paint do I need for a 12×12 bedroom?+
Can I skip the primer?+
What if I get paint on the ceiling or the floor?+
How long do I have to wait between coats?+
Why does my paint look streaky after it dries?+
- How to paint an interior door
- Repainting multiple rooms (flip playbook)
- Best paint for bedrooms
- Sheen guide: matte to gloss
- Best paint brushes