How to Paint Kitchen Walls — Grease Prep, Sheen, and Two-Coat Plan
First-timer's guide to painting kitchen walls: cut the grease with TSP or Krud Kutter, pick satin near the stove and eggshell elsewhere, then two coats.

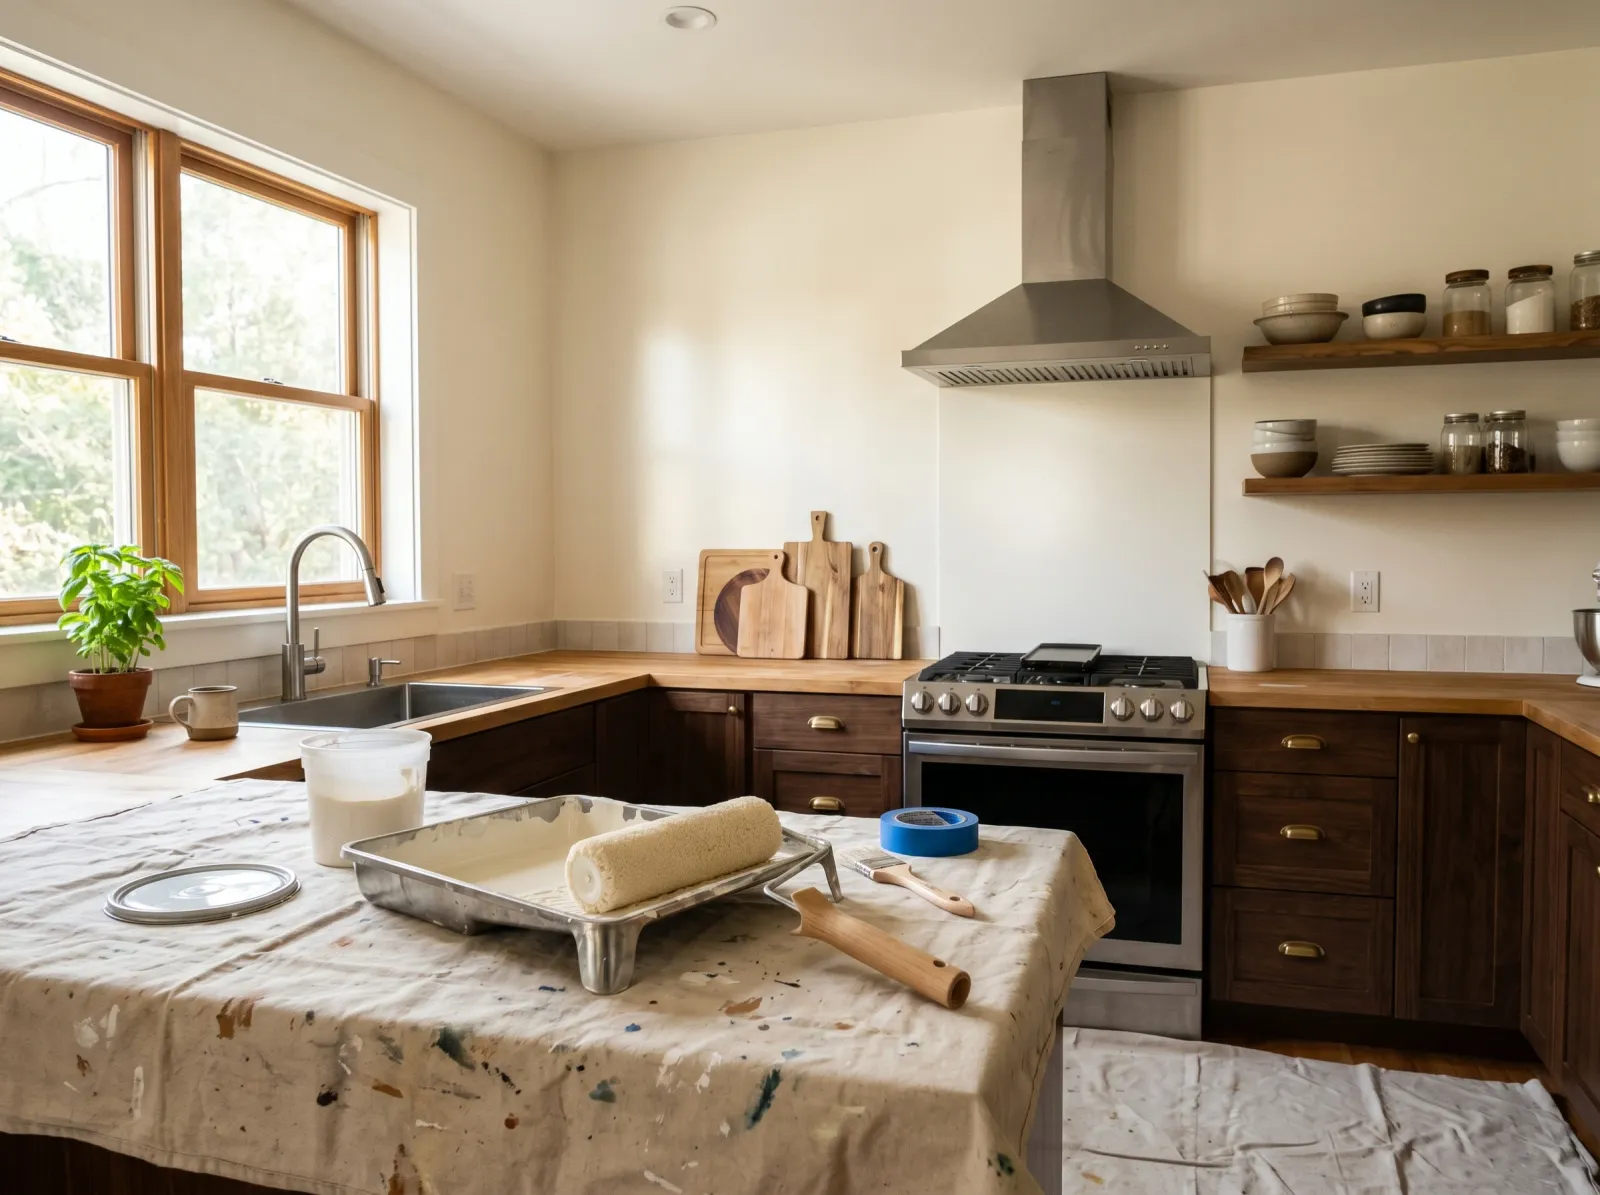
Okay, so you’ve been staring at the kitchen walls for a year and you’ve decided to paint them, and now you’re wondering if you really have to wash them first. You do. Here’s the thing about kitchen walls: they’re not like the walls in your bedroom. There’s a thin film of cooking grease on them, even if you can’t see it, and paint laid over that film won’t stick. The fix takes thirty minutes with a sponge and a bucket.
The rest is normal wall painting. Two coats, careful taping, the right sheen in each zone.
What You’ll Get
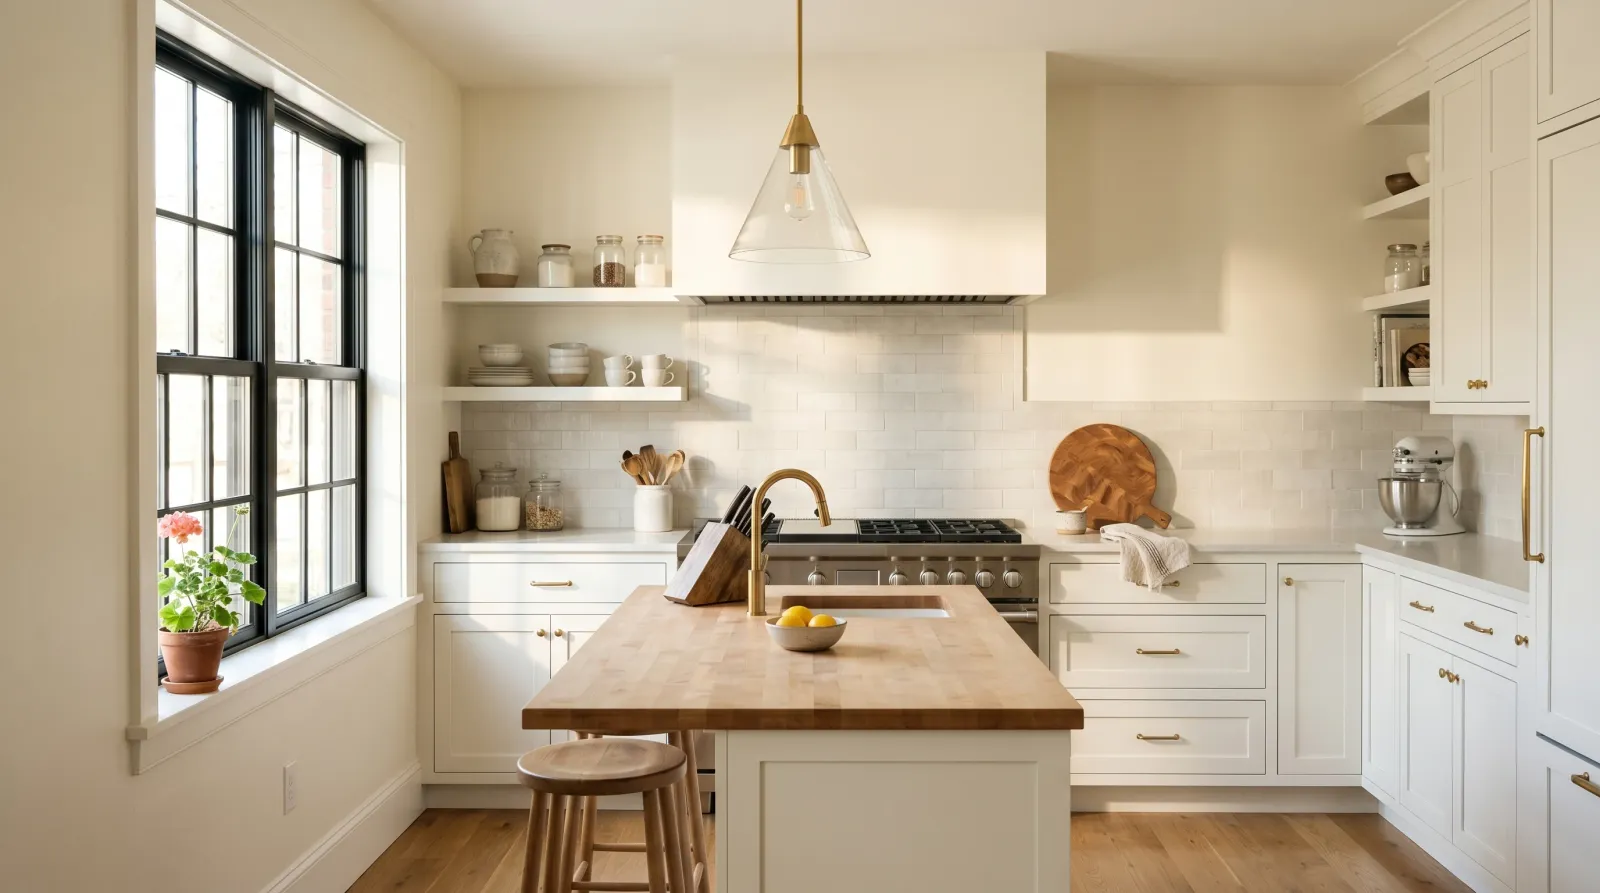
Walls that look freshly painted, wipe clean when tomato sauce splatters, and stay that way for years. The wall behind the stove gets a slightly shinier finish because you’re going to scrub it.
Honest Take on Difficulty and Time
Easy project, becomes hard if you skip the degreasing. A small galley is one Saturday. An open-plan kitchen is a full weekend.
| Kitchen size | Active time | Total elapsed |
|---|---|---|
| Small galley (2-wall) | 3–4 hrs | One Saturday |
| Standard L-shape | 5–6 hrs | One full Saturday |
| Open-plan kitchen | 7–9 hrs | One weekend |
Patience separates a clean kitchen repaint from one that peels at the stove wall in six months.
What You’ll Need
Paint and Primer
- 1 gallon of finish paint for a small or standard kitchen, two for open-plan. See our wall paint round-up for kitchen-friendly picks.
- Two sheens, not one. A quart of satin for the range wall and around the sink. A gallon of eggshell for the rest. Same color, so the difference is sheen, not hue. The sheen guide explains why.
- Primer only if you need it. Skip for same-color or lighter-to-similar. Use a bonding primer if you’re covering a glossy semi-gloss or going light over a dark color.
Tools and Supplies
- TSP substitute or Krud Kutter Original. TSP (trisodium phosphate) is the classic kitchen degreaser; Krud Kutter is the rinse-free modern version. Both eat cooking grease in a way that dish soap can’t touch.
- 9-inch roller frame with a 3/8-inch microfiber sleeve.
- 2-inch angled sash brush for cutting in (painting the narrow strip along edges where a roller won’t reach).
- Yellow FrogTape Multi-Surface. Seals tighter on textured walls than the green.
- Canvas drop cloth, a paint tray with liners, a step stool.
- Rubber gloves and safety glasses for the degreaser. It stings on bare skin.
If you don’t already have brushes and rollers, see the brush picks and the roller picks.
Step 1 — Clear the Counters and Move Appliances
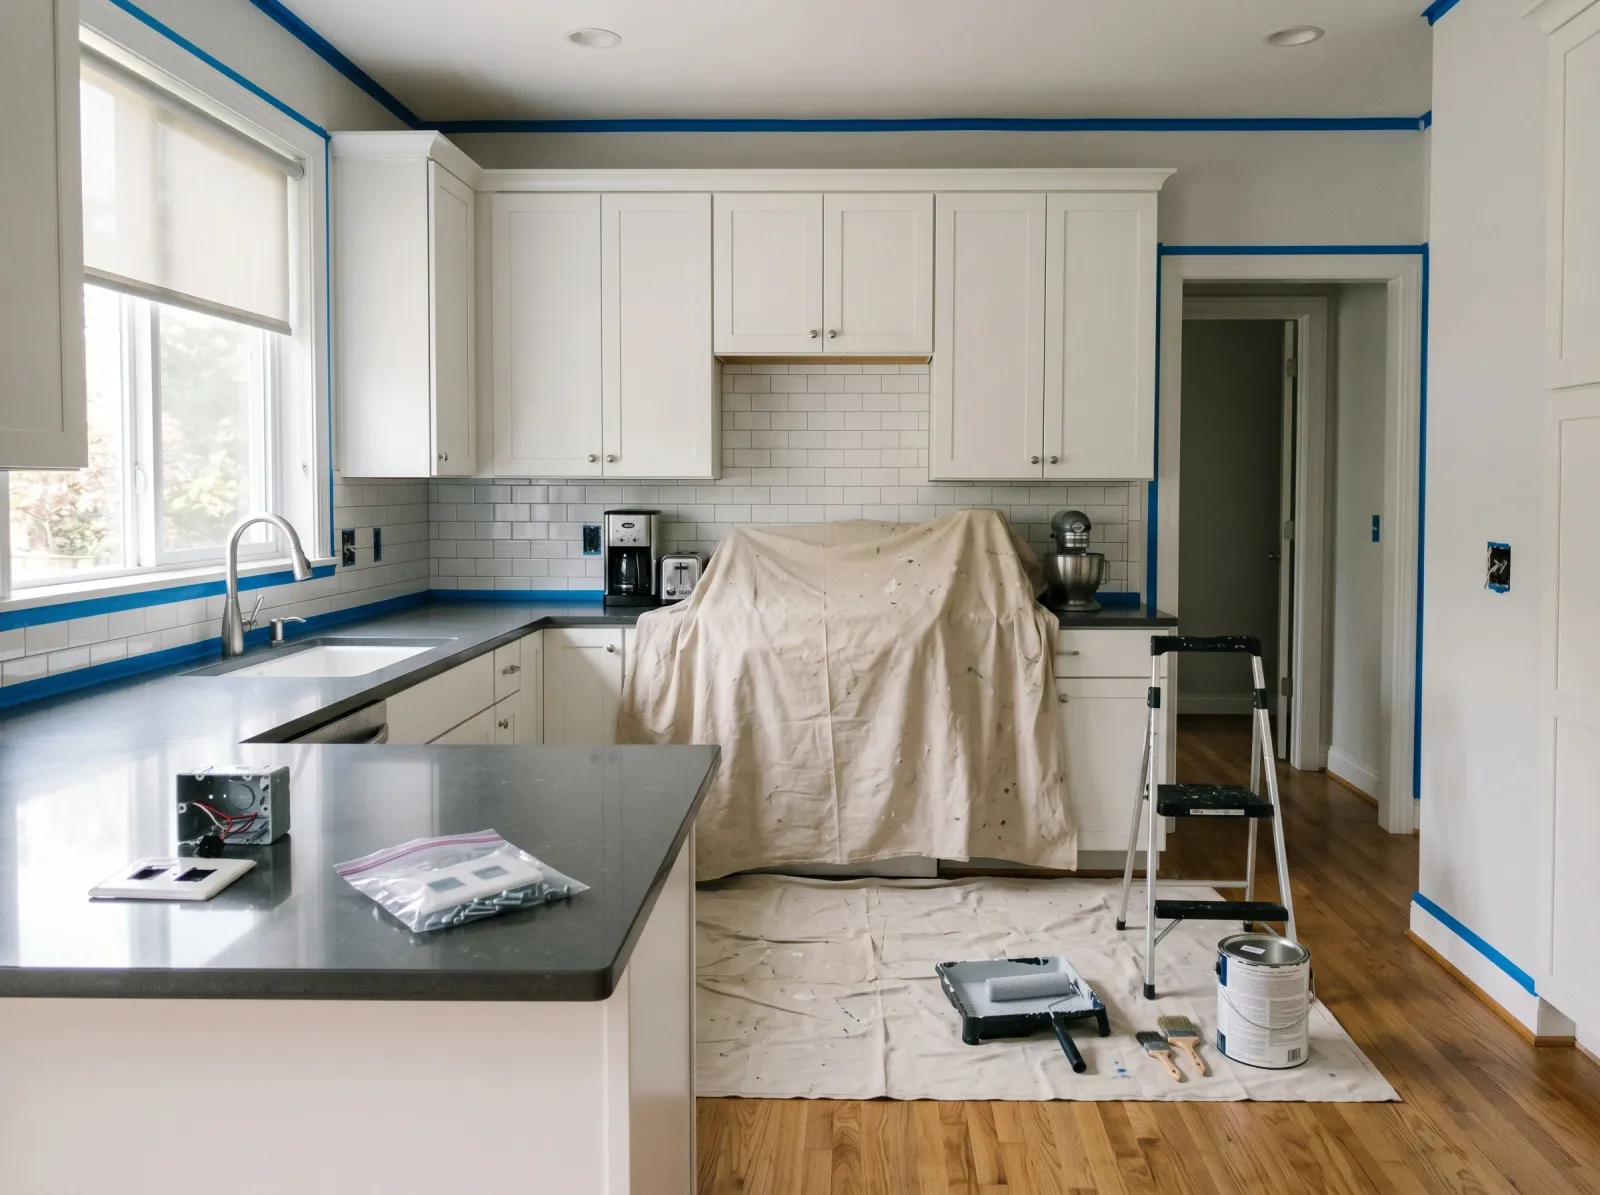
Small appliances pulled four feet from the walls, counters covered, outlet plates off.
Get everything off the counters. Toaster, coffee maker, knife block, fruit bowl. Pull the bigger appliances (microwave, stand mixer) four feet from the wall.
Cover the counters with a canvas drop cloth and tape the edge to the backsplash. The drop-cloth-plus-tape trick gives you a straight bottom line that’s hard to get against an uncovered counter.
Unscrew the outlet and lightswitch plates. Drop the screws into a baggie and tape it to the back of the plate.
Watch out for: the gap behind the stove. There’s almost always a strip of wall back there that’s never been cleaned. Pull the stove out (mind the gas line if you have one) so you can reach it.
Step 2 — Degrease Every Wall, Especially Behind the Stove
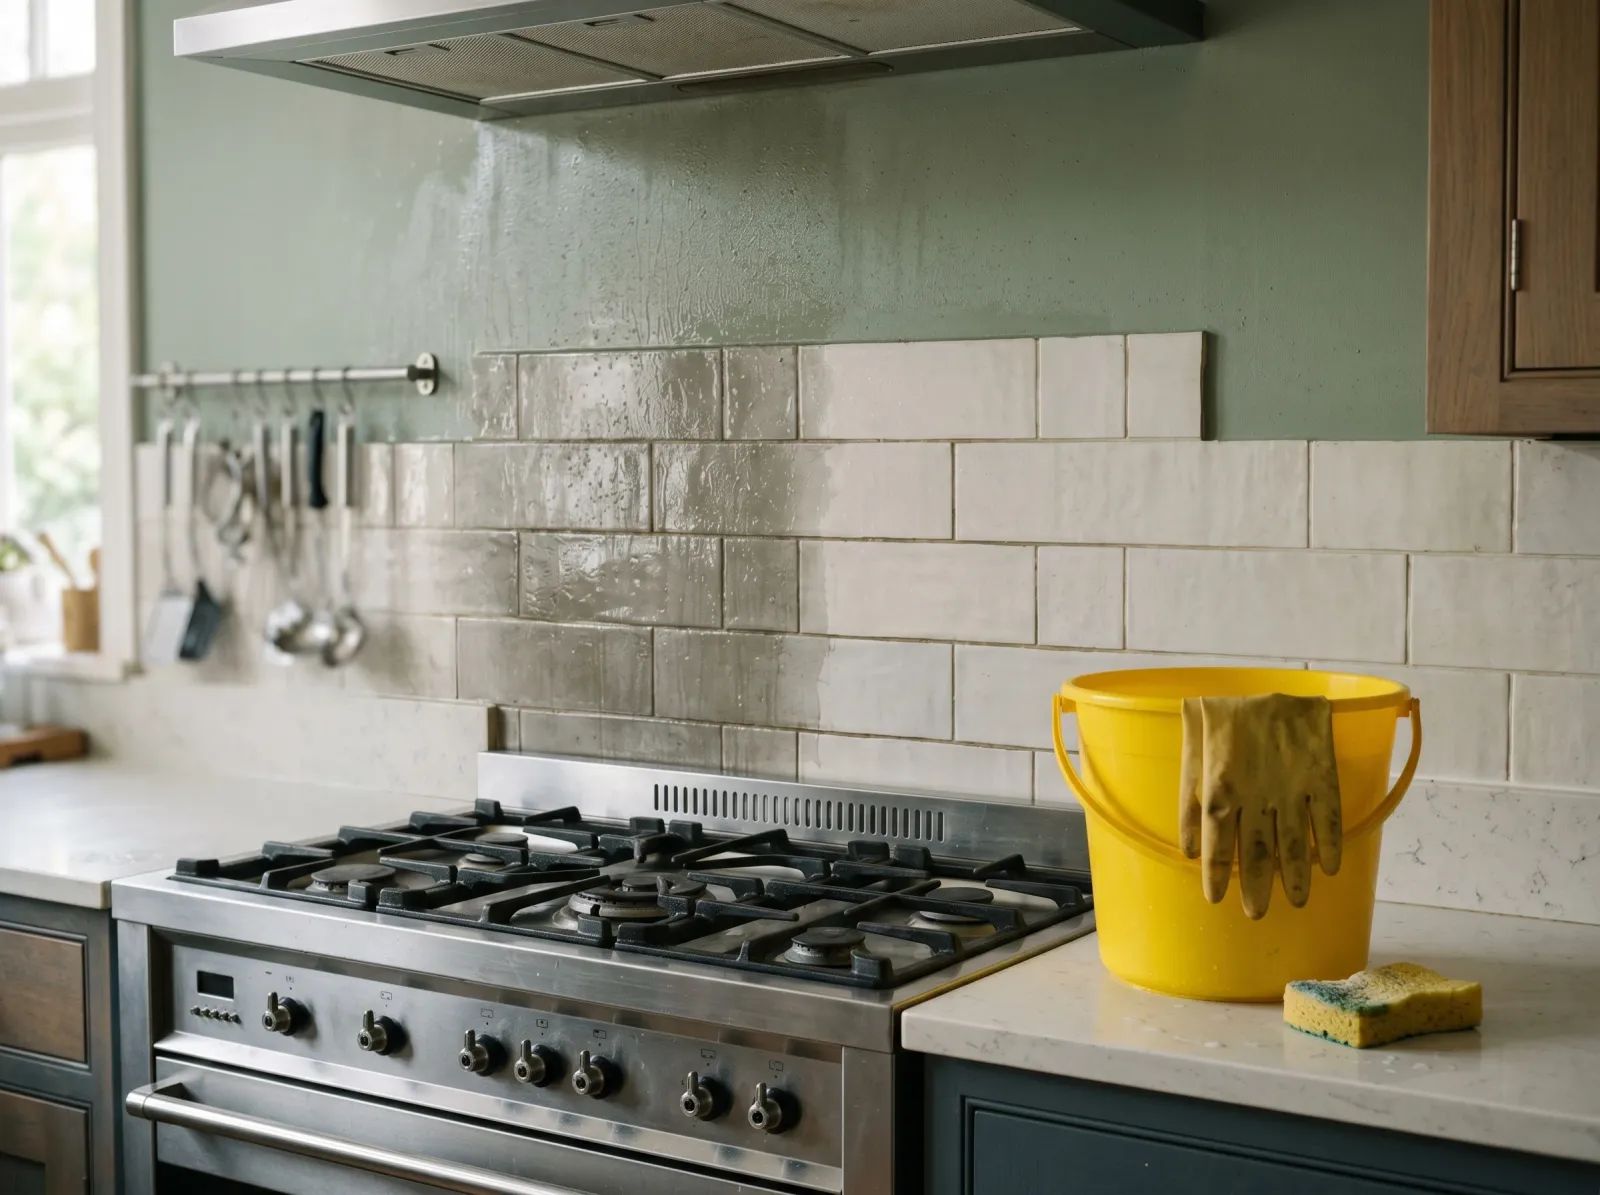
Walls wiped down with degreaser, then rinsed with clean water and left to dry.
Skip this step and your paint peels at the stove wall by Christmas.
Mix the degreaser per the label. TSP substitute goes into a gallon of warm water; Krud Kutter sprays straight on. Gloves and glasses go on first.
Wipe every wall with a soaked sponge, working top to bottom so drips run down already-clean wall. Scrub harder on the wall behind the stove, above the sink, and the lower section of the cabinet wall where steam settles. You’ll know the grease was there because the rag comes away yellow-brown.
Rinse with a second bucket of clean water and a clean sponge. Let the walls dry at least 2 hours before painting.
Watch out for: invisible grease at chest height on the wall opposite the stove. Cooking aerosol drifts farther than people think. Wipe that wall too.
Step 3 — Patch, Sand, and Tape
Patch nail holes, cracks, and dings with spackle. Let dry 30 minutes and sand flush with the foam block.
Tape along the top of the backsplash, the ceiling line, the door and window trim, and around any wall vent. Work in three-foot sections and press each one down firm with your thumbnail or a credit-card corner. The press is what seals the tape.
If your walls have orange-peel or knockdown texture, run a thin bead of clear painter’s caulk along the tape edge with a finger after pressing, let it skin for two minutes, then paint. The caulk seals the texture gaps the tape can’t. Sounds extra; it’s the trick that gives you a knife-edge line on textured walls.
Watch out for: grout lines on the backsplash. They suck tape in and let paint bleed under. Press the tape into the grout with the credit-card corner.
Step 4 — Cut in First, Then Roll
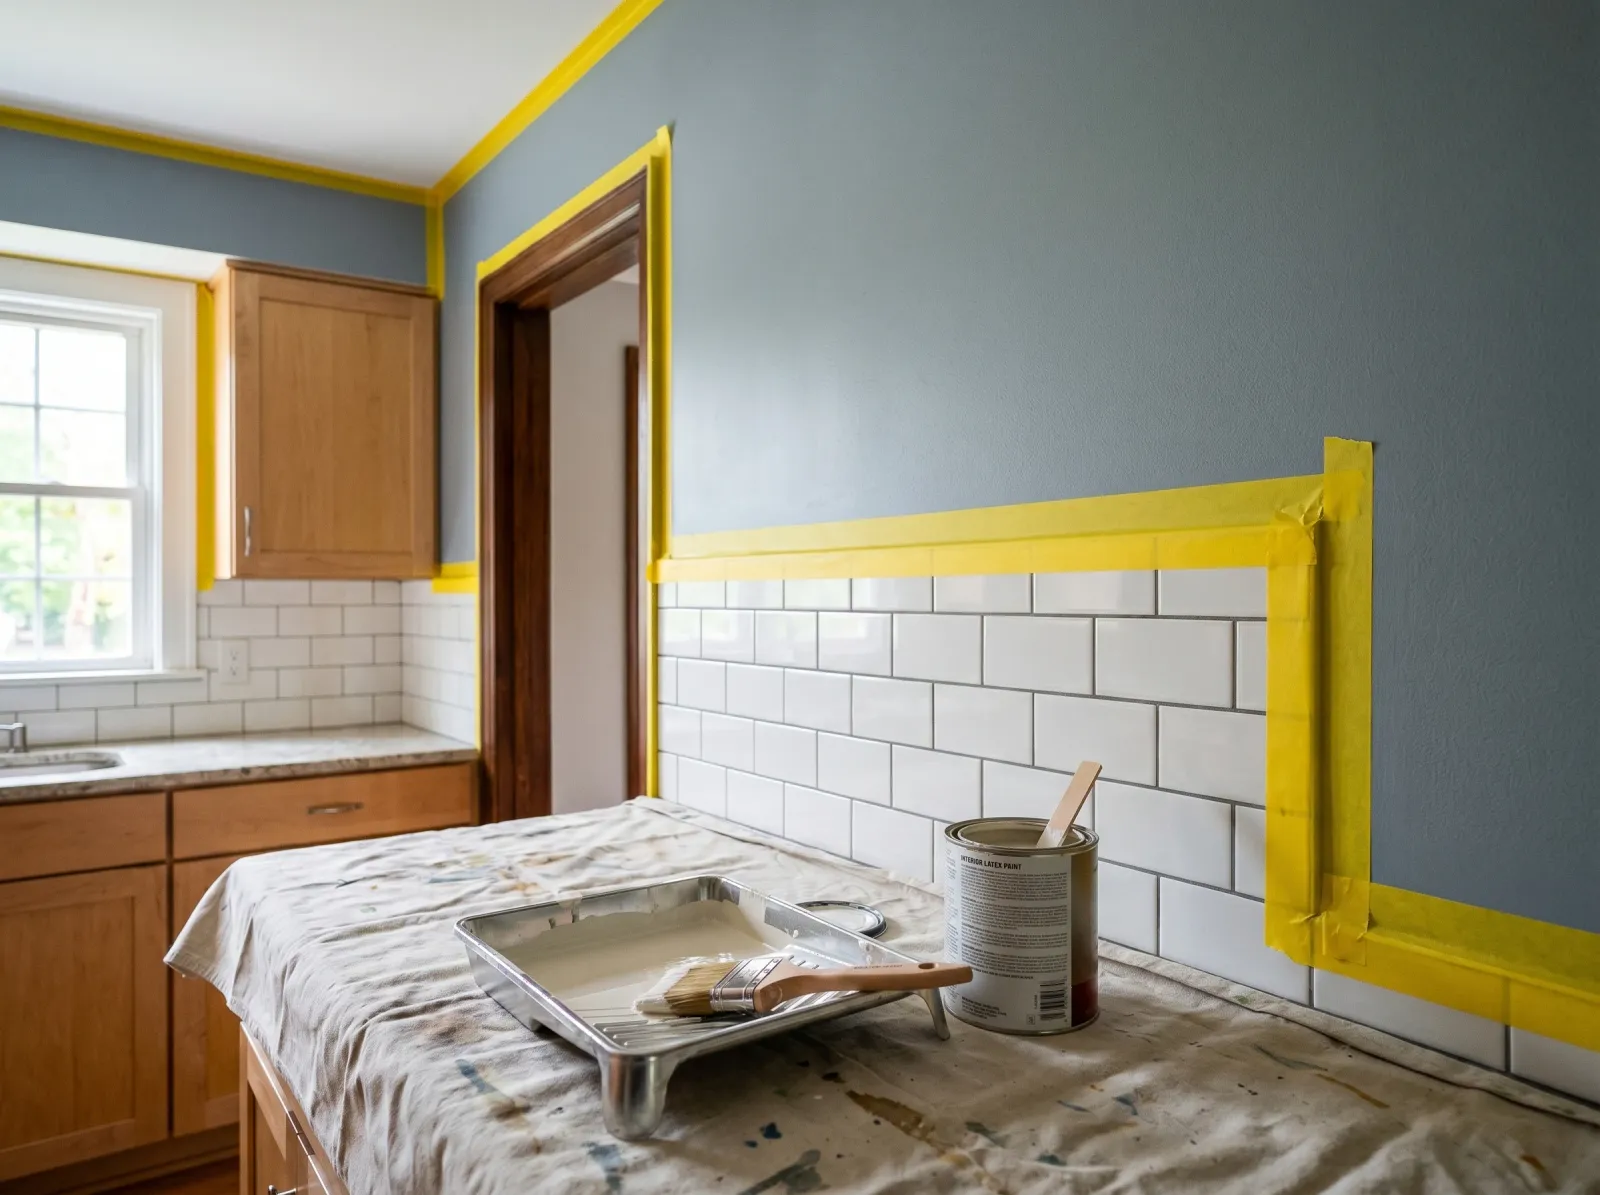
Yellow tape pressed along the backsplash, ceiling line, and trim. Cut-in band brushed at every edge.
Cutting in means brushing a two-inch band of color along every taped edge before the roller touches the wall. Without it, the roller stops short of the tape and leaves a stripe of different texture at every edge.
Load the brush a third of the way in, tap once on the inside of the can. Brush a band along the ceiling, backsplash, trim, and around outlets.
Pour a cup of paint into the tray, load the roller, roll the wall in a big W, then fill it in. Keep the roller about an inch off the cut-in band; the wet edges blend as you cross.
The cut-in needs to still be wet when the roller reaches it. If it dries first, you’ll see a faint picture-frame outline of different sheen on the finished wall. Work one wall at a time: cut in, then roll, then move to the next.
Watch out for: the wall behind the stove uses the satin quart, not the eggshell. Pour it into a separate tray so you don’t mix sheens.
Step 5 — Wait, Then Put on the Second Coat
Second coat rolled while the cut-in is still wet. The patchy first coat is gone.
The first coat will look patchy. That’s normal. Don’t go back over wet spots; you’ll leave roller marks that show in raking light.
Wait the recoat window on the can (usually 2 to 4 hours). Touch the wall with a knuckle; if it’s dry and not sticky, you’re good. Second coat goes down the same way: cut in, then roll.
Step 6 — Pull the Tape While the Paint Is Still Tacky
The tape comes off while the second coat is slightly tacky, about 30 to 60 minutes after you finish rolling.
As the paint film cures, it bonds across the tape edge. Pull at four hours and you’ll peel a ragged strip of paint off the wall with the tape. Pull at thirty minutes and the film is still soft enough to release cleanly.
Pull slow, at a 45-degree angle. One continuous strip. If a corner lifts, dab it back with the brush and leftover paint.
Step 7 — Appliances Back, Then Wait
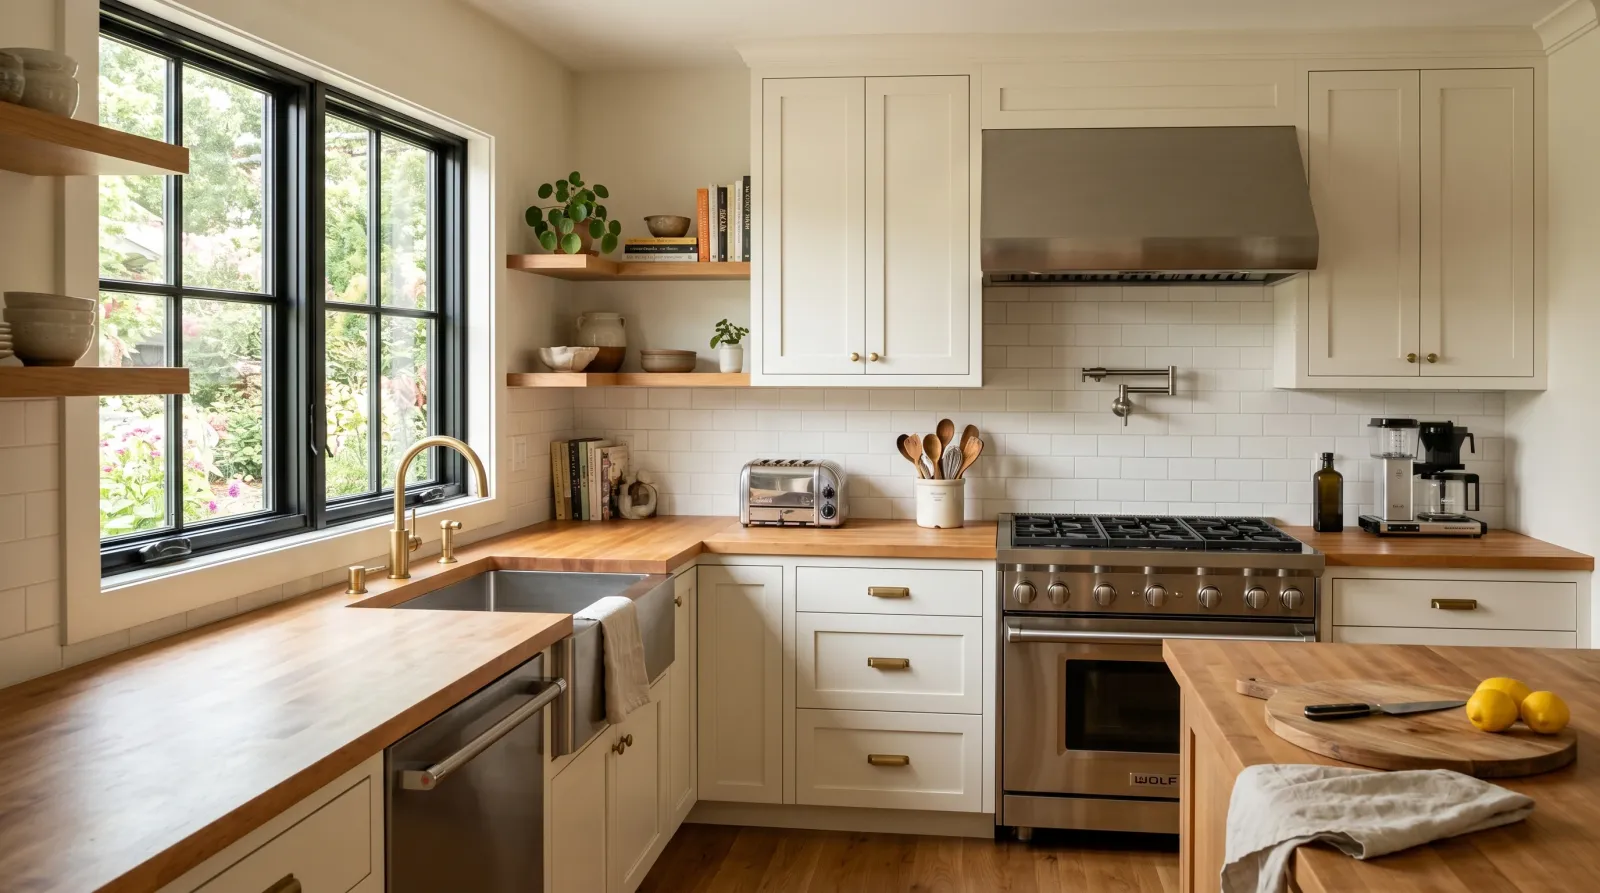
Drop cloths off, toaster and coffee maker back on the counter, walls finished.
Wait 4 hours before pushing the stove and fridge back. The paint is dry to the touch but not cured; pressing an appliance against fresh paint at hour two leaves a mark.
Outlet plates back on. Small appliances back on the counter. Wait a full week before scrubbing the wall — the film needs time to harden.
Common Mistakes
- Skipping the degreaser. Cooking grease is invisible and everywhere. Paint over it and the wall peels in sheets within a year. Thirty minutes with a sponge prevents the whole disaster.
- Flat or matte in a kitchen. Pretty for a month. Then a tomato sauce splatter happens, you wipe, and the paint comes off with the stain. Eggshell minimum, satin near the stove.
- One coat to save time. The wall reads thin and patchy in raking light. Two coats. Always two coats.
- Scrubbing the wall too soon. Paint is touch-dry in 2 hours but not cured for 30 days. Scrubbing at week one burnishes a glossy spot into the finish. Wait 7 days for routine wiping, 30 for scrubbing.
- Painting over wallpaper or tile. Cooking steam lifts wallpaper edges within months. Regular paint chips off tile the first time you clean it.
Cure Schedule
| Time after final coat | What’s safe |
|---|---|
| 30–60 min | Pull the painter’s tape |
| 2 hrs | Touch dry; outlet plates back on |
| 4 hrs | Push appliances back against the wall |
| 24 hrs | Cook normally |
| 7 days | Wipe stains off with a damp cloth |
| 30 days | Full cure; scrub with degreaser if needed |
Maintenance
A satin wall behind the stove takes splatters for about 5 years before the wipe-down dulls the finish around the burners. The eggshell on the other walls lasts 7 to 10 years. Save a quart of each sheen with a labeled lid for touch-ups.
Small splatter: damp microfiber rag and a drop of dish soap. Grease buildup behind the stove: a Krud Kutter spray with a soft cloth, once the wall is past 30 days cure.
Cost
| Item | Cost |
|---|---|
| 1 gal eggshell + 1 qt satin (same color) | $55–$95 |
| TSP substitute or Krud Kutter | $10–$15 |
| Yellow FrogTape (60 yd) | $10 |
| Roller frame + microfiber sleeve | $18 |
| 2” angled brush | $14 |
| Tray + liners | $8 |
| Canvas drop cloth | $20 |
| Total (first kitchen) | ~$135–$180 |
If It Goes Wrong
Paint peeled in a strip behind the stove because the grease showed through. Scrape the loose paint off with a putty knife, sand the edges smooth, wipe with Krud Kutter, prime with a stain-blocking primer (Zinsser BIN or Cover Stain), and repaint. A two-foot square patch is one afternoon and a sample quart.
The color reads different in the kitchen than on the chip. Kitchen light is a mix of cool LED from the under-cabinet strips and warm daylight from the window. Live with it a week before repainting. Most people stop noticing within a few days.