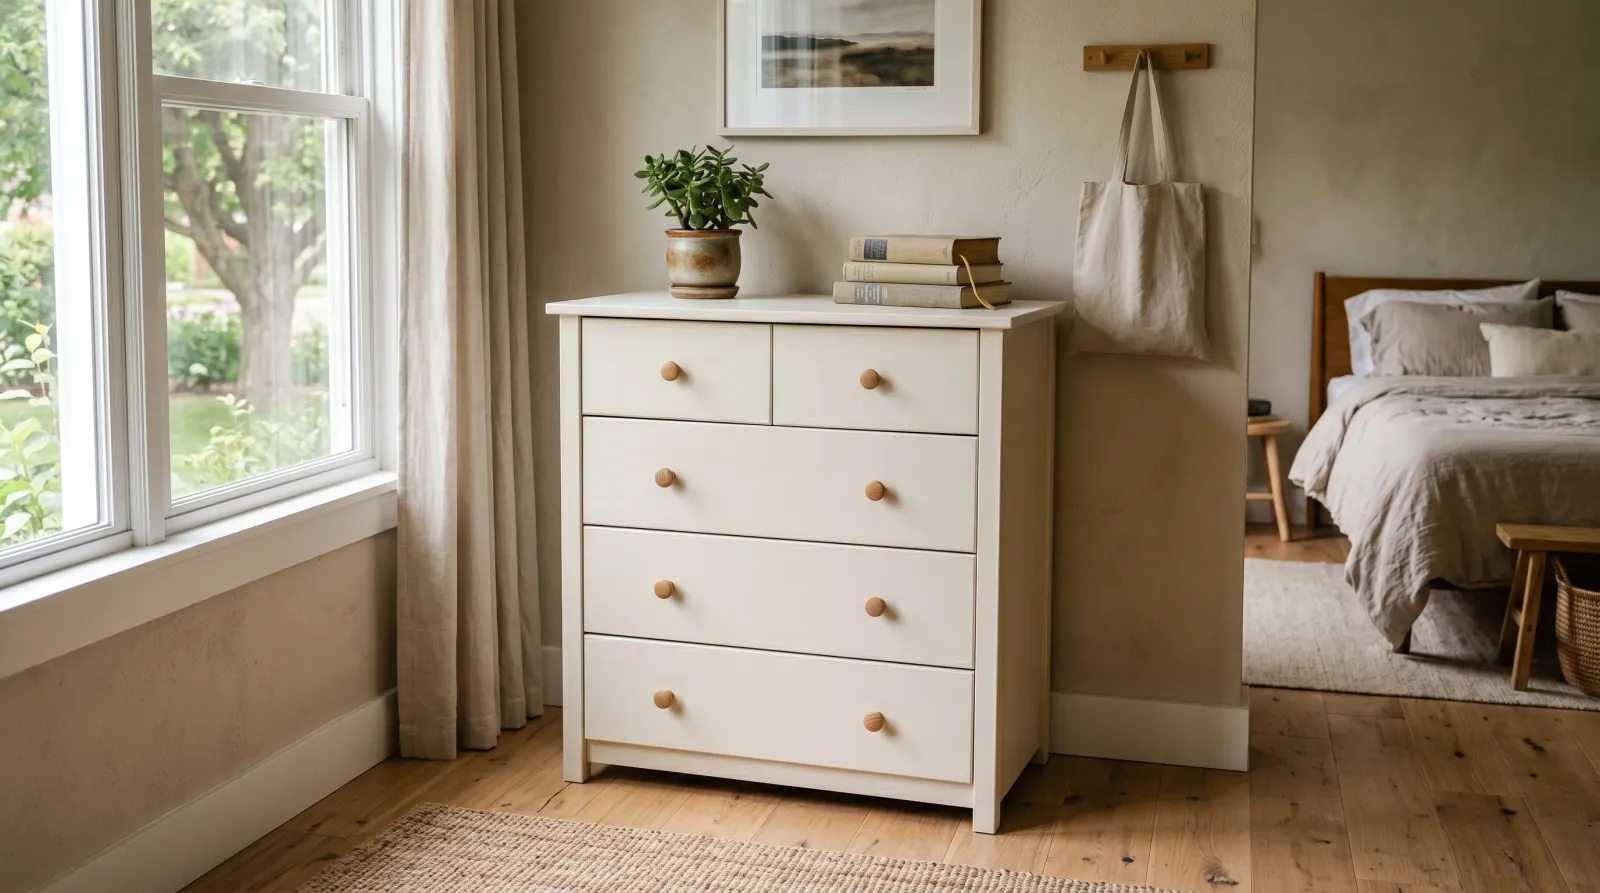
How to Refinish IKEA Furniture With Paint
Painting IKEA furniture without peeling? The slick melamine needs a bonding primer first. Here is the full prep, paint, and cure schedule for a finish that lasts.

Okay, so you have a BILLY bookcase or a MALM dresser that has done its time, and you want to give it a new color instead of hauling it to the curb. Good instinct. The piece cost you next to nothing, so even if the paint job goes sideways you’re not out much. Here’s the thing nobody tells you up front: IKEA furniture is almost never real wood. It’s particleboard wrapped in a slick plastic film called melamine, and that slick film is the reason most people’s paint jobs peel off in a month.
So this guide is really about one decision. Get the primer right and the rest is easy.
What You’ll Get
A flat-pack piece that looks bought, not built. A weekend of work plus about a week of cure before you load it back up. The math: $50 dresser, $40 in materials, and you have something that reads like a $300 piece from a nicer store.
Honest Take on Difficulty and Time
This is one of the easier paint projects. No ladder, no ceiling, no taping off a whole wall. The only thing that trips people up is rushing the primer or recoating before the first coat is dry.
Don’t believe the “paint IKEA furniture in an afternoon” videos. The painting is fast. The drying is not, and the drying is what makes it last.
| Step | Active time | Dry/cure before next step |
|---|---|---|
| Disassemble, degrease, scuff | 1 hour | none |
| Bonding primer, one coat | 30 min | Overnight |
| Cabinet enamel, two coats | 1–2 hours | 16 hours between coats |
| Reassemble | 30 min | After 24-hour re-handle |
What You’ll Need
Paint and Primer
The one thing you cannot skip is a bonding primer (a primer made to grip slick, non-porous surfaces like plastic and melamine). INSL-X Stix or Zinsser Bulls Eye 1-2-3 Plus. One quart covers a dresser.
For color, you have two paths. Cabinet enamel (BM Advance, SW ProClassic, INSL-X Cabinet Coat) for anything you touch daily. It self-levels and cures hard. Chalk-style paint (Country Chic, Behr Chalk Paint) for a matte, slightly aged look on a bookcase or side table that won’t get handled much. Chalk paint stays soft for a few weeks and needs a top coat.
Skip plain wall paint. It never hardens enough for furniture and it’ll scuff the first time you bump it.
For full SKU picks, see the best bonding primer round-up. If you want the chemistry of why bonding primer works on plastic at all, the bonding primer explainer covers it.
Tools
A 2-inch angled brush for the edges and routed details, a 4-inch foam-mini roller for the flats, a screwdriver or drill for the hardware, painter’s tape, a drop cloth, and a 220-grit sanding sponge.
The foam roller matters more than you’d think. It lays down a thin, even film with no brush marks on the big flat drawer fronts and side panels. A regular nap roller leaves stipple texture you don’t want on furniture.
Step 1 — Disassemble and Degrease
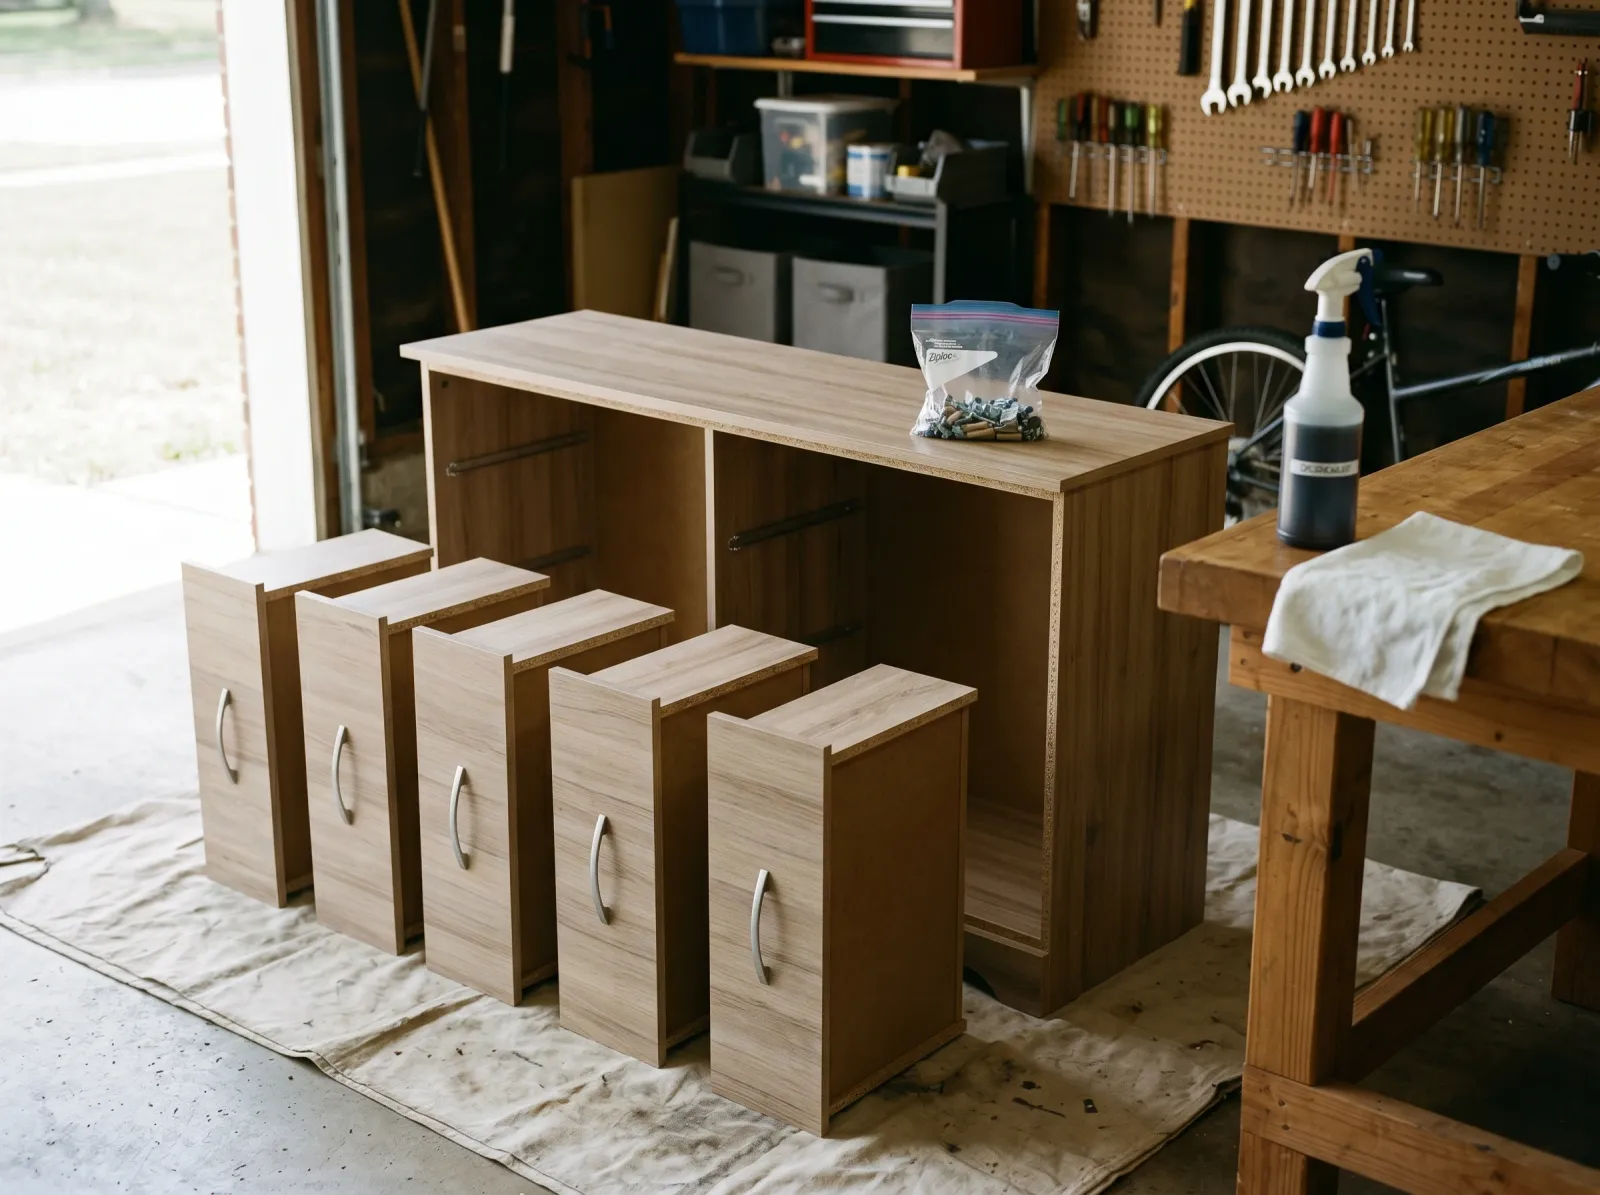 Drawers and doors off, screws in a labeled baggie, every face wiped down.
Pull out the drawers and take off any doors. Unscrew the knobs and pulls. Drop the cam-lock screws and pegs (the little barrel-and-bolt hardware that holds flat-pack furniture together) into a baggie and label it with a Sharpie. You will not find a match at the hardware store, so don’t lose them.
Then wipe every surface you plan to paint with a degreaser or a little dish soap and water. Furniture picks up an invisible film of skin oil, kitchen grease, and dust, and primer won’t bond through it.
Watch out for the melamine edge banding (the thin strip glued to the front edges of each panel). If a corner is lifting, glue it back down with wood glue and clamp it before you paint, or it’ll keep peeling under the new finish.
Step 2 — Scuff and Fill
 A light 220-grit scuff dulls the slick factory finish so the primer can grab.
Scuff every surface with the 220-grit sponge until the shine is gone and the surface feels dull. You’re not sanding the color off. You’re just roughing the slick so the primer has tooth to grab. Two minutes per panel.
If you’re moving knobs to new spots, fill the old screw holes now with a dab of wood filler, let it dry, and sand flush. For the right product, see the wood filler picks.
Vacuum the dust, then wipe everything with a tack cloth. Dust under primer shows up as little bumps you can’t sand out later without going back to bare board.
Step 3 — Bonding Primer (the Step That Makes It Last)
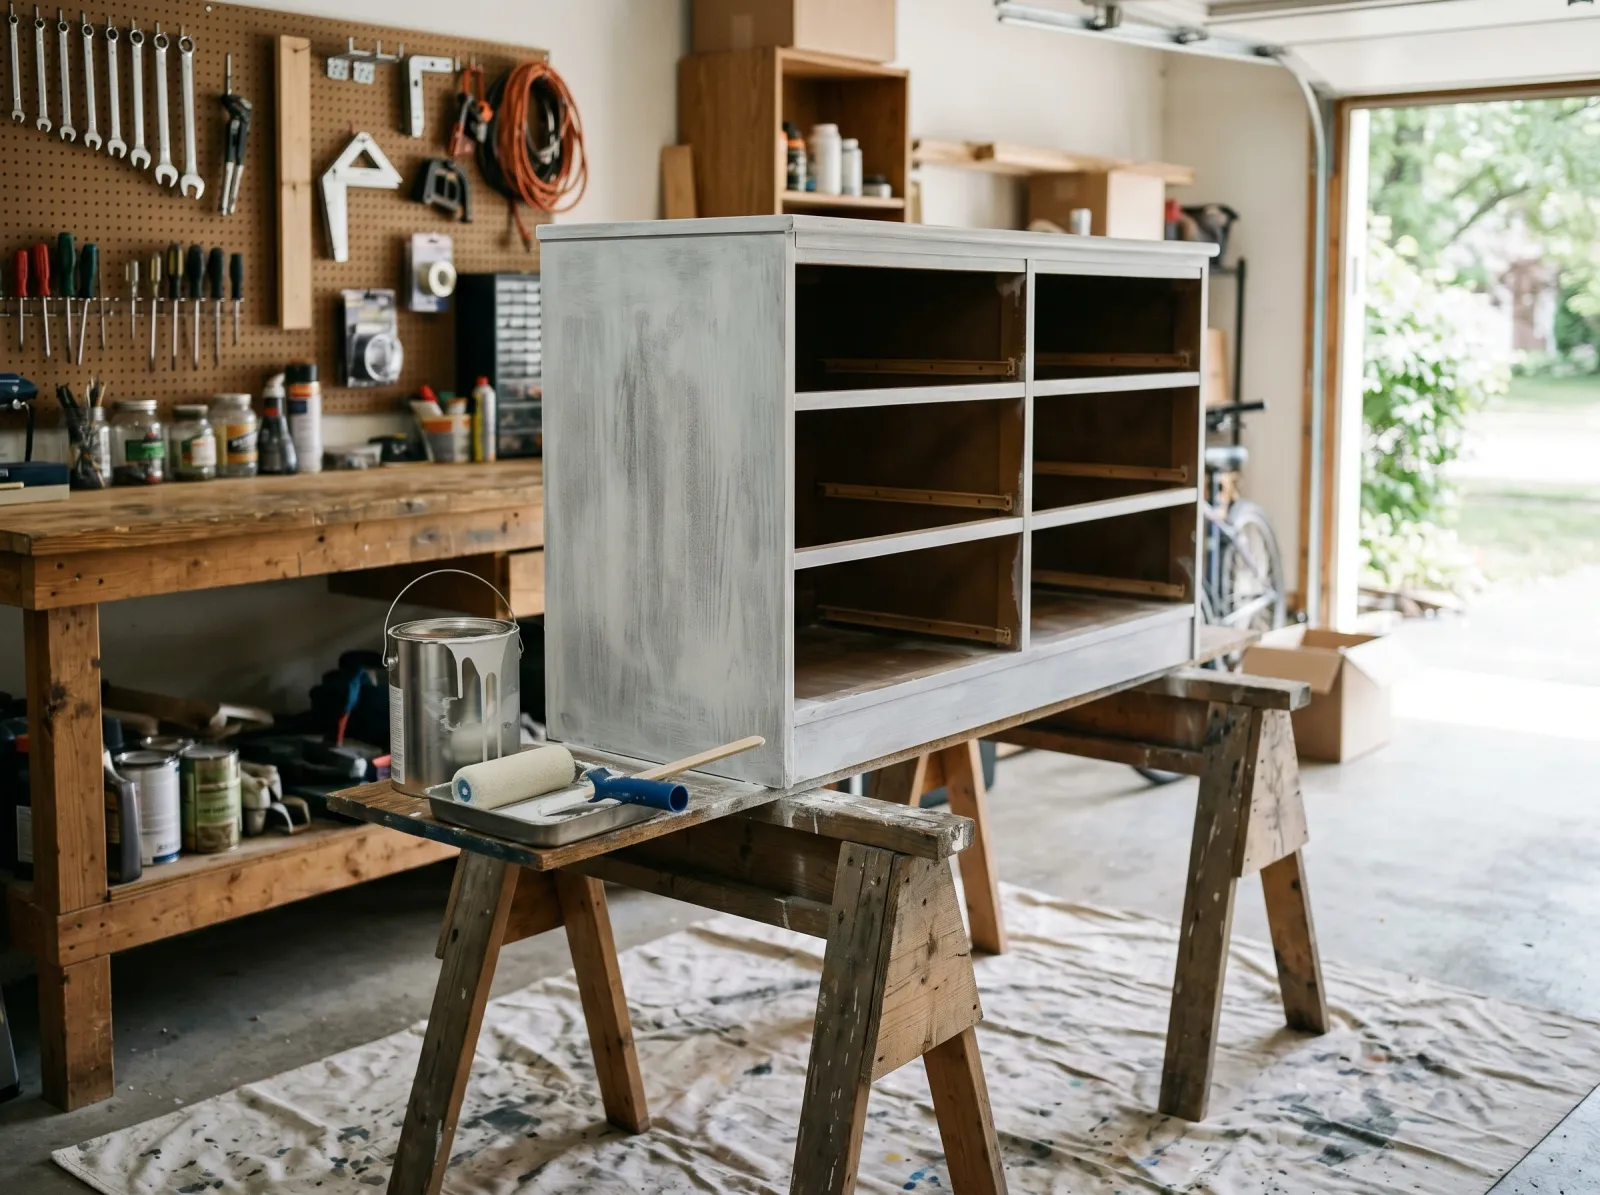 One even coat of bonding primer, rolled on the flats and brushed in the edges.
This is the whole project. Roll one thin, even coat of bonding primer on the flat panels with the foam-mini, and brush the edges and routed corners with the angled brush. Don’t glob it on. A thin coat that fully wraps the front edges beats a thick one that misses a corner.
Let it dry overnight. Stix and 1-2-3 Plus both say they’re recoatable in an hour, but on non-porous melamine the bond keeps building as it cures, and an overnight wait is cheap insurance. Give it a very light scuff with 220 in the morning to knock down any nibs, then tack it clean.
If you want the deeper material-specific prep (and the difference between melamine, laminate, and real veneer), the laminate furniture guide and the melamine guide go further than this project page does.
Step 4 — Two Thin Coats of Color
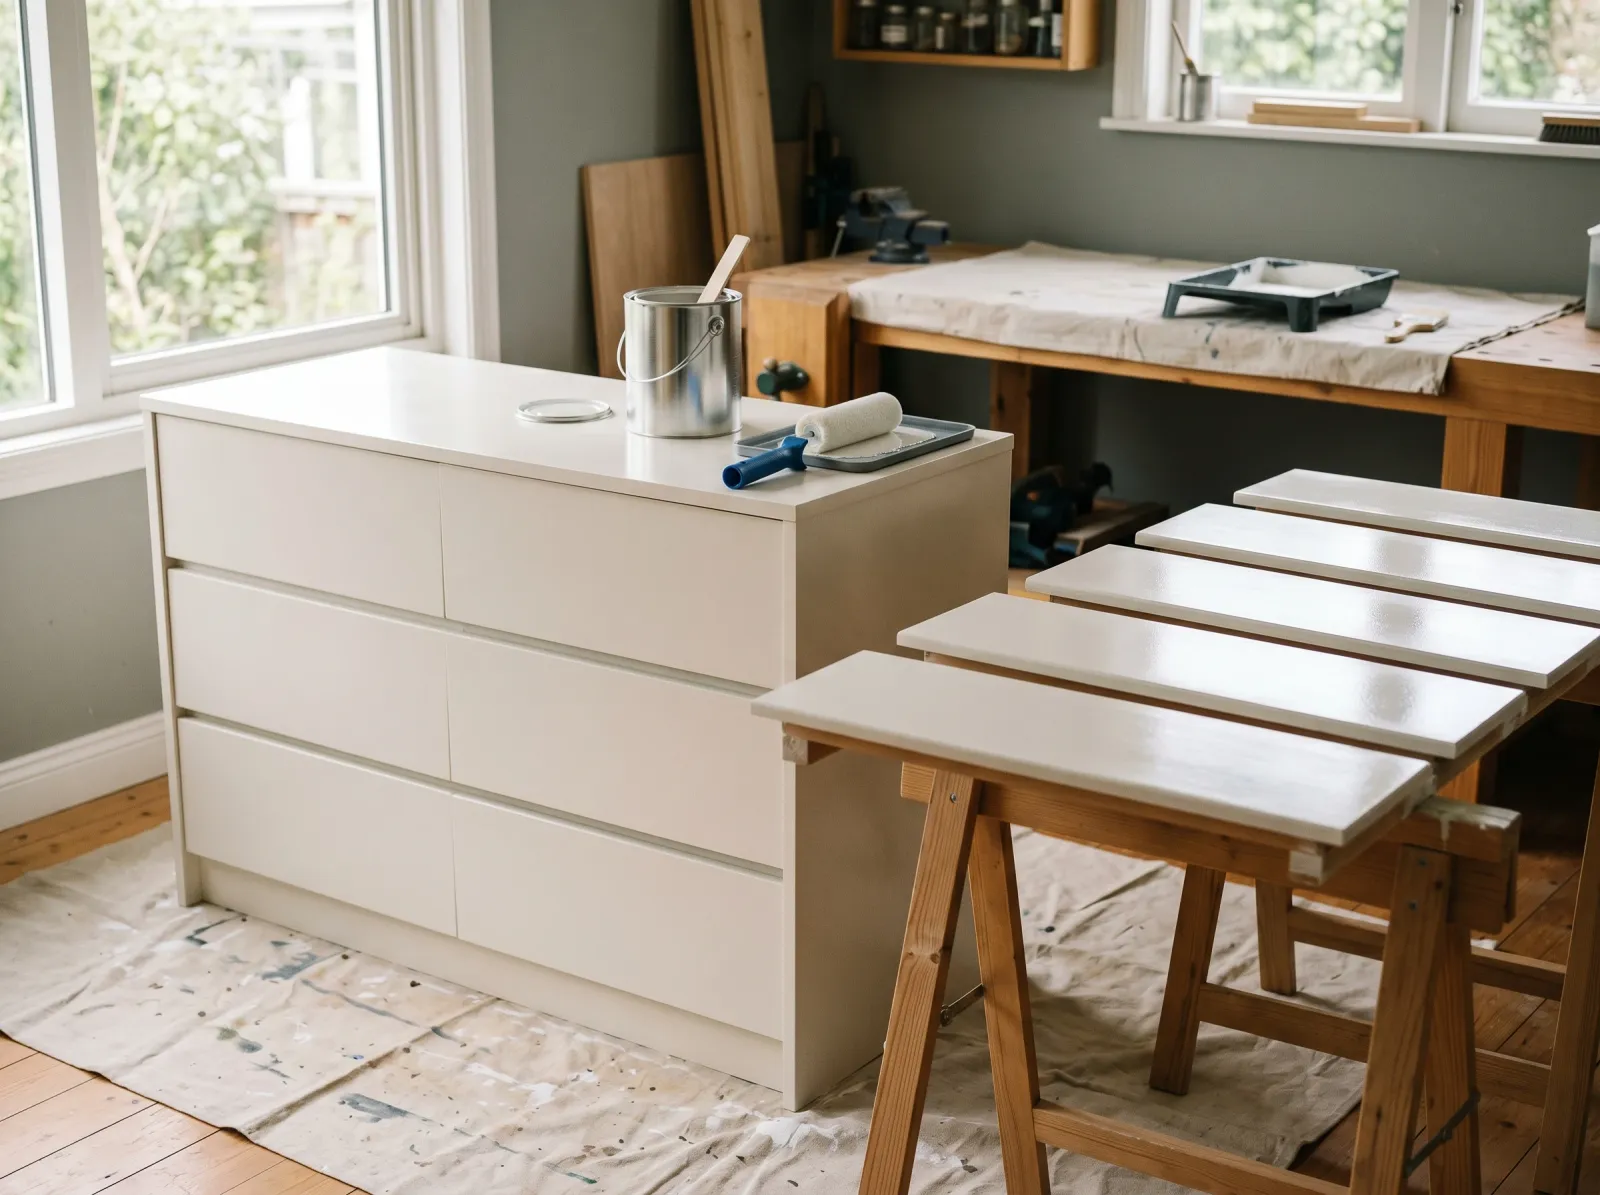 Cabinet enamel self-levels and cures hard. Drawer fronts laid flat so they dry without drips.
Roll the flats, brush the details, same as the primer. Two thin coats, not one thick one. Thick coats sag on vertical panels, dry unevenly, and never cure as hard.
Lay the drawer fronts flat on a couple of sawhorses or paint cans and paint them face-up. Flat-drying kills drips before they form. Paint the carcass standing, working top down so any drip lands on a not-yet-painted area you’ll cover anyway.
If you’re using cabinet enamel, stir in Floetrol at about 5% (roughly 6 ounces per gallon). It extends the wet edge and lets brush marks flow out flat. Recoat after 16 hours for BM Advance, sooner for some enamels. Read the can.
Watch out for the over-loaded brush at edges. Dip a third of the way in and tap once on the inside of the can. A loaded brush pushes paint over the panel edge where it runs and dries as a bump you can’t sand flat.
Step 5 — Top Coat (Chalk Paint Only) and Reassemble
 Hardware back on, drawers reinstalled, the piece looks bought instead of built from a box.
If you used cabinet enamel, you’re done painting. The cure is the seal, no top coat needed.
If you used chalk paint, seal it. Chalk paint without a top coat isn’t wipeable; a damp cloth pulls color right off. Two thin coats of Minwax Polycrylic in matte, brushed on with a soft synthetic brush. Polycrylic dries water-clear and won’t yellow your whites the way clear furniture wax does.
Reattach the knobs, slide the drawers back in, set the doors. New simple wooden or matte-black knobs cost a few dollars and change the whole look more than the paint does.
Common Mistakes
- Skipping the bonding primer. This is the big one. Regular primer dries on top of melamine like a sticker and peels in sheets. Only a bonding primer grabs the slick surface. No exceptions on IKEA pieces.
- Painting before degreasing. The factory film plus skin oil and dust make a surface primer can’t bite into. Wipe it down first or the whole job lifts at the first bump.
- One thick coat instead of two thin ones. Thick coats sag on vertical panels and stay soft for weeks. Thin coats level flat and cure hard.
- Painting drawers inside the carcass. You get drips on the carcass and brush marks on the fronts. Pull them out and paint them flat.
- Loading the furniture back up too soon. Cabinet enamel is touch-dry in hours but takes 30 days to fully cure. Stack heavy books on a painted shelf in week one and you’ll see the imprint pressed into the soft finish.
Cure Schedule
| Time after final coat | What’s safe |
|---|---|
| 4 hours | Touch dry; don’t handle |
| 24 hours | Re-handle gently, reassemble |
| 7 days | Put clothes back in drawers, light daily use |
| 30 days | Full cure; wipe down with mild soap |
Chalk paint sealed with polycrylic follows the same schedule. Wax-sealed chalk paint keeps curing for a few extra weeks, so go easy on it in week two.
Maintenance and Touch-Ups
A cabinet-enamel finish on a flat-pack dresser holds up 8 to 12 years before it wants a refresh. Chalk paint sealed with polycrylic runs more like 5 to 8 on a piece that gets handled daily, less on edges that take knocks.
For a chip, dab the original paint on with a small artist’s brush. Don’t feather a whole panel; the touch-up reads brighter than the cured finish and you’ll see the seam. Keep the leftover quart labeled with the piece’s name in a closet.
Cost
| Item | Cost |
|---|---|
| Bonding primer (1 quart) | $18 |
| Cabinet enamel or chalk paint (1 quart) | $25–$40 |
| Top coat (polycrylic, chalk paint only) | $15 |
| Foam-mini roller + sleeves | $12 |
| Wooster brush | $15 |
| Sponge, tack cloth, Floetrol | $15 |
| Total per piece | $35–$80 |
A $50 flat-pack dresser plus $50 in materials lands at $100. A solid, painted dresser of the same size from a furniture store starts around $300 and still won’t be solid wood.
A Specific Recommendation
First-time refinish, a MALM dresser or a KALLAX shelf you actually use: a quart of INSL-X Stix, a quart of Benjamin Moore Advance in satin, a foam-mini roller, and a 220 sponge. Scuff and prime Friday night, two coats over the weekend, reassemble Monday. For a piece that only holds books and never gets opened, chalk paint sealed with polycrylic is the cheaper, faster path. For anything with drawers you open every morning, spend the extra few dollars on cabinet enamel and never think about it again.