How to Paint Melamine
Melamine is engineered to resist paint. One bonding primer bites, one topcoat lasts. Full prep, primer, and cure schedule from 22 years of jobsite work.

Melamine is engineered to refuse paint. Slick, sealed, heat-cured under pressure no spray can will ever match. I painted my first melamine kitchen in 2003 with regular latex primer. Six months later the cabinet faces looked like they’d been keyed. The fix is one bonding primer and one rule about cure time. Skip either and your finish comes off in sheets.
TL;DR
- Clean: Krud Kutter or TSP substitute, two passes
- Scuff: 220-grit, light, by hand
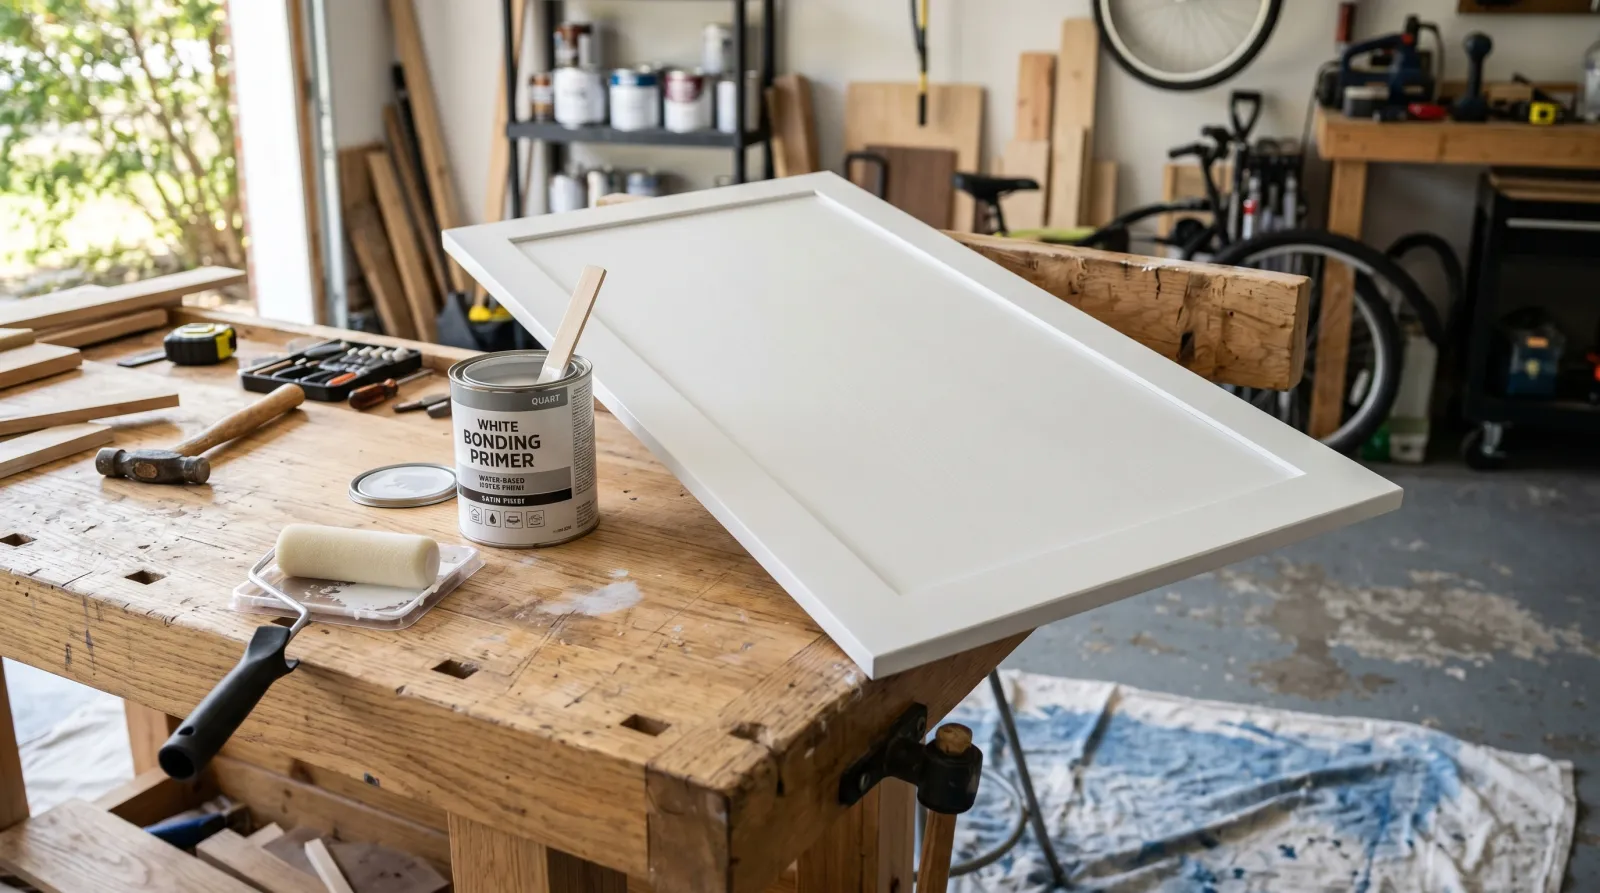
- Prime: INSL-X Stix bonding primer, one thin coat
- Paint: Benjamin Moore Advance, two coats, 16 hours apart
- Cure: Five days light use, thirty days full
What Melamine Actually Is
Melamine is a thermosetting resin. Decor paper soaked in melamine-formaldehyde, heat-pressed onto a particleboard or MDF core at 320°F. The resin polymerizes into a glass-hard skin maybe six thousandths of an inch thick. That’s your IKEA Malm. That’s the inside of almost every flat-pack kitchen cabinet sold in the US since 1995.
The face is engineered to be the finish. Chemically inert, low-energy, indifferent to the things that bond to wood. Latex primer flashes off and sits on top like a sticker. Oil primer grabs a little better, yellows over time, and still fails under shear.
Tools & Materials
Materials
- Krud Kutter Original (32 oz spray bottle covers a full kitchen of doors)
- 220-grit sanding sponges (one per four doors)
- INSL-X Stix Waterborne Bonding Primer (1 quart per 8–10 cabinet doors)
- Benjamin Moore Advance, semi-gloss or satin (1 gallon for a small kitchen)
- Painter’s tape, drop cloth, tack cloth
Tools
- 4-inch foam roller frame plus four covers
- 2-inch Wooster Silver Tip angled brush
- Two sawhorses or a flat work table
- Microfiber cloths, nitrile gloves
Why Melamine Is Tricky
Sanding doesn’t fix the bonding problem. People assume it does because sanding fixes everything else. On melamine, you can scuff for tooth all day and the face is still chemically slick at a molecular level. The primer needs to chemically key into the substrate, not just grip a roughened surface. That’s why grit alone fails.
The second trap: the skin is thin. Six thousandths is roughly two sheets of printer paper. Lean too hard on 120-grit and you’re through to the particleboard core in under a minute. Brown dust on your sandpaper means you’ve cut through the face, and now you’re priming raw chipboard.
Third: the edges. Most melamine panels are banded with a strip of edge tape glued on with hot-melt. The edges aren’t melamine — they’re vinyl or PVC over particleboard, and they delaminate when they get warm. Oil-based BIN softens the hot-melt and the edge band lifts. Solvent-borne primers do the same thing.
Step 1 — Clean
Pull the doors off. Unscrew the hinges, the pulls, the catches. Painting a melamine panel while it’s attached to a frame is how you end up with cured drip lines on the inside corner of the cabinet.
Spray Krud Kutter on every face and edge, let it sit two minutes, wipe with a microfiber. Repeat near the pulls and across the top of every drawer face. Kitchen grease, body oil, and silicone furniture polish all sit on melamine without absorbing. Stix is good. It is not magic. Wipe a second time with a water-damp cloth to pull the surfactant off, let dry an hour.
Safety note. Melamine particleboard dust contains urea-formaldehyde from the core. Wear a P100 respirator while sanding, especially on pre-2010 cabinets (CARB Phase 2 formaldehyde limits started then). Bag the dust, don’t sweep it.
Step 2 — Scuff
220-grit sanding sponge, dry, light pressure, three or four passes per face. The goal is a uniform haze across the gloss, not a flattened surface. You’re giving the bonding primer a microscopic mechanical bite to work with. The chemistry does the heavy lifting.
Stop when the face reads matte under raking light. Don’t chase the scratches. Don’t go finer than 220 — anything above 320 polishes the face right back to slick. And don’t go coarser; 150 cuts through too fast and 100 is asking for it.
Vacuum every face. Tack-cloth between every step. Dust trapped under primer becomes a gritty topcoat at six inches.
Step 3 — Prime With Stix
There is one consumer-shelf primer that bonds reliably to factory melamine: INSL-X Stix. A urethane-acrylic emulsion engineered for low-energy substrates — glass, glazed tile, fiberglass, factory steel, melamine. The urethane component crosslinks with the melamine resin in a way latex and oil primers don’t. That’s what the TDS says and what twenty years of jobsite use confirms.
Zinsser 1-2-3 fails on melamine. KILZ Original fails. Generic latex bonding primers fail. BIN works for a season and yellows. Spray-can “all-surface” primers last about as long as the season they were applied in. Use Stix.
Stir slowly. Don’t shake the can. Pour into a small tray. Foam roller for the faces, 2-inch Wooster for the inside corners and edges. Lay it on thin. Stix is opaque enough to cover in one coat, and a heavy coat takes forever to cure.
Touch-dry at 30 minutes. Topcoat-ready at 4 hours under decent conditions: 70°F, 50% humidity, light airflow. Prime in the morning, topcoat after lunch. You’ll see streaks. You’ll see a faint ghost of the melamine pattern through the primer. Fine. Two coats of Advance will bury both. Thick Stix is soft Stix.
Step 4 — Topcoat With BM Advance
Benjamin Moore Advance is the contractor pick for any furniture-grade finish on melamine. Waterborne alkyd, cures by oxidation like a true alkyd but cleans up with water like a latex. Hardest cured film of any consumer-shelf furniture paint. Self-levels under a 4-inch foam roller better than anything you’ll spray that isn’t a real lacquer. Matched to anything in the BM deck.
Two coats. Foam roller for the flat face, Wooster Silver Tip for the edges and the inside corner around any beveled detail. Roll in one direction — lift, reset, roll again. No back-and-forth on the wet edge. Don’t overwork it. Advance levels itself if you let it.
Sixteen hours between coats. It’s annoying. It’s also what the TDS specifies and what the can label means. Try to recoat at hour eight and the second coat lifts the first. I have seen this on a Saturday kitchen at hour ten and the customer paid for the lesson.
For specific SKU picks across the cabinet-paint category, see the kitchen cabinet paint round-up.
Step 5 — Cure
Cure is the step that decides whether your job lasts seven years or seven months.
Advance hits touch-dry at 4 hours, recoat at 16, light-use hardness at 5 days, and full cure at 30. Don’t rehang doors before day three. Don’t load drawers before day five. Don’t stack heavy plates on a painted shelf before day fourteen. Don’t run a wet rag over it before day thirty. The film cures by oxidation from the air side inward and any abuse during that window stamps a fingerprint, a hardware ring, or a drawer-slide groove that’s permanent.
Conditions matter. Below 60°F the cure clock stops. Above 75% relative humidity it slows to a crawl. In a Midwestern garage in February you’re looking at a fourteen-day light-use hardness, not five. Move the doors inside the conditioned house to cure, or accept the slower schedule.
Common Mistakes
- Skipping Stix for a generic bonding primer. The label says “bonds to glossy surfaces” and the can fails on melamine inside six months. There is one primer for this substrate.
- Sanding through the face. 220-grit, light hand. Brown dust on the sponge means the chipboard is exposed. Stop, fill with wood filler, prime that spot extra-heavy.
- Oil-based BIN over edge banding. The shellac solvent softens the hot-melt adhesive holding the PVC strip onto the particleboard. The edge band lifts inside a week. Waterborne primers only on melamine with edge banding.
- Recoating at hour eight. Advance needs the full 16. Cut the cure between coats and the second coat lifts the first into a rolled mess. Wait it out.
- Loading the kitchen at day three. Touch-dry is not cure. Plates, glassware, and drawer slides leave permanent marks during the five-to-thirty-day window.
Maintenance & Longevity
A properly painted melamine cabinet face lasts seven to ten years in a normal kitchen, three to five in a house with kids and pets. The first wear shows up around the pulls. Touch up annually with a small artist’s brush from the same can. Save a labeled half-pint for this.
For the highest-touch surfaces (drawer fronts under the dishwasher, cabinet faces beside the trash pull-out), add a clear coat of Minwax Polycrylic in satin at day thirty. That layer takes the abrasion the color coat would otherwise eat.
Don’t clean cured Advance with anything harsher than soap and water for ninety days. No magic erasers, no degreaser sprays, no Clorox wipes. The film keeps hardening past day thirty and stays vulnerable to solvent abrasion longer than the label admits.
FAQ
Can you actually paint melamine? Yes. Bond to it first with INSL-X Stix, topcoat with Benjamin Moore Advance, and cure five days before light use. Skip the bonding primer and the finish peels in months. There is no shortcut on this substrate.
Do I need to sand melamine before painting? Yes, but lightly. 220-grit by hand, one or two passes, just enough to dull the gloss. The primer needs a microscopic mechanical bite to add to the chemical bond. Sand too aggressively and you’re through the six-thousandths face into the particleboard core.
What’s the best primer for melamine? INSL-X Stix. The urethane-acrylic chemistry keys into melamine resin in a way no latex primer or shellac primer matches. Zinsser 1-2-3 fails. KILZ Original fails. Oil-based BIN works a season and yellows.
Will the paint last on a kitchen cabinet? Seven to ten years in a normal kitchen if you used Stix plus Advance and gave it the full cure. Three to five if you skipped the cure. Touch up annually from the same can and the job can hit fifteen.
Can I use chalk paint on melamine instead? You can. It won’t last. Chalk paint markets itself as no-prime, but on a low-energy substrate like melamine the bond is mechanical only and the first cleaning cycle scrubs it off. Use Stix as the primer under your chalk paint if you want that finish look, and seal with a real poly.
What’ll Bite You in Two Years
The failure point on a melamine kitchen is the edge banding around the cabinet door, not the face. The face stays put if you primed with Stix and cured Advance properly. The PVC edge strip, though, is glued on with a hot-melt that softens at 140°F. Steam from a dishwasher, heat from a wall oven self-clean, sun through a south window over years, and the strip starts lifting at one corner. The paint film bridges the gap for a while, then cracks.
Prevention: prime the edge band with Stix at the same time you prime the face. The waterborne primer adds a thin crosslinked layer between the PVC and the topcoat and buys you years. If the band lifts anyway, peel it to a tight section, trim with a razor, glue with cyanoacrylate, fill the seam with two-part auto-body filler, sand at 220, reprime with Stix. Don’t paint over a lifted edge band. You’re not painting; you’re delaying.