How to Paint Laminate Furniture (the IKEA Malm Story)
Laminate furniture takes paint — if you bond to it first. Full prep, primer, and topcoat guide built around an IKEA Malm that survived two moves.


The IKEA Malm dresser is my proof. Bought used for forty dollars in 2018, painted the same week, moved twice since, and the finish still reads clean at six feet. The trick is one primer and one rule about cure time. Skip either and the paint comes off in sheets the first time the cat jumps on the dresser.
TL;DR
- Clean: Krud Kutter, two passes, rinsed
- Scuff: 220-grit by hand, light
- Prime: INSL-X Stix bonding primer, one coat
- Paint: BM Advance or Rust-Oleum Cabinet Transformations, two coats
- Cure: Five days before reassembly, thirty before real use
What Laminate Furniture Actually Is
Most “laminate furniture” sold in the US since 1990 is melamine-faced particleboard or MDF. A thin printed paper saturated with melamine resin gets heat-pressed onto a wood-composite core. The face is slick, hard, water-resistant, and refuses to bond with anything you put on top.
There’s a second class: thermofoil. A vinyl skin heat-shrunk over an MDF core, common on inexpensive cabinet doors. Thermofoil paints fine if it’s still tight. The minute it starts lifting at an edge, you have a different repair on your hands.
If you can’t tell which one you’re working on, scratch a hidden corner with a fingernail. Melamine resists; thermofoil dents slightly under pressure.
Tools & Materials
Materials
- Krud Kutter Original (32 oz spray bottle is enough for one dresser)
- 220-grit sanding sponges (two)
- INSL-X Stix Waterborne Bonding Primer (1 quart for a Malm-sized piece)
- BM Advance or Rust-Oleum Cabinet Transformations (1 quart base + topcoat)
- Wood filler for handle holes you’re moving
- Painter’s tape, drop cloth
Tools
- 4-inch foam roller frame plus three covers
- 2-inch Wooster Silver Tip angled sash brush
- Putty knife
- Tack cloth
- Two sawhorses or a flat work surface
That’s the whole list. No special equipment, no sprayer. If you have a sprayer, fine; the foam roller gets you 90% of the same finish at none of the cleanup hassle.
Why Laminate Resists Paint
The factory melamine face is engineered to be a finished surface. Smooth, sealed, low-energy, cured under heat and pressure no can of paint can replicate. Latex primer flashes off and sits on top like cellophane. Oil primers bond a little better but yellow and fight your waterborne topcoat. Spray cans of “all-surface” primer last about a season.
Stix is different. A urethane-acrylic emulsion engineered for slick, low-energy substrates — laminate, glass, glazed tile, fiberglass, factory-finished steel. You scuff for a hair of tooth, wipe on Stix, and the primer keys into the laminate the way nothing else on a Home Depot shelf does. There’s one primer that works on this substrate. Use it.
Step 1 — Disassemble and Degrease
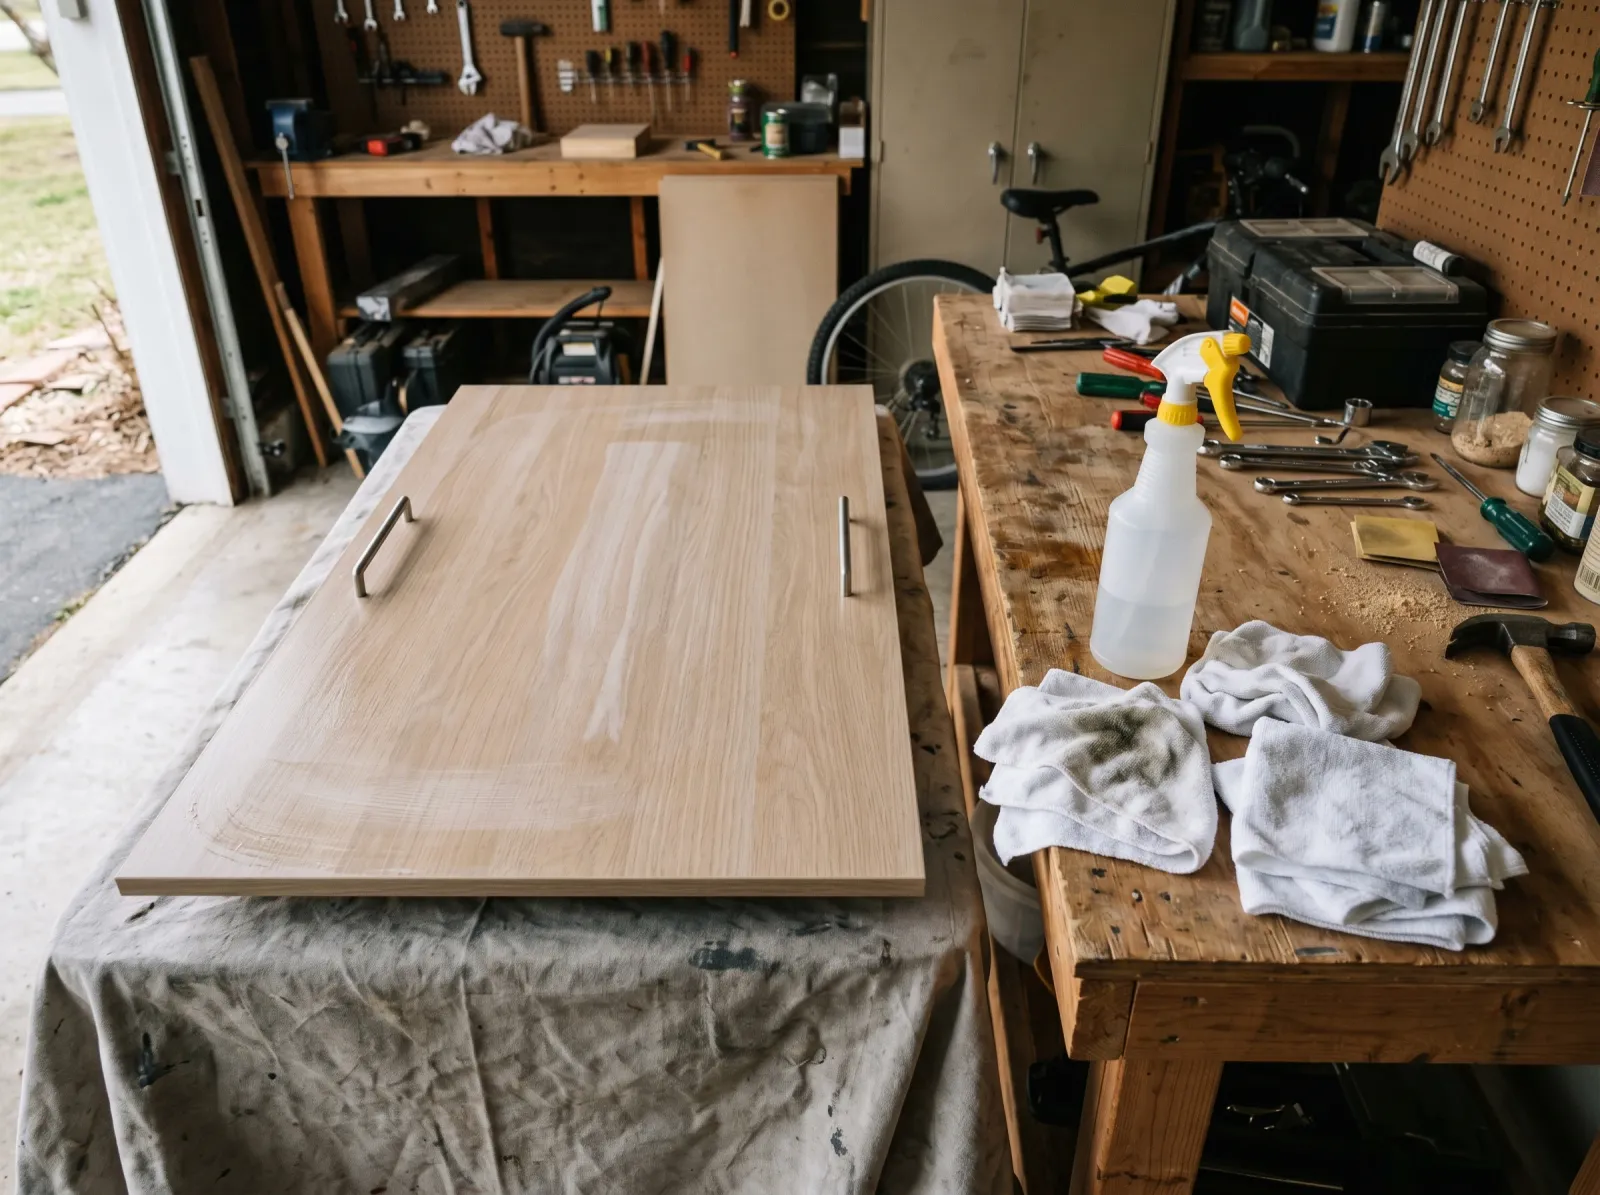
Krud Kutter, two passes, rinsed with water. The shine should look slightly less greasy when you’re done.
Pull the drawers. Unscrew the hardware. Lay every face flat on sawhorses. Painting a dresser in one piece is how you get a fingerprint cured into the side panel for the next decade.
Spray Krud Kutter on every face, let it sit two minutes, wipe with a microfiber. Repeat on the high-touch zones — drawer fronts near the pulls, the top, anywhere a hand lands daily. Wipe again with a clean water-damp cloth to pull the surfactant off. Let dry an hour.
This step is non-negotiable. Skip it and you’re priming over body oils, kitchen aerosol residue, dust film, and whatever the previous owner spilled. Stix is good. It’s not magic.
Step 2 — Scuff the Gloss
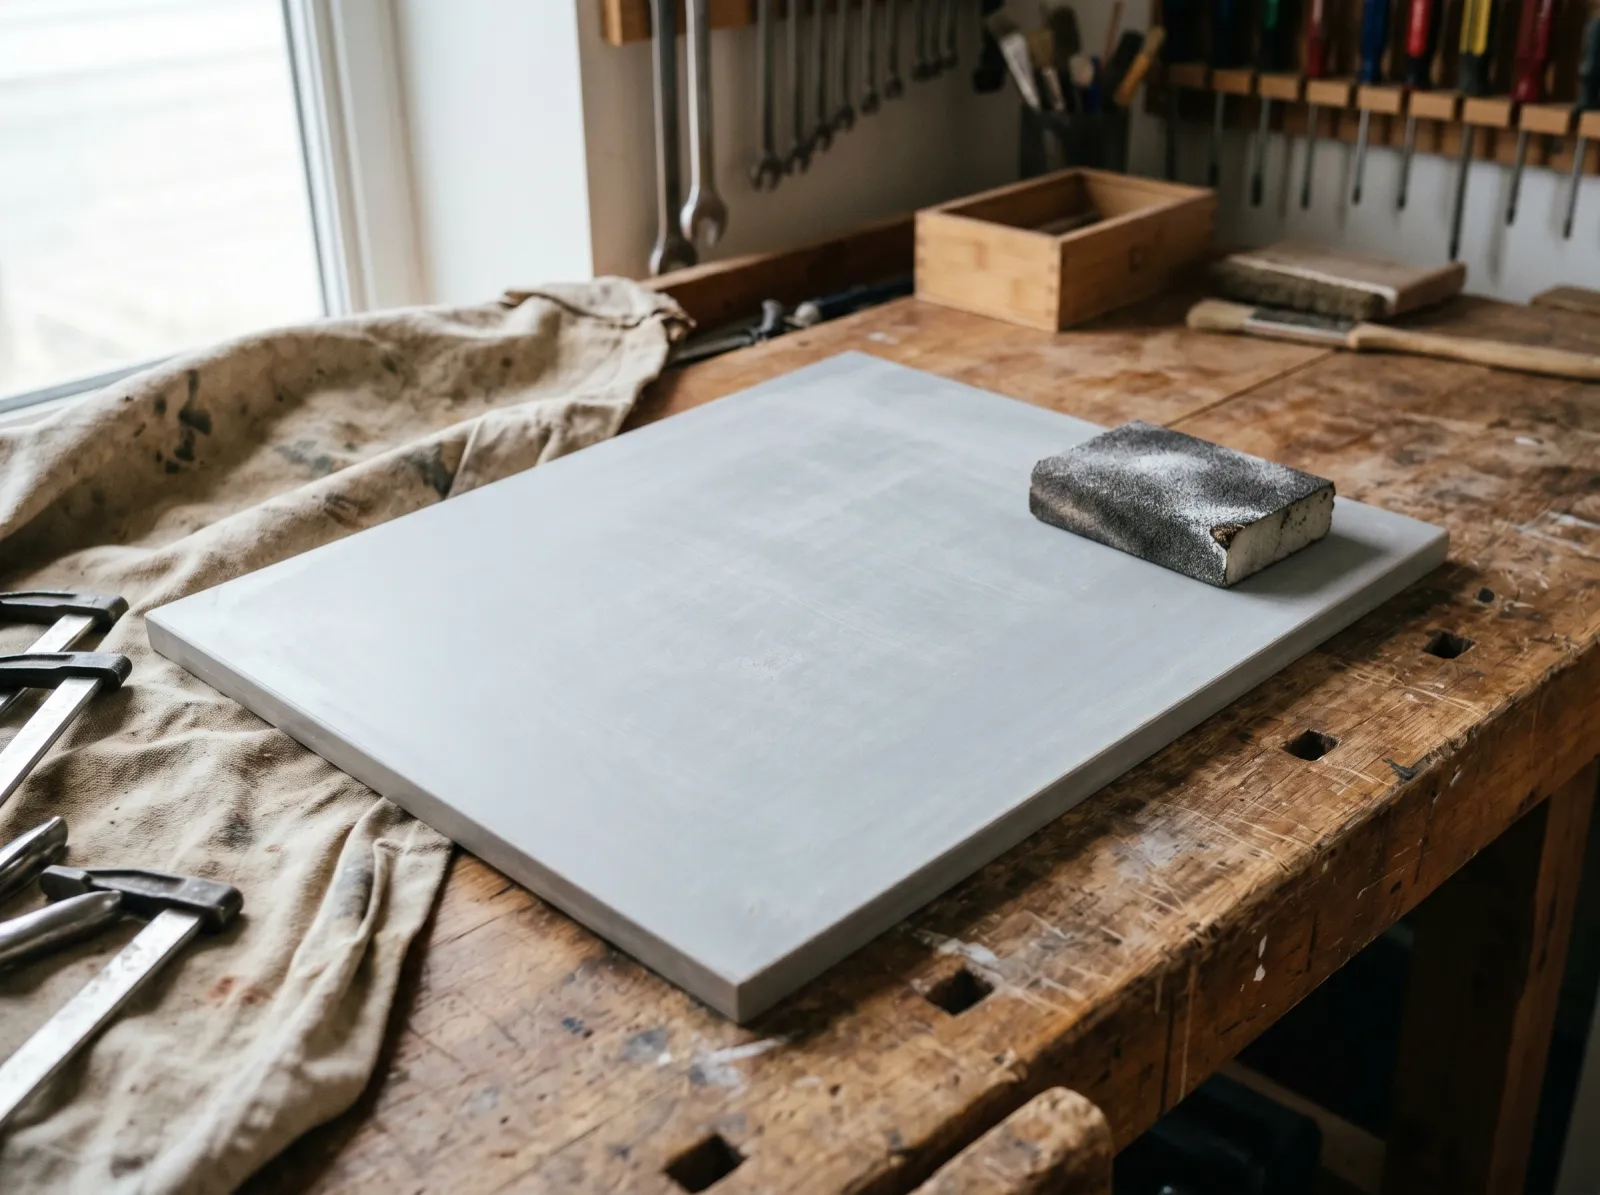
Light passes by hand. You’re dulling the gloss, not sanding through to the particleboard. If you see brown, stop.
220-grit sanding sponge, dry, light pressure, three or four passes per face. The goal is a uniform haze across the gloss. You’re not trying to flatten the surface. You’re giving the primer a microscopic tooth to key into.
The mistake here is over-sanding. The melamine skin on most IKEA pieces is roughly six thousandths of an inch thick. Lean too hard on a 120-grit and you’ll cut through to the particleboard underneath in about a minute. Brown dust on your sponge means you’re through the face. Stop, fill with wood filler, prime that spot extra-heavy, and don’t lean in next time.
Vacuum every face. Tack-cloth between every step. Dust on laminate becomes dust on primer becomes a gritty topcoat at six inches.
Step 3 — Repair the Thermofoil Edge (if Applicable)
If you’re working on a melamine-faced piece, skip this step. If your dresser has thermofoil — the slightly softer, slightly more plastic-feeling face common on cheaper IKEA, Sauder, and Bestar work — read this before you prime.
Lifted thermofoil is the failure mode that ends most laminate-furniture projects. The vinyl skin pulls away from the MDF core at a corner, a top edge, or around an old handle hole. Painting over it does nothing. Heat from the primer can lift it further.
Here’s the fix. Peel the lifted section back gently with a fingernail to the point where it’s still adhered. Trim the loose edge with a fresh razor blade flush against the MDF. Apply a thin bead of cyanoacrylate (super glue) along the cut edge, press down, hold thirty seconds. Fill any remaining seam with two-part auto-body filler (Bondo) wiped thin with a putty knife. Sand flush at 220 once cured. Now you can prime.
Do not use oil-based BIN on thermofoil. The shellac solvent re-softens the adhesive underneath and the skin lifts a second time inside a week. Stix is waterborne and won’t do that. This is the only primer choice that works on a repaired thermofoil edge. There isn’t a second option.
Step 4 — Prime with Stix
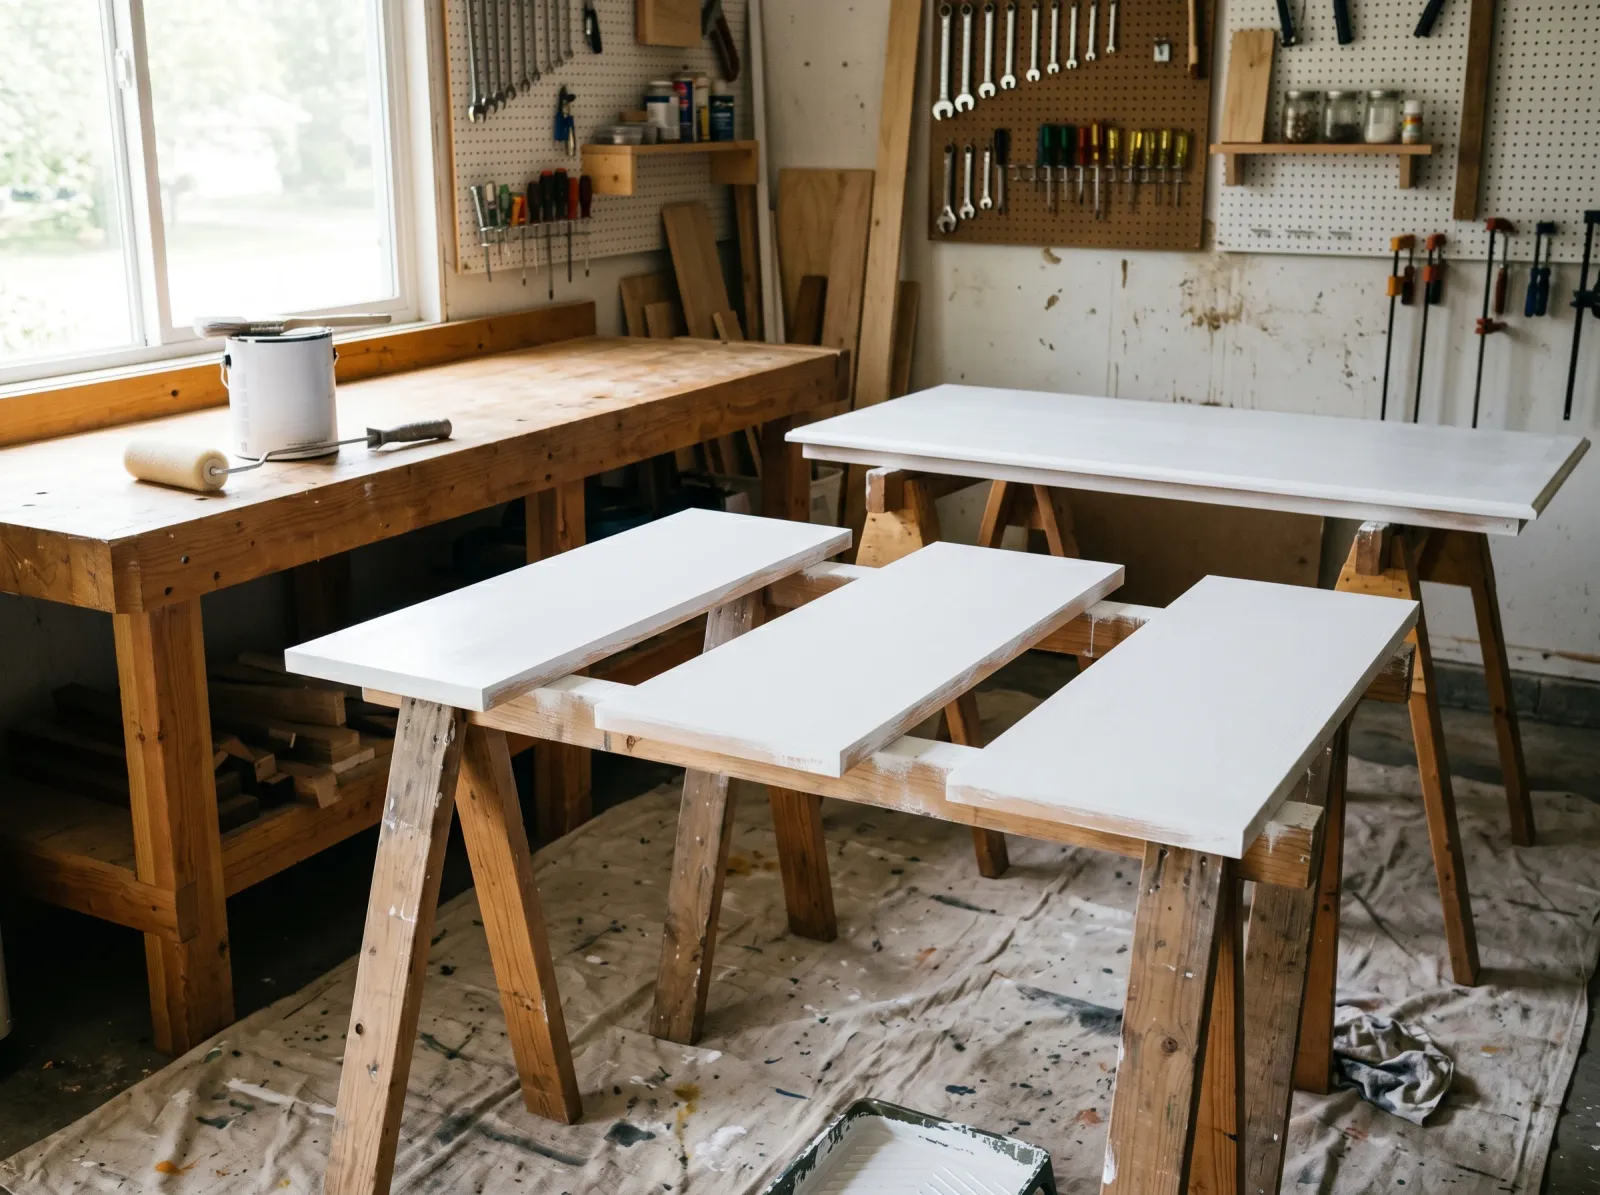
One thin coat, rolled with a 4-inch foam roller. Stix grabs the laminate where nothing else will.
Stir Stix slowly. Don’t shake it; you’ll trap air. Pour into a small tray. Foam roller for the faces, the 2-inch Wooster for edges and corners. Lay it on thin — Stix is opaque enough that one coat covers, and a thick coat takes forever to cure.
Touch dry at 30 minutes, recoatable at 4 hours, topcoat-ready at 4 hours under good drying conditions (70°F, 50% RH, decent airflow). I usually prime in the morning and topcoat after lunch.
You’ll see streaks. You’ll see a faint laminate ghost through the primer. That’s fine. Two coats of finish paint will bury both. Don’t double-coat the primer trying to hide them. Thick Stix is soft Stix; one thin coat that’s fully cured beats two thick coats that aren’t.
Step 5 — Topcoat
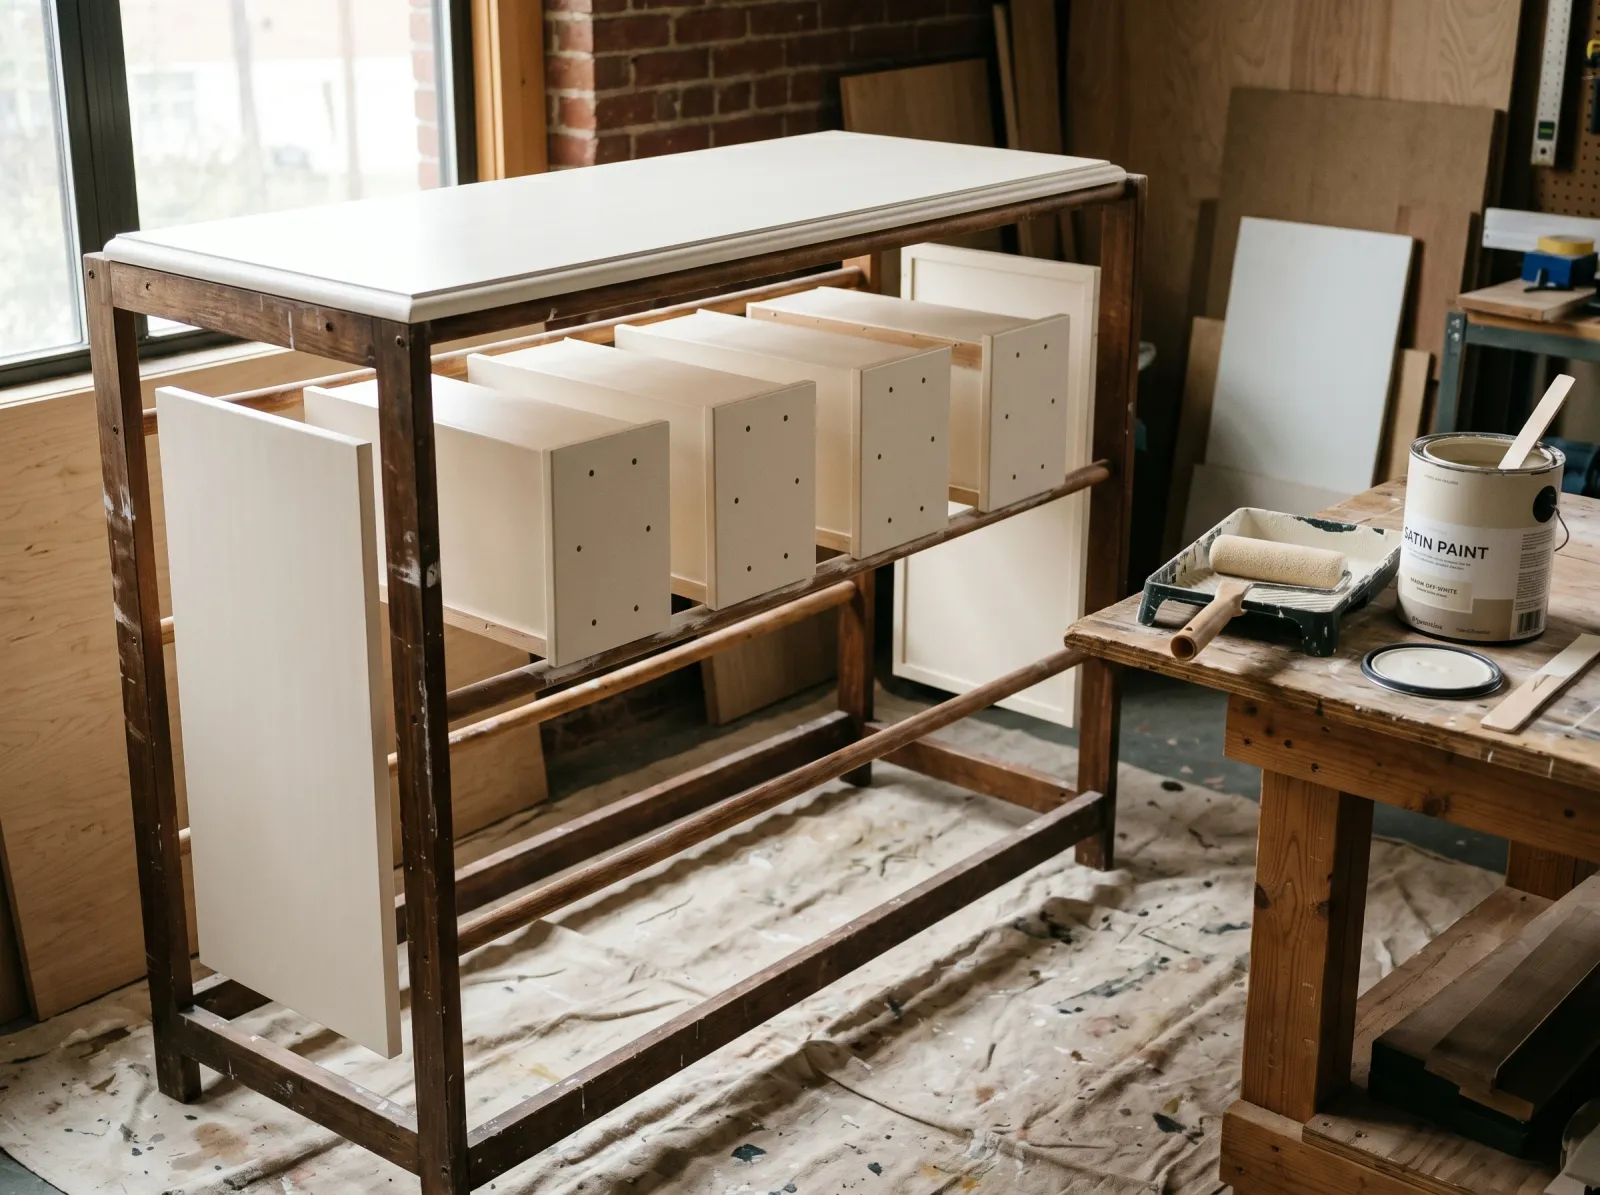
BM Advance in satin, foam roller for the face, brush for the edges. 16 hours between coats. Cure five days before reassembly.
Two real choices for the topcoat.
Benjamin Moore Advance is the contractor pick. Waterborne alkyd, hardest cured film of any furniture paint on the consumer shelf, self-levels under a foam roller better than anything that isn’t a sprayed lacquer. Sixteen hours between coats — annoying but worth it. Two coats and the dresser looks factory-finished from three feet. Color matched to anything in the BM deck. The kitchen-cabinet pick most painters reach for; the same logic applies on laminate furniture. See the kitchen cabinet paint round-up for the deeper review.
Rust-Oleum Cabinet Transformations is the kit pick. It ships with a deglosser, a base coat, a glaze (optional), and a topcoat — all engineered around the bonding-primer problem this article exists to solve. It’s a step down from Advance in finish quality and color selection, but it’s also $70 for the whole kit at Home Depot and it’ll cover a Malm with leftover. If you’re doing one dresser and you’ve never painted furniture before, this is the lower-friction call. Note: Cabinet Transformations’ included primer is bond-tested by Rust-Oleum on laminate; using Stix underneath it doesn’t hurt and adds belt-and-suspenders on the slickest factory faces.
Either way, two coats. Foam roller for the face, Wooster for the edges, don’t overwork the wet edge. The trick on a 4-inch foam roller is to roll one direction, lift, reset, roll again — no back-and-forth.
Step 6 — Cure
This is the step that decides whether your project lasts.
Touch-dry doesn’t matter. Recoat-ready doesn’t matter. What matters is the day you reassemble and the day you start putting clothes back in the drawers.
Advance touch-dries at 4 hours, recoats at 16, hits a usable hardness at 5 days, and full cures at 30. Don’t reassemble before day 5. Don’t load drawers before day 7. Don’t stack heavy books on the top before day 14. Don’t run a wet cloth over it before day 30. The film cures by oxidation from the surface inward and any abuse during that window leaves a fingerprint, a dent, or a track mark that’s there for the life of the finish.
I lost a Malm top in 2020 to this exact mistake. Painted Thursday, reassembled Saturday morning, set a houseplant on top Saturday afternoon. The terracotta ring is still visible. The dresser I’m describing in the opening of this article? Painted on a Sunday, sat untouched in the garage for a week, reassembled the following Saturday. Six years on, no marks.
Common Mistakes
- Skipping Stix. Zinsser 1-2-3, KILZ Original, generic latex primers — all fail on factory laminate. Your topcoat comes off in sheets within months. There’s one bonding primer for this substrate.
- Over-sanding through the laminate. 220-grit, light hand. The melamine face is thinner than you think. Brown dust means stop.
- Oil-based BIN on thermofoil. The shellac solvent re-softens the adhesive. The skin lifts a second time inside a week. Use waterborne Stix only on this substrate.
- Reassembling at day two. The film is touch-dry but soft. Every fingerprint, hardware screw, and drawer slide leaves a mark that’s permanent at day thirty.
- Heavy primer coats. Stix cures slowly when laid thick and the topcoat goes down on a half-cured base. Thin coats, full cure between, then topcoat.
- Spraying without back-rolling. A sprayed finish on laminate looks great until the first scratch, when it falls off in flakes because the spray pass didn’t work the primer into the surface. Roll or brush at least one coat to mechanically push the bonding primer into the substrate.
Maintenance & Longevity
A properly painted laminate dresser lasts seven to ten years in a bedroom, three to five in a high-traffic kid’s room. Watch the drawer-front edges around the pulls — that’s where hand oil lands daily and where wear shows up first. Touch up annually with a small artist’s brush from the same can.
For high-touch tops (entryway tables, kitchen islands clad in laminate, a desk surface), add a poly clear coat — Minwax Polycrylic in satin — at day thirty. That extra layer carries the abrasion that would otherwise hit the color coat.
If a face starts showing edge wear after five years, the original Stix bond is still good. Sand light, prime the wear spot, repaint from the same can. You’re refinishing the wear layer, not the bond.
What’ll Bite You in Two Years
The piece that fails first is almost always the dresser top. It’s the surface that takes the most abrasion (jewelry, lamps, a glass of water that left a ring), the most direct UV (sunlight through a bedroom window), and the most heat (a laptop charger, a humidifier). Build the cure schedule around the top: prime and paint it, let it sit untouched for the full thirty days, then add a coat of Polycrylic before anything else lands on it. Drawers can come back online at day five. The top should be off-limits for a month.
The other long-term failure is around the pulls. Every time you tug a drawer, you’re putting torque on the laminate face directly under the hardware. A thin paint film at the screw seat fatigues and pops. The fix is a dab of clear epoxy or super glue around the screw hole on the inside of the drawer face before reassembly. Locks the substrate around the stress point and the paint film never has to deal with movement at that exact spot.