How to Paint a Game or Rec Room
Painting a rec room means handling scuffs, basement damp, and bold color. Here is the prep, the right sheen, and the order that holds up to game nights.

Okay, so the game room is the room that takes a beating. Cue sticks lean on it, kids drag chairs along it, somebody’s elbow finds the wall during a close round of darts. It’s also, half the time, a basement, a little dim and maybe a little damp. Painting it isn’t harder than painting a bedroom. A few extra things can go wrong, and most of them are about prep, not paint.
Here’s the thing. Pick the right sheen and deal with the basement stuff up front, and this is a one-weekend job that makes the whole space feel finished instead of like the room you store the treadmill in.
What You’ll Get
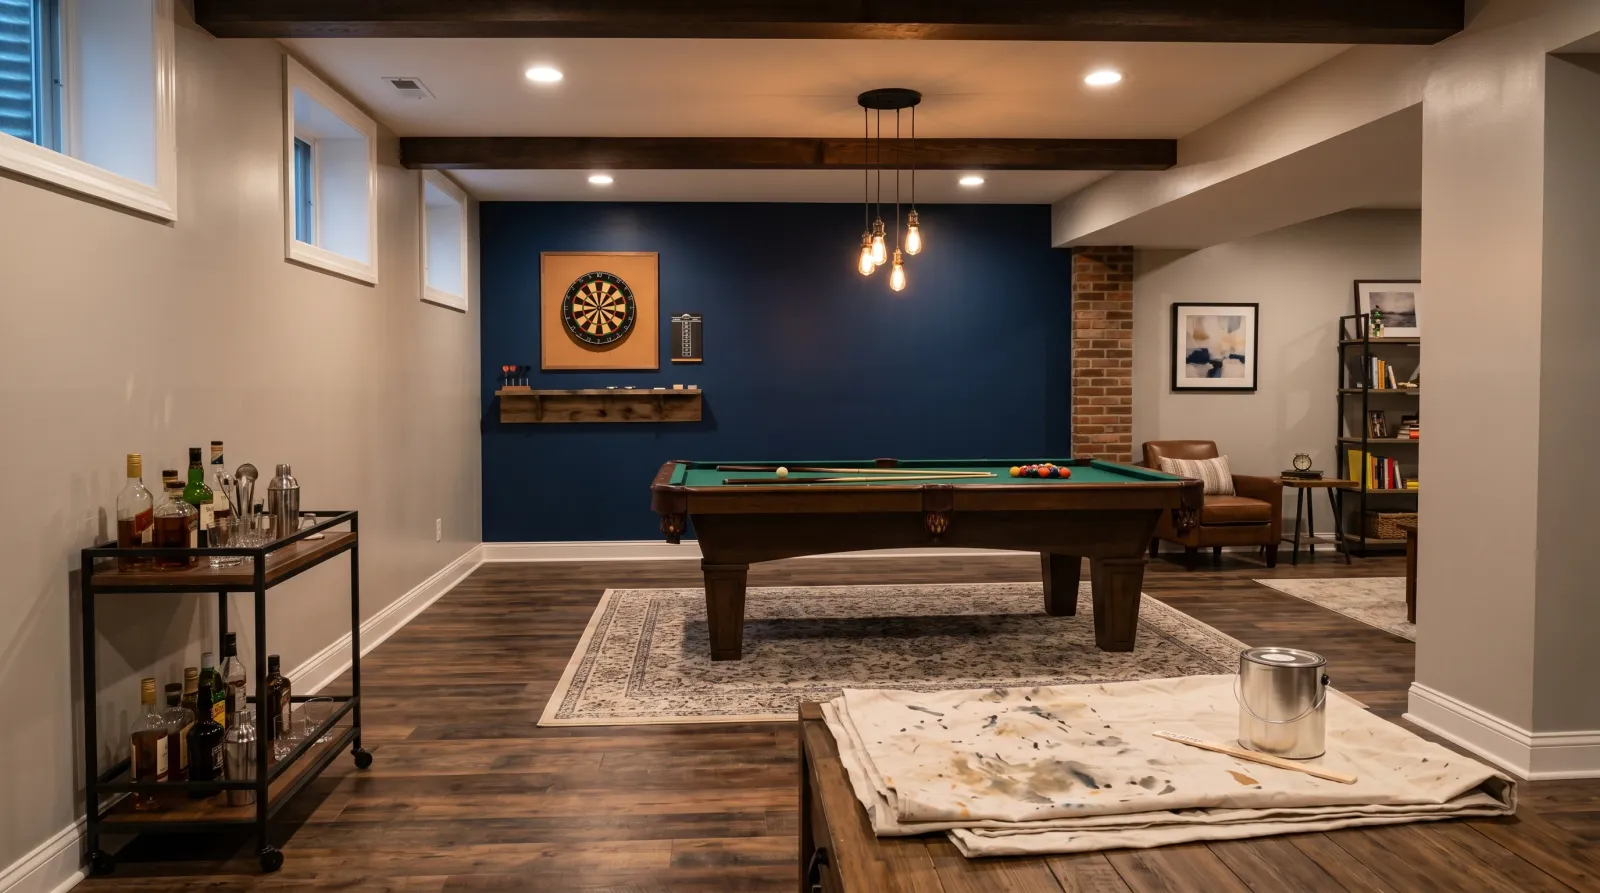
A rec room that wipes clean, holds up to traffic, and looks like a place you’d want to hang out. Two coats on the main walls, a flat ceiling, and one deep accent wall if you want the room to feel like a den.
Honest Take on Difficulty and Time
A finished basement with drywall walls is the same job as any room, plus extra cutting in around the stuff a rec room has (built-in shelves, a wet bar, a drop ceiling). Call it 14 hours over two days.
Bare concrete or cinderblock is a different animal. Block soaks up paint, takes a thick-nap roller, and wants a sealing coat first. If anyone tells you the basement is a quick afternoon, they’ve never painted block.
| Room type | Active time | Total elapsed | Skill |
|---|---|---|---|
| Finished basement, drywall, no accent wall | 10–12 hrs | 1 weekend | Easy |
| Drywall plus one dark accent wall | 12–14 hrs | 1 weekend | Easy-medium |
| Bare cinderblock or concrete walls | 16–20 hrs | 2 days plus seal-dry time | Medium |
What You’ll Need
Paint and Primer
The big decision in a rec room is sheen (the shine level of the finish). Skip flat. I know flat looks rich on the chip. In a room where furniture and people touch the walls, flat scuffs the first week and won’t wipe clean. Go eggshell at the minimum, satin if there are kids or the walls get leaned on. Satin takes a damp cloth without going shiny where you rubbed. Stuck between the two? The sheen guide walks through every level.
For the ceiling, flat ceiling paint. Nobody touches a ceiling, and flat hides the drywall seams and the popcorn texture a lot of basements have.
Covering an old dark game-room color with something lighter? You need a tinted primer first, or you’ll roll four coats of finish chasing it. Going darker over a mid-tone, skip the primer.
For SKU picks, see the best ceiling paint round-up.
Tools
A 2.5-inch angled brush for cutting in (painting the clean edge along trim and ceiling the roller can’t reach). A 9-inch roller frame and three 3/8-inch nap sleeves, one each for ceiling, walls, and accent color so you’re not washing one between colors. A tray, an extension pole, a 4-foot ladder, tape, spackle, and a drop cloth.
Buy a clamp work light too. It’s the one tool people skip and regret. Rec-room lighting is dim, and you can’t fix a missed spot you can’t see. Roller picks live in the best paint rollers round-up.
Step 1 — Clear the Room and Wash the Walls
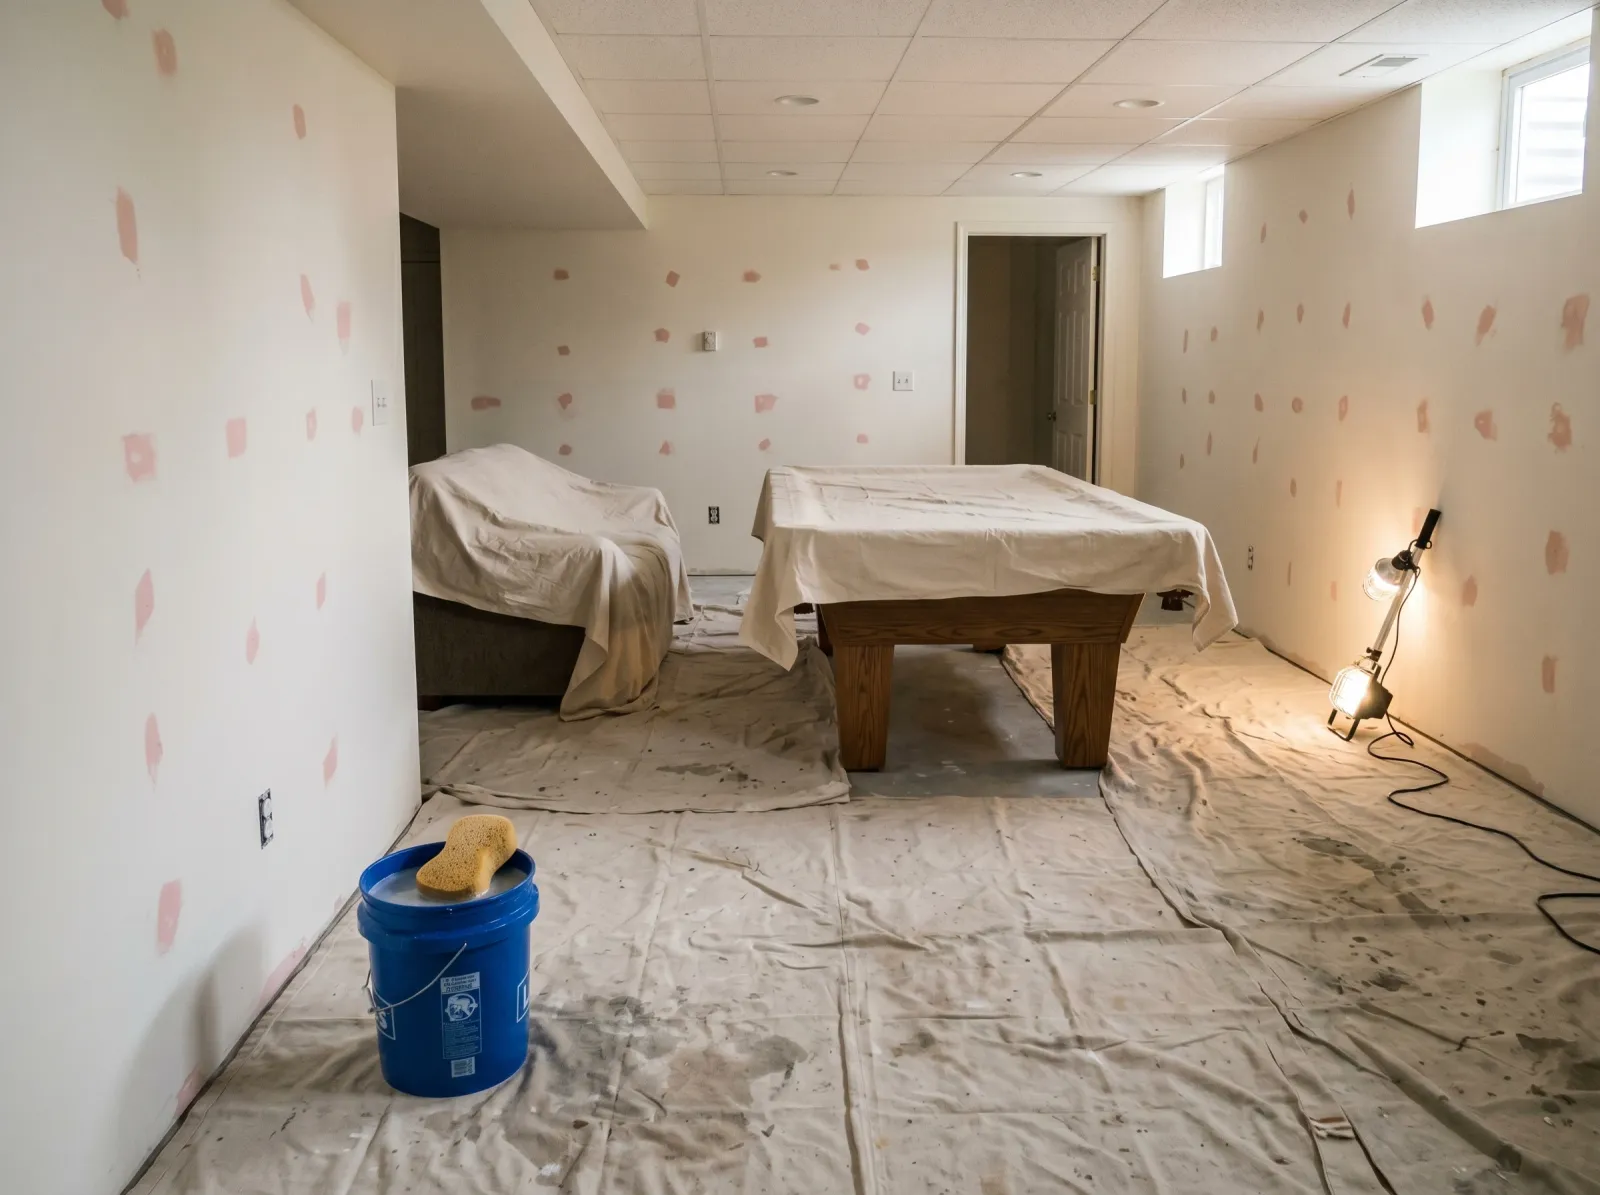 Game gear to the center under a sheet, walls washed, every dart hole patched.
Move the pool table, couch, and TV stand to the middle and cover them. Heavy stuff that won’t move, push 3 feet off the wall and drape it.
Now wash the walls. This matters more in a rec room than anywhere else, because rec-room walls carry a film you can’t always see: hand oils, snack grease, sometimes old smoke residue near the seating. Paint won’t stick to a greasy wall. Wipe everything down with a sponge and a little dish soap in warm water, rinse with clean water, let it dry.
Patch the holes. A game room has more than you’d think (dartboard misses, old mounting screws, picture hooks). Press spackle in, scrape flush, dry 30 minutes, sand smooth with the 220 sponge.
Watch out for the wall behind the dartboard. It’s usually peppered with small holes. Patch all of them now, not after you’ve painted.
Step 2 — Deal With Basement Walls Before You Paint
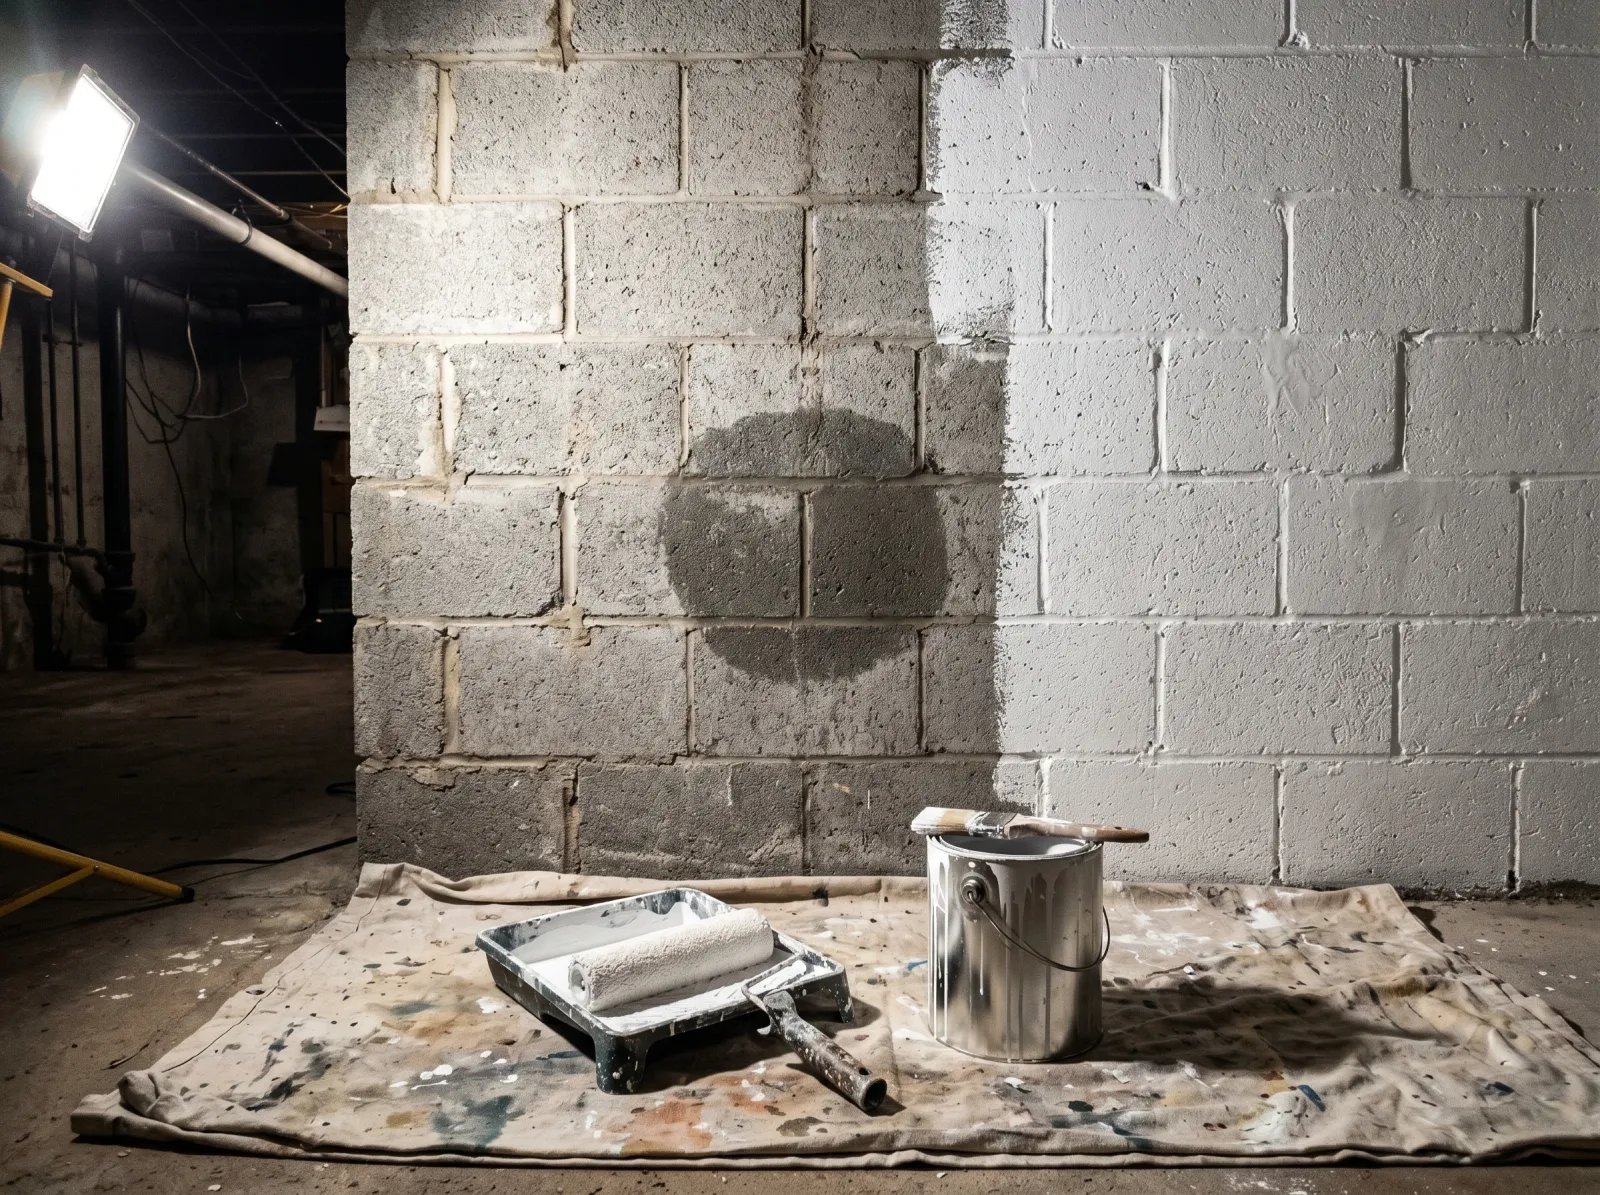 Water stains sealed, bare cinderblock coated with masonry sealer so the paint doesn’t powder off later.
Skip this step if your rec room is upstairs or a finished basement with normal drywall. If it’s a basement with bare block or any history of damp, read on.
First, find out if the wall is wet. Tape a square of plastic wrap tight to the block overnight. Wet underneath in the morning means moisture is coming through the wall, not just condensing in the room. Paint bubbles off a wall that’s pushing water from behind. Seal that with a masonry waterproofer like Drylok or Zinsser WaterTite, brushed hard into the pores, two coats. For how drywall walls take paint by comparison, see the drywall painting guide.
Hit any water stains with stain-blocking primer (Zinsser BIN or KILZ Original) on the spot only. A water stain bleeds right through regular paint and reappears as a brown halo in a week. Not sure why the stain is there? See what causes water stains on a ceiling and how to fix them first.
Watch out for active leaks. If water actually runs in during a rain, no paint fixes that. Sort the drainage or grading outside first, then paint.
Step 3 — Tape Off and Roll the Ceiling
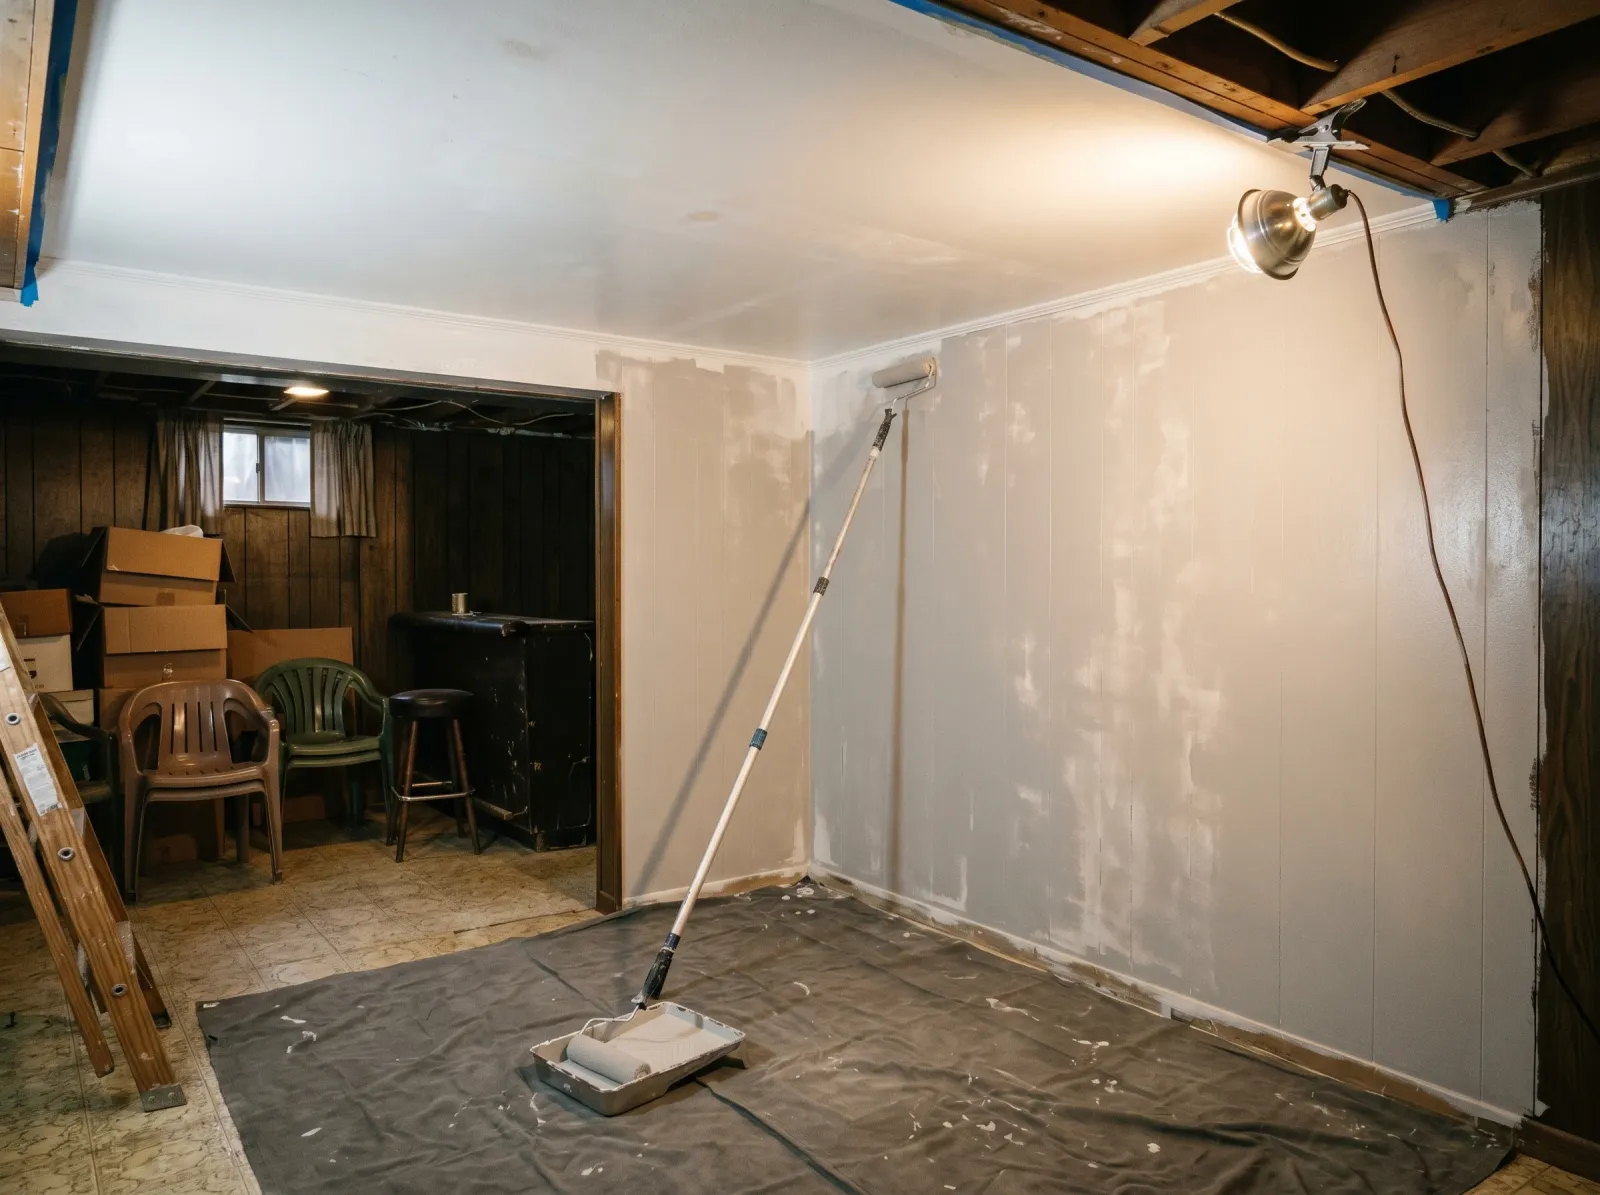 Flat ceiling first, then two coats of scrubbable satin on the main walls.
Tape the ceiling line, the trim, and around any wet-bar cabinets or built-ins. Press the tape edge down hard with your fingernail so paint doesn’t bleed under it.
Cut in the ceiling edges with the brush, then roll the rest with the extension pole in big W-shapes. One coat usually covers a ceiling. A drop ceiling with tiles can be rolled in place with flat paint too, though the tiles soak it up and want a light second pass.
Wear safety glasses. Basement ceilings sit low, so your face is close to the roller mist.
Step 4 — Two Coats on the Main Walls
Trim and ceiling dry, now the main walls. Cut in a 2- to 3-inch band along the ceiling, the floor, the corners, around outlets and the bar. Then roll one wall at a time, cutting in and rolling each wall before the cut-in dries. If the brushed edge dries before the roller reaches it, you get a faint frame around the wall called a halo. Working wall-by-wall stops it.
Roll in W-shapes, overlap the wet edge by a few inches, and don’t stop in the middle of a wall. The wet edge dries and you’ll see the seam in raking light.
You will need a second coat. The first coat almost always looks patchy in dim basement light. Don’t panic at it. Let it dry the time on the can (usually 4 hours for water-based), then go again.
Bare block earns its reputation here. Brush the first coat into the texture to fill the air pockets, then roll over it with a thick 3/4-inch nap sleeve. The first coat disappears into the block. The second coat is the one that reads as a finished wall.
Step 5 — Paint the Accent Wall
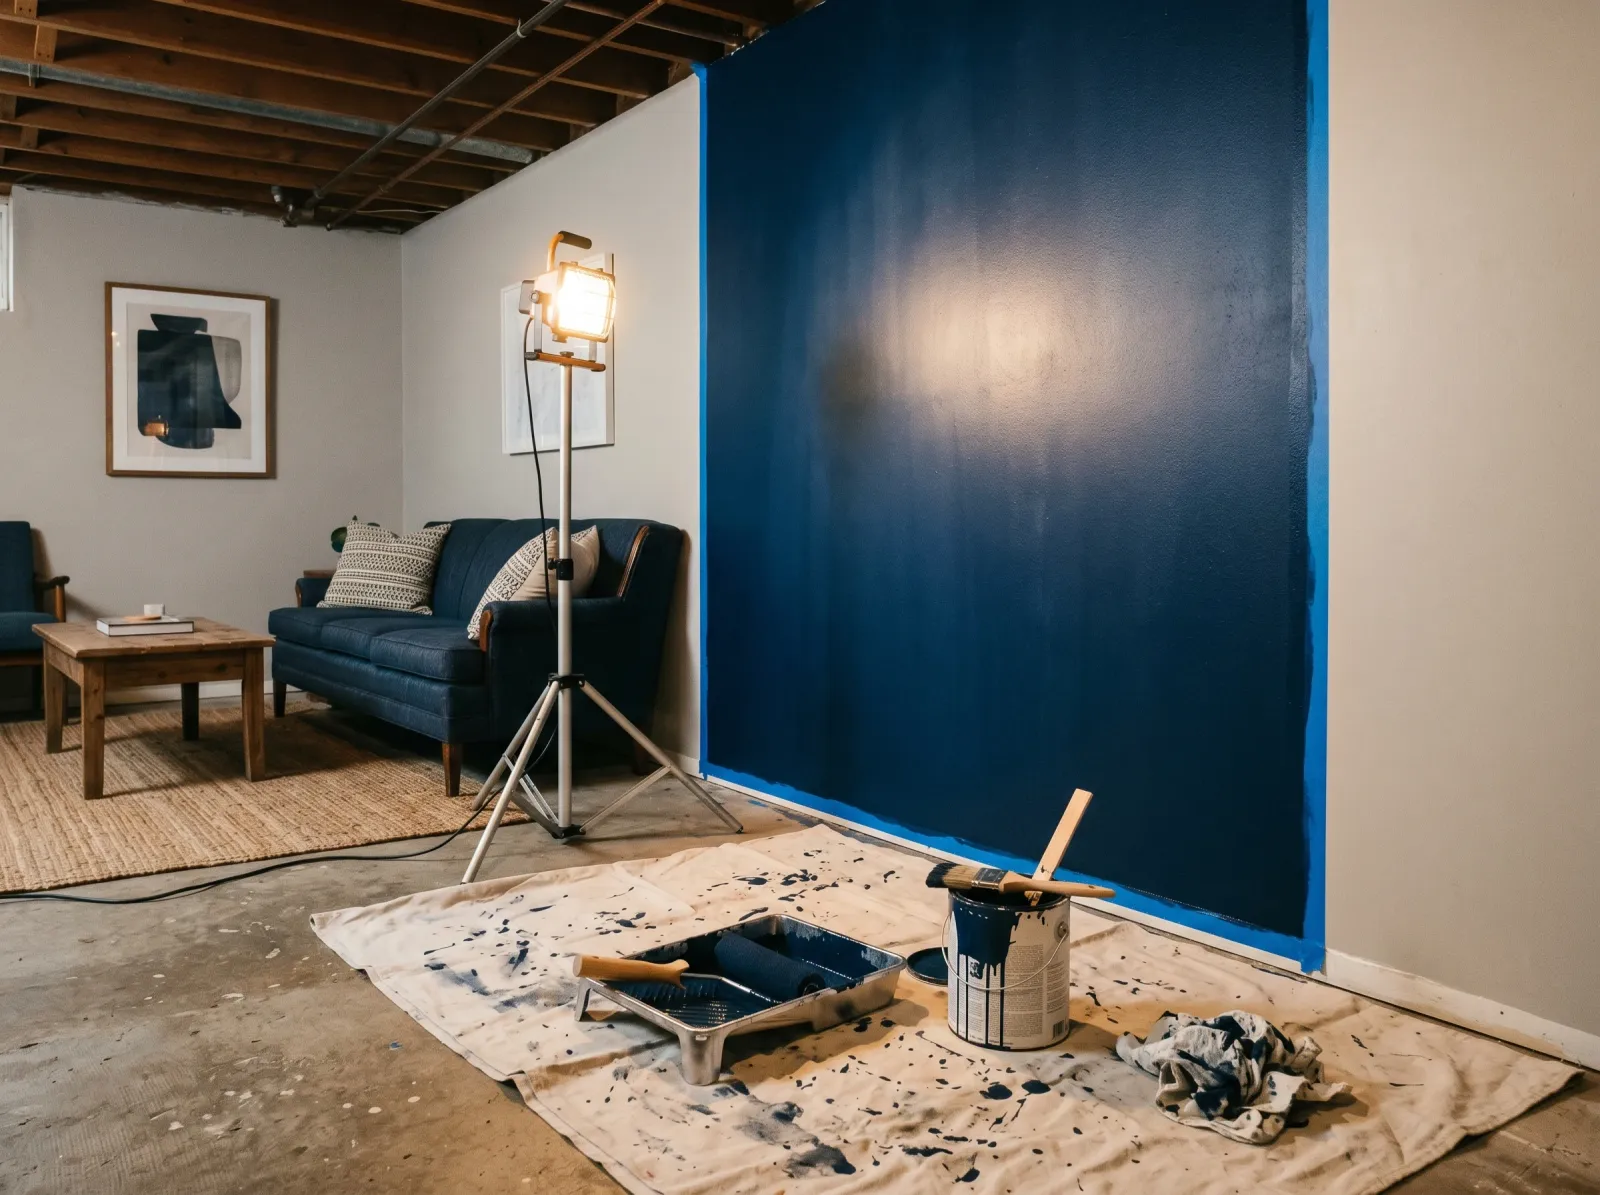 The feature wall taped off and rolled in deep navy. Dark colors almost always want two coats, sometimes three.
A game room is the place to be brave with color. The room mostly gets used at night, under lamps and screens, so a deep navy, charcoal, or forest green reads cozy instead of dark. Put it on one wall, usually the one behind the TV or pool table, and keep the other three lighter so a windowless basement doesn’t feel like a cave.
Tape the corner where the accent meets the light walls. Cut in the dark color along the tape and the ceiling, then roll. Deep colors have less hiding power, so plan on two coats and check for a third in side light. Use a fresh sleeve; you can’t get navy out of a sleeve cleanly enough to reuse it on grey. A scrubbable trim-grade enamel works well for the feature wall too if you want it tougher than wall paint, and the best interior trim paint guide covers those.
For getting a crisp line where the two colors meet, see how to paint an accent wall.
Watch out for bleed under the tape with dark colors. Navy creeping onto a light wall shows from across the room. Seal the tape edge by running a thin line of the light wall color along it first, let it dry, then paint the dark color over it. The light paint fills the gaps so the dark can’t sneak through.
Step 6 — Pull the Tape and Reset
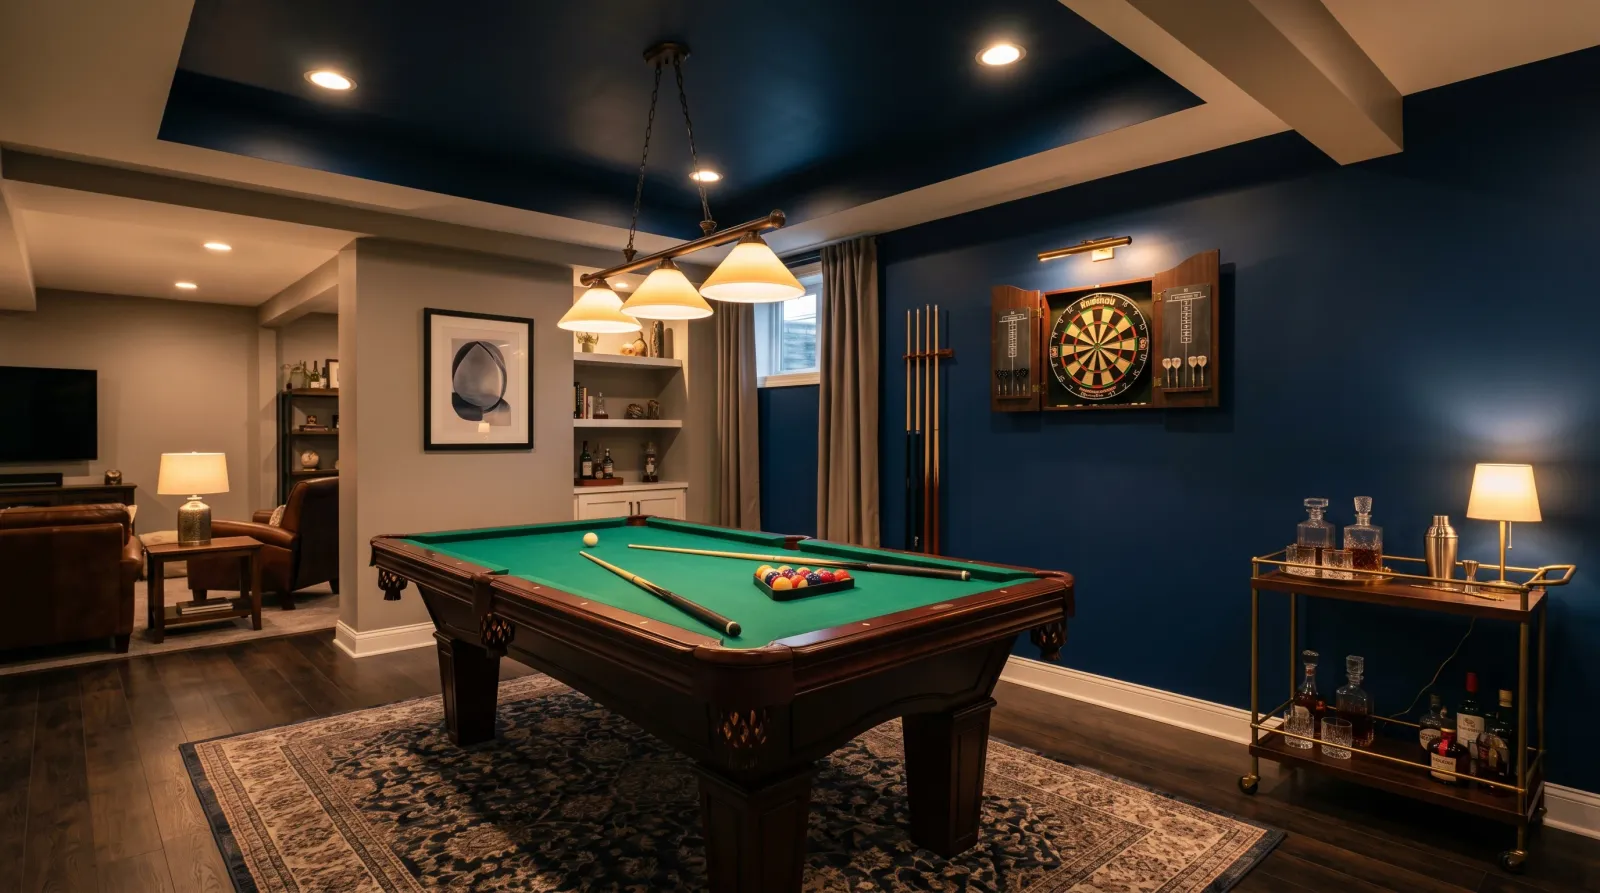 Second coats dry, tape peeled at an angle, the pool table and dartboard back under the lights.
Pull the tape while the last coat is still slightly tacky, not bone dry, at a 45-degree angle, slow and steady. Dry paint chips off with the tape and leaves a ragged edge.
Wash brushes and sleeves under warm water until it runs clear. Move furniture back after a day or two, but go easy. Satin isn’t fully hard yet, and a chair shoved against it in week one leaves a mark.
Common Mistakes
- Using flat paint to save money. Flat scuffs the first time a chair touches it and won’t wipe clean. The cheap flat costs you a repaint. Go eggshell or satin.
- Painting damp block without sealing it. Regular wall paint bubbles and peels off weeping masonry within a season. Test for moisture, seal bare block with Drylok or WaterTite, and don’t paint a wall that’s actively leaking.
- Skipping the wall wash. Paint won’t bond to the hand oils and snack grease near the seating. It peels in patches months later. Wash and rinse first.
- One coat on a dark accent wall. Deep colors have weak hiding power. One coat looks blotchy. Plan two, check for three in side light.
- Not lighting the room. Basement lighting hides missed spots until daylight finds them. Clamp a bright work light to the wall as you go.
Cure Schedule
| Time after the final coat | What’s safe |
|---|---|
| 1 hour | Pull the tape |
| 4 hours | Touch dry, don’t bump it |
| 24 hours | Light use, walk around it |
| 2–3 days | Move the pool table and couch back against the wall |
| 7 days | Wipe scuffs with a damp cloth |
| 30 days | Full cure, scrub it, lean chairs on it |
Maintenance and Touch-Ups
Satin walls in a rec room hold up about 6 to 8 years before a refresh, less in a busy family room. For a scuff, try a damp microfiber cloth first. Most rec-room marks are dirt, not damaged paint, and wipe right off satin. For a real scrape, dab leftover paint on with a small piece of roller (not a brush, which leaves a different texture). Keep a labeled quart of each color downstairs.
Cost Breakdown
| Item | $ |
|---|---|
| Wall paint, 2 gallons satin | $90 |
| Accent color, 1 quart | $20 |
| Ceiling paint, 1 gallon flat | $30 |
| Masonry sealer, 1 gallon (basement only) | $40 |
| Brushes, roller, sleeves, tray | $40 |
| Tape, drop cloth, spackle, work light | $50 |
| Total (finished basement) | $230 |
Drop the masonry sealer and you’re closer to $190. Bare block with extra paint runs nearer $320. Numbers are mid-tier paint (Behr Premium Plus or BM Regal Select).
FAQ
What sheen should I use in a rec room? Eggshell at the least, satin if there are kids or furniture touching the walls. Flat scuffs the first week and won’t wipe clean.
Can I paint basement walls if they sometimes feel damp? Only after you find out why. Seal bare or weeping masonry with Drylok or WaterTite first, and fix active leaks before you paint.
What’s the best paint color for a game room? Deep navy, charcoal, forest green, or warm dark grey. They read cozy under lamps and hide scuffs. In a windowless basement, keep three walls light and put the dark on one accent wall.