How to Paint an Accent Wall (Without Hating the Result)
First-timer's accent wall guide — which wall to pick, how to tape a clean line, when to pull the tape, and the small mistakes that ruin an otherwise good wall.


Okay, so you’ve decided one wall in your room needs to be a different color, and now you’re standing there wondering if you’re about to make the room look weird. You’re not. Here’s the thing about accent walls: they’re the lowest-risk paint project in the house. One wall, one quart of paint, one afternoon. If you hate it, you repaint next weekend and you’ve lost forty dollars.
The bigger question is which wall, not how. We’ll cover both.
What You’ll Get
A single wall in a color that pulls the room together, taped clean at the ceiling and corners, no bleed at the baseboard. The other three walls stay your existing color and do the supporting work.
Honest Take on Difficulty and Time
This is the easiest paint project you can do that still looks like a real project. A plain flat-color accent wall is one Saturday, about three active hours plus drying time. A taped pattern (an arch, stripes, a half-wall block) adds a couple of hours for the layout.
| Method | Active time | Total elapsed | Skill |
|---|---|---|---|
| Plain flat-color wall | 2–3 hrs | One Saturday | Easy |
| Half-wall color block | 3–4 hrs | One Saturday | Easy |
| Arch or geometric shape | 4–5 hrs | One weekend | Easy-medium |
Nothing here is technically hard. Patience is what separates a clean accent wall from a smeared one. Patience to tape carefully, patience to wait the recoat window, patience to pull the tape at the right moment.
Step 0. Pick the Right Wall (this Matters More Than the Paint)
Stand in the doorway. Look at the room for thirty seconds. Where does your eye land?
That’s your accent wall. It’ll be one of two:
- The focal wall. The wall with the bed, the sofa, the fireplace, or the TV. The wall your furniture is already organized around.
- The back-of-room wall. The wall opposite the door, the one you see first when you walk in.
Sometimes those are the same wall. Paint it. If they’re different, pick the focal wall. An accent on the back-of-room wall with no anchoring furniture floats and looks like you ran out of paint.
What not to pick: a wall with a door in it, a wall with three windows, or a wall that’s mostly shared with a hallway. The color needs an uninterrupted run.
What You’ll Need
Paint
- 1 quart of finish paint. Covers a 10x10 wall in two coats with a little left over. For a wall taller than 10 feet or wider than 12, get a gallon. See our wall paint round-up for picks by room.
- Eggshell or matte sheen. Eggshell is the default; matte if your drywall has imperfections you don’t want to highlight. The sheen guide covers the trade-offs.
Tools
- 9-inch roller frame with a 3/8-inch microfiber sleeve (microfiber leaves the cleanest finish on a flat wall)
- 2-inch angled sash brush for cutting in (painting the narrow strip along edges where a roller won’t reach)
- Paint tray with a disposable liner
- Yellow FrogTape, the multi-surface roll. Yellow has a tighter seal on textured walls than the green.
- Canvas drop cloth (not the thin plastic kind; it slides under your feet)
- Step stool
- Foam sanding block and a tack cloth
If you don’t already have brushes and rollers, see the brush picks and roller picks.
Step 1 — Prep the Wall and the Room
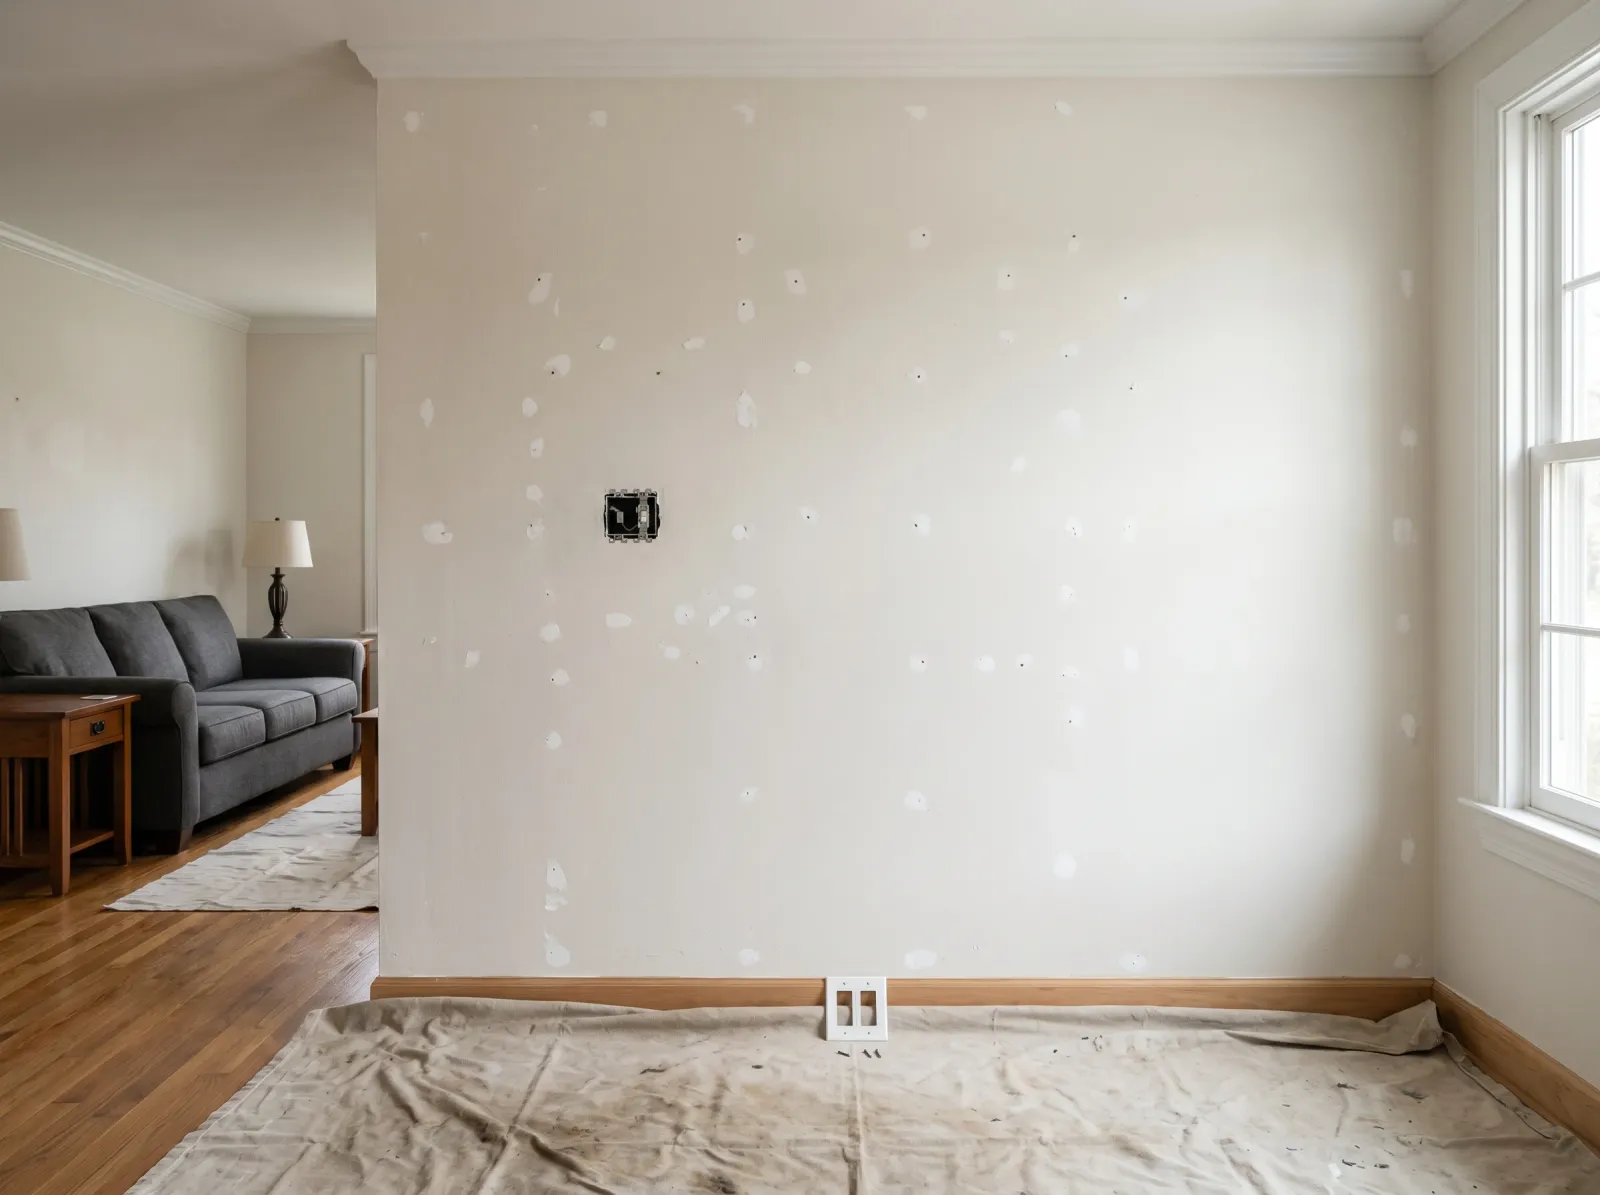
Furniture pulled four feet out, drop cloth down, holes spackled, lightswitch plates off.
Pull the furniture four feet away (further than you think). Lay the drop cloth tight against the baseboard.
Walk the wall and look for nail holes and small dings. Spackle with a fingertip dab, let dry 30 minutes, sand smooth with the foam block. Wipe the wall with a slightly damp microfiber rag. Let it dry.
Unscrew the lightswitch and outlet plates and drop the screws into a baggie. Plates off looks cleaner at the end than tape over the switches.
Watch out for: spackle that looks dry but isn’t. Press your fingernail in. If it dents, give it twenty more minutes.
Step 2 — Tape off Everything That Isn’t the Wall
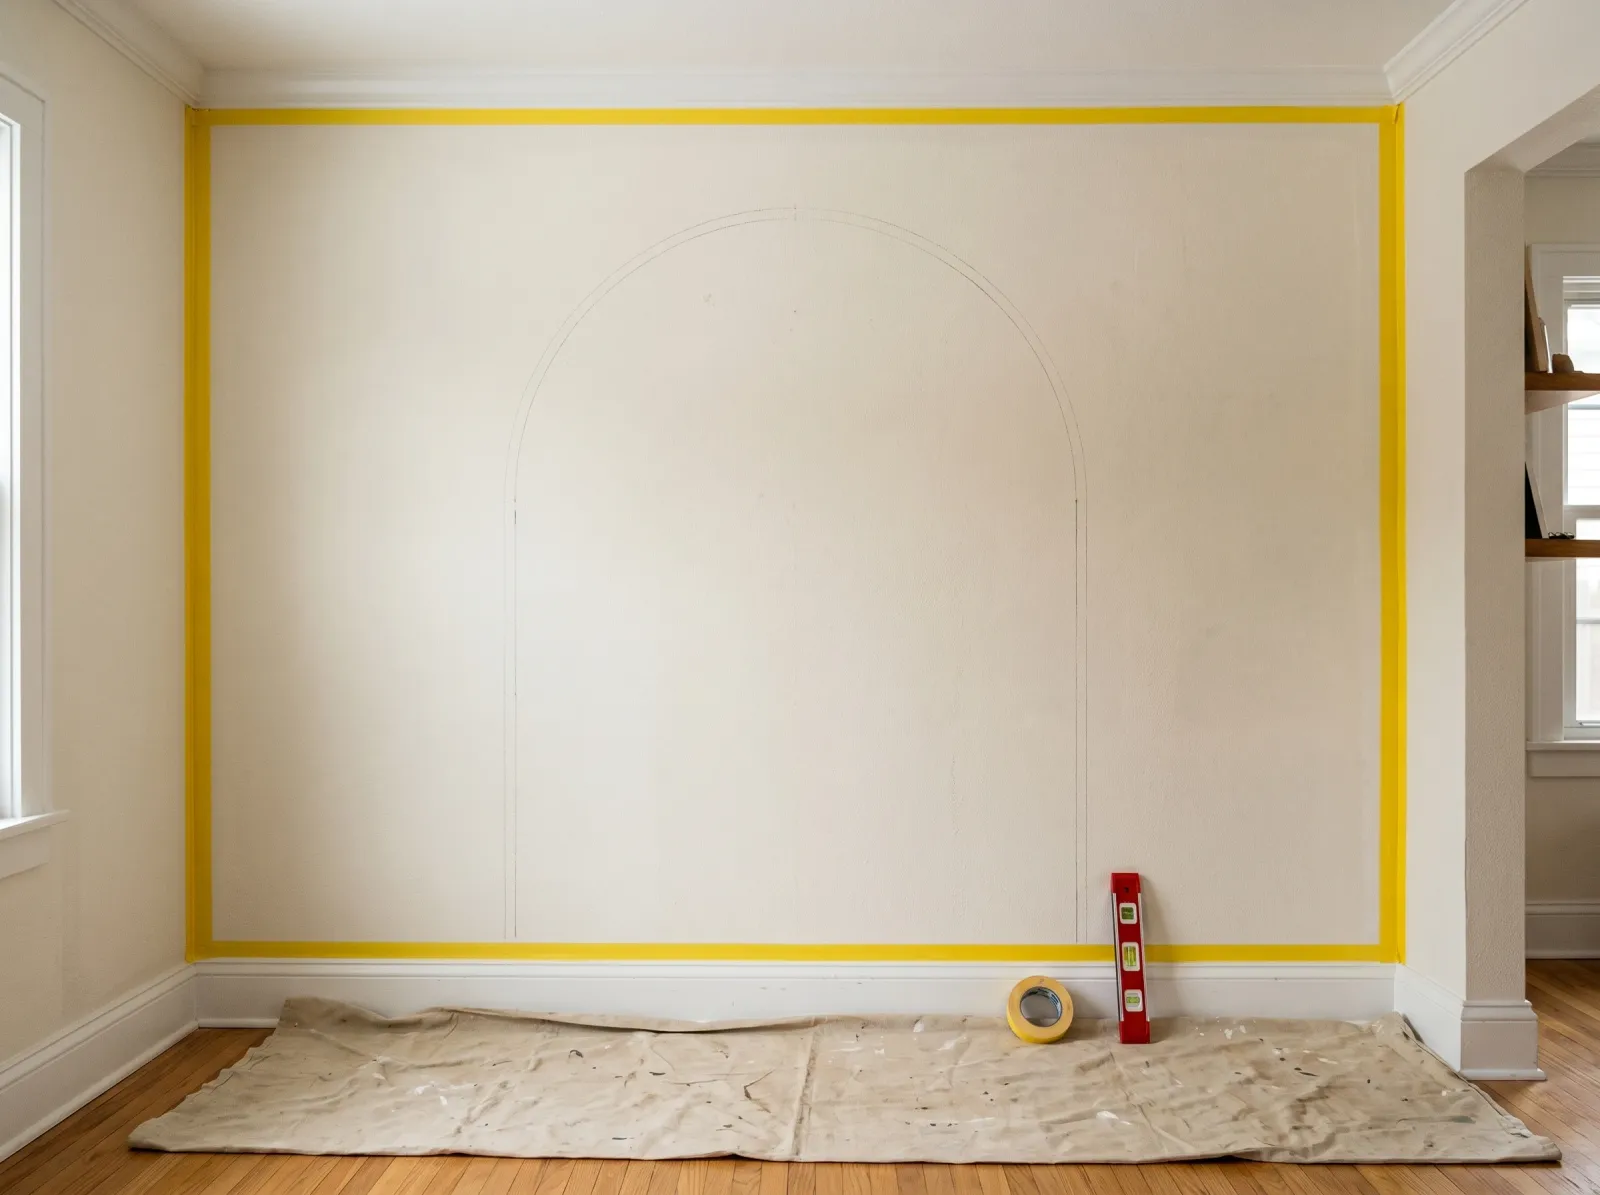
Yellow painter’s tape pressed firm along the ceiling line, the baseboard, and both side corners.
This is the step that decides whether your wall looks clean or amateur. Take your time.
Run a strip of yellow tape along the top where the wall meets the ceiling. Don’t try to do it in one twelve-foot strip. Work in three- to four-foot sections, pressing each one down with your thumbnail or an old credit card. The press is what matters; paint bleeds under tape that’s been laid down but not sealed.
Repeat along the baseboard and both side corners.
If you’re doing a pattern (an arch, stripes, a half-wall block), draw the shape on the wall in pencil using a level, then lay the tape just inside the pencil line so the line gets painted over. Press the tape extra firm around any curves with the credit-card edge.
Watch out for: textured walls. If your wall has a slight orange-peel texture, run a bead of clear caulk along the tape edge with a finger after pressing, let it skin for two minutes, then paint. The caulk seals the texture gaps the tape can’t reach. Sounds extra; it’s the trick that gives you a knife-edge line on a textured wall.
Step 3 — Cut in First, Then Roll

Brush a two-inch band along every taped edge first. Roller the middle while the cut-in is still wet.
Cutting in means painting a two-inch band of color along every taped edge with the angled brush before you touch the roller. This lets the roller stop short of the tape without leaving the edge a different texture than the middle.
Load the brush by dipping a third of the way into the paint and tapping once on the inside of the can (not the rim). Brush a band along the ceiling tape, the baseboard tape, both corner tapes, and around any outlets.
Now load the roller. Pour about a cup of paint into the tray, run the roller back and forth until it’s evenly loaded. Roll the wall in a big W shape, then go back and fill in the W. Keep the roller about an inch from your cut-in band; the wet paint blends as you cross the line.
The cut-in needs to still be wet when the roller reaches it. If it dries first, you’ll see a picture-frame outline of slightly different sheen. Work fast. If the wall is big, cut in and roll one half, then cut in and roll the other.
Watch out for: a roller getting drier as you go. Reload every six to eight passes. A dry roller leaves stipple marks that don’t smooth out.
Step 4 — Wait, Then Put on the Second Coat
The first coat will look patchy. Don’t go back over wet spots. Wait the recoat time on the can (usually 2 to 4 hours for interior wall paint) and put the second coat down the same way. Cut in, then roll.
The second coat is what makes the wall look professional. Skip it and the color reads thin in raking light.
Step 5 — Pull the Tape While the Paint Is Still Slightly Tacky
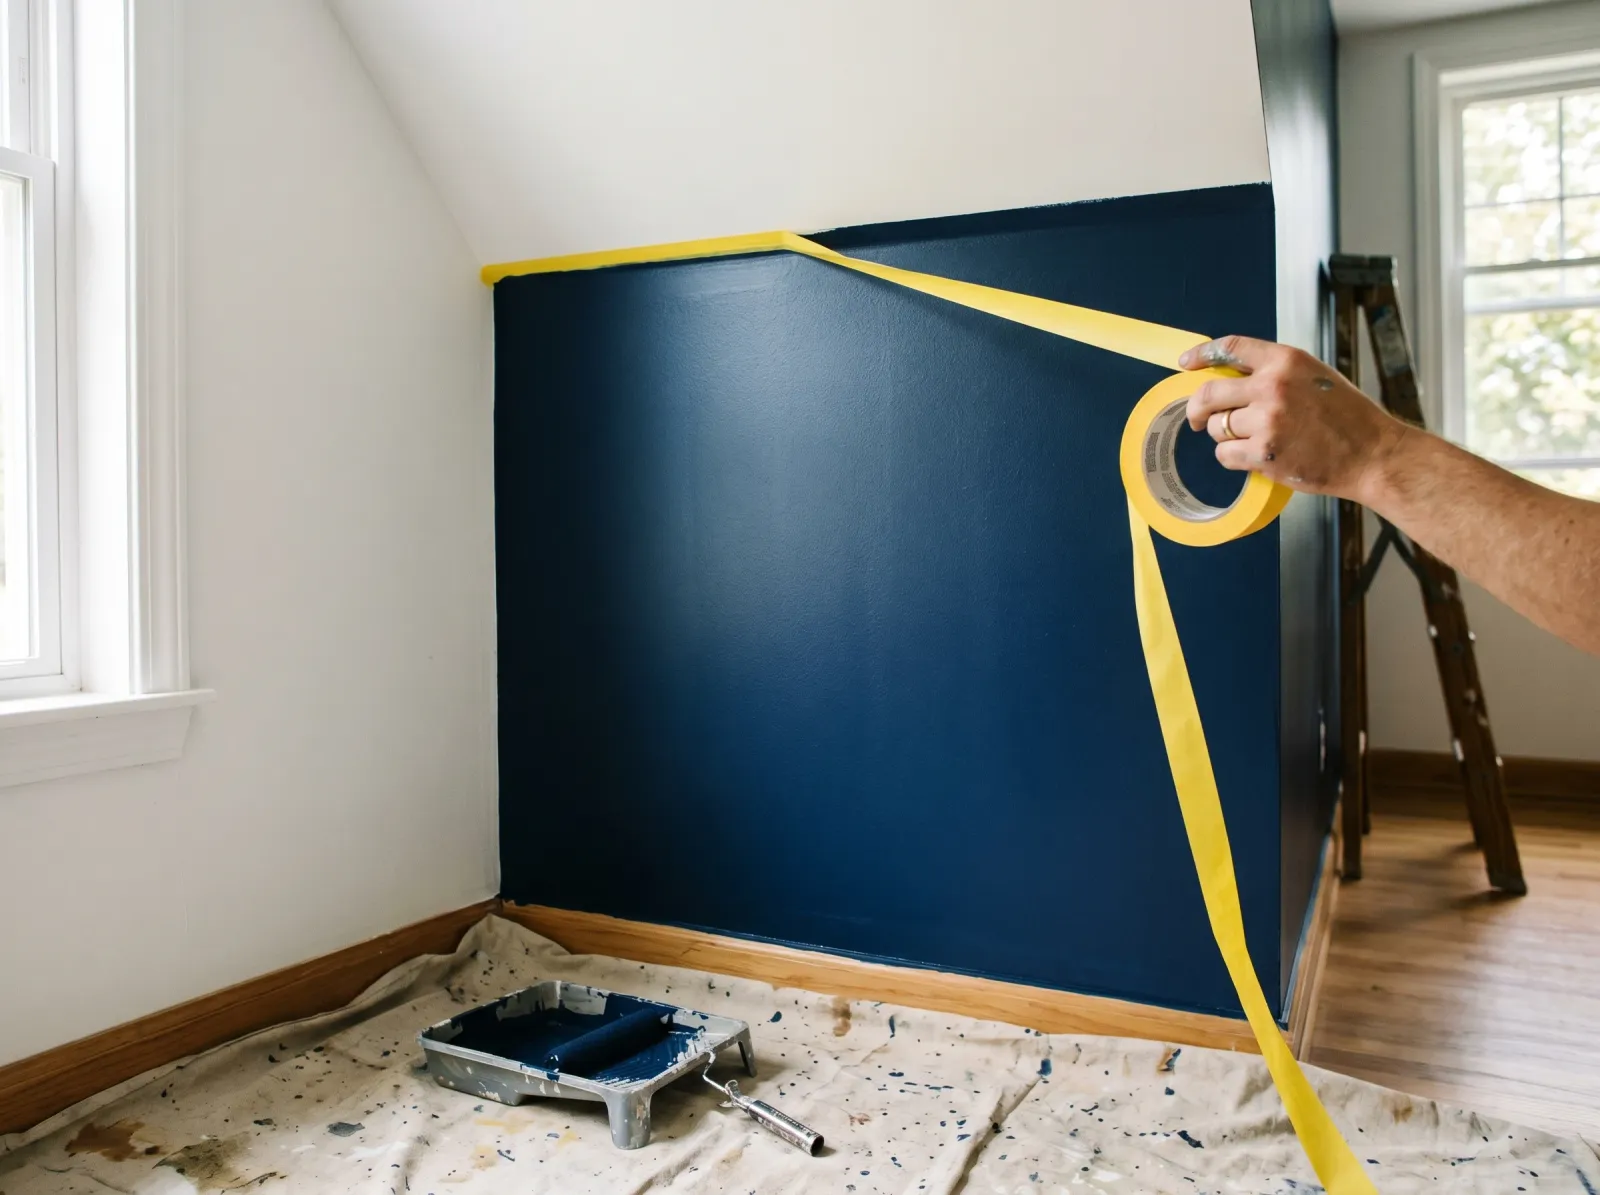
Pull the tape while the second coat is still slightly tacky. Wait and you’ll peel paint with it.
This is the part most first-timers get wrong. The tape comes off while the second coat is still slightly tacky, not after it’s fully dry. About 30 to 60 minutes after you finish rolling is the window.
Why: as the paint film cures, it bonds across the tape edge. Pull at four hours and the paint has gripped the tape; you’ll peel a ragged strip of paint off the wall along with it. Pull at thirty minutes and the film is still soft enough to release cleanly.
Pull slow, at about a 45-degree angle away from the wall. One long continuous strip. If the tape resists, run a fresh utility-blade score along the edge first.
If a small bit of paint lifts anyway, dab it back with a small brush using the same paint. No big deal.
Step 6. Furniture Back, Lightswitch Plates On
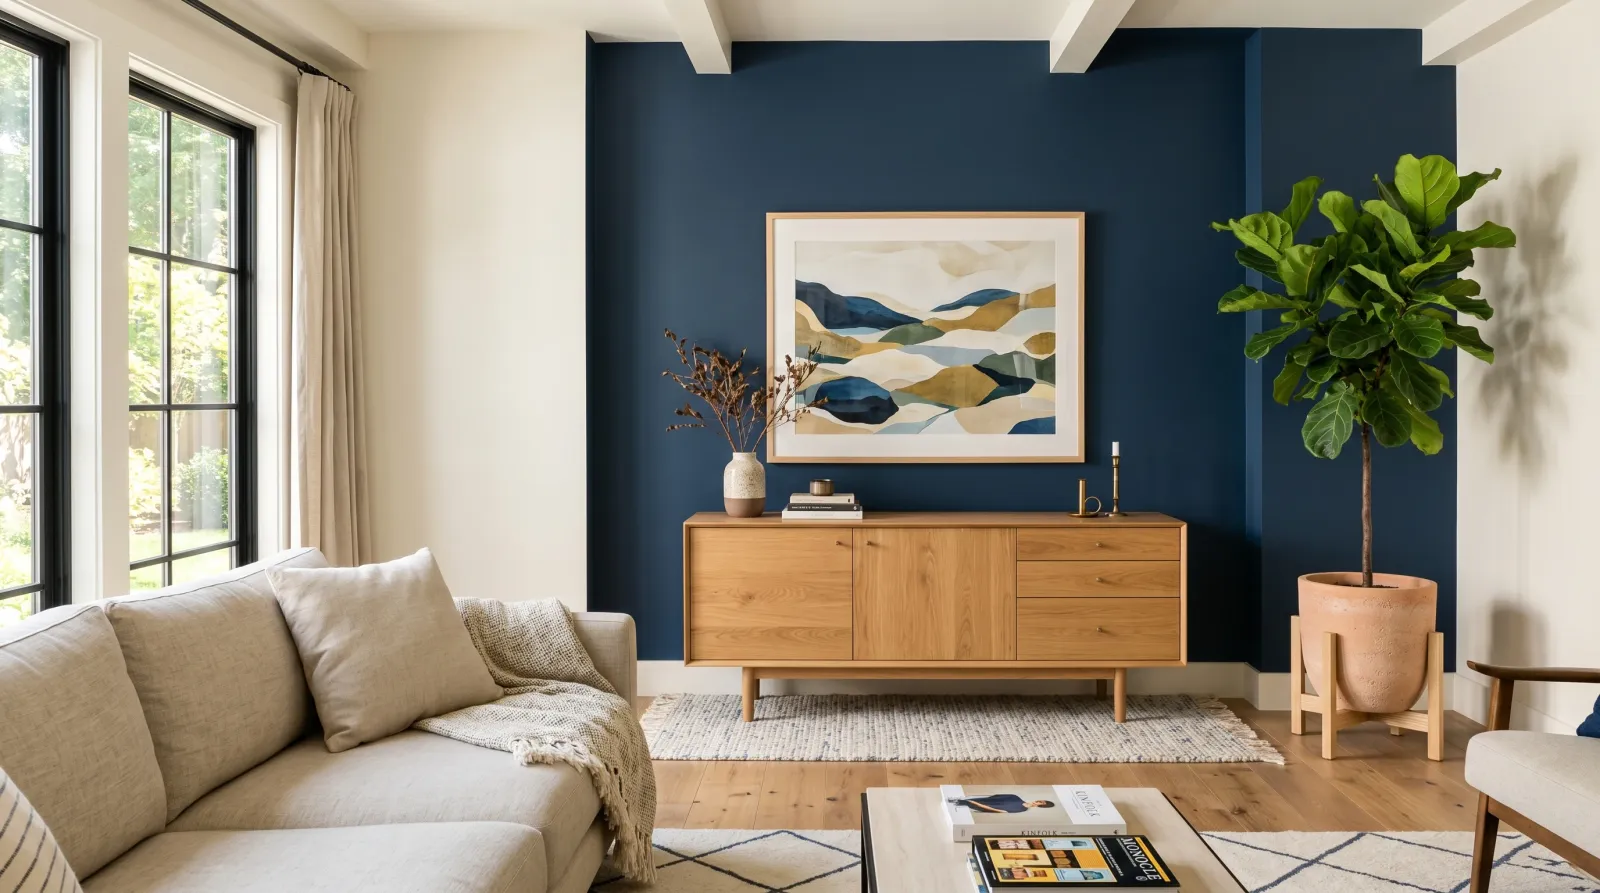
The credenza is back against the wall, the framed print rehung. The room reads finished.
Wait at least 4 hours after pulling the tape before pushing furniture back. The paint is dry to the touch but not cured; a sofa back pressed against fresh paint at hour two can leave a fabric impression.
Screw the lightswitch and outlet plates back on. Rehang the art. Step back, look from the doorway, and notice whether the room feels balanced now.
Common Mistakes
- Painting the wrong wall. The accent has to be the wall your furniture is organized around, or it floats. Spend thirty seconds in the doorway first.
- Skipping the cut-in. Trying to get the roller into the corners leaves a textured stripe along every edge. Brush the two-inch band first.
- Pulling tape after the paint cures. The paint bonds across the tape edge. Pull while it’s still tacky, 30 to 60 minutes after the second coat.
- One coat to save time. The wall reads thin in raking light from the window and you’ll be annoyed for years. Two coats. Always two coats.
Cure Schedule
| Time after final coat | What’s safe |
|---|---|
| 30–60 min | Pull the painter’s tape |
| 4 hrs | Move furniture back against the wall |
| 24 hrs | Hang artwork, normal use |
| 7 days | Wipe clean with a damp cloth |
| 30 days | Full cure; scrub if needed |
Maintenance
An eggshell accent wall in a low-traffic room stays looking new for 6 to 10 years. First wear shows around lightswitches and the edge nearest a doorway, where shoulders brush. Save the quart with a couple of ounces left (label the lid with the room and date). For a small scuff, dab with a small artist’s brush. For a patch larger than a quarter, repaint the whole wall. Feathered touch-ups show their seams.
Cost
| Item | Cost |
|---|---|
| 1 quart of finish paint | $25–$45 |
| FrogTape (yellow, 60 yd) | $10 |
| 9” roller frame + microfiber sleeve | $18 |
| 2” angled brush | $14 |
| Tray + liner | $8 |
| Drop cloth (canvas) | $20 |
| Total (first wall) | ~$95–$115 |
| Each additional wall | ~$30 (paint only) |
If It Goes Wrong
The color often looks louder on the wall than on the chip. A chip is two inches square; a wall is a hundred square feet, and the same color reads about 30% more saturated at wall scale. Live with it for a week before you decide to repaint. Most people stop noticing within a few days.
An accent wall is not a permanent decision. If the navy reads too dark, try a muted sage next month. The wall doesn’t care.