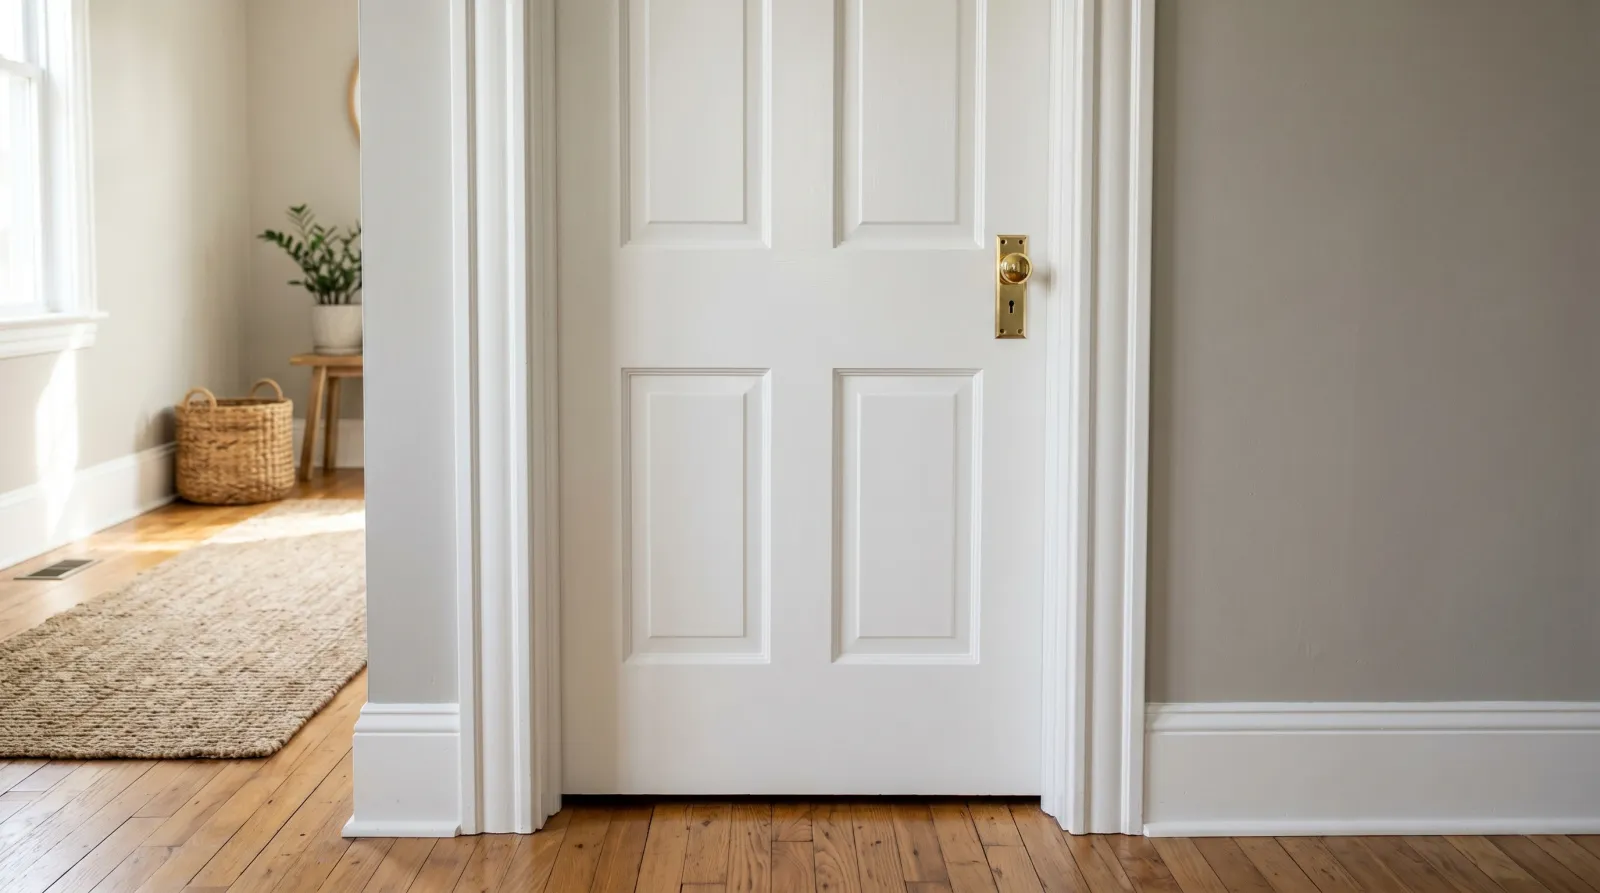
How to Paint Door Frames
Painting door frames the right way: clean, scuff-sand the gloss, prime the scuffs, then two thin coats of semi-gloss with a 2-inch angled brush. No drips, no brush marks.

Okay, so the door frames in your house have gotten dingy. There’s a worn patch by every handle, a scuff where the vacuum keeps clipping the corner, maybe a smear of crayon near the bottom. You want to repaint them and you’re not sure if it’s a real project or a fifteen-minute thing. Here’s the thing: it’s somewhere in between, and that’s good news. A door frame is small. If you mess it up, you’ve ruined a strip of wood the width of your hand, not a whole wall. That makes it one of the best first painting jobs there is.
The frame (the painters call it the casing, the flat trim boards around the opening, plus the jamb, the part the door actually shuts against) is also the most-touched trim in the house. So it’s worth doing properly. The order below keeps the two things that go wrong with trim from happening: drips and brush marks.
What You’ll Get
A crisp, even door frame in semi-gloss that wipes clean and stops looking grubby every six months. Done in an afternoon, dry overnight, hardware back on the next morning.
Honest Take on Difficulty and Time
One frame takes about an hour of actual work, split across two thin coats with a few hours of drying in between. So plan a half-day per frame, or knock out three or four in a day if you keep them rotating (cut in one, let it dry while you start the next).
The work is easy. The patience is the hard part. Trim paint that gets rushed shows it. If you slap a thick coat on to save time, you get runs along the inside edge of the jamb, and runs are the one trim mistake that’s genuinely annoying to fix.
Don’t worry about being slow. Slow is how trim is supposed to go.
What You’ll Need
Paint and Primer
A quart of semi-gloss trim paint covers three or four door frames with two coats. Semi-gloss is the sheen that wipes clean, which matters on a surface people grab all day. A waterborne alkyd enamel (BM Advance, SW ProClassic, or Behr Alkyd Enamel) is worth the extra few dollars here because it self-levels, meaning it flows out flat and hides the brush marks that show up so easily on shiny trim. The best interior trim paint round-up has the full SKU picks. If you’re stuck on whether semi-gloss is right, the sheen guide walks through each one.
Primer is the part most people skip, and most of the time that’s fine. You only need it on the spots you sanded down to bare wood, on raw knots that might bleed through, or if you’re going from a dark stained frame to white. A small can of Zinsser BIN or Bulls Eye 1-2-3 covers all the spot-priming a few frames will ever need.
If your frame is currently stained-and-varnished wood rather than painted, that’s a different prep. See the varnished wood trim guide for how to get paint to stick to a slick varnish. If it’s already painted and sound, the existing painted wood guide covers the scuff-and-recoat path you’ll use here.
Tools
A 2-inch angled sash brush is the whole kit. Angled means the bristles are cut on a slant, which lets you lay a clean line along the edge without taping every inch. A frame is too narrow for a roller and too detailed for a sprayer unless you’re doing the whole house. The brush is also where you don’t go cheap. A $4 brush sheds bristles into the wet paint and leaves a streaky line. A $12 to $16 Wooster or Purdy holds a sharp edge for years. The trim brush picks cover the good ones.
Add a small artist’s brush for the corners and touch-ups, a narrow delicate-surface tape, a 220-grit sanding sponge, spackle, and a folded drop cloth for the floor.
Step 1 — Clean, Pull Hardware, and Tape Off

Door wedged open, hinges and strike plate unscrewed or taped, the casing wiped down and the wall edge masked off.
Wedge the door fully open and leave it that way for the whole job. Wipe the frame down with Krud Kutter or a TSP substitute and a rag, paying attention to the strip around the handle and the bottom 18 inches where shoes and vacuums hit it. There’s hand-oil and grime there even when it looks clean, and paint won’t stick to it.
Unscrew the hinge leaves and the strike plate if you want the cleanest result, or tape over them if you’d rather not. Drop the screws in a labeled bag. Run a strip of narrow tape down the wall right against the casing, and lay the drop cloth at the base.
Watch out for the hinge screws. They’re easy to lose and a pain to match. Bag them and tape the bag to the door.
Step 2 — Scuff, Patch, and Spot-Prime
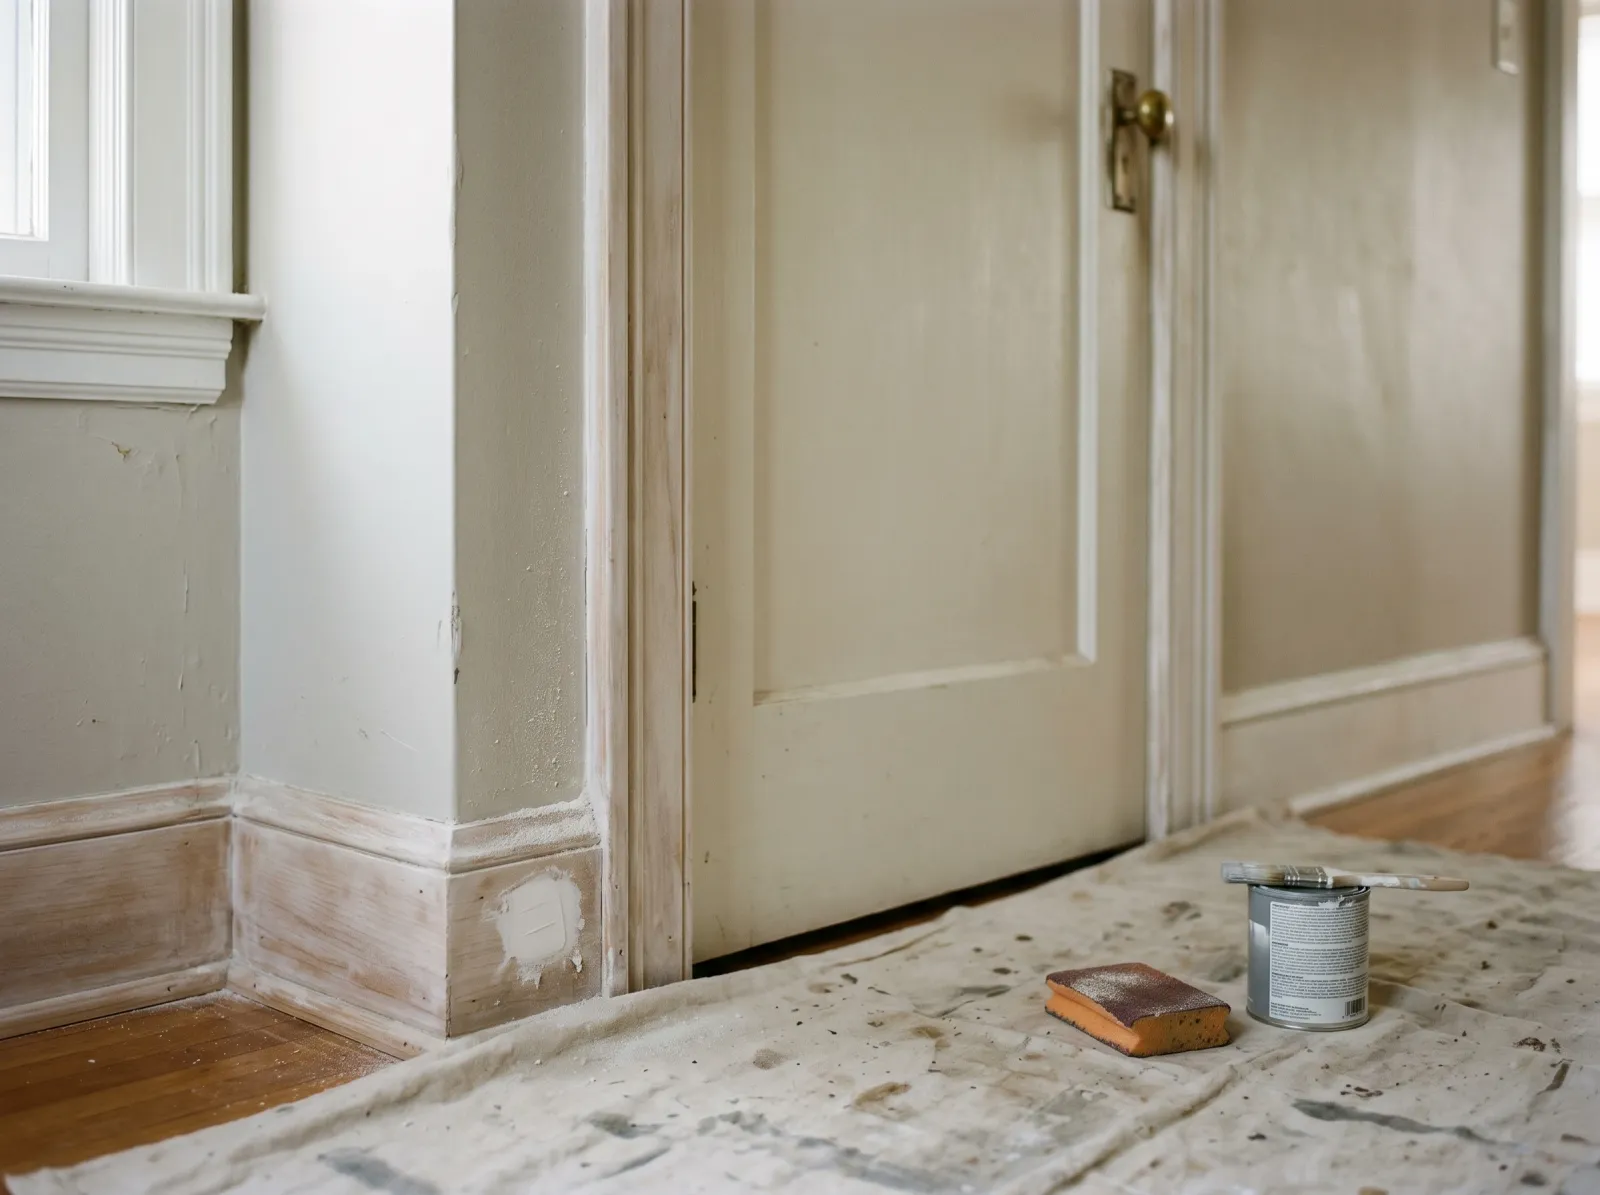
Old gloss knocked back with 220-grit, dings filled, and the bare patches hit with a dab of primer.
Scuff the whole frame with the 220-grit sponge until the shine goes dull. You’re not sanding it smooth or removing the old paint, just roughing up the surface so the new coat can grip. Old trim is almost always semi-gloss, and fresh paint slides right off slick gloss. This is the single step that decides whether your paint stays on.
Fill any dings, old screw holes, or gouges with spackle or wood filler, let it dry, then sand the patch flush. Wipe the dust off with a damp rag.
Now spot-prime: a dab of primer on every bare-wood patch, every raw knot, and any spot you sanded through to the wood. Not the whole frame. Just the trouble spots.
Watch out for sanding dust left in the corners. It mixes into the first coat and leaves gritty bumps. Vacuum the corners or wipe them with a slightly damp rag and let it dry.
Step 3 — Brush the First Coat
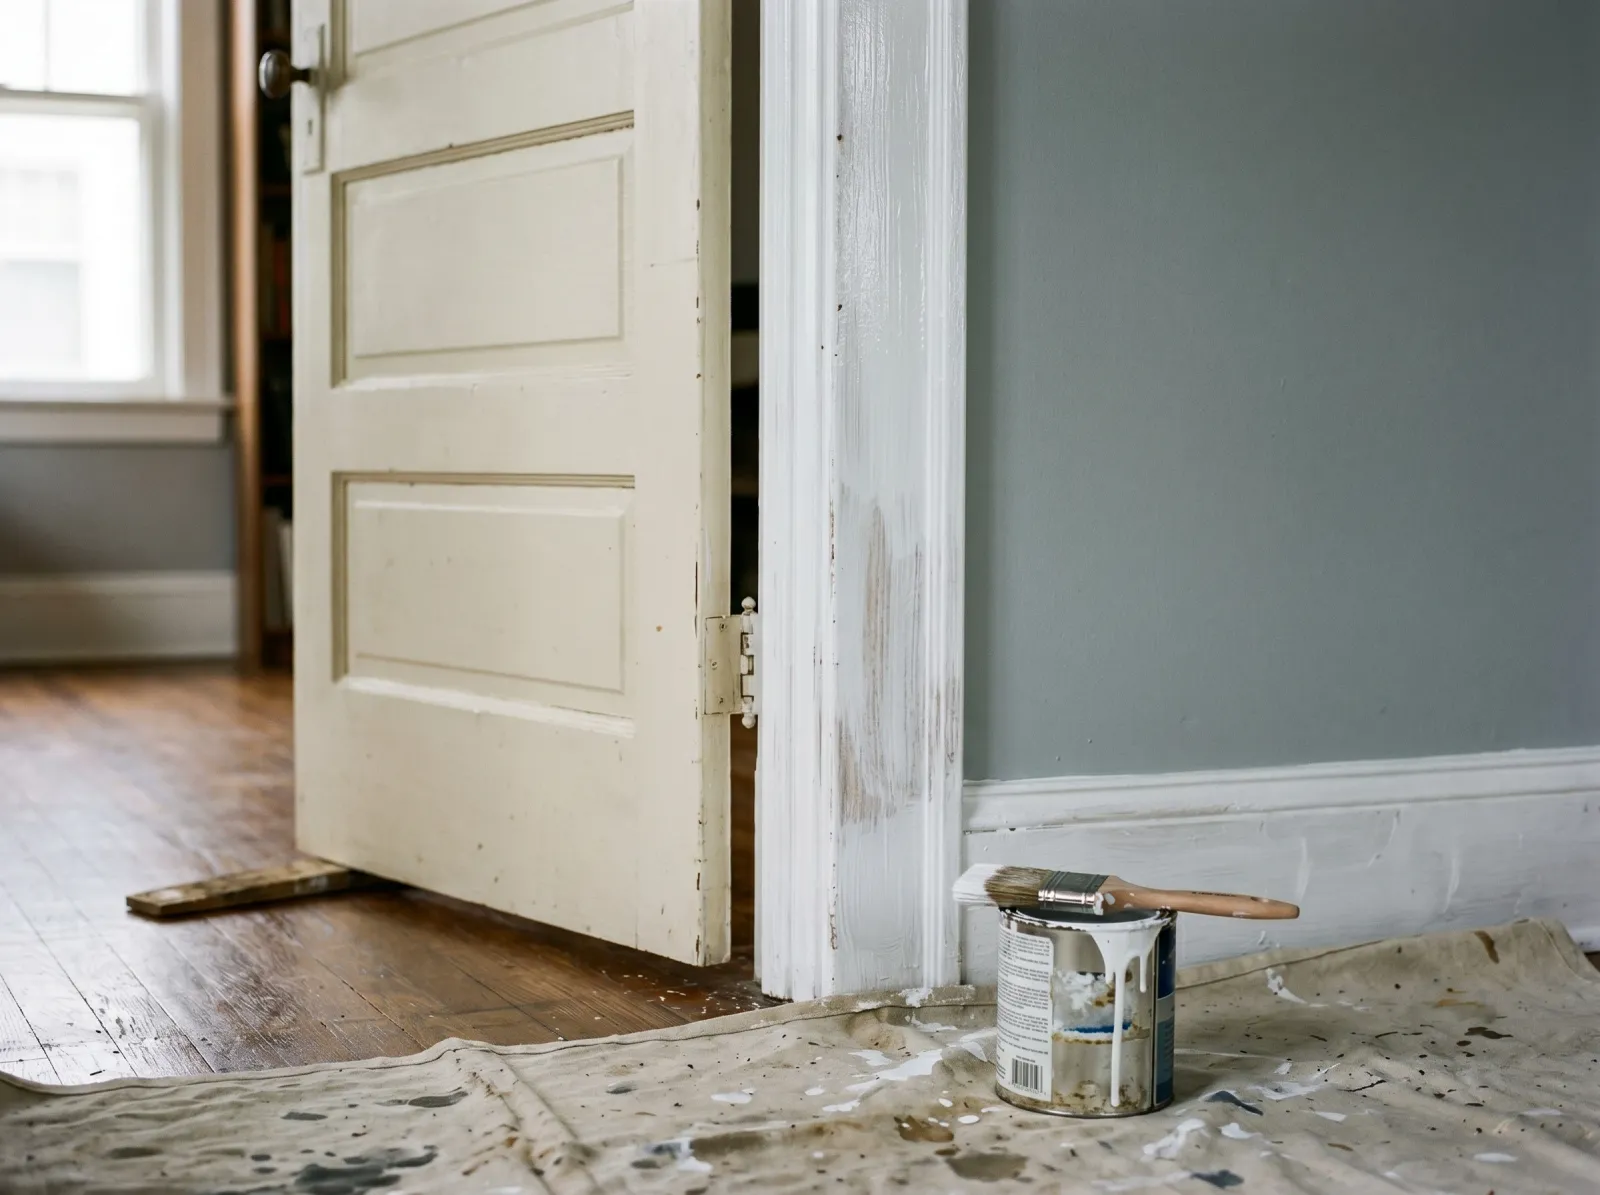
Thin first coat of semi-gloss following the length of the casing. Patchy and translucent in spots, which is normal.
Dip the brush only a third of the way into the paint and tap it once against the inside of the can (don’t wipe it on the rim, that pulls too much off). Start at the top of the casing and work down one side, then across the top, then down the other side. Brush in long strokes that follow the length of the wood, never across it.
Keep the coat thin. Thin coats dry flat and even. Thick coats sag and run. When you reach the inside edge of the jamb, hold a wide putty knife or a piece of cardboard against the wall-side tape as a shield and brush away from the wall.
The first coat will look streaky and patchy and you’ll think you bought bad paint. You didn’t. One coat of trim paint always looks thin. The second coat is where it fills in.
Watch out for the inside corners of the jamb where two surfaces meet. Paint pools there. Brush it out with a near-dry brush after you load each section, a move painters call tipping off.
Step 4 — Let It Dry, Then Brush the Second Coat
The recoat time is on the can. For a waterborne enamel it’s usually 4 to 6 hours; for a true alkyd enamel, give it overnight. Don’t rush this. If you recoat before the first coat has set, the brush drags the soft paint underneath into ridges, and ridges on shiny trim catch the light forever.
Touch the frame with a knuckle. If it’s dry and not tacky, the second coat goes on the same way as the first: thin, long strokes with the grain, tip off the corners. This coat covers. The streaks from the first coat disappear and the color evens out.
If you can still see a faint patch after the second coat dries, a light third coat on that spot only fixes it. Most frames don’t need it.
Step 5 — Pull the Tape and Reinstall
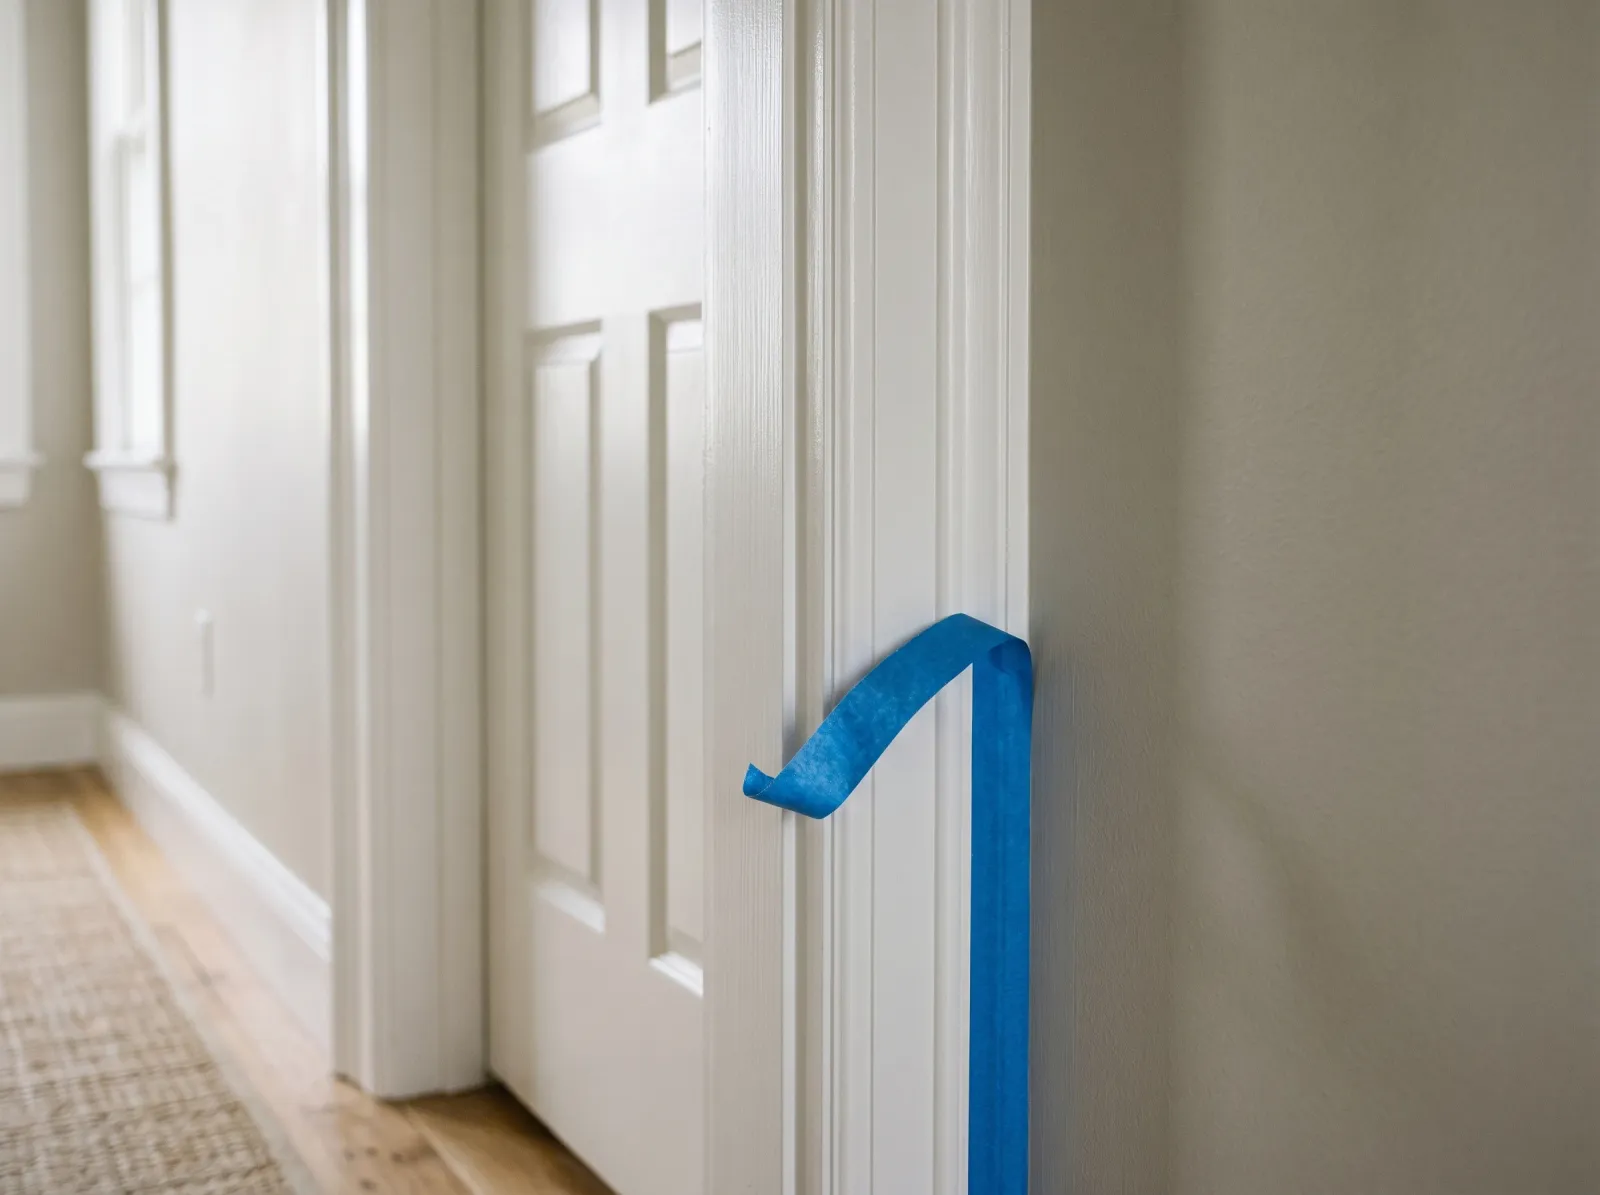
Even second coat down, painter’s tape peeled at a 45-degree angle while the paint is still slightly soft.
Pull the tape while the second coat is still slightly soft, about 30 to 60 minutes after you finish, not bone dry. Pull it slow, back over itself at a 45-degree angle. Dry paint bonds across the tape edge and tears a ragged line when you pull; slightly-soft paint releases clean.
Wait at least overnight before you screw the hinges back on and definitely before you close the door against the jamb. A door shut against a not-quite-cured frame sticks and pulls a chunk of paint off the seal line. Reinstall the hardware in the morning.
Common Mistakes
- Skipping the scuff-sand. This is the big one. Fresh paint over old semi-gloss with no scuffing peels off in a sheet the first time something bumps the frame. Two minutes with a 220 sponge prevents it.
- Loading the brush too heavy and getting runs. Door frames run at the inside jamb corners because paint pools there. Dip a third of the way, tap once, brush thin, and tip off the corners with a near-dry brush.
- Brushing across the wood instead of along it. Cross-grain strokes leave a crosshatch of marks that show in raking light. Always stroke the length of the board. If you’ve already got marks, the brush stroke fix walks through sanding them out and recoating.
- Recoating too soon. The second coat drags the first into ridges if the first hasn’t set. Wait the full recoat time on the can, longer for alkyd enamel.
- Closing the door overnight on a fresh jamb. The door seal sticks to soft paint and peels it. Wedge the door open until the frame has cured at least a day.
Cure Schedule
| Time after final coat | What’s safe |
|---|---|
| 30–60 min | Pull the painter’s tape |
| 2 hrs | Touch dry, don’t bump it |
| Overnight | Reinstall hardware, close the door |
| 7 days | Wipe scuffs gently with a damp cloth |
| 14–30 days | Full cure, scrub clean |
Maintenance and Touch-Ups
A semi-gloss frame in good waterborne enamel holds up for 8 to 12 years before it needs a full repaint, longer in a low-traffic room. The worn patch by the handle shows first.
For a scuff, try a damp microfiber rag before you reach for paint; most marks on semi-gloss are dirt, not damage, and wipe right off. For an actual chip, dab leftover paint on with the small artist’s brush, just the chip, not a patch around it. Keep the leftover quart with the color name and code from the lid sticker so you can match it years later.
Cost
| Item | Cost |
|---|---|
| 1 qt semi-gloss trim paint | $18–$35 |
| Small can spot primer | $6–$10 |
| 2” angled brush | $12–$16 |
| Tape, sanding sponge, spackle | $10–$15 |
| Total (covers several frames) | ~$45–$75 |
A quart and one good brush will do every door frame in a small house, so the per-frame cost drops fast after the first one.