How to Fix Cracking Caulk Before Painting
Hairline cracks in trim caulk read worse after repainting if you skip the recaulk step. Cut out the old bead, prime if oil-based residue, recaulk with a high-flex paintable, two coats topcoat.

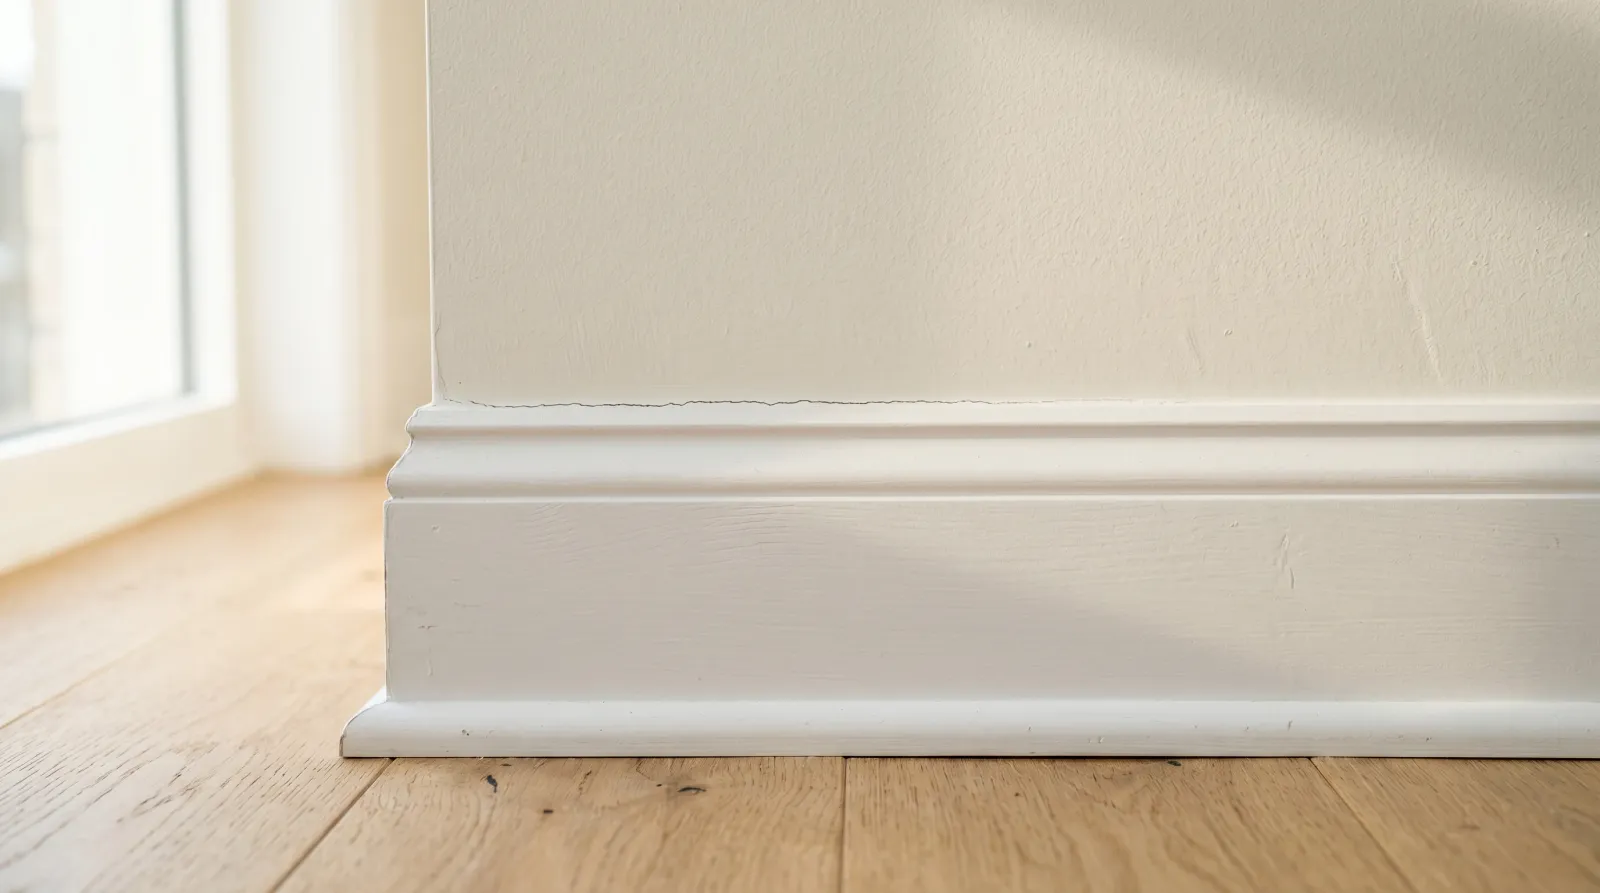
Hairline cracks in the trim-to-wall seam aren’t a paint problem and they’re not a structural problem. The caulk dried out and quit moving with the trim. Paint bridges the line for a week, the bead opens again, you see the crack sharper than before because the new film is glossier. The fix is the bead, not the topcoat.
Does This Match What You’re Seeing?
The crack location tells you what failed. Look before you load the gun.
- Fine line running along the top edge of a baseboard or the side of a door casing. Classic trim caulk failure. The bead lost flex and split with the next seasonal swing.
- Crack opening into a visible gap wider than a credit card edge. The trim moved, not just the caulk. Refasten the trim first, then recaulk.
- Caulk peeled or curled away from one face of the joint. Adhesion failure, often pure silicone over latex paint or a bead applied to dusty wood. Pull it out, clean the joint, reload with a paintable acrylic.
- Cracks plus yellowing on white trim. Different failure on top of this one. See yellowing trim; you may need to repaint the trim itself, not just recaulk.
- Crack at the wall corner, not at trim. Wall movement. Different fix. See wall cracks.
If the line runs the length of a trim-to-wall seam and the bead is still mostly in place, you’re in the right article.
How Serious Is This
Cosmetic. A hairline crack along a baseboard or door casing reads as poor finish but isn’t doing any damage behind the wall. Two situations push severity up.
- Crack at a bathroom or kitchen trim. Water tracks into the joint, then into the framing. Fix this one before the next shower or dishwasher cycle.
- Crack at exterior trim. Different article, same logic. Water gets in, wood rots, you’re replacing siding instead of caulking it. Use an exterior sealant, not interior trim caulk.
Otherwise this is a same-Saturday job. One tube of caulk, a utility knife, an hour.
Why the Caulk Cracked (root Cause)
Three causes, ranked by what I see most.
1. Cheap painter’s caulk with no elastic recovery. DAP Alex Plus, the white-label store-brand painter’s caulk, every $2 tube at the home center. They all stretch maybe 25%. The trim moves more than that in a single humid summer. The bead can’t recover, splits, and you see a hairline within 12 to 18 months. This is the dominant cause on builder-grade repaints.
2. Pure silicone painted over. Someone laid a silicone bead in a kitchen or bath and the next owner painted it. Paint doesn’t bond to silicone. The film fisheyes, the bead reads as a crack even when the caulk underneath is fine, and there’s nothing to do but cut the silicone out and start over with a paintable acrylic.
3. Trim that’s actually moving. Older homes with seasonal humidity swings, baseboards that weren’t fastened tight to studs, door casings that flex when the door slams. The bead can be the right product and still crack because the gap it’s bridging is opening 1/8” twice a year. High-flex sealant fixes this; standard painter’s caulk doesn’t.
The test for which one you’ve got: pull a chunk out and stretch it between two fingers. Quality flex caulk stretches like a rubber band. Cheap caulk snaps. Silicone tears and leaves a slick residue you can’t paint.
The Fix
Step 1. Cut the Old Bead Out
Run a sharp utility knife along both edges of the bead. One cut against the wall face, one cut against the trim face. Hook the corner with the knife tip and pull the strip out in one piece if you can. A 5-in-1 painter’s tool gets the stubborn sections. Don’t try to feather new caulk over old; you’ll get a fat ugly bead that fails again at the seam between the two layers.
If the caulk is silicone and won’t release, a silicone digester (3M Caulk Remover or DAP Caulk-Be-Gone) softens it overnight so the knife actually works the next morning.
Step 2. Clean the Joint
Vacuum the joint with a brush attachment. Wipe with a damp microfiber, then dry. Any dust or old caulk residue in the gap kills the bond on the new bead. If the joint is greasy (kitchen baseboards, behind a range), wipe with TSP, rinse, dry.
Step 3. Prime if There’s Oil-Based Residue
This is the step homeowners skip. If the trim was painted with oil-based enamel and you’re laying a new caulk bead, the bead bonds poorly to the cured oil film. Smell test: sand a small area of trim with 120 grit. If you get a solvent note, the topcoat is oil. Spot-prime the trim face along the joint with a thin coat of Insl-X Stix (waterborne bonding primer) or Zinsser B-I-N (shellac). 30 minutes to recoat on B-I-N, an hour on Stix. Pre-1990 homes are where this earns its keep; modern waterborne trim paint doesn’t need it.
Step 4. Lay the New Bead
Cut the tip of the caulk tube at a 45-degree angle, opening matched to the gap width. Smaller gap, smaller cut. Most trim seams want a 1/8” to 3/16” opening, not the half-inch hole most homeowners cut. Pull the gun along the joint at a steady speed, gun pointing in the direction of travel. Don’t push the gun; pulling leaves a cleaner bead.
Tool the bead with a damp fingertip or a caulk smoothing tool. One pass. Don’t keep working it. Overtooling pulls the surface dry and leaves drag marks.
Product call: DAP Alex Flex is the workhorse for interior trim. 500% elongation, 30-minute paint window, $5 a tube at any home center. Sashco Big Stretch is the upgrade pick (slightly better recovery on wide gaps, 30+ years on the can), $8 a tube. Skip the $2 painter’s caulk; you’re solving the wrong problem.
Step 5. Two Coats Topcoat
Once the bead is paint-ready (30 minutes for Alex Flex, 2 hours for Big Stretch, double those numbers below 60°F), brush two coats of your trim topcoat across the bead and the adjacent trim face. Two coats, not one. A single coat over fresh caulk reads thin and the bead color shows through. Use a 2.5” angled sash brush, feather the edge into the existing trim film so there’s no visible lap mark at the recoat line.
Safety
Standard interior-paint PPE. Eye protection during the knife work (caulk chips travel), good ventilation if you’re using B-I-N shellac primer (high alcohol content), gloves if you’re sensitive to acrylic resins. Never mix bleach with vinegar, ammonia, or hydrogen peroxide. Toxic chlorine gas. Pre-1978 homes with painted trim: lead test before sanding anything. See the cracking and alligatoring guide for the full RRP rule.
Common DIY Mistakes
- Painting over the crack instead of recaulking. Same line shows back through in a week, sharper than before.
- Using pure silicone on a trim line you plan to paint. Topcoat fisheyes off the bead. The bead itself reads as a crack. Cut it out, reload with paintable acrylic.
- Cheap painter’s caulk on moving trim. Cracks again in a season. Spend $3 more on Alex Flex.
- Cutting the tube hole too big. Fat ugly bead that doesn’t sit in the joint. Cut small, recut bigger if you need to.
- Painting before the bead is cured. Topcoat crinkles as the bead off-gasses underneath. Wait the label time, double it in cool or humid rooms.
Recommended Product
DAP Alex Flex Premium Molding & Trim Sealant is the right call for interior baseboard, door casing, and crown molding seams. 500% elongation means it actually moves with the trim through humid summers and dry winters. 30-minute paint window means you finish the job in one Saturday. Bonds to bare wood, drywall, primed surfaces, and paintable like any quality acrylic-latex caulk.
For wider gaps or wider movement (1/4”+ trim joints, exterior trim, log-home interiors), step up to Sashco Big Stretch. Both are at any major home center.
Prevention
- Use a 500%-elongation paintable acrylic-latex on every trim seam. Alex Flex or Big Stretch. Skip the $2 tubes.
- Run a humidifier in winter. Indoor RH below 25% dries trim out, shrinks the joint, and stresses the bead. Hold 30 to 45% and the caulk lasts twice as long.
- Fasten loose baseboards before caulking. A bead bridging a 1/4” gap that opens and closes with the door slamming will fail. Drive a finish nail or trim screw into the stud first.
- Two coats topcoat over caulk. One coat reads thin and the bead color telegraphs through. Two coats every time.
When to Call a Pro
- Whole-house recaulk on heritage trim with hand-routed profiles where one slip of the knife wrecks the detail.
- Trim that’s moving 1/8” or more between summer and winter. That’s a framing or fastener issue, not a caulk issue.
- Pre-1978 home with painted trim and any sanding required. RRP rules apply.
- Bathroom or kitchen where the crack track suggests water is already behind the trim. Get the trim off and the framing assessed before recaulking.
What’ll Bite You in Two Years
The trap is the $2 tube. You’ll be tempted at the checkout because it’s right there and it says “paintable” on the label. Lay it on a baseboard in a busy room and the same hairline shows up next April. I’ve watched homeowners do the same five-foot baseboard seam three times in four years because they kept reaching for the cheapest white tube on the shelf. Three more dollars, one Saturday, eight to twelve years of holding. Math runs the same direction every time.