How to Spray Paint Door Hardware
Spray paint door knobs, levers, and hinges so the finish survives daily hands: how to degrease and scuff plated metal, which primer grabs, and the clear coat that decides everything.

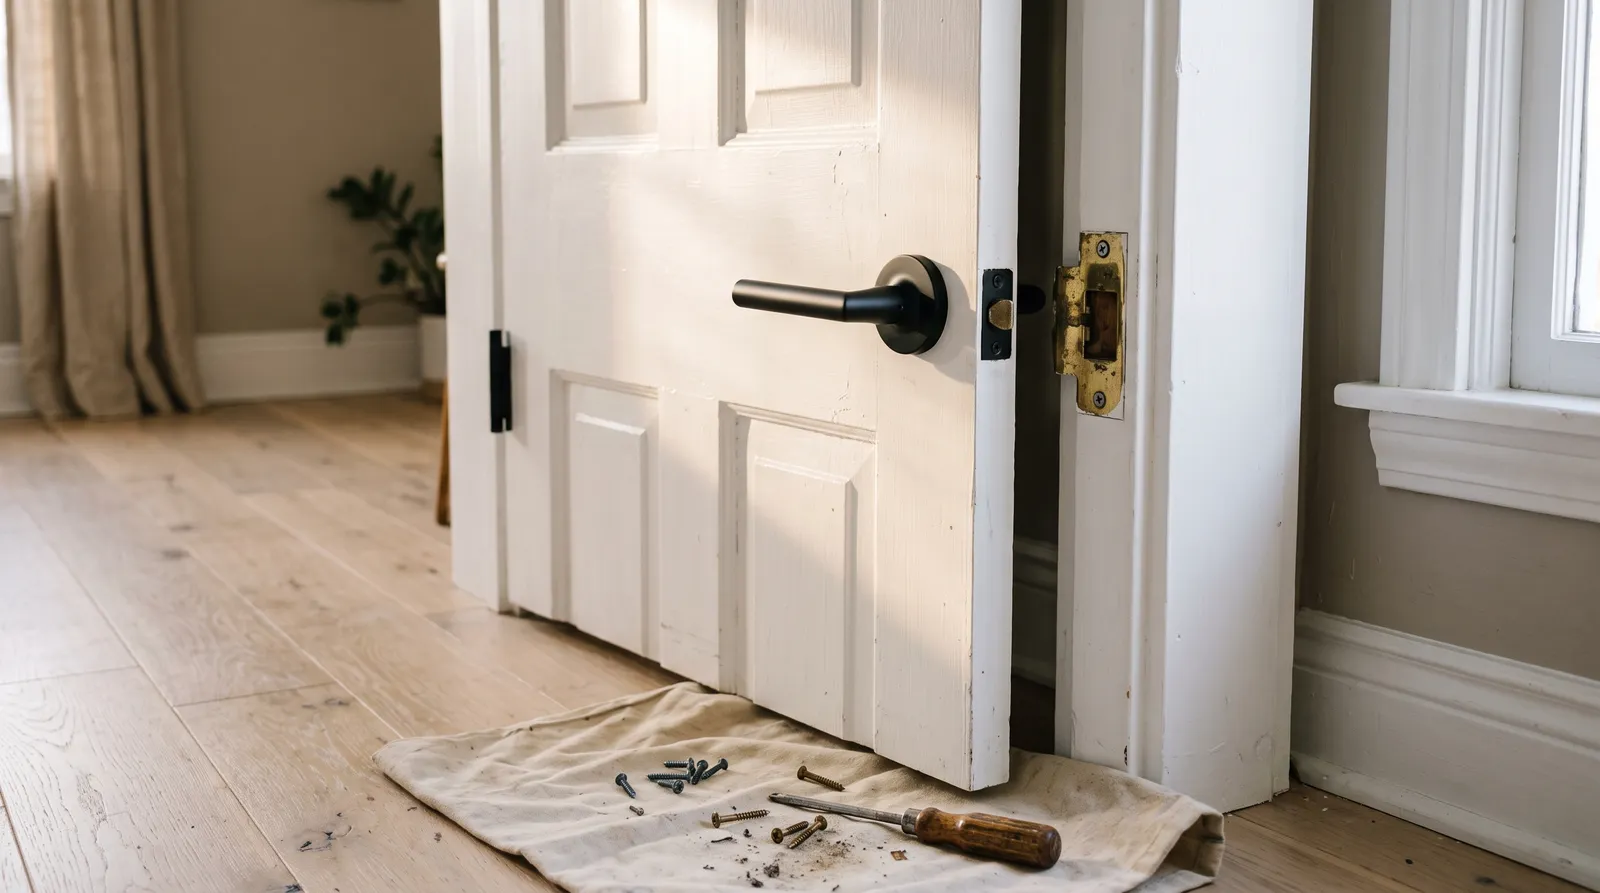
You notice hardware last and you touch it first. A hallway of white doors reads clean and quiet right up until the afternoon light catches six polished brass knobs down the run and every one of them flares yellow. The doors are fine. The paint is fine. It’s the jewelry that’s dating the room.
Swapping a whole floor of knobs runs $30 to $80 a door once you count levers, hinges, and strike plates. You can spray paint door knobs, hinges, and strike plates for the cost of two cans and a Saturday, and with real prep the finish holds for years. Done the way most people do it, on the door, straight from the can, it’s chipping by the second week.
What You’ll Get
Knobs, levers, hinges, and strike plates that read as one deliberate finish instead of three generations of builder-grade brass, with an even factory-looking surface that survives daily hands.
Honest Take on Difficulty and Time
Easy, and almost entirely waiting. The hands-on part of a six-door hallway is under two hours. The rest is dry time between coats and a cure you shouldn’t rush, because the difference between hardware that lasts three years and hardware that lasts three weeks is mostly patience after the last coat.
| Scope | Active time | Total elapsed | Skill |
|---|---|---|---|
| One knob or lever set | 30 min | 2 days | Easy |
| Six interior doors, knobs and hinges | 1.5–2 hrs | 1 week to full use | Easy |
| Whole house, including strike plates | 3–4 hrs | 1 week to full use | Easy |
| Exterior entry handle set | 1 hr | 2 weeks before hard use | Medium |
Picking the Finish Before You Pick the Can
This is the step people skip, and then they live with the answer on forty doorways.
Matte black is the safe one. It disappears against a white or off-white door and turns the knob into punctuation instead of an object. In a north-facing hall where the light stays cool and grey all day, flat black can go a little heavy and graphic, so satin black is the better call there. It picks up enough light to keep some shape.
Oil-rubbed bronze reads warm brown-black, not black, and it sits beautifully against warm woods, greige walls, and cream trim. Against a cool blue-grey door the brown undertone goes muddy. Rust-Oleum Universal makes the most convincing version of it, with a faint bronze shimmer under the dark that keeps it from looking like plain paint.
Brushed nickel and satin brass are the hard ones. Real nickel has a directional grain and a cool reflection that a spray can cannot fake, and gold spray over a rounded knob almost always reads costume rather than metal. If your heart is set on brass, look at a real replacement for the two doors people actually see and spray the closets and the laundry.
One honest limit: sprayed hardware never has the depth of solid metal, because the light bounces off a paint film instead of traveling into a polished surface. On interior passage doors nobody registers the difference. On the front door handle you grip with a wet hand every day, replace it.
What You’ll Need
Paint and Primer
Primer does the whole job here. Most builder hardware is plated steel or zinc die-cast, meaning a slick chrome or brass plating that ordinary paint slides straight off. A self-etching primer bites into that plating chemically. Rust-Oleum Automotive Self Etching Primer and Dupli-Color both work and cost about $9. If the set mixes metal with plastic escutcheons, use a universal bonding primer instead, which grabs both. The spray primer round-up has the full comparison of what grabs what.
For color, Rust-Oleum 2X Ultra Cover in flat or satin black, Rust-Oleum Universal Metallic for the bronze tones, or Krylon Fusion All-In-One when you want one can to handle mixed materials. The two brands behave differently on small parts, and the Rust-Oleum 2X vs Krylon Fusion comparison breaks that down. For metal-specific picks, see the best spray paint for metal; for the wider category across every surface, the spray paint round-up.
Then a clear. Rust-Oleum Crystal Clear Enamel for normal doors, Spraymax 2K Clear for anything with heavy daily traffic. The 2K can has a hardener you activate inside the can, it costs about $28, and it cures to something a fingernail won’t mark.
Tools
A drill or screwdriver, 320-grit and 400-grit wet/dry paper or a maroon scuff pad, denatured alcohol, a tack cloth, nitrile gloves, and zip-top bags for the screws. Grit choice matters more than people expect on plated metal, and the sandpaper picks cover which papers survive wet use.
A cardboard box on its side is your booth. Long screws pushed up through a flat cardboard base give you stands so every piece sits off the ground and you can spray under the edges.
Wear an organic-vapor respirator, not a dust mask. Spraying enamel in a closed garage is genuinely unpleasant without one, and the respirator picks explain the cartridge difference.
Two Paths, One Right Answer
You can mask hardware in place with tape and a plastic sheet, and people do it when they have one door and no time. It leaves a hard tape edge at the rose, misses the back of the lever where your fingers land, and drifts a fine ring of overspray onto the door face that shows up in raking afternoon light for the rest of the door’s life.
Take it off. Two screws per knob, four per hinge. The removal is faster than the masking.
Step 1 — Strip the Doors and Label Everything
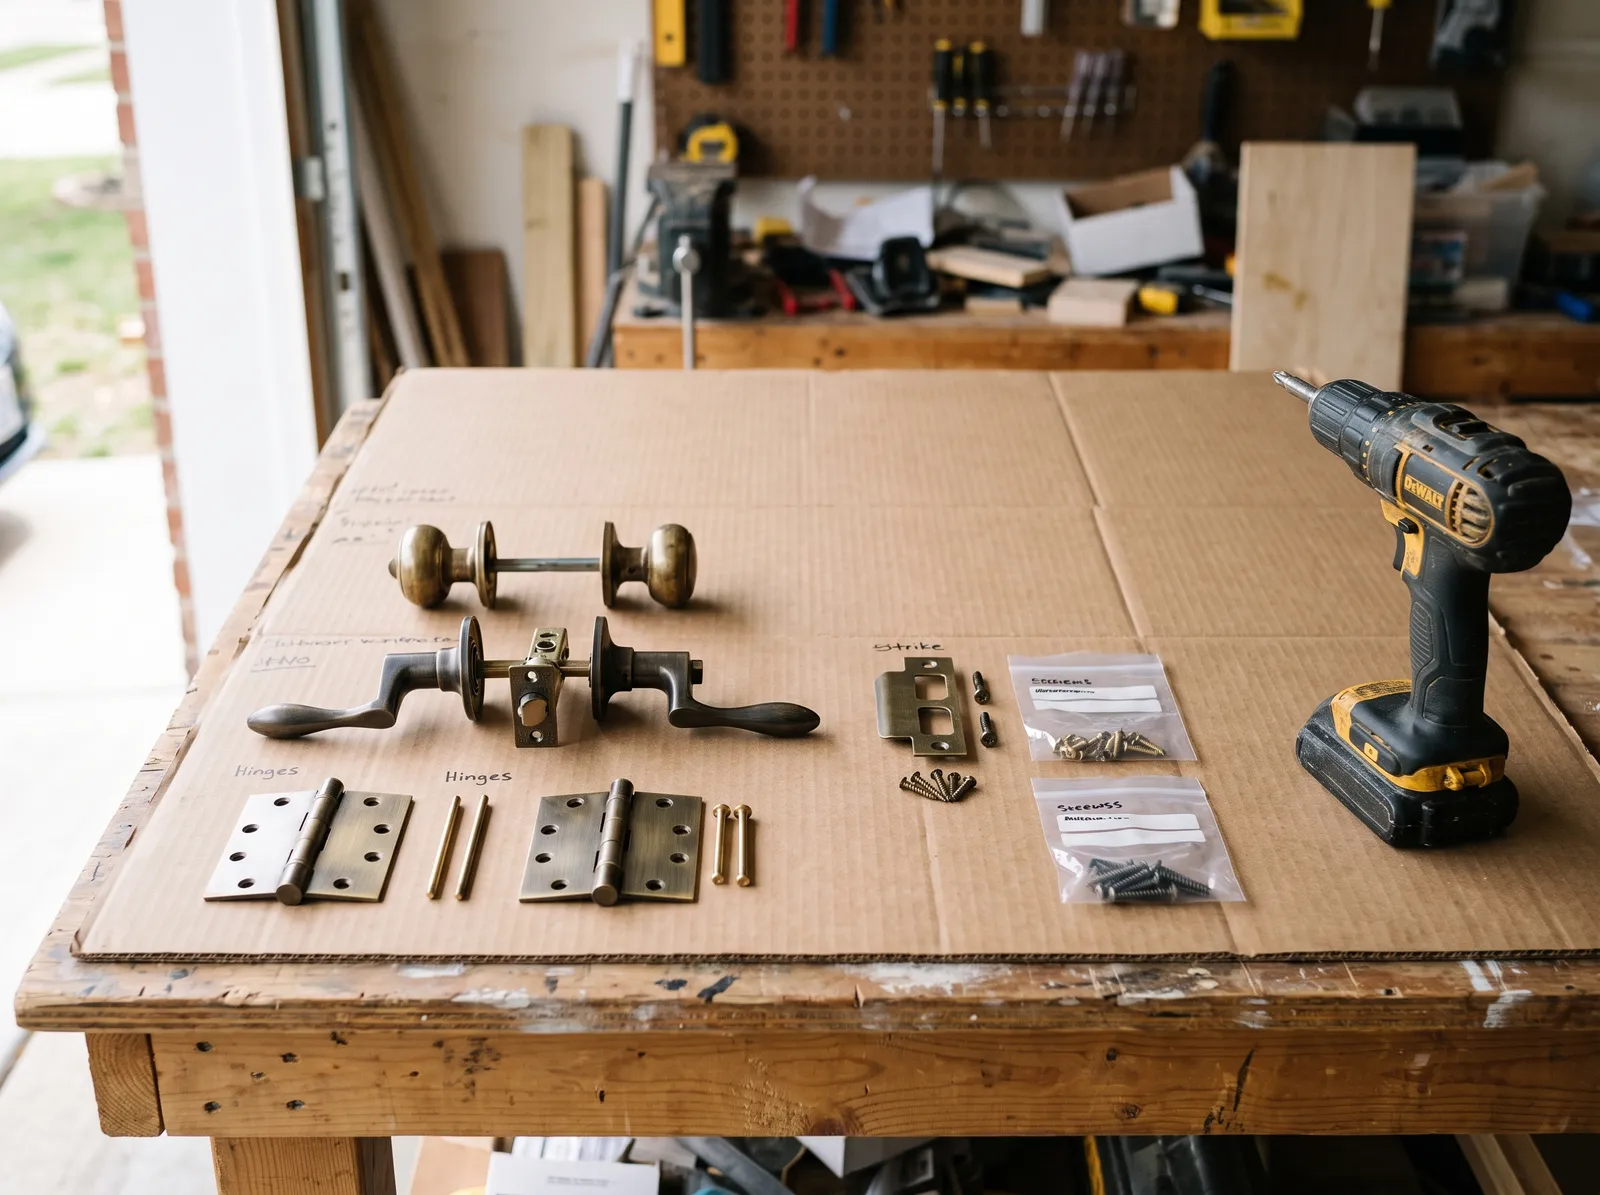 Every piece off the door and grouped by opening, screws bagged and marked.
Back out the two rose screws on each knob, pull the halves apart, and remove the latch plate from the door edge. Hinges come off one leaf at a time with the door still hung, or take the door down if you’d rather work flat.
Bag the screws per door and write the room on the bag. Old hardware wears itself into its own opening, and a strike plate that swaps rooms will suddenly not line up.
Watch out for the latch mechanism inside the door edge. Don’t spray it. Paint in the moving parts turns a smooth latch into a sticky one, and you’ll be pulling it back out.
Step 2 — Degrease First, Then Scuff
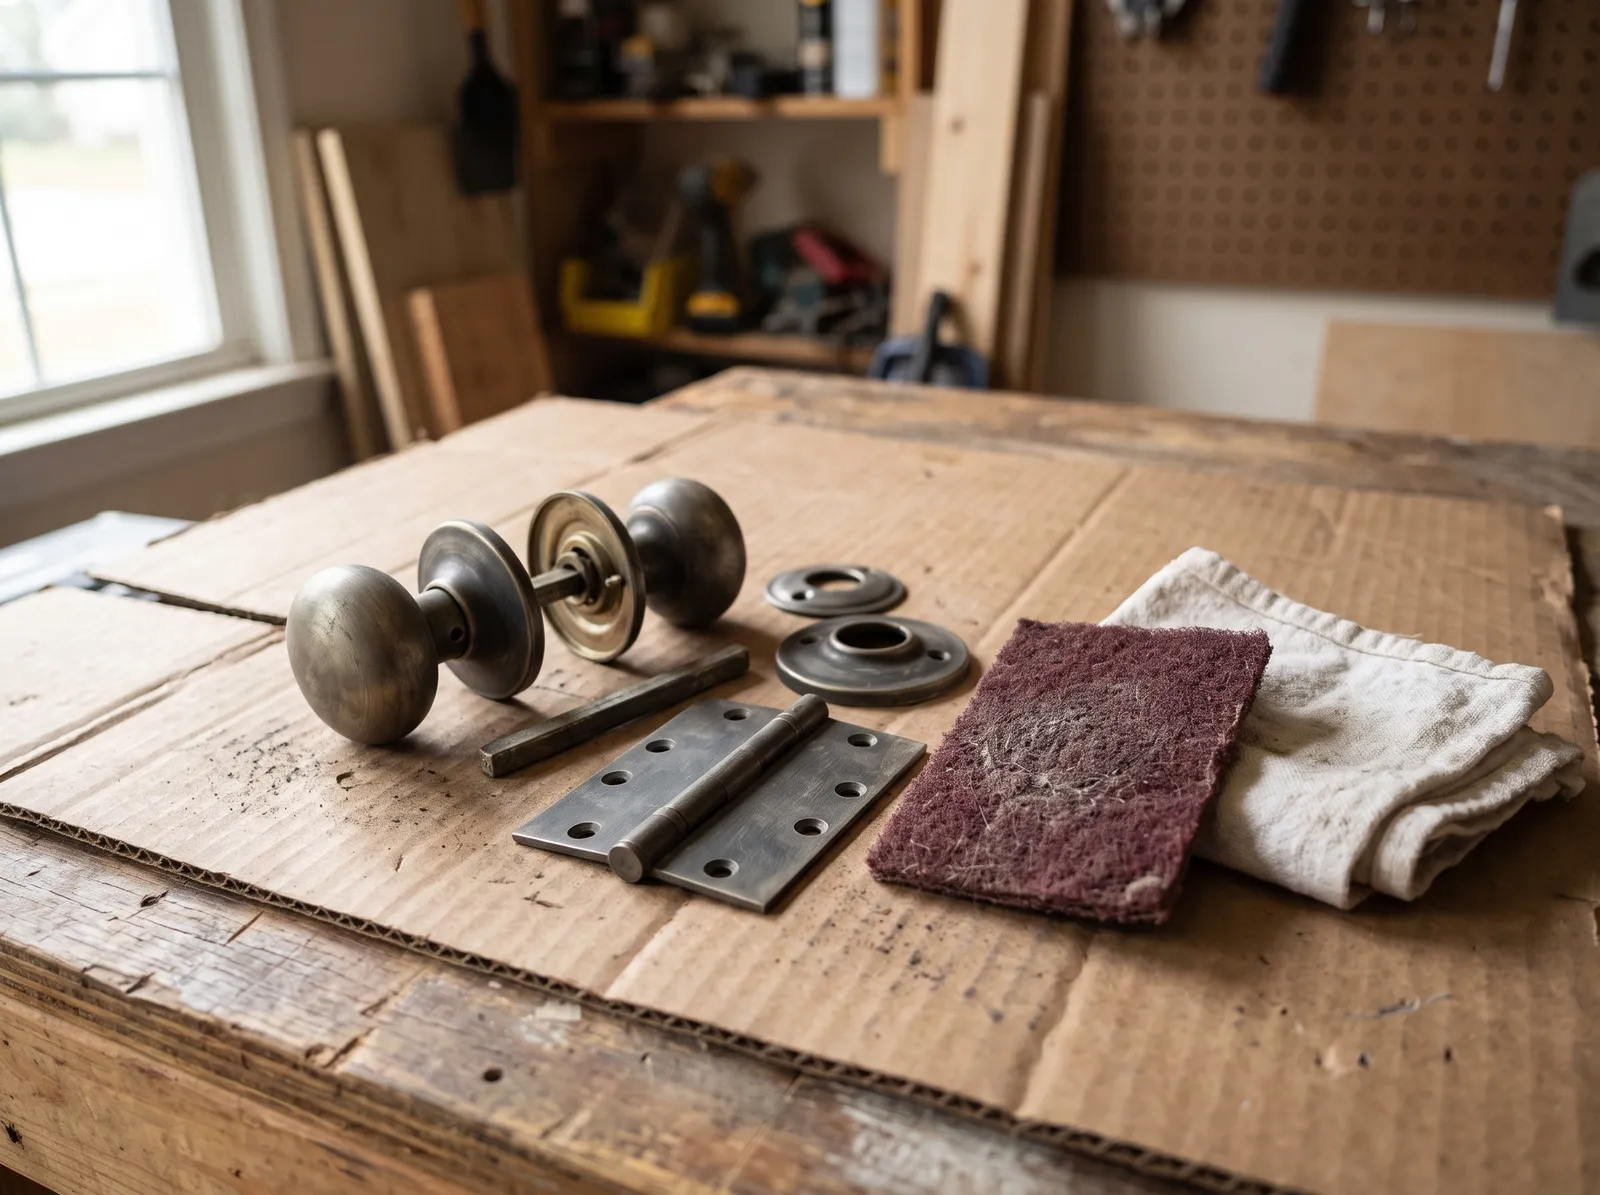 Dull all over. If you can still see your reflection, keep going.
Order matters. Wipe everything with denatured alcohol or acetone before you sand, otherwise sanding drives twenty years of hand oil into the fresh scratches.
Then scuff with 320-grit until the whole surface reads uniformly dull with no reflection left. Get into the neck of the knob and the underside of the rose, which are the two spots everyone misses and the two spots the finish lifts from first. Wipe with alcohol a second time, then a tack cloth.
If the hardware has surface rust or pitting, that’s a different starting point. The rusted metal guide covers converting it before any primer goes on.
Watch out for lacquer on older brass. Much of it was factory-lacquered, and that clear coat can be flaking in patches under the shine. Anything lifting has to come off completely or your new finish maps every flake.
Step 3 — Etch Prime in Two Thin Coats
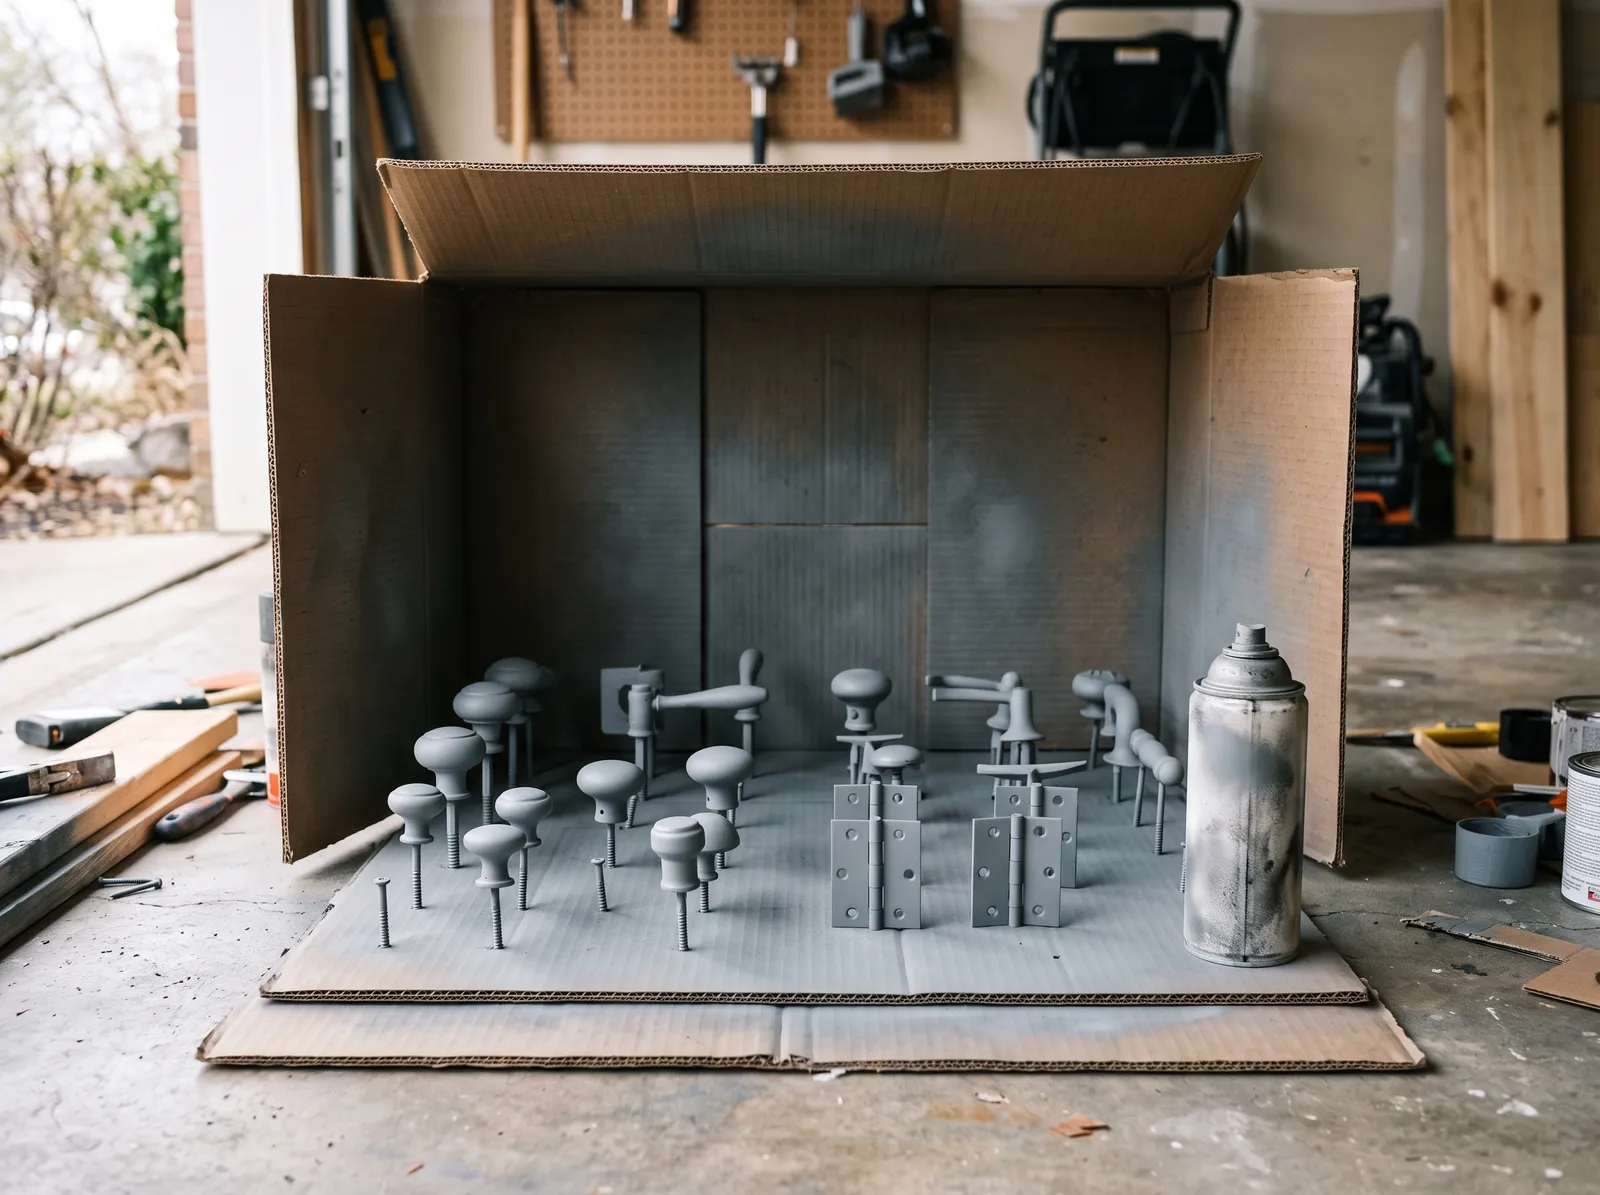 Standing on screws so the spray reaches under every edge.
Stand each piece on a screw pushed through the cardboard base. Shake the can a full minute past the point you think it’s mixed.
Hold about 10 inches off and keep the can moving before you press and after you release. Two thin coats, five to ten minutes apart. A round knob wants you to circle it in light passes rather than blast one side, because the flooded side runs while the shadowed side stays bare.
Primer flashes fast on small metal. By the time you’ve walked the length of the booth, the first piece is ready for its second pass.
Step 4 — Color, Three Passes, Barely There
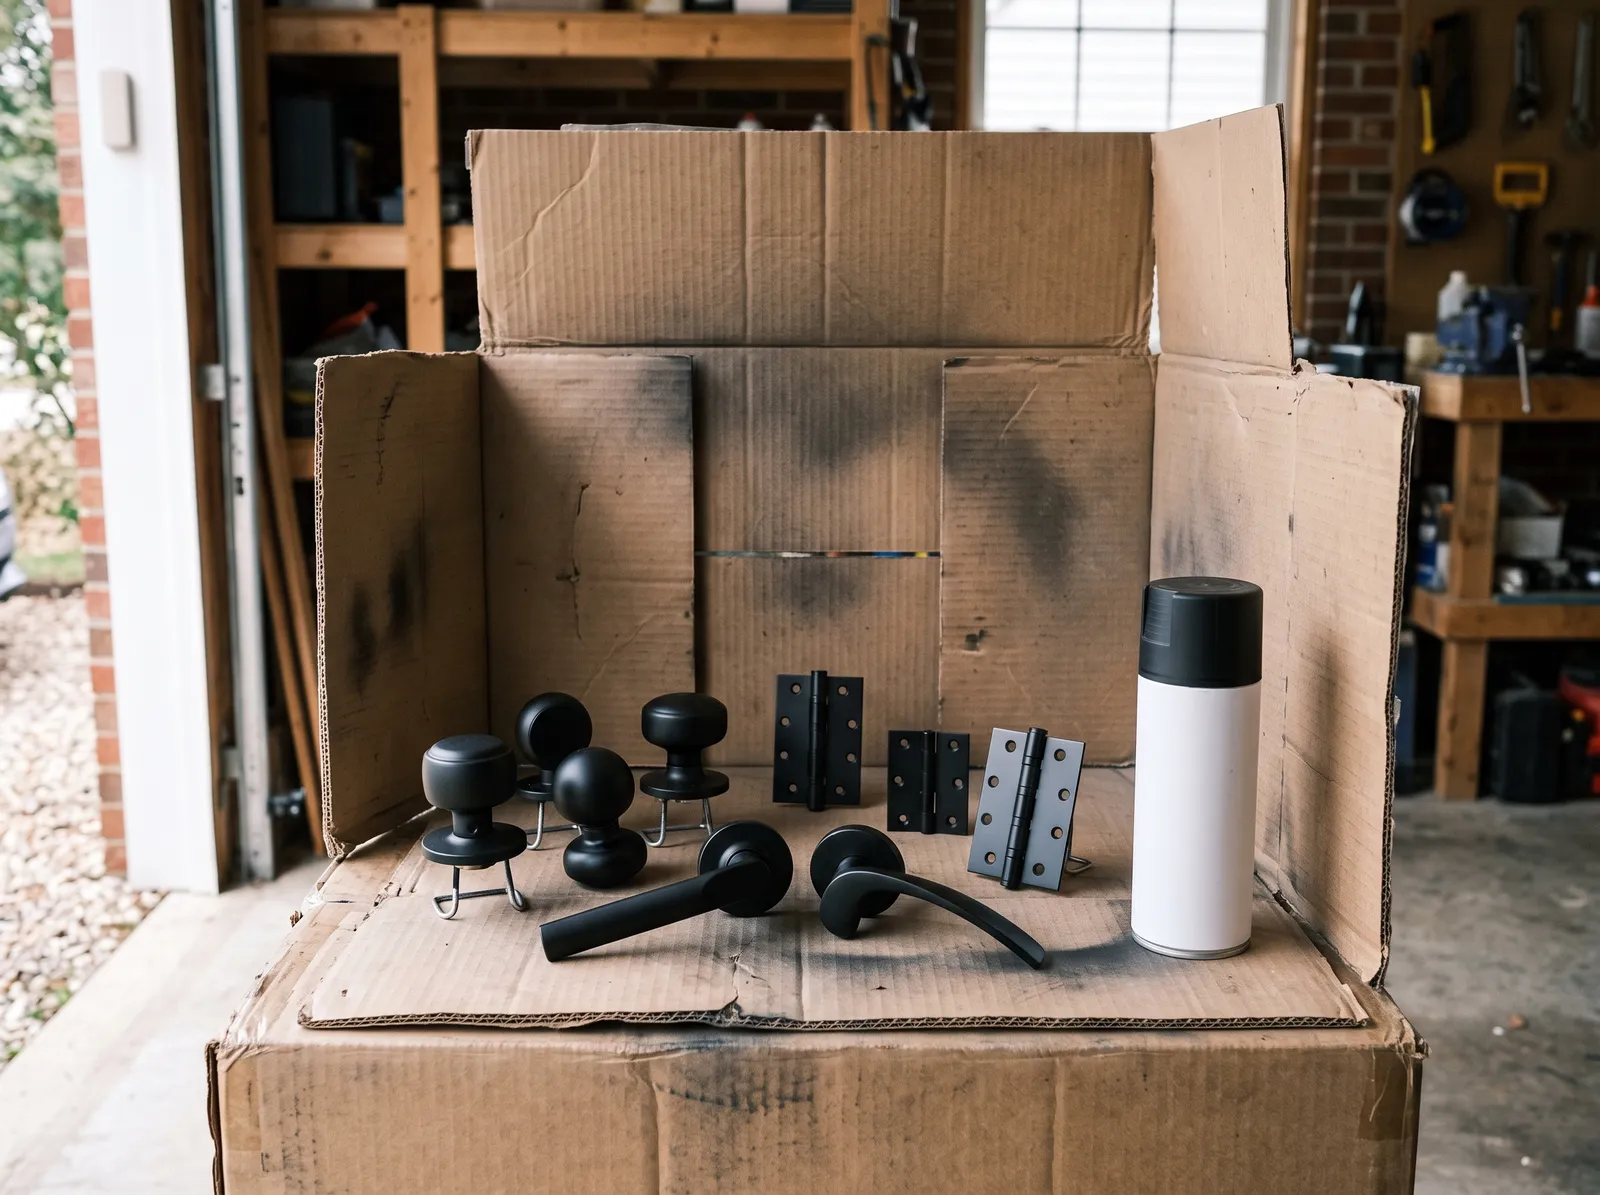 Three light coats. Each one looks too thin on its own.
Three light coats beat two heavy ones every time. The first pass should look patchy. The second should look almost right. The third evens it out.
Respect the recoat window on the can. Rust-Oleum enamel wants you either within one hour or after 48, and coating at hour six is how you get the wrinkled, alligatored surface that has to be sanded back off. That window is real and it catches people constantly. The spray paint dry time chart lays out the numbers by product.
Spray between 50°F and 90°F with humidity under about 65 percent. A muggy August evening in a closed garage gives you a cloudy, soft finish that stays tacky for days.
Watch out for pooling at the base of the rose where it meets the stand. Lift each piece and check the underside between coats while the paint is still wet enough to feather.
Step 5 — Clear Coat, Then Wait
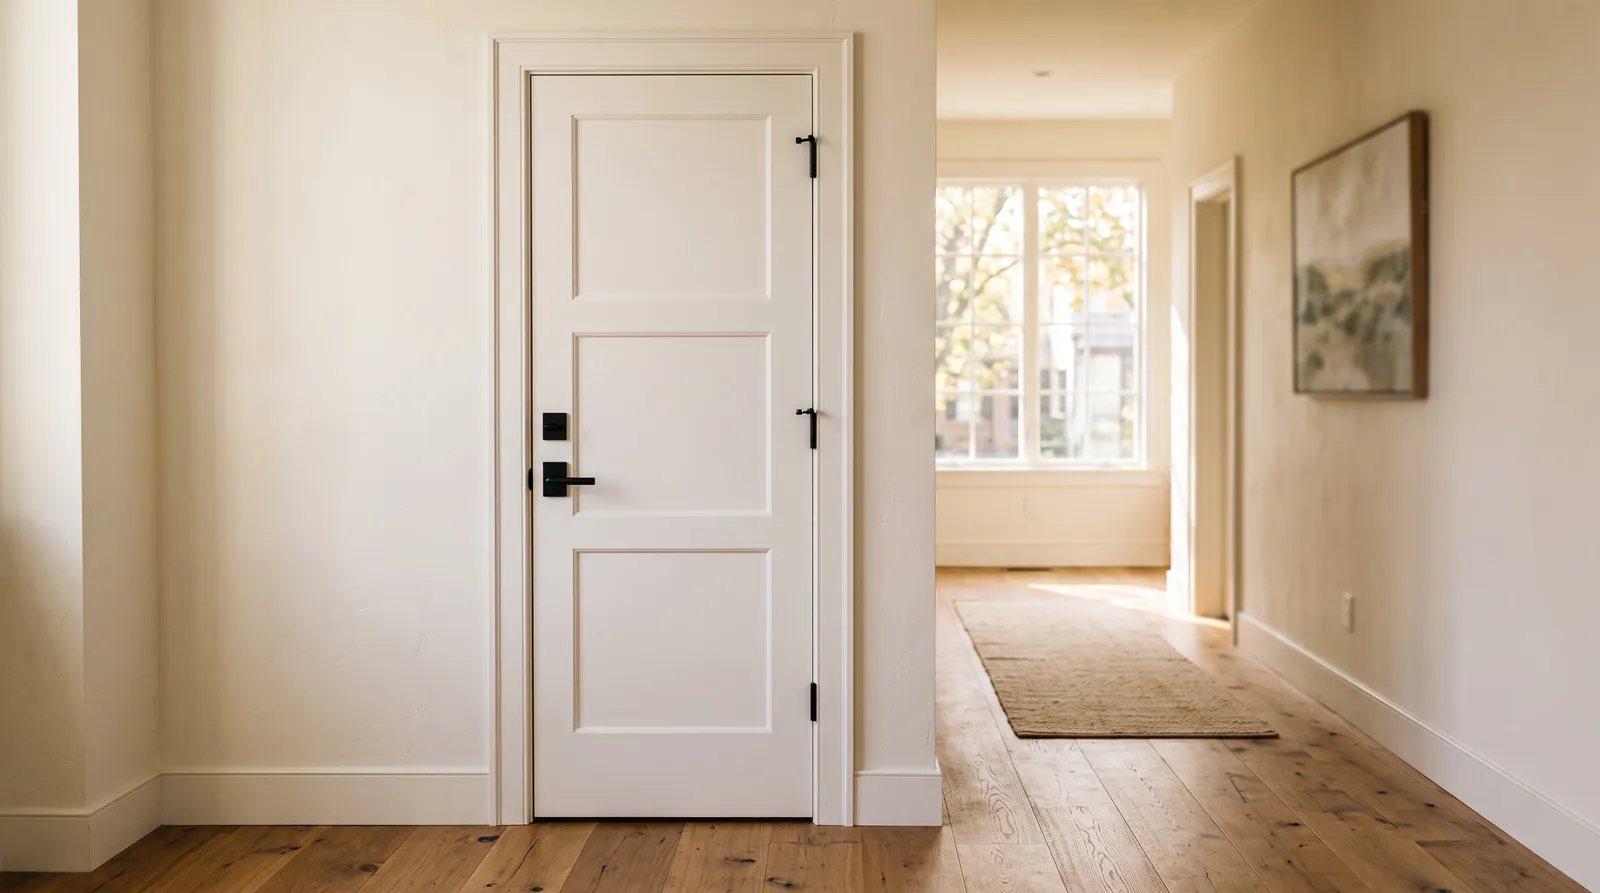 Back on the door after a week. Hinges and strike plate in the same finish, or the effect falls apart.
Two light coats of clear enamel over anything you grip. Skip it on hinges if you want, though doing them costs you thirty seconds.
Then leave it alone. Touch dry at 30 minutes means nothing here. Enamel stays soft under the skin for days, and reinstalling a knob that feels dry stamps the rose screw pattern permanently into the finish.
Give it a week before the hardware goes back to work. Reinstall, keep the latch mechanism clean of paint, and put the strike plates on last.
Common Mistakes
- Skipping the degrease. Hand oil is invisible and it’s the single most common reason a knob peels in a ring exactly where fingers land. Alcohol wipe before sanding, alcohol wipe after.
- No etching primer on plated hardware. Chrome and polished brass plating is slick by design. Color straight over it lifts in sheets the first time someone’s ring catches the edge.
- Recoating inside the dead window. Between roughly one hour and 48 hours, a second enamel coat attacks the first and wrinkles it. Early or late, never in between.
- Painting the knobs and leaving brass hinges. The eye reads the whole doorway at once. Three black knobs against six brass hinges looks unfinished in a way people feel before they can name it.
- Reinstalling on day two. The finish takes the shape of whatever presses on it for the first week. A rose tightened onto soft enamel leaves a witness ring you can’t buff out.
Cure Schedule
| Time after final coat | What’s safe |
|---|---|
| 30 minutes | Touch dry, safe to move on the stand |
| 2 hours | Handle gently by the edges |
| 24 hours | Reinstall hinges and strike plates |
| 7 days | Reinstall knobs, normal daily use |
| 30 days | Full cure, wipe-down with a damp cloth |
Maintenance and Touch-Ups
Interior knobs hold two to four years before the grip point starts to thin, which shows up first as a faint warm glow where the old brass reads through. Hinges and closet knobs go five years or more because nothing rubs them.
For a chip, scuff the spot with 400-grit, dab primer if it’s down to bare metal, and touch the color on with a small artist’s brush loaded from the spray cap. Fixed early it disappears. Left alone, the edge of the chip keeps lifting and the bare patch spreads across the whole grip.
Clean with a damp cloth. Cleaners with any solvent in them soften enamel, and the knob is the first surface in the house anyone sprays disinfectant on.
Cost
| Item | Cost |
|---|---|
| Self-etching primer (1 can) | $8–$12 |
| Color enamel (1–2 cans) | $8–$20 |
| Clear enamel (1 can) | $8–$14 |
| Spraymax 2K clear (optional) | $26–$32 |
| Sandpaper, alcohol, tape | $10–$15 |
| Total | $34–$93 |
Six doors’ worth of new matte black hardware runs $180 to $480. Two cans and an afternoon covers the same six doors, and if you hate the color in a year you’re out $16 instead of $300.
A Specific Recommendation
Builder-grade polished brass knobs on white interior doors in a hallway that gets afternoon sun: alcohol wipe, 320 scuff, alcohol wipe, Rust-Oleum Automotive Self Etching Primer, three coats of Rust-Oleum 2X Ultra Cover in satin black, two coats of Crystal Clear. Do the hinges and strike plates in the same run, spray on Saturday, reinstall the following weekend.
Warm cream trim, oak floors, brass fixtures elsewhere in the house: go oil-rubbed bronze in Rust-Oleum Universal instead. It sits with the wood rather than cutting against it, and in low evening light it stays quietly warm where black would go flat.
Ask a Question