How to Paint a Laundry Room
Painting a laundry room the right way: pick a moisture-friendly sheen, prep around the washer and dryer, and put two coats down so steam and lint do not win.

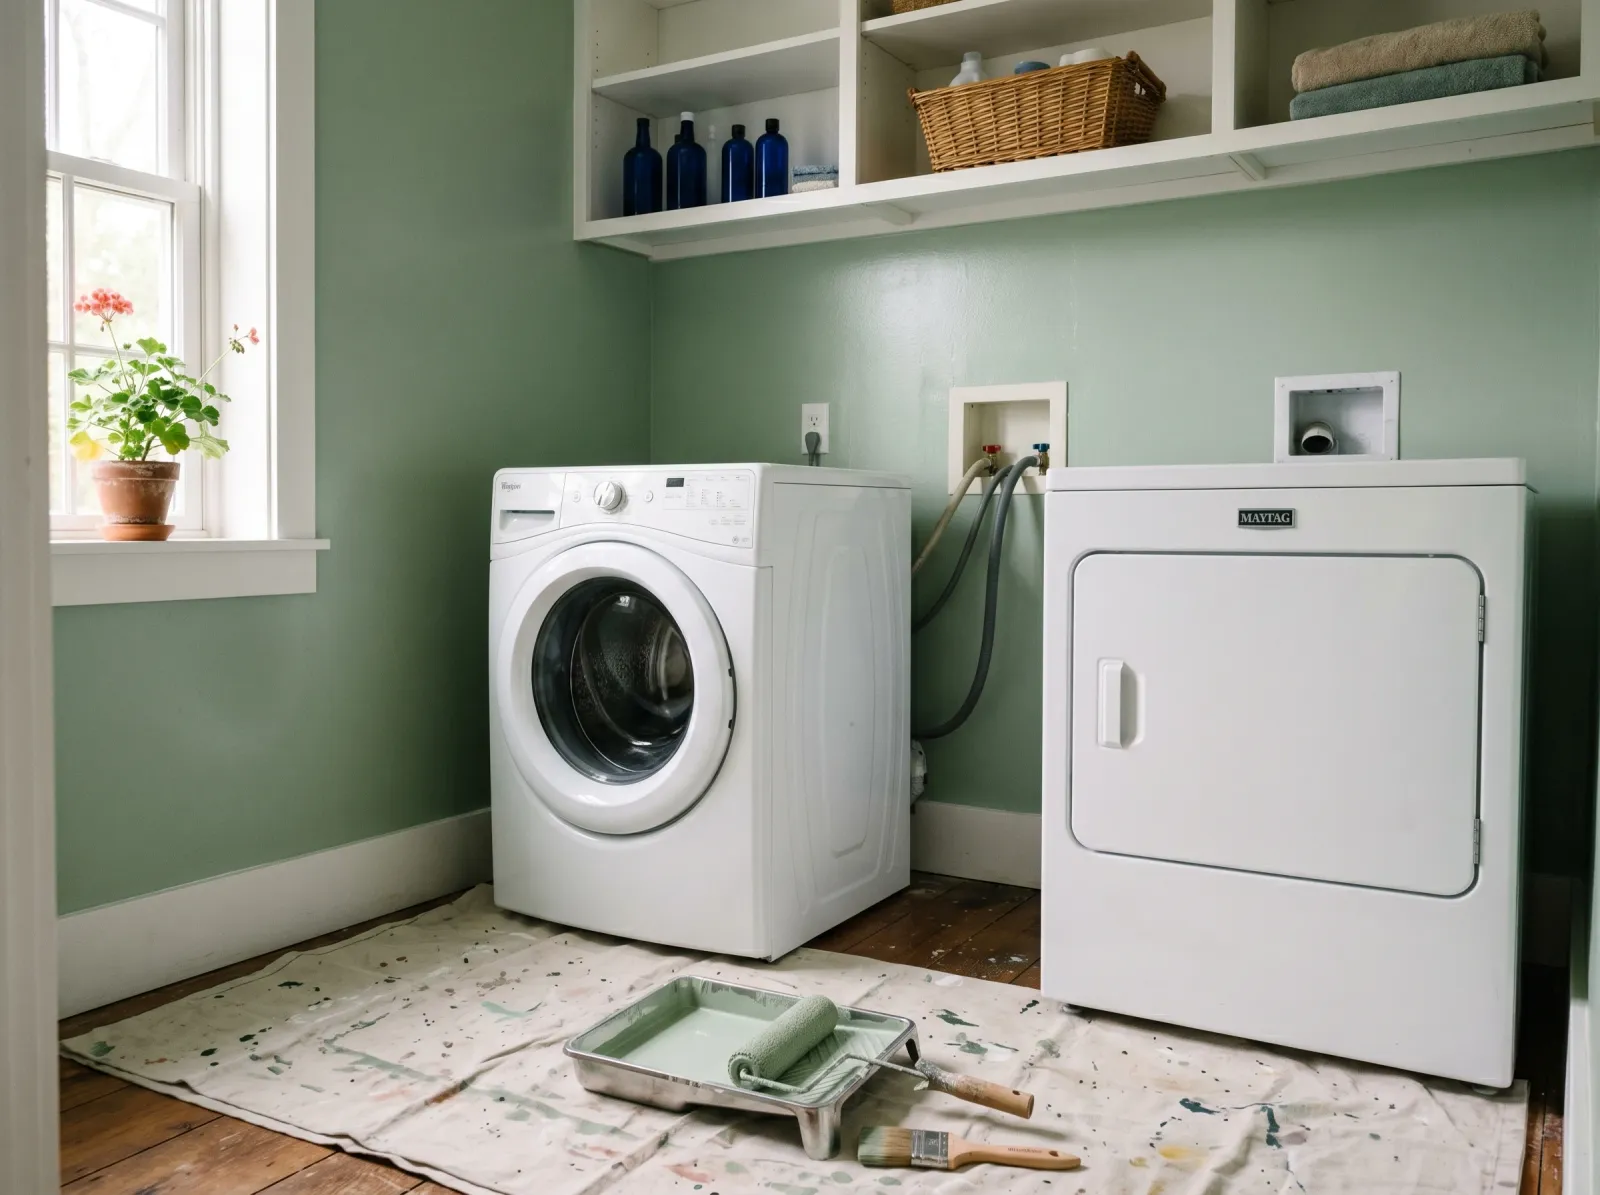
Okay, so the laundry room is the one room that never gets painted, and you’ve finally decided it’s getting painted this weekend. Here’s the thing about a laundry room: it’s small, which sounds easy, but it’s also packed. There’s a washer you can barely move, a dryer that breathes warm damp air, shelves screwed into the wall, and a tangle of hoses behind everything. The painting part is quick. The working-around part is the whole job.
Don’t worry. A laundry room is one of the most forgiving rooms to paint because it’s small and nobody studies the wall behind the dryer. Get the prep right and the rest is two coats and a Saturday afternoon.
What You’ll Get
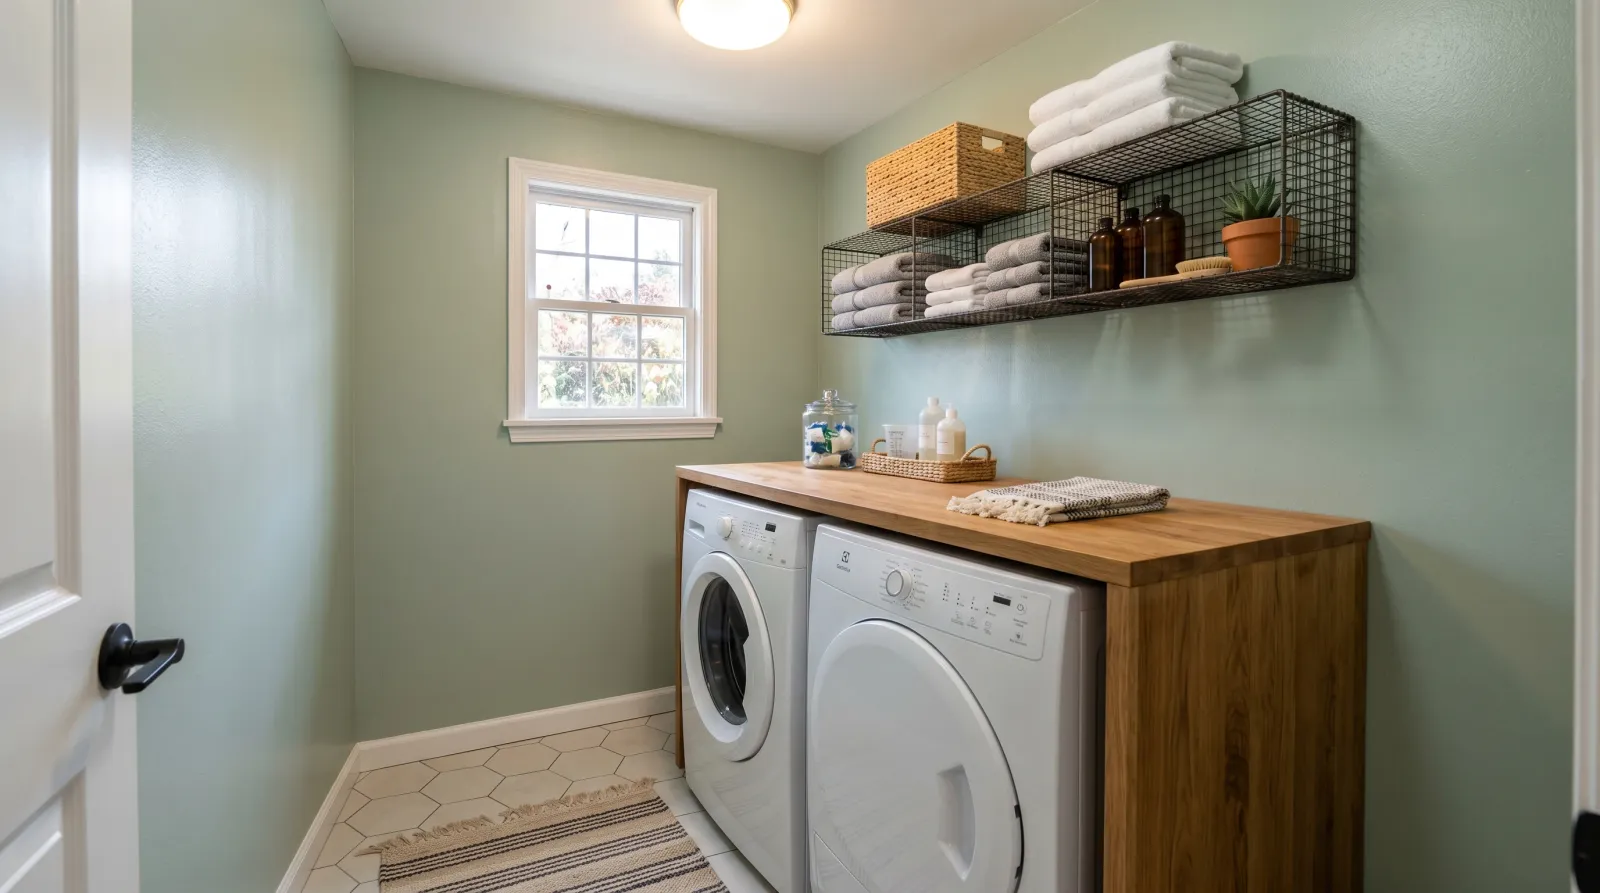
Walls that shrug off steam, wipe clean when detergent drips, and brighten up a room that’s usually an afterthought. The wall behind the dryer gets the same careful coat as the rest, even though you’ll only see the edges of it once the machines go back.
Honest Take on Difficulty and Time
Easy project. The hard part is logistics, not painting. A laundry closet (the kind with bifold doors and a stacked washer-dryer) is a couple of hours once the machines are dealt with. A full laundry room with cabinets and a folding counter is most of one day.
| Laundry room size | Active paint time | Total elapsed |
|---|---|---|
| Closet laundry (stacked units) | 2–3 hrs | One afternoon |
| Standard side-by-side room | 4–5 hrs | One Saturday |
| Full room with cabinets and counter | 6–7 hrs | One long day |
Most of the “total elapsed” number is moving machines, waiting for the degreased wall to dry, and the four hours between coats. The brush-and-roller time is short.
What You’ll Need
Paint and Primer
- 1 gallon of satin finish paint for a standard room, a quart for a closet laundry. Satin is the move here. It takes steam and splatter without soaking them up the way flat does. The sheen guide explains why flat and laundry rooms don’t mix.
- A mold-resistant paint if the room has no airflow. A laundry closet with no window and no exhaust fan stays damp after every load. A bathroom-and-kitchen paint has a mildewcide built in that stops mold from growing on the film. See the best mold-resistant paint round-up for cans that actually hold up in a closed room.
- Stain-blocking primer only where you need it. Zinsser BIN or KILZ on water stains, rust rings from old shelf brackets, and bare patched spots. Not the whole wall. Just the trouble.
Tools and Supplies
- A 2.5-inch angled sash brush for cutting in (brushing a clean band of color along the edges where the big roller can’t reach).
- A 9-inch roller frame with a 3/8-inch microfiber sleeve for the open walls.
- A 4-inch mini-roller on a handle for the narrow strip behind the washer and dryer. This is the tool that saves the project. Without it you’re stuck reaching into a 6-inch gap with a full-size roller and smearing paint everywhere.
- TSP substitute or a spray degreaser for the dryer wall, which collects a film of lint-and-dryer-sheet residue.
- Canvas drop cloth, a tray with liners, painter’s tape, spackle, a 220-grit sanding block, and a step stool.
If you don’t already own brushes and rollers, the roller picks cover the microfiber sleeves that lay paint down smooth.
Step 1 — Pull the Machines Out and Clear the Room
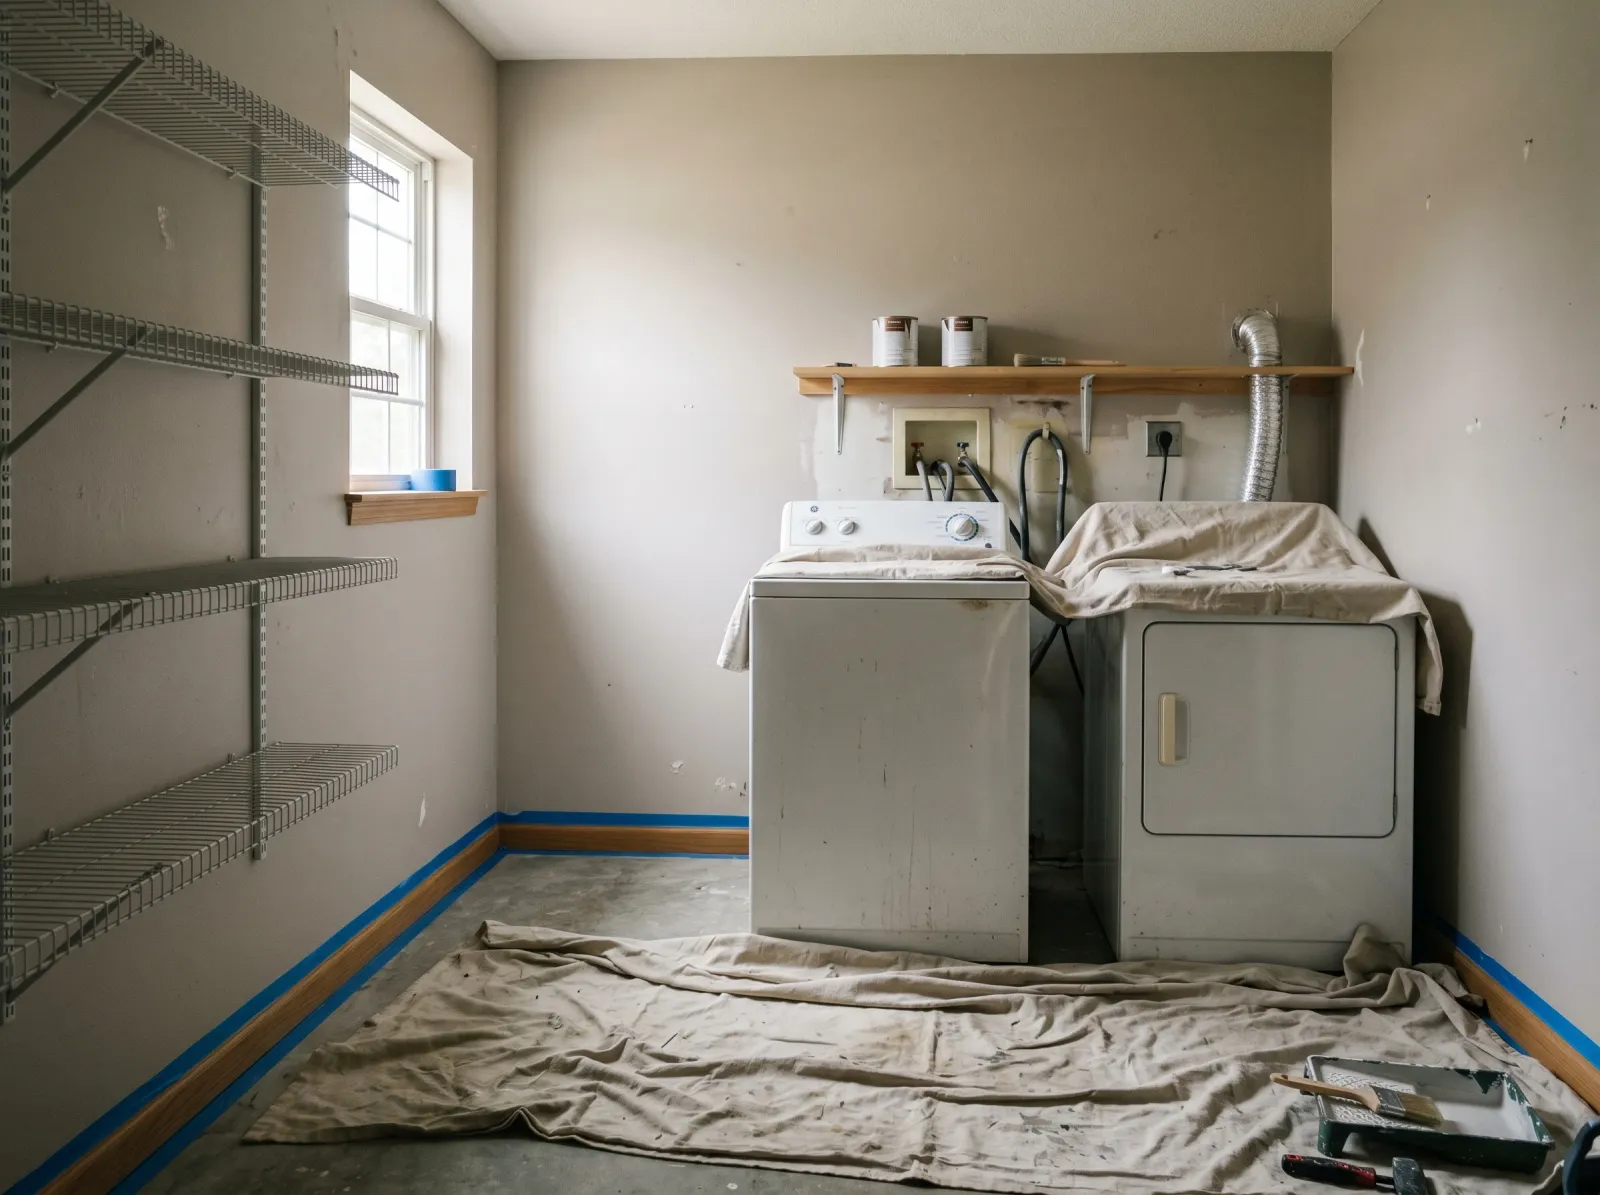
Washer and dryer eased away from the wall, shelves emptied, drop cloth down, outlet plates off.
Unplug the dryer. Shut off the water valves behind the washer (the two knobs on the wall, hot and cold) before you move it, so a jostled hose doesn’t spray you. Then ease both machines forward as far as the hoses, the vent duct, and the gas or electric line allow. A foot or two is plenty.
Empty the shelves and take down anything screwed to the wall you’re planning to repaint. Unscrew the outlet and lightswitch plates and drop the screws in a baggie taped to the back of each plate.
Lay the canvas drop cloth over the floor and across the tops of the machines. Paint dust and the odd drip land on a washer lid otherwise.
Watch out for the dryer vent duct. The flexible foil kind crushes and tears easily. Don’t lean the machine on it when you slide the unit out.
Step 2 — Patch, Degrease, and Tape
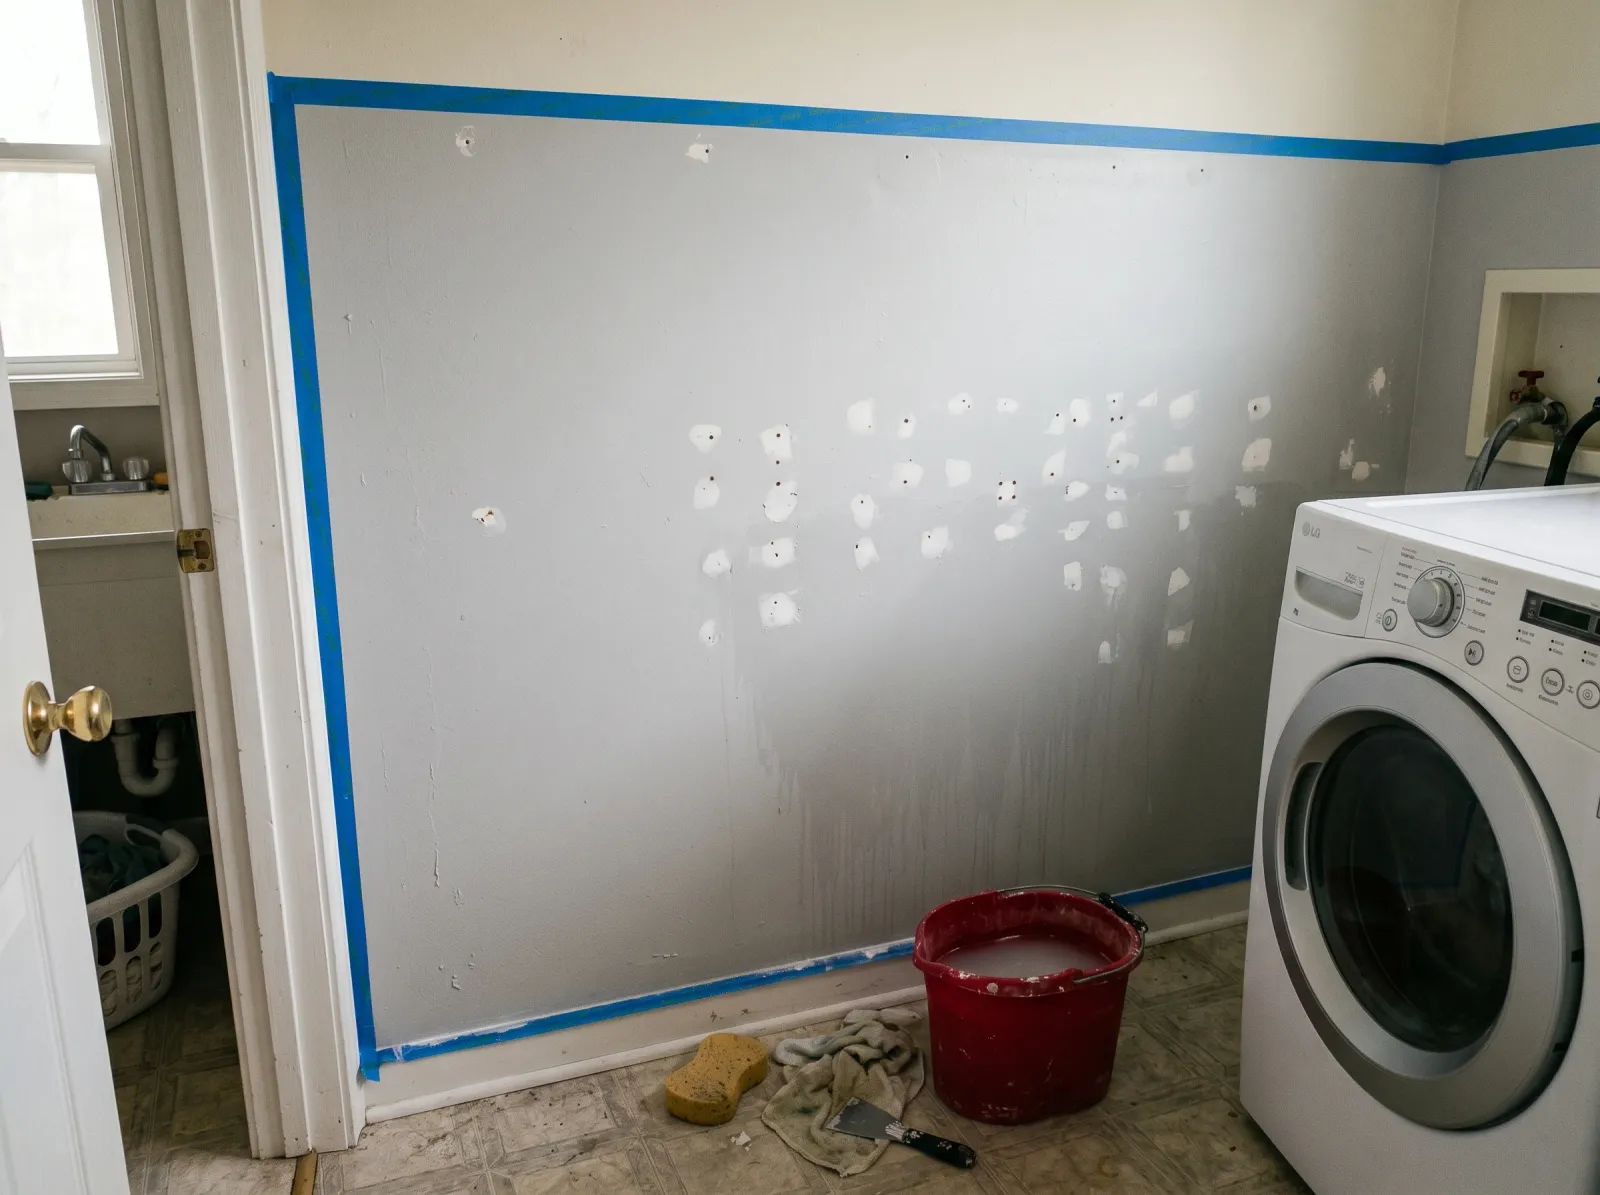
Nail holes filled, the dryer wall wiped down, tape pressed along the ceiling line and trim.
Press spackle into every nail hole, screw hole, and bracket mark. Scrape it flush, let it dry 30 minutes, then sand smooth with the 220-grit block.
The wall behind the dryer needs a wipe-down. Dryer exhaust and dryer-sheet residue leave a faint waxy film that paint won’t grip. Mix TSP substitute into warm water (gloves and glasses on first) or spray a degreaser, wipe top to bottom, then rinse with clean water and a fresh sponge. Let it dry an hour.
Tape along the ceiling line, the door and window trim, the top of the baseboard, and around the dryer vent opening. Press each strip down hard with your thumbnail so paint doesn’t bleed under it.
Watch out for the back of the wall behind the washer. If the drywall there feels soft or smells musty, you may have a slow hose leak. Don’t paint over a wet problem. The walls in a laundry room are the same drywall as anywhere else, and the drywall prep guide covers fixing a damaged spot before you paint it.
Step 3 — Spot-Prime the Stains
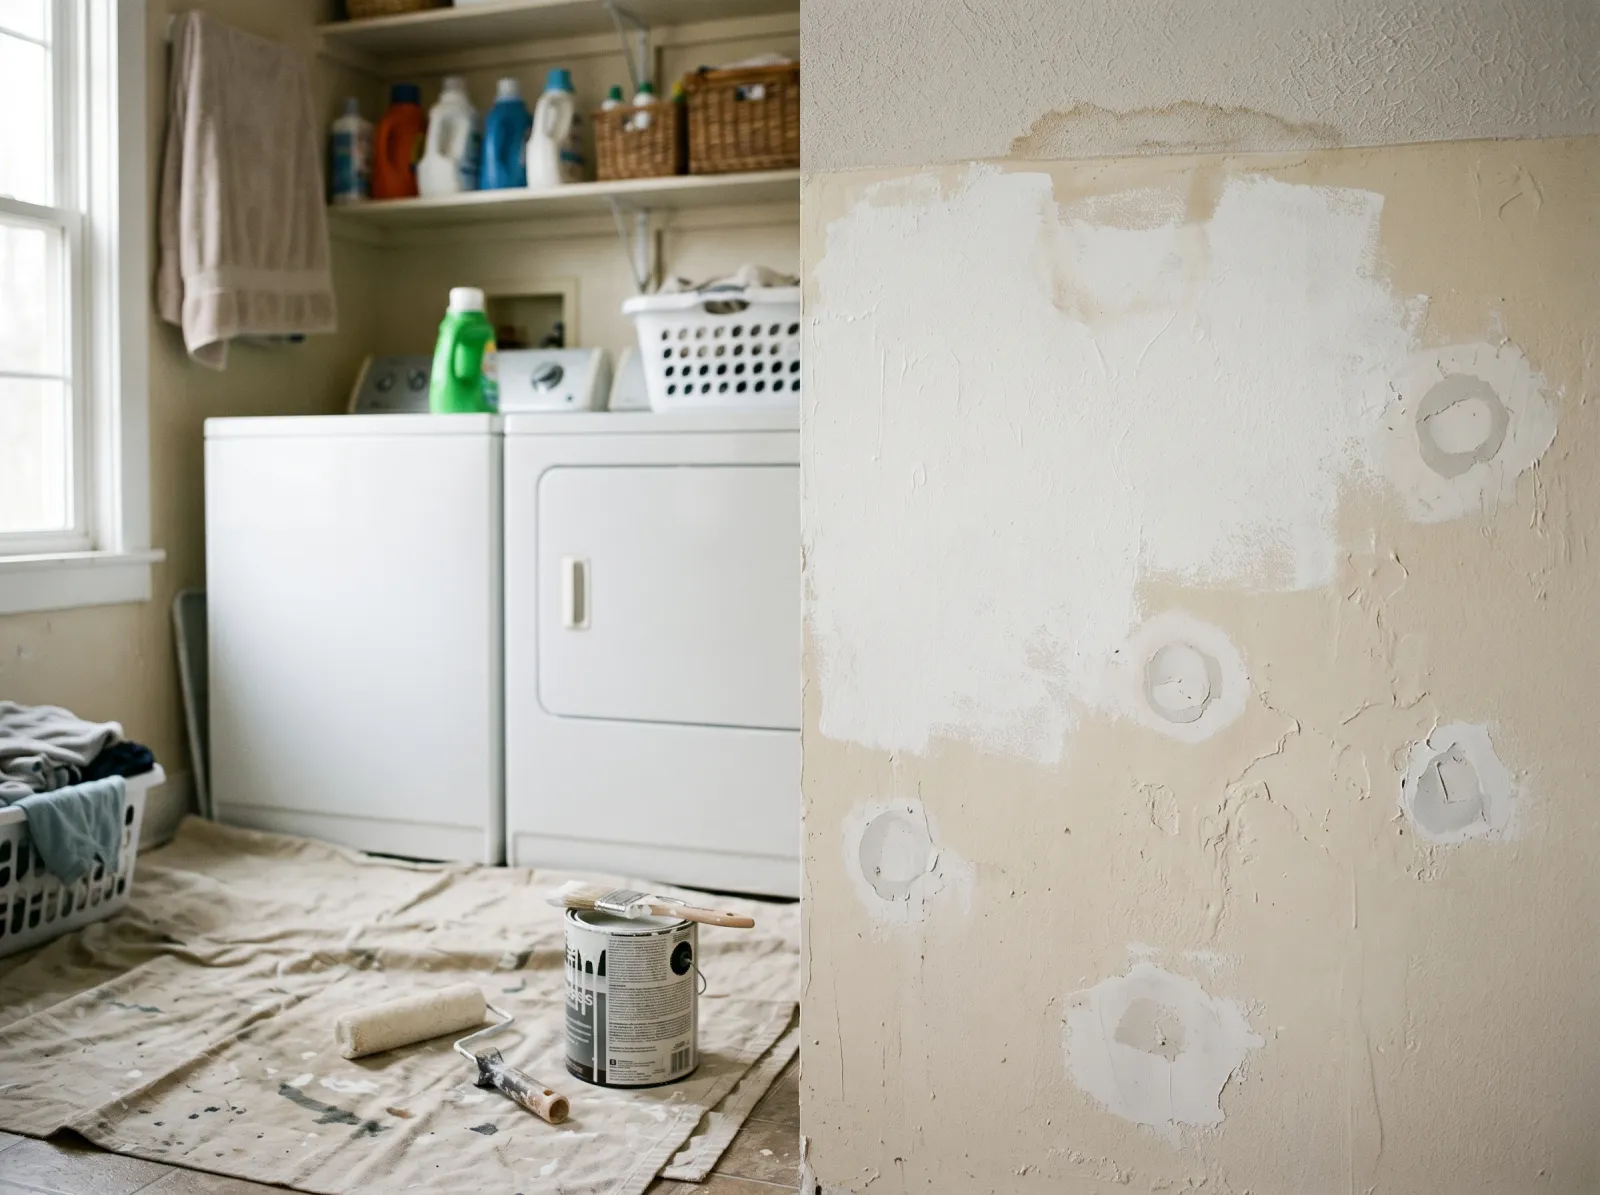
Stain-blocking primer over a water mark and the bare patched areas. Just the trouble, not the whole wall.
Look for old water stains near the ceiling, rust rings where metal brackets sat against damp drywall, and the bare spackle patches you just sanded. Brush a coat of stain-blocking primer (Zinsser BIN or KILZ) over each one.
A water stain is the classic laundry room comeback. Paint plain finish over it and the brown ring ghosts back through in a couple of weeks because the stain is water-soluble and your new paint reactivates it. The primer seals it so it stays buried.
Let the primer dry the time on the can, usually under an hour for the fast-drying ones.
Watch out for mold spots, not just water stains. Black or gray speckling in a corner near the floor means the room stays too damp. Clean it, fix the airflow, and read up on condensation on walls before you paint, or the mold grows back under the new coat.
Step 4 — Cut In, Then Roll the Open Walls
Cutting in means brushing a 2-inch band of color along every taped edge before the roller touches the wall. Skip it and the roller stops short of the corners, leaving a stripe of different texture at every edge.
Load the angled brush a third of the way in, tap it once on the inside of the can, and brush the band along the ceiling, trim, baseboard, and around outlets. Then pour paint into the tray, load the roller, roll a big W on the wall about 3 feet wide, and fill it in with up-and-down strokes.
Keep the cut-in wet when the roller reaches it. If the brushed band dries first, you get a faint picture-frame outline of different sheen on the finished wall. Work one wall at a time: cut in, roll, move on.
Watch out for the wall behind the machines. You’ll get to that next with the mini-roller. Don’t try to reach it now with the full-size roller.
Step 5 — Roll Behind the Washer and Dryer
The 4-inch mini-roller on a handle is for the strip you can’t reach with the big roller. Load it light, reach into the gap, and roll the visible part of the wall. You don’t need full coverage on the part nobody will ever see. Get the section that shows at the edges of the machines and a few inches past it.
The same logic applies to the wall behind a wall-mounted shelf or cabinet you didn’t take down. Coat what shows, blend it past the edge, and stop. A laundry room is not a kitchen wall on display.
Watch out for drips running down behind the baseboard. The mini-roller in a tight space loads heavier than you think. Squeeze it out on the tray ramp first.
Step 6 — Wait, Then Second Coat
Cut in at every edge, rolled in W-shapes, second coat down while the cut-in is still wet.
The first coat will look patchy. That’s normal, and it’s worse over a spot-primed wall because the white primer flashes through. Don’t go back over half-dry spots; you’ll leave roller marks that show up in side light.
Wait the recoat window on the can, usually 2 to 4 hours for water-based satin. Knock the wall with a knuckle. If it’s dry and not sticky, second coat goes down the same way: cut in, then roll, then mini-roll behind the machines.
You will need the second coat. Almost every satin reads thin after one. The color fills in and evens out on the second pass. You’ll know it when you see it.
Step 7 — Pull the Tape, Slide the Machines Back
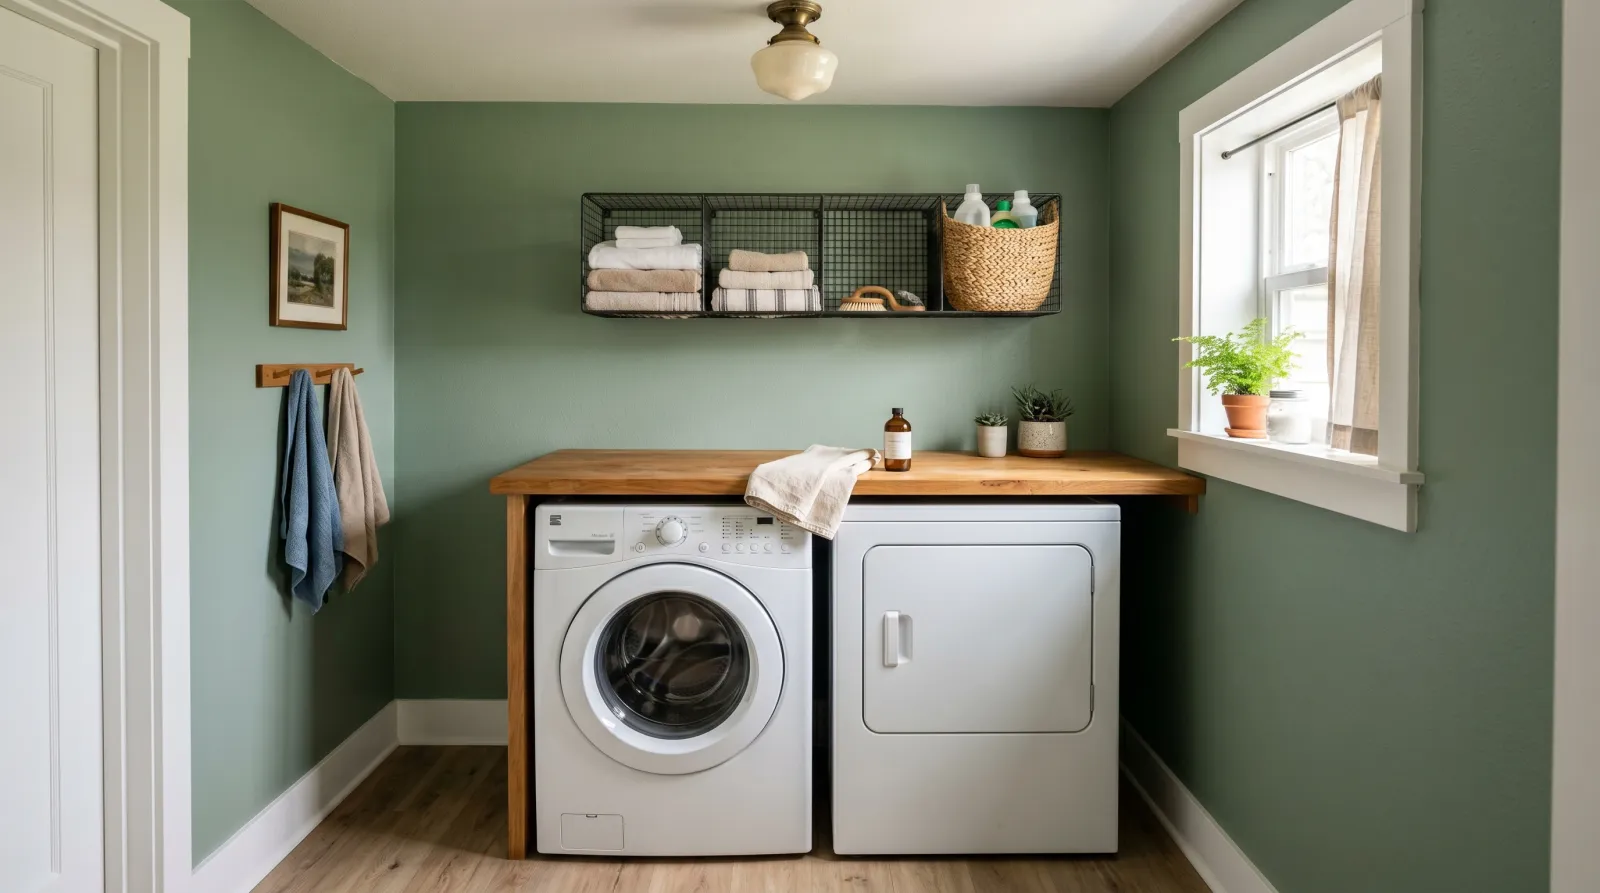
Drop cloths off, washer and dryer slid back, towels and detergent on the shelf, room finished.
Pull the tape while the second coat is still slightly tacky, about 30 to 60 minutes after you finish rolling. Pull slow, at a 45-degree angle, in one continuous strip. Wait until the paint is bone dry and the film bonds across the tape edge, so dry paint chips off with the tape.
Reconnect the dryer and turn the washer’s water valves back on. Wait 4 hours before sliding the machines back against fresh paint, then check the hoses aren’t kinked behind them. Outlet plates back on, shelves reloaded, and you’re done.
Common Mistakes
- Flat or matte paint in a laundry room. It soaks up steam and shows every detergent drip within a month. Satin minimum. Mold-resistant satin if there’s no airflow.
- Skipping the degrease behind the dryer. Lint and dryer-sheet film keep paint from gripping, and it peels in that spot first. A two-minute wipe-down prevents it.
- Painting over a water stain with plain finish paint. The stain ghosts back through in a couple of weeks. Spot-prime it with a stain blocker, every time.
- Trying to reach the wall behind the machines with a full-size roller. You smear paint on the side of the washer and miss the wall. Use the 4-inch mini-roller on a handle.
- Running a hot wash on day one. A cloud of steam against soft, uncured paint leaves a dull patch. Wait 24 hours before a normal load and skip the steamiest cycle that first day.
Cure Schedule
| Time after the second coat | What’s safe |
|---|---|
| 30–60 min | Pull the painter’s tape |
| 2 hrs | Touch dry; outlet plates back on |
| 4 hrs | Slide the washer and dryer back against the wall |
| 24 hrs | Run a normal laundry load |
| 7 days | Wipe a splatter off with a damp cloth |
| 30 days | Full cure; scrub with a soft cloth if needed |
Maintenance and Touch-Ups
Satin walls in a laundry room hold up for 5 to 8 years before the steam zone near the dryer starts to dull. A mold-resistant coat in a closed closet runs about the same, as long as you crack the door after a load to let the damp out.
For a detergent drip or a bleach splash, wipe it with a damp microfiber rag and a drop of dish soap once the paint is past its 7-day mark. For a scuff where a basket scrapes the wall, dab leftover paint on with a small piece of roller, not a brush, so the texture matches the surrounding wall.
Keep a quart of the color labeled with the room name on a basement shelf. Laundry rooms take more wall scuffs than people expect, all those baskets and elbows in a tight space.
Cost Breakdown
| Item | Cost |
|---|---|
| 1 gal satin finish paint | $30–$55 |
| 1 qt stain-blocking primer | $12–$18 |
| Degreaser (TSP sub or Krud Kutter) | $8–$15 |
| Roller frame, sleeve, mini-roller | $20 |
| 2.5-inch angled brush | $14 |
| Tape, tray, liners, drop cloth | $25 |
| Total | ~$110–$145 |
A closet laundry that takes a quart instead of a gallon, and skips the spare tools you already own, lands closer to $90.