How to Paint a Mudroom — Durable Walls and Easy-Clean Trim
First-timer's plan for painting a mudroom: TSP-cut the grime, satin walls, semi-gloss trim, and tougher coatings on the bench and cubbies that actually take abuse.

Okay, so the mudroom. The room everyone in the family touches and nobody respects. Wet boots, backpack zippers, the dog after a rainy walk, the kid who leans on the wall while pulling off a soccer cleat. You’ve decided to repaint it and you’re worried the fresh coat is going to look beaten up by Halloween. Fair worry. Here’s the thing about mudrooms: regular wall paint and regular trim paint aren’t enough. The walls need a slightly shinier finish, the trim needs a harder one, and the bench and cubby shelves need an actual cabinet enamel.
The good news is none of that is hard. It’s a weekend, a TSP wipe-down, and three slightly different products.
What You’ll Get
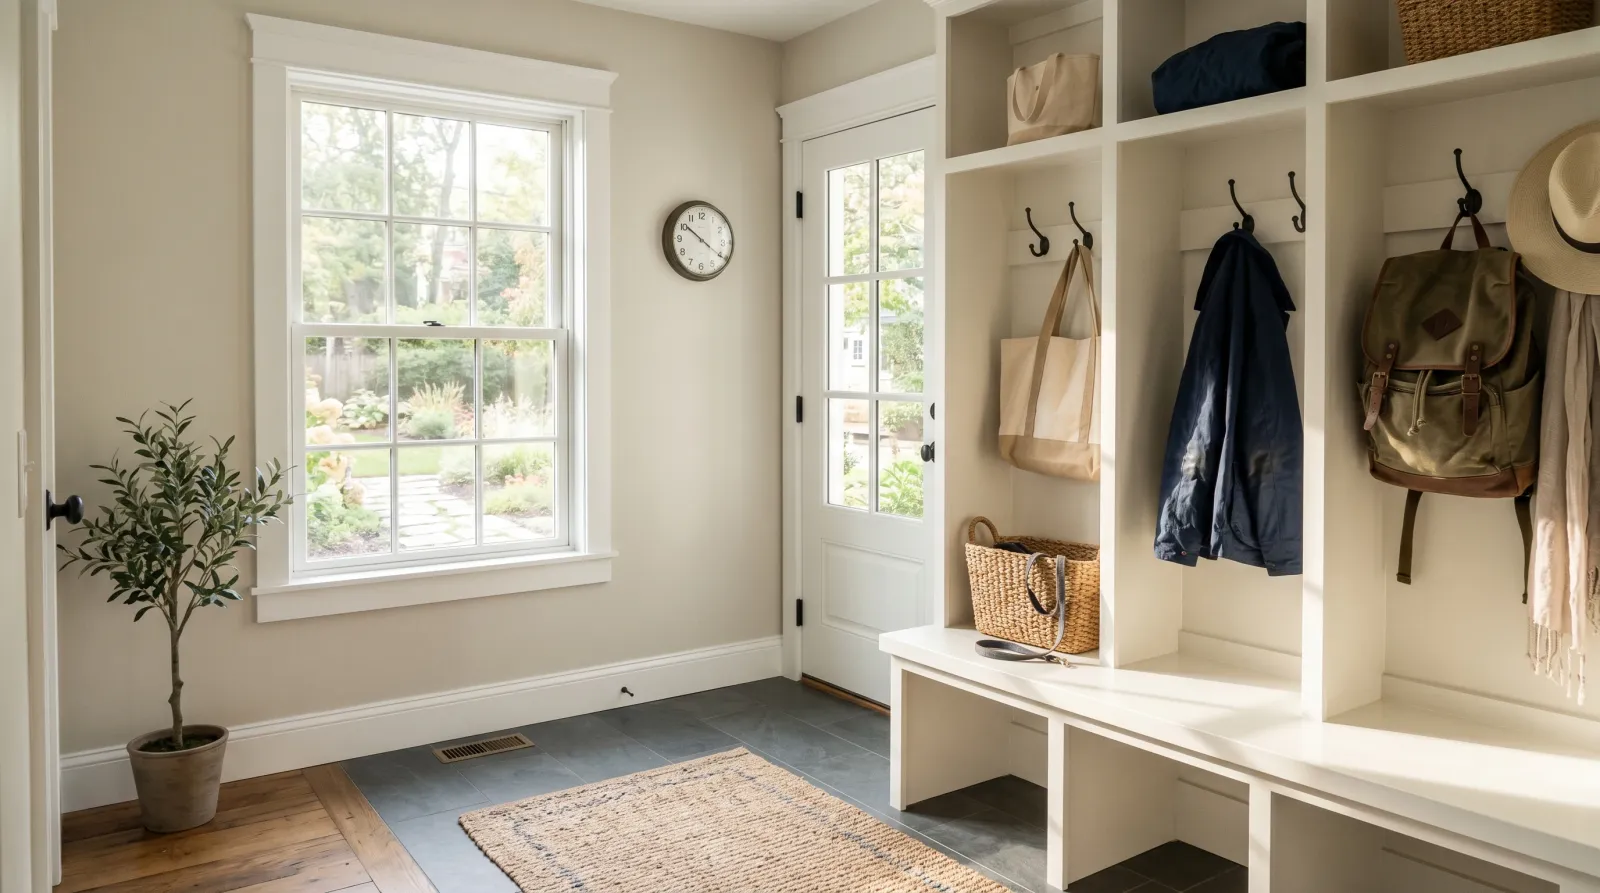
A mudroom that wipes clean when a muddy backpack lands against the wall, with trim that takes a boot kick without scuffing through to bare wood, and a bench you can sit on without leaving a butt print in the finish.
Honest Take on Difficulty and Time
This is an easy project that gets harder if you cheap out on the bench. Realistic time: one weekend if you stay on it.
| Stage | Active time | When |
|---|---|---|
| Clear, degrease, patch | 1.5 hrs | Saturday morning |
| Trim, semi-gloss, two coats | 2 hrs | Saturday afternoon |
| Walls, satin, two coats | 3 hrs | Sunday |
| Bench and cubbies, cabinet enamel | 1.5 hrs | Sunday evening |
The bench needs to dry overnight before you put weight on it. Plan to keep coats and bags piled in the next room until Monday morning.
What You’ll Need
Paint and Primer
- 1 gallon of satin wall paint. Behr Marquee Satin Enamel (Home Depot) or Benjamin Moore Aura Satin both clean the way a mudroom wall needs to. See the interior wall paint round-up for other options and the scrubbable paint picks if your mudroom takes serious abuse.
- 1 quart of semi-gloss trim paint. Benjamin Moore Advance Semi-Gloss is the easier brush; Behr Marquee Semi-Gloss is the easier price. Both wipe down. The trim paint round-up covers the trade-offs.
- 1 quart of cabinet enamel for the bench. Benjamin Moore INSL-X Cabinet Coat. Cabinet enamel (a self-leveling waterborne alkyd) is what builds a hard surface on something you sit on. Wall paint on a bench will dent and chip the first month.
- Primer only if you’re patching or going lighter over dark. Otherwise, two coats of finish paint covers a clean prepped wall.
Tools and Supplies
- TSP substitute or Krud Kutter Original. TSP (trisodium phosphate) is the classic heavy-duty cleaner; the modern substitute is gentler on your hands and doesn’t need rinsing. Either one cuts the invisible grime.
- 9-inch roller frame and a 3/8-inch microfiber sleeve for the walls.
- A 6-inch mini-roller and a 2-inch angled sash brush for the bench and shelves.
- Yellow FrogTape Multi-Surface; the green roll bleeds on satin wall finishes.
- Canvas drop cloth, paint tray and liners, step stool, gloves, glasses.
If the brush kit needs upgrading, see the trim brush picks and the roller picks.
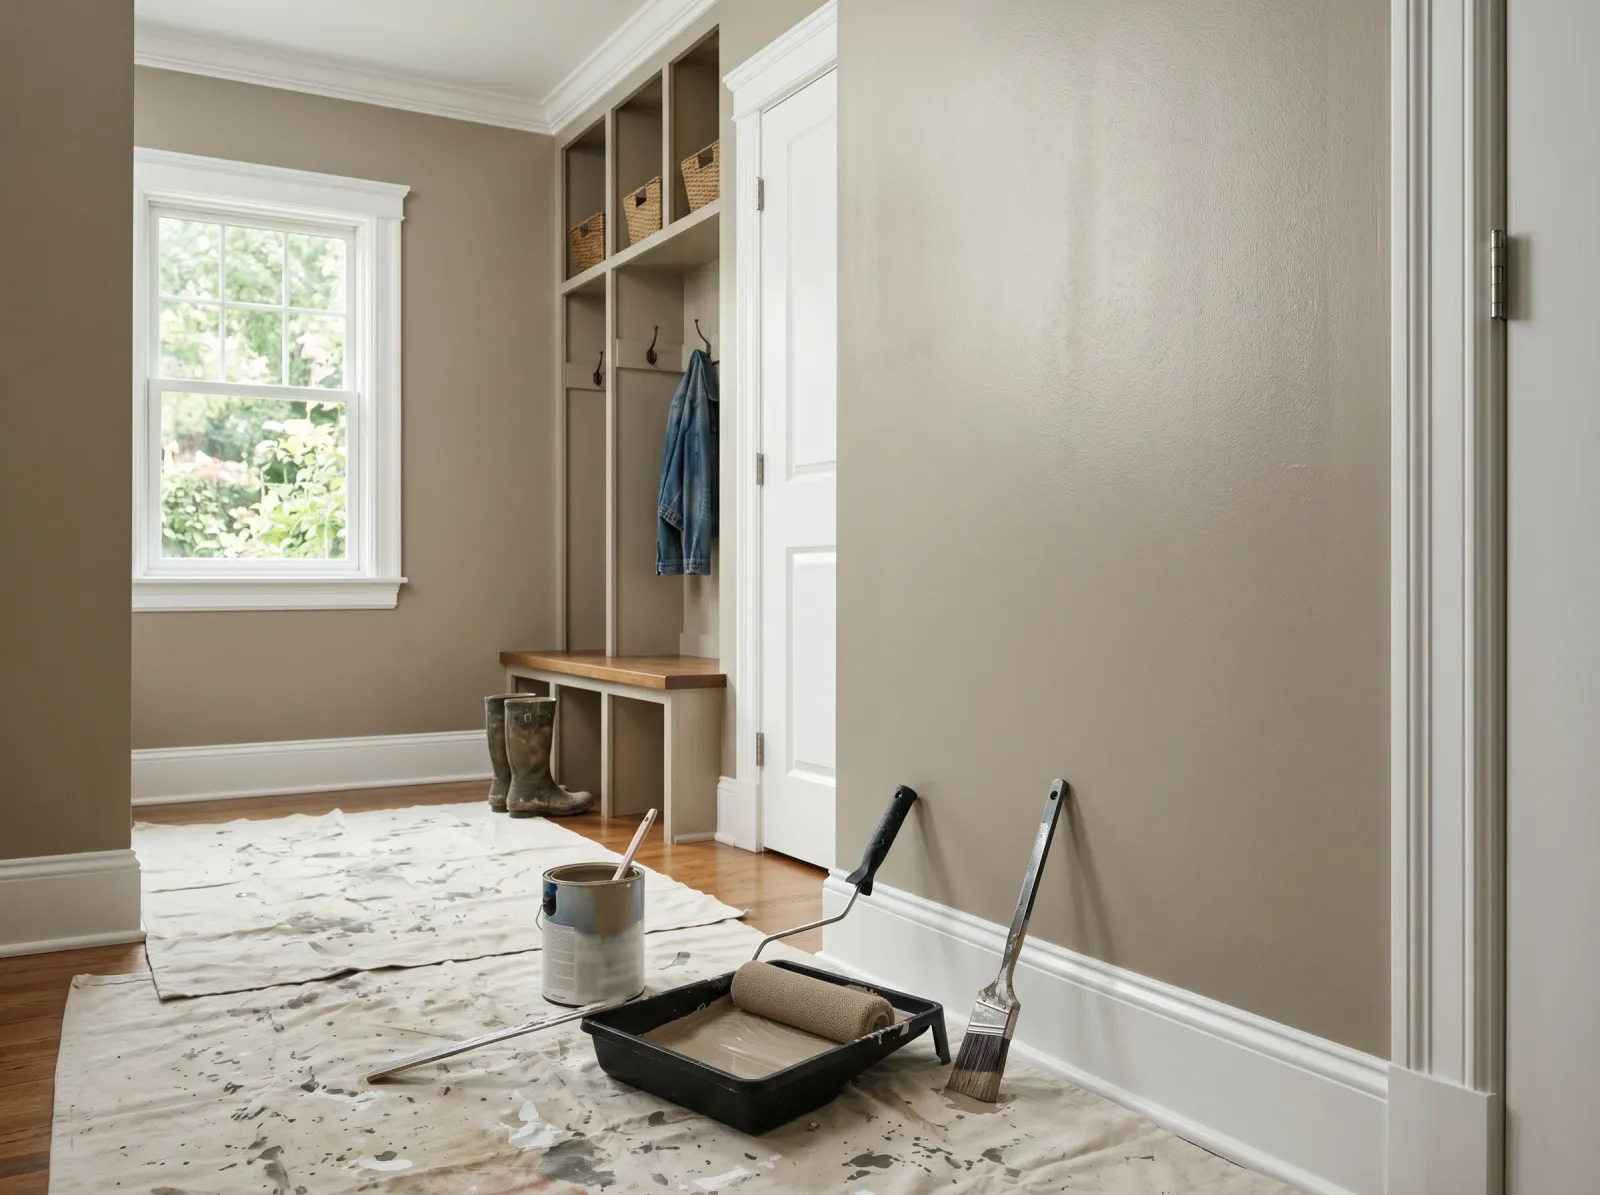
Step 1 — Clear It Out and Mask Up
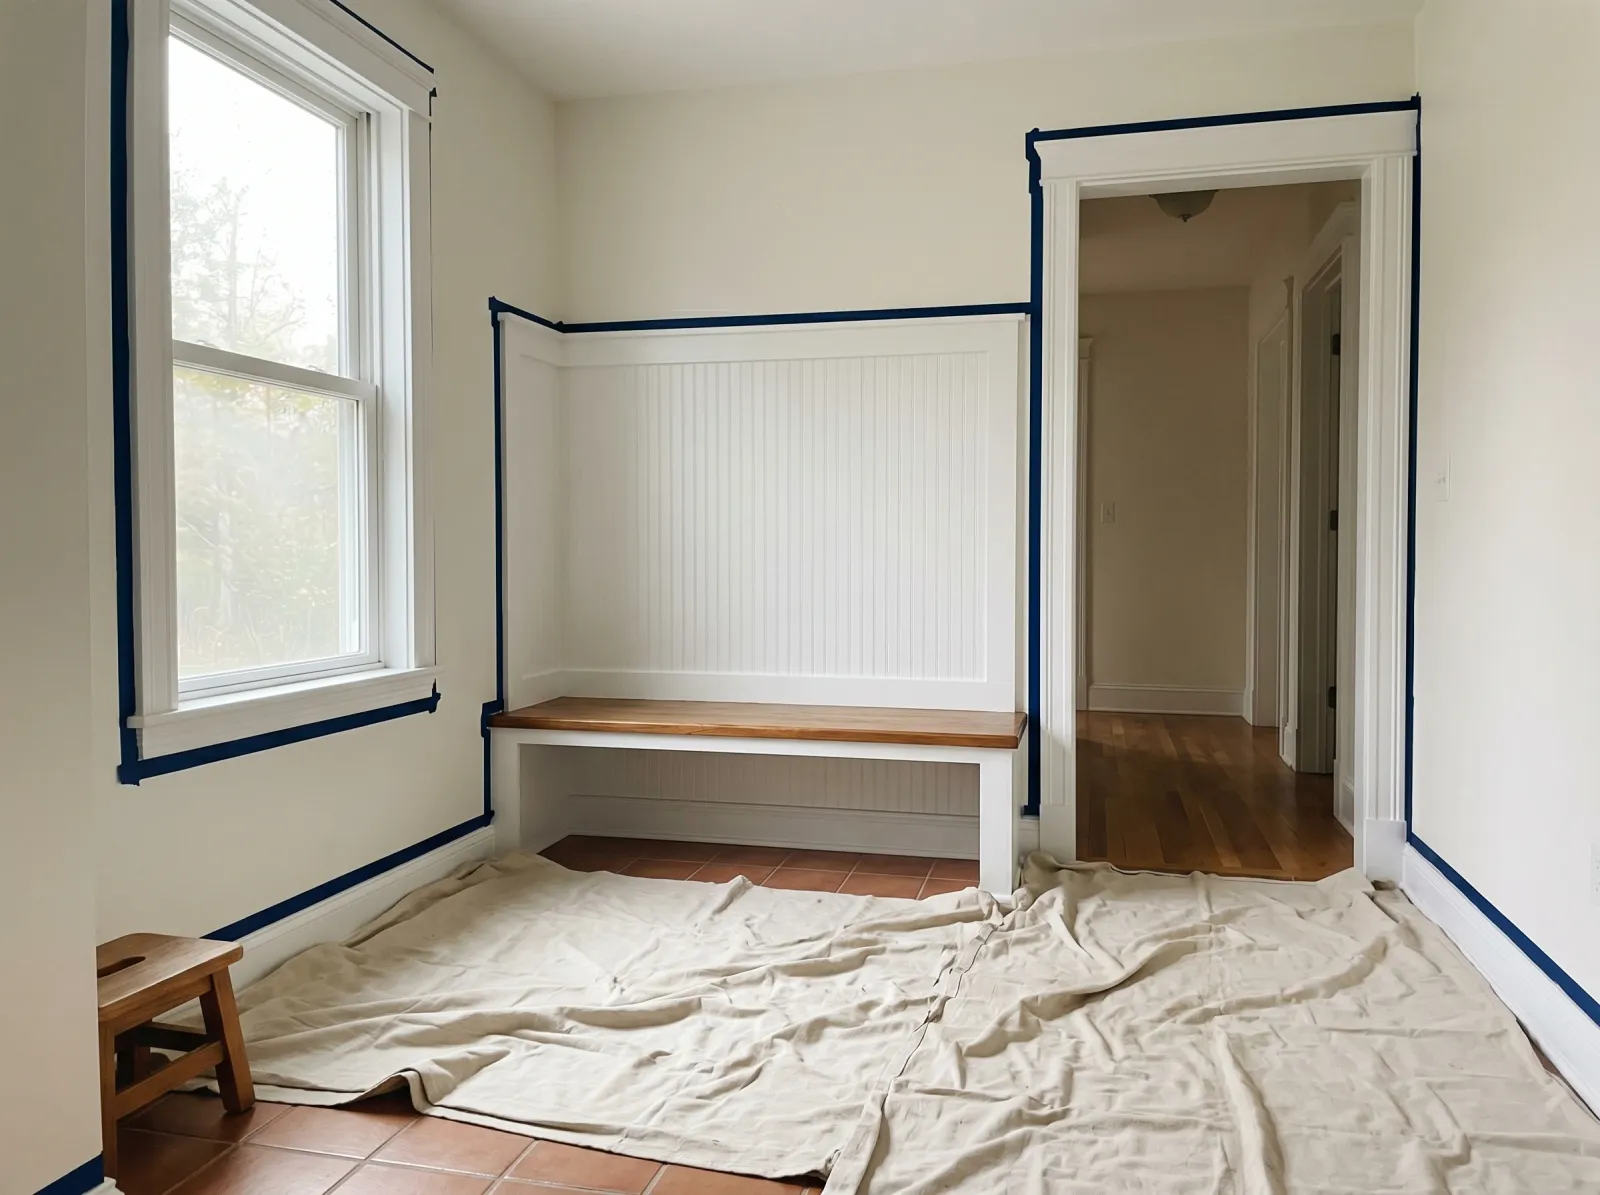
Coats and bags off the hooks, bench emptied, floor covered with a canvas drop cloth.
Every coat, bag, and pair of boots out. Pull the hooks if they unscrew quickly; tape over the screws and leave them if they don’t. The bench top gets cleared off and dragged a few inches from the wall so you can paint behind it.
Canvas drop cloth across the whole floor, taped to the baseboard edge.
Watch out for: the back of the door. Mudrooms usually open to the outside or a garage, and the inside face of that door takes more abuse than any wall in the room. Add it to the trim list.
Step 2 — Degrease the Walls and Trim
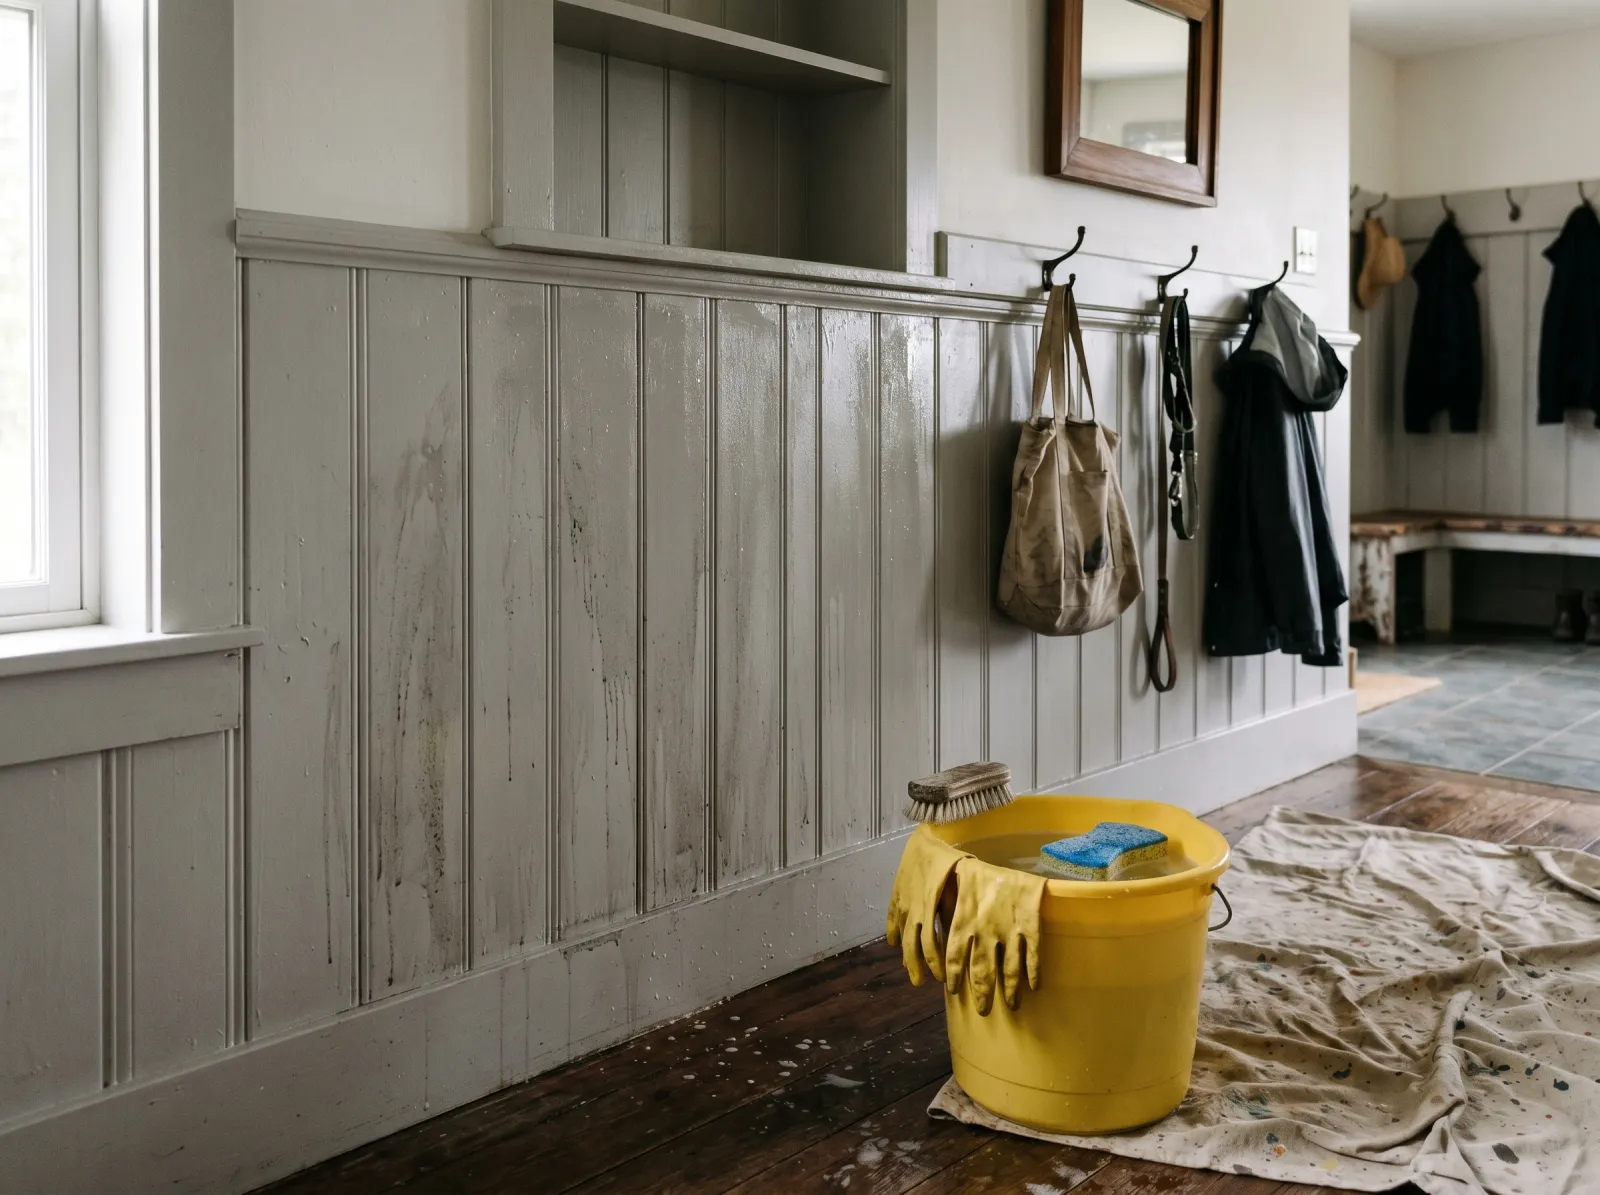
Walls and trim wiped down with TSP substitute, rinsed with clean water, left to dry.
Skip this and your paint peels at the bench wall by spring.
Mix the TSP substitute per the label. Gloves and glasses on. Wipe top to bottom with a soaked sponge so drips run down already-clean wall. Scrub harder around the hook line and the bench wall, where backpacks slide and wet jackets touch down. The rag will come away gray-brown. That’s what was on the wall.
Rinse with clean water and a fresh sponge. Let everything dry two hours.
Watch out for: the lower 18 inches of the trim. Boot scuffs leave behind a waxy mark from rubber soles that the regular wipe won’t lift. A second pass with the degreaser handles it.
Step 3 — Patch, Sand, Tape
Spackle the nail holes, the hook screw holes you don’t need anymore, and any dings. Wait 30 minutes and sand flush with the foam block.
Tape along the ceiling line, the top edge of the baseboard, the door casing, and around the bench so the trim cut is clean. Press each strip down firm with a credit-card corner. The press is what stops bleed.
Watch out for: if your mudroom has wainscot or beadboard, the grooves between boards suck tape in and let paint bleed underneath. Run a finger along the tape edge with a thin bead of clear painter’s caulk, wait two minutes, then paint. That’s the trick that gives you a sharp line on textured trim.
Step 4 — Trim First, Two Coats Semi-Gloss
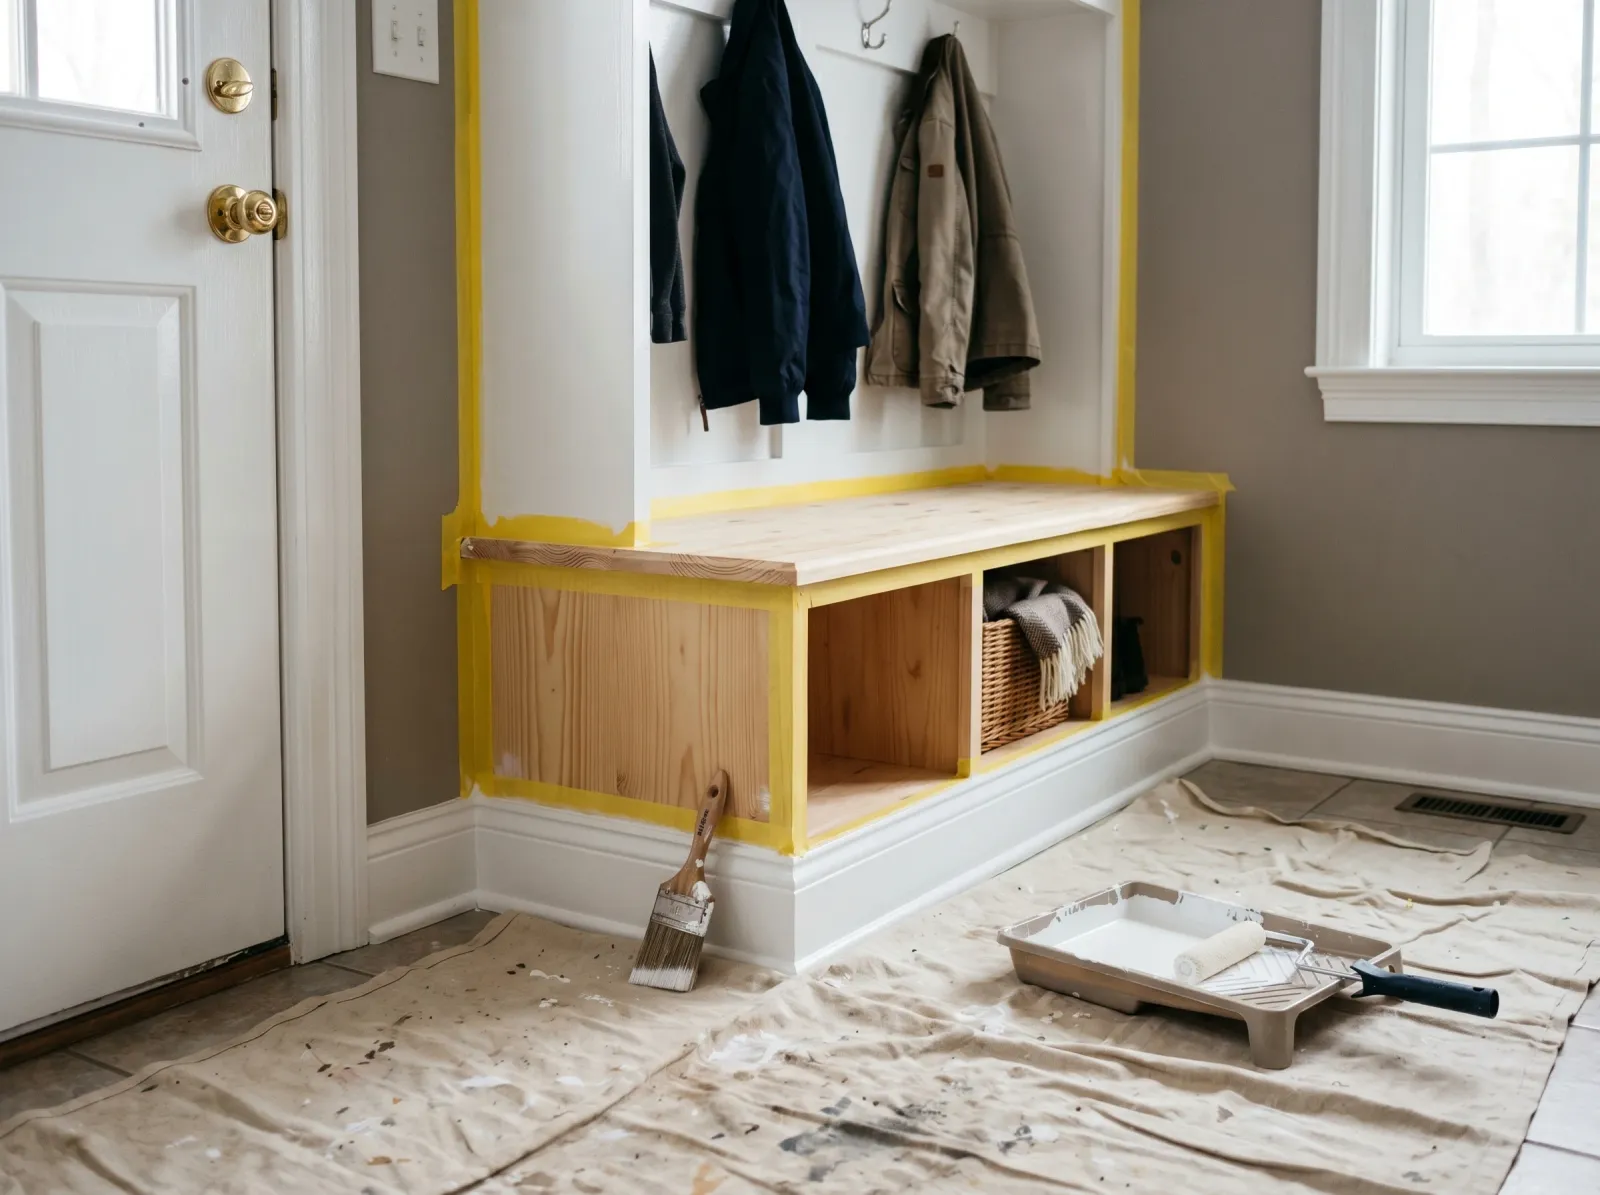
Semi-gloss trim brushed on baseboards and door casing, bench masked off for its own coat.
Trim before walls. The trim is fiddly. Get it done while you’re fresh.
Load the brush a third of the way in, tap once on the inside of the can, and brush in long strokes along the grain. Two thin coats of semi-gloss beat one thick coat every time. The thick coat sags and leaves ridges; the thin coats level out smooth.
Wait the recoat window on the can (usually two to four hours). Touch dry doesn’t mean ready for coat two; knuckle-test for tack.
Step 5 — Walls, Cut In and Roll
Second coat rolled over the cut-in, the patchy first coat evening out.
Cutting in is brushing a two-inch band of color along every taped edge before the roller touches the wall. Otherwise the roller stops short and leaves a stripe of different texture at every corner.
Cut in along the ceiling, baseboard, door casing, and around hooks. Pour a cup into the tray, load the roller, roll a big W on the wall, and fill it in. The cut-in needs to still be wet when the roller reaches it, so work one wall at a time.
First coat will look patchy. Don’t go back over wet spots. Wait the recoat window and put down coat two the same way.
Step 6 — Bench and Cubby Shelves, Cabinet Enamel
The bench gets the INSL-X. Strain a cup through a paint-strainer mesh into a small tray and roll the bench top with the 6-inch mini-roller, then tip off lightly with the angled brush to flatten the texture. Cabinet enamel self-levels, so let it do that. Two thin coats with a 16-hour wait between is better than one heavy coat.
Same treatment on the inside shelves of the cubbies. The shelves take wet boots and dripping mittens. Cabinet enamel takes it; wall paint doesn’t.
Watch out for: don’t put weight on the bench for a full 24 hours after coat two. Cabinet enamel feels dry in four hours and isn’t.
Step 7 — Tape Off, Reload, Wait
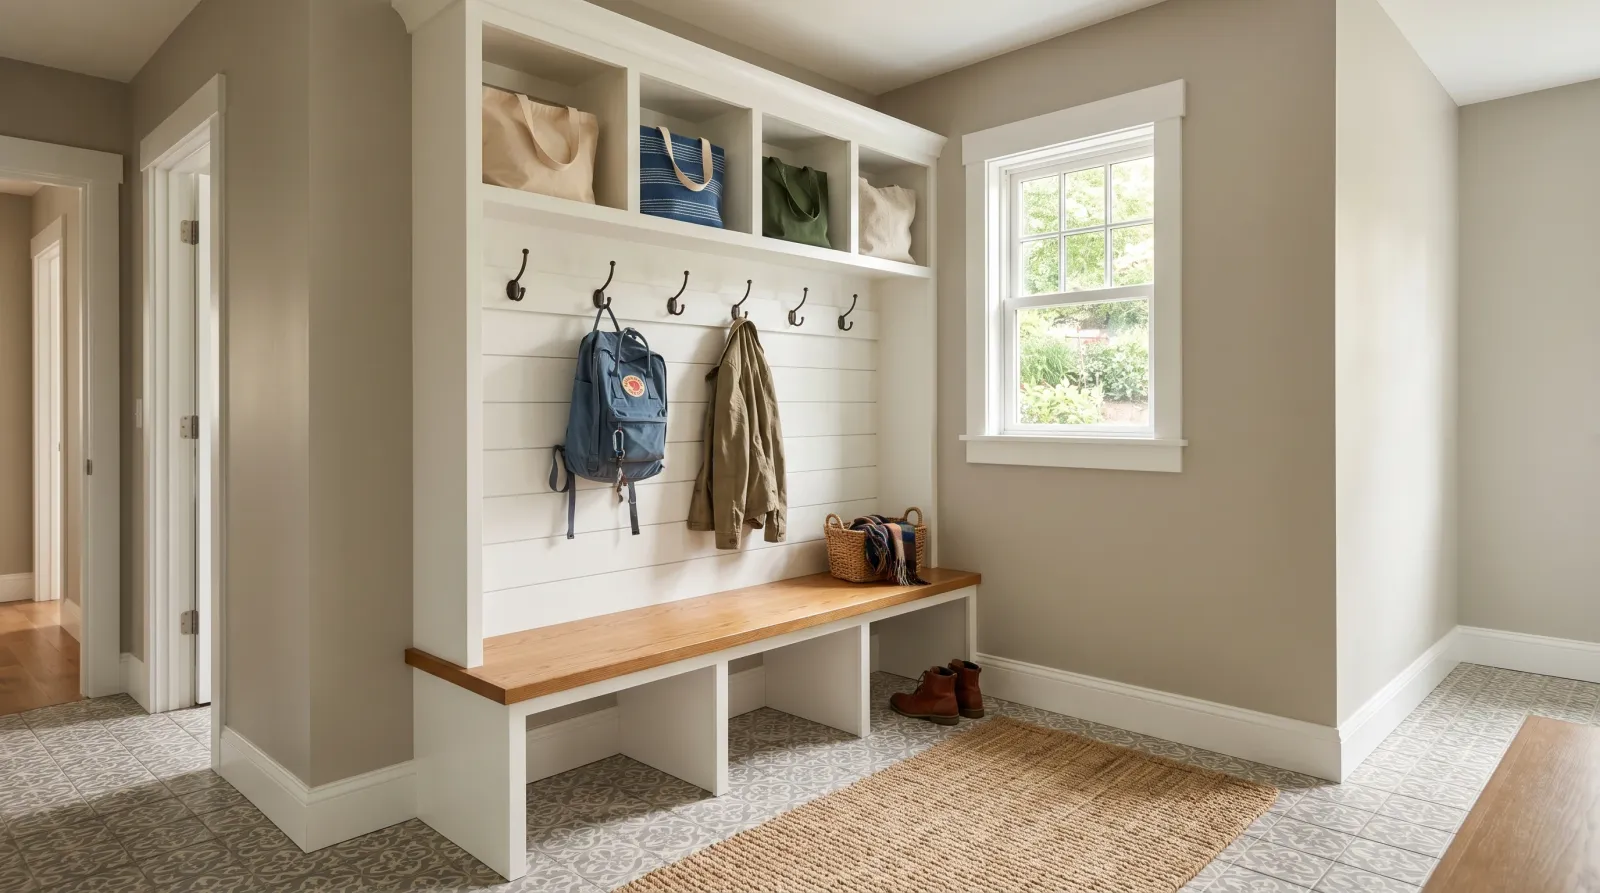
Drop cloth off, hooks reinstalled, bench dried, bags and coats back in place.
Pull the tape while the second wall coat is still slightly tacky, about 30 to 60 minutes after rolling. Slow pull, 45-degree angle, one continuous strip.
Reinstall the hooks. Bench loaded Monday evening, not Sunday night.
Common Mistakes
- Eggshell on the walls. Pretty for a month, dingy by Christmas at the hook line. Satin minimum in a mudroom.
- Skipping the TSP wipe-down. Sunscreen, road grit, sneaker dust. Invisible and everywhere. The paint won’t bond to it.
- Wall paint on the bench. The film isn’t built to be sat on. It dents under weight and chips off the bench edge within weeks.
- One thick coat of trim paint. It sags, leaves brush ridges, and never fully hardens. Two thin coats with a wait between.
- Pulling the tape too late. The cured paint film bonds across the tape edge and peels a ragged strip off the trim when you finally pull. Pull at the 30 to 60 minute mark.
Cure Schedule
| Time after final coat | What’s safe |
|---|---|
| 30–60 min | Pull the painter’s tape |
| 4 hrs | Trim touch-dry; hooks back on |
| 24 hrs | Sit on the bench; hang coats |
| 7 days | Wipe scuffs off with a damp cloth |
| 30 days | Full cure; scrub with Krud Kutter if needed |
Maintenance
Satin walls in a mudroom last about 6 to 8 years before the hook line starts to dull from wipe-downs. Semi-gloss trim outlasts the walls, usually a decade unless a boot heel actually breaks through it. The cabinet enamel on the bench depends on use; a heavy-traffic family bench wants a fresh coat every 4 to 5 years, a lighter-use one goes longer.
Save a labeled quart of each finish for touch-ups. Small scuffs come off with a damp microfiber rag and a drop of dish soap once the wall is past 30 days of cure.
Cost
| Item | Cost |
|---|---|
| 1 gal satin wall paint | $55–$80 |
| 1 qt semi-gloss trim | $20–$28 |
| 1 qt INSL-X Cabinet Coat | $26–$32 |
| TSP substitute or Krud Kutter | $10–$15 |
| Yellow FrogTape | $10 |
| Roller + sleeves + mini-roller | $25 |
| Angled brush + trim brush | $22 |
| Tray + liners | $8 |
| Canvas drop cloth | $20 |
| Total | ~$200–$240 |
If It Goes Wrong
The trim scuffed white at the baseboard within a month because the semi-gloss never fully cured before the boot traffic resumed. Wait the full 7 days before letting boots near the trim, and re-coat the scuff with a small brush. Most boot marks lift with a damp magic eraser before they need a re-coat.
A spot on the wall keeps showing through the second coat. That’s an old water stain or a sticker residue you didn’t catch in the degrease pass. Hit it with a stain-blocking primer (Zinsser BIN or Cover Stain), let it dry an hour, and re-coat with the satin. A three-inch patch is one afternoon.