How to Paint a Kids' Bedroom
Painting a kids room without the fumes or the mess. Low-VOC paint, a scrubbable sheen, fast-dry timing around bedtime, and the prep that keeps fingerprints from soaking in.

Okay, so you’re painting your kid’s room, and on top of all the normal worries about drips and streaks you’ve got two extra ones: the fumes, and the fact that this room is going to get touched. A lot. With sticky hands, markers, and whatever they smuggled in from the kitchen. Don’t worry. Both of those are solvable, and neither one makes this harder than painting any other small room.
Here’s the plan. Pick a low-smell paint and a sheen you can wipe clean. Paint it while they sleep somewhere else for one night if you can. Then put the room back together and let them rediscover it.
What You’ll Get
A freshly painted room that smells fine by the next day, wipes clean when the markers come out, and looks like a color your kid actually likes (without you having to repaint it in eight months).
Honest Take on Difficulty and Time
This is an easy project. A standard 10×11 bedroom takes about 10 working hours over a weekend. The extra step compared to a grown-up room is washing the walls first, because kid walls have a film of fingerprints and juice you can’t always see.
The real planning piece is timing. Try to do this on a weekend the kid is at a grandparent’s or a sleepover. Paint Saturday, let it air out Saturday night, and the room’s ready for them Sunday afternoon. If they can’t leave, do it on a warm day with the windows wide open and the bedroom door closed off from the rest of the house.
What You’ll Need
Paint and Primer
The big decision here is the paint, and for a kid’s room it’s worth getting right. Use a low-VOC or zero-VOC paint. VOCs (volatile organic compounds) are the chemicals that make wet paint smell, and they off-gas into the air for a while after the paint dries. Modern low-VOC and zero-VOC paints (Benjamin Moore Natura, Sherwin-Williams Harmony, Behr Premium Plus Low Odor) cover just as well and clear the air faster. If you want the full explainer on what these numbers mean, see what VOCs are, and for the actual SKU picks, the best zero-VOC paint round-up.
For sheen, go eggshell or satin (low-shine finishes you can wipe down). Skip flat. Flat looks lovely and lasts about a month in a kid’s room before the first handprint smears into it permanently. Satin wipes cleanest. If you’re stuck deciding, the sheen guide walks through each one.
A 10×11 room takes about 1 gallon for two coats. For the trim, a quart of semi-gloss. You only need primer if you’re covering crayon, marker, old growth-chart pencil lines, or going from a dark color to a light one.
Tools
A 2.5-inch angled brush for cutting in (painting a clean edge along the trim and ceiling where the big roller can’t reach). A 9-inch roller frame, two 3/8-inch nap sleeves, a tray, an extension pole, a step ladder, spackle, a canvas drop cloth, and a box fan for the window.
The tape matters more in a kid’s room than you’d think, because you want crisp lines if you’re doing two colors or a stripe. Good painter’s tape seals tight and pulls clean.
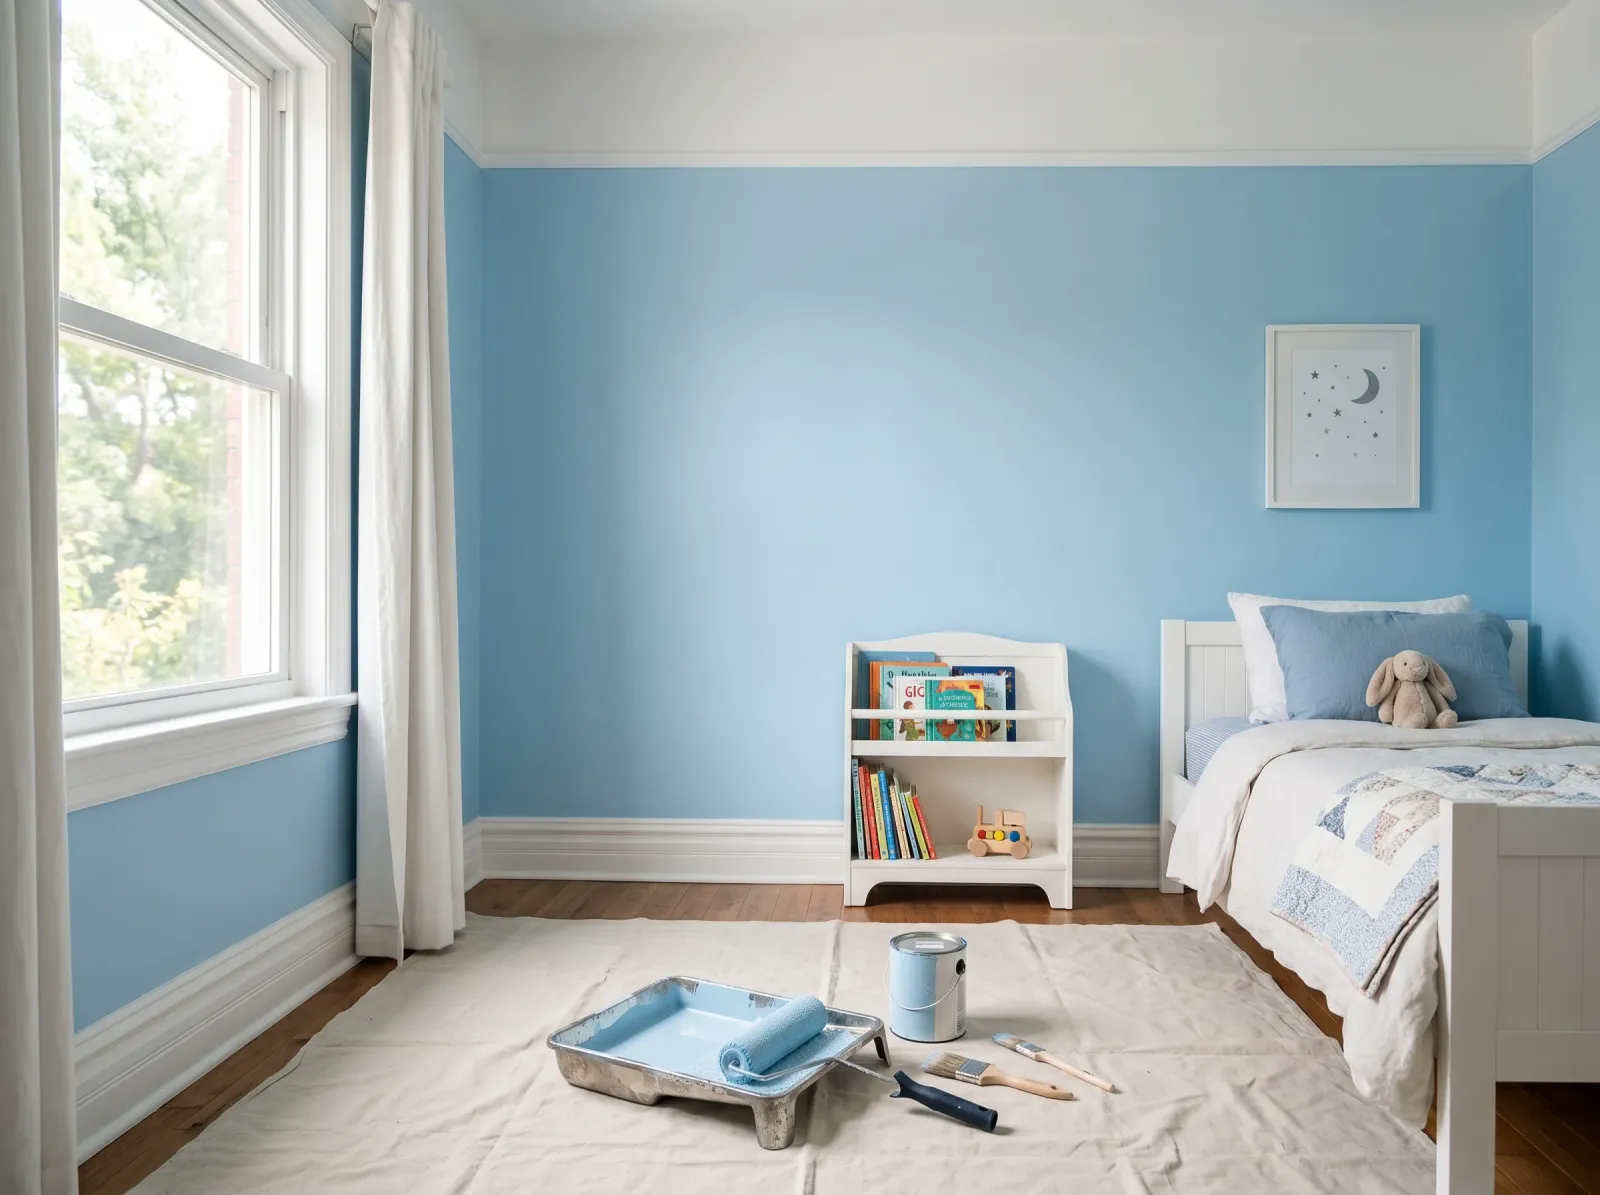
Step 1 — Clear the Room, Wash the Walls, Patch the Marks
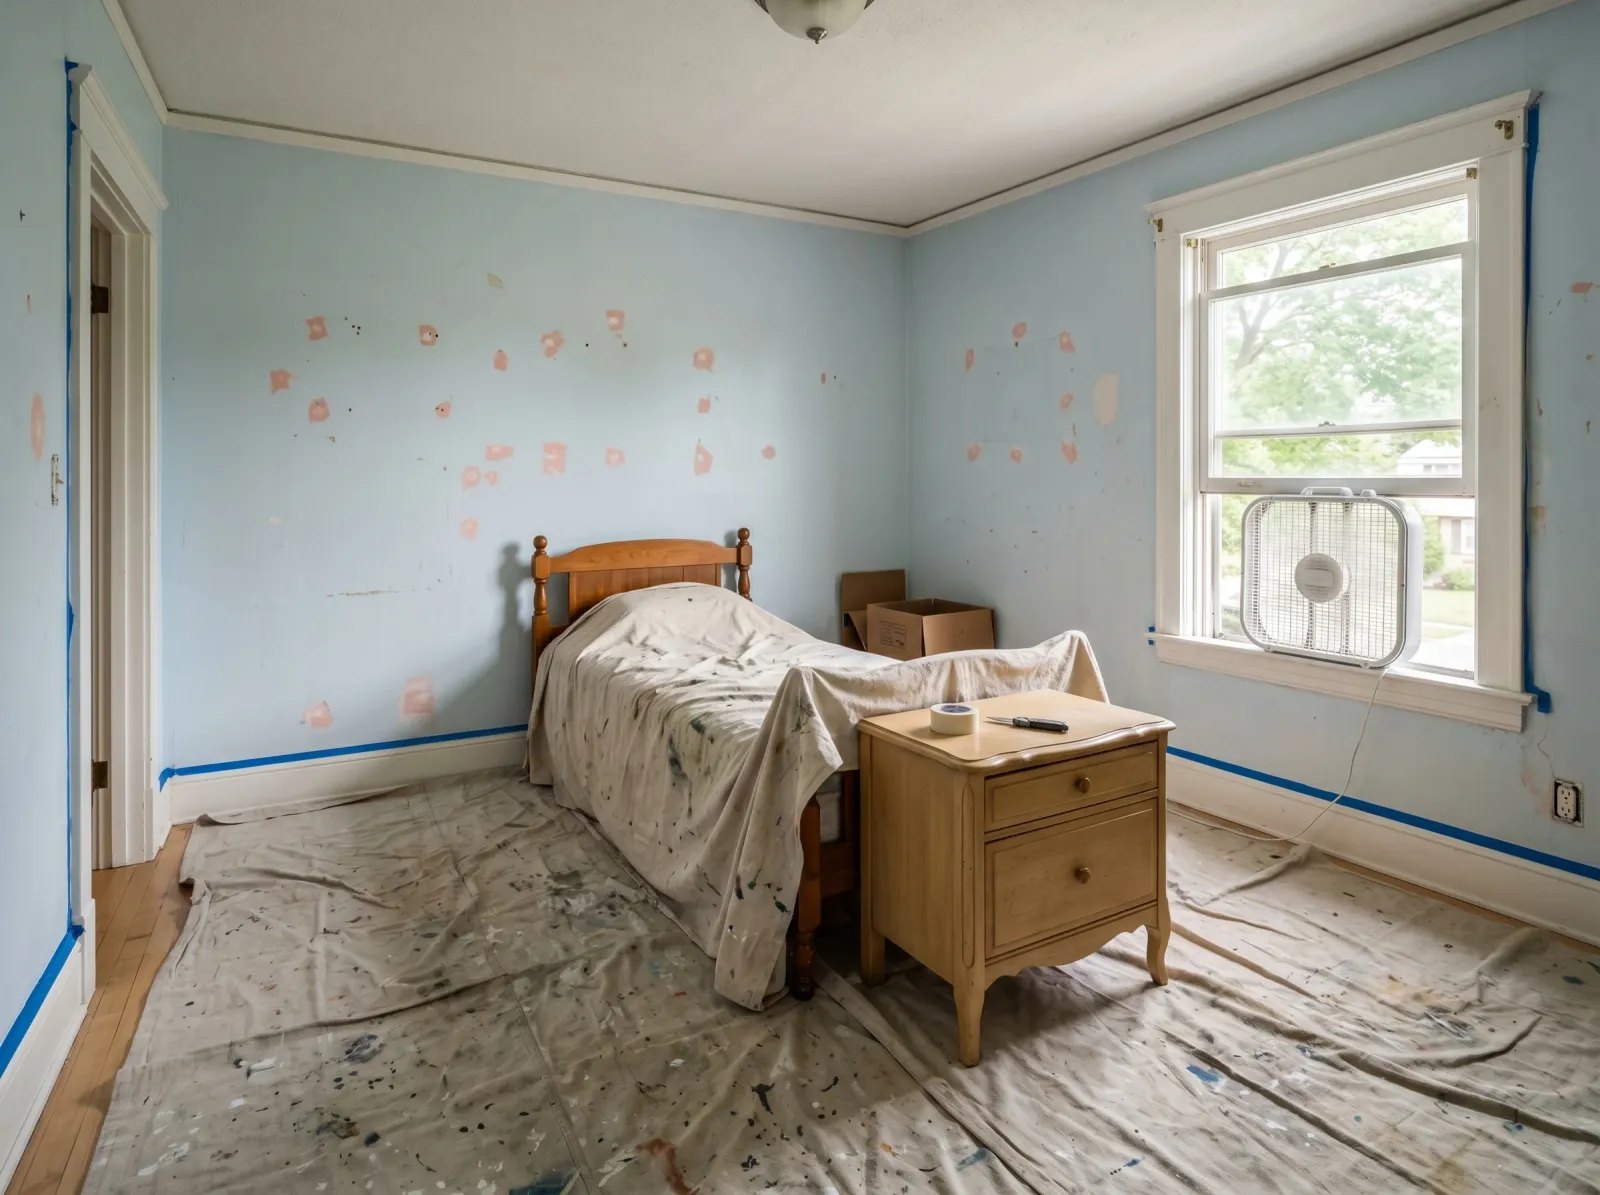
Toys and furniture out or centered under a sheet, crayon and fingerprints wiped down, nail holes spackled, tape along the trim.
Get the toys out of the room entirely. Move the bed and dresser to the center and throw a sheet over them. Take down posters, wall stickers, and that height chart you secretly want to keep (photograph it first).
Now wash the walls. This is the kid-room extra step. Wipe every wall with a damp sponge and a drop of dish soap, paying attention to the lower three feet where the sticky hands live. Rinse with clean water and let it dry an hour. Paint over greasy fingerprints and the paint won’t grip.
Spackle nail and pushpin holes, let them dry 30 minutes, then sand smooth with the 220-grit sponge.
Watch out for crayon, marker, and pen. Soap won’t lift those, and regular paint won’t hide them. Mark each one with a bit of tape so you remember to spot-prime it in the next step.
Step 2 — Spot-Prime the Stains, Then Tape Off
Hit every crayon, marker, and pen mark with a dab of stain-blocking primer (Zinsser BIN dries in about 20 minutes). You’re not priming the whole wall, just the trouble spots. Marker dye bleeds through ordinary paint and ghosts back within days. The primer locks it down.
Tape along the top edge of the baseboard, around the window and door casing, and at the ceiling line. Press the edge down hard with your fingernail so paint doesn’t sneak under it. Lay the canvas drop cloth over the floor.
Set the box fan in the window now, facing out, and turn it on low. Pulling air out of the room while you work keeps the smell down from the first brushstroke.
Step 3 — Paint the Trim First
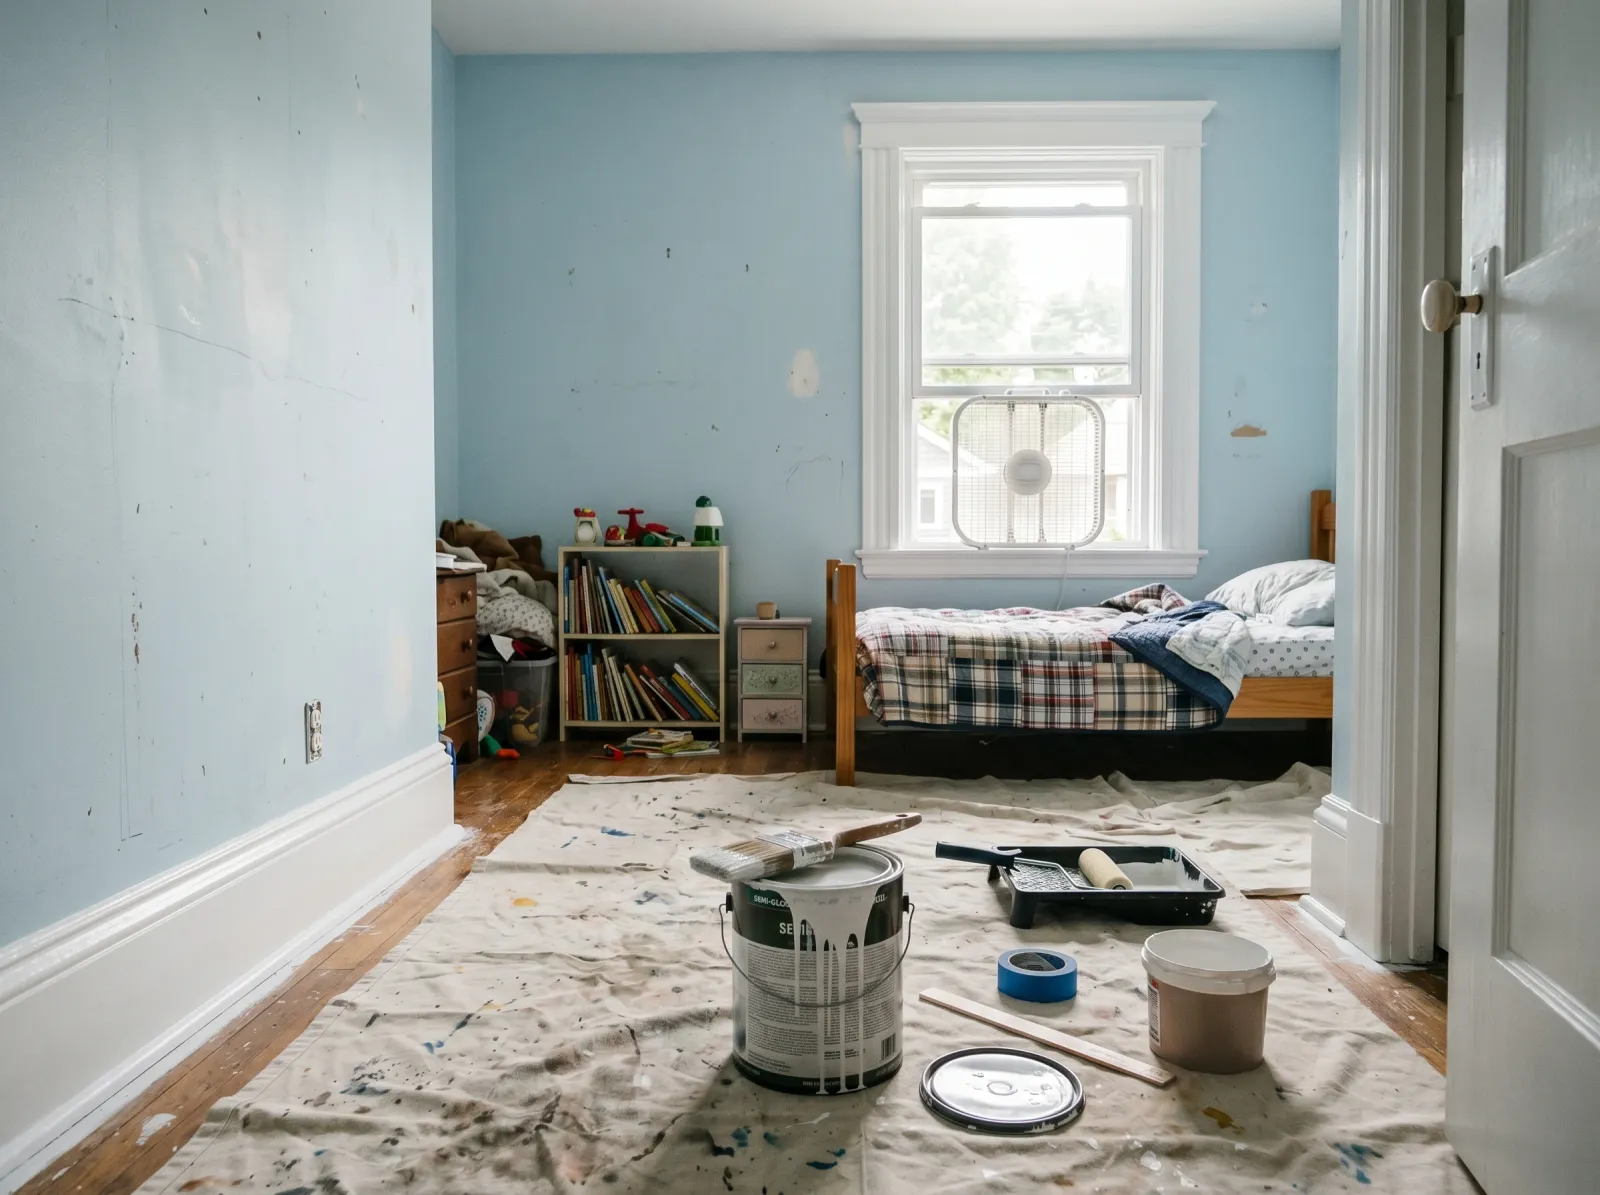
Baseboards, window casing, and the door frame in white semi-gloss while you’re fresh.
Trim first, walls second. The trim is the slow, fiddly part, and you’ll do it better at hour two than at hour eight. Use the 2.5-inch angled brush. Dip it a third of the way in, no more, or it drips.
Paint the baseboards, then the window casing, then the door frame, in long smooth strokes along the grain. Two thin coats beat one thick one. Let the first dry the time on the can (usually about 4 hours for water-based) before the second.
Watch out for drips along the bottom of the baseboard, right where a kid’s foot will scuff it later. Check that edge every few minutes for the first half hour and brush out any drip while it’s still wet.
Step 4 — Cut In and Roll the First Coat
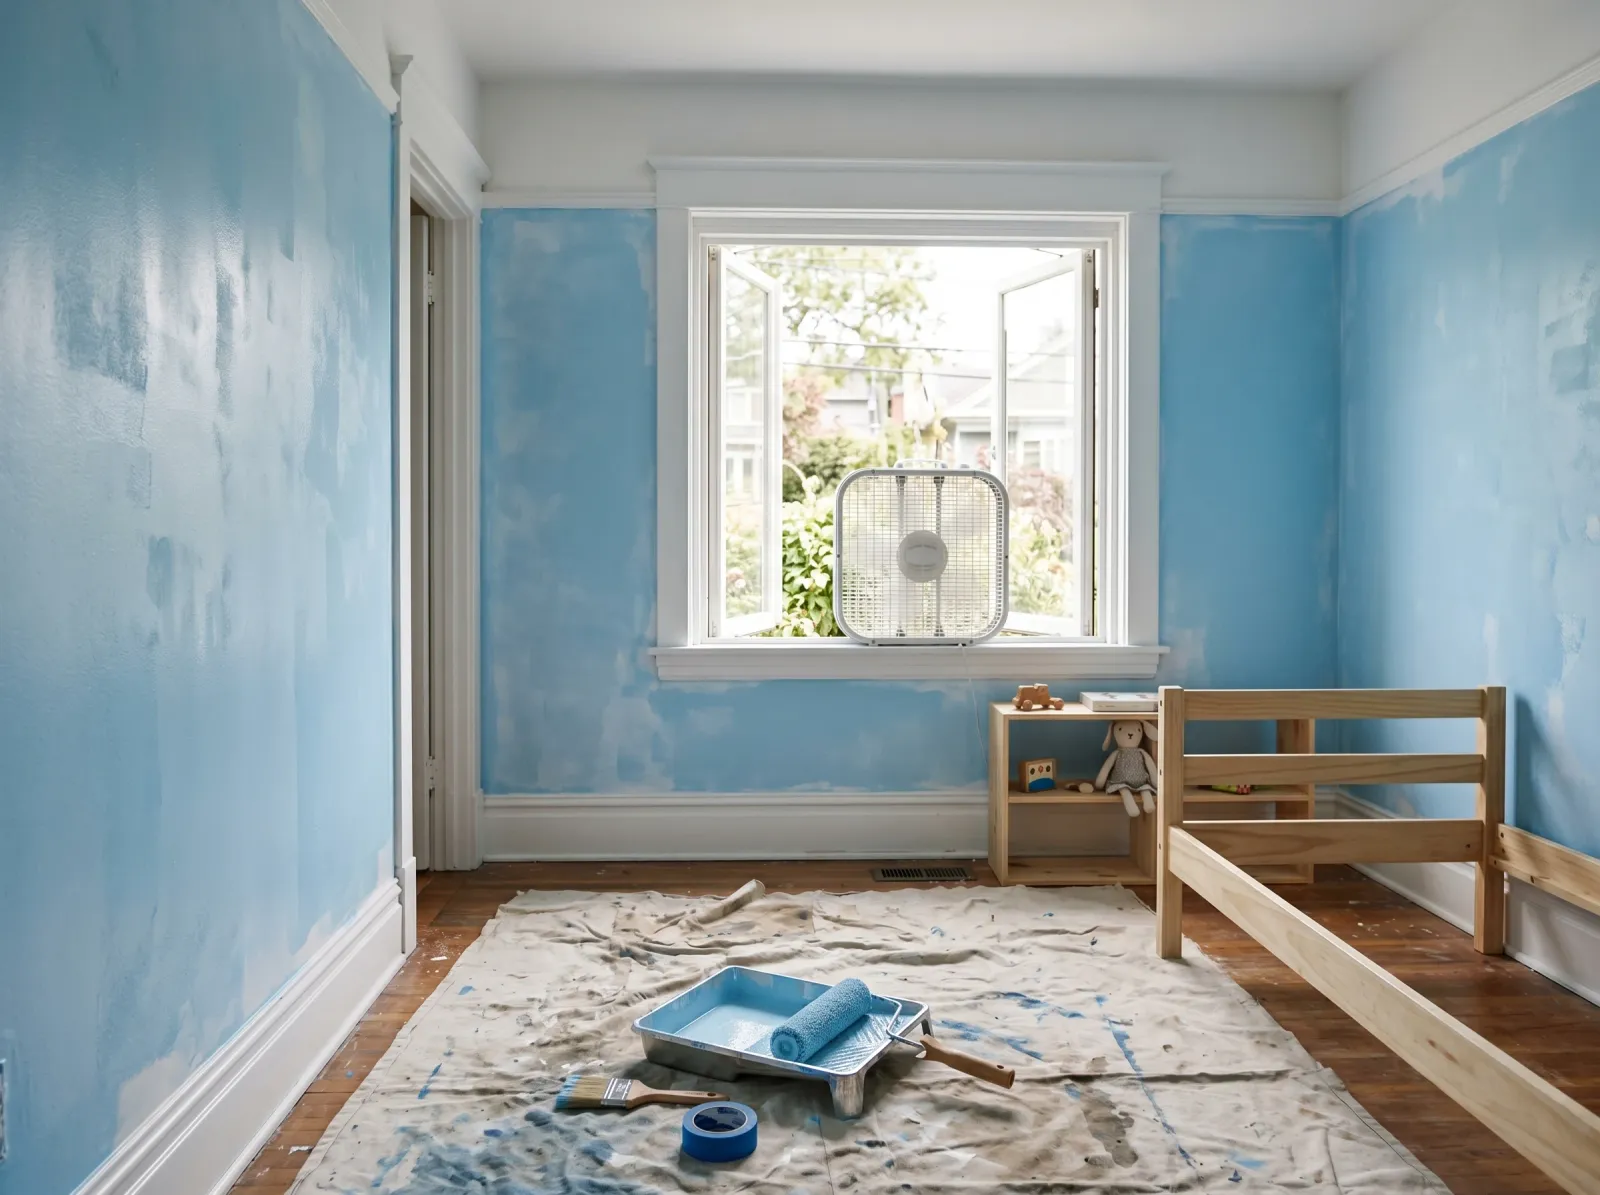
Brush the edges, then roll the big flats. First coat always looks patchy. Keep going.
Once the trim is dry, tape over it and start the walls. Cut in first: brush a 2- to 3-inch band of color along the ceiling line, the baseboard tape, and around the window, door, and outlets.
Then roll. Pour paint into the tray about a third up, load the roller, roll off the excess on the tray’s ramp, and roll the wall in a big W about 3 feet wide. Fill the W in with up-and-down strokes, then move to the next section and overlap the wet edge.
The trick is to cut in one wall and roll it before the cut-in dries. If the brushed edge dries before the roller reaches it, you get a faint picture-frame outline of different sheen on the finished wall. Work wall by wall and that never happens.
The first coat will look thin and blotchy. That’s every first coat. Don’t panic and don’t go back over half-dry spots.
Step 5 — Second Coat, Then Pull the Tape
Second coat rolled while the cut-in is still wet. The patchiness disappears.
Wait the recoat time on the can (usually 2 to 4 hours). Touch the wall with a knuckle; if it’s dry and not sticky, go. Second coat goes on exactly like the first: cut in, then roll, one wall at a time. This is the coat where the color fills in and evens out. You’ll know it when you see it.
Pull the tape while the second coat is still slightly tacky, about 30 to 60 minutes after you finish. Pull slow, at a 45-degree angle. Wait until the paint is bone dry and the dried film tears at the tape edge, leaving a ragged line you’ll have to touch up.
Step 6 — Air It Out and Reset the Room
Tape pulled, drop cloths off, bed and bookshelf back in place, room aired out.
Leave the fan running in the window and the bedroom door closed for the rest of the day. With low-VOC paint the smell is mostly gone in 4 to 6 hours.
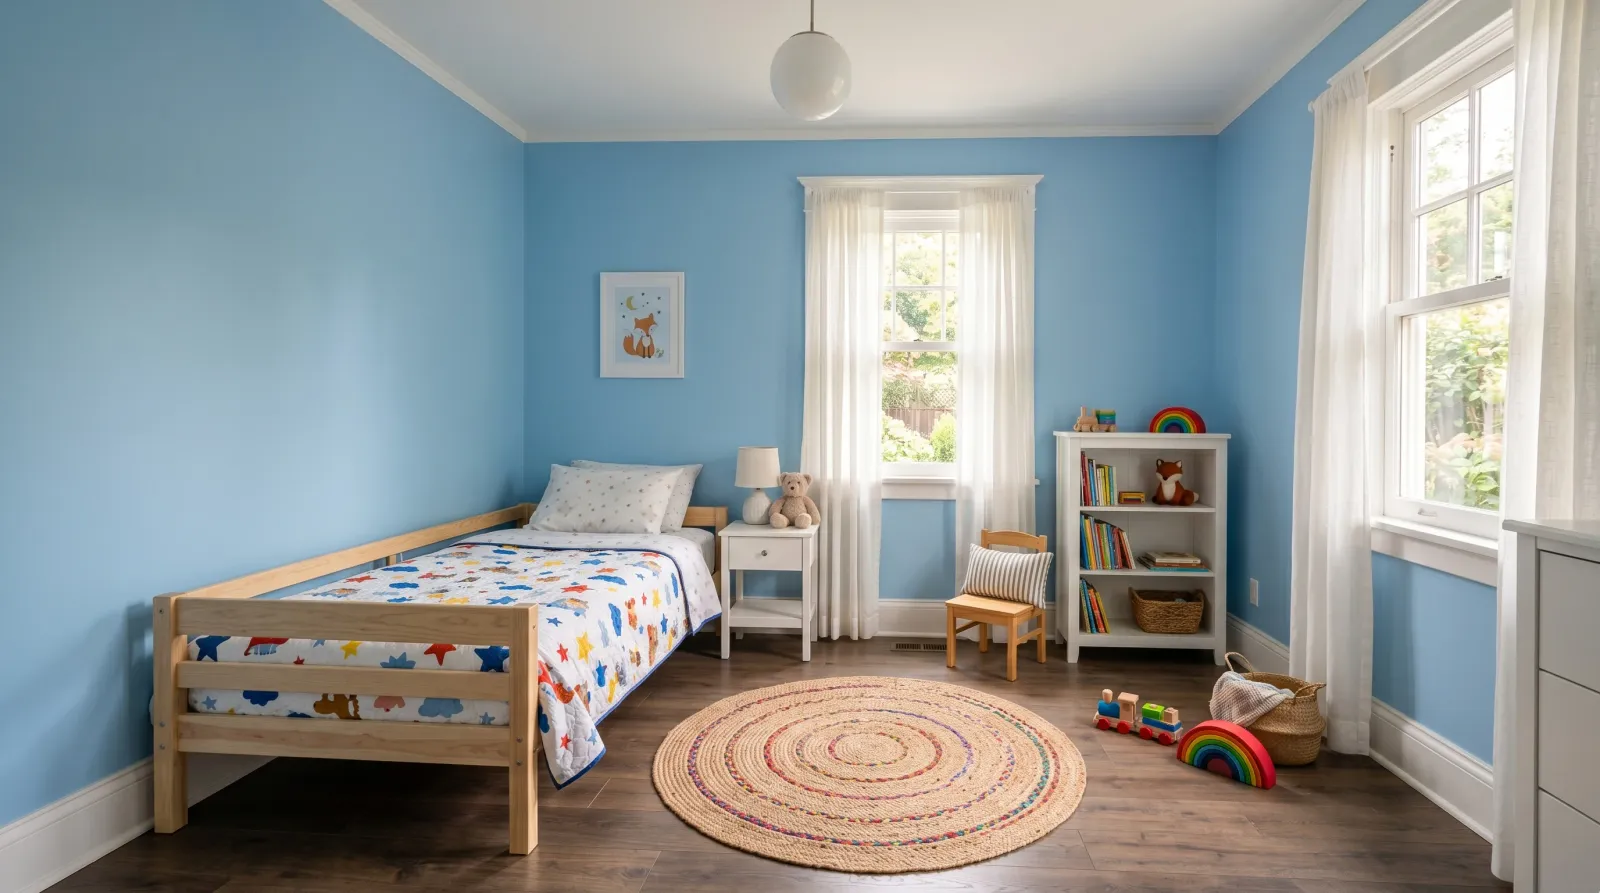
Wait 24 hours before pushing furniture back against the walls; a dresser shoved into fresh paint at hour two leaves a mark. Then bring the bed and bookshelf back, hang the curtains, and let the kid back in to find their new room.
Doing a Stripe or a Two-Tone Wall
Lots of kids’ rooms get a fun second color: a stripe around the middle, a painted lower half, or one accent wall. The method is the same, with one rule. Paint the lighter color first, over the whole wall, and let it dry overnight. Then tape your line and paint the darker color inside the tape. Going light-over-dark takes extra coats; dark-over-light covers in one or two.
For a crisp stripe, after you press the tape down, brush a thin pass of the first (already-dry) color along the tape edge and let it dry. That seals the edge so the second color can’t bleed under. Then paint the second color. If you want a whole feature wall instead, the accent wall guide covers placement and color choice.
Common Mistakes
- Skipping the wall wash. Kid walls carry a film of fingerprints, juice, and snack grease you can’t see. Paint over it and the new coat won’t grip; it scuffs off where they lean. Five minutes with soapy water fixes it.
- Painting over crayon or marker without primer. The dye and wax bleed straight through and ghost back in a few days. Spot-prime every mark with a stain blocker before you paint.
- Using flat paint. It looks soft and pretty for about a month. Then a handprint smears in and won’t wipe off. Satin in a toddler’s room, eggshell minimum for an older kid.
- Letting the kid pick a color you’ll regret. Neon and very dark colors are hard to cover later and get outgrown fast. Give them two or three pre-approved choices and let them pick from those.
- Painting with the door open to the rest of the house. The smell drifts everywhere and takes longer to clear from the one room that matters. Close the door, open the window, run the fan out.
Cure Schedule
| Time after the second coat | What’s safe |
|---|---|
| 30–60 min | Pull the painter’s tape |
| 2 hours | Touch dry, don’t bump it |
| 4–6 hours | Room mostly aired out with the fan running |
| 24 hours | Furniture back, kid sleeps in the room |
| 7 days | Wipe scuffs with a damp cloth |
| 30 days | Full cure, scrub a marker mark with a little soap |
Maintenance and Touch-Ups
A satin or eggshell wall in a kid’s room holds up about 5 to 7 years, less if it’s a busy toddler. Most marks wipe off with a damp microfiber cloth and a drop of dish soap once the paint is past its 30-day cure. Don’t scrub hard in the first week; the film is still soft and you’ll burnish a shiny spot.
For a real gouge or a marker mark that won’t wipe, spot-prime it, then dab on leftover paint with a small piece of roller (not a brush, which leaves a different texture). Keep a labeled quart of the color for exactly this.
If your kid loves to draw on walls, give them a legal spot to do it. A chalkboard-paint panel turns one section of wall into a feature instead of a problem; see the best chalkboard paint for that.
Cost Breakdown
| Item | $ |
|---|---|
| Wall paint, 1 gallon low-VOC eggshell/satin | $40–$60 |
| Trim paint, 1 quart semi-gloss | $20 |
| Stain-blocking primer, 1 quart | $15 |
| Brush, roller, tray, sleeves | $30 |
| Tape, drop cloth, spackle | $25 |
| Total | ~$130–$150 |
Numbers are mid-tier low-VOC paint. A cheaper run lands closer to $90. Top-shelf zero-VOC (BM Natura) pushes toward $180.
FAQ
Is it safe to paint a kids’ room while they sleep in the house? Paint it while they sleep somewhere else for one night if you can. Even low-VOC paint has a faint smell for a few hours. Use low-VOC or zero-VOC paint, open the window, run a box fan blowing out, and keep the bedroom door closed. By the next afternoon the room is aired out and safe. If they can’t leave, paint on a warm day with the windows open and let the room breathe a full 24 hours before bedtime.
What’s the best paint sheen for a child’s bedroom? Eggshell or satin, because you’ll be wiping fingerprints and marker off at toddler height. Flat and matte smear when you clean them. Satin wipes cleanest for a young kid’s room; eggshell is fine for an older child’s.
Should I let my kid pick the color? Let them weigh in, then steer. Give them two or three choices you can live with and let them pick. Calmer, slightly muted versions of their favorite color age better and still feel like their choice. Test a sample quart on a 2-foot patch first.
How do I cover crayon and marker on the walls? Spot-prime just the marks with a stain-blocking primer like Zinsser BIN, let it dry, then paint over it. Regular paint alone lets the dye bleed back through within days.
How long does the room need to air out before they sleep in it? With low-VOC paint, a window open, and a fan running, the smell is mostly gone in 4 to 6 hours and the room is fine to sleep in by the next night. Don’t scrub the walls for the first week.