How to Paint a Shed Interior (Workshop)
Painting a shed interior the right way: prime the bare studs and OSB, seal knots, pick a scrubbable wall paint, and brighten a dim workshop so you can actually see.

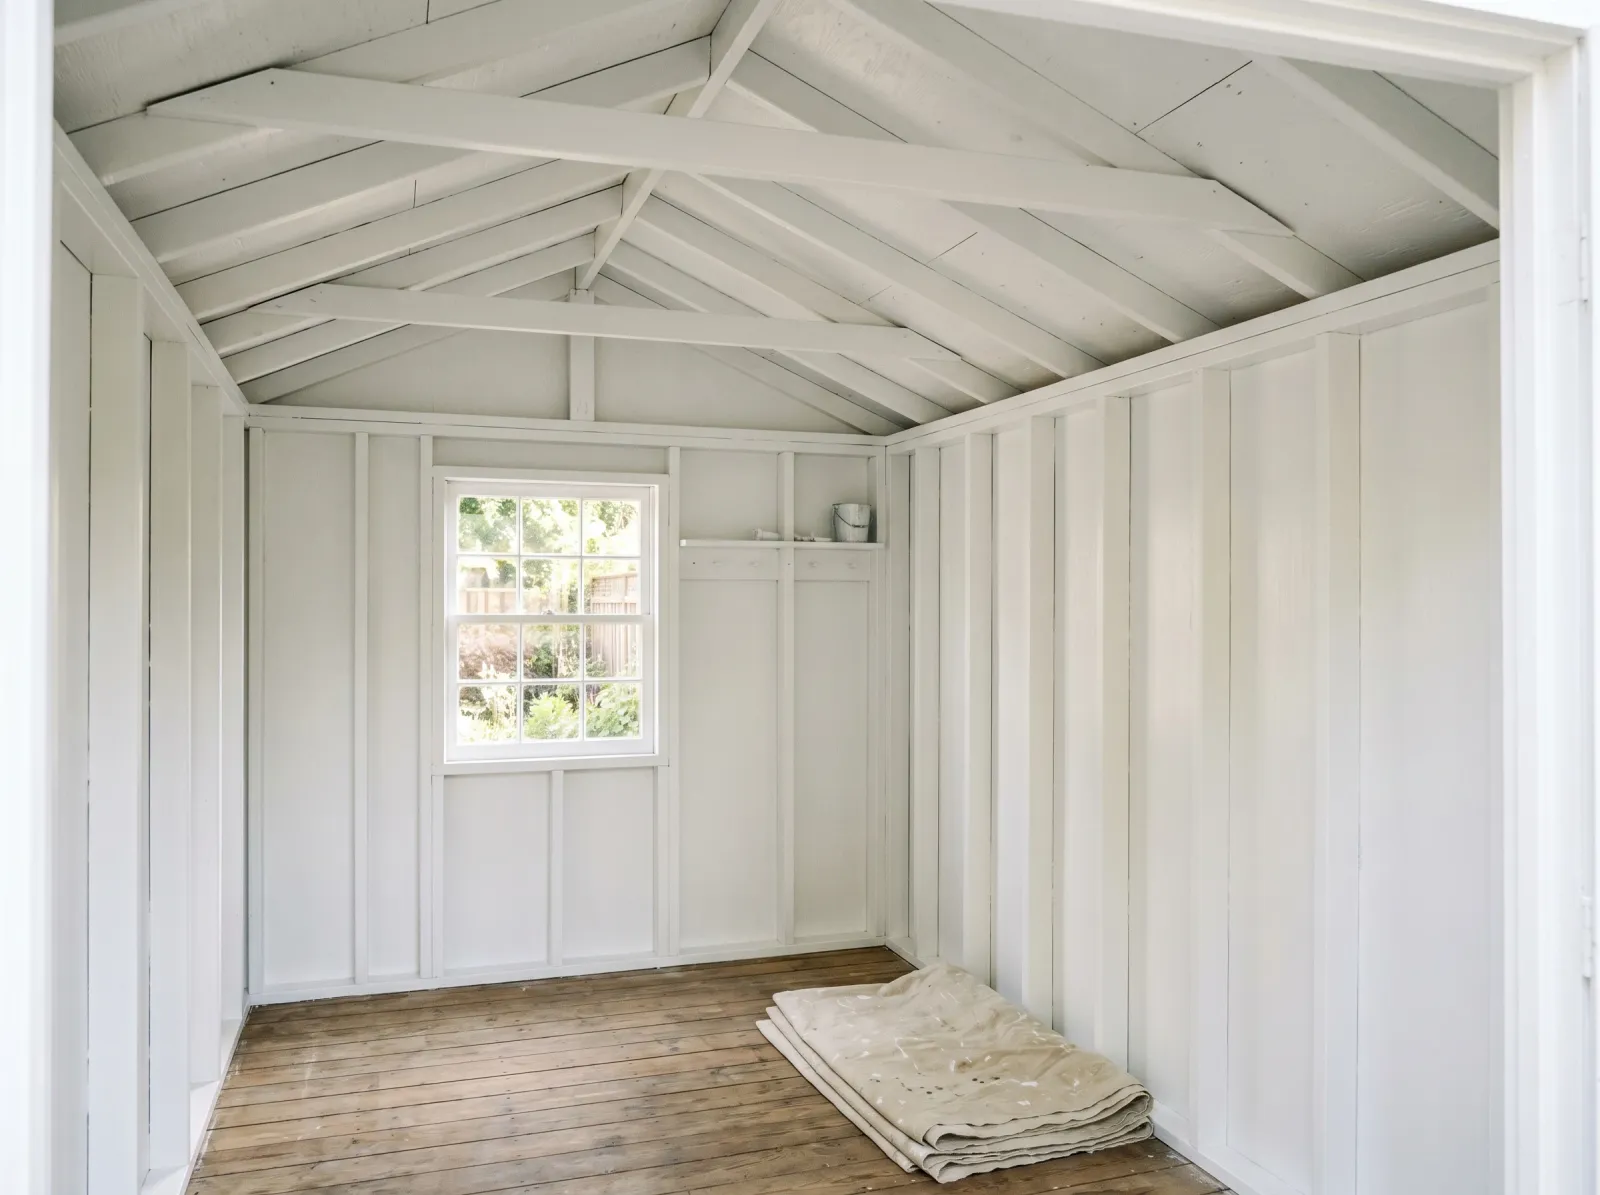
A shed interior is the same three things every time. Bare studs, raw OSB or plywood sheathing, and one weak bulb fighting a losing battle. You walk in and you can’t find the 10mm socket because the whole box is the color of a paper bag.
Paint fixes that. Not for looks. For light. A white shed interior throws every lumen back at you, and a satin sheen means you can wipe the grime off instead of living with it. The job is a weekend and the rules are short.
What You’ll Get
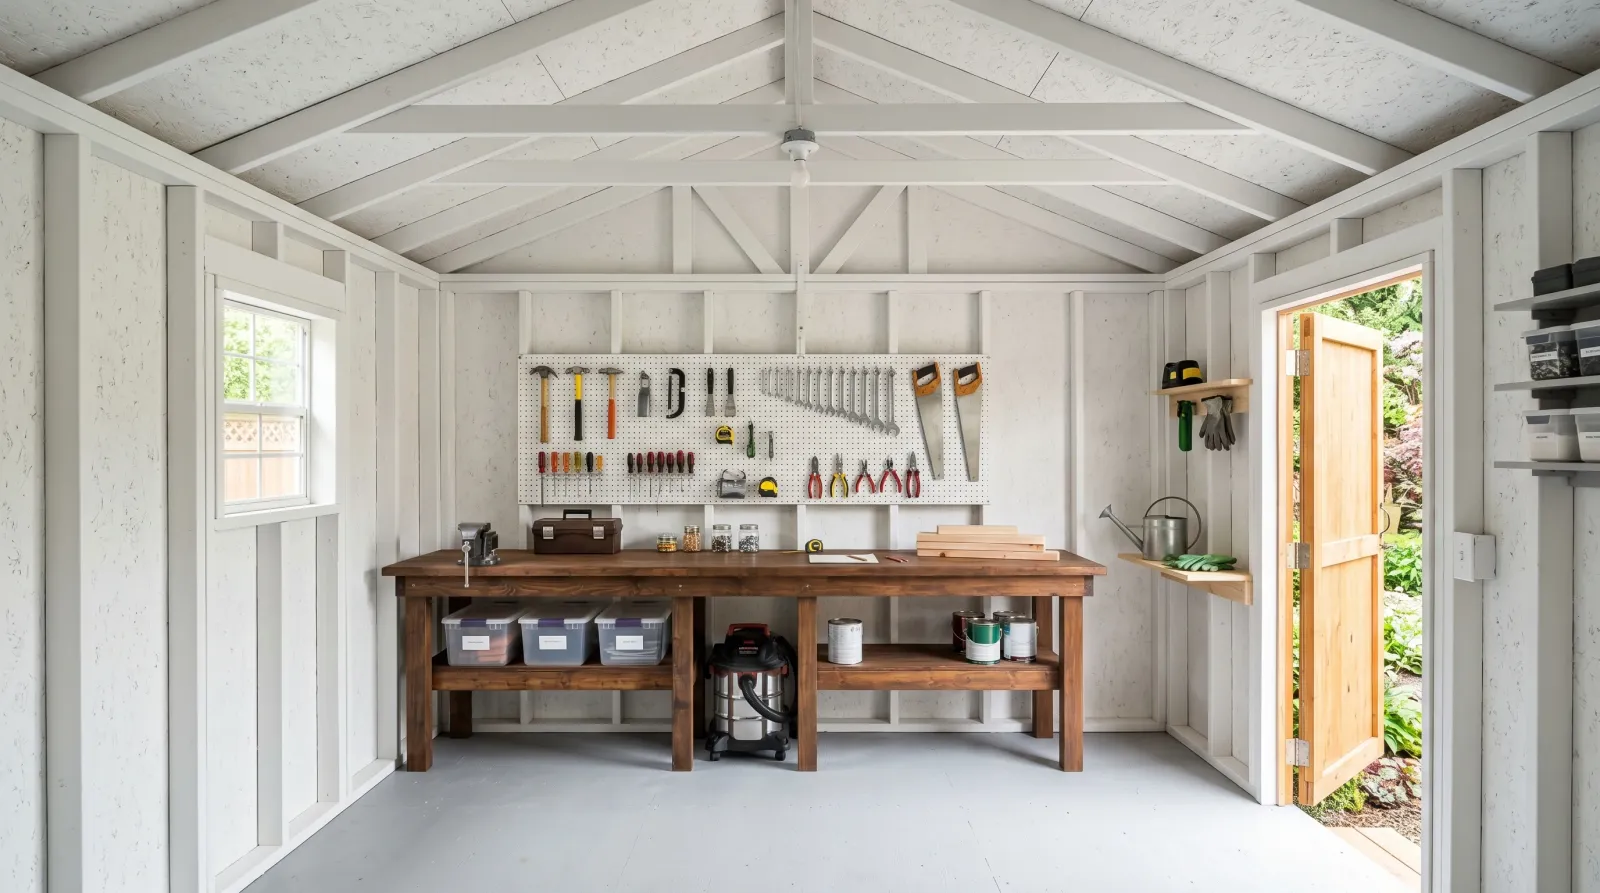
A bright, wipeable workshop instead of a dark storage box. Two coats of white over primed framing, and the room reads twice as big.
Honest Take on Difficulty and Time
This is an easy project. No furniture to move, no carpet to ruin, no neighbor watching. The catch is the surface. Bare wood and OSB drink primer, and you’re painting overhead on the roof sheathing, which is slow and drips on your face.
A 10×12 shed runs about 8 working hours with a brush and roller. Half that if you own a sprayer and mask off the window. Add overnight dry time between primer and the finish coats. Don’t try to do primer and two coats in one day; the primer needs to set or your white coat lifts it.
Realistic plan: prep and prime Saturday, two coats Sunday. Gear back in Monday night.
What You’ll Need
Paint and Primer
One gallon of stain-blocking primer does the heavy lifting. Oil-based Zinsser Cover Stain grabs OSB better than anything water-based, because OSB has wax in the resin and water-based primer slides off it. If the smell is a problem in a closed shed, KILZ 2 water-based works on plywood and pine; just open the door.
Then a gallon of interior/exterior latex in satin or semi-gloss, white. The interior/exterior line matters because a shed swings hot and cold and damp, more like an outside wall than a living room. Behr Premium Plus, BM Ben, and Glidden Premium all hold up. For the full rundown on sealing thirsty bare wood, see the best primer round-up.
Keep a quart of Zinsser BIN on the bench for the knots. That’s a separate job from the wall primer and you can’t skip it.
Tools
A 9-inch roller with a 3/4-inch nap sleeve. The thick nap is the whole game on rough framing; a short nap skates over the OSB texture and misses half the surface. A 2.5-inch angled brush for cutting into corners and around the studs. An extension pole for the upper walls and the underside of the roof.
If you’ve got a sprayer, use it. Raw framing with a hundred stud edges is exactly the surface a brush hates and a sprayer eats. Picks are in the paint sprayer round-up. Back-roll the first sprayed coat into the OSB so it bites; don’t just lay it on the surface.
Step 1 — Clear It Out and Knock Down the Dust
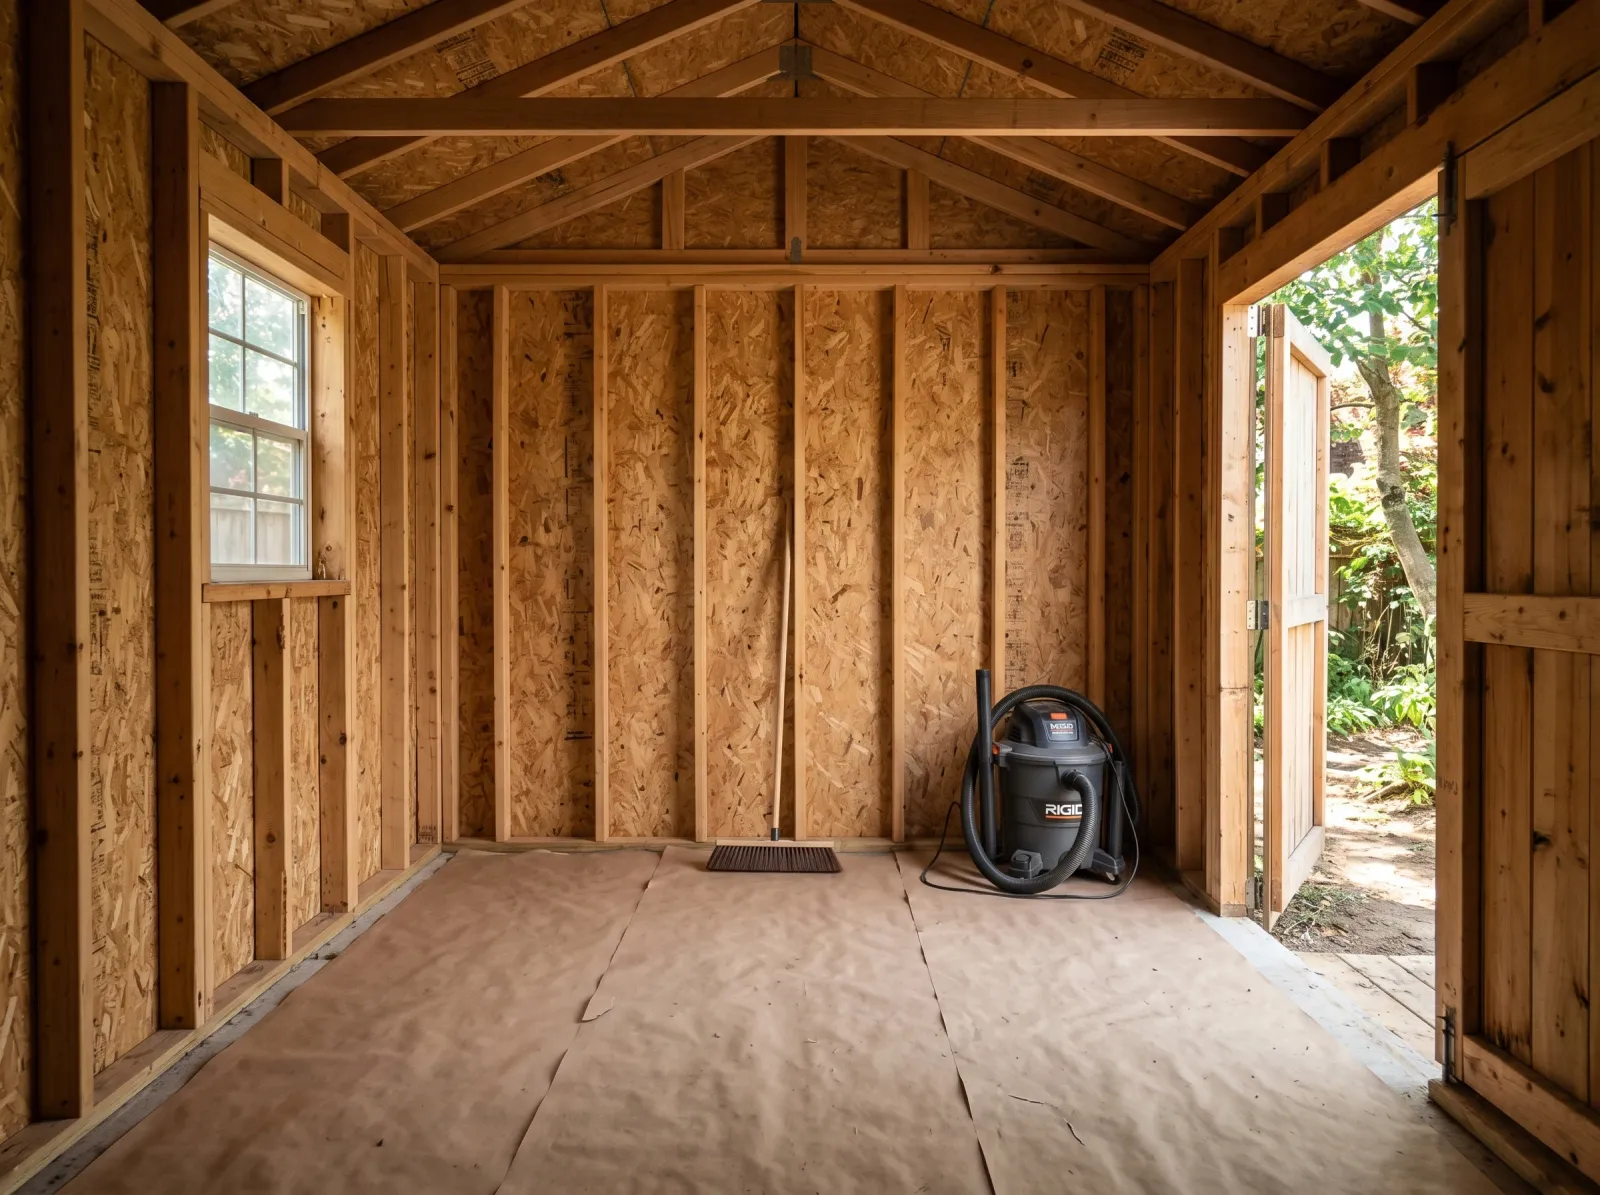 Everything out, swept, cobwebs gone. Paint won’t stick to a dusty stud.
Drag everything out, or pile it dead center and throw a sheet over it. Sweep the floor, then go after the cobwebs and sawdust in the stud bays with a shop vac or a stiff broom. Bare wood holds dust, and dust under primer is the same as not priming.
Lay rosin paper or a drop cloth over the floor. A shed floor is usually OSB or bare concrete and you won’t care about a few drips, but the paper saves you scraping later.
Watch out for wasp nests in the rafters. Check before you stick your head up there. Every shed has at least one tenant.
Step 2 — Spot-Prime the Knots, Then Prime Everything
 Shellac on the knots first. Then a full primer coat over studs and sheathing.
Pine framing is full of knots, and knots bleed. The sap and resin push amber-brown straight through latex paint, and through most primers too. Dot Zinsser BIN on every knot and sap streak with a cheap brush. BIN is shellac; it dries in 15 minutes and it’s the only thing that reliably locks knot bleed. For the why behind it, see what shellac primer does and the deeper fix for knots bleeding through.
Once the knots are sealed, roll a full coat of stain-blocking primer over everything. Studs, the sheathing between them, the roof underside. The 3/4-inch nap reaches into the OSB chip texture; a thin coat skips it. Pine and OSB both drink the first coat, so don’t panic when it looks patchy. The primer’s job is to seal, not to cover.
Let it dry overnight. Oil-based primer says recoat in two hours on the can, but in a cool shed it takes longer, and you want it hard before the finish coat.
Watch out for flash. If you roll primer over a spot that’s already started to set, you drag it and leave a ridge. Keep a wet edge and don’t go back over a section that’s skinning.
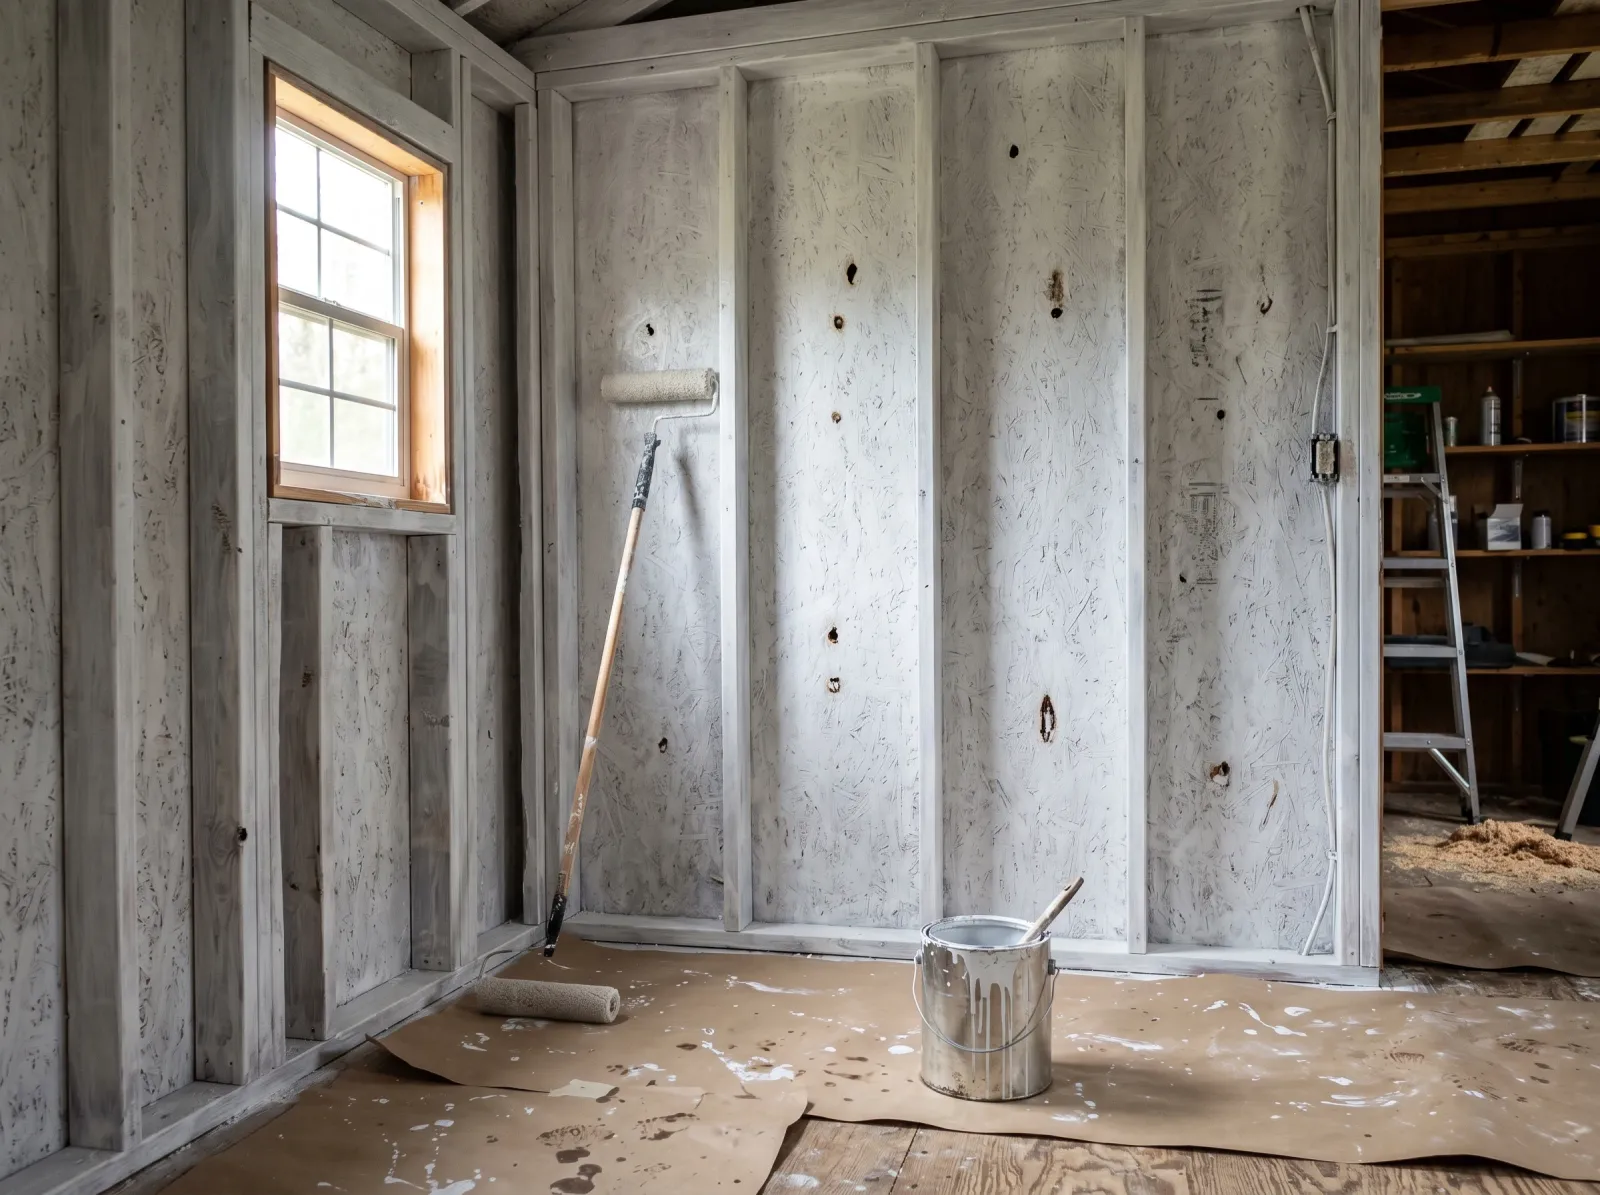
Step 3 — Cut In and Roll the First White Coat
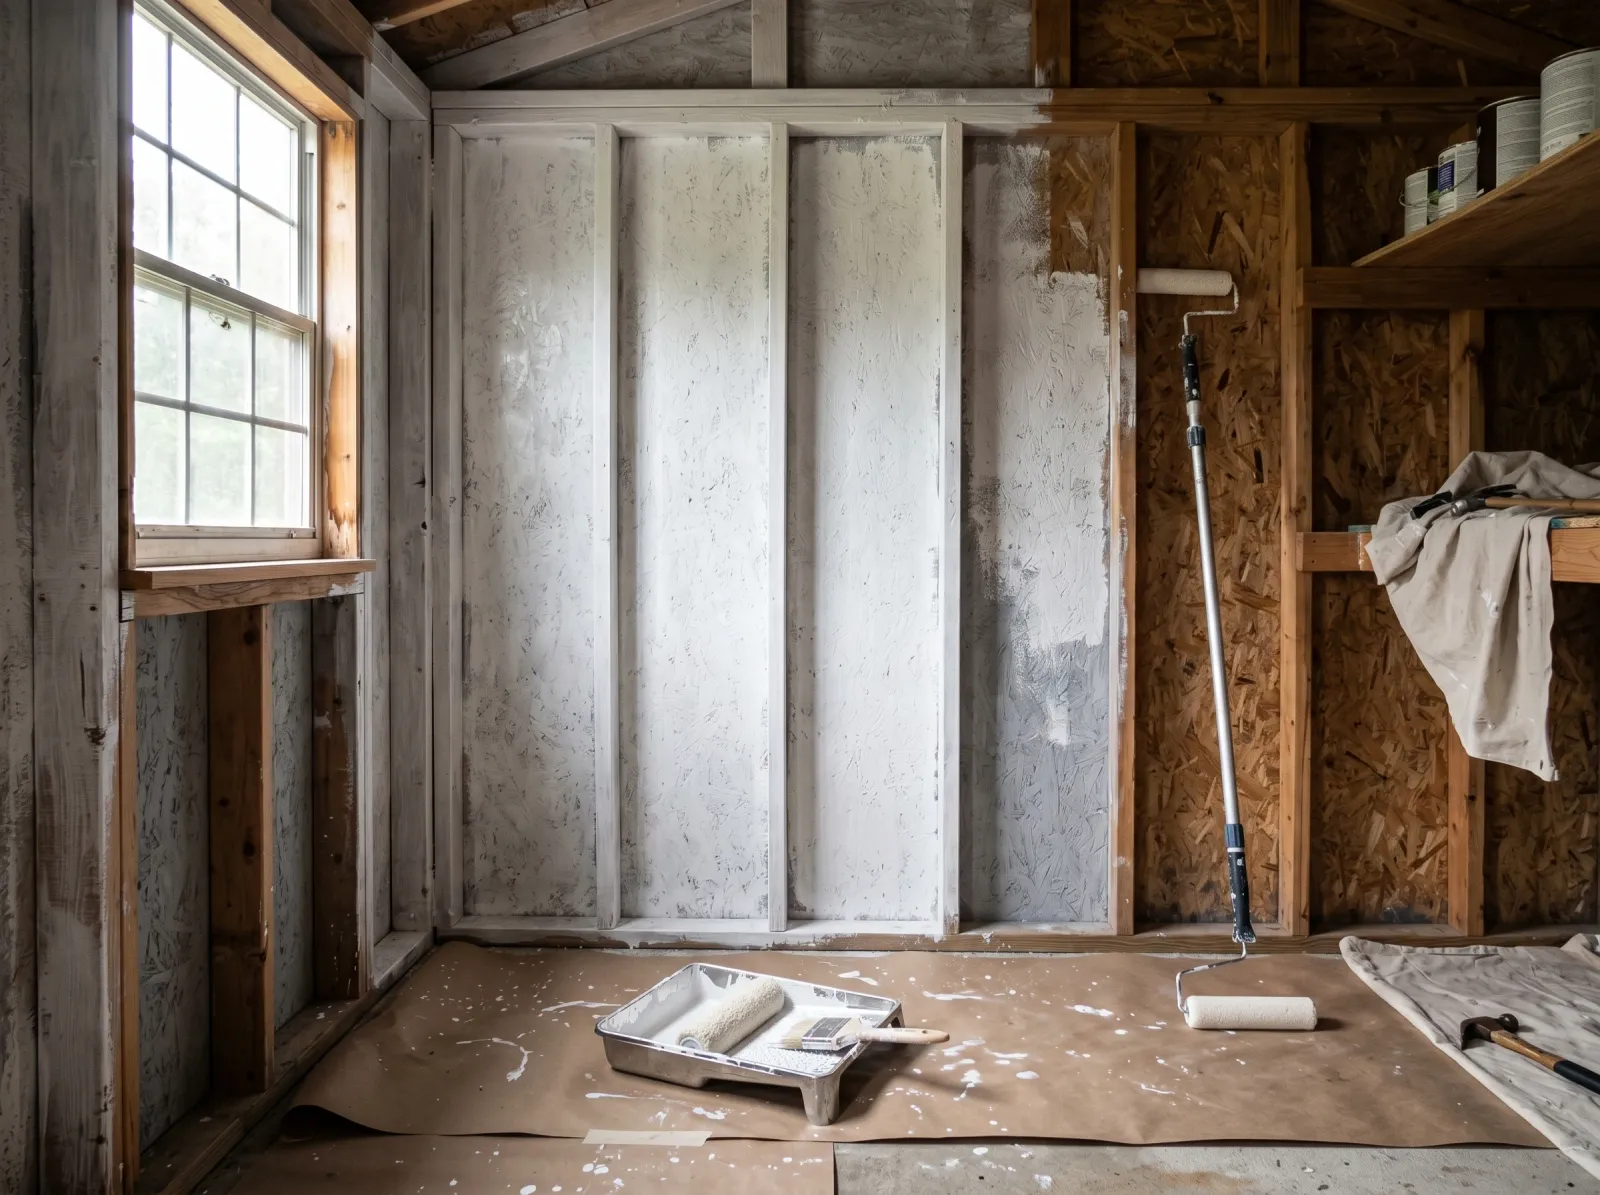 Cut the corners, roll the flats. The box starts to brighten on the first coat.
Cut in the corners and around the framing with the angled brush first, then roll while the cut-in is still wet. Same rule as any wall: roll into the wet brush line so you don’t get a band where the two meet. Around exposed studs that means brushing the stud faces and rolling the bay between them.
White over grey primer jumps fast. The room gets brighter on this coat alone. It’ll still look thin in spots, especially on the OSB. That’s normal. One coat over primed sheathing almost never covers.
If you’re spraying, lay it on in steady passes and back-roll the OSB so the paint keys into the texture instead of bridging across the top of the chips.
Step 4 — Second Coat, Including the Roof
 Second coat evens everything out. Paint the roof underside too or the room reads dark up top.
Second coat is what seals the OSB and evens the white. Hit the walls, the studs, and the underside of the roof sheathing. People skip the roof because it’s awkward overhead work, and then they wonder why the shed still feels dim. The ceiling is half your reflected light. Paint it.
Wear safety glasses for the overhead rolling. White latex misting down into your eyes ends the afternoon early.
Let the second coat dry. If you can still see primer grey through the white anywhere, especially on the thirstiest OSB, spot-roll a third pass on those areas only.
Step 5 — Reset the Shed
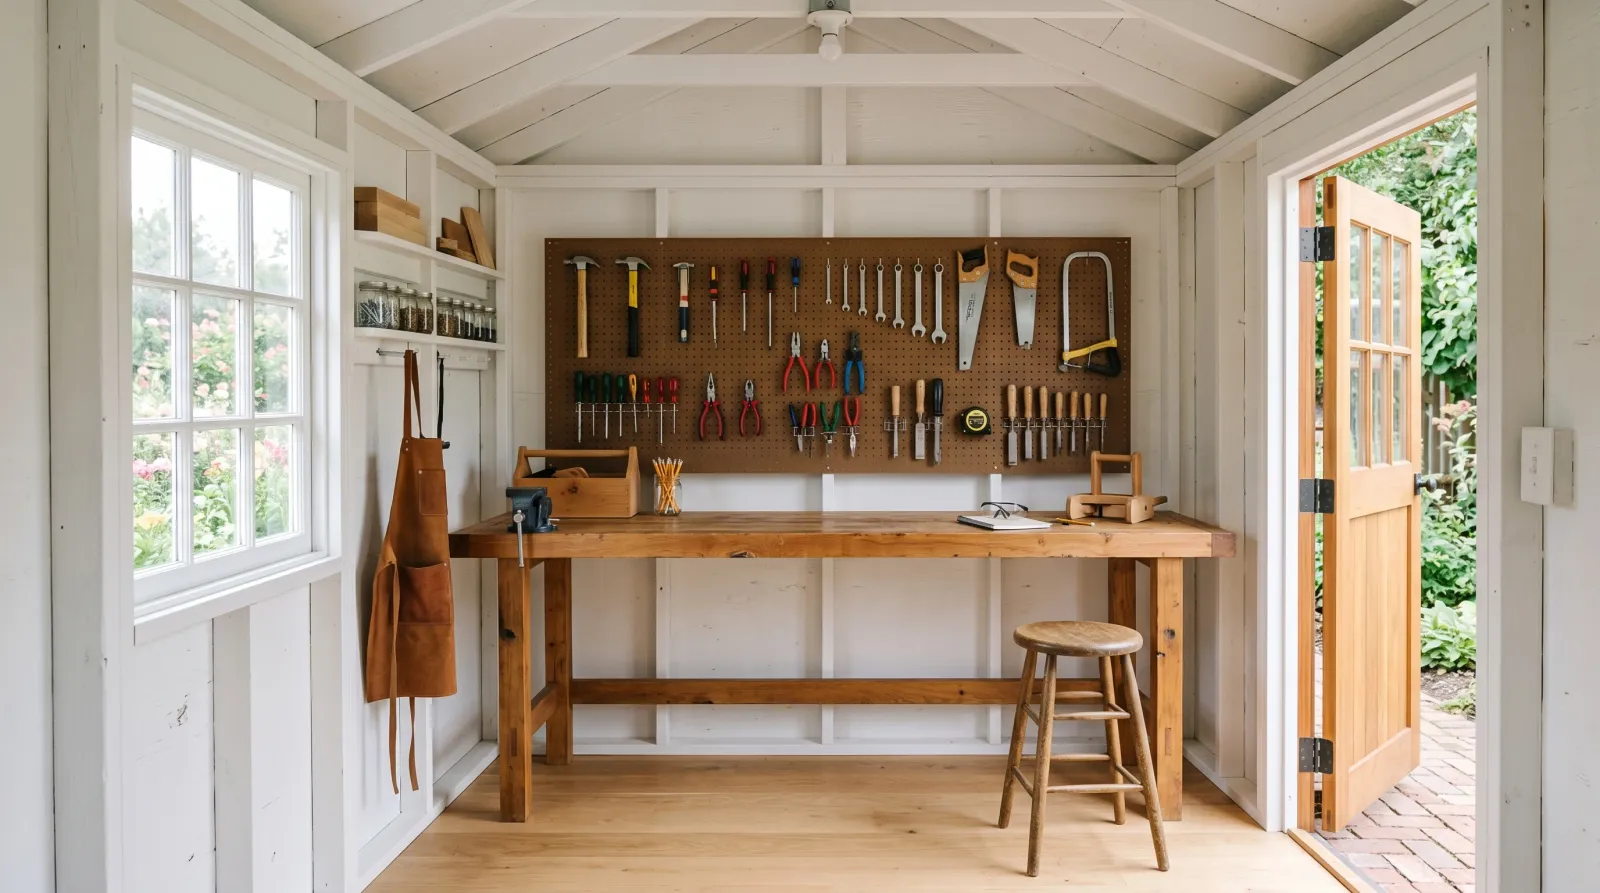 Dry overnight, gear back in. Now you can find the 10mm.
Pull the paper off the floor, let the paint dry overnight, and move the bench and pegboard back in. Latex is touch-dry in a couple of hours but it stays soft for days; don’t slam a steel shelf bracket against a wall that went on yesterday or you’ll dent the film.
Hang a brighter bulb while you’re at it. White walls plus a 100-watt LED equivalent turn a cave into a real workspace.
Common Mistakes
- Skipping primer on bare OSB. The finish coat goes on blotchy, soaks in dead, and never evens out. You end up using more white paint trying to fix it than the primer would have cost. Prime first, every time.
- Not sealing the knots. Every pine knot bleeds amber through your white within a year. BIN on the knots before the primer coat is non-negotiable on raw framing.
- Using flat paint. Flat is cheap and it hides the OSB texture, but it grabs grease and dirt and you can’t wipe it clean. A shed gets dirty. Use satin or semi-gloss so a damp rag works.
- Painting only the walls, not the studs and roof. Half-painted framing keeps the room dark and patchy. The uniform white across studs, bays, and ceiling is what makes the space read bright.
- Painting over water stains without finding the leak. Paint isn’t a roof repair. Stains over fresh paint mean the leak is still there. Fix the flashing or the felt first, then paint.
Cure Schedule
| Time after final coat | What’s safe |
|---|---|
| 2 hours | Touch dry, don’t lean tools on it |
| 24 hours | Move the bench and shelving back in |
| 7 days | Hang heavy gear, scrub light marks |
| 30 days | Full cure, wipe down with soapy water |
Maintenance and Touch-Ups
A primed-and-painted shed interior holds 8 to 12 years before it needs anything, longer than that if the shed stays dry. The enemy is moisture, not wear. A shed with no ventilation sweats in summer and the paint can blister or grow mildew in the corners. Crack the window or add a soffit vent.
For a scuff, wipe it with a damp rag first; most of it is dirt, not damage. For a real gouge from a dropped tool, dab leftover white on with a small brush. Nobody’s grading the inside of your shed. Keep the leftover quart on a shelf and label it.
Cost Breakdown
| Item | $ |
|---|---|
| Stain-blocking primer, 1 gallon | $30 |
| White satin latex, 1 gallon | $35 |
| Zinsser BIN, 1 quart (knots) | $20 |
| Roller, sleeves, brush | $25 |
| Drop cloth or rosin paper, mask | $15 |
| Total | $125 |
A bigger 12×16 shed or one with rough full-dimension framing pushes you to two gallons of white and closer to $160. A small 8×8 with smooth plywood comes in under $80.
What’ll Bite You in Two Years
Mildew in the back corner where no air moves. I see it every time on a sealed-up shed in a humid zone. The paint didn’t fail. The shed has no ventilation and the back wall stays damp, so mildew grows on the paint film. White makes it obvious. A vent now saves a scrub-and-repaint later. If yours already shows it, wash it with a diluted bleach solution before you touch up, or the mildew eats the new paint too.