How to Paint a Dining Table
Painting a dining table the right way: how to prep a real-wood or laminate top, which enamel survives daily meals, and the cure window before you eat on it.

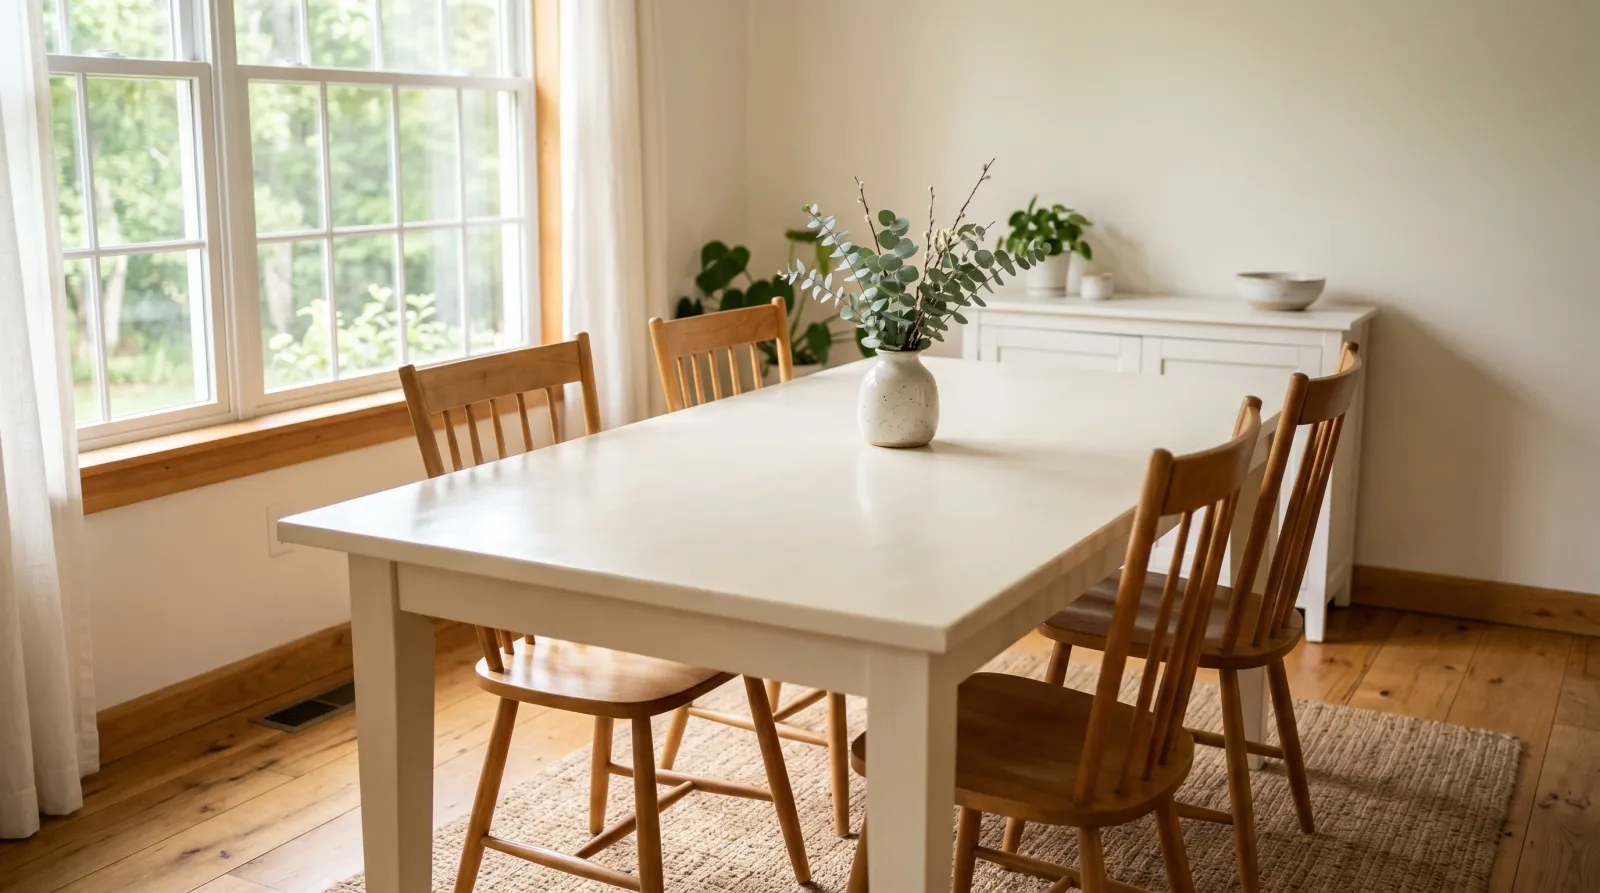
Okay, so the dining table is the one piece of furniture in your house that gets eaten on, done homework on, leaned on, and wiped down twice a day. That’s why painting it scares people more than painting a dresser. A dresser just has to look good. A table has to look good and survive a fork dragged across it at dinner. The fear is real, and the answer is mostly about which paint goes where, not about whether you can do it.
Here’s the thing: the top and the base are two different jobs. The base barely gets touched. The top gets abused. Use the toughest paint on the top and an easy one on the legs, and the project gets less intimidating.
What You’ll Get
A dining table that looks bought, not refinished, with a surface that holds up to daily meals once it cures. A weekend of work, plus a week before you eat on it.
Honest Take on Difficulty and Time
This is a notch harder than a dresser, because the top has to take real wear and you see every flaw under dinner-table light. Plan a weekend of active work, then a full week of cure before daily use. Don’t rush the cure. A table that gets a placemat dropped on it on day three will carry that imprint.
| Method | Active time | Total elapsed | Skill |
|---|---|---|---|
| Cabinet enamel on real wood, scuff-sanded | 5–7 hrs | 1 weekend + 1 week cure | Medium |
| Cabinet enamel on laminate, bonding primer | 6–8 hrs | 2 weekends + 1 week cure | Medium |
| Chalk paint base, enamel top | 6–8 hrs | 1–2 weekends + 1 week cure | Medium |
The active time isn’t long. It’s the waiting between coats and the cure that stretches this across a couple of weekends.
What You’ll Need
Paint and Primer
For the top, use a cabinet enamel: BM Advance, SW Emerald Urethane, or INSL-X Cabinet Coat. Cabinet enamel is a waterborne alkyd (a water-based paint that cures hard like an old oil paint, without the smell). It self-levels, which means brush marks flow out as it dries, and it cures hard enough to take plates and forks. See the best furniture paint round-up for the SKU comparison.
For the legs and base, use the same enamel, or switch to a chalk-style paint if you want a soft matte look. The base doesn’t get handled, so it doesn’t need the toughness.
Primer depends on what’s under the old finish. Slick laminate or a glossy factory top needs a bonding primer (INSL-X Stix or Zinsser Bulls Eye 1-2-3 Plus) so the paint has something to grab. Old wood that might bleed tannin or stain through pale paint needs a stain-blocking primer (Zinsser BIN). Sound real wood with a matte finish may need no primer if you’re using chalk paint.
You also want a top coat for the eating surface: a water-based polyurethane like Minwax Polycrylic or General Finishes High Performance. It takes the daily wear so the paint doesn’t. If you’re torn on which clear coat, the polyurethane vs polycrylic comparison breaks down the difference.
Tools
A 2.5-inch angled brush for the legs and edges, a 4-inch foam-mini roller for the flat top, painter’s tape, a canvas drop cloth, and sanding sponges in 220 and 320 grit. A cordless drill if your top unbolts from the base (a lot do, and it makes the whole job easier). Picks are in the best paint brushes round-up.
Step 1 — Take It Apart and Test the Finish
Flip the table over and look underneath. Most dining tables have the top bolted to an apron or base with four to six bolts. If yours does, take the top off and work it flat on sawhorses. Painting a flat surface is far easier than reaching across a standing table, and the top is the part that matters most.
Before you sand anything, figure out what finish is on the table. Wet a cotton ball with denatured alcohol and rub a hidden spot (under the lip of the top, inside the apron) for 30 seconds. If the finish dissolves and gets sticky, it’s shellac. If it softens but doesn’t dissolve, it’s old varnish. If nothing happens, it’s lacquer, polyurethane, or a laminate factory top. For the full finish-ID rundown, see how to repaint old wood furniture.
Watch out for veneer. A lot of older tables are thin real-wood veneer over particleboard. Run your nail across an edge: if you see a seam where a thin layer sits on top, sand gently so you don’t cut through it.
Step 2 — Prep the Surface
This is where the project lives or dies. The top takes the most abuse, so it gets the most careful prep.
Real wood, sound finish: scuff the whole table with a 220-grit sponge until the gloss is gone and the surface feels even and dull. Vacuum, then wipe with a tack cloth.
Laminate, melamine, or glossy factory top: scuff with 220, then plan on bonding primer in the next step. Sanding alone won’t make paint stick to a slick factory surface. For the material-specific details, see the guide to painting laminate furniture.
Heavy old varnish: a 220 scuff plus a bonding primer, or strip it if it’s peeling. Varnished tops often hide tannin that bleeds yellow through pale paint, so plan a stain-blocking primer too. The painting over varnished wood guide covers the bleed-through problem in depth.
Fill dents and gouges in the top with a hard wood filler, let it dry, and sand flush with 220. Dents you ignore now read as shadows under dinner-table light later.
Step 3 — Prime Where the Surface Needs It
Skip priming only if you’re chalk-painting sound real wood. For everything else, prime.
Roll the flat top with the foam-mini, brush the legs and apron edges with the angled brush. INSL-X Stix gets one full coat on laminate and glossy wood. Zinsser BIN gets two thin coats over tannin-prone or stained wood. Let it dry overnight, then knock down any nibs with a 320-grit sponge and wipe with a tack cloth.
A primed top should look uniform and slightly chalky. If you can still see the old color or grain ghosting through, give it a second coat before you move on.
Step 4 — Paint the Top
Cabinet enamel on the top, rolled thin with the foam-mini, brushed into the edges with the angled brush. Add Floetrol at about 5% (roughly 6 ounces per gallon, less for a quart) to extend the wet edge and let brush marks flow out.
Two thin coats beat one thick coat, every time. A thick coat sags, dries unevenly, and never cures as hard. Roll in one direction across the whole top, then lightly tip off with the brush in the direction of the wood grain so the surface stays consistent. Let the first coat dry the time on the can (16 hours for BM Advance, less for others), scuff lightly with 320, tack, then second coat.
Watch out for the over-loaded roller. A puddle on a flat horizontal top dries as a ridge you can’t sand out without going back to primer. Roll the excess off on the tray ramp until the sleeve stops dripping.
Step 5 — Paint the Base, Then Top-Coat the Surface
Paint the legs and base now if you didn’t do them alongside the top. Same enamel, or chalk paint if you went that route. Two coats, brushed in the direction of the grain.
Then seal the top with a water-based polyurethane. Two thin coats of Minwax Polycrylic or General Finishes High Performance, brushed on with a soft synthetic brush, scuffing with 320 between coats. This is the layer that takes the daily wear instead of your paint. It’s optional over cabinet enamel and required over chalk paint, but on a table that gets eaten on, put it on either way. The base doesn’t need it.
Step 6 — Reassemble and Reset
Once the top coat is dry to the touch (a few hours), bolt the top back to the base and set the table back in the room. Hold off on dishes, runners, and centerpieces for a week. The paint is dry but not hard yet, and anything left sitting on it in that window can imprint.
Common Mistakes
- Using chalk paint on the eating surface. Chalk paint dents under a fingernail and stains where a wet glass sits, even sealed. Use cabinet enamel on the top. Save chalk paint for the legs.
- Skipping bonding primer on laminate. The top looks fine for a week, then the paint lifts the first time a plate slides across it. Slick factory surfaces need INSL-X Stix or the paint has nothing to hold.
- Not sealing a chalk-painted top. Chalk paint without a poly top coat is not wipeable. The first spilled drink soaks in and you can’t wipe it clean. Two coats of Polycrylic fixes it.
- Eating on it too soon. Waterborne paint feels dry in hours but cures for 30 days. Put a hot plate or a heavy bowl on it in week one and you’ll see the mark. Placemats and patience for the first month.
- Painting the top while it’s still standing. Reaching across a standing table means drips, uneven coats, and brush marks where you double back. Unbolt the top and work flat if the table lets you.
Cure Schedule
| Time after final coat | What’s safe |
|---|---|
| 4 hours | Touch dry; don’t set anything on it |
| 24 hours | Reassemble; handle gently |
| 7 days | Light daily use with placemats |
| 30 days | Full cure; normal meals, wipe clean |
Maintenance and Touch-Ups
A cabinet-enamel top sealed with poly lasts 8 to 12 years of daily meals before it needs a refresh. The legs and base last longer because nothing touches them. Wipe the top with a mild soapy cloth, not an abrasive scrubber, and use placemats and trivets for hot dishes.
For a chip or scratch on the top, dab the original paint on with a small artist’s brush, let it cure, then spot-seal with a little poly. Don’t feather across a whole panel; the touch-up reads brighter than the cured paint and you’ll see the seam. Keep the leftover quart labeled with the color name and code.
Cost Breakdown
| Item | $ |
|---|---|
| Cabinet enamel, 1 quart | $25–$45 |
| Chalk paint for base, 1 quart (optional) | $30 |
| Bonding or stain-blocking primer, 1 quart | $15 |
| Poly top coat, 1 quart | $20 |
| Brush, foam roller, sleeves | $25 |
| Sponges, tack cloth, Floetrol | $20 |
| Total | $70–$120 |
A thrifted solid-wood table at $60 plus materials lands around $150. A new solid-wood dining table of the same size runs $500 to $1,200, and most in that range are veneer over particleboard anyway.
A Specific Recommendation
Solid-wood table, sound finish, used every night: scuff with 220, two coats of Benjamin Moore Advance in satin on the top and base, and two coats of Minwax Polycrylic over the top. Scuff Friday, two coats over the weekend, top coat Monday. Back in the room by next weekend, eating on it the weekend after.
Laminate table, kids’ homework station: bonding primer first (INSL-X Stix), then INSL-X Cabinet Coat, then poly. The primer is the only thing standing between your paint and a peel, so don’t skip it to save a step.