How to Paint a Dining Room
Painting a dining room? Pick the right sheen, protect the table, and roll two even coats. Every term defined inline, plus the fix for when a wall goes streaky.

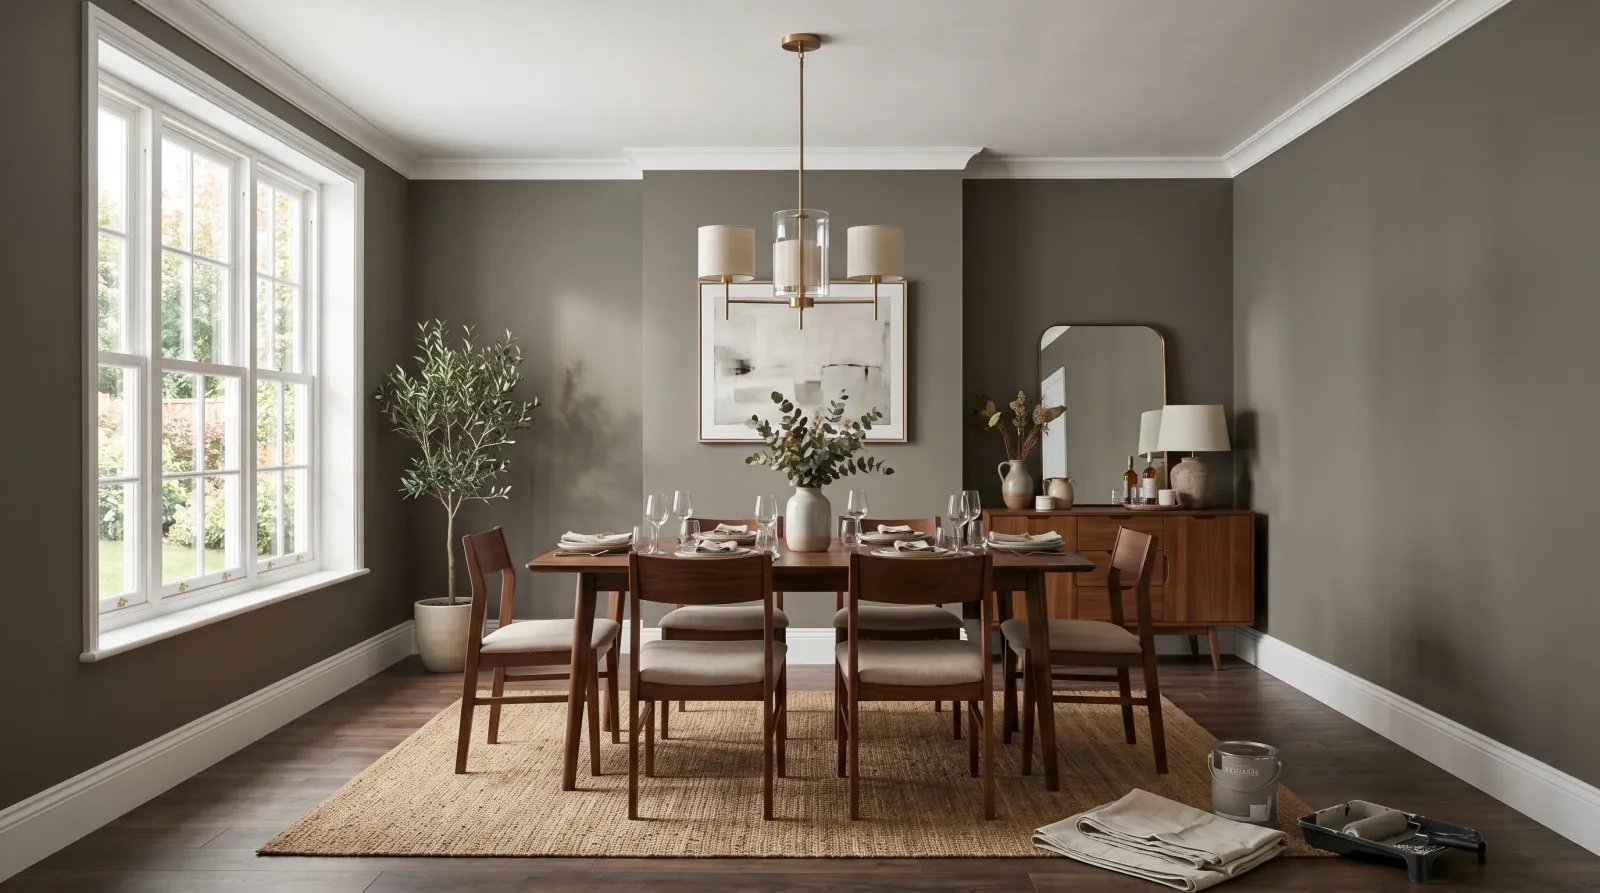
Okay, so the dining room is the one room where people sit and stare at the walls for two hours straight. Dinner, holidays, the long conversation after dessert. There’s nowhere for a bad cut line or a streaky patch to hide, because someone across the table has nothing to do but look at it. That’s the part that makes a dining room feel intimidating, and it’s also the part you can completely control with the right order and the right sheen.
Here’s the thing: a dining room is one of the easier rooms to paint. It’s mostly empty. No fixed cabinets, no toilet to work around, usually one big window and one doorway. The job is the table, the sheen choice, and two clean coats.
What You’ll Get
A dining room that looks right under both daylight and warm evening light, with walls that wipe clean when the gravy goes flying. One weekend, including the ceiling if you want it.
Honest Take on Difficulty and Time
A standard 12×14 dining room takes a first-timer about 8 to 12 working hours over two days. Day one: clear the room, patch, tape, paint the trim. Day two: roll the ceiling if you’re doing it, then two coats on the walls. Add a day of dry time before the table goes back tight against a wall.
The big variable is the color. A pale greige covers in two coats easy. A deep saturated green or a moody navy can need three coats, sometimes over a tinted primer. If you’re going dark, plan for the extra coat and don’t panic when coat one looks blotchy. Deep colors always do.
What You’ll Need
Paint and Primer
A 1-gallon can of wall paint in eggshell (a soft low-shine finish, not flat and not glossy) or satin (one step shinier, a little tougher). Either works in a dining room. Lean satin if there are kids at the table or the room shares a wall with the kitchen. For the trim, a 1-quart can of semi-gloss, which is the shiny finish that wipes clean and is what trim is supposed to look like. If you’re painting the ceiling, a gallon of flat ceiling paint. Flat hides every drywall ripple overhead.
A 12×14 room takes about 1.25 gallons of wall paint for two coats. Buy the second gallon. The chair backs will scuff the wall behind them within a year and the leftover is your fix.
Going dark, going light over dark, or covering water stains? You need stain-blocking primer (Zinsser BIN or KILZ Original). For a deep color, ask the counter to tint the primer gray or toward your final shade. That gray base is what saves you a third top coat. The primer vs paint-and-primer-in-one explainer covers when the all-in-one cans actually do the job and when they don’t.
See the sheen guide if you’re stuck between eggshell and satin, and the best trim paint round-up for the semi-gloss picks.
Tools
A 2.5-inch angled brush for cutting in (painting a clean band along the trim and ceiling that the big roller can’t reach). A 9-inch roller frame, two 3/8-inch nap microfiber sleeves, a tray with liners, an extension pole, a step ladder, painter’s tape, spackle, and two canvas drop cloths.
The brush is the one place not to cheap out. A $4 brush sheds bristles into your finish and leaves a ragged cut line you’ll see from across the table. A $14 Wooster or Purdy holds a crisp edge for years. The roller picks live here.
Step 1 — Clear the Room and Patch the Walls
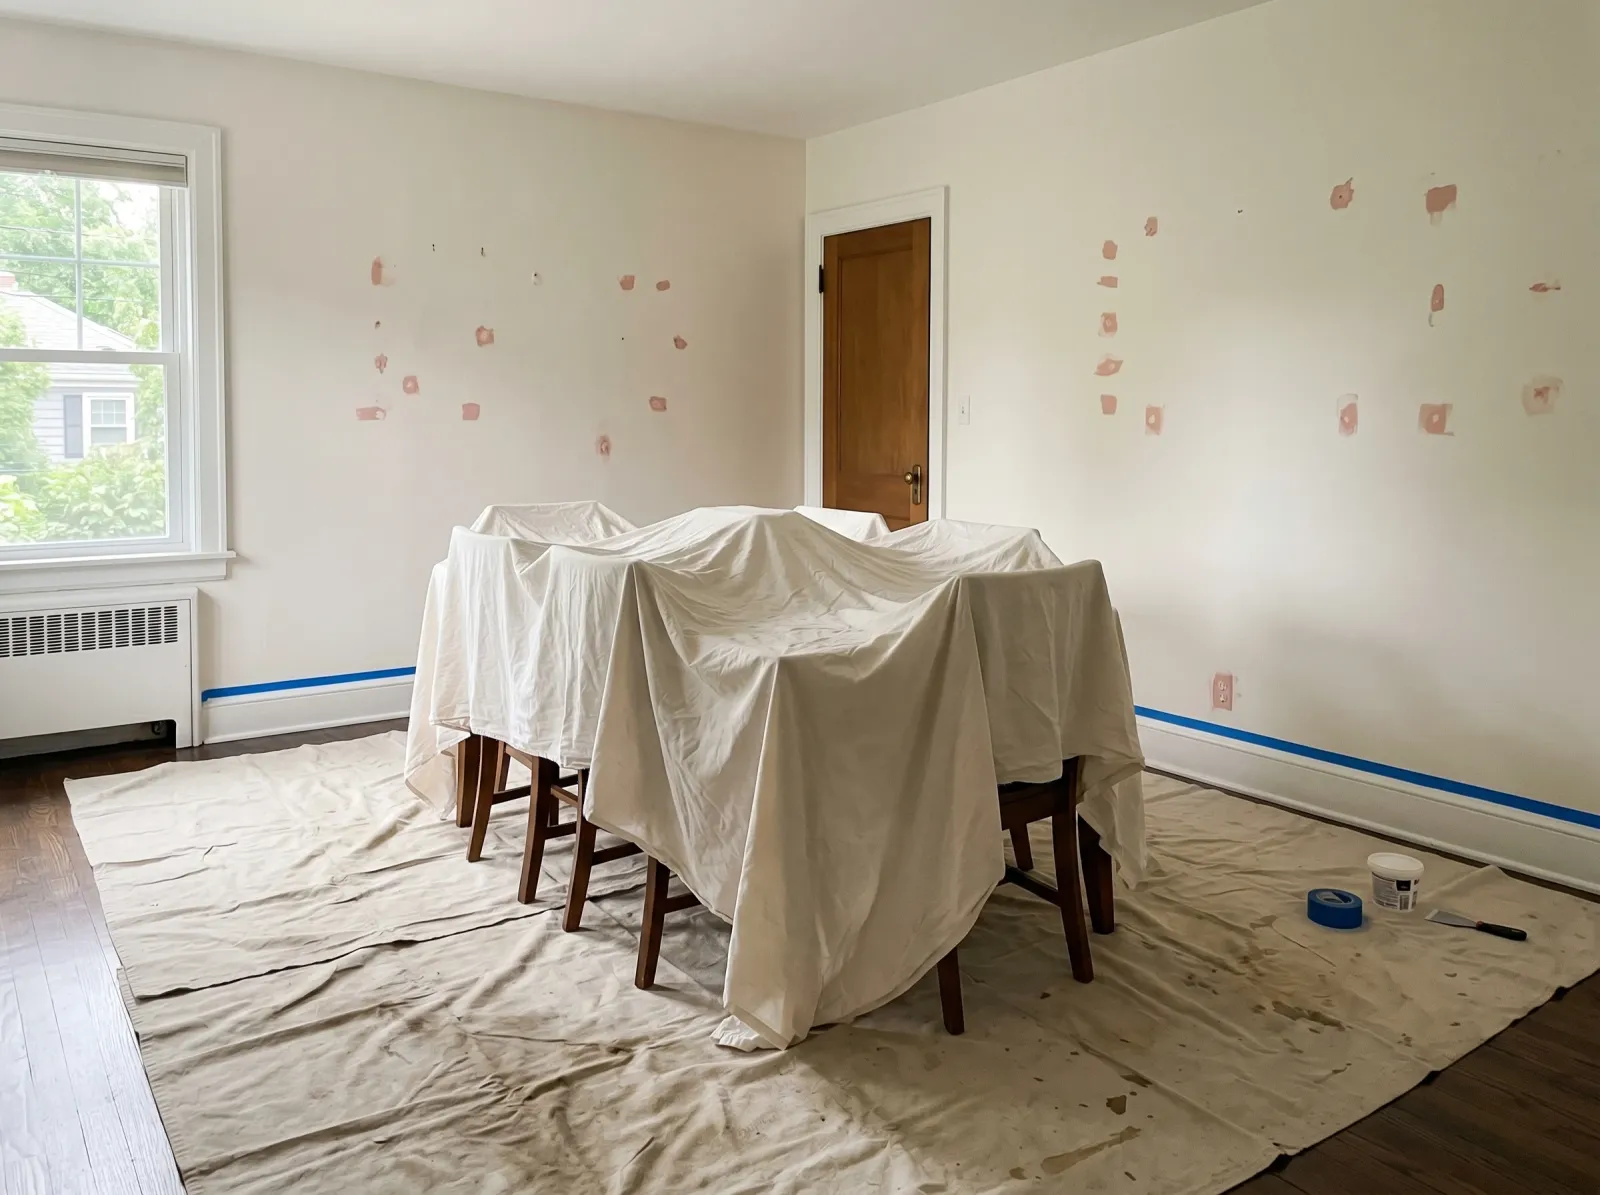
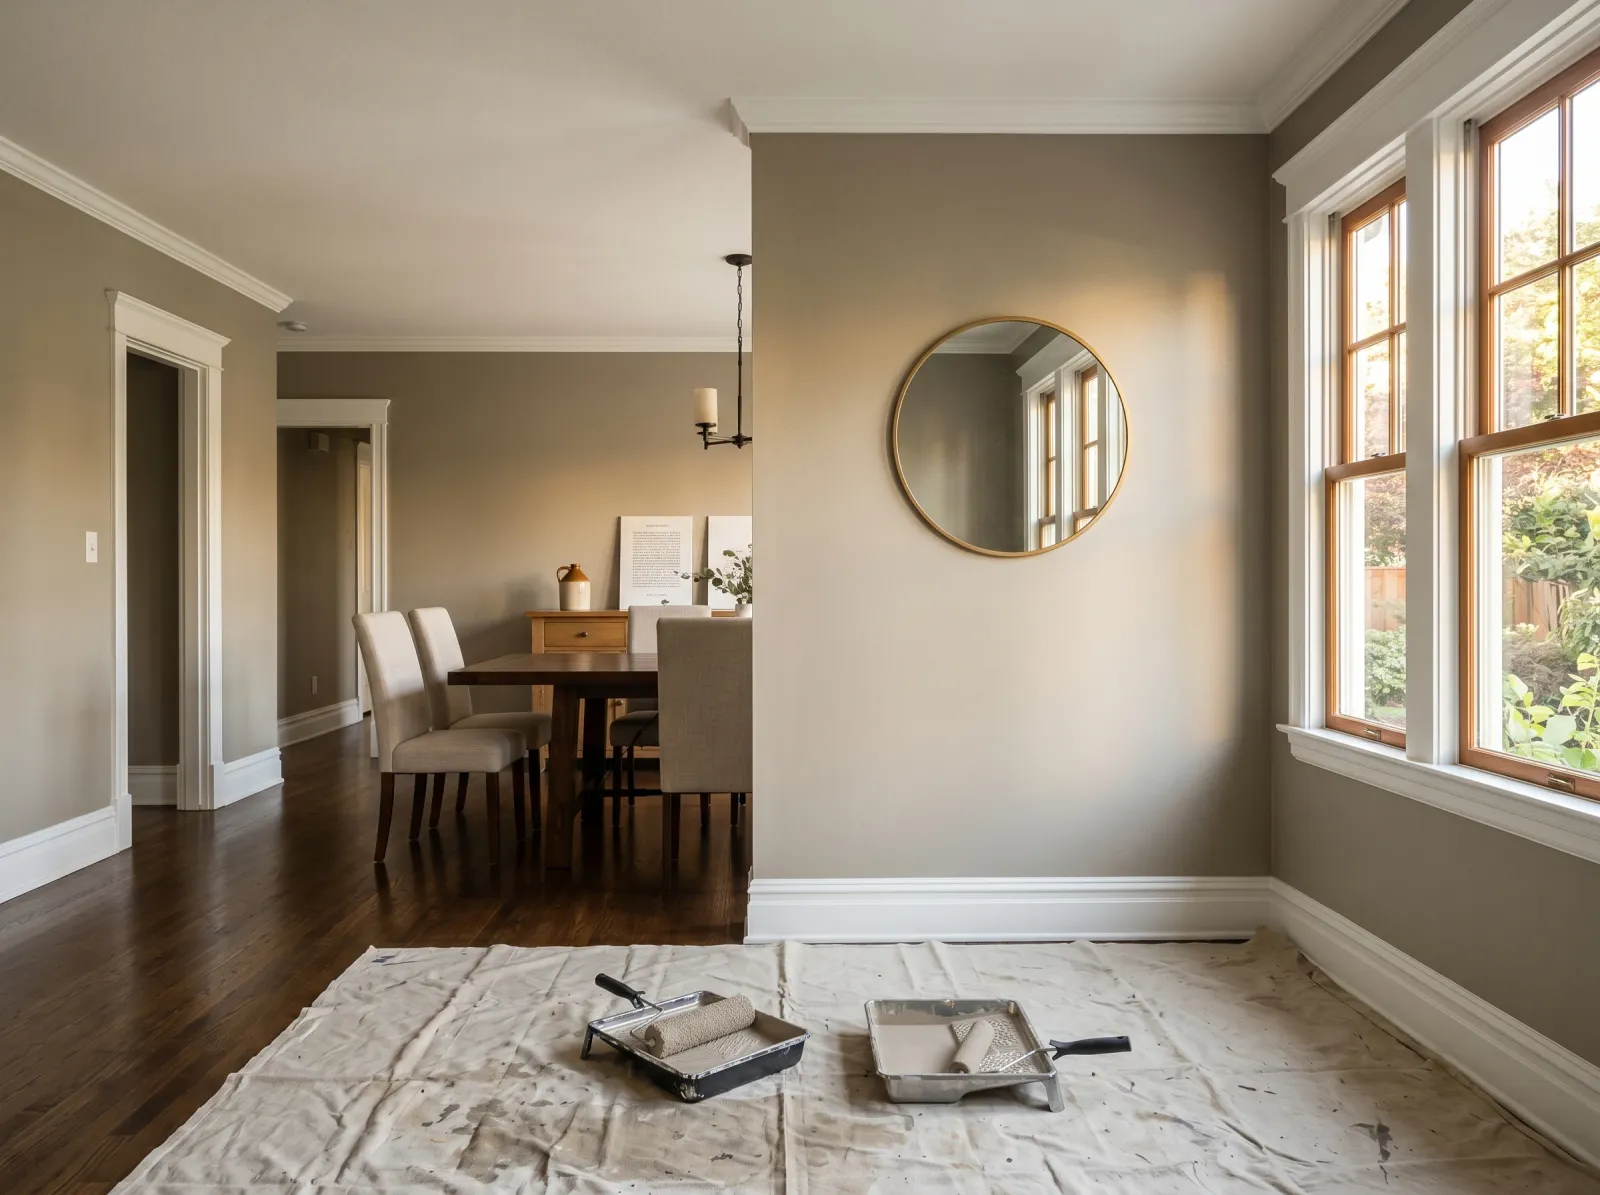
Dining table and chairs pulled to the center under a sheet, floor double-covered, nail holes spackled, tape down.
Pull the table and chairs to the center of the room and throw a sheet over them. If the table is too heavy to move far, push it 3 feet off the walls and drape it well. A dining table is usually the nicest piece of furniture in the house, so cover it like it matters. Take down any artwork, the curtains, and the outlet and switch plates. Bag the screws.
Find every nail hole and ding, press spackle in with the putty knife, scrape it flush, let it dry 30 minutes, then sand smooth with the 220-grit sponge. DryDex goes on pink and turns white when it’s dry, which tells you when to sand.
Watch out for picture-rail holes and anchor sleeves. Dining rooms collect a lot of hung art over the years. Pull every anchor and fill the hole, or it’ll telegraph through the new paint.
Step 2 — Tape and Cover the Floor
Run painter’s tape along the top of the baseboard, around the window and door casings, and at the ceiling line if your ceiling color stays. Press the edge down hard with a fingernail or the corner of a credit card so paint can’t bleed under it. Bleed is paint sneaking past the tape and leaving a fuzzy line. The press is what stops it.
A dining room is mostly open floor, so use two drop cloths and overlap them. Canvas, not plastic. Canvas doesn’t slide underfoot and it soaks up drips instead of letting them pool where a chair leg will track them.
Step 3 — Paint the Trim First
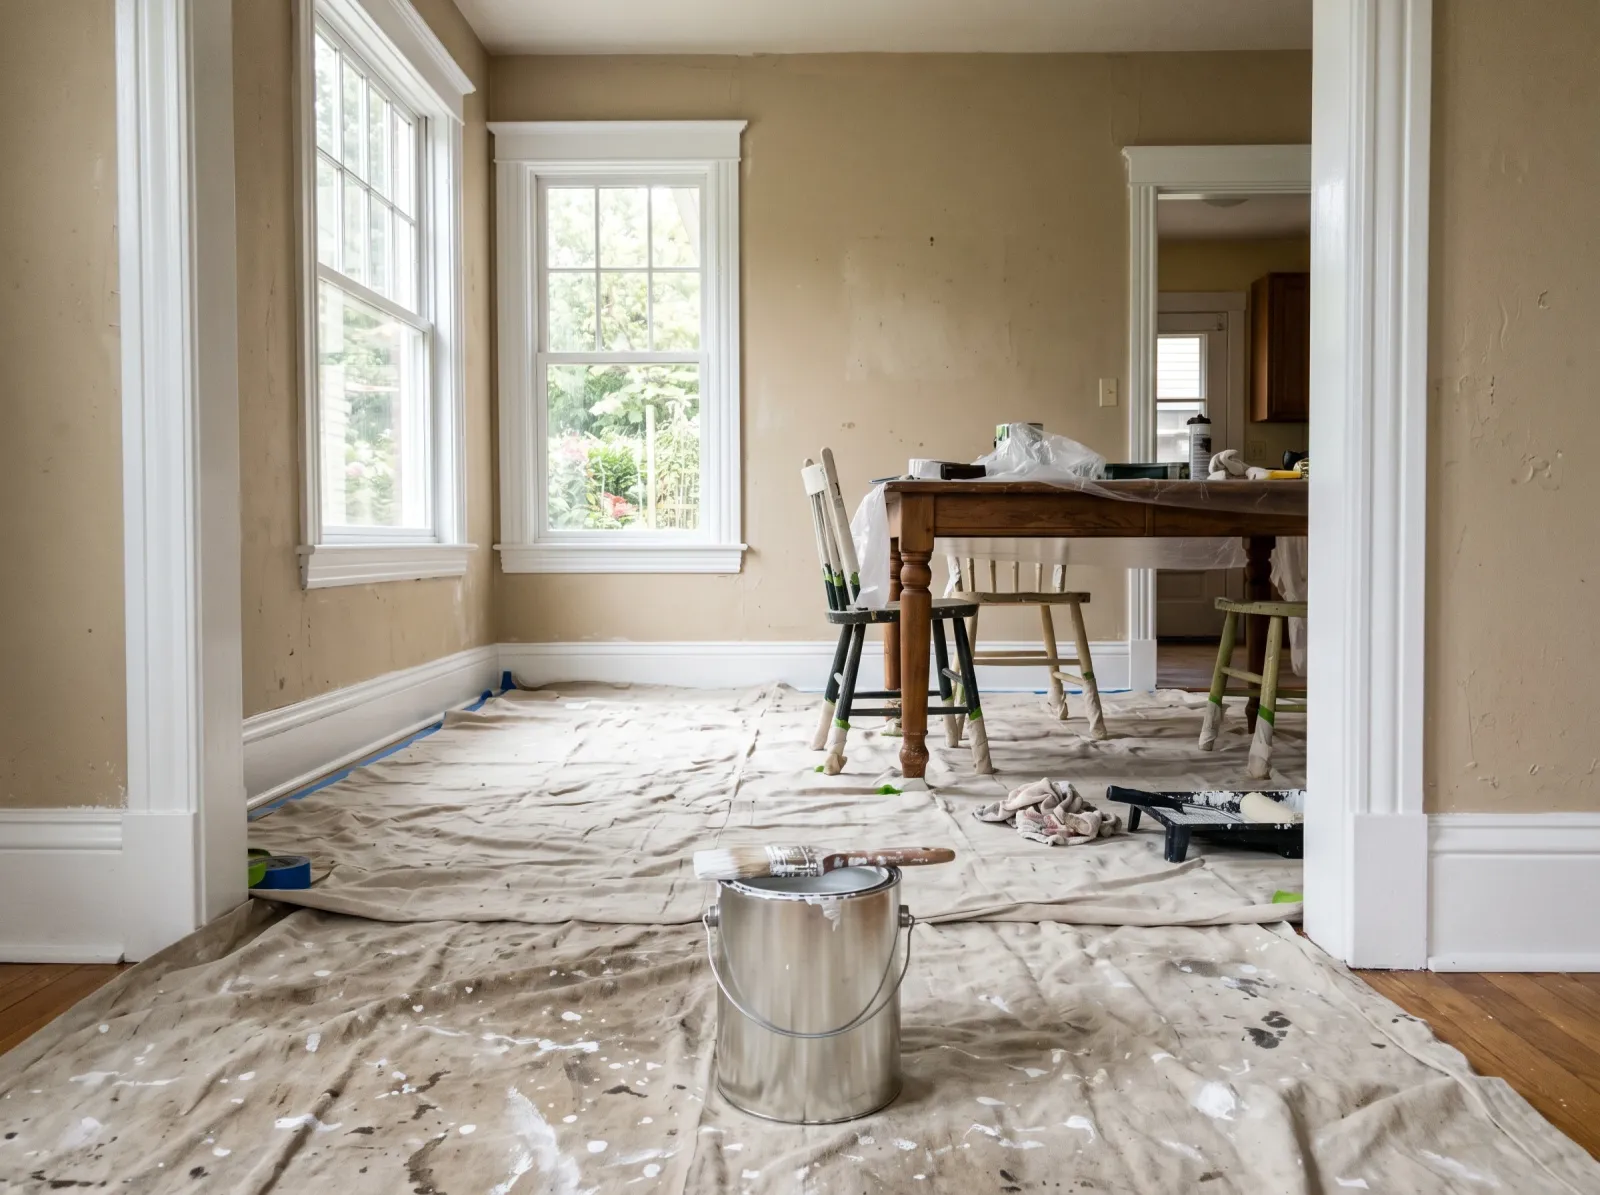
Baseboards, window casing, and door frame in semi-gloss while you’re fresh.
Start with the baseboards, then the window casing, then the door frame. Use the 2.5-inch angled brush, dipped only a third of the way in. A fully loaded brush drips, and drips on a baseboard set hard before you notice.
Brush in long smooth strokes along the grain. Two thin coats beat one thick one. Let coat one dry the time on the can, usually 4 hours for water-based, before the second. Doing trim first feels backward, but it’s the right call for a first-timer: you’re sharpest early, and once the trim’s dry you tape over it and roll the walls fast.
Watch out for drips at the bottom edge of the baseboard. Check that edge every few minutes for the first half hour and brush out any sag while it’s wet.
Step 4 — Roll the Ceiling (If You’re Doing It)
If the ceiling is dingy or you’re dropping a deep color on the walls, do the ceiling now while the room’s already cleared. Cut in a 2-inch band of flat white along the wall line with the brush, then roll the rest with the extension pole in big W-shapes. One coat usually covers a ceiling.
Put on safety glasses. Rolling overhead rains a fine mist of paint, and you do not want it in your eyes. If your ceiling’s already clean and white, skip this and just plan a crisp cut line where the wall meets it.
Step 5 — Cut In and Roll the Walls
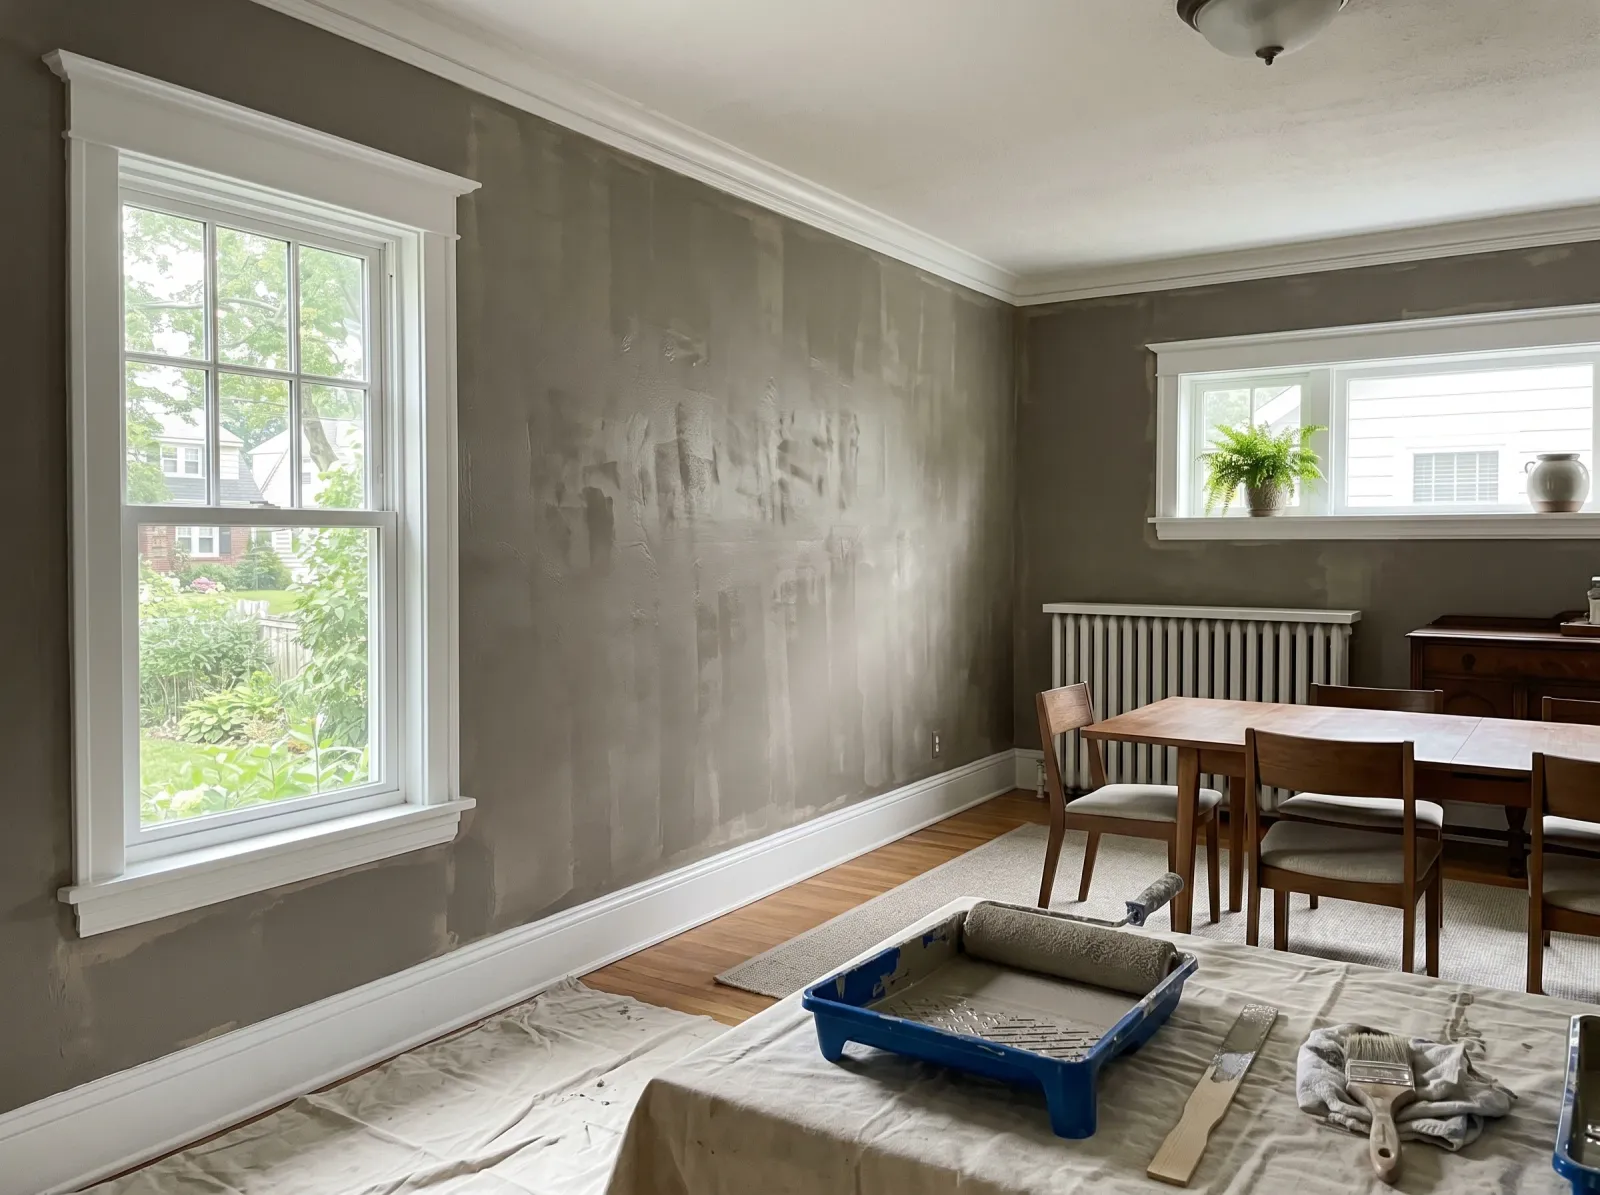
Brush a band along every edge, then roll the big flats. First coat always looks patchy.
Cut in a 2- to 3-inch band along the ceiling line, the floor, and around the window, door, and outlets. Then pour wall paint into the tray about a third up, load the roller, roll it on the tray ramp until it’s evenly coated, and start on the wall in a big W about 3 feet wide. Fill the W in with up-and-down strokes, then move over and overlap the wet edge.
The trick that matters most here: cut in one wall, then roll that same wall before the cut-in dries. If the brushed band dries before the roller reaches it, you get a faint picture-frame outline of slightly different sheen around the room. In a dining room, under a pendant light at night, that outline shows. Working wall-by-wall keeps every edge wet and the sheen even.
Don’t stop in the middle of a wall for a break. The wet edge sets, the next pass won’t blend, and you’ll see the seam in raking light. Finish a whole wall before you set the roller down.
Watch out for the wall behind the sideboard or hutch. It’s tempting to skip it because furniture hides it. Paint it anyway. The day you move that hutch you don’t want a beige ghost of the old color staring back.
Step 6 — Second Coat, Then Pull the Tape
Second coat rolled while the cut-in is still wet. The color fills in and reads true.
The first coat looks patchy and thin. That’s normal, every time. Don’t go back over half-dry spots trying to fix it; you’ll leave roller marks. Wait the recoat window on the can (usually 4 hours), touch the wall with a knuckle to confirm it’s dry and not tacky, then do the second coat the same way. Cut in, then roll.
Pull the tape while the second coat is still slightly tacky, about an hour after you finish, not bone dry. Pull slow, at a 45-degree angle, in one continuous strip. Wait until the film fully hardens and dry paint chips off with the tape, leaving you a ragged edge to touch up.
Common Mistakes
- Going flat for the “elegant” look. Flat paint photographs beautifully and then holds every fingerprint, candle-smoke smudge, and chair scuff around the table. You can’t wipe it without burnishing a shiny spot. Eggshell minimum in a dining room, satin if the room sees real traffic.
- Underestimating a deep color. Saturated greens, navies, and terracottas often need three coats and a tinted gray primer. Skip the primer and you’ll roll coat after coat watching the old color ghost through. Tint the primer toward the final shade first.
- Letting the cut-in dry before rolling. Brush the edge, roll the wall while that band’s still wet. A dried cut-in leaves a sheen halo all the way around the room that jumps out under a hanging dining light.
- Not covering the table well enough. A dining table is expensive and paint mist drifts farther than you think. Center it, sheet it, and tuck the sheet under so a stray drip can’t find bare wood.
- Stopping mid-wall. The wet edge sets and the seam shows in evening light, exactly where guests will be looking. Finish each wall in one go.
Cure Schedule
| Time after the second coat | What’s safe |
|---|---|
| 1 hour | Pull the painter’s tape |
| 4 hours | Touch dry, don’t bump it |
| 24 hours | Table and chairs back, not pressed against the wall |
| 48 hours | Hang artwork, push furniture to the wall |
| 7 days | Wipe a spill off with a damp cloth |
| 30 days | Full cure, scrubbable |
Hold dinner parties off until at least 24 hours after the last coat. A chair shoved back hard against a 12-hour-old wall leaves a mark, and warm food steam can soften a barely-dry film.
Maintenance and Touch-Ups
Eggshell or satin walls in a dining room hold up 7 to 10 years. The wall behind the chairs takes the abuse first, scuffed by chair backs and the occasional shoulder. Trim in semi-gloss lasts 10 to 15 years.
For a scuff, try a damp microfiber cloth first. Most marks are dirt, not damage. For a real scratch, dab leftover paint on with a small piece of roller sleeve, not a brush, so the texture matches the wall around it. Keep a quart of the wall color and a small jar of the trim color in the basement, labeled “dining room.”
Cost Breakdown
| Item | $ |
|---|---|
| Wall paint, 1.25 gallons eggshell/satin | $55 |
| Trim paint, 1 quart semi-gloss | $20 |
| Ceiling paint, 1 gallon flat (optional) | $30 |
| Brushes, roller, tray, sleeves | $35 |
| Tape, two drop cloths, spackle | $30 |
| Total (walls + trim) | $140 |
Numbers are mid-tier paint like Behr Premium Plus or BM Regal Select. Skip the ceiling and you’re closer to $120. Add a deep color over tinted primer and a third coat, and you’re nearer $200.
FAQ
What is the best paint finish for a dining room? Eggshell or satin. Eggshell hides wall flaws and wipes clean; satin is a touch shinier and tougher for high-traffic rooms. Skip flat near the table.
What color should I paint a dining room? Deeper, warmer colors suit dining rooms because you use them at night under warm light. Test the patch in the evening with your real bulbs before you commit.
Do I need primer to paint a dining room? Usually no, for similar mid-tones in two coats. Yes for dark-to-light, water stains, or a deep saturated color over patched drywall, in which case tint the primer.
How much paint do I need for a dining room? About 1.25 gallons for a 12×14 room, two coats. Buy a second gallon for touch-ups.
Should I paint the dining room ceiling too? Do it if it’s dingy or you’re going much darker on the walls. Roll the ceiling flat-white first, before the walls.