How to Paint a Coffee Table
Painting a coffee table the right way: how to spot the old finish, scuff or prime, pick chalk paint vs cabinet enamel, and seal a top that survives coffee rings and feet.

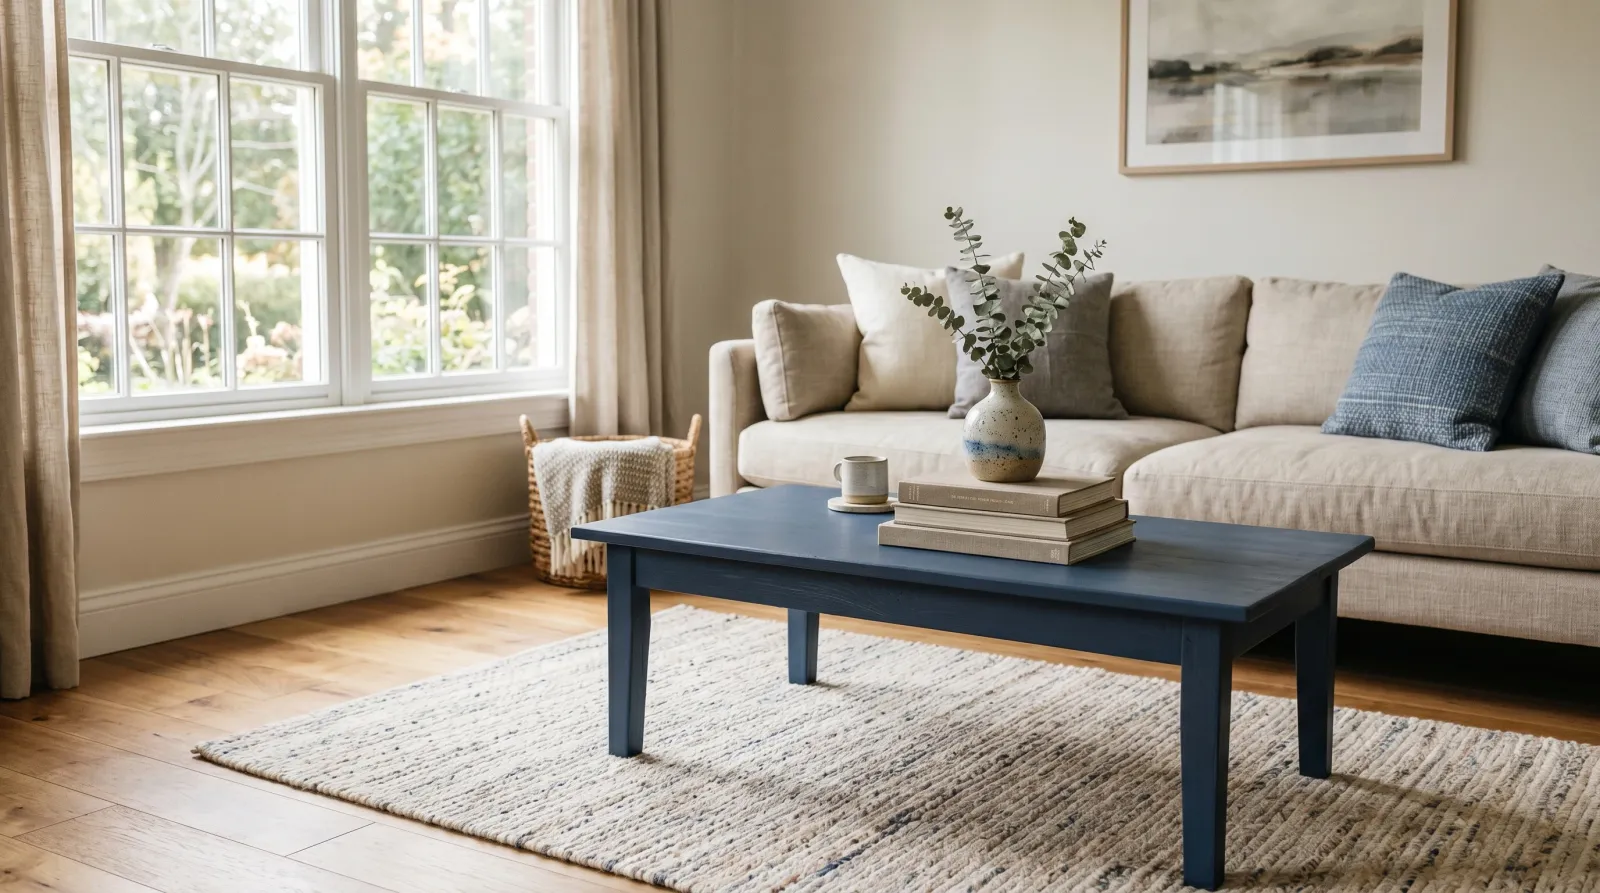
Okay, so the coffee table is usually the first piece of furniture anyone paints. It’s low, it’s small, and it sits right in the middle of the room asking to be updated. Here’s the thing nobody tells you up front: the top is the hard part. The legs and the sides are easy. The top has to survive coffee mugs, feet, remote controls, and a laptop, and that’s where a rushed paint job fails first.
So most of this guide is really about the top. Get the top right and the rest of the table follows.
What You’ll Get
A coffee table that looks like you bought it that way instead of rescued it from a curb. A weekend of work, then about a week before it goes back in the living room. A $20 thrift-store table plus $50 in materials lands you something that reads like a $200 piece.
Honest Take on Difficulty and Time
This is one of the easier furniture projects. No ladder, no ceiling, nothing overhead. You can do the whole thing on the garage floor on a drop cloth.
The active time is short. The waiting is what stretches it across a weekend, and then a few more days while the top cures hard enough to use.
| Method | Active time | Total elapsed | Skill |
|---|---|---|---|
| Chalk paint on real wood, sealed | 2-3 hrs | 1 weekend + 1 week cure | Easy |
| Cabinet enamel on scuffed wood | 3-4 hrs | 1 weekend + 30 days cure | Easy |
| Cabinet enamel on laminate, primed | 4-5 hrs | 2 weekends + 30 days cure | Medium |
The medium row is medium for one reason: laminate. A factory laminate top (the slick stuff on a lot of flat-pack tables) needs a bonding primer or nothing sticks. More on that below.
What You’ll Need
Paint and Primer
For a table that gets daily use, cabinet enamel is the right call. Benjamin Moore Advance, Sherwin-Williams Emerald Urethane, or INSL-X Cabinet Coat. It’s the same waterborne alkyd that goes on kitchen cabinets, it self-levels so brush marks disappear, and it cures rock-hard. That hardness is the whole point on a tabletop.
For a table that mostly holds a vase and a stack of books, chalk paint gives you a matte, slightly aged look (Annie Sloan, Country Chic, Behr Chalk Paint). Chalk paint on a coffee table always needs a sealing top coat. Always. Bare chalk paint takes a water ring the first time someone sets down a sweating glass.
If your table is glossy or it’s laminate, you also need a bonding primer (INSL-X Stix or Zinsser Bulls Eye 1-2-3 Plus). See the best furniture paint round-up for the SKU-by-SKU picks, and if you’re stuck choosing a sheen, the sheen guide walks through matte to gloss.
Tools
A 2.5-inch angled brush for the apron and legs, a 4-inch foam mini-roller for the top, a 220-grit sanding sponge, painter’s tape, a tack cloth, and a drop cloth. If the legs unscrew, a cordless drill saves your wrists.
The foam roller is what gives the top a smooth, sprayed-looking finish without a sprayer. A brush leaves stroke marks on a flat surface you stare straight down at. Foam doesn’t. Picks live in the foam roller round-up.
Step 1 — Flip It, Take the Legs Off, and Test the Finish
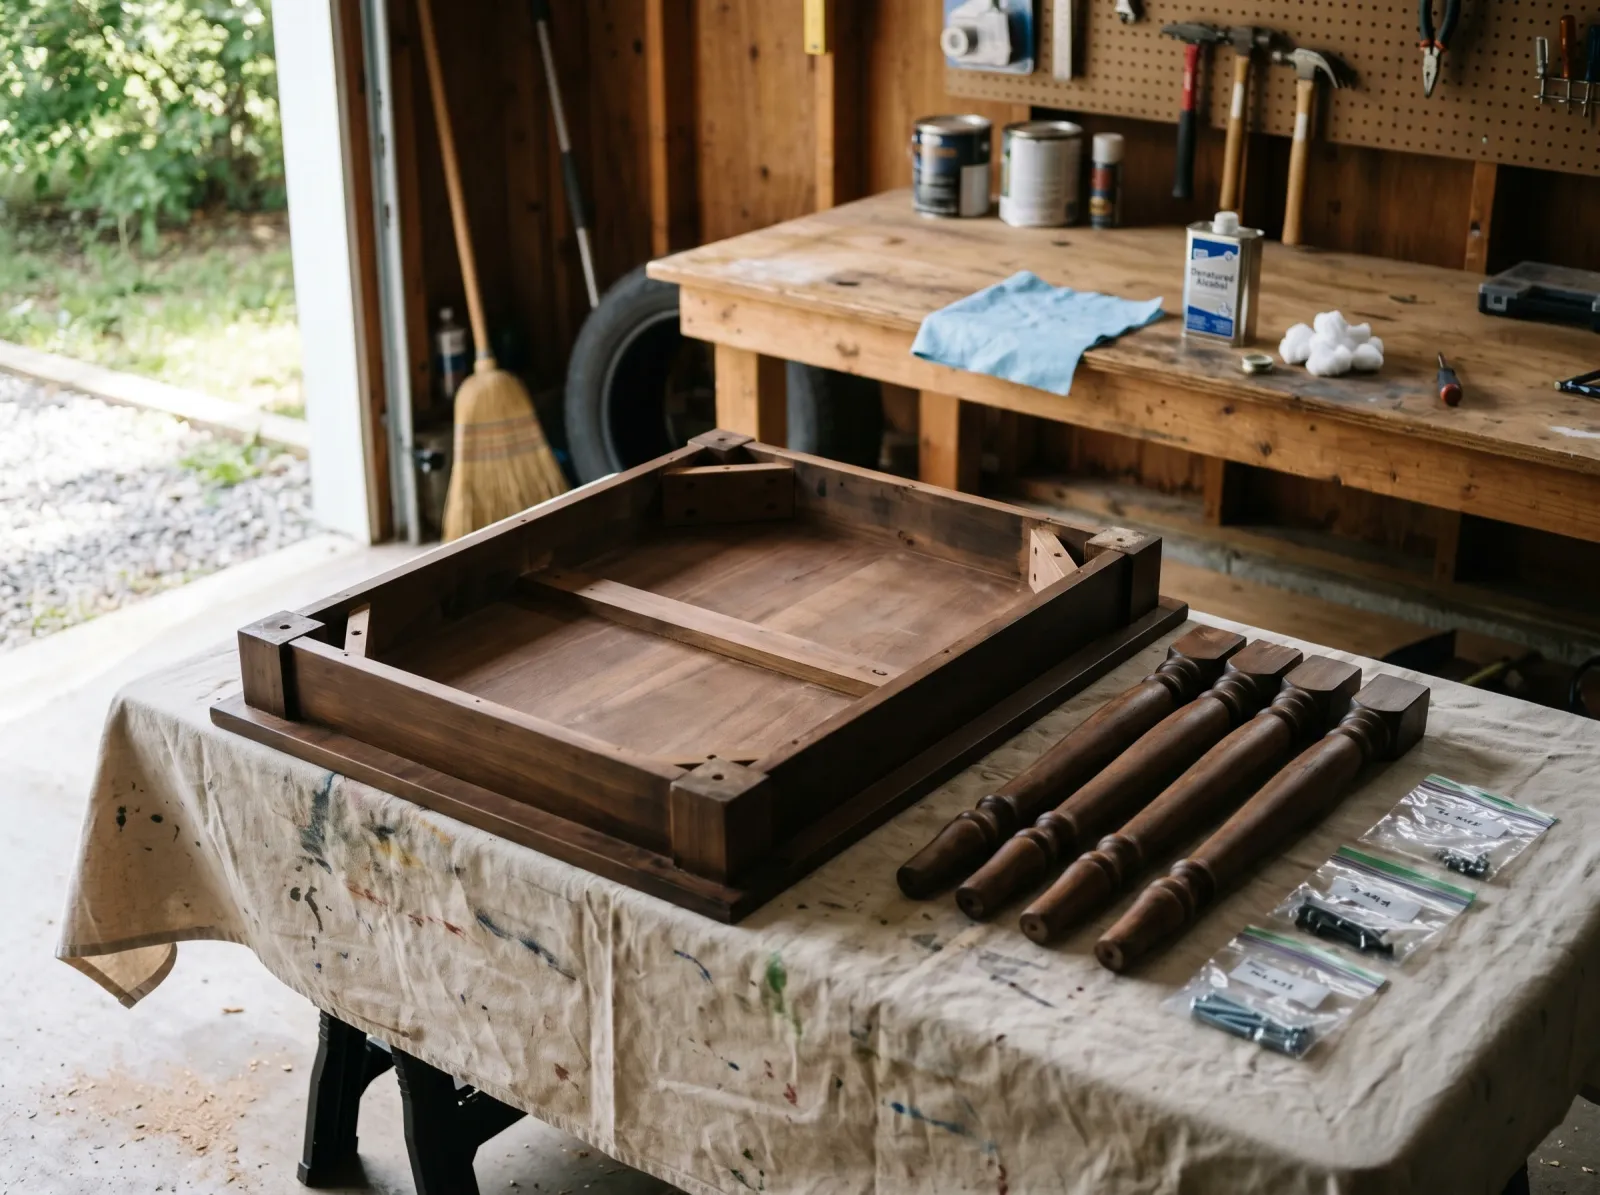 Legs off and labeled, plus a quick alcohol test to learn what finish you’re dealing with.
Turn the table upside down on the drop cloth. If the legs screw off, take them off and drop the screws in a labeled baggie. Painting the legs separately and the top flat is the difference between a clean finish and drips running down every leg.
Now figure out what finish is already on it, because that decides your prep. Wet a cotton ball with denatured alcohol and rub a hidden spot (the underside of the top, the inside of the apron) for 30 seconds.
If the finish gets sticky and dissolves, it’s shellac. If it softens but holds, it’s old varnish. If nothing happens, it’s lacquer, polyurethane, or laminate. Look at the surface: real wood shows grain, laminate looks slick and uniform. For the full breakdown of testing old finishes, the repaint old wood furniture guide goes deeper on every finish type.
Watch out for tables that aren’t wood at all. Run a fingernail across the top. If it catches no grain and feels like plastic film, it’s laminate, and you’re in bonding-primer territory.
Step 2 — Scuff or Prime
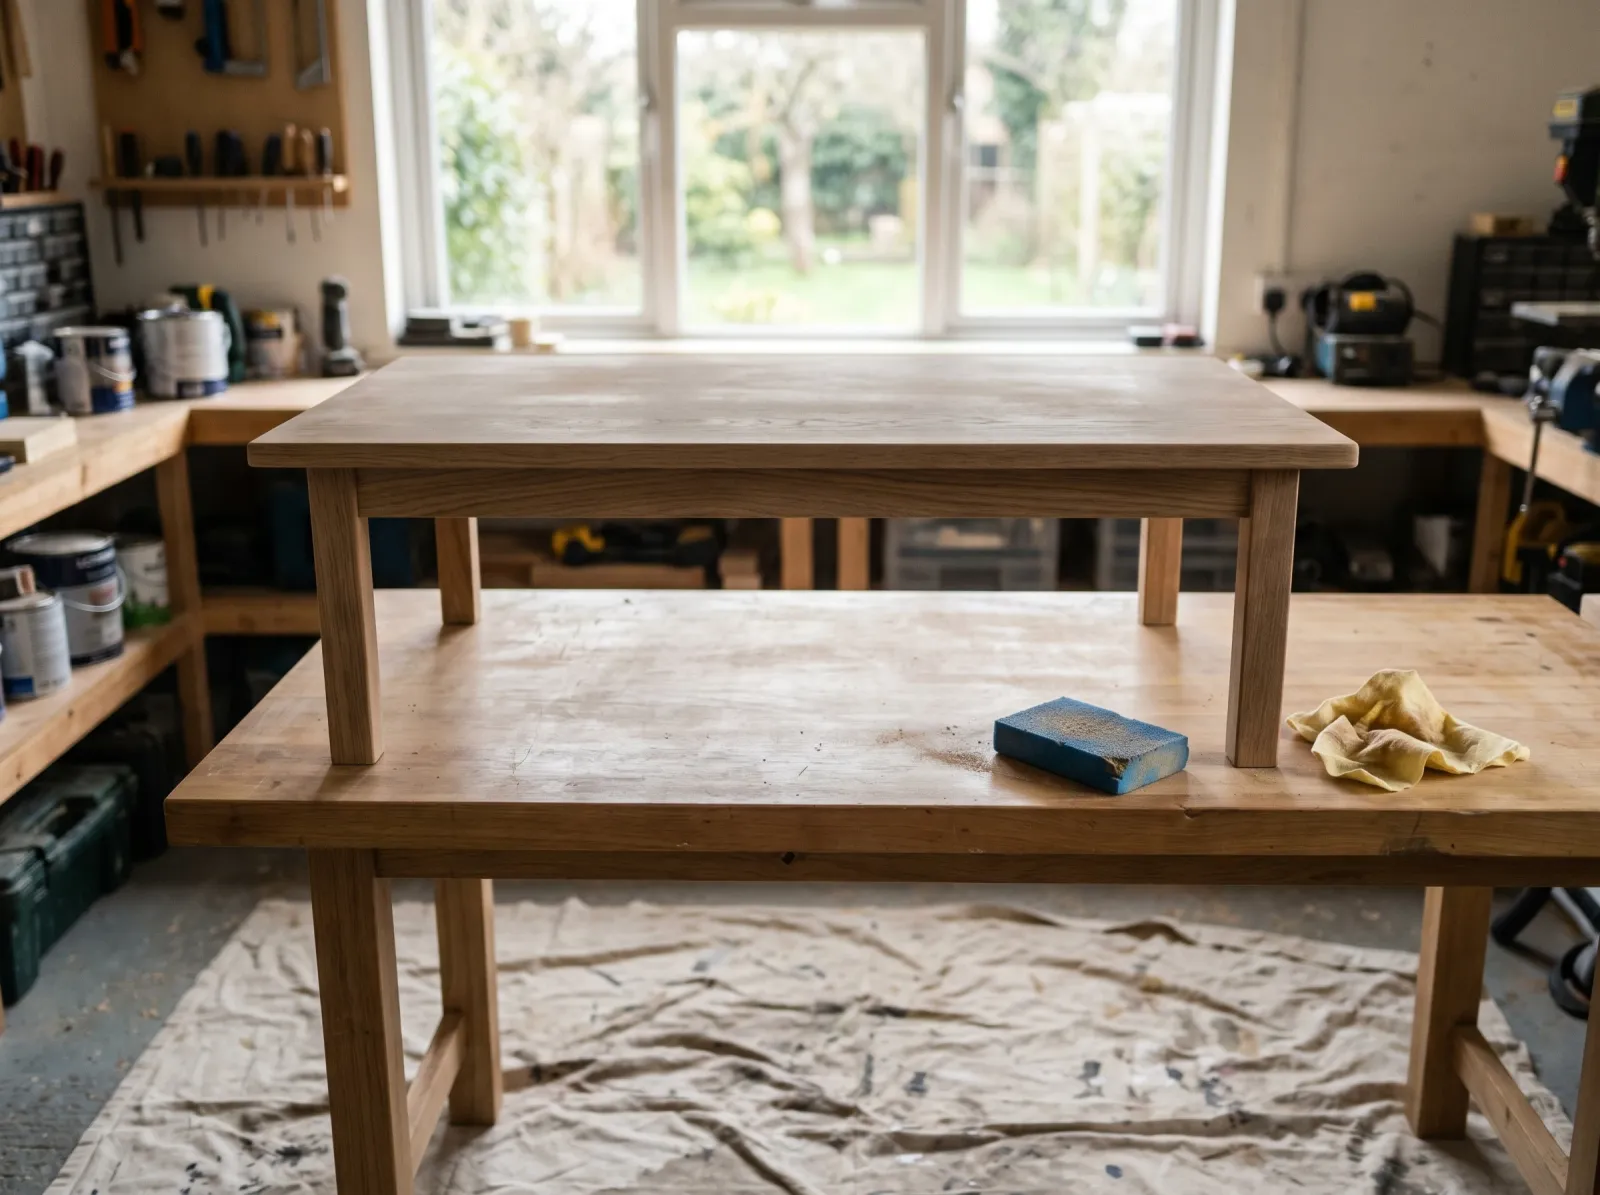 A sound wood finish just needs a 220-grit scuff until the gloss goes dull and hazy.
Your prep depends on what the alcohol test told you.
Real wood, sound finish: scuff the whole table with a 220-grit sanding sponge until the shine goes dull and hazy. You’re roughing the gloss so paint can grab, not stripping anything. Wipe with a tack cloth after.
Glossy lacquer or polyurethane: scuff with 220, then one coat of bonding primer if the gloss is heavy. Or skip the sanding and use a liquid deglosser (Klean-Strip Easy Liquid Sander), which dulls the surface chemically in about 15 minutes.
Laminate or melamine: bonding primer is non-negotiable. INSL-X Stix or Zinsser 1-2-3 Plus, one full coat. A light 220 scuff first helps even though the can says it’s optional. For the why behind laminate prep, see the laminate furniture guide.
Watch out for skipping primer on a slick top. Chalk paint marketing says it bonds to anything. It does not bond to factory laminate. Skip the primer there and your paint peels off in sheets the first month.
Step 3 — Paint the Legs and Apron First, Top Last
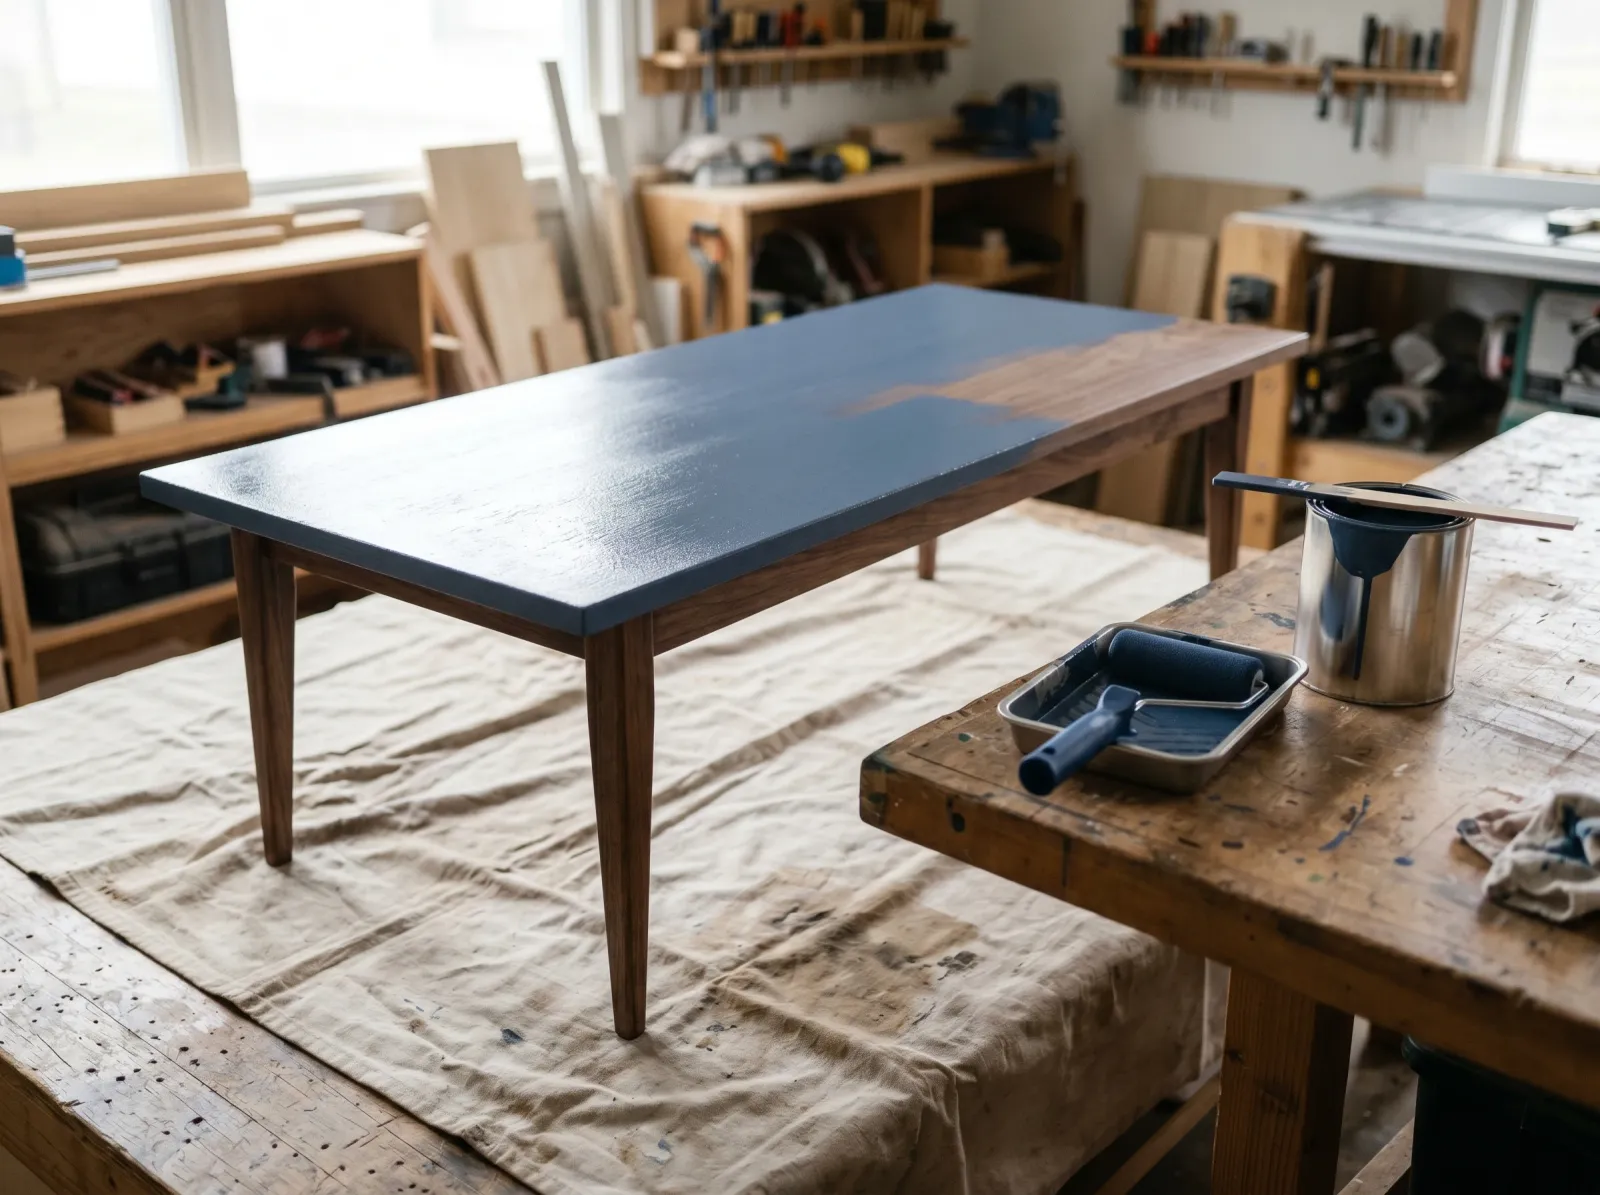 Legs and apron get the brush first; the flat top gets the foam roller last so nothing rests on wet paint.
Order matters here. Paint the legs and the apron (the rail under the top) with the angled brush first. Then flip the top right-side up and roll it last with the foam mini-roller. That way nothing wet touches the surface you care about most.
On the top, load the foam roller lightly and roll in one direction across the whole surface, then tip it off with a light pass to even the texture. Cabinet enamel self-levels into a smooth film. If you’re using cabinet enamel, add Floetrol at about 5% (roughly 6 oz per gallon) to stretch the wet edge and erase any roller texture.
Two thin coats beat one thick coat, every time. Thick coats sag on the legs and never cure as hard. Let the first coat dry the time on the can (cabinet enamel wants about 16 hours, chalk paint about 2) before the second.
Watch out for an overloaded roller on the top. Too much paint pools in the middle and leaves a soft spot that takes a fingernail dent for weeks. Light coats, every time.
Step 4 — Seal the Top (This Is the Step That Saves the Project)
 Two thin coats of polycrylic on the top, then the legs go back on last.
If you used chalk paint, the top coat is what makes the table usable. Two thin coats of Minwax Polycrylic in matte or satin, rolled on with the foam roller or brushed with a soft synthetic brush. Polycrylic dries water-clear and won’t yellow, which matters on white and pale colors.
Don’t use an amber-tinted wax on a white or pale top. Wax yellows light colors within months, and it’s not as scrubbable as polycrylic on a surface that takes coffee rings. If you’re deciding between top coats, the polyurethane vs polycrylic comparison covers which one yellows and which stays clear.
Cabinet enamel is self-sealing. The cure is the seal, so you can skip the top coat. But a single coat of polycrylic over cabinet enamel on a heavy-use top isn’t a bad idea for the extra abrasion layer.
Once the top is dry, screw the legs back on. Hardware and legs go on last so you never set the table down on a wet surface.
Common Mistakes
- Painting the top with a brush. A coffee table top is the one surface in your house you look straight down at, and brush strokes show. Use a foam roller. If you see brush strokes after the fact, you’ll have to sand back and reroll.
- Skipping the top coat over chalk paint. Bare chalk paint isn’t wipeable. The first wet glass leaves a ring you can’t get out. Two coats of polycrylic, no exceptions, on a coffee table.
- Skipping bonding primer on laminate. Factory laminate is too slick for paint to grab. No chalk paint bonds to it without primer, whatever the label promises. The topcoat lifts off in sheets within weeks.
- Using the table before it cures. Cabinet enamel is touch-dry in hours but takes 30 days to cure hard. Set a laptop on it in week one and you’ll lift the imprint off when you move the laptop.
- One thick coat instead of two thin ones. Thick coats sag on the legs, pool on the top, and never cure as hard. Thin and patient wins.
Cure Schedule
| Time after final coat | What’s safe |
|---|---|
| 4 hours | Touch dry; don’t set anything on it |
| 24 hours | Reassemble, re-handle gently |
| 7 days | Back in the living room, light use |
| 30 days | Full cure; coffee mugs, feet, laptops, scrubbing |
The top is the part this schedule is really about. The legs cure on the same timeline, but nobody’s setting a hot mug on a leg.
Maintenance and Touch-Ups
A sealed coffee table top holds up for years of normal living-room use. Cabinet enamel runs 8-12 years before it wants a refresh. Chalk paint sealed with polycrylic gets 5-8, less if the table takes daily abuse.
For a chip, dab the original paint on with a small artist’s brush, let it dry, then a dot of polycrylic over the spot. Don’t feather paint across a whole panel; the touch-up reads brighter than the cured paint and you’ll see the seam. Keep the leftover quart labeled in the basement so the color matches when you need it.
Cost
| Item | Cost |
|---|---|
| Cabinet enamel or chalk paint (1 quart) | $25-$45 |
| Bonding primer (1 quart, only if needed) | $15 |
| Polycrylic top coat (1 pint) | $12 |
| Foam roller, brush, sponge, tack cloth | $20 |
| Total | $45-$90 |
A thrifted table at $20 plus $55 in materials lands at $75 for something that looks like a $200 piece, and you reused a quart you’ll have for the next project.
A Specific Recommendation
Real wood table, sound finish, daily use: a quart of Benjamin Moore Advance in satin, a 4-inch foam roller, a 220 sponge, and a pint of Minwax Polycrylic for the extra top layer. Scuff Saturday morning, two coats Saturday and Sunday, top coat Monday. Back in the living room next weekend, cured hard for mugs by the end of the month.
Laminate flat-pack table: don’t skip the Stix. One coat of bonding primer, then two thin coats of cabinet enamel, then polycrylic. The primer is the only thing standing between you and paint that peels off in a month.