How to Paint a Wood Chair
Painting a wood chair the right way: how to handle spindles and rungs, what primer a slick old finish needs, and the enamel that survives daily sitting.

Okay, so you’ve got a wood chair you want to paint. Maybe it’s one of four mismatched dining chairs, or a thrift-store find, or the kitchen chair that’s been kicking around for years. Here’s the thing about chairs: they look harder than they are, because of all those spindles and rungs and turned legs. They’re not hard. They’re just fiddly, and fiddly is a patience problem, not a skill problem.
The part nobody warns you about is the joints. A chair is dozens of little inside corners where a rung meets a leg, and paint loves to pool in every one of them. Get that part right and the rest is slow, calm brushwork.
What You’ll Get
A wood chair that looks intentional instead of dated, in a weekend of work plus a week before you sit on it for real. One quart of paint does two to four chairs, so a mismatched set becomes a matched set for the price of a single quart.
Honest Take on Difficulty and Time
This is one of the easier paint projects. No ladder, no ceiling, nothing over your head. What it costs you is time on your knees and forearms, because a chair has surface area hidden in places a flat dresser doesn’t.
| Method | Active time per chair | Total elapsed | Skill |
|---|---|---|---|
| Cabinet enamel, brushed, scuff-sanded + primed | 2–3 hrs | 1 weekend + 30 days cure | Easy-medium |
| Chalk paint, accent chair, sealed with polycrylic | 1.5–2 hrs | 1 weekend + 1 week cure | Easy |
| Spray (one small chair, well ventilated) | 1 hr | 1 weekend | Easy |
Most of that “active time” is waiting between coats and chasing drips out of the joints. The actual brushing is quick.
What You’ll Need
Paint and Primer
For a chair you sit on, use cabinet enamel (BM Advance, SW Emerald Urethane, or INSL-X Cabinet Coat). It’s the same waterborne alkyd that goes on kitchen cabinets, and it cures hard enough to take the rubbing a seat and back rail get. A quart covers two to four chairs.
For an accent chair that nobody uses, chalk paint (Country Chic, Annie Sloan, Behr Chalk Paint) is fine and a little more forgiving. It needs a top coat, though, which the enamel doesn’t.
You also want a bonding primer (INSL-X Stix or Zinsser Bulls Eye 1-2-3 Plus). A chair almost always has a glossy old finish, and bonding primer is the layer that grabs slick wood so your paint doesn’t peel later. If you’re unsure what bonding primer actually does, the bonding primer explainer covers it.
See the best furniture paint round-up for the full SKU comparison, and the trim and furniture paint picks if you want a harder enamel.
Tools
A 2-inch angled brush for the flat parts and a smaller 1-inch angled brush for the spindles and tight joints. A 220-grit sanding sponge (the sponge flexes into the curves better than flat paper). A tack cloth, a drop cloth, painter’s tape, and a little Floetrol to keep the enamel from showing brush marks. A couple of sawhorses or a sturdy table to raise the chair to a workable height save your back. The brush is where you don’t cheap out. Picks are in the paint brush round-up.
Step 1: Clean It and Find Out What’s Already On It
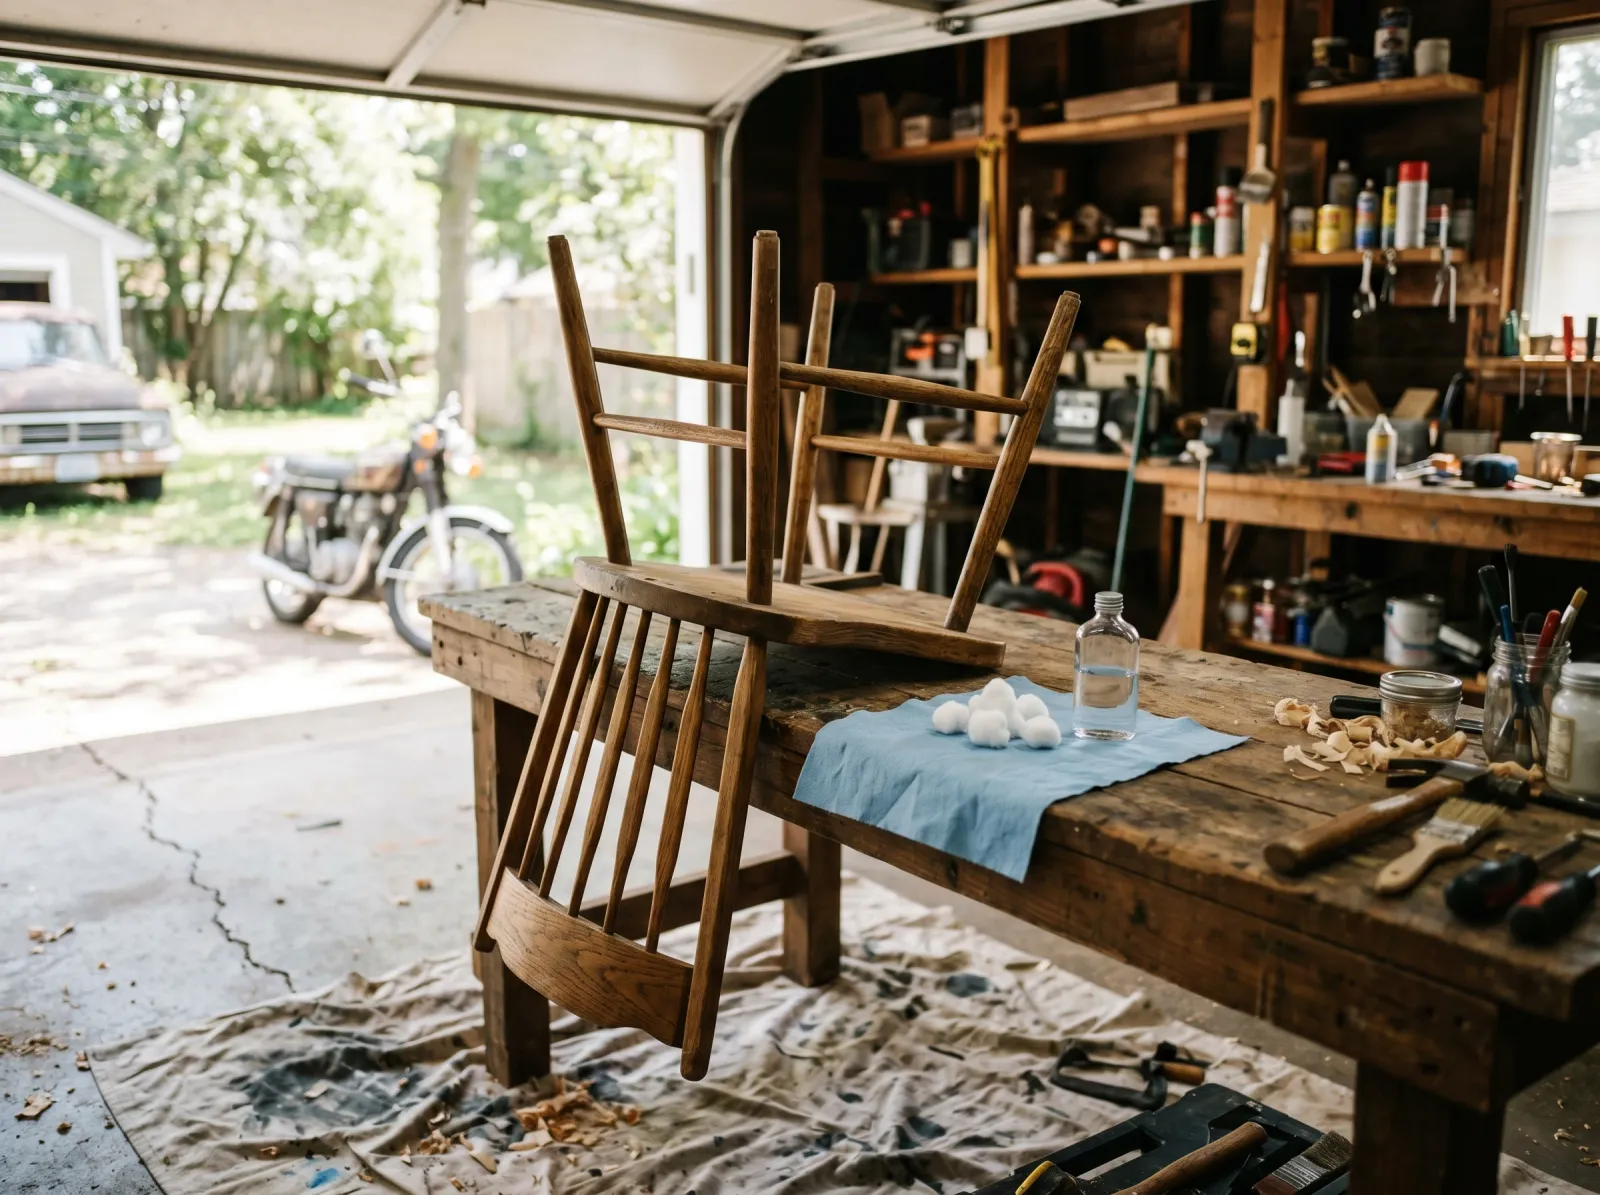 A wipe-down first, then a quick finish test before any sanding.
Wipe the whole chair down with a damp rag and a little dish soap. Chairs collect a skin of hand oil and grime on the arms, the back rail, and the seat edge, and paint won’t bond to grease. Let it dry.
Then figure out what finish is on it, because that decides your prep. Wet a cotton ball with denatured alcohol and rub a hidden spot (under the seat, the back of a leg) for 30 seconds. If the finish gets sticky and dissolves, it’s shellac. If it softens, it’s old varnish. If nothing happens, it’s lacquer or polyurethane. Most chairs are varnish or poly, and the prep is the same for all of them: scuff and prime. For a deeper walk-through of testing old finishes, see the furniture repainting guide.
Watch out for chairs that wobble. If a joint is loose, fix it now with wood glue and a clamp, before paint. Paint never tightens a joint, and a loose chair only gets worse once you’re sitting on it.
Step 2: Scuff-Sand, Grooves Included
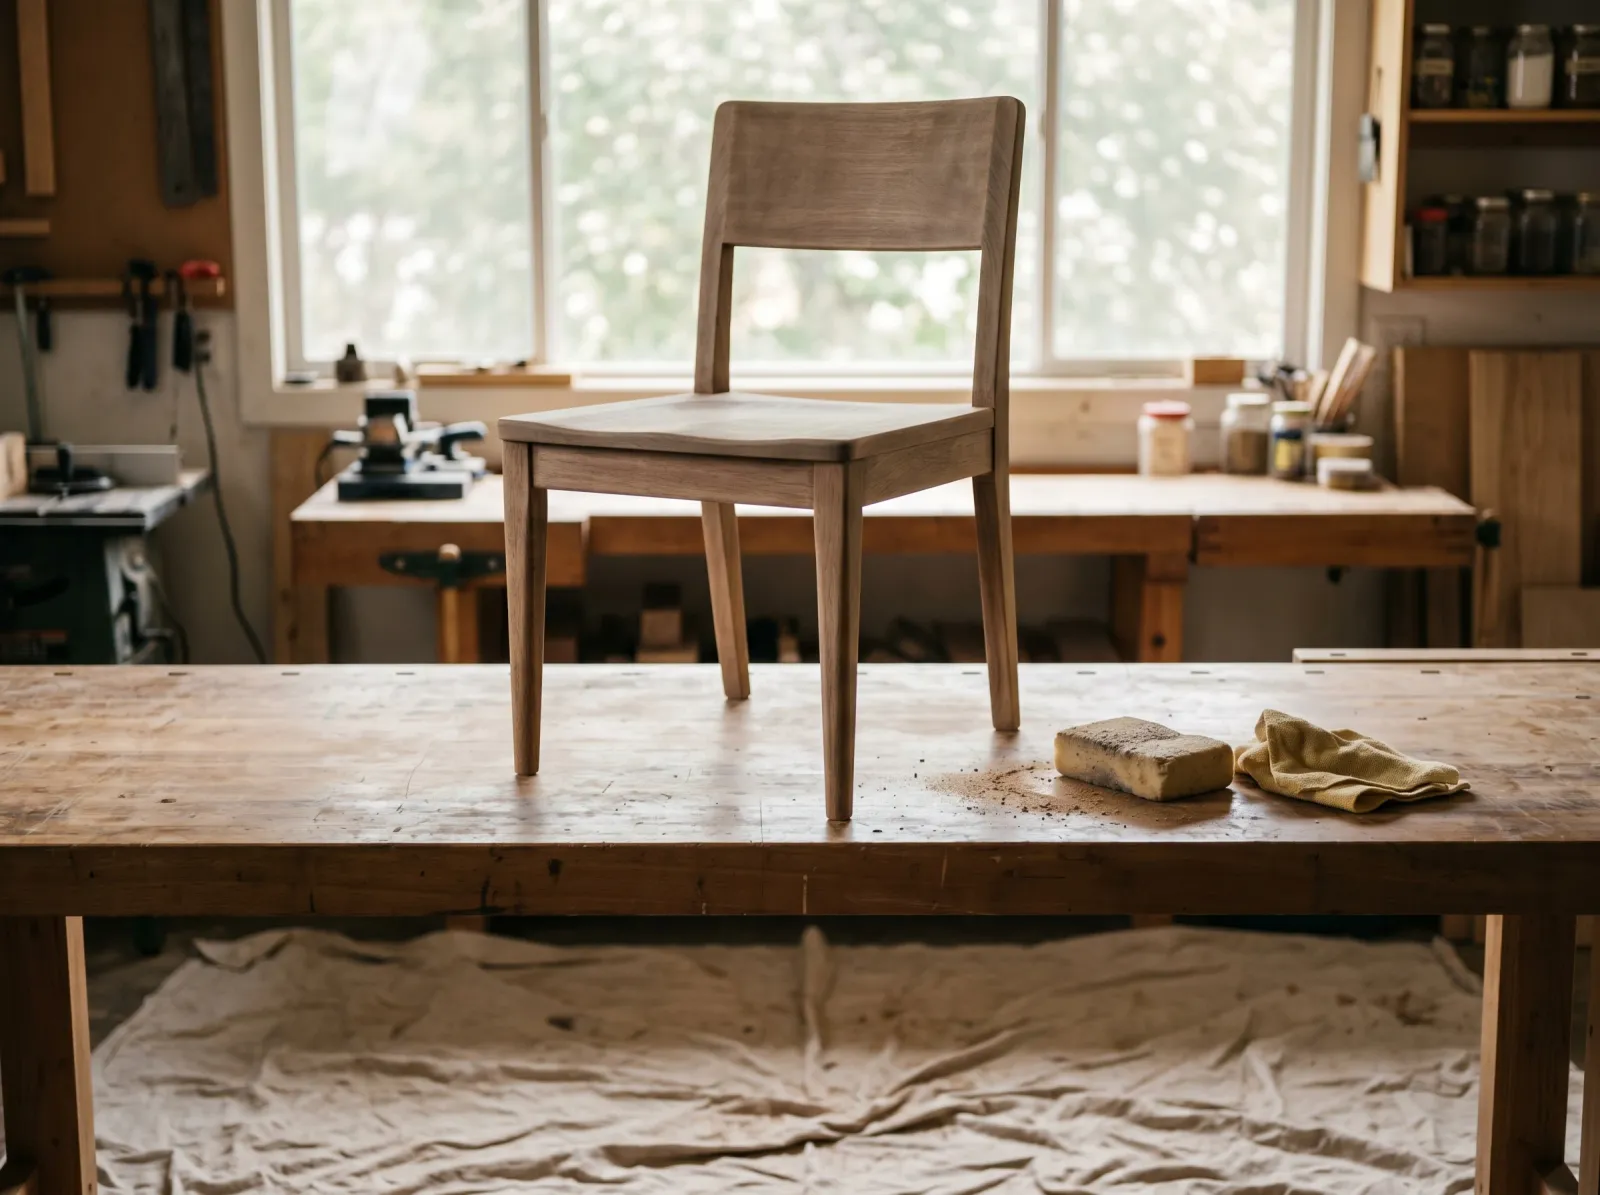 The whole chair dulled with a 220 sponge, including the spindles and rungs.
Run the 220-grit sponge over every surface until the gloss is gone and the wood looks hazy. You’re roughing up the finish so primer can grab, not stripping it. The sponge bends into the curve of a spindle and the dip of a turned leg where flat sandpaper can’t reach.
Don’t skip the spindles because they’re annoying. The back of a chair takes a lot of contact, and unsanded gloss there is exactly where paint fails first. Vacuum the dust, then wipe everything with a tack cloth.
If your chair is real wood with an old varnish you’d rather keep matte under chalk paint, the varnished wood guide explains when a scuff alone is enough.
Step 3: One Coat of Bonding Primer
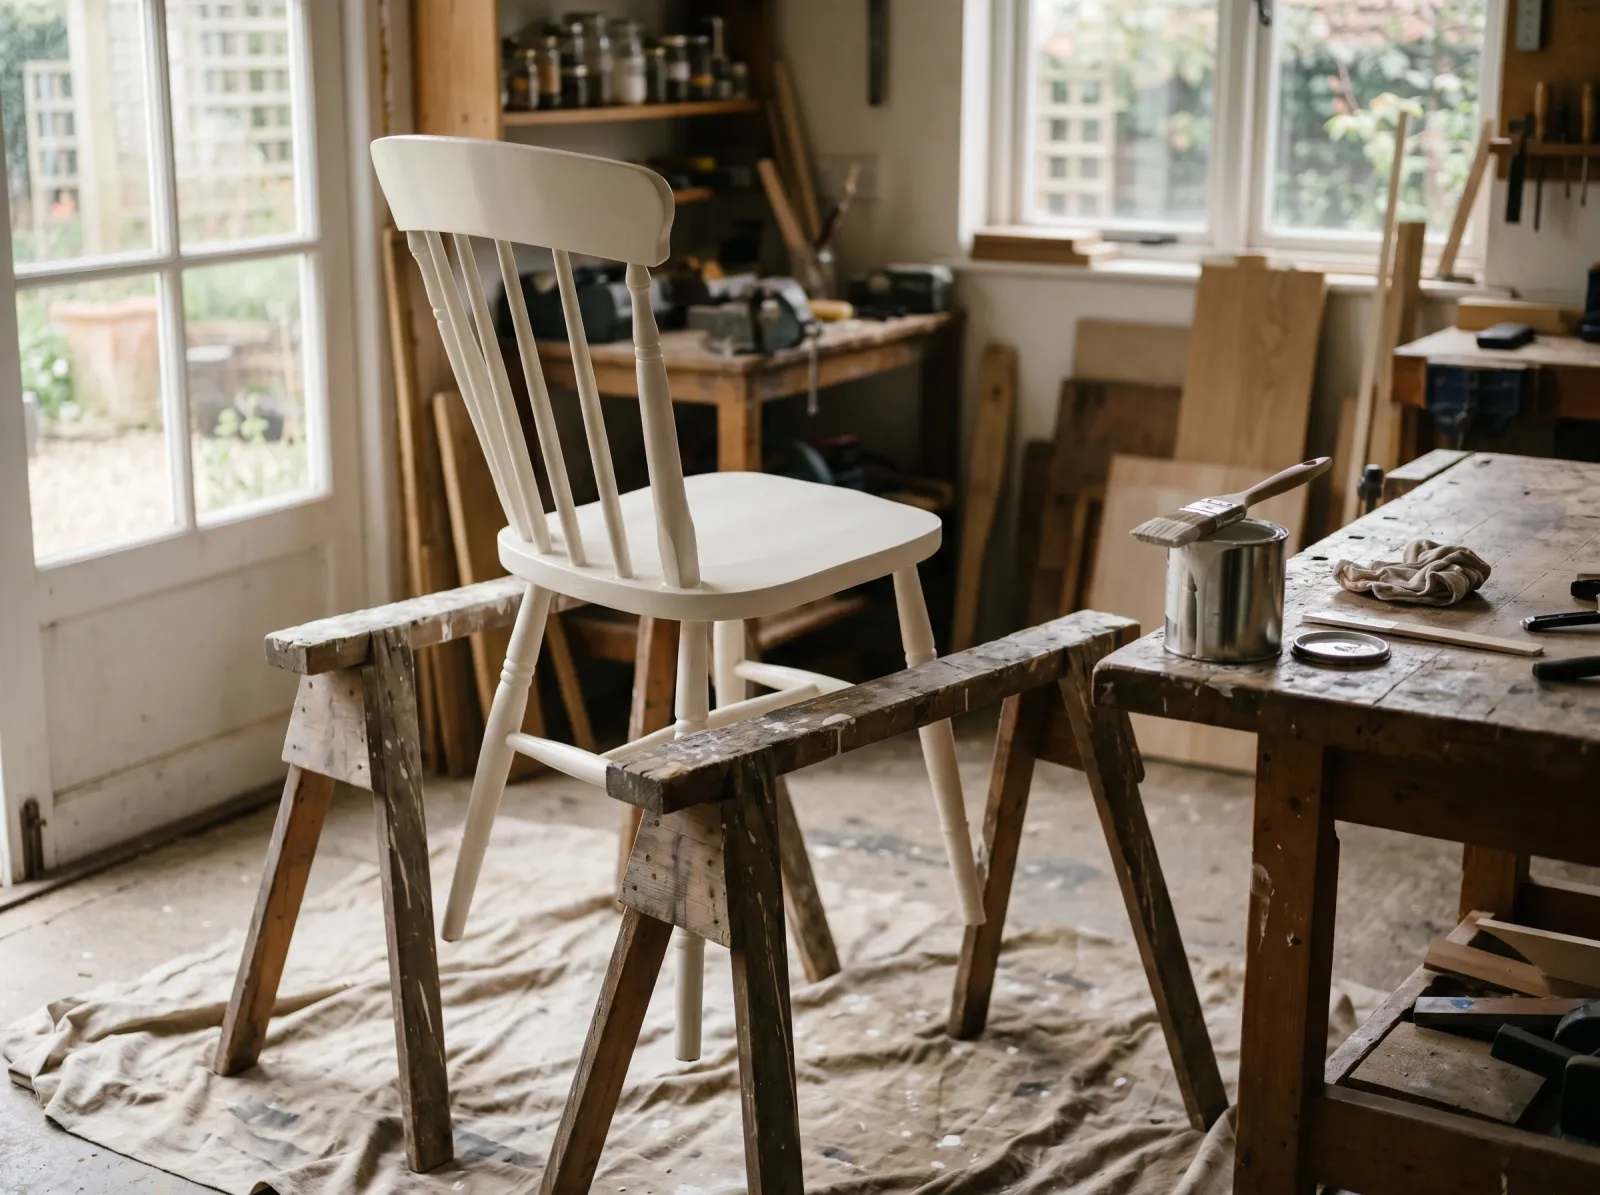
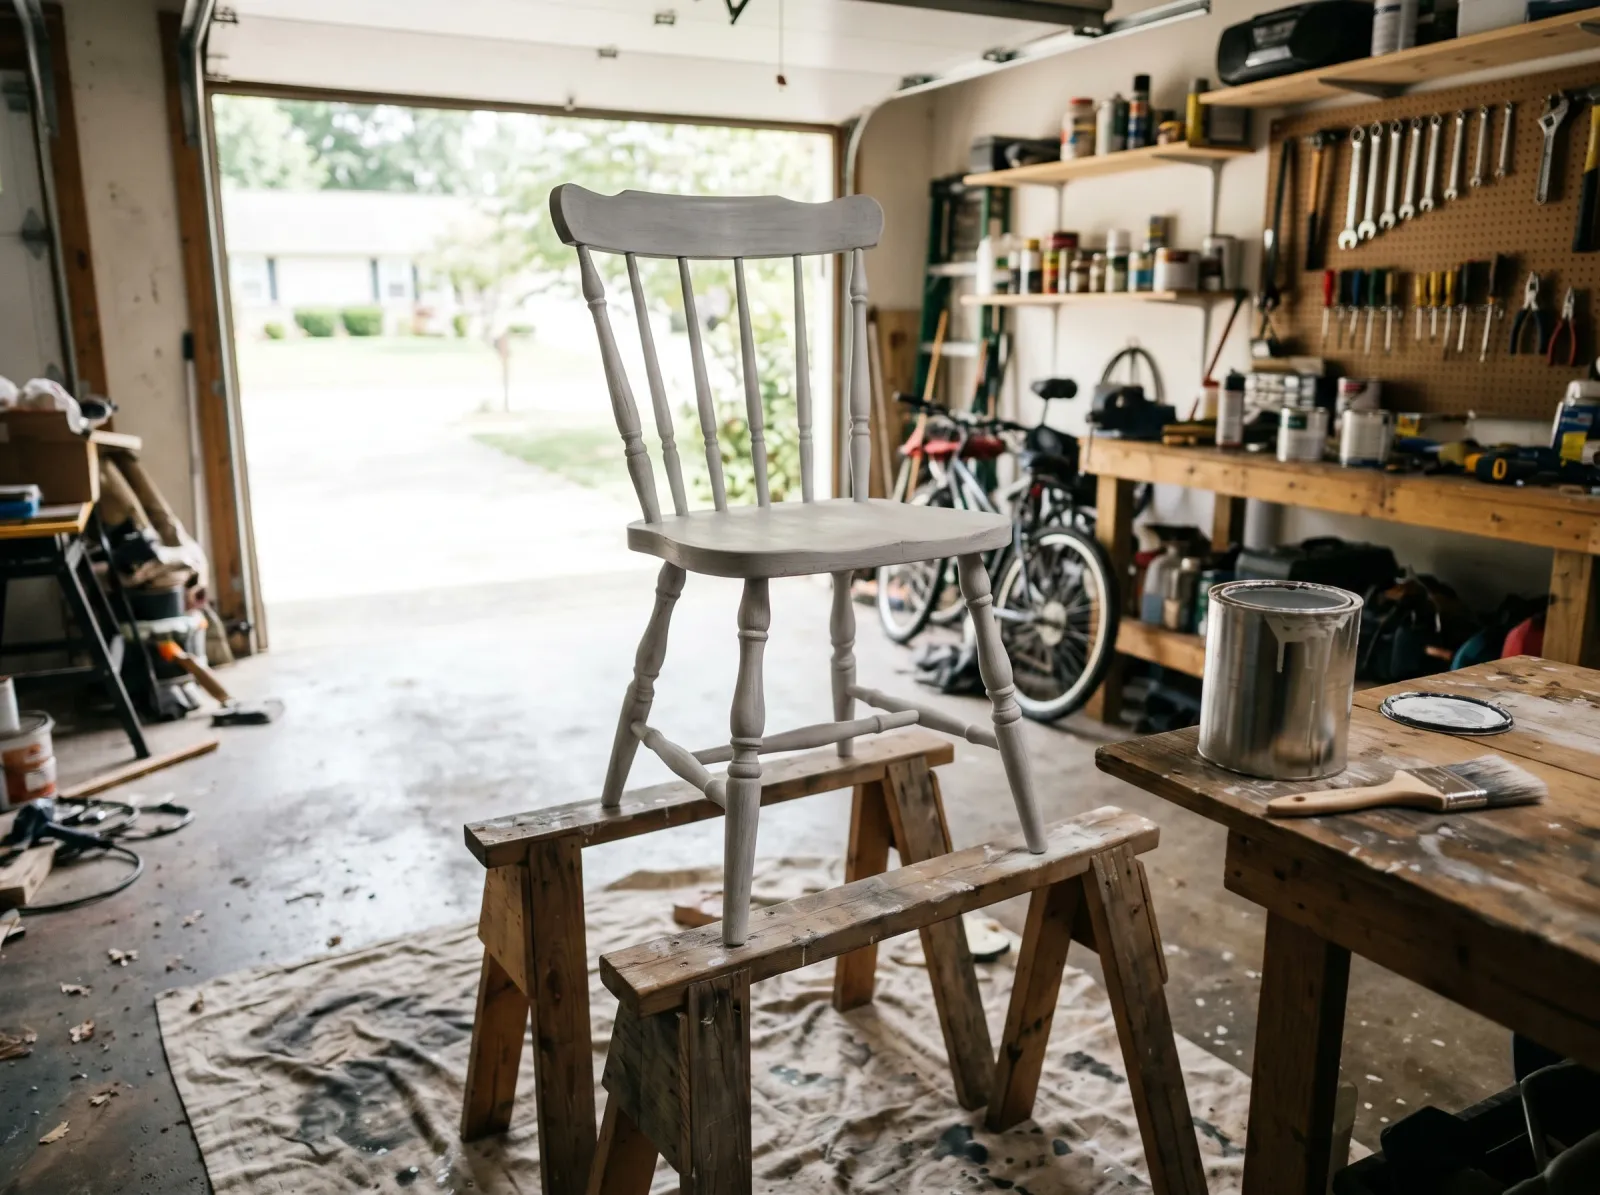 A thin coat worked into every recess, with the chair up on sawhorses.
Set the chair on sawhorses so you can reach the underside. Brush one thin coat of bonding primer over the whole thing. Start with the chair upside down: legs, rung undersides, the bottom of the seat. Then flip it right-side up for the seat top, back, and spindles. Painting upside-down first means the drips you can’t see end up on a surface you’ll paint over anyway.
INSL-X Stix needs one coat. Let it dry overnight, then knock down any nibs with a light 220 pass and tack it off.
Watch out for primer pooling where rungs meet legs. Go back over those inside corners with an almost-dry brush to pull the puddles out. A puddle of primer dries as a lump that telegraphs through every coat after it.
Step 4: Paint, Thin and in Order
 First coat on, kept deliberately thin so it doesn’t gather in the joints.
Same order as the primer: upside down first, then right-side up. Use the 2-inch brush on the flats (seat, wide back slats) and the 1-inch on spindles and rungs. Dip the brush a third of the way and tap once. A loaded brush drips into every groove on a chair.
Add Floetrol at about 5 percent (roughly 6 ounces per gallon, less for a quart) if you’re using cabinet enamel. It keeps the wet edge open and lets brush marks flow out instead of setting up as ridges. Two thin coats beat one thick coat every time. Thick coats sag on a spindle and wrinkle in a joint.
After each coat, walk around the chair once with an almost-dry brush and pull paint out of the inside corners. This is the whole game on a chair. Do it for the first ten minutes while the paint is still wet.
Recoat window: BM Advance wants 16 hours, chalk paint about 2. Read the can.
Watch out for the front edge of the seat. It’s the highest-wear spot on the chair and the easiest to lay on too thick because it’s right in front of you. Keep it thin and even.
Step 5: Top Coat (Chalk Paint Only) and Reset
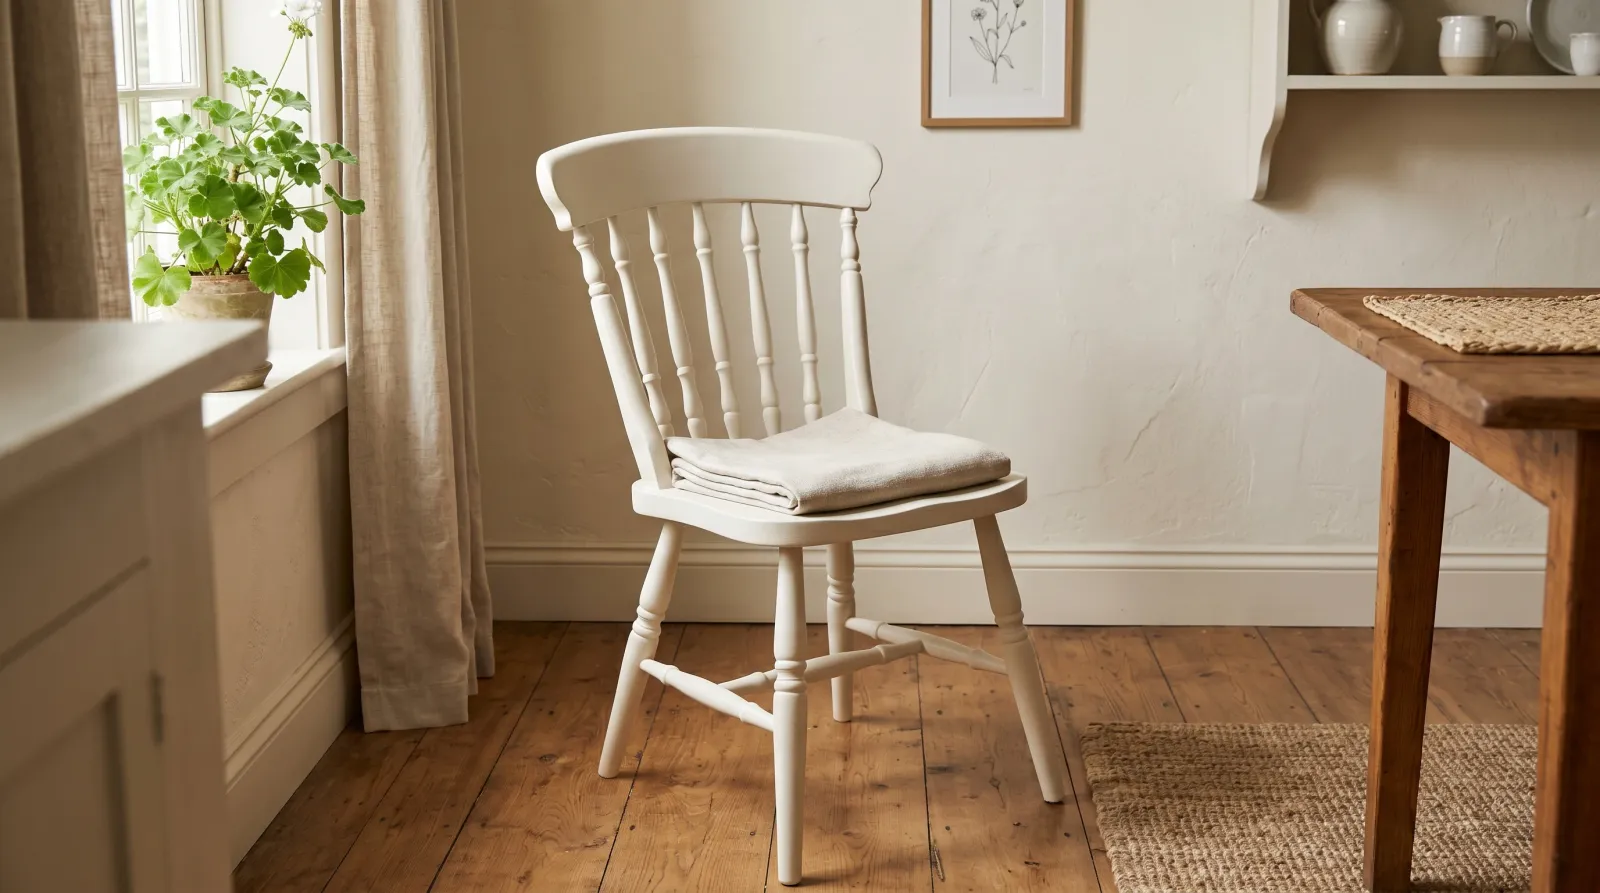
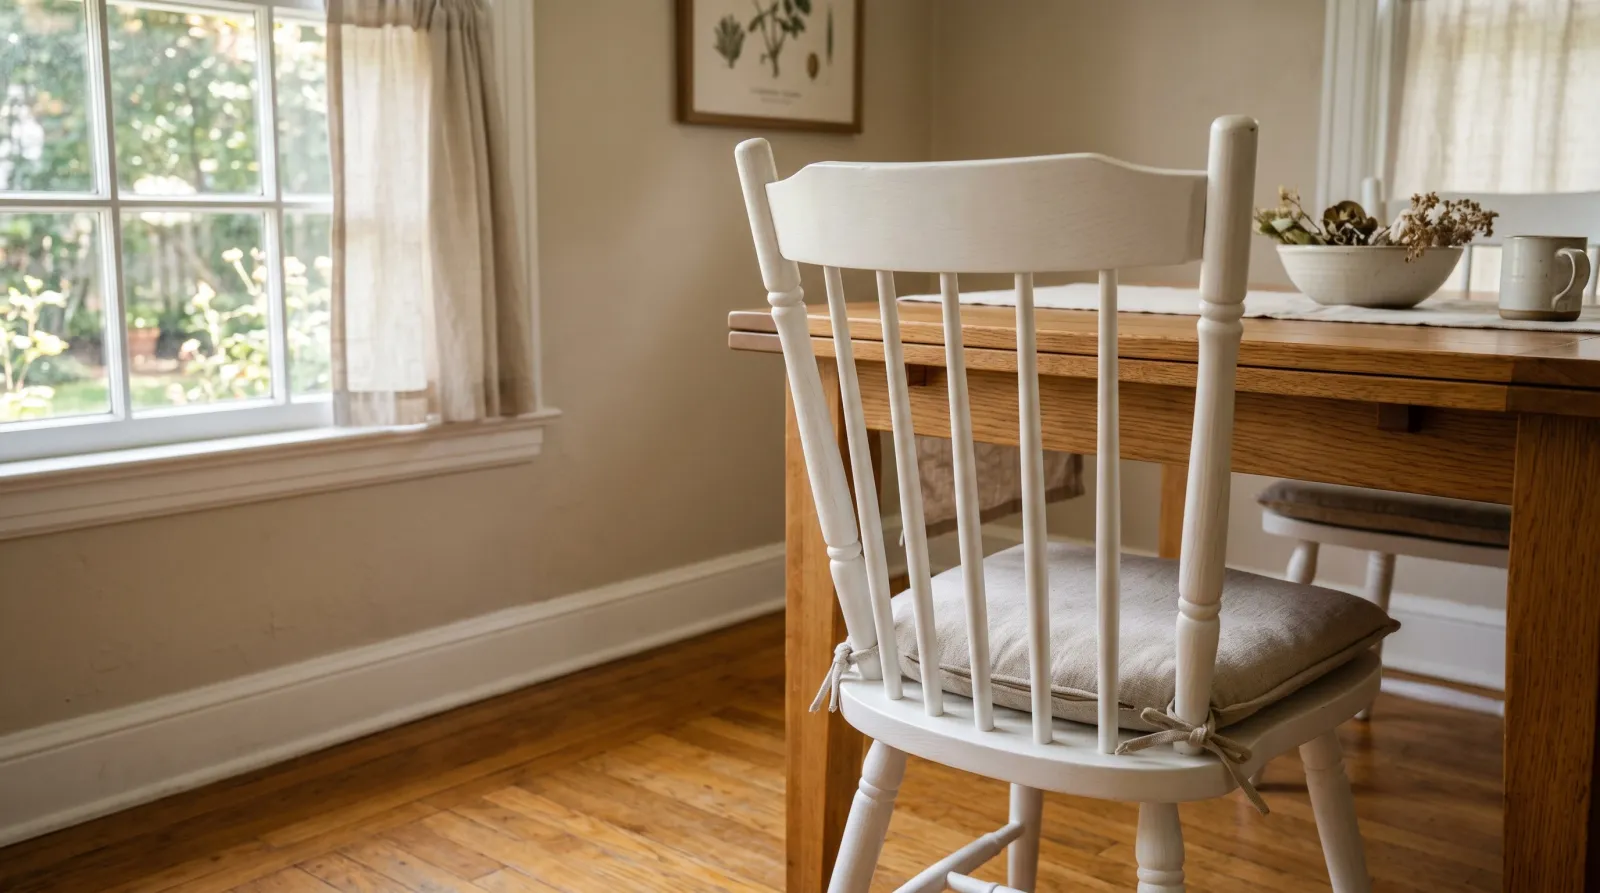 Cured and back at the table, ready for daily use.
If you used cabinet enamel, you’re done painting. The cure is the seal, no top coat needed.
If you used chalk paint, it needs sealing or it’s not wipeable. Brush two thin coats of Minwax Polycrylic in matte or satin. Polycrylic dries water-clear and won’t yellow, which matters on white and pale chairs. Skip clear wax on anything light. Wax carries a faint amber tint that turns whites yellow within months.
Reattach a slip seat or screwed-on cushion last, after the paint has set for a day. Then let the chair cure before anyone sits on it.
Common Mistakes
- Skipping bonding primer over a glossy finish. Paint slides off slick varnish or lacquer within weeks, starting at the seat edge. A scuff alone isn’t enough on most chairs; you need the primer to grab.
- Letting paint pool in the joints. Every spot where a rung meets a leg traps paint, and a puddle dries as a wrinkle or a drip. Walk around with an almost-dry brush after each coat and pull the corners clean.
- Sitting on it too soon. Cabinet enamel feels dry in hours but stays soft for weeks. Sit on it at day three and you’ll print the weave of your jeans into the seat. Wait out the cure.
- Using soft chalk paint on a daily-driver chair. Chalk paint dents and scuffs under regular sitting. Save it for an accent chair; use hard-curing enamel on anything at the dining table.
- Taking the chair apart to paint it. Knocking out the rungs to coat them separately usually means the chair never feels solid again. Paint it assembled.
Cure Schedule
| Time after final coat | What’s safe |
|---|---|
| 4 hours | Touch dry; don’t touch |
| 24 hours | Move it, handle it gently |
| 7 days | Light use, sit carefully |
| 30 days | Full cure; everyday sitting and wiping down |
Chalk paint sealed with polycrylic is usable a little sooner, but the 30-day mark is still when it’s fully hardened. Don’t drag a cushion across a fresh seat in week one.
Maintenance and Touch-Ups
A chair finished in cabinet enamel holds up 8 to 12 years on something you sit on daily. Chalk paint sealed with polycrylic runs more like 5 to 8 years, less on the seat itself.
For a chip, dab the original paint on with a small artist’s brush and feather just the bare spot. Don’t repaint a whole spindle to fix a nick; the fresh paint reads brighter than the cured paint and you’ll see the seam. Keep the leftover quart labeled in a cool spot.
Cost
| Item | Cost |
|---|---|
| Cabinet enamel or chalk paint (1 quart) | $25–$45 |
| Bonding primer (1 quart) | $15 |
| Top coat (polycrylic, chalk paint only) | $15 |
| Brushes (2-inch + 1-inch angled) | $25 |
| Sponges, tack cloth, Floetrol | $15 |
| Total for a set | $60–$95 |
That covers two to four chairs. Per chair, you’re looking at $15 to $30 in materials.
A Specific Recommendation
Four mismatched dining chairs you want to match: a quart of Benjamin Moore Advance in satin, a quart of INSL-X Stix primer, a 2-inch and a 1-inch angled brush, and a 220 sponge. Clean and test Friday night, scuff and prime Saturday, two coats of enamel Sunday and Monday evening. Let them cure two full weeks in the garage before they go back under the table. The set comes back looking bought-together.