How to Paint a Bathroom Ceiling
Painting a bathroom ceiling without streaks or peeling. The right mold-resistant paint, the spatter-free rolling order, and the prep that stops it from coming back.

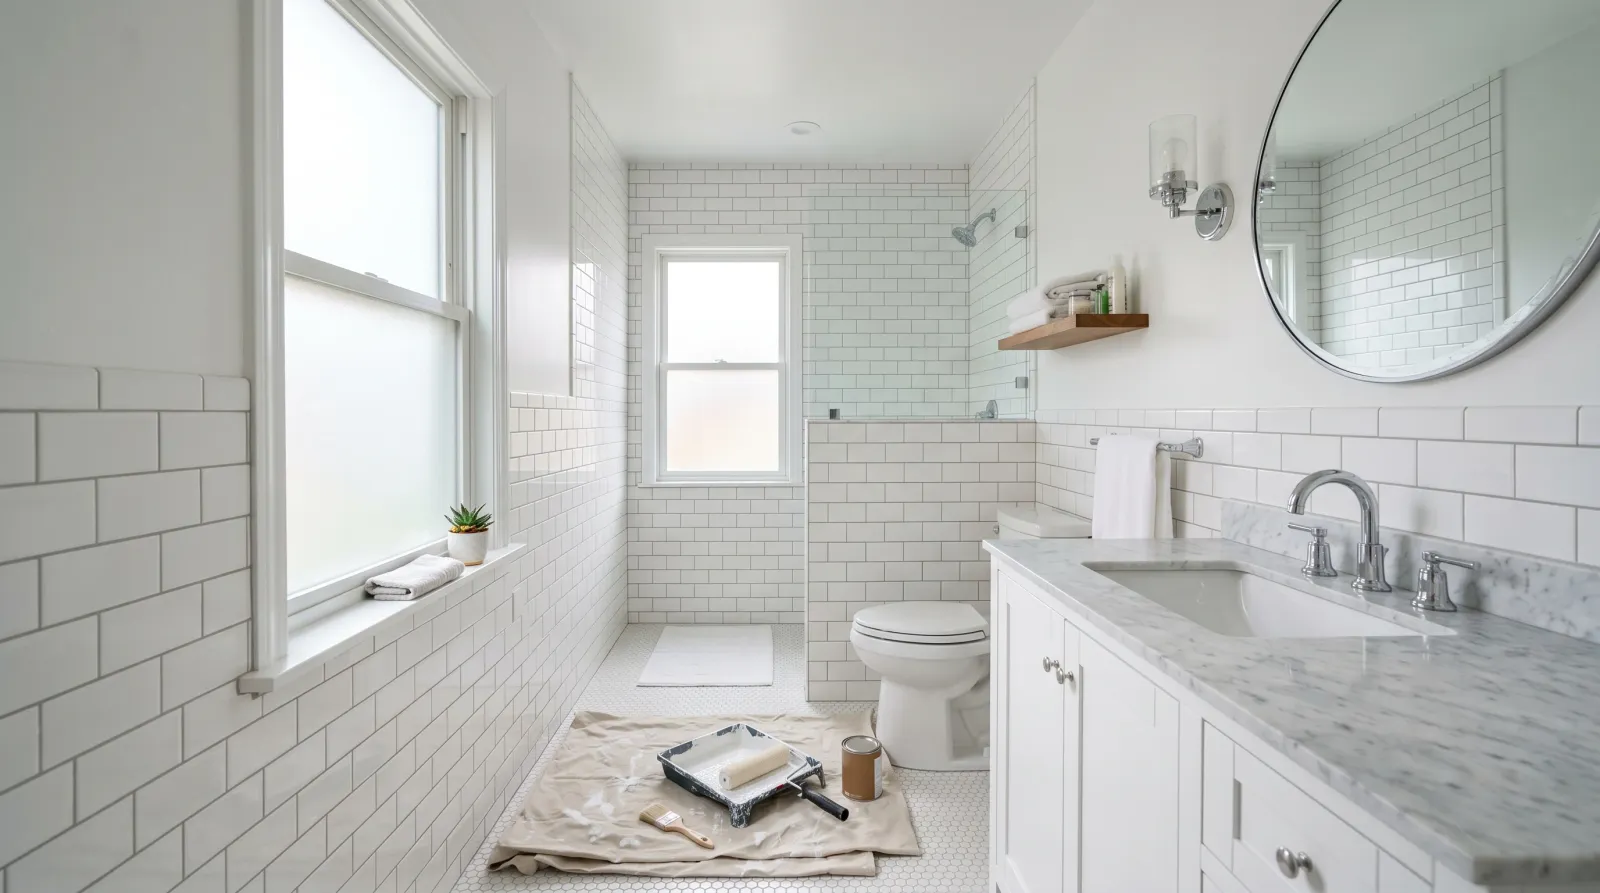
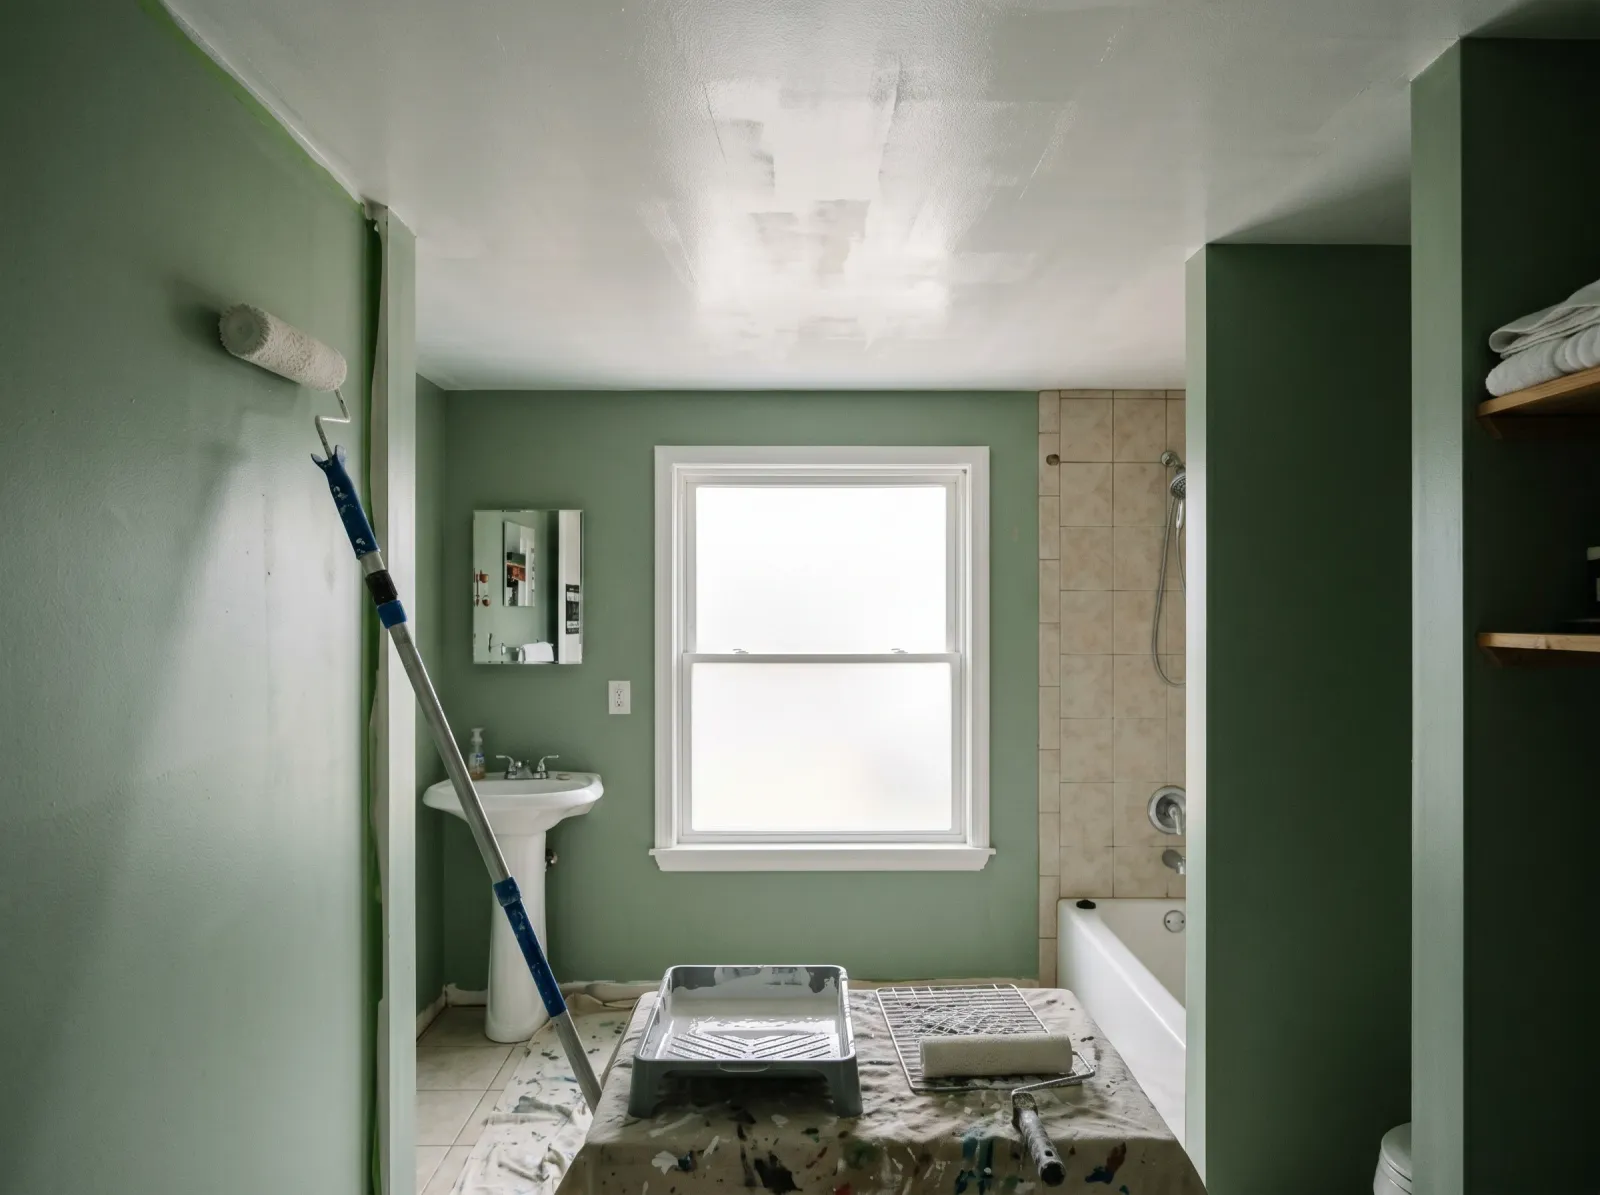
Okay, so the bathroom ceiling is the one nobody wants to deal with. You’re painting overhead, in a small room, probably standing on a step stool wedged between the toilet and the tub, and there might be a little black speckling up there in the corner that you’ve been ignoring for a year. Don’t worry. This is a half-day project, and the bathroom ceiling is honestly more forgiving than a wall because nobody stands two inches from it studying the finish.
The thing most people get wrong isn’t the technique. It’s the paint. A bathroom ceiling needs paint built for moisture, and the cheap flat ceiling can from the garage will let you down in a steamy room. Get that one choice right and the rest is just rolling.
What You’ll Get
A clean, even, bright ceiling that handles shower steam without going blotchy or growing mildew in the corners. The room feels lighter and cleaner the moment it’s done.
Honest Take on Difficulty and Time
About four working hours for a standard bathroom ceiling, most of that in prep and dry time, not painting. The actual rolling takes maybe 30 minutes per coat. The annoying part is the overhead work in a cramped room and the awkward reach over the tub.
If your ceiling has active mold, add an hour for cleaning and a day for it to dry fully before you paint. You can’t paint over wet, and you can’t paint over live mold. More on both below.
Difficulty is easy. The only thing that makes a bathroom ceiling harder than a bedroom ceiling is the tight space and the moisture history. The painting itself is the same.
What You’ll Need
Paint and Primer
The headline choice is a bathroom-rated paint, which means a paint with mildewcide built into the can so it resists the mold that loves a damp ceiling. The two most people buy are Zinsser Perma-White (cheap, tough, comes ready in a satin or a flat) and Benjamin Moore Aura Bath & Spa (pricier, matte, beautiful in a nicer bathroom). Behr Premium Plus Bathroom is the budget middle.
Get it in flat or matte for a ceiling. Flat hides every drywall ripple and won’t bounce the light fixture back into your eyes. A quart covers most standard bathroom ceilings for two coats, so you rarely need a full gallon.
You only need primer for problem spots. A water stain (that brown ring from an upstairs leak) or a mold patch you just cleaned off will ghost back through plain paint within weeks. Spot-prime just those areas with a stain-blocking primer like Zinsser BIN or KILZ Original. Not the whole ceiling. Just the trouble.
For the full product comparison, see the best ceiling paint round-up, and if mold is your main worry, the best mold-resistant paint picks go deeper on the warranty differences. Still deciding on sheen? The sheen guide lays out flat versus satin in plain terms.
Tools
A 2-inch angled brush for cutting in (painting the edge band along the wall line and around the fan where the big roller can’t reach). A 9-inch roller frame with a 3/8-inch nap microfiber sleeve, a tray, and an extension pole so you can roll the ceiling standing on the floor instead of teetering on a stool. Safety glasses, a drop cloth, and tape.
The extension pole is the one tool that makes this project pleasant instead of miserable. Picks are in the paint roller round-up. Don’t roll a ceiling by hand off a ladder if you can help it; your neck and shoulder will hate you by the second coat.
Step 1 — Clean the Ceiling and Air Out the Room
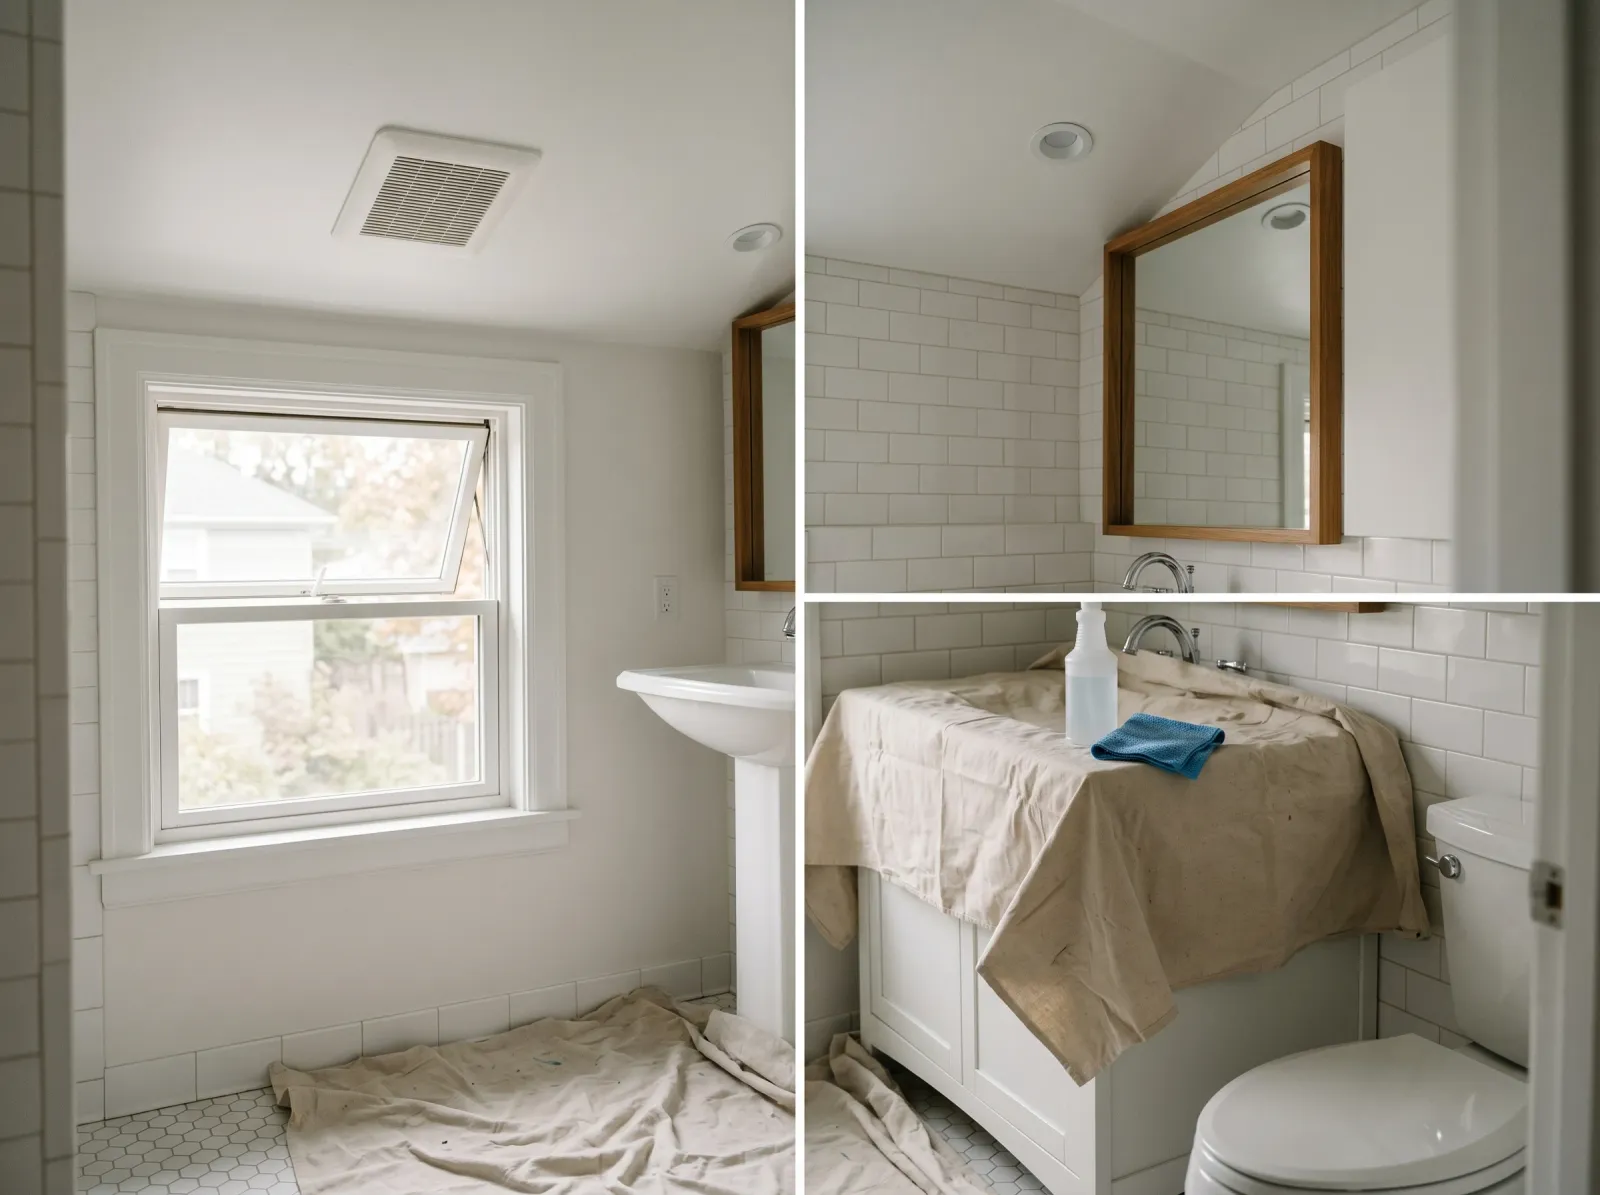 Mold wiped off, the fan running, the vanity and floor draped before any paint comes out.
Run the exhaust fan and crack a window. You want the room dry and ventilated before, during, and after.
Wipe the whole ceiling down with a little dish soap and warm water, then rinse with a clean damp cloth. Even a ceiling that looks fine has a film of soap mist, body oils, and hairspray on it, and paint won’t grip that film. If there’s mold, spray it with a mold cleaner or a 1-to-3 bleach-and-water mix, let it sit ten minutes, scrub gently, and rinse. Let it dry completely, which can take overnight in a humid room.
Cover the vanity top and the floor with a drop cloth. Drips on tile wipe up easily; drips dried on a vanity don’t.
Watch out for painting before the ceiling is bone dry. Trapped moisture under fresh paint is the number-one reason a bathroom ceiling peels.
Step 2 — Spot-Prime Any Stains
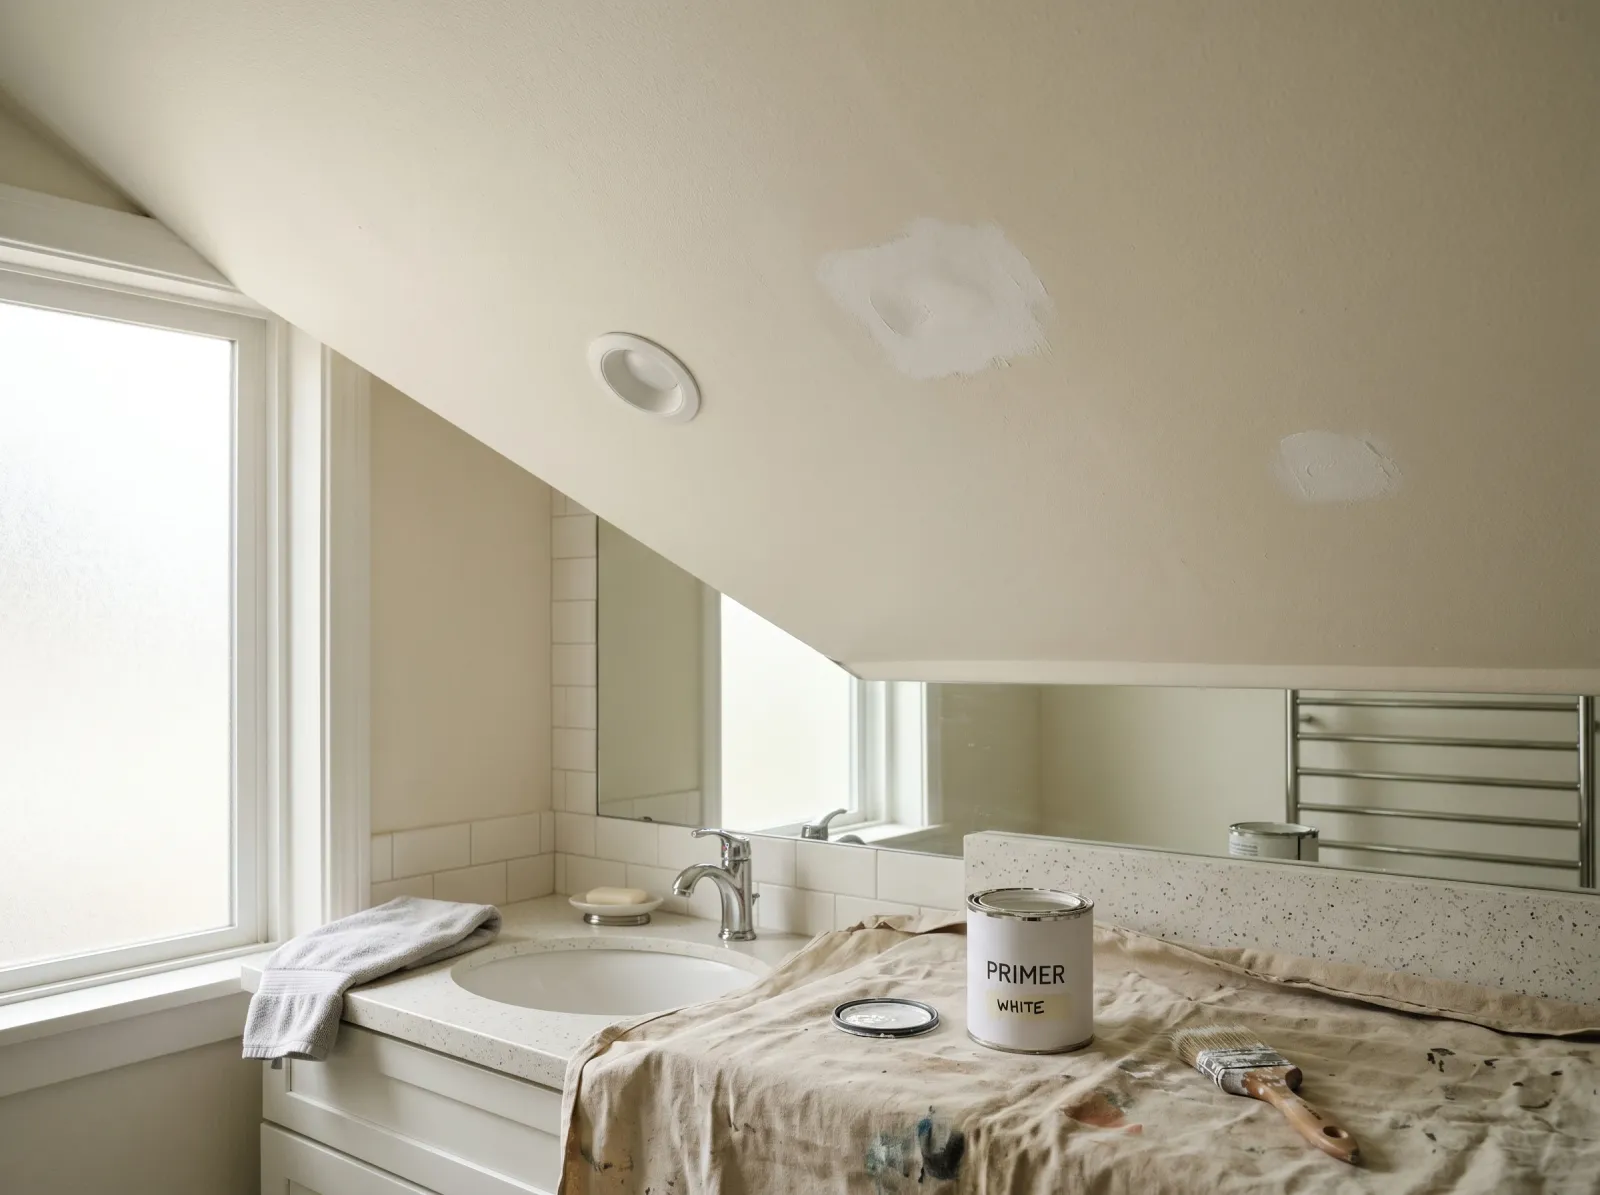 Any water ring or old mold patch gets a coat of stain-blocking primer so it can’t bleed back through.
If you cleaned off a mold patch or you have an old water ring, brush a coat of Zinsser BIN or KILZ over just those spots and let it dry per the can (BIN is touch-dry in about 30 minutes). This locks the stain so it can’t bleed through your finish coats.
A clean, sound ceiling with no stains needs no primer. The bathroom paint goes straight on.
If the stain is fresh and the ceiling is still actively leaking from above, stop. Paint won’t fix a leak, and a deep stain may need more than a spot prime. The water-stain ceiling fix walks through finding the source first.
Step 3 — Tape and Cut In the Edges
 A 2-inch band brushed around the whole ceiling where the roller can’t reach the wall line and the fan.
Tape the top of the wall where it meets the ceiling if the two are different colors. Press the tape edge down hard with your fingernail so paint doesn’t bleed (sneak under the tape and leave a fuzzy line).
With the 2-inch angled brush, cut in a band around the entire perimeter of the ceiling and around the exhaust fan and the light fixture base. Dip the brush a third of the way in, no more. A fully loaded brush drips, and drips overhead land on your face.
Watch out for the corner over the shower. That’s where mold starts, so don’t skimp on coverage there.
Step 4 — Roll the First Coat
 Rolled with an extension pole in one direction, working away from the window so the wet edge stays in sight.
Put on the safety glasses. Pour paint into the tray about a third full, load the roller, and roll off the excess on the tray’s ramp until it’s evenly coated and not dripping.
Roll the ceiling in slightly overlapping rows, all in the same direction, working away from the window so the light shows you the wet edge. Keep a wet edge, which means rolling into the section you just did before it starts to dry, so you don’t get a visible seam. Don’t stop in the middle. Finish the whole ceiling in one go, it only takes about 30 minutes.
One coat will look patchy and translucent. That’s normal for flat paint. Don’t panic and don’t go back over half-dry spots trying to fix it. You’ll fix it with the second coat.
Watch out for roller spatter. A fast roller flings paint mist straight down. Roll at a steady, unhurried pace and keep the safety glasses on.
Step 5 — Second Coat and Reset
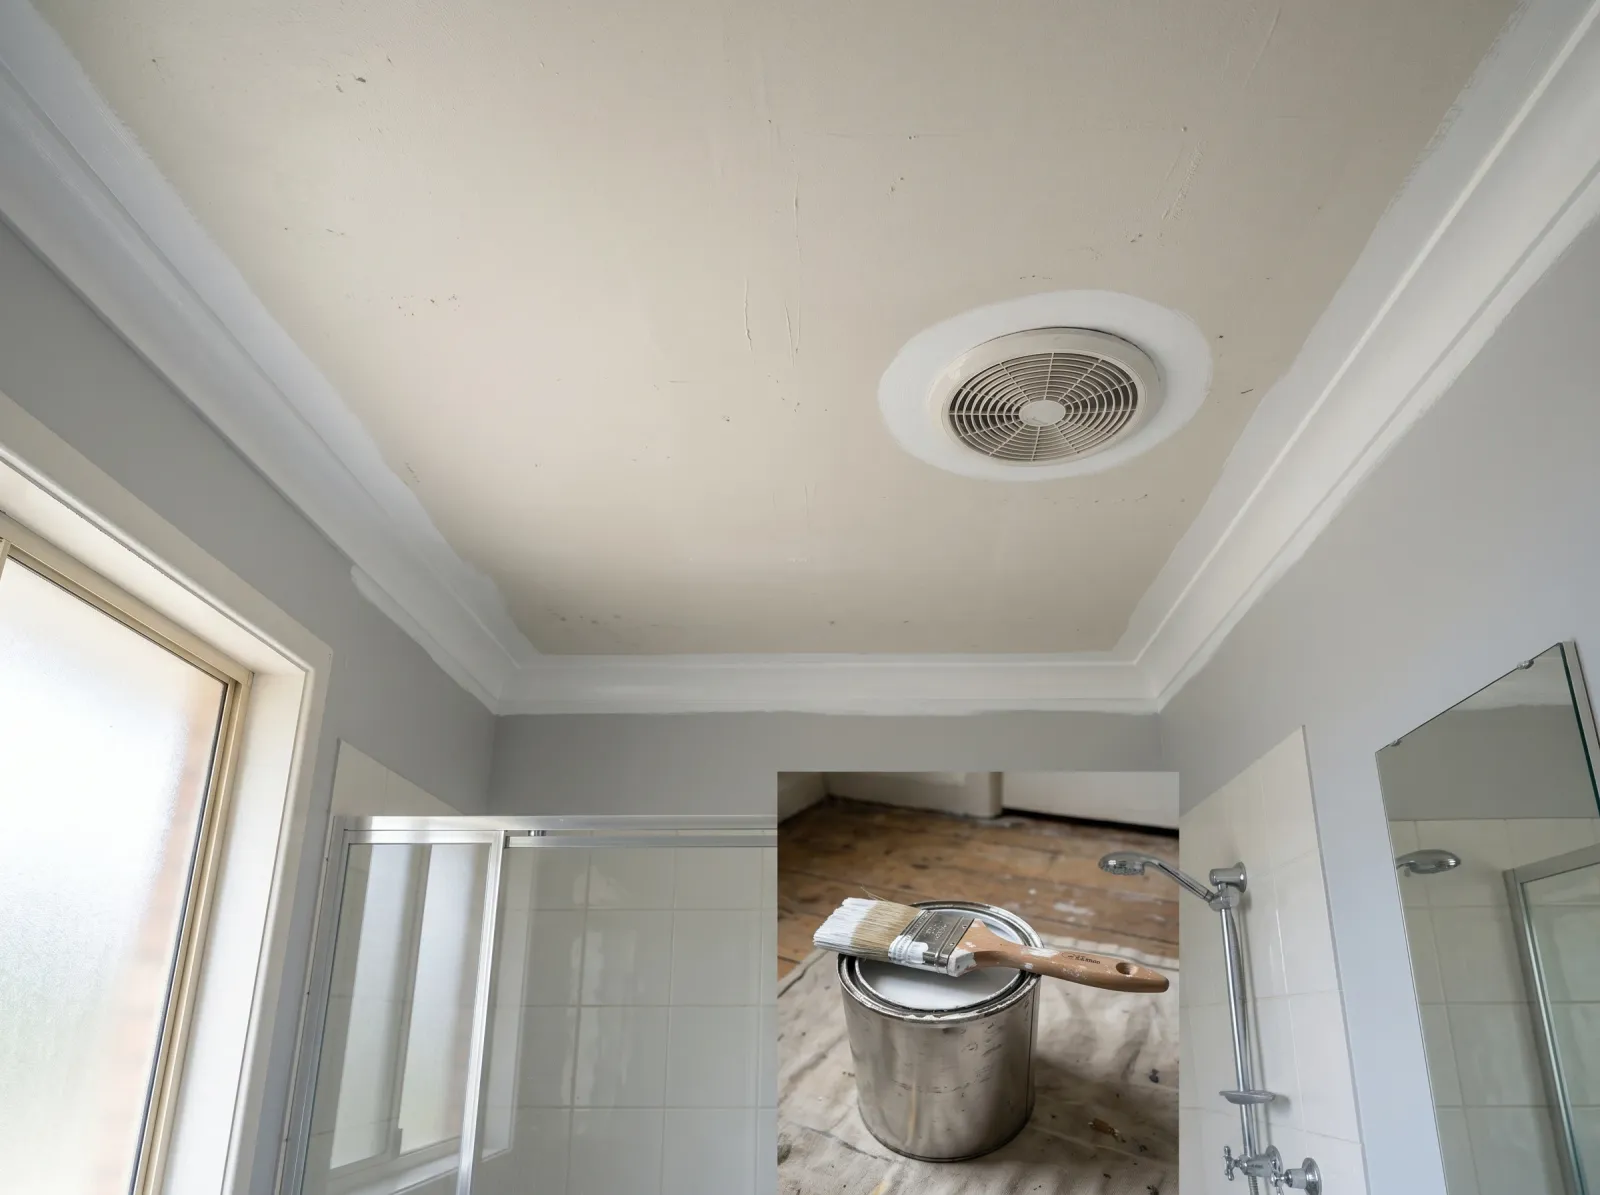
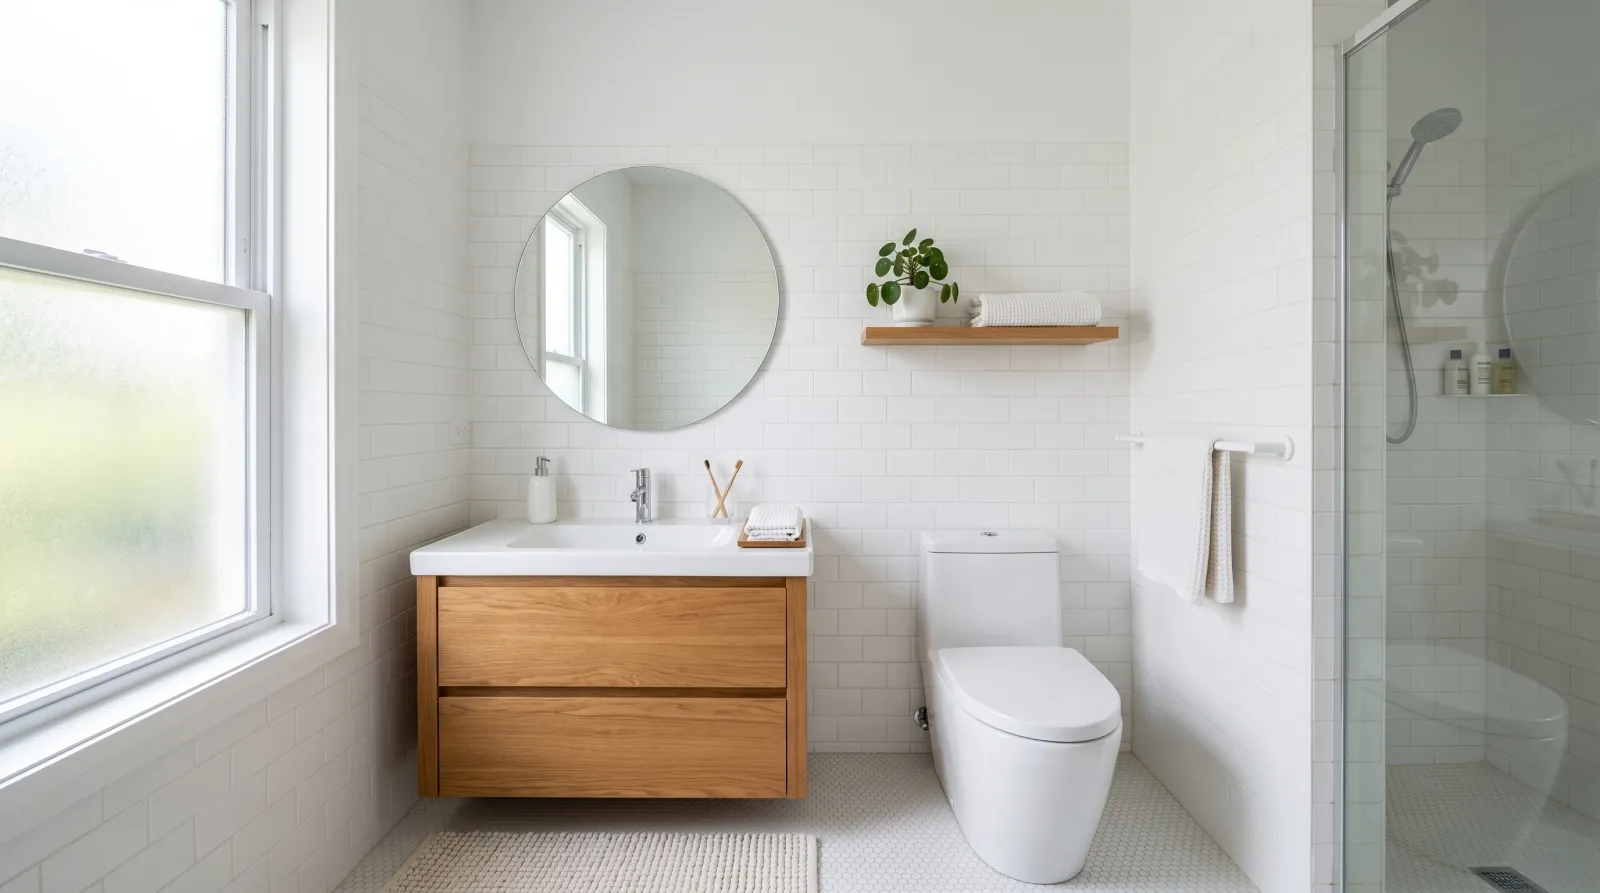 Second coat dry, tape pulled, fan and floor uncovered.
Let the first coat dry the time on the can, usually 2 to 4 hours for a water-based bathroom paint. Then roll the second coat the same way, same direction. The color evens out and the patchiness disappears. Almost every flat paint needs two coats, so plan for it.
Pull the tape while the last coat is still slightly tacky, at a 45-degree angle, slow and steady. Dry tape can chip the fresh edge. Take up the drop cloths, and leave the fan running for an hour to pull the last of the paint smell out.
Then leave the room alone. No hot shower for 24 hours.
Common Mistakes
- Using regular flat ceiling paint. The cheap contractor ceiling can has no mildewcide and isn’t built for moisture. It goes blotchy and grows speckled mold in the corners within a year. Use a bathroom-rated paint, always.
- Painting over active mold. Paint doesn’t kill mold, it feeds it by sealing the moisture in. Clean it off and let the spot dry first. If it keeps coming back, the real problem is ventilation, not paint. The full bathroom ceiling mold fix covers the ventilation side.
- Skipping the wash. A ceiling that looks clean still has a soap-and-hairspray film. Paint peels off it at the edges. Ten minutes with dish soap fixes it.
- Showering too soon. Steam on half-cured paint causes streaking and early peeling. Twenty-four hours minimum before the first hot shower.
- Rolling in different directions on different coats. Cross-rolling shows up as a faint crosshatch under the light fixture. Roll every coat the same way.
Cure Schedule
| Time after the second coat | What’s safe |
|---|---|
| 1 hour | Pull the tape, uncover the floor |
| 4 hours | Touch dry, don’t bump it |
| 24 hours | First hot shower is okay |
| 7 days | Wipe gently with a damp cloth |
| 30 days | Full cure, scrub and clean normally |
Maintenance and Touch-Ups
A bathroom-rated ceiling paint with a working exhaust fan behind it lasts 7 to 10 years before it needs a refresh. Without a fan, expect mold to creep back in 2 or 3 years no matter how good the paint is. Ventilation does more for a bathroom ceiling than any can.
For a small mildew spot, wipe it with a 1-to-3 bleach mix, rinse, dry, and dab a little leftover paint over it with a small brush. Keep a labeled jar of the leftover paint under the sink. For a touch-up over a larger area, use a small piece of roller rather than a brush so the texture matches the rest of the ceiling.
Cost Breakdown
| Item | $ |
|---|---|
| Bathroom ceiling paint, 1 quart | $18 |
| Stain-blocking primer (if needed) | $12 |
| Roller, sleeve, tray, extension pole | $25 |
| Tape, drop cloth, sponge | $12 |
| Total | $45–$67 |
If you already own the pole and tray, you’re really only buying a quart of paint and some tape, so this can land closer to $35. Stepping up to BM Aura Bath & Spa pushes the paint line to about $30 a quart.
FAQ
What kind of paint do I use on a bathroom ceiling? A bathroom-rated paint that resists mold and mildew, in a flat or matte sheen. Zinsser Perma-White and Benjamin Moore Aura Bath & Spa are the two most people reach for.
Do I have to prime a bathroom ceiling before painting? Only the trouble spots. A clean, sound ceiling takes two coats of bathroom paint with no primer. Stains and former mold patches get spot-primed first.
Can I use the same paint on the ceiling and the walls? Yes, though walls look better in eggshell or satin and ceilings look better flat. If you want one can, satin works for both with a little shine on the ceiling.
Why does my bathroom ceiling keep peeling? Either the old paint wasn’t moisture-rated or the room has no working fan. Fix the ventilation and repaint with a bathroom product. See how to fix peeling bathroom paint for the strip-and-recoat steps.