How to Fix Peeling Bathroom Paint
Peeling bathroom paint is a moisture problem, not a paint problem. Diagnose the cause, scrape and prime right, then recoat with bath-grade paint so it actually holds.

Bathroom paint doesn’t peel because the paint was cheap. It peels because steam has nowhere to go and the film gives up. Fix the moisture first, then the repair holds. Skip it and you’re scraping the same wall next year.
Does This Match What You’re Seeing?
Look at where the paint is failing and how. The pattern tells you the cause before you touch a scraper.
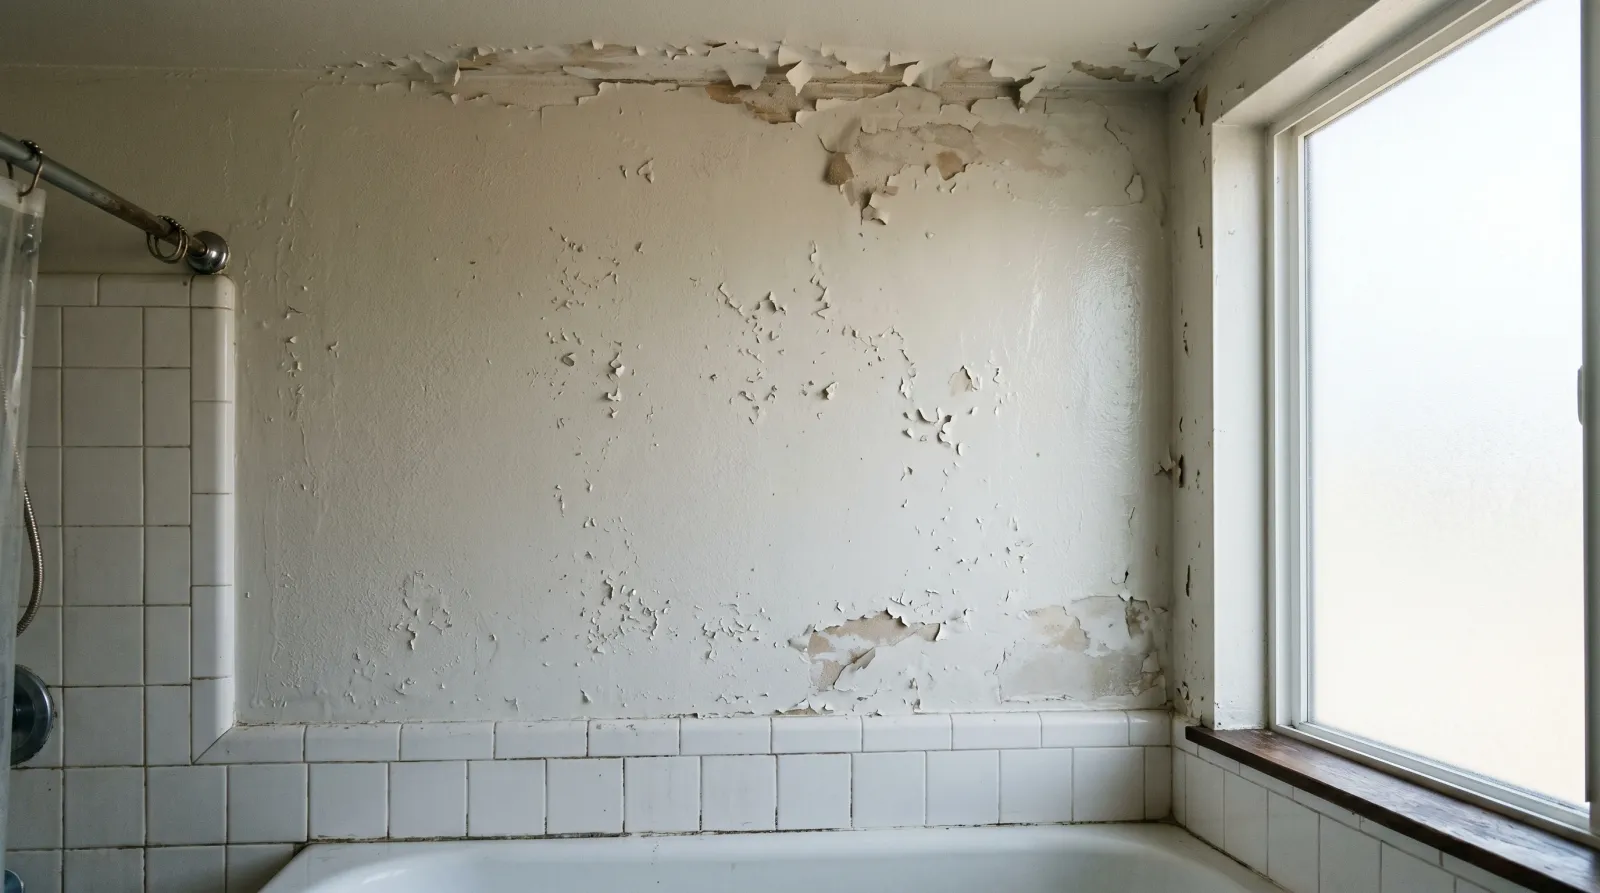
- Flaking on the ceiling above the shower: condensation. Warm steam rises, hits the cold ceiling, and sits there. The most common bathroom peel there is.
- Blisters and bubbles near the tub line: trapped moisture behind the film, or paint that went on over a damp or glossy surface.
- Peel right around the tub edge, window, or sink: liquid water intrusion. Failed caulk or grout letting water behind the wall.
- Sheets lifting clean with no curl, no blistering: intercoat failure. Latex rolled over old glossy or oil paint with no prep.
- Tiny flakes with black or gray spotting underneath: mildew under the film. Treat that before anything else.
If two patterns overlap, treat it as condensation plus bad prep. That’s the usual bathroom combination.
How Serious Is This?
A patch of ceiling peel above the shower is a same-weekend fix. Widespread peel across every wall means the room can’t shed moisture and you have a ventilation job before a paint job.
Three things push this to high severity:
- Soft, spongy, or sagging drywall. Water is inside the board. Paint won’t save wet gypsum. Cut it out and replace it.
- Pre-1978 home. Assume lead under the old paint until you test. EPA RRP rules apply to scraping and sanding.
- Peel coming back within a year of a proper repaint. The moisture source is still live. Stop painting and find it.
Why This Is Happening (root Cause)
 Condensation peel starts where warm steam meets the coolest surface: the ceiling corner above the shower.
Bathrooms are the hardest room in the house on paint. Three causes do almost all the damage.
Condensation. A hot shower dumps pints of water vapor into a small room. That vapor finds the coolest surface, usually the ceiling or an exterior wall, and condenses into liquid water sitting on the film. Day after day, the water works under the paint at any weak edge and breaks the bond. The film lifts. This is why the ceiling over the shower always goes first.
Wrong sheen or builder-grade paint. Flat and matte paints have an open, porous film. They breathe, which is fine in a dry bedroom and a disaster over a tub. Steam passes into the film, can’t dry out fast enough, and the coat blisters off. A lot of new builds get a single coat of cheap flat everywhere, bathrooms included. That coat fails first in the wet room.
Bad prep or a leak. Latex rolled over old semi-gloss with no sanding peels in sheets. Paint over damp drywall traps moisture from day one. And a slow leak behind the tub surround or a cracked bead of caulk feeds water straight to the back of the film, where no topcoat can stop it.
Before you repaint, press painter’s tape hard against a sound-looking area and pull it off fast. If paint comes away with the tape, the film is failing across the wall, not just where you can see it.
The Fix
Step 1. Find and Stop the Moisture
Test the exhaust fan: hold a square of toilet paper to the grate while it runs. If it doesn’t suck the paper flat, the fan is dead or undersized. You need roughly 1 CFM per square foot of floor area.
Check the caulk around the tub, shower, and window. Cracked or moldy caulk lets water behind the wall. Cut it out and re-bead with a mildew-resistant silicone made for kitchens and baths.
If the room has a window and no working fan, that’s your problem. No paint holds in a sealed steam box. The full diagnosis lives in the condensation-on-walls fix.
Let the surface stay dry for 24 hours before you prime.
Step 2. Scrape the Loose Paint
A 2-inch carbide scraper, held at a low angle, pulled toward you. Take off everything that releases under light pressure. Don’t fight paint that’s still bonded; you’ll just tear the drywall face.
For pre-1978 homes, wet-scrape only. Mist the area, lay plastic to catch chips, and clean up with a HEPA vacuum. No dry sanding, no heat guns.
Step 3. Feather and Sand the Edges
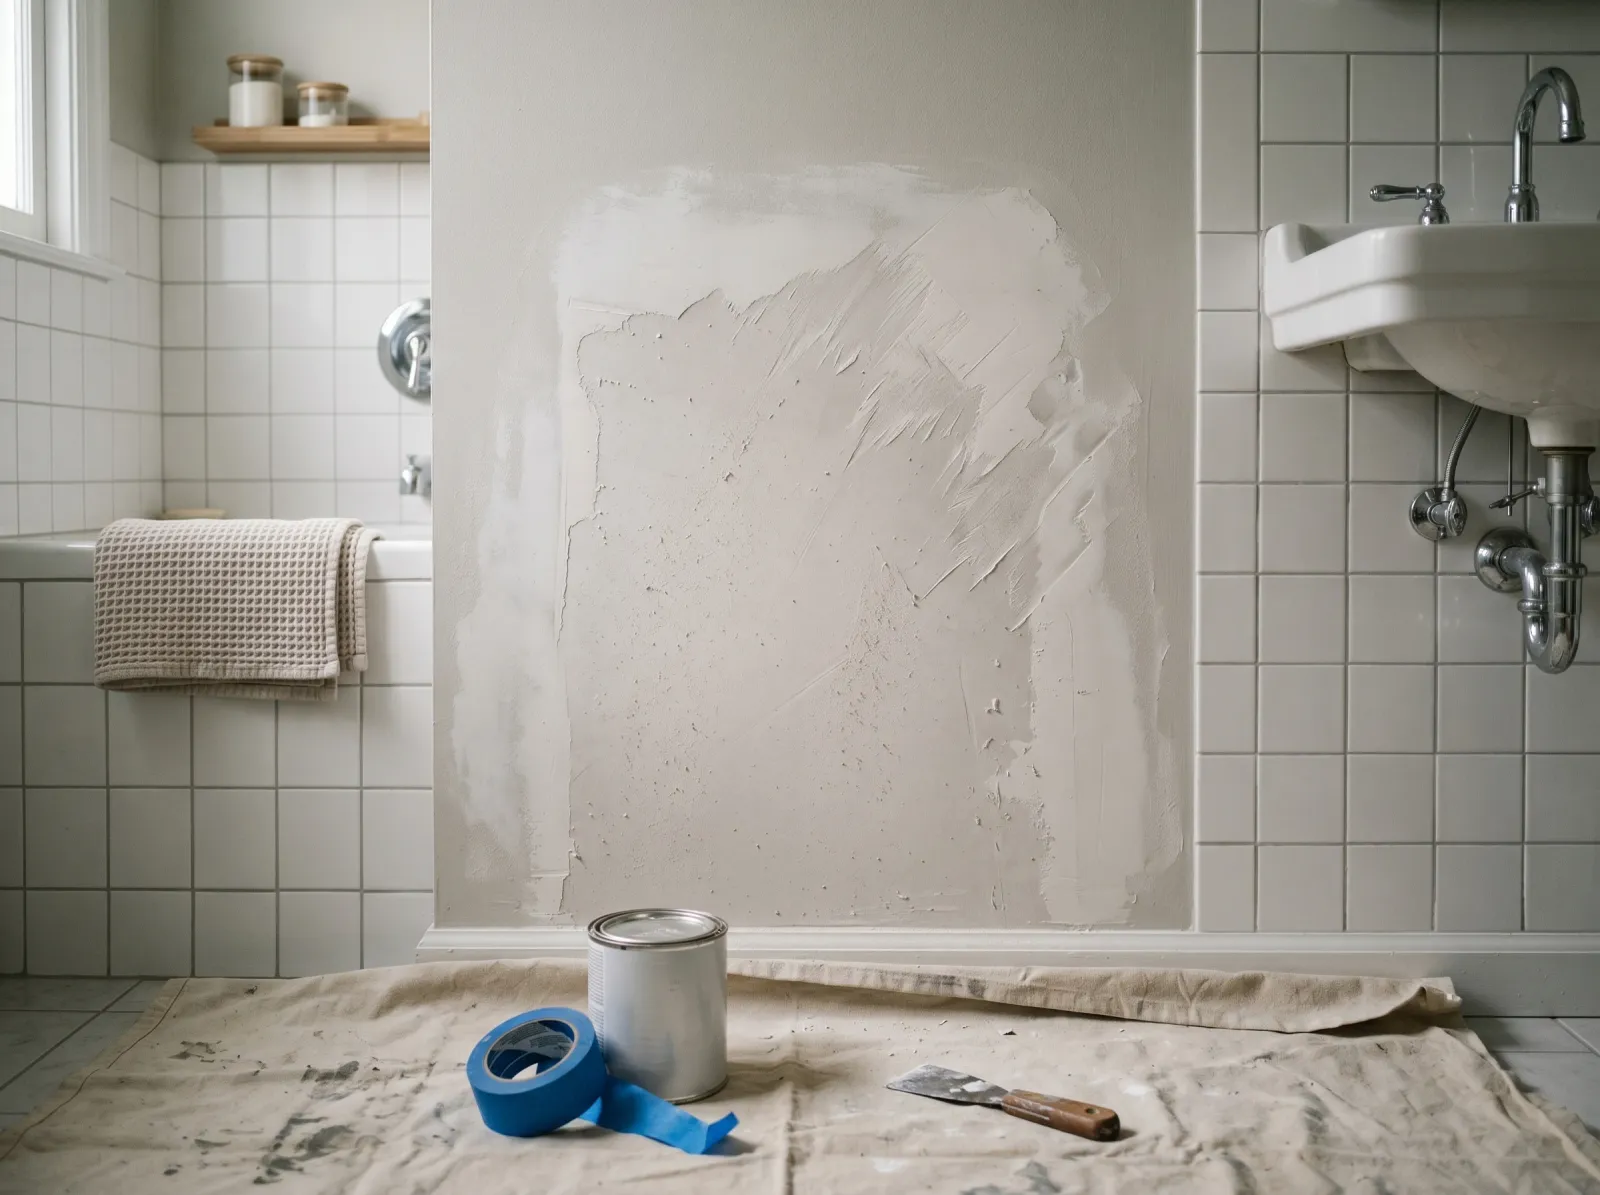 Scraped to sound paint, edges feathered flush, surface clean and dry. This is the stage that decides whether the repair shows.
Scraping leaves cliffs: bare drywall next to a hard ledge of old paint. Topcoat over a cliff and you see the line forever. Sand each edge with 120 grit until your fingertip can’t feel the step. Feather it wide rather than steep.
If you sanded into the drywall paper and it’s fuzzy, hit it with a coat of primer before filling so the paper doesn’t swell.
Step 4. Treat Any Mildew, Then Wash
If you saw black or gray spotting, clean it now. Concrobium Mold Control or a 1:10 bleach-to-water solution, scrubbed in and left to dwell 10 minutes. Never mix bleach with vinegar, ammonia, or any hydrogen-peroxide cleaner. That combination makes toxic chlorine gas. Open the door, run the fan, and don’t seal yourself in a small bathroom with bleach fumes.
Then wash the whole repair area with a TSP substitute to cut soap film and body oil. Rinse, and let it dry a full day. Bathroom walls carry a greasy residue you can’t see, and primer won’t stick to it. For the full mildew-removal steps, see the best mold-resistant paint round-up.
Step 5. Prime the Bare Spots
Match the primer to what you’re covering:
- Bare drywall or joint compound: a water-based stain-blocking primer like Zinsser Bulls Eye 1-2-3. Seals the porous patch so the topcoat builds an even film.
- Old glossy or oil paint you scraped around: a bonding primer such as INSL-X STIX so latex actually grips.
- Rust stains, marker, or water rings bleeding through: Zinsser BIN shellac primer spot-coated over the stain only.
Let the primer dry the full time on the can, usually an hour for water-based. Don’t rush it in a humid room; give it longer if the air feels damp.
Step 6. Repaint With Bath-Grade Paint
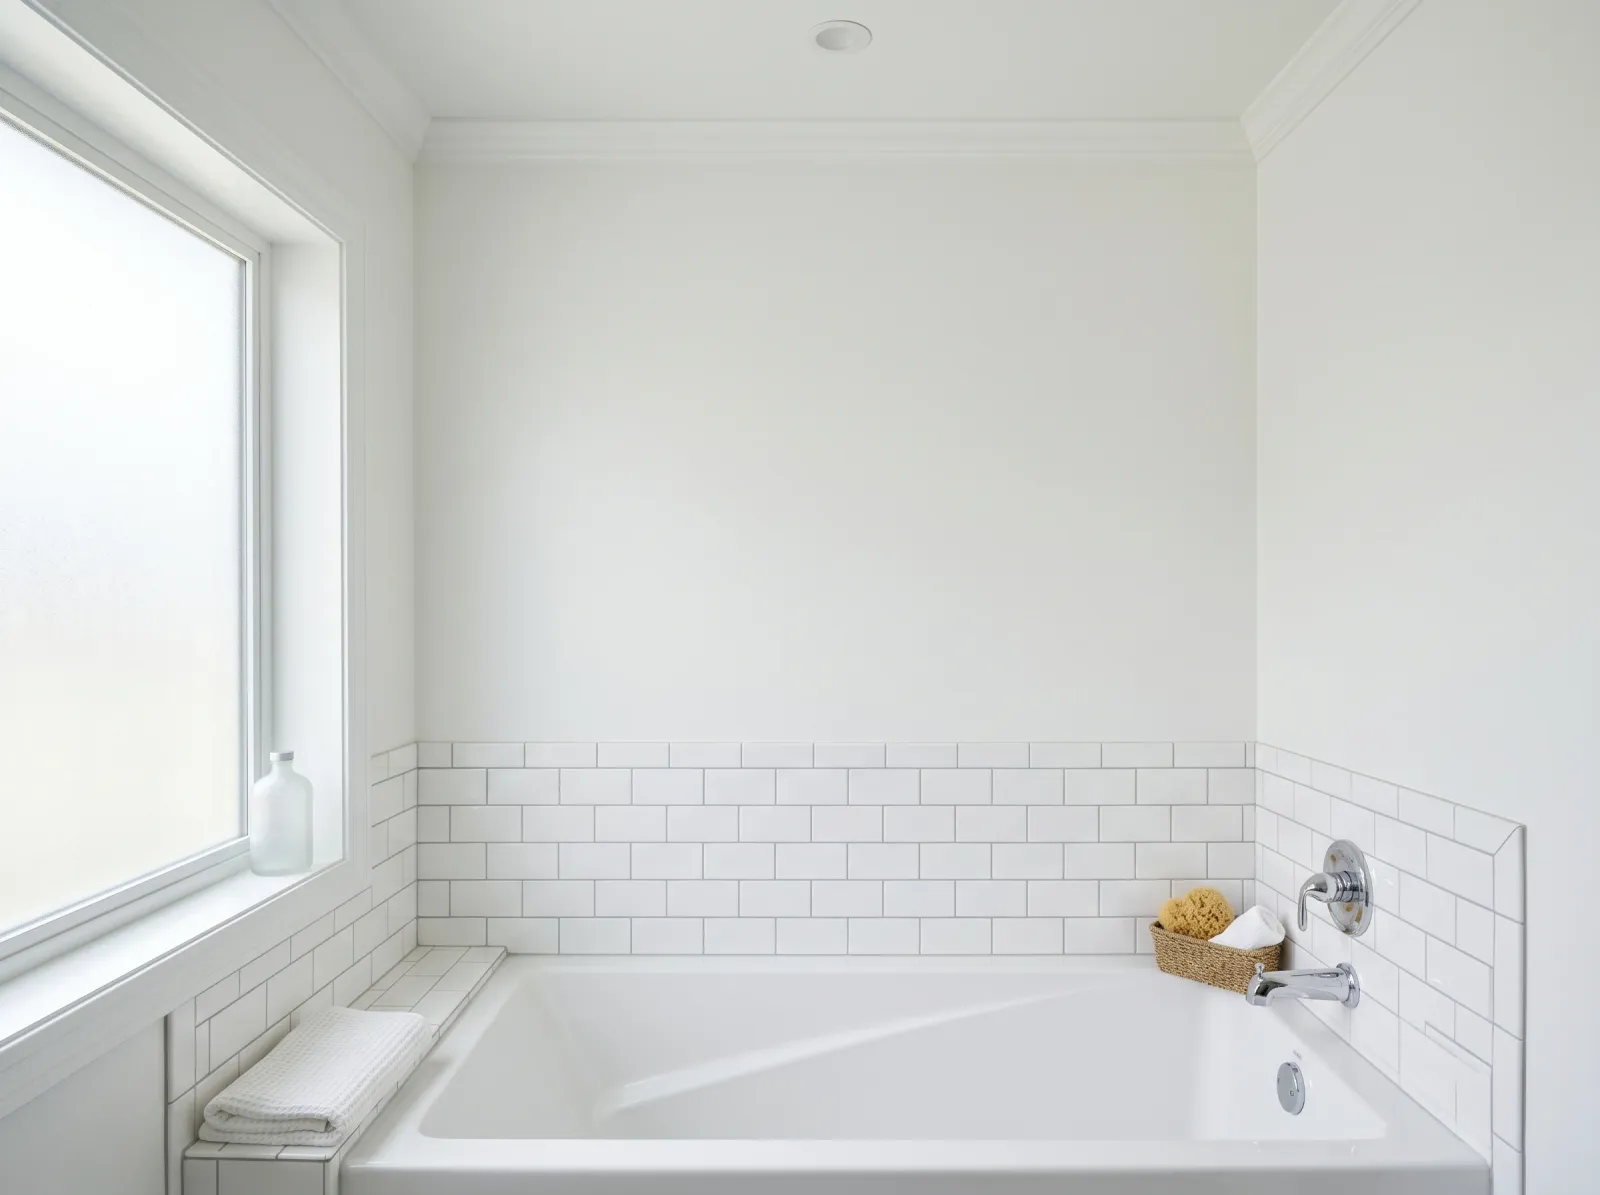 Two coats of mildew-resistant satin. Even film, no flat dead spots, sheds steam instead of soaking it up.
Two coats. Always two coats in a bathroom. One coat is half the moisture protection.
Use a mildew-resistant satin or semi-gloss built for wet rooms. Zinsser Perma-White, Benjamin Moore Aura Bath & Spa, and Sherwin-Williams Emerald in satin all hold up to daily steam. Skip flat ceiling paint over the shower; it’s the first thing that peels. For why sheen matters this much in a bathroom, see the sheen guide.
Cut in the corners, roll while the cut-in is still wet, and don’t stop in the middle of a wall. Let the first coat dry the full recoat window before the second, longer if the room won’t dry out.
Safety
N95 during sanding, P100 if the house is pre-1978. Gloves and eye protection when you’re handling bleach or scraping overhead. Run the fan and crack the door the whole time you’re cleaning, priming, or painting. Chips travel, so drop-cloth the tub and floor.
Common Mistakes
- Painting over the peel without fixing the fan. The single biggest one. The wall fails again on schedule.
- Using flat or matte paint over the shower. Porous film, trapped steam, fast peel. Satin minimum.
- Skipping primer on bare drywall. The patch drinks the topcoat and dies flat.
- Sealing mildew under fresh paint. It bleeds back through within months. Kill it first.
- One coat to save time. Half the film, half the protection, in the wettest room you own.
- Recoating before the room is dry. Humid air keeps the film soft and it never builds adhesion.
Prevention
The paint is the last layer. Fix what’s behind it or you’ll redo this.
- Run the fan during the shower and 20 minutes after. A timer switch makes this automatic. Replace any fan that can’t pull a sheet of toilet paper flat against the grate.
- Size the fan right. Roughly 1 CFM per square foot of floor. A 5-by-8 bathroom wants a 50 CFM fan, minimum.
- Vent the fan outside, not into the attic. A fan dumping steam into the attic rots the roof deck and pushes moisture right back down through the ceiling.
- Re-caulk the tub, shower, and window yearly. Cracked caulk is the fastest path for liquid water to get behind the wall.
- Leave the door open after a shower to let the room dry, and squeegee the shower walls if you’ve got serious steam buildup.
- Pick the right paint when you repaint the whole room. The full process is in the how to paint a bathroom guide.
When to Call a Pro
- Soft, sagging, or water-damaged drywall behind the paint. That’s a replacement, not a repaint.
- A leak you can’t trace behind the tub surround or in the wall cavity. Get a plumber before you paint over it.
- Mildew covering more than 10 square feet. The EPA threshold for professional remediation.
- A pre-1978 home where you’d be scraping or sanding more than a small patch. Lead test first; hire a certified RRP contractor if it’s positive and the area is large.
- Peel that keeps returning on a wall you’ve already repaired correctly. The moisture source is hidden and needs an investigation.
What’ll Bite You in Two Years
A perfect paint job over a weak fan buys you maybe a year. The steam comes back every morning, finds the same cold ceiling corner, and lifts the film at the edge again. Fix the airflow and the caulk before you open a can, and the repair lasts as long as any wall in the house. Skip it, and the only thing your new paint changed is the color of the next peel.