Zenithal Priming Explained (Furniture and Miniatures)
Zenithal priming explained in plain words: spray black, then white from above to pre-light a model before you paint. Where it shines, and where it does not.

Zenithal priming is a way to fake light before you paint a single color. You prime the whole model flat black, then spray white from straight above so only the upward-facing surfaces catch it. That overhead direction is the “zenith,” the point in the sky directly over your head. What you get is a finished prime that already carries a gradient: bright on the top edges, grey down the sides, near-black in every recess. Each spray coat dries in about 20 to 30 minutes at 70°F, and the whole thing maps where light and shadow would naturally fall. You paint color over that map, thinned enough to let it show through, and the depth is already there.
It is a miniature painter’s trick first. Tabletop figures, busts, terrain, the occasional carved frame or turned furniture leg. The principle is the same everywhere it works: build the shadows into the primer so the paint on top has somewhere to sit.
How a Zenithal Prime Reads
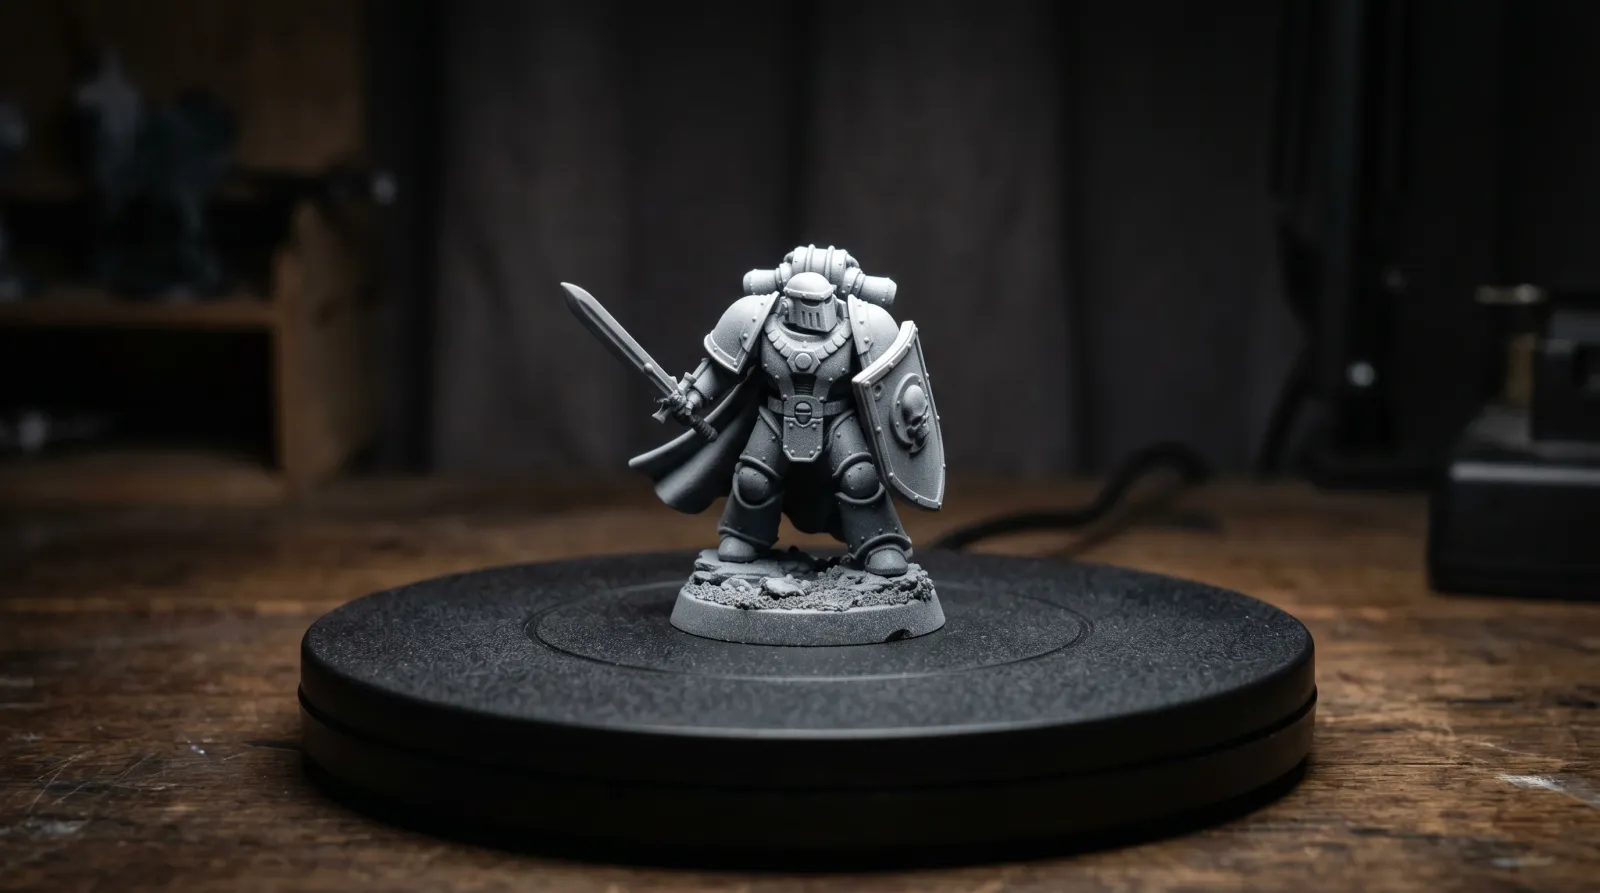
Hold a black-primed figure under a single overhead lamp and you see the same thing the spray builds in. The top of the head, the shoulders, the brow, the raised folds of cloth all glow. The undersides go dark. The deep crevices vanish into shadow. Zenithal priming bakes that lamp into the primer so the model carries it in any light.
The black is your shadow. The white is your light. The grey in between, where the white spray feathers off, is your midtone. Three values, already placed, before you have opened a single pot of color.
Then you glaze over it. Thinned acrylics, contrast-style paints, or oil washes are translucent enough that the gradient underneath keeps showing. A red over the bright top reads as a light red. The same red over the black recess reads as a deep crimson. One color, a whole range of value, and you did almost none of the shading by hand.
When to Use It
Reach for a zenithal prime when:
- You are painting a detailed miniature or bust and want depth without blocking in every highlight and shadow by hand.
- You plan to use translucent contrast paints or thin glazes, which rely on a value map underneath to do their job.
- The piece has a lot of carved recess and raised detail, the kind of relief where shadow naturally pools.
- You want a fast, repeatable result across a squad of similar models, so they share a consistent light.
- You are working a small decorative furniture piece with molded or turned detail, an ornate frame, a corbel, a relief panel.
When NOT to Use It
The gradient only earns its keep when there is detail for it to grab. Skip it when:
- The surface is a flat slab. A plain tabletop, a cabinet door, a smooth dresser front. There is no recess for the shadow to settle into, so the effect mostly disappears and you are better off with a standard even prime.
- You want a flat, graphic, single-color finish, where a built-in gradient just fights the look you are after.
- You are painting in heavy opaque coats. Thick, fully opaque paint covers the gradient completely, so all the priming work goes to waste. Use it only when your color coats let light through.
- The piece is large and mostly broad surfaces, like most furniture. A dresser or a desk gets nothing from a zenithal that a normal bonding primer would not do better and faster.
How Zenithal Priming Compares
| Zenithal prime | Standard prime | Wet blending | |
|---|---|---|---|
| What it does | Builds a light-to-shadow gradient | Gives an even color base | Blends value by hand on the wall |
| Speed | Fast, two or three spray passes | Fast, one even pass | Slow, skill-heavy |
| Best for | Detailed minis, carved relief | Flat surfaces, opaque color | Large smooth gradients |
| Skill needed | Low to start | Low | High |
| Pairs with | Thin glazes, contrast paints | Any topcoat | Opaque acrylics |
Zenithal sits between doing nothing and shading every surface by hand. It hands you a head start, not a finished paint job. For what a primer is doing underneath any of this, see our plain guide to primer.
Common Mistakes
- Spraying the white from too low an angle. If you hold the can out to the side instead of overhead, the light lands on the wrong surfaces and the gradient stops looking like real overhead light. Keep the white coming from straight up, the zenith, and move the model rather than the can.
- Going too heavy on the white. One pass too many and you blow out the gradient into a near-white model with no shadow left. Build the white in light passes and stop while the recesses still read dark.
- Painting over it with opaque color. A fully opaque coat erases everything underneath. The whole point is translucency, so thin your paints or switch to a contrast-style range that lets the value show through.
- Rushing the second coat. Spray white onto tacky black and the two lift and marble together. Let the black dry fully, about 20 to 30 minutes, before the white goes on.
- Using a glossy primer. A shiny surface beads thin glazes and muddies the gradient. Stick to matte primers so the color coats grip and the values stay clean.
What It Looks Like
A good zenithal prime looks like a black-and-white photo of the finished piece. Top surfaces near white, sides in grey, recesses sinking to black, with smooth transitions between. On a face you should see a bright forehead, shadowed eye sockets, a lit nose bridge, a dark underside of the jaw. If the model looks evenly grey all over, the white went on too heavy. If it looks nearly black with a few white specks, it went on too light. You want the full range, soft where it shifts.
Where to Buy / What to Look For
You need a flat black primer and a flat white, both matte, in spray or airbrush form. Most miniature painters use a dedicated mini primer or a hobby rattle-can in ultra-flat black and white. A standard hardware-store matte primer works too, as long as it sprays fine and dries dead flat. Skip anything glossy or satin.
For larger furniture pieces where you want even coverage and control over the spray angle, a small handheld sprayer beats a brush. See our paint sprayer guide for the machines, and if you are priming a tricky furniture surface first, the best furniture paint round-up covers what holds on wood, laminate, and metal.