How to Distress Chalk-Painted Furniture
How to distress chalk-painted furniture so the wear looks earned, not accidental. Where to sand, what grit, and how to seal so the raw edges hold.

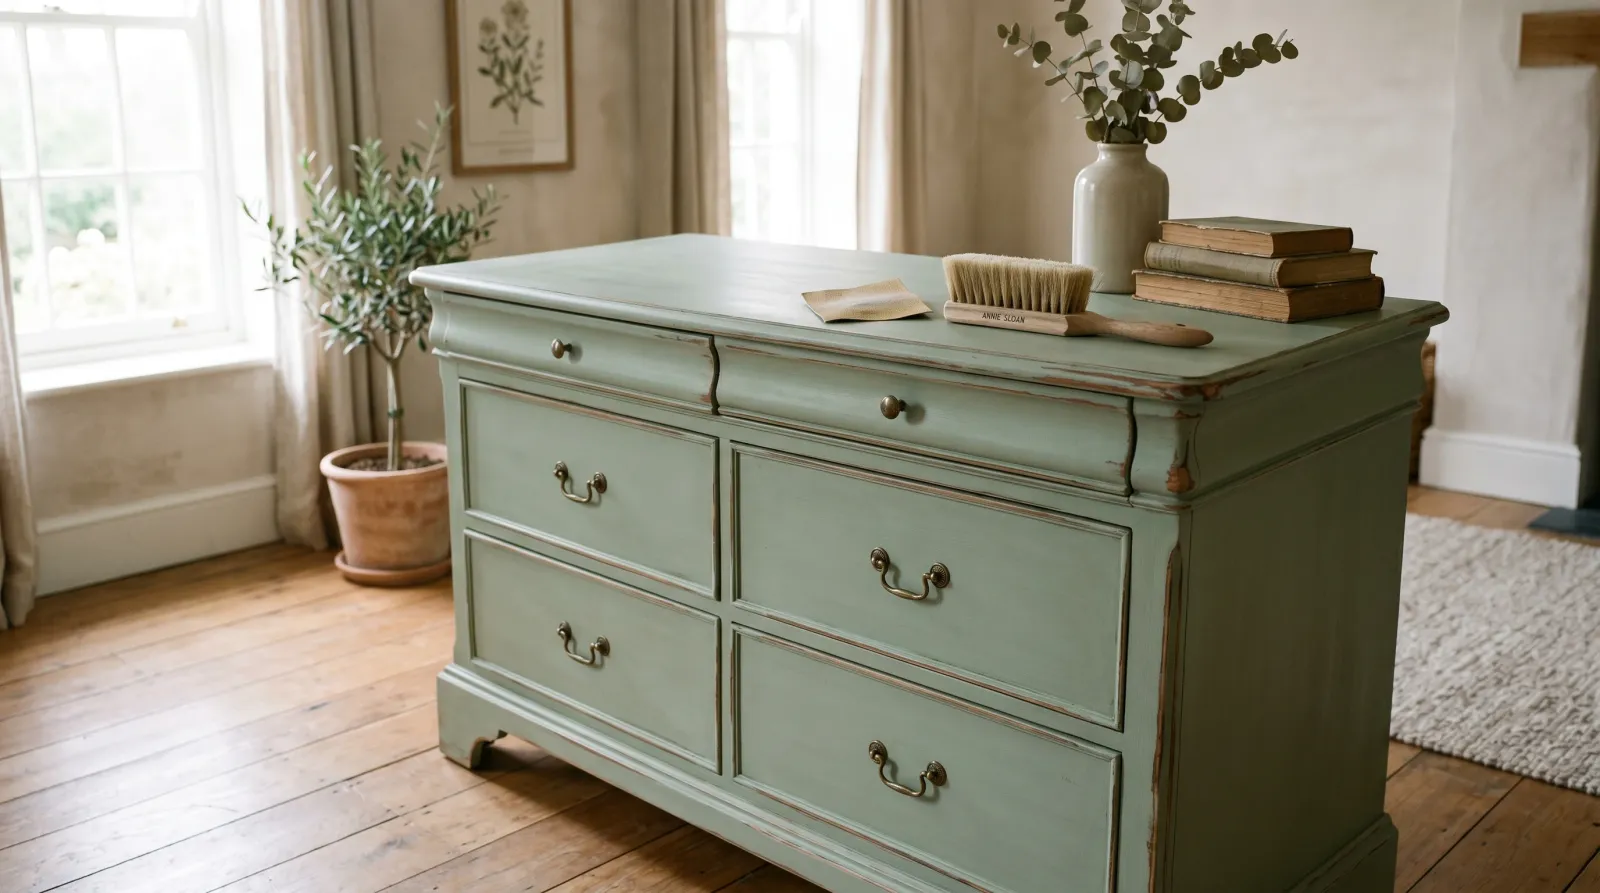
Distressing is the controlled sanding-back of chalk-painted furniture so the paint wears thin at the edges and reveals the wood or a color underneath, the way a real antique softens after decades of hands and elbows. You let the paint cure for at least 24 hours, then rub the high-touch spots (drawer edges, corners, the lip of a tabletop) with 180 to 220-grit sandpaper until a little of what’s beneath shows through. Done well, it takes ten minutes per drawer and makes a brand-new piece read like it has a history. The whole point is restraint. You are imitating wear, not faking damage.
The reason this works only with chalk paint is the paint itself. Chalk paint goes on thick and matte and dries to a soft, slightly powdery film that sands beautifully. It dusts back to a clean edge instead of peeling. That same softness is why you have to seal it afterward, and why timing matters more than people expect.
When to Distress Chalk-Painted Furniture
Reach for distressing when:
- You want a French-country, farmhouse, or vintage look where soft wear belongs.
- The piece already has nice wood underneath that’s worth letting peek through.
- You painted over a darker color or wood and want the edges to flash that warmth back.
- A flat, uniform paint job looks a little too new and you want to break it up.
- You are layering two chalk colors and want the bottom one to show at the corners.
The pieces that take it best are the ones with shape: raised drawer fronts, carved trim, beveled edges, turned legs. The relief gives your sandpaper something to catch. Wear naturally lands on whatever sticks out, so let the furniture’s own profile tell you where to sand.
When NOT to Distress
Skip it when:
- The wood underneath is plain particleboard or a printed laminate. Sand through and you reveal a brown core or a fake grain photo, not real wood. For those pieces, see how to handle painting laminate furniture and leave the finish solid.
- You’re going for a clean, modern, or glam look. Distressing fights a crisp matte field. A smooth uniform coat reads more current.
- The piece is a daily-use tabletop or desk. Distressed edges on a working surface keep wearing for real, and the raw spots stain. If you want age there, distress only the apron and legs, not the top.
- You’re new to the technique and working on a piece you can’t replace. Practice on a thrift-store drawer first. Sanding is easy to overdo and hard to undo.
How Distressing Compares to Other Aged Looks
Distressing is one of several ways to age a painted finish, and they’re easy to confuse.
| Distressing | Dry brushing | Antiquing (wax/glaze) | |
|---|---|---|---|
| What it does | Sands paint back to reveal what’s under | Drags a near-dry brush so color skips over the texture | Wipes a dark wax or glaze into crevices |
| Where it lands | Edges, corners, high-touch spots | Raised grain and ridges | Recesses, carving, seams |
| Tool | Sandpaper or damp cloth | Brush with most paint wiped off | Dark wax, soft cloth, brush |
| Best for | Showing wood or an under-color | Soft two-tone texture | Adding depth and grime to detail |
The three stack well. A common sequence is to distress the edges, then rub dark antiquing wax into the carved areas so the piece reads worn and shadowed at once. For the finishes themselves, the differences between chalk, milk, and mineral paint decide how the surface sands, so pick the paint with the look in mind.
Common Mistakes
- Sanding before the paint cures. Chalk paint feels dry in an hour but keeps hardening for a day. Sand too soon and it peels in soft sheets instead of dusting back. Wait 24 hours, 48 in a humid room.
- Distressing in random places. Wear has logic. It lands where hands and bodies touch, so sand the drawer pulls, the front corners, the table lip, the leg bottoms. A sanded spot in the dead center of a flat panel looks like a mistake, because in real life nothing wears there.
- Going too deep, too fast. Start light and step back often. You can always sand more. You can’t un-sand. The piece should look like it aged, not like someone attacked it.
- Forgetting to seal. The sanded edges are the most porous part of the whole piece. Bare chalk paint there grabs dirt and water marks within days. Seal everything after you distress.
- Waxing before you sand. Wax gums the sandpaper and the raw spots stay open. The order is paint, cure, distress, then seal. Always that order.
What Distressing Looks Like
The light wear you’re after shows wood or an under-color along the edges in a thin, irregular line, never a hard stripe. Up close, the transition from paint to bare wood should be a soft gradient where the paint thins out, not a sharp cliff. That gradient is the difference between a piece that looks aged and one that looks scraped. If you can see your own sanding strokes as straight scratch marks, knock them down with a quick pass of 220-grit and the eye reads it as wear again.
Where to Buy and What to Look For
You need three cheap things: chalk paint, sandpaper in 180 and 220, and a sealer. For the paint, brands like Annie Sloan, Rust-Oleum Chalked, and Behr Chalk Decorative all distress well, and the best chalk paint round-up sorts them by how they sand and seal. Any 180 and 220-grit sheets or a fine sanding sponge will do for the wear.
For the seal, you have two paths. Soft clear wax gives the most authentic low matte finish and is traditional with chalk paint, but it needs buffing and a re-coat every year or two. A water-based topcoat is tougher and better for anything that gets used hard. If you’re choosing a finish, the guide to sealers walks through which one holds up where. For pieces beyond dressers and cabinets, the broader furniture paint round-up covers options that hold a distressed edge without waxing.
FAQ
Do you sand chalk paint before or after waxing?
Sand before you wax. Distress the dry paint with 220-grit, wipe off all the dust, then seal with wax or a topcoat. Wax fills the sanded edges and locks them. If you wax first, the sandpaper drags and gums up, and the raw spots stay porous.
How long should chalk paint dry before distressing?
Wait at least 24 hours after the last coat. Chalk paint feels dry to the touch in about an hour, but it keeps hardening for a day or more. Sand too early and the paint peels off in soft sheets instead of dusting back to a clean edge. In a humid room, give it 48 hours.
What grit sandpaper for distressing chalk paint?
Use 180 to 220 grit for most of the work. That range removes paint in a controlled way and leaves a soft, worn edge instead of deep scratches. Drop to 120 only on a stubborn corner you want fully back to bare wood, then finish with 220 to smooth the scratch marks out.
Can you distress chalk paint with a damp cloth?
Yes, if you do it within the first few hours while the paint is still soft. A damp cloth rubs fresh paint off edges with no dust at all, which is handy on detailed trim. Once the paint cures past a day, the cloth stops working and you’re back to sandpaper.
Do you have to seal chalk paint after distressing?
Yes. The sanded spots are the most porous part of the piece, and bare chalk paint marks and stains easily. Seal the whole surface with a soft wax or a water-based topcoat. On a tabletop or anything used daily, choose the topcoat over wax.