How to Paint Textured Walls
Painting textured walls without burning a gallon you didn't need: the right nap, how to load the roller, and the back-rolling trick that gets paint into the valleys.

Textured walls aren’t hard to paint. They’re hard to paint cheap. The texture roughly doubles the surface area, so the wall drinks paint, and a short-nap roller glides over the high spots and leaves the valleys bare. Get the nap right, load it heavy, and back-roll. That’s most of the job.
TL;DR
- Identify: knockdown, orange peel, or popcorn. The heavier the texture, the longer the nap
- Prep: wash, patch, spot-prime repairs and stains
- Nap: 3/4-inch for knockdown and orange peel, 1-inch to 1-1/4-inch for heavy texture and popcorn
- Paint: 100% acrylic interior, flat or eggshell, two coats
- Method: cut in, roll a W, then back-roll the same section to push paint into the valleys
- Buy extra: 25 to 50 percent more paint than the flat-wall number
- Skill: easy. The nap choice and the back-roll are the whole trick
What Textured Walls Are
Textured walls are drywall with a coating sprayed or troweled on to add a raised pattern. The compound is usually thinned joint compound or a bagged texture mix. It hides seams, taping flaws, and roller marks from the last paint job, which is why builders love it on tract homes.
Three common types. Orange peel is a fine spatter, like the skin of an orange. Knockdown is orange peel that got flattened with a wide blade while still wet, leaving little plateaus. Popcorn is the heavy chunky stuff, mostly on ceilings, sometimes loaded with a binder that turns to mush when it gets wet.
The type tells you the nap. The heavier the texture, the deeper the valleys, the longer the nap you need to reach them.
Why Textured Walls Are Different From Flat Drywall
A flat wall is flat. You roll it, the paint lands, done. A textured wall is a landscape of peaks and valleys, and that landscape has close to twice the surface area of a flat wall the same size.
Two things follow. First, it eats paint. The can’s coverage number on the label assumes a smooth wall. On texture, expect 25 to 50 percent less coverage per gallon, more on heavy knockdown. Second, a normal short nap can’t reach the bottom. A 3/8-inch nap coats the peaks and skips the valleys, and the wall reads blotchy in raking light the second the sun comes across it. You need a nap long enough to drag paint down into the low spots.
Texture also catches dust and cobwebs in every valley. A flat wall you can wipe in one pass. A textured wall holds grime down in the pattern, so the wash matters more than people think.
Step 1: Clean and Patch
Sugar-soap wash, baseboards and trim taped, nail holes spackled and feathered. Let the patches dry before anything else.
Wash the wall. Sugar soap or a TSP substitute on a damp sponge, top to bottom, then a clean-water rinse. Pay attention to kitchen walls and anything near a stove. Grease hides in the valleys and any paint over grease releases in a year. For a fuller cleaning routine on smooth and textured drywall both, see the drywall painting guide.
Let it dry a couple of hours.
Then patch. Nail holes and small dings get lightweight spackle pressed in with a 1.5-inch putty knife. Here’s the part people skip: a smooth patch on a textured wall reads as a flat spot through the topcoat. You have to match the texture back over the repair. For small holes, stipple a little spackle on with a stiff brush or a damp sponge to fake the pattern. For orange peel, a spray-can texture in a matching grit gets you close. Let the spray dry, knock the high points back with a damp sponge if it’s knockdown, then prime.
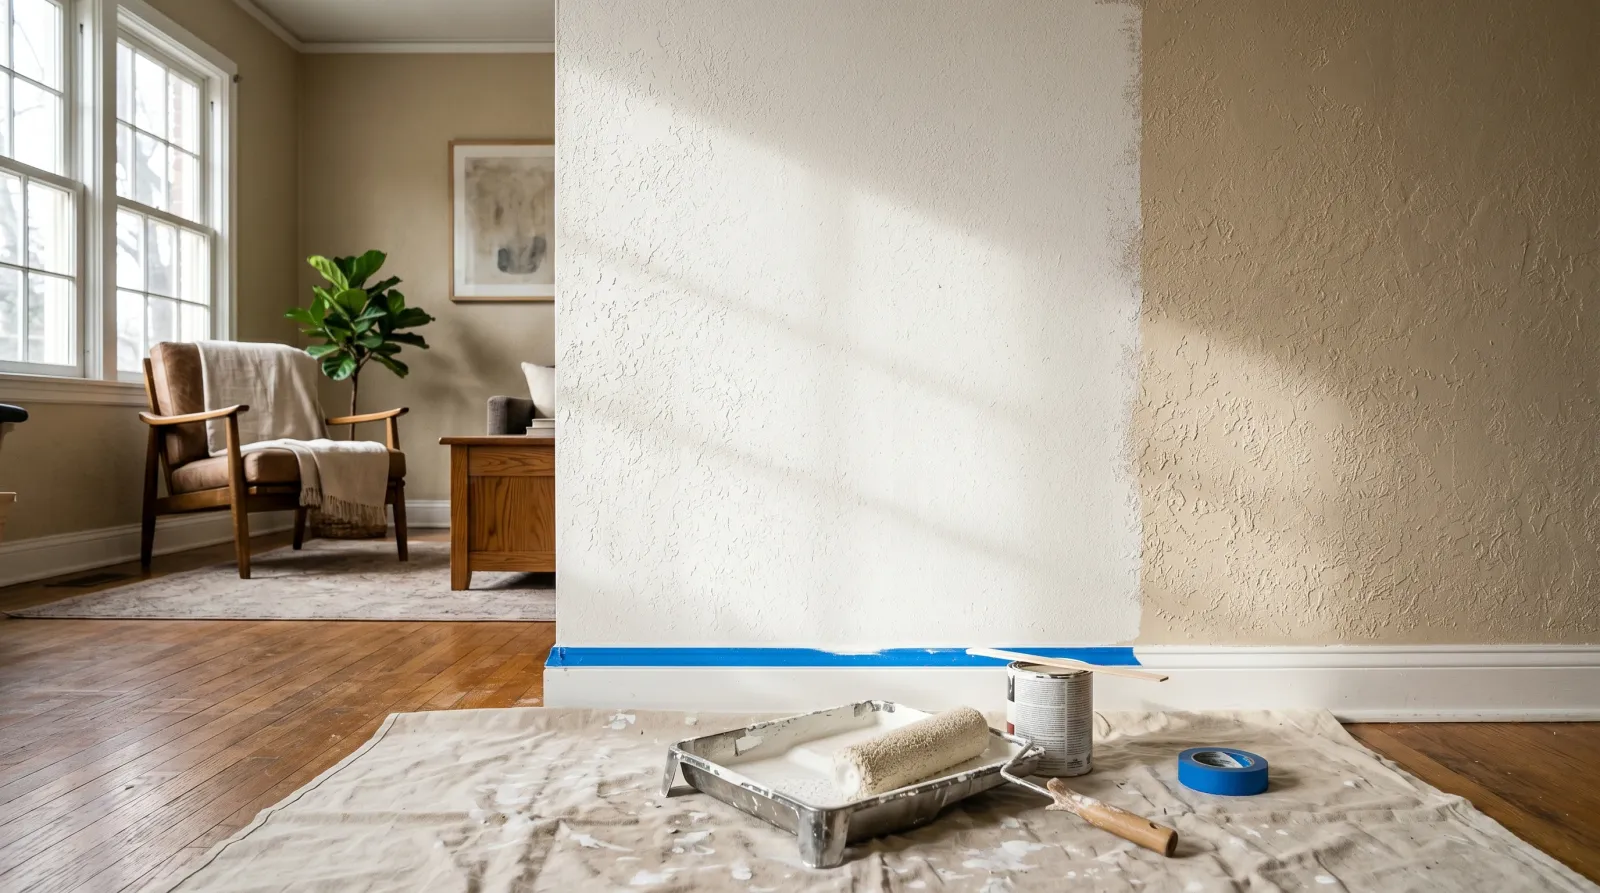
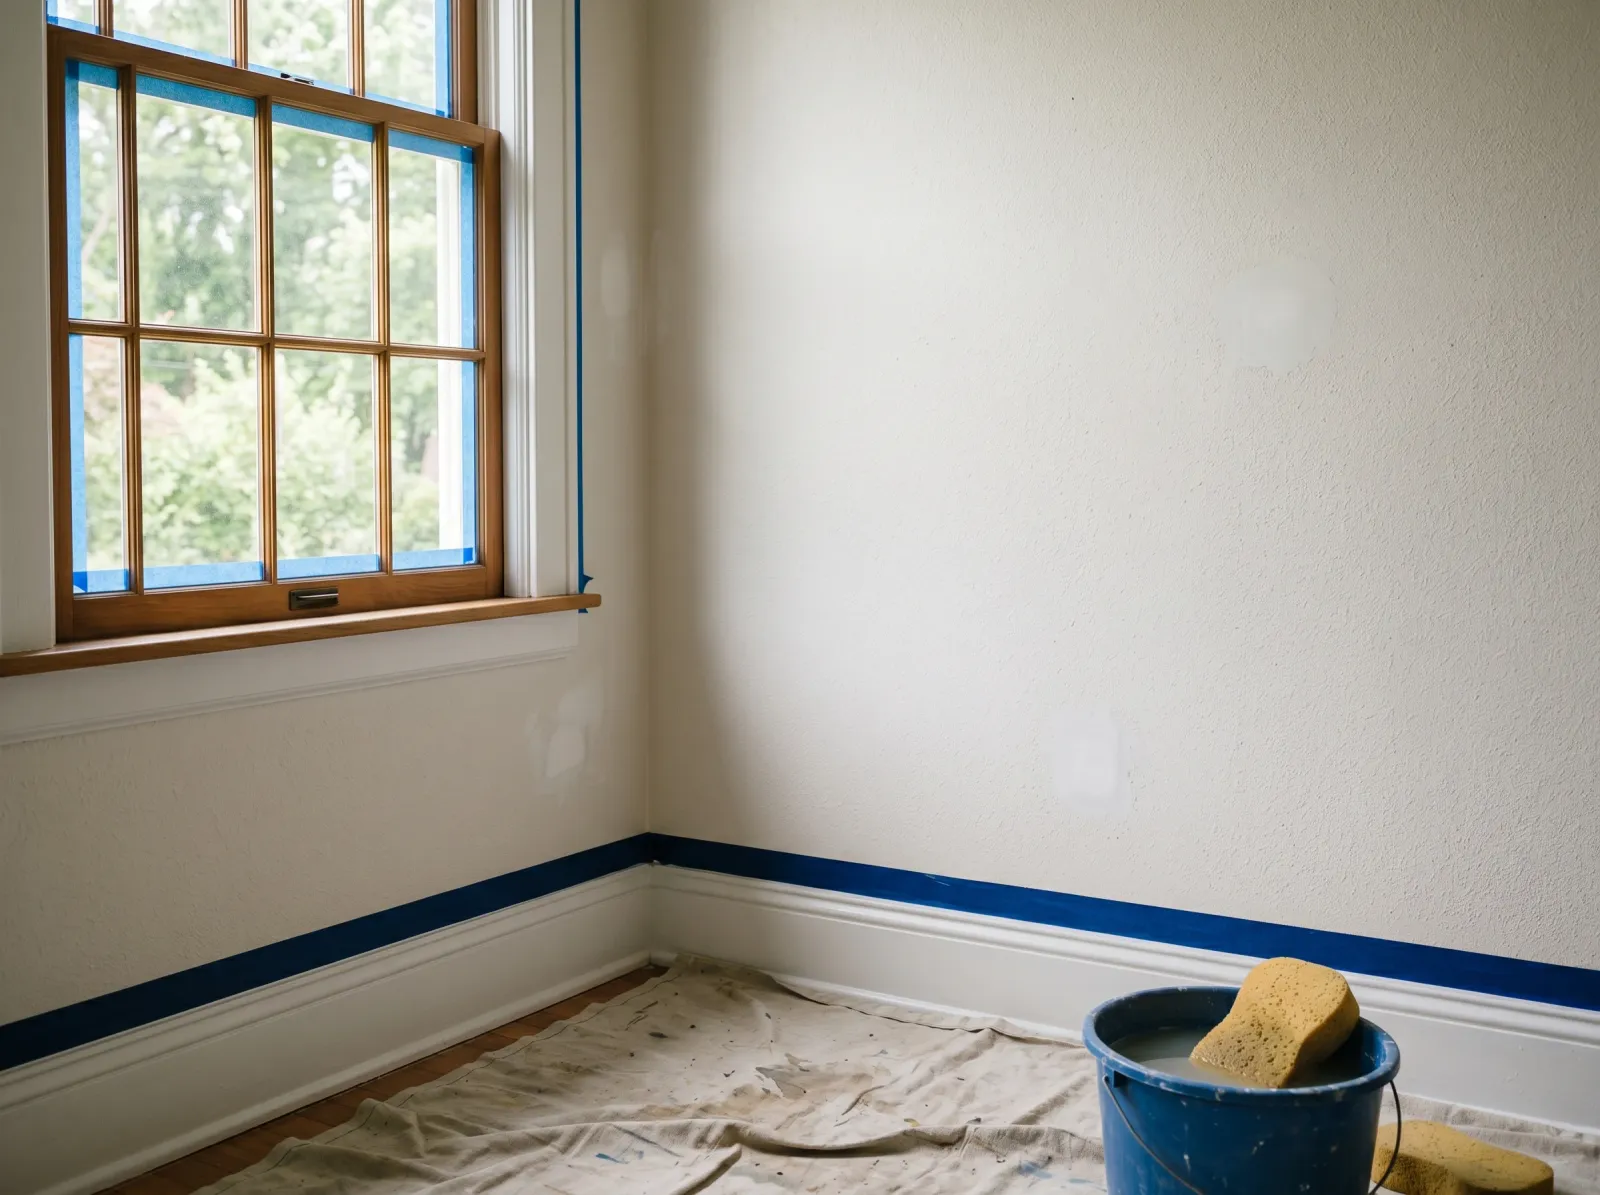
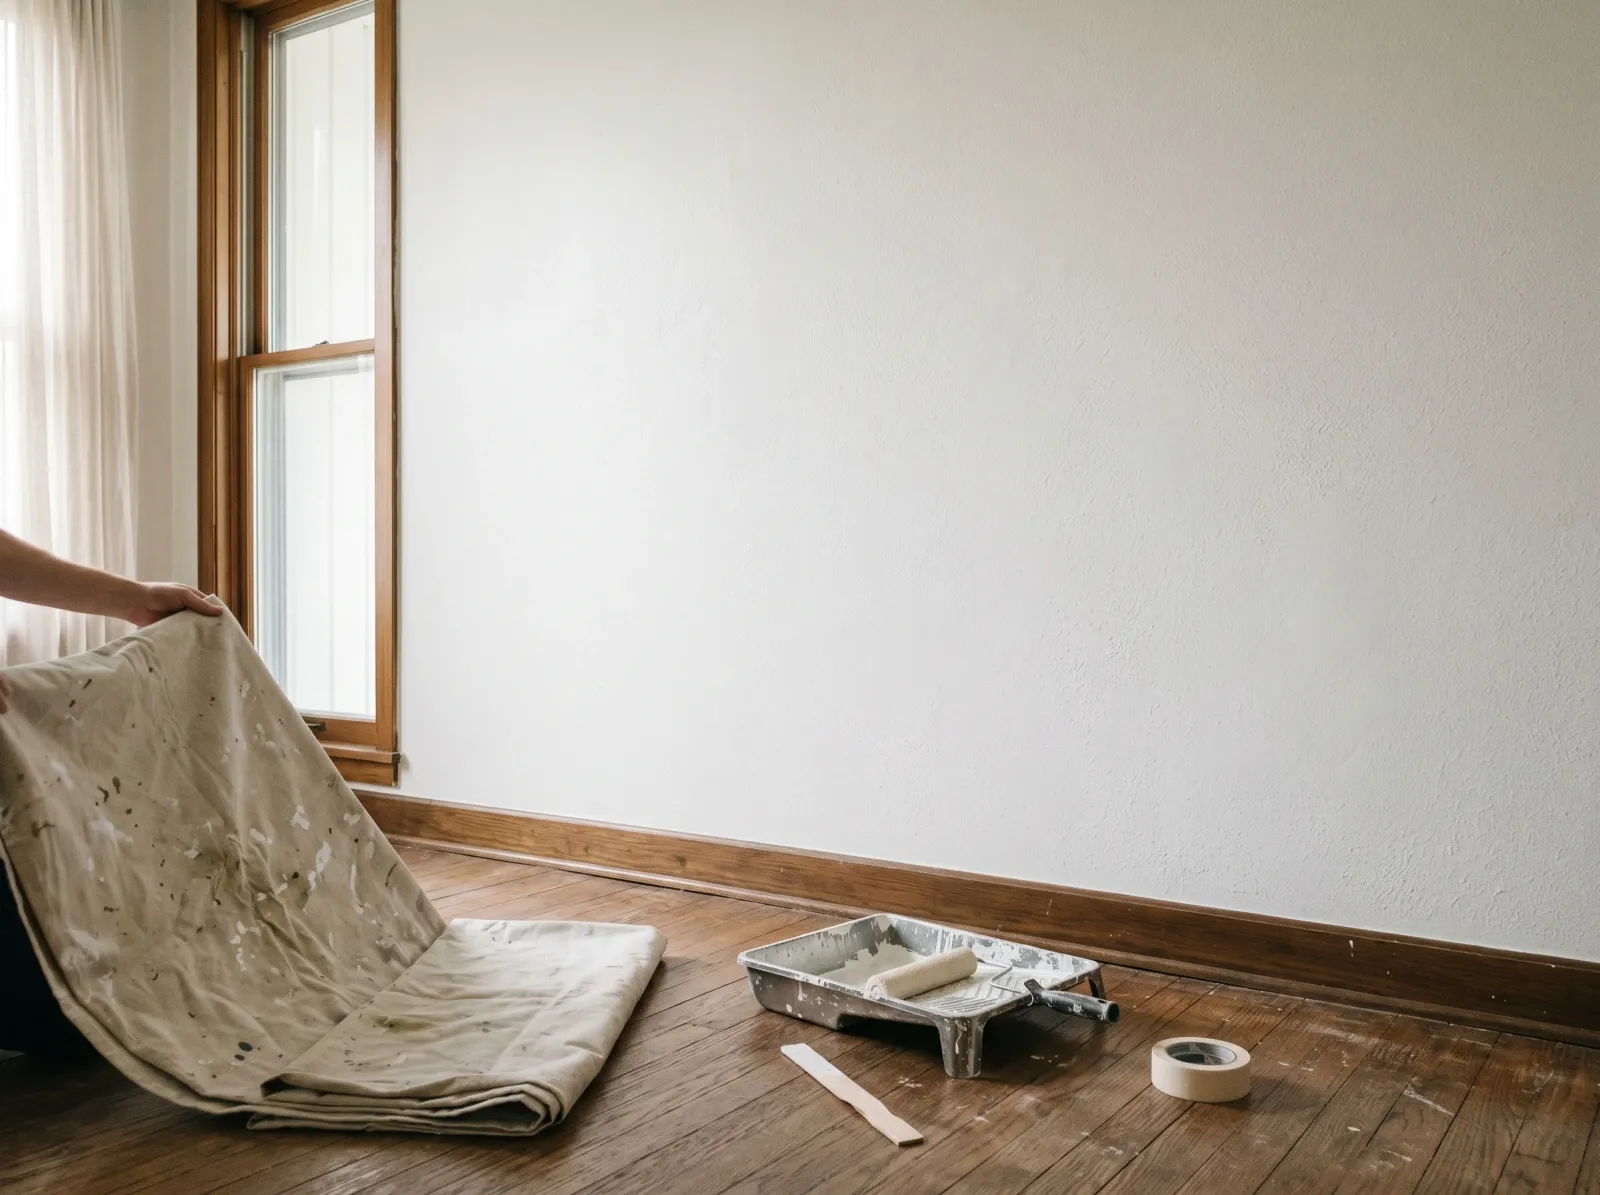
Tape the baseboards, the trim, and the ceiling line. Canvas drop cloth on the floor. Plastic slides.
Step 2: Spot-Prime What Needs It

Repaired spots and any new drywall hit with primer first, so the patches don’t flash dull through the topcoat.
You don’t always prime the whole wall. If the existing paint is sound and you’re not making a big color jump, spot-priming is enough.
Spot-prime three things. Fresh patches, because raw spackle sucks paint and flashes dull. Bare drywall or new texture, because it’s thirsty and uneven. And any stain, because it bleeds.
For patches and bare drywall, a general drywall primer like Zinsser Bulls Eye 1-2-3 or Kilz 2 does the job. For water stains, smoke, or grease that survived the wash, reach for a stain-blocker: Zinsser Cover Stain or BIN. A latex primer won’t hold back a water ring. It telegraphs a brown halo through your fresh paint in a week. If you’ve got a water stain on a ceiling, deal with the source first, then block it. The ceiling water-stain fix walks through it.
Prime the whole wall when you’re covering a stain across a big area, going dark-to-light, or painting fresh untreated texture for the first time. Full priming evens out the suction so the topcoat lays uniform instead of patchy.
A note on popcorn ceilings painted before 1980: some contain asbestos. Don’t sand, scrape, or disturb it. Test before any aggressive prep, and if it’s positive, leave the prep to a pro.
Step 3: Pick the Paint
100% acrylic interior wall paint. Flat or eggshell.
Sheen is the call that matters on texture. Texture is bumpy by nature, and the higher the sheen, the more the bumps cast shadows and the more every flaw shows. Flat and matte hide texture and patch lines best. Eggshell is the practical ceiling for living spaces you want to be able to wipe. Go semi-gloss or satin on a textured wall and the surface looks busy and every roller miss glares back at you. If you’re unsure where to land, the sheen guide lays out the trade-offs.
On a ceiling, flat ceiling paint. It’s formulated dead-matte to hide texture and it doesn’t spatter as much off a long nap. The best ceiling paint round-up has current picks. Kompozit’s interior matte is a solid flat-wall option in the same lane if you want a single product for both walls and ceiling.
Buy more than the math says. A textured wall pulls 25 to 50 percent more paint than the flat-wall coverage on the can. Measure your square footage, run it through the coverage and gallons calculator, then add a quart. Running out mid-wall means mixing a fresh batch, and a fresh batch never quite matches, even from the same color. You’ll see the seam.
Step 4: Cut In, Roll, and Back-Roll
Cut in the corners, load a thick nap heavy, roll a W, then back-roll the same section dry to push paint into the valleys.
Nap first. This is the whole game on texture.
- Orange peel: 3/4-inch nap
- Knockdown: 3/4-inch nap
- Heavy hand-troweled or skip-trowel: 1-inch nap
- Popcorn ceiling: 1-1/4-inch nap
A 3/8-inch nap, the standard for flat walls, skips the valleys on anything textured. The nap has to be long enough to bend down into the low spots and drop paint there. The roller guide covers nap selection across surfaces if you want the longer version.
Cut in the corners, the ceiling line, and around trim with a 2.5-inch angled sash brush. Stipple the brush into the texture in the corners rather than dragging it flat, or the corner reads smoother than the field. Don’t let the cut-in dry before you roll up to it.
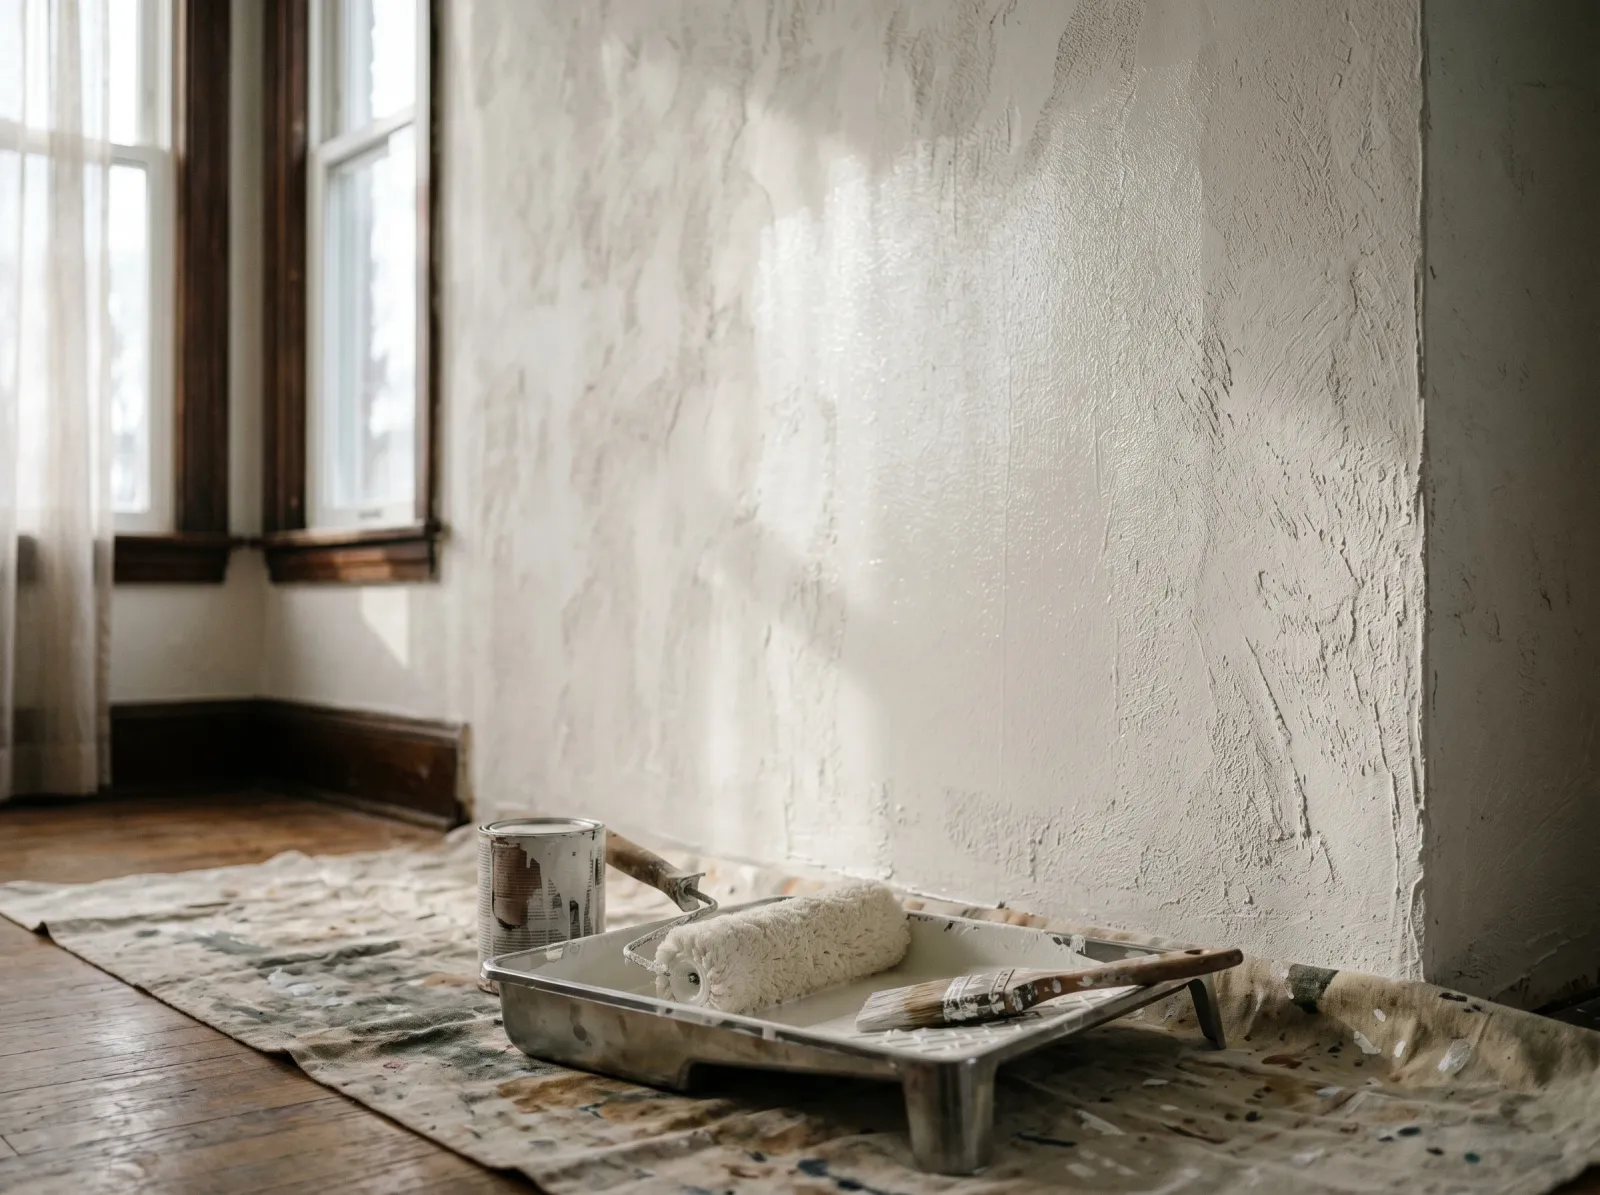
Load the roller heavy. A textured wall wants more paint on the roller than a flat wall does. Roll it out in a loose W across a three-by-three-foot section to spread the paint, then fill in without lifting the roller off the wall.
Then back-roll. This is the step that separates a flat-looking texture job from a blotchy one. After you’ve spread the paint, go back over the same wet section with the roller in slow, light, single-direction passes. The back-roll pushes paint down off the peaks and into the valleys it skipped. On the first coat especially, back-rolling is what kills the blotch. Skip it and you fight roller marks and uneven sheen. The roller-marks fix covers the cleanup if you’ve already got them.
Don’t stop in the middle of a wall. Roll wall to wall, corner to corner, keep a wet edge, and feather the edge into the next section. Stopping mid-wall gives you lap marks that show the second the morning sun rakes across the texture.
Step 5: Second Coat and Cure
Two coats. The second one evens out the valleys the first coat missed and brings the sheen up uniform.
Two coats. Always two coats on texture, no exceptions. One coat coats the peaks and leaves the valleys thin, and the wall reads patchy in any side light. The second coat fills what the first missed and evens the sheen across the whole surface.
Recoat in two to four hours on most waterborne wall paint. Read the can. Same nap, same back-roll, same wall-to-wall discipline as the first coat.
Touch-dry in an hour, recoat in two to four, full cure in 14 to 30 days. The paint feels dry long before it’s cured hard. During cure, don’t scrub it, don’t tape posters to it, and go easy hanging anything back on the wall. A soft film marks easy and the mark locks in once it cures.
Common Mistakes
- Short nap. A 3/8-inch nap on knockdown skips the valleys. The wall looks blotchy no matter how many coats. Fix is the right nap up front: 3/4-inch minimum on texture.
- No back-roll. Spreading paint without back-rolling leaves the peaks coated and the valleys starved. Back-roll every wet section in single-direction passes before you move on.
- Buying paint for a flat wall. You run out at the last wall, mix a fresh batch, and the seam shows. Buy 25 to 50 percent over the flat-wall number, plus a spare quart.
- High sheen on texture. Semi-gloss makes every bump and roller miss glare back. Flat or eggshell hides texture. Match the sheen to the surface.
- Smooth patch on a textured wall. A flat spackle patch reads as a dent through the paint. Re-texture the repair to match before you prime.
- Latex primer over a water stain. It bleeds through in a week. Stain-blocker only: Cover Stain or BIN.
- Soaking a popcorn ceiling. Dragging a wet roller back and forth knocks the texture loose. One slow pass per area, then leave it.
Maintenance and Longevity
A textured wall painted with two coats of quality acrylic holds 7 to 10 years in a normal living space, less in a kitchen or a hallway that takes abuse. The texture hides scuffs better than a flat wall, which buys you time on the recoat.
Clean it with a soft brush vacuum attachment a couple times a year to pull dust and cobwebs out of the valleys. Spot-wash marks with a damp sponge and a little soap, no scrubbing on flat sheen or you’ll burnish a shiny patch. When it’s time to repaint, the prep is the same: wash, patch and re-texture, spot-prime, two coats. If the wall starts showing roller lap shadows from the last job in raking light, that’s a back-roll problem from before, and a fresh two-coat job done right erases it.
FAQ
What roller nap do I use for textured walls? Three-quarter-inch nap for knockdown and orange peel. Step up to a 1-inch or 1-1/4-inch nap for heavy hand-troweled texture or popcorn. A standard 3/8-inch nap rolls right over the low spots and leaves them bare. The nap has to reach down into the valleys, not glide across the peaks.
Do textured walls need more paint? Yes. A textured wall has close to twice the surface area of a flat wall, so figure 25 to 50 percent more paint than the can’s flat-wall number. Heavy knockdown or popcorn runs higher. Buy an extra quart over your estimate. Running out mid-wall and mixing a fresh batch is how you get a visible color shift.
Should I prime textured walls before painting? Not the whole wall if the existing paint is sound and you’re not making a big color change. Spot-prime patches, bare drywall, and stains. Full-prime when you’re covering a water stain, going dark to light, or painting fresh untreated texture. New texture is thirsty and uneven, and primer evens out the suction so the topcoat lays uniform.
Can I paint over popcorn ceiling texture? Yes, but roll it slow and never wet the texture first. Use a 1-1/4-inch nap, load it heavy, and make one slow pass per area in a single direction without overworking it. Popcorn is glued on, and a soaked roller dragging back and forth knocks it loose. Test pre-1980 popcorn for asbestos before any prep.
Why do my textured walls look blotchy after one coat? The valleys didn’t get paint. One coat on texture coats the peaks and skips the low spots, so the wall reads patchy in side light. That’s normal after one coat. The second coat fills the valleys and evens the sheen. Back-rolling each section while it’s wet gets paint deeper on the first coat and cuts the blotch.