How to Paint Plaster Walls and Ceilings
Fresh plaster needs 30 days to cure. Old plaster chalks. Repairs flash. The real prep, primer, and paint rules for plaster that actually holds.

Fresh plaster looks dry on day three. It isn’t. Paint it then and the topcoat peels in sheets by month two, because the wall’s still off-gassing water and lime alkalinity. The rule is thirty days, or a breathable sealer that’s rated for green plaster. Pick one.
TL;DR
- Cure first: 30 days on fresh skim coat, or use a breathable PVA sealer at day 7
- Old plaster: wash chalk, then oil-based primer; don’t put latex straight on chalking lime
- Repairs: full-wall sealer (Cover Stain) — spot-priming the patch flashes
- Paint: 100% acrylic latex in matte or eggshell, two coats
- Cure: 14 days before scrubbing
What Is Plaster?
Plaster is a wet mineral compound — gypsum or lime, sometimes with sand and animal hair as binder — trowelled onto wood lath or rock lath, then left to harden by air drying and chemical reaction. It’s what walls were made of before drywall took over in the 1950s. Modern plaster work is usually a thin veneer or skim coat over blueboard, but in pre-1940 houses the whole wall is the real thing: three coats, half an inch thick, built directly onto wooden strips nailed to the studs. It’s denser than drywall, smoother under a brush, and unforgiving when you rush the paint.
Tools and Materials
Materials
- Stain-blocking primer (Zinsser Cover Stain or BIN)
- Breathable PVA sealer if painting green plaster (Sheetrock First Coat or equivalent)
- 100% acrylic latex topcoat, matte or eggshell
- Joint compound for hairline crack repair
- TSP or sugar soap for cleaning
- Painter’s tape and drop cloth
Tools
- 9-inch roller frame and 3/8-inch nap covers
- 2-inch angled sash brush
- 220-grit sanding sponge
- Putty knife, 4-inch
- Vacuum with brush attachment
- N95 mask (caustic dust on old lime work)
Why Plaster Is Different
Drywall is paper-faced gypsum board. Plaster is a wet chemistry that cures over weeks. The face is harder and denser than drywall, which is good — it takes paint well once it’s ready — but the cure is the catch. Green plaster off-gases moisture and pushes alkalinity to the surface. That alkalinity attacks ordinary latex paint, breaks the binder, and you get a topcoat that lifts off in sheets.
The other curveball is old plaster. Lime plaster from a 1920s house has chalked for a century. Touch the wall, white powder comes off on your hand. That chalking layer is what kills your paint job — modern latex bonds to the loose chalk, not to the solid plaster underneath, and peels the first time the wall flexes.
Step 1 — Identify What You’re Painting
Before you do anything else, figure out what’s actually on your wall. Three categories:
| Type | Age / origin | Surface feel | Paint approach |
|---|---|---|---|
| Fresh skim coat / veneer | Just-finished work | Damp, cool, slight residue | Wait 30 days OR breathable PVA at day 7 |
| Cured modern plaster | Post-1950, painted before | Hard, smooth, no chalking | Treat like drywall after cleaning |
| Old lime plaster | Pre-1940, often unpainted or whitewashed | Slightly powdery, chalks on touch | Oil primer, or switch to mineral / limewash |
The wrong call here costs you the whole job. A lime-plaster wall painted with straight acrylic latex starts peeling in twelve months. A green skim-coat wall painted at day five does the same thing.
Step 2 — Repair Cracks and Holes
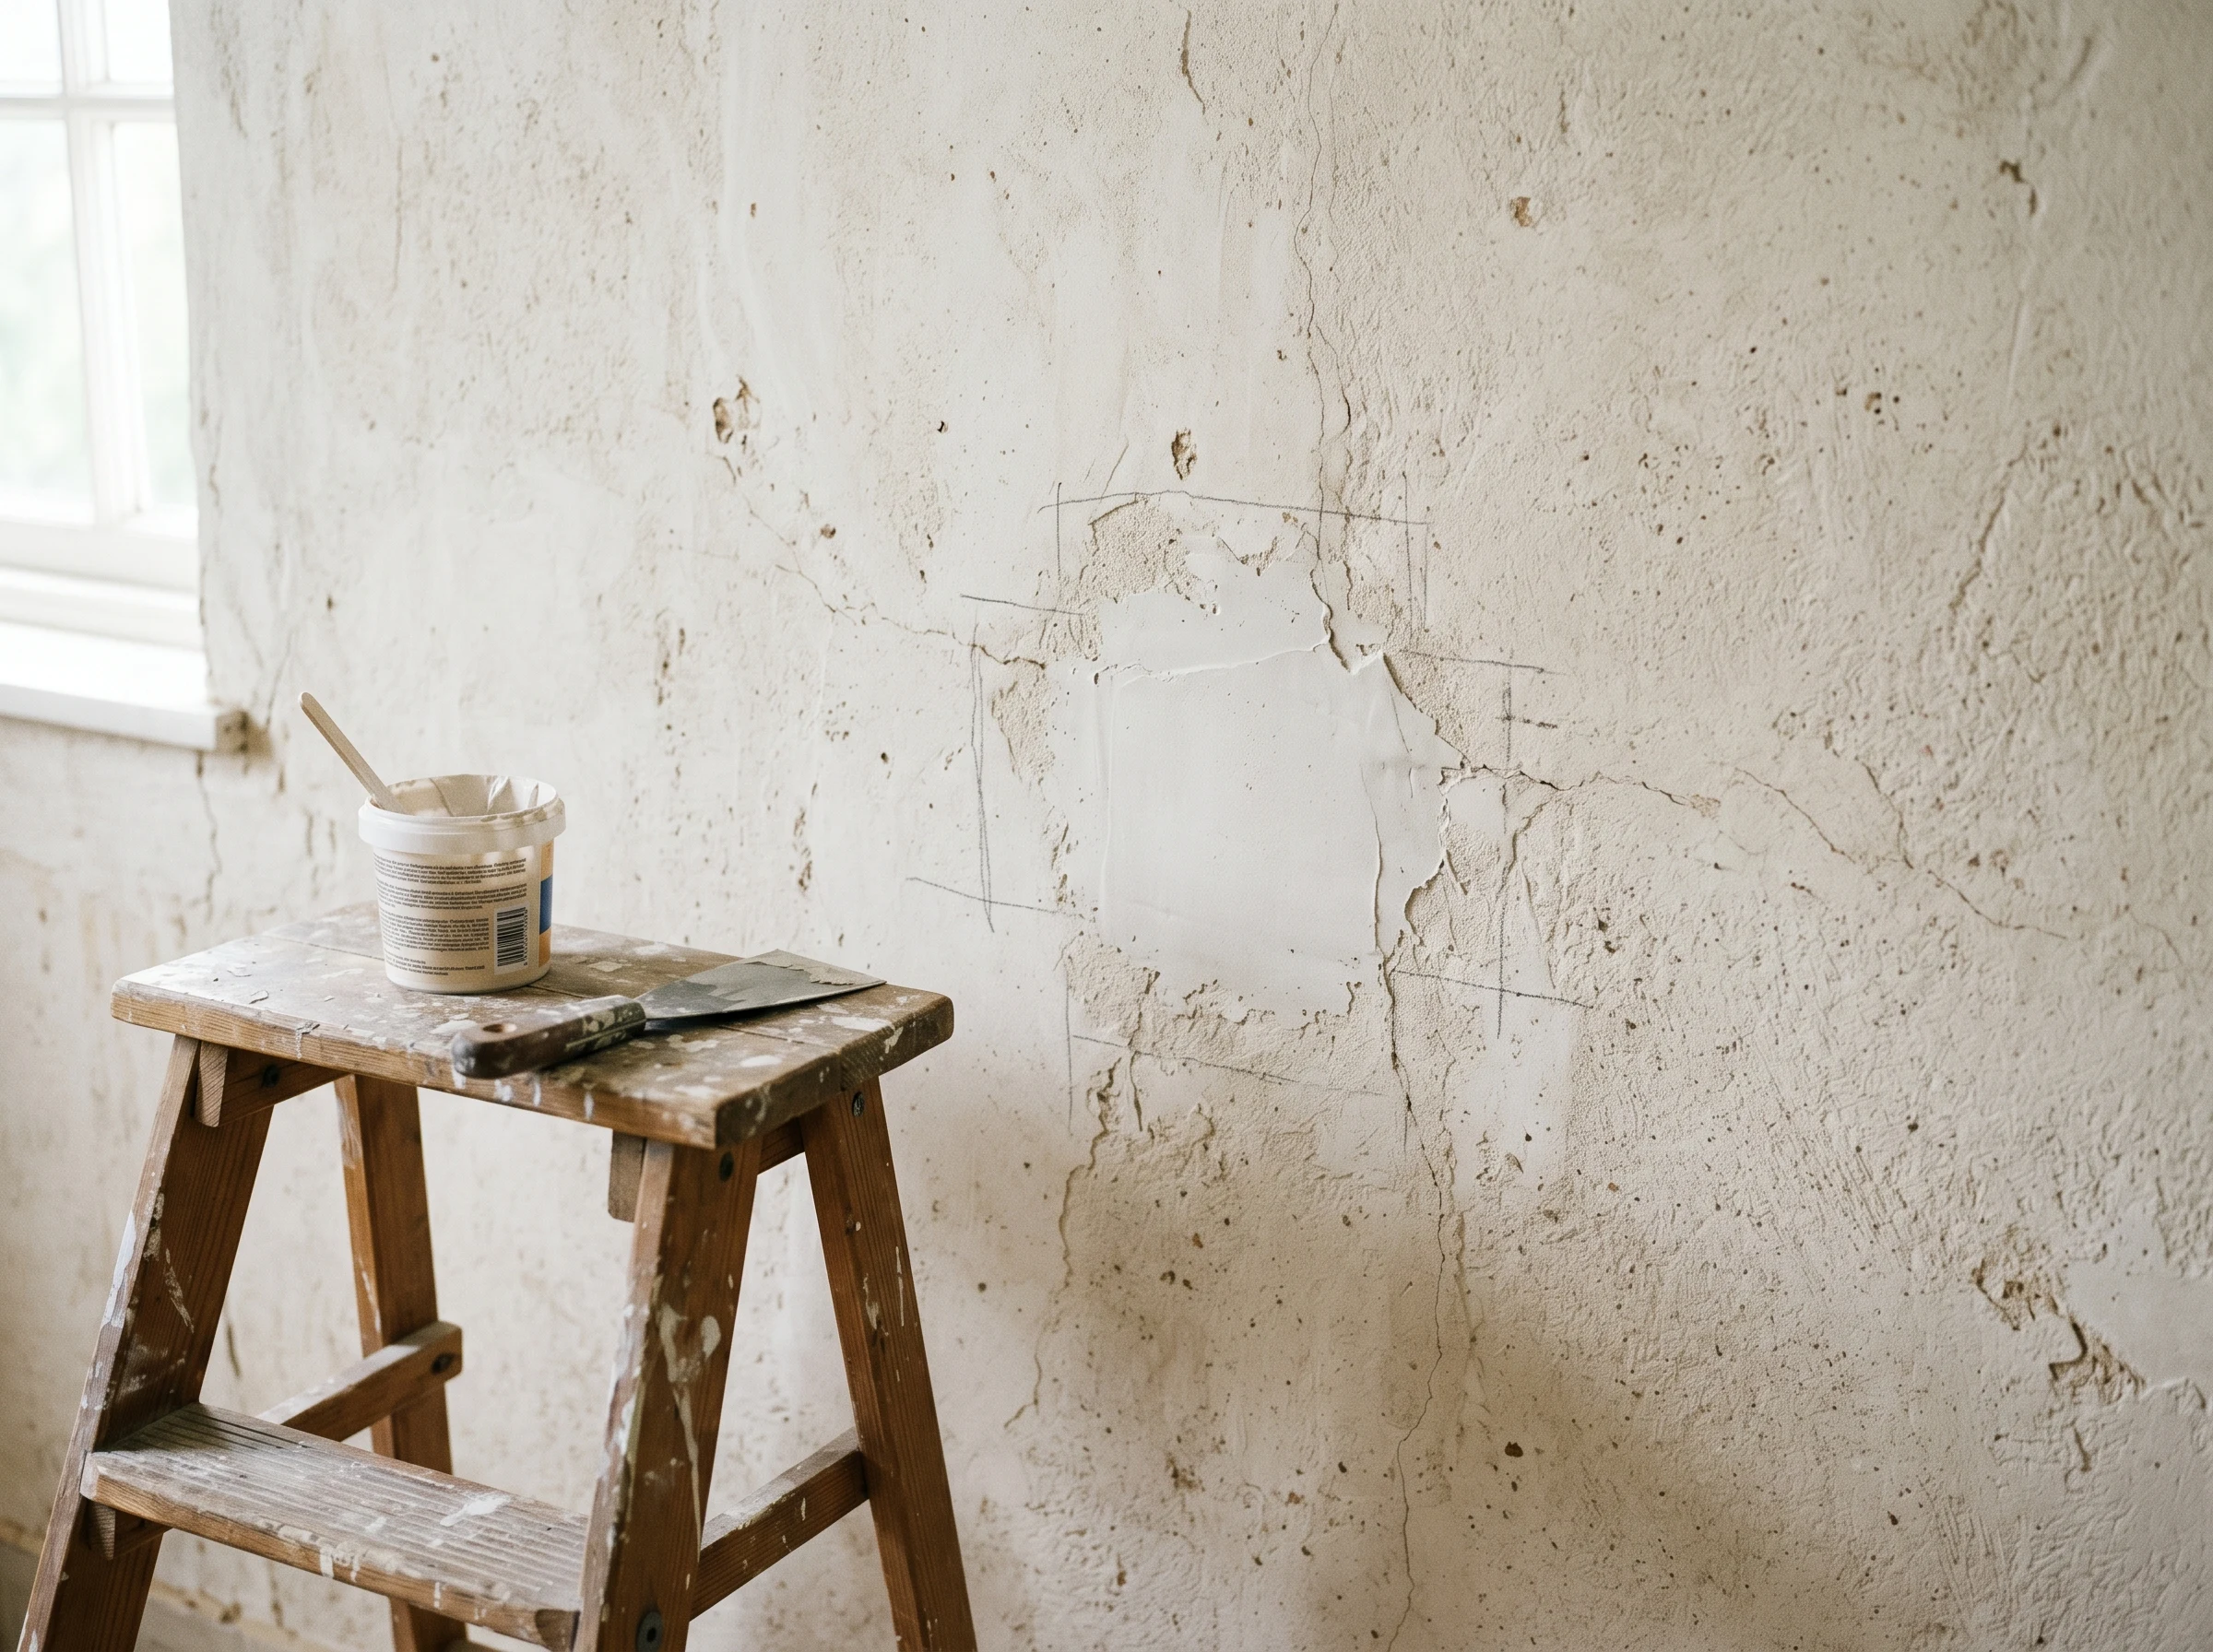
Hairline cracks chased open with a putty knife corner, then bedded in joint compound.
Plaster cracks. Old plaster cracks more. Hairline cracks aren’t structural — they’re the wall moving with the house — but they show through paint if you don’t address them.
Chase the crack open with the corner of a putty knife. You want a small V-groove that gives the compound something to grip. Fill with setting-type joint compound (the 20-minute or 45-minute powder, not the premixed bucket) — premixed shrinks too much for plaster repair. Two thin coats, sanded flat between.
For holes bigger than a quarter, back the void with mesh or with a small piece of metal screen wedged behind the lath. Then build up in two or three thin coats of setting compound. Don’t try to fill a half-inch hole in one pass; it sinks and cracks as it cures.
Bulging or detached plaster — where the keys behind the lath have broken and the wall is pulling away — isn’t a paint problem. That’s a plaster-repair problem first. Either re-anchor with plaster washers and screws, or cut out the bad section and patch in drywall. Don’t paint over a bulge hoping it’ll hold. It won’t.
Step 3 — Clean
On a cured wall, wash with TSP or a TSP-free substitute, rinse with clean water, and let it dry overnight. You’re pulling off airborne grease, smoke residue, and the loose chalk on older walls. Skip this on a brand-new skim coat — there’s nothing to clean and you’ll just push moisture back into the wall.
On old lime plaster, the cleaning step is where the job is won or lost. Wipe the wall with a damp sponge and look at the sponge. If it comes back gray-white, the wall is chalking and you have more work to do. Keep wiping until the sponge stays mostly clean. Then let the wall dry a full 48 hours before primer.
Safety callout: sanding or aggressive scraping on pre-1978 painted plaster releases lead dust if the wall was ever painted with oil-based product (it was). Either test with a lead swab from the hardware store, or assume lead and follow RRP rules — wet methods, HEPA vacuum, no kids or pregnant occupants in the work area. This is not optional.
Step 4 — Prime
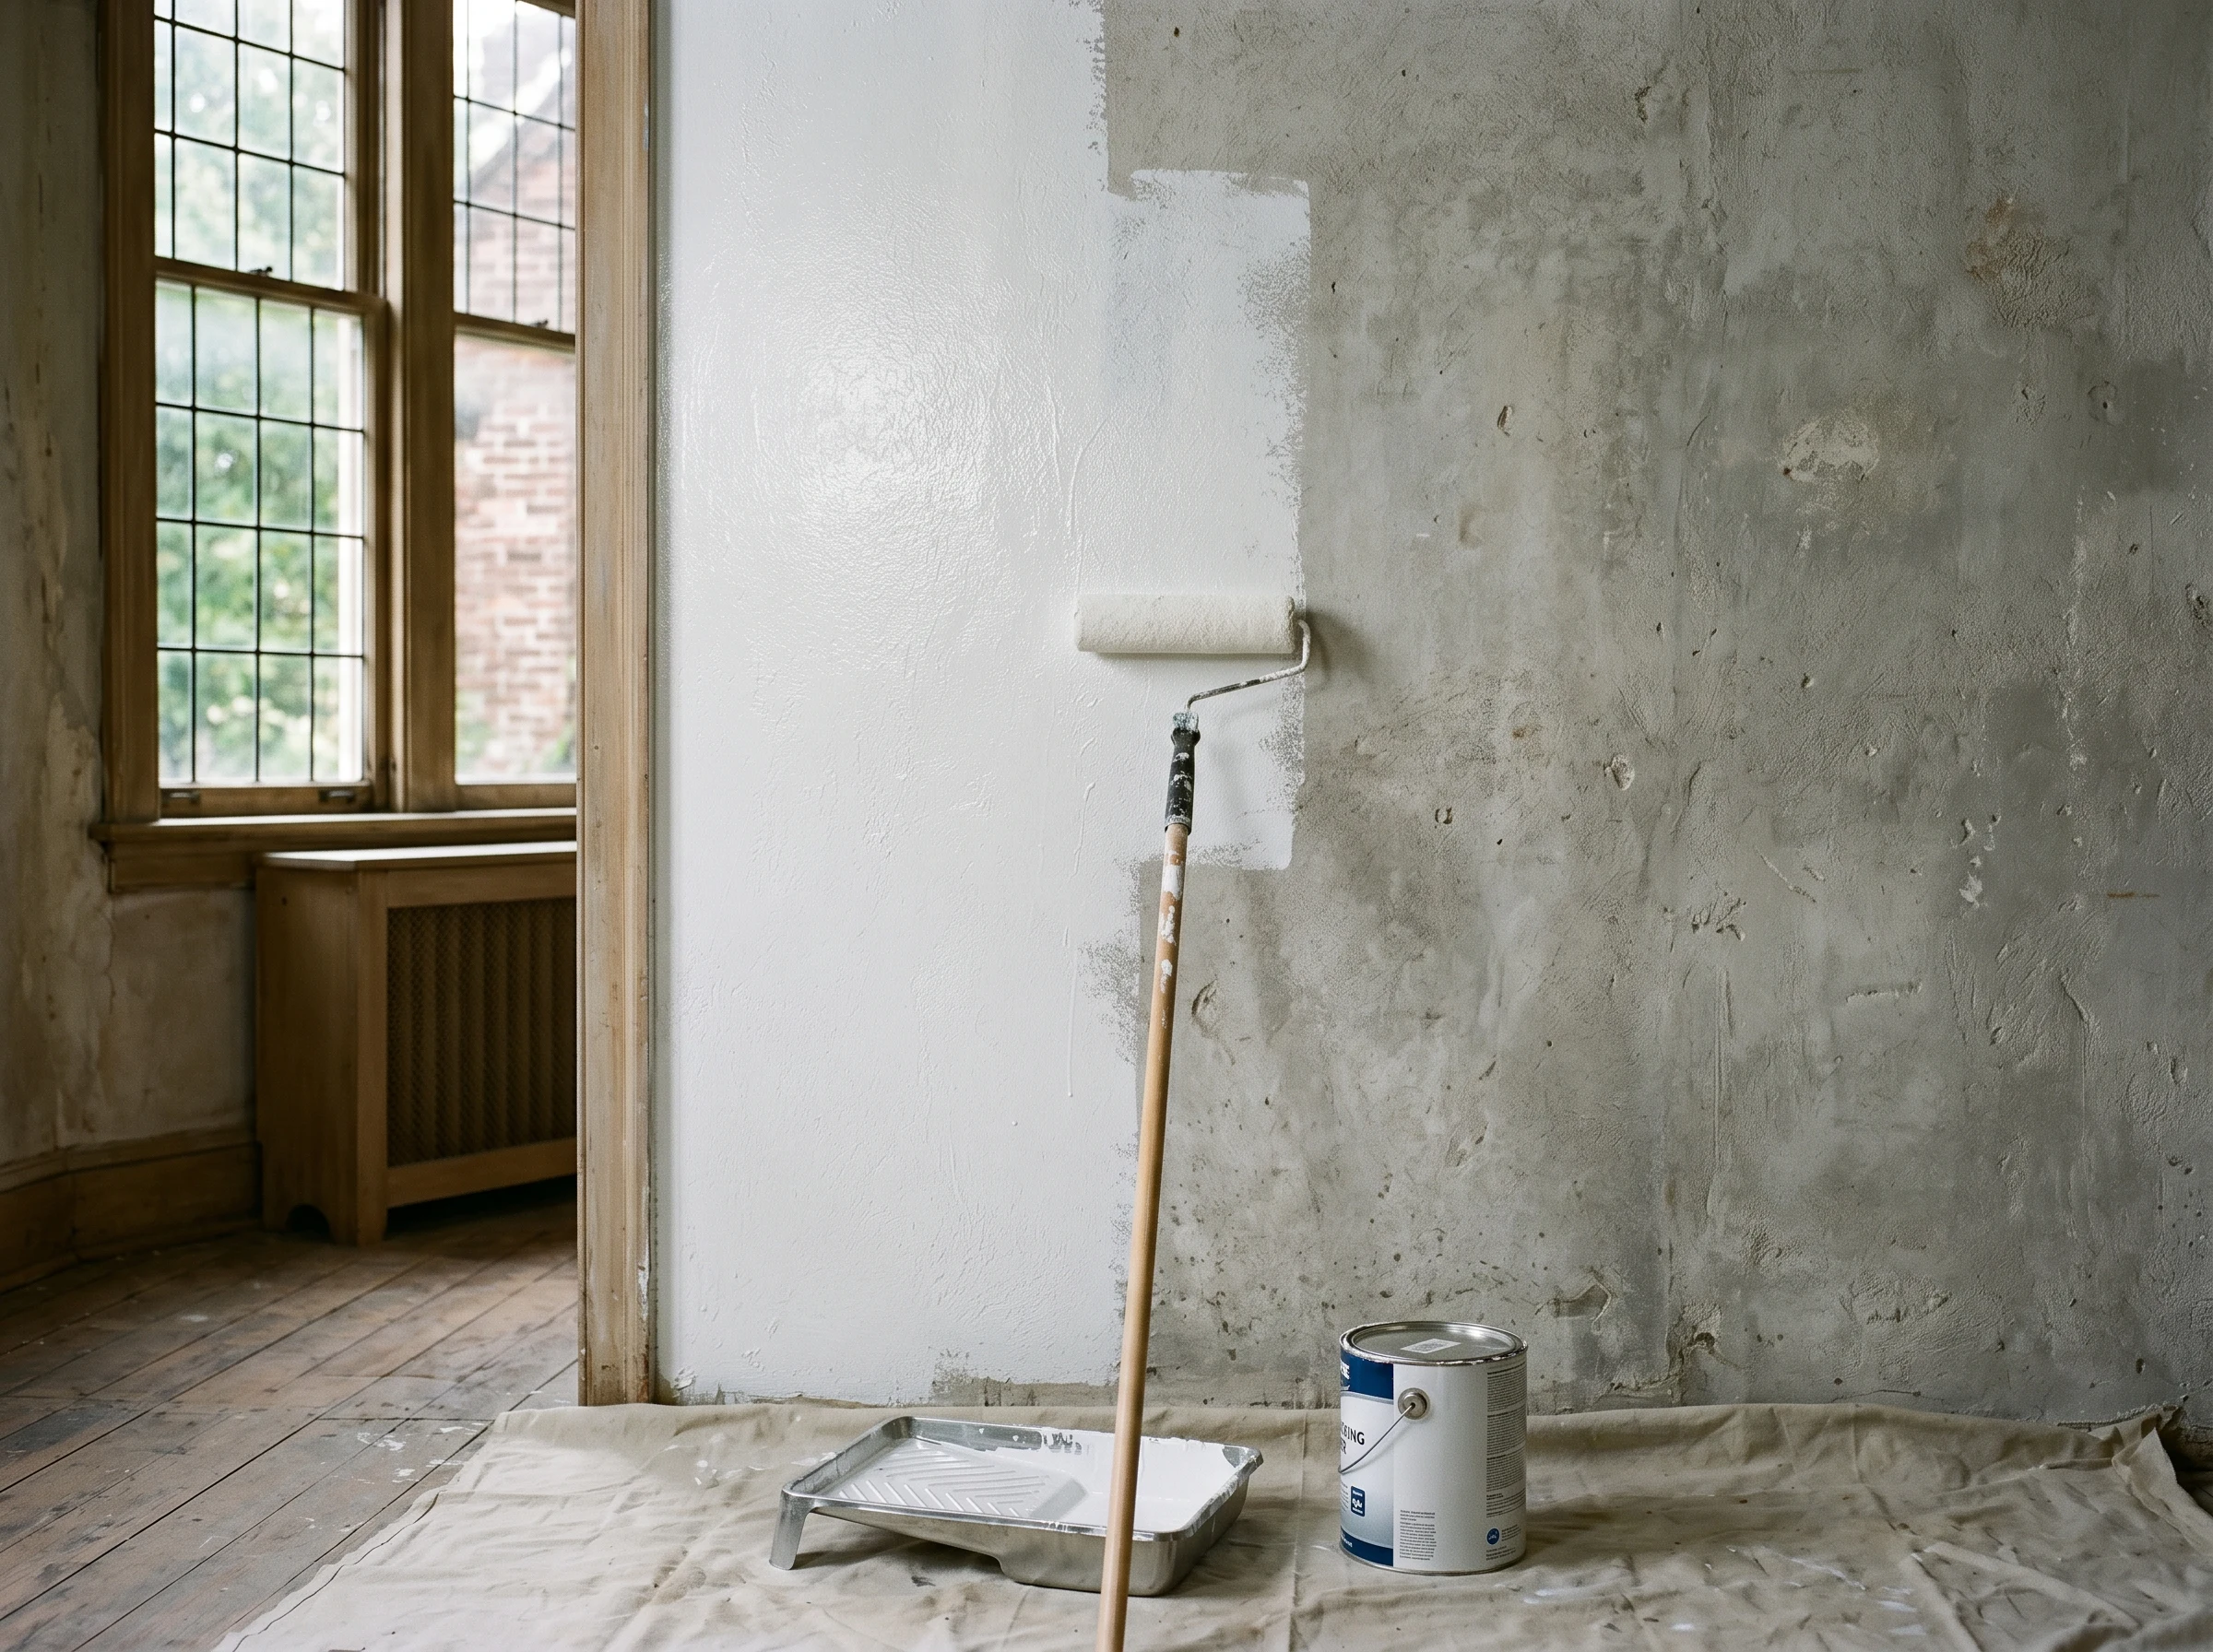
Half-primed: the oil-based sealer locks the chalking surface and evens out the porosity difference between original wall and patches.
The primer choice is where most plaster jobs go wrong. Three scenarios, three answers:
Fresh skim coat, day 7–30: breathable PVA sealer rated for green plaster. Sheetrock First Coat is the common one; Zinsser Gardz also works. These let the wall keep off-gassing moisture through the film while sealing the surface enough for a topcoat. Do not use an oil primer on green plaster — it traps moisture and blisters.
Repaired wall, fully cured: Zinsser Cover Stain over the whole wall, not just the patch. Spot-priming a patch on plaster always flashes — the patch has different absorption than the surrounding wall, the sheen telegraphs the boundary, and you stare at it forever. Cover Stain seals the whole wall to uniform porosity and blocks any alkalinity that’s still in play.
Old lime plaster: Zinsser Cover Stain (oil) or B-I-N shellac. Both bond through chalking surfaces in a way latex primers can’t. Two coats if the wall is heavily chalked. This is the step that decides whether the topcoat lasts five years or peels in twelve months.
The featured Kompozit Bonding Sealer also handles repaired and chalking plaster — same chemistry as Cover Stain, slightly lower VOC. See the plaster paint round-up for the full set of options with current pricing.
One mistake I see every winter: using a water-based “all-in-one” primer-and-paint on a freshly repaired plaster wall. The water hits the joint compound, raises it slightly, dries flat. Looks fine the day you paint. Six months later, every patch is visible under the right raking light. Oil primer, every time, on repairs.
Step 5 — Paint
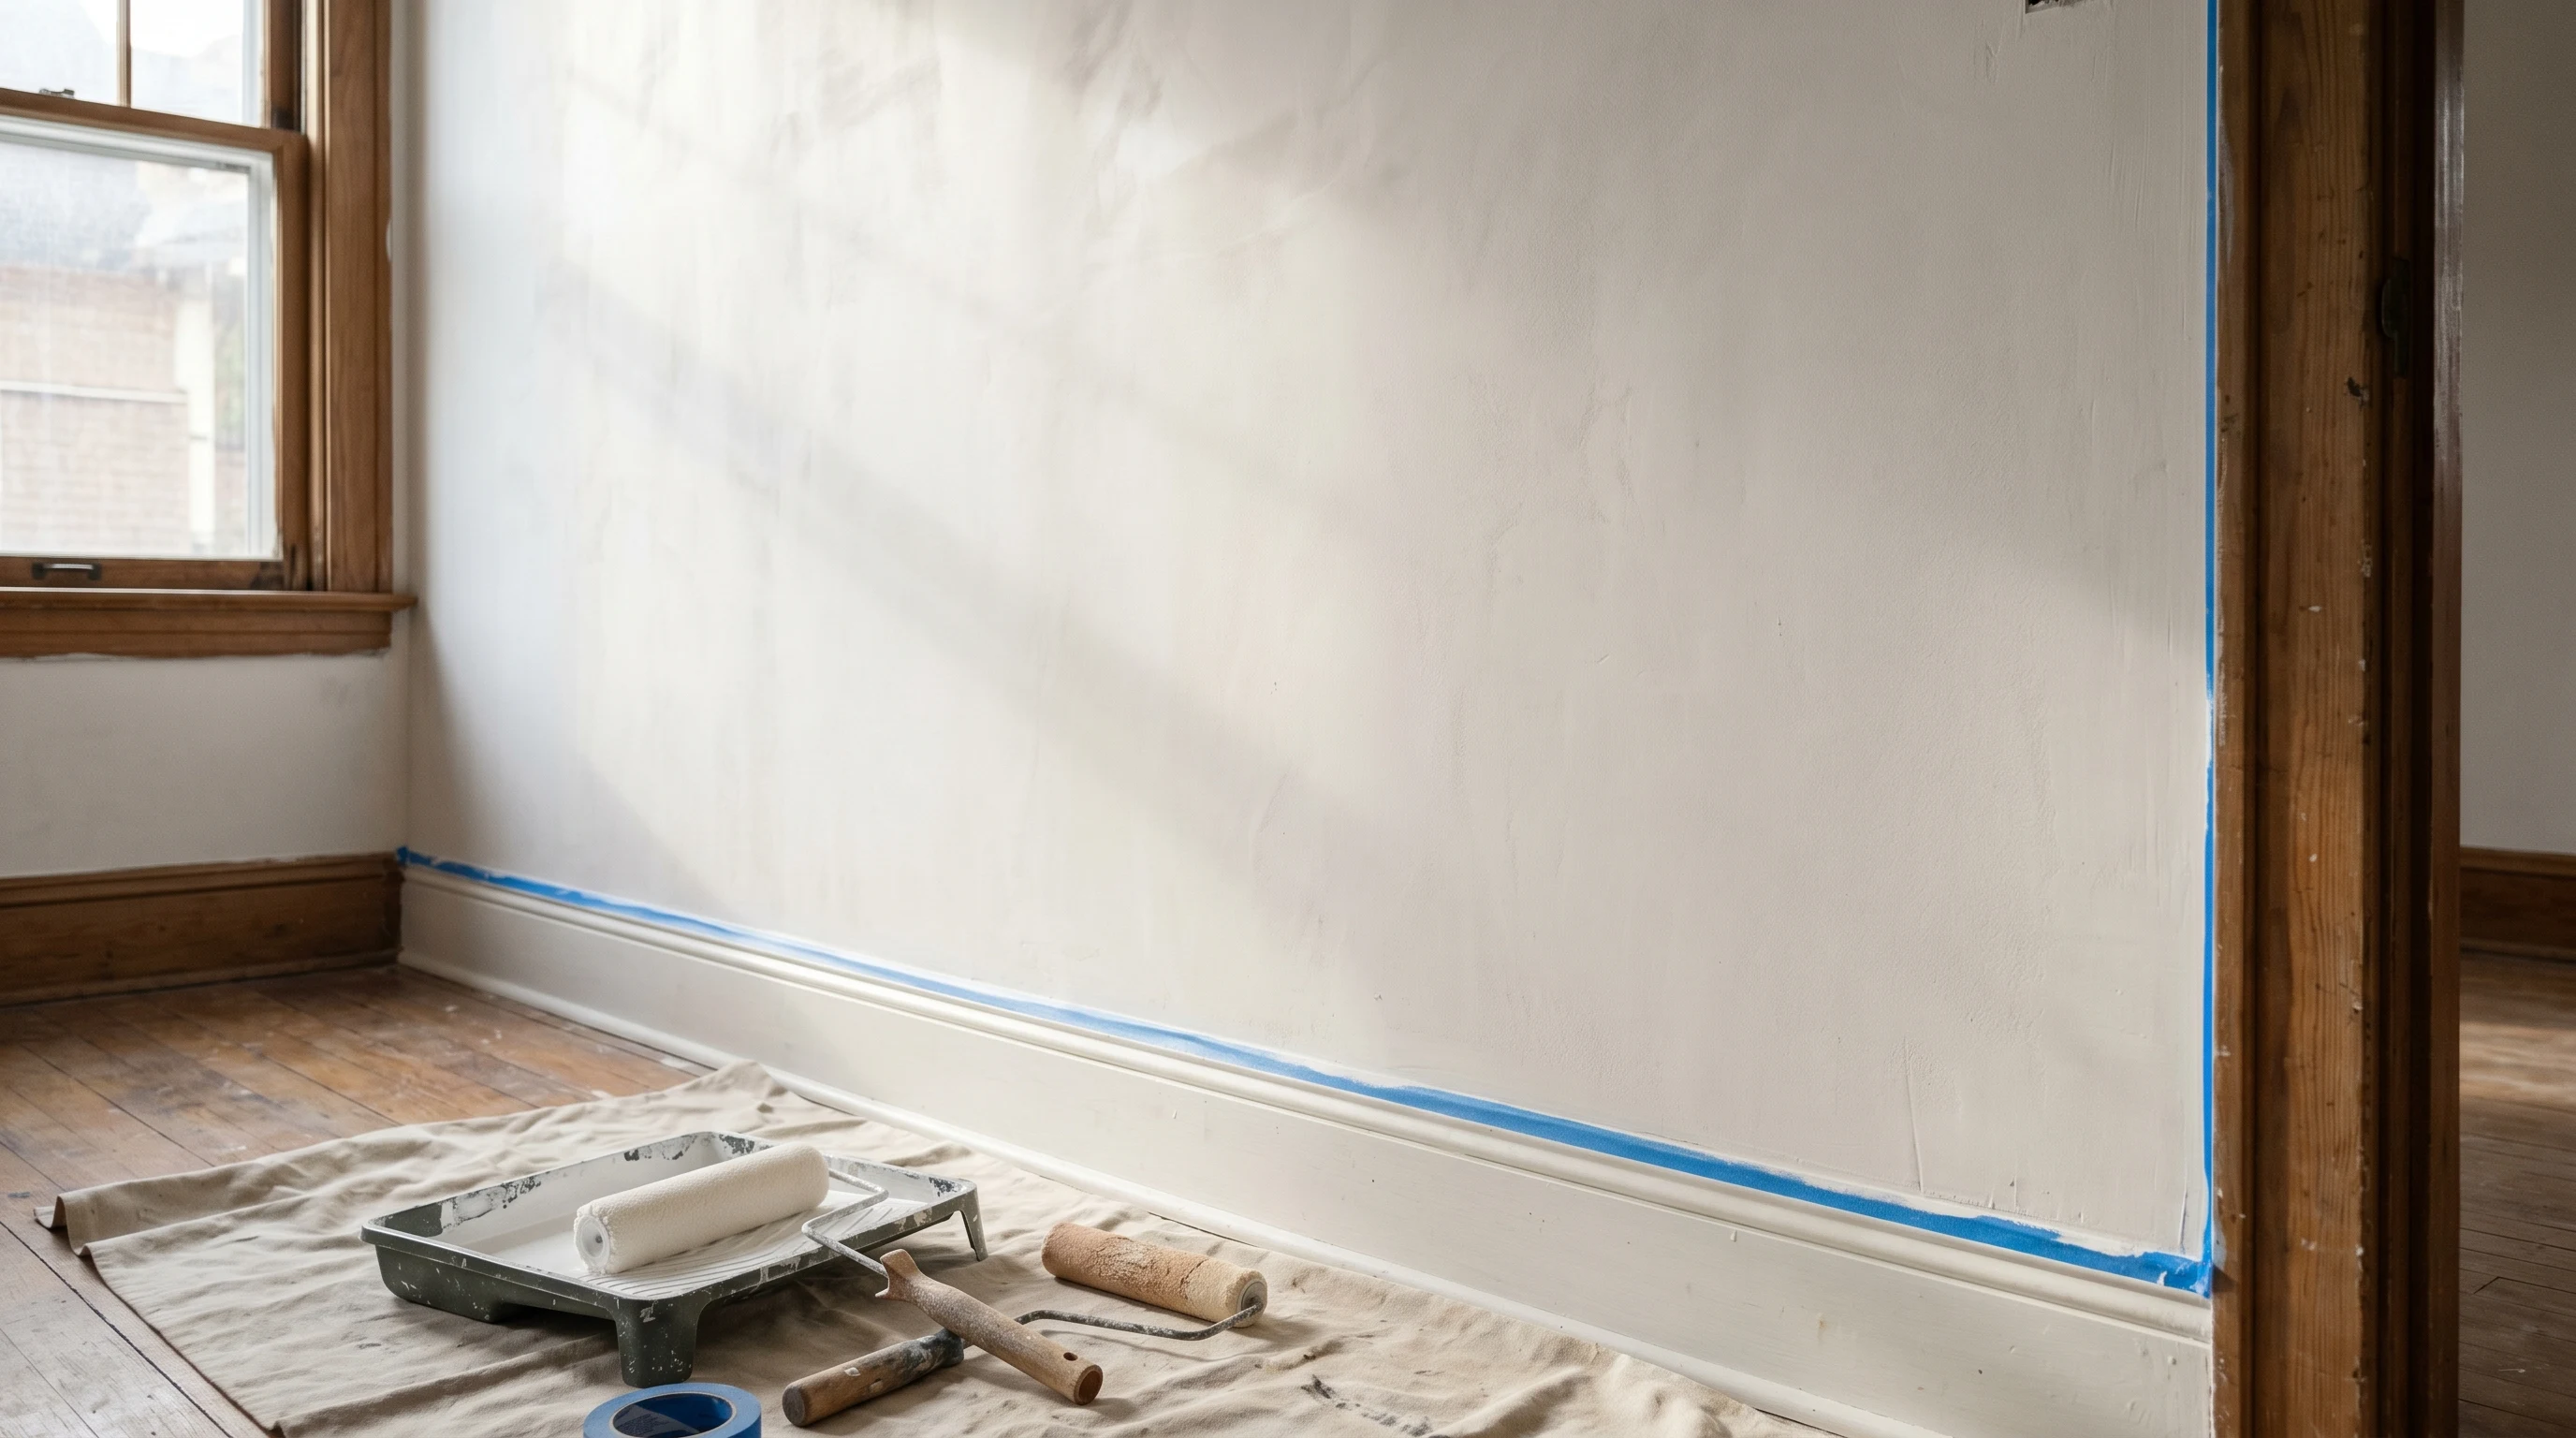
Two coats of acrylic latex over a properly sealed wall. The patches don’t telegraph.
Once the primer is dry — 24 hours for Cover Stain, 4 for the PVA sealers — paint moves like any wall. 100% acrylic latex topcoat, 3/8-inch nap roller for the field, 2-inch angled brush for cut-in. Cut in the corners and the ceiling line first, roll while the cut-in is still wet to avoid lap marks, don’t stop in the middle of a wall.
Two coats. Always two coats. The first coat looks like coverage on a primed wall, but the sheen reads uneven until the second coat lays it flat.
Sheen choice for plaster:
- Matte for ceilings and any wall with visible repairs. Hides minor texture and patch boundaries.
- Eggshell for living spaces. Cleans better than matte and still forgiving on surface variation.
- Satin or higher only on perfectly skim-coated modern plaster. On old, slightly wavy plaster, satin telegraphs every dip and high spot — exactly what you don’t want.
For SKU picks — what actually performs on plaster across price tiers — see the plaster paint round-up.
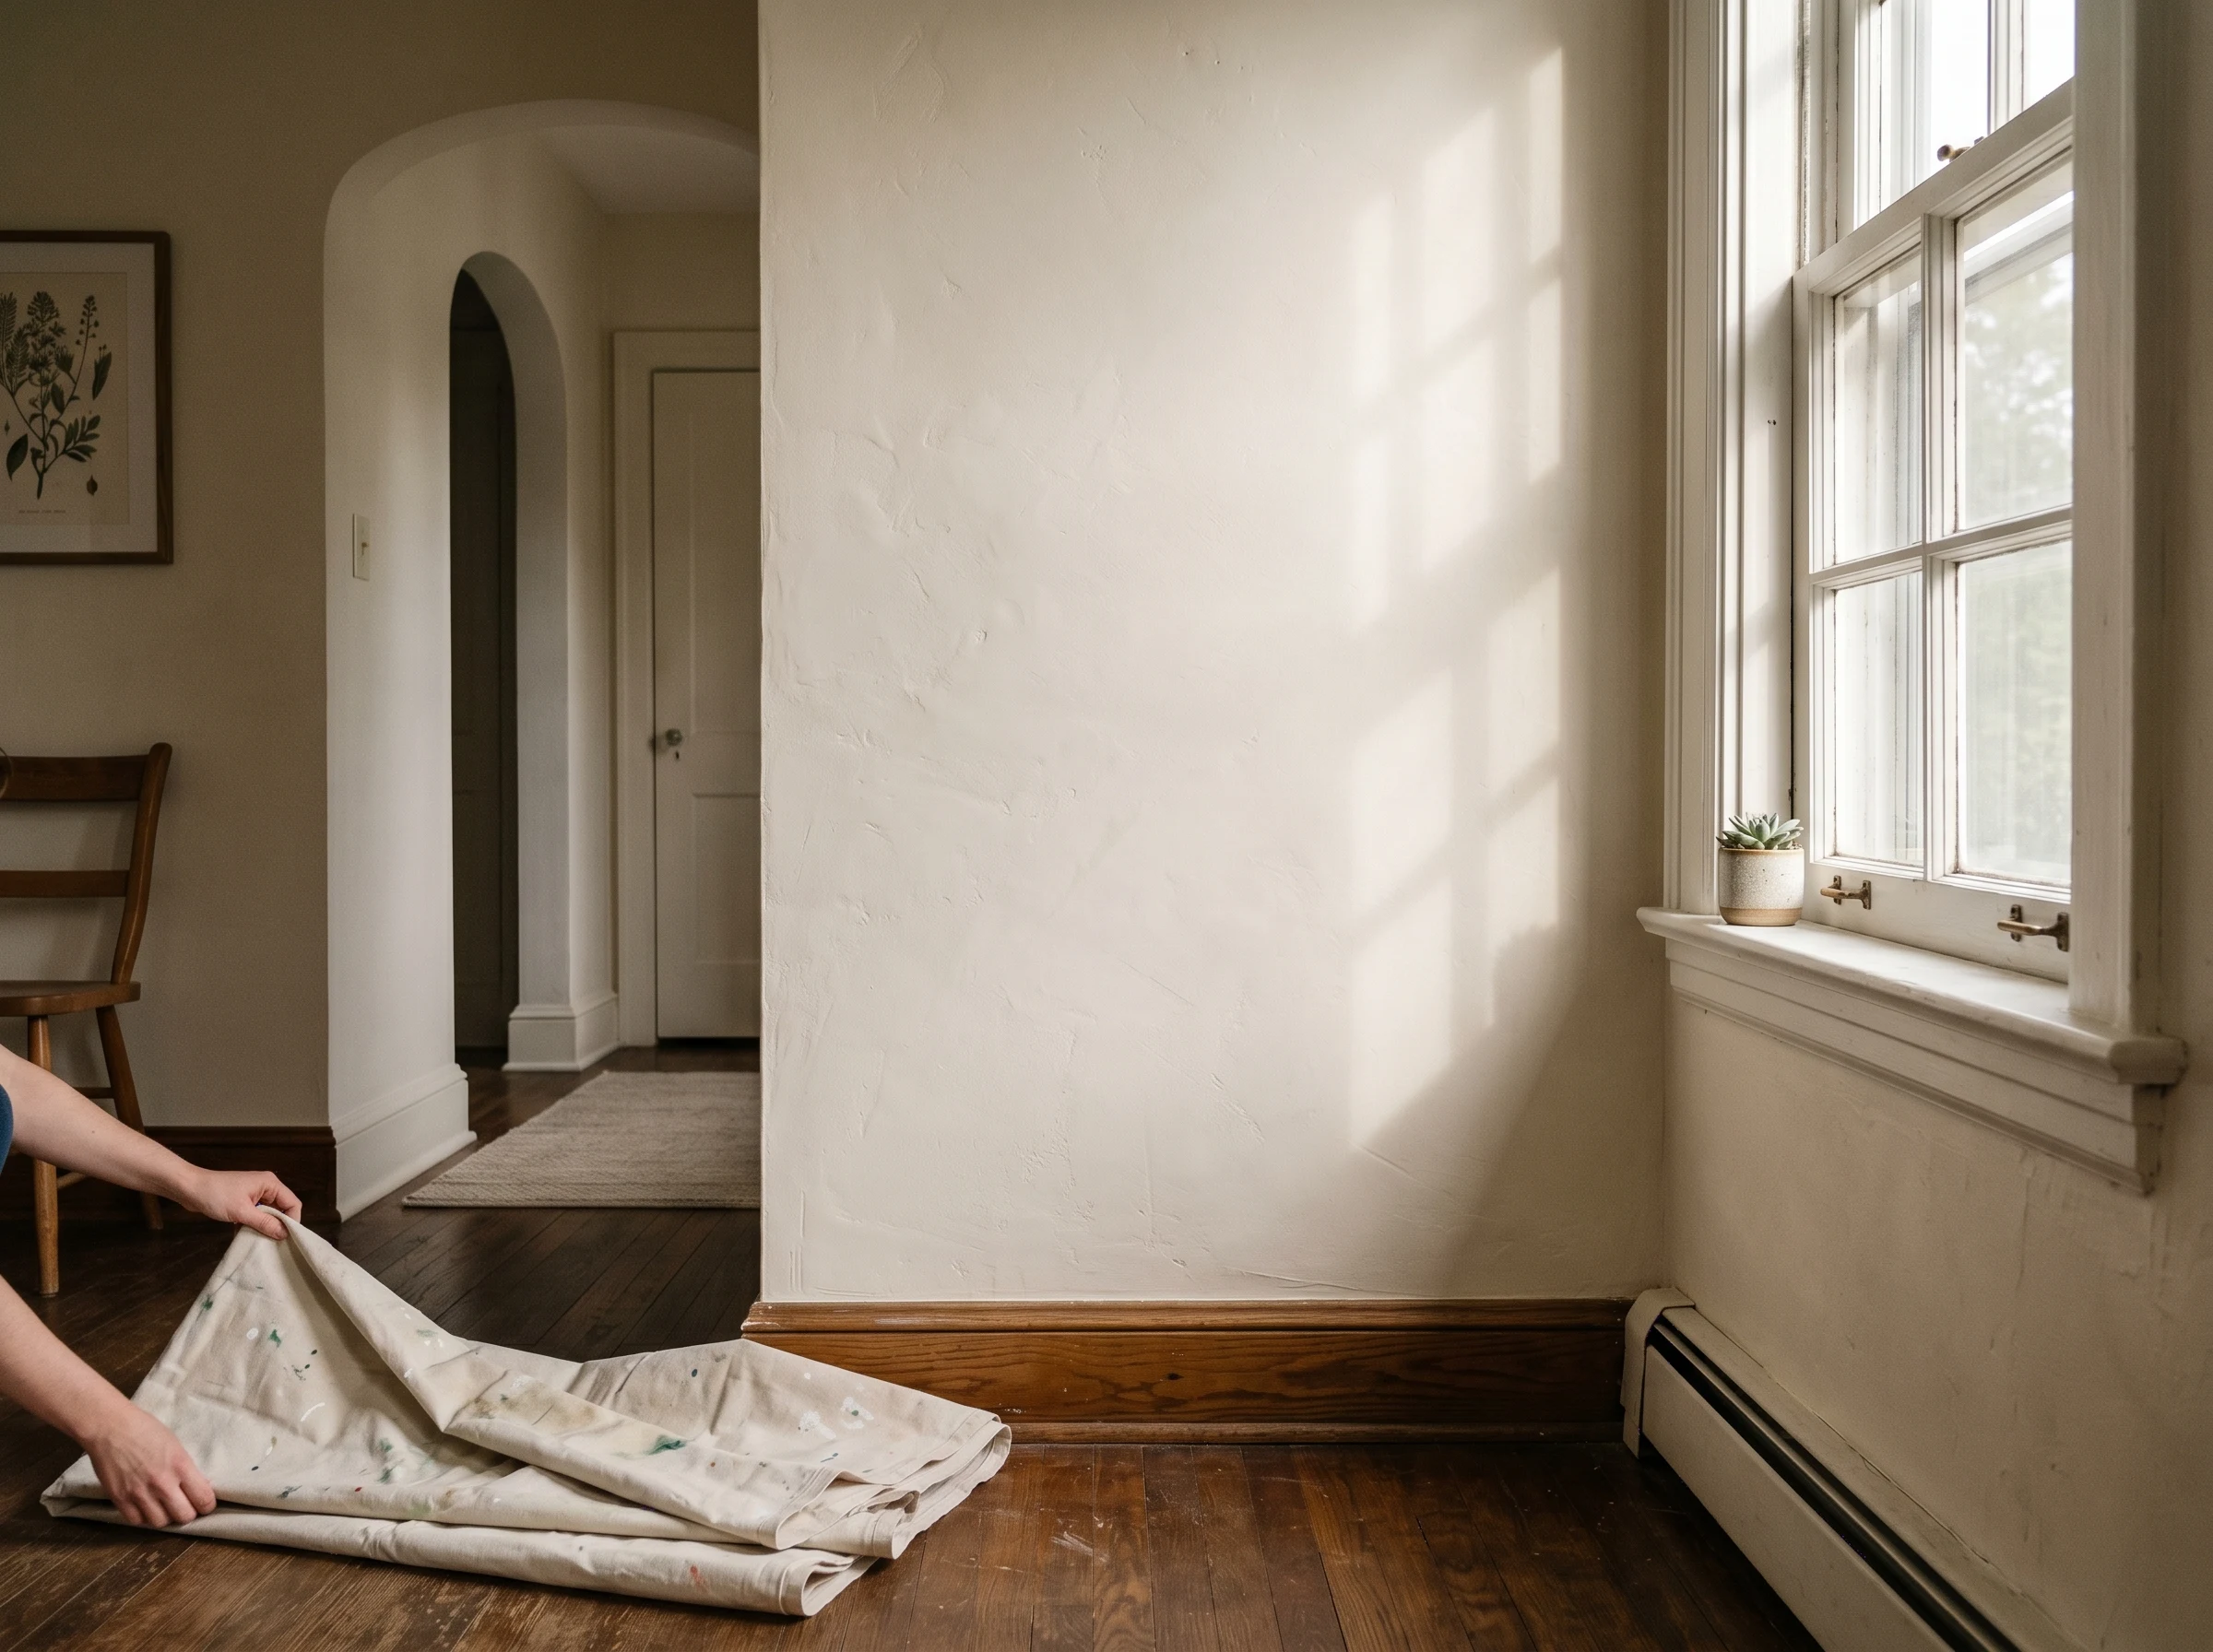
Step 6 — Cure
Touch dry: 1–2 hours. Recoat: 4 hours on most acrylic latex. Full cure to scrub strength: 14 days.
Don’t wash the wall, hang heavy artwork that contacts the surface, or place furniture flush against fresh paint for the first two weeks. Plaster paint cures a little slower than drywall paint because the substrate keeps releasing trace moisture for weeks even after it’s nominally cured.
A Note on Old Lime Plaster and Mineral Paint
If you’ve got a pre-1940 house with original lime plaster and you keep getting peeling no matter how you prime, stop fighting the chemistry. Lime plaster wants a lime-based or mineral paint that bonds chemically with the substrate, not a film-forming acrylic that sits on top.
Limewash, silicate (mineral) paint, and casein paint all bond into the plaster instead of laminating over it. They breathe — water vapor moves through the film — which matters in old houses where the wall stack isn’t sealed the way modern construction is. They look different too: a soft, slightly mottled matte that’s the original visual character of these walls.
The trade-off: shorter wash cycles between recoats (5–10 years vs 15+ on latex), limited color palette, and you need to commit to staying in that paint system. Once you go mineral, you don’t go back to latex without a full strip.
See the limewash round-up for the SKU set if you go this route. This is the answer for the house that’s been “repainted every five years and it keeps peeling.” Stop repainting. Switch systems.
Common Mistakes
- Painting fresh plaster too early. The wall needs 30 days, or a breathable PVA sealer. Day 10 with regular latex is the most common fail. Fix is a full strip and start over.
- Spot-priming a patch. The patch flashes, the wall reads patchy under every light angle. Full-wall sealer is the only fix.
- Latex over chalking lime. The latex bonds to chalk, not to plaster. Peels in 12–18 months. Wash, oil-prime, or switch to mineral.
- Water-based primer on a repaired wall. Raises the joint compound, telegraphs every patch. Use Cover Stain.
- Skipping the second coat because the first looks good. Plaster’s slightly varied porosity means one coat reads uneven in raking light. Always two.
- Dry-sanding pre-1978 painted plaster without a mask. Lead. Wet methods, HEPA vacuum, RRP rules. Not optional.
Maintenance and Longevity
A correctly primed and painted modern plaster wall lasts 10–15 years before it needs a refresh. Cured lime plaster painted with mineral or limewash recoats every 5–10 years, but the recoat is cheap and fast — it goes right over the previous coat with minimal prep. Clean painted plaster with a damp microfiber and mild soap; skip strong solvents and avoid magic-eraser sponges, which abrade the surface and dull the sheen in patches.
Watch the upper corners of plaster walls in old houses for hairline cracking. That’s the building moving with seasonal humidity and it’s normal. Chase the crack, patch, spot-touch with leftover paint, move on.
What’ll bite you in two years if you skip the steps above: the wall looks fine on inspection day, flashes by month three under the afternoon sun, and starts peeling around month eighteen at the ceiling line. The fix at that point is a full strip back to plaster — way more work than just doing the primer right the first time.