How to Paint Stainless Steel
Painting stainless steel is all about adhesion. Degrease, scuff the chromium oxide layer, and use a bonding or self-etching primer so the topcoat actually sticks.

Stainless steel is designed to repel things. Rust, stains, your dinner. Also your paint. Get the prep wrong and the topcoat peels off in sheets the first time a hand drags across it. The fix isn’t a fancy paint. It’s the scuff and the primer underneath.
TL;DR
- Degrease: acetone or denatured alcohol on a fresh rag, every fingerprint gone
- Scuff: maroon pad until the whole surface is dull matte, zero shine left
- Primer: self-etching primer, or a bonding primer like INSL-X Stix
- Paint: DTM acrylic, two-part epoxy, or appliance-grade aerosol enamel
- Method: spray for a smooth finish, thin coats, never one thick one
- Cure: full hardness in 5-7 days before heavy handling
- Skill: medium. The prep is fussy, the painting is easy
What Stainless Steel Actually Is
Stainless steel is regular steel alloyed with chromium, usually 10% or more. The chromium reacts with air and forms a thin invisible layer of chromium oxide on the surface. That layer is what stops rust, and it heals itself if you scratch it. It’s also what makes the metal slick.
So you’re not painting bare metal. You’re painting a self-renewing oxide film that wants nothing to stick to it. That’s the whole problem in one sentence.
Why Stainless Fights Paint
Three things work against you, and they’re different from the problems you get on wood or drywall.
It’s non-porous. Wood drinks primer into the grain and locks it mechanically. Stainless has no grain to drink anything. The primer just sits on top, held by whatever grip the surface offers, which is close to none.
It’s slick. That chromium oxide layer is smooth at a level you can’t feel with a finger. Paint needs tooth to hold, and a polished stainless panel has none.
It moves with heat. A range hood, an appliance, an exhaust panel all expand and contract as they warm and cool. A brittle coating cracks at the edges and lets moisture creep under the film. Then it peels.
Add the fact that stainless lives on high-touch surfaces (fridge doors, handles, counters) and you’ve got a coating that gets grabbed, wiped, and bumped all day. The bar for adhesion is higher here than almost anywhere in the house.
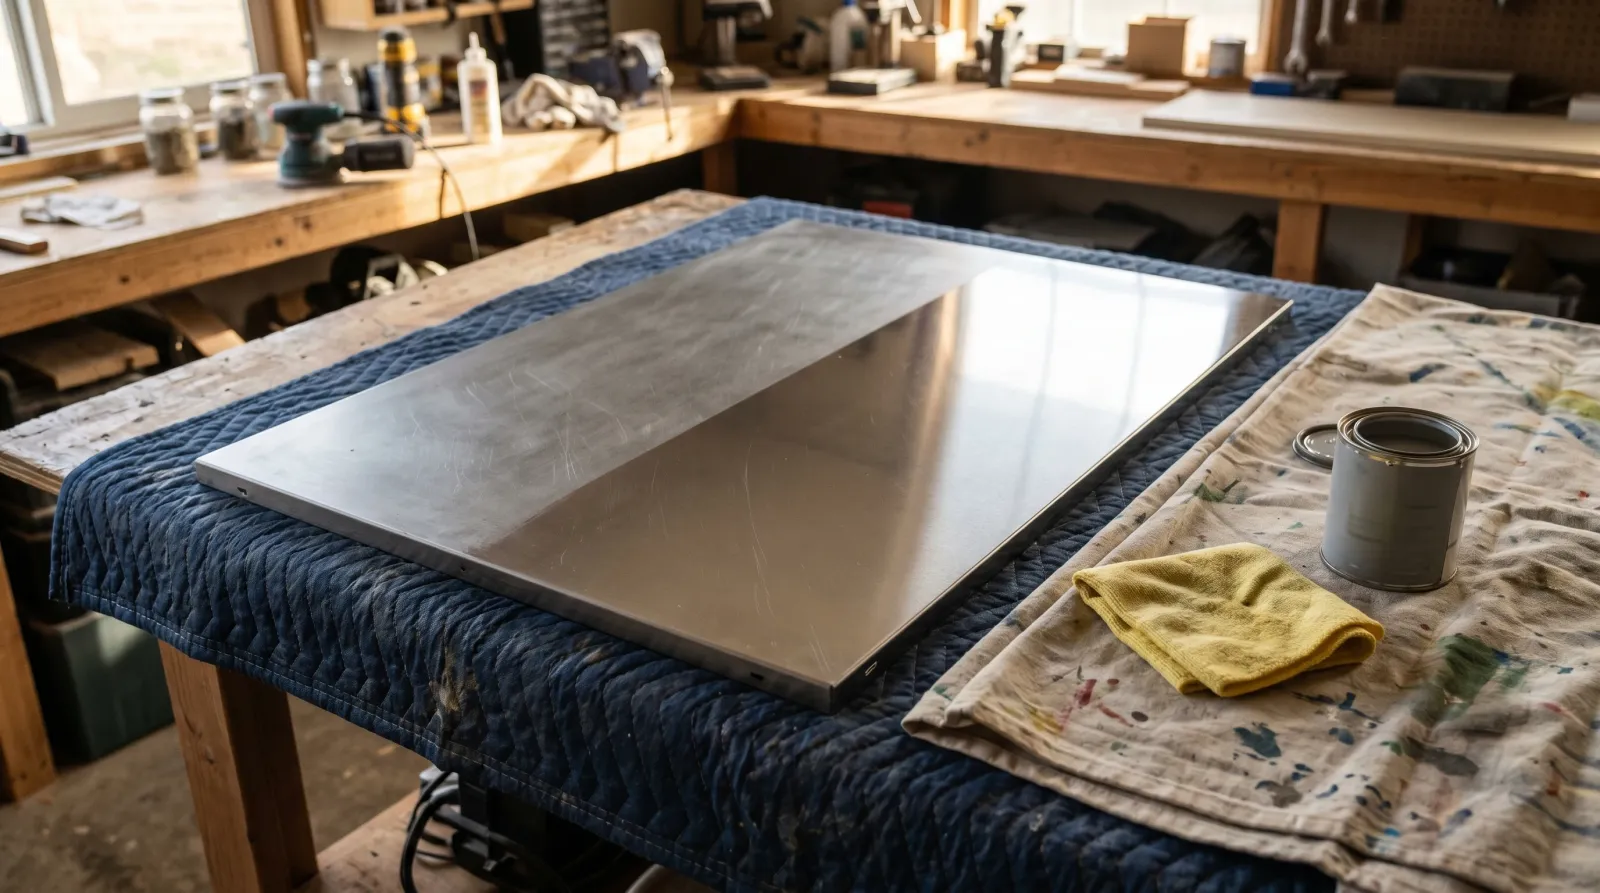
Step 1: Degrease Like You Mean It

Acetone wipe, fresh rag every pass, edges taped clean. Nothing touches the metal after this but the next coat.
Stainless reads clean when it isn’t. Every fingerprint leaves oil. Manufacturing leaves a film. Kitchen surfaces carry cooking grease you can’t see. Paint cannot grip through any of it.
Wipe the whole surface with acetone or denatured alcohol on a lint-free rag. Flip to a clean section of rag constantly, or grab a new one. A dirty rag just smears the oil around. For a panel pulled out of a greasy kitchen, hit it first with TSP and water, rinse, dry, then finish with the solvent.
Wear nitrile gloves from this point on. The oil from your own hands is exactly the contaminant you just spent twenty minutes removing. Once it’s degreased, the only things that touch the metal are the scuff pad, the tack cloth, and the primer.
Ventilate. Acetone fumes are no joke in a closed garage.
Step 2: Scuff Every Square Inch
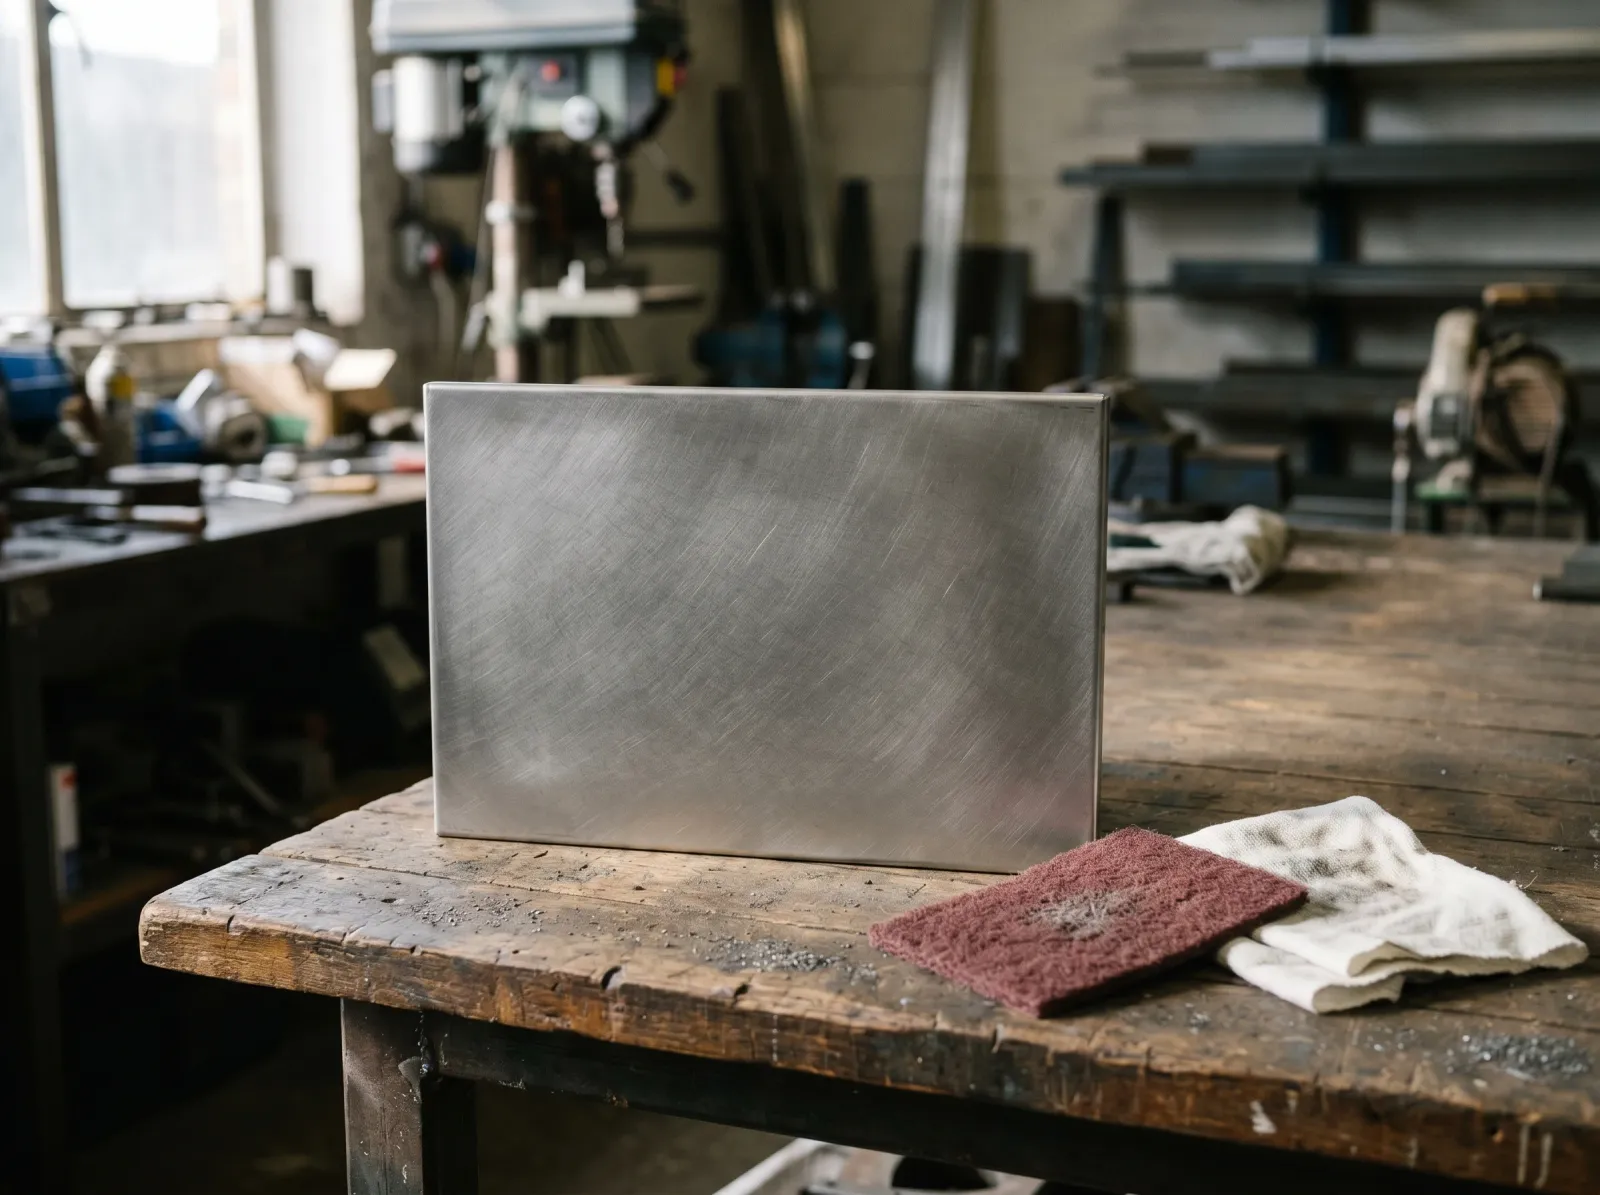
Maroon scuff pad over every square inch until the shine is gone. A glossy spot is a spot the primer won’t grab.
This is the step people rush, and it’s the one that decides whether the job lasts.
You’re abrading the chromium oxide layer to give the primer mechanical tooth. Use a maroon scuff pad (roughly 320-400 grit equivalent) and work the whole surface to a uniform dull matte. On a brushed-finish panel, go with the grain. On a polished mirror panel, direction matters less; coverage matters more.
The test is simple. Tilt the panel into the light. Any spot still throwing a reflection is a spot you missed, and it’s a spot the primer won’t hold. Keep going until the whole face is evenly dull. No bright patches, no shiny edges.
For big flat panels, a random-orbit sander with 220 then 320 saves your arm. For curves, handles, and tight corners, hand-scuff with the pad. Get into every recess. The edges and corners are where peeling starts, so they’re where the scuff has to be best.
Tack-cloth the dust off when you’re done. Then degrease one more light pass, because scuffing can drag old oil around. Prime within the hour. A freshly scuffed surface starts re-growing its oxide layer the moment you stop, and you want the primer down before it does.
Step 3: Prime With a Self-Etching or Bonding Primer
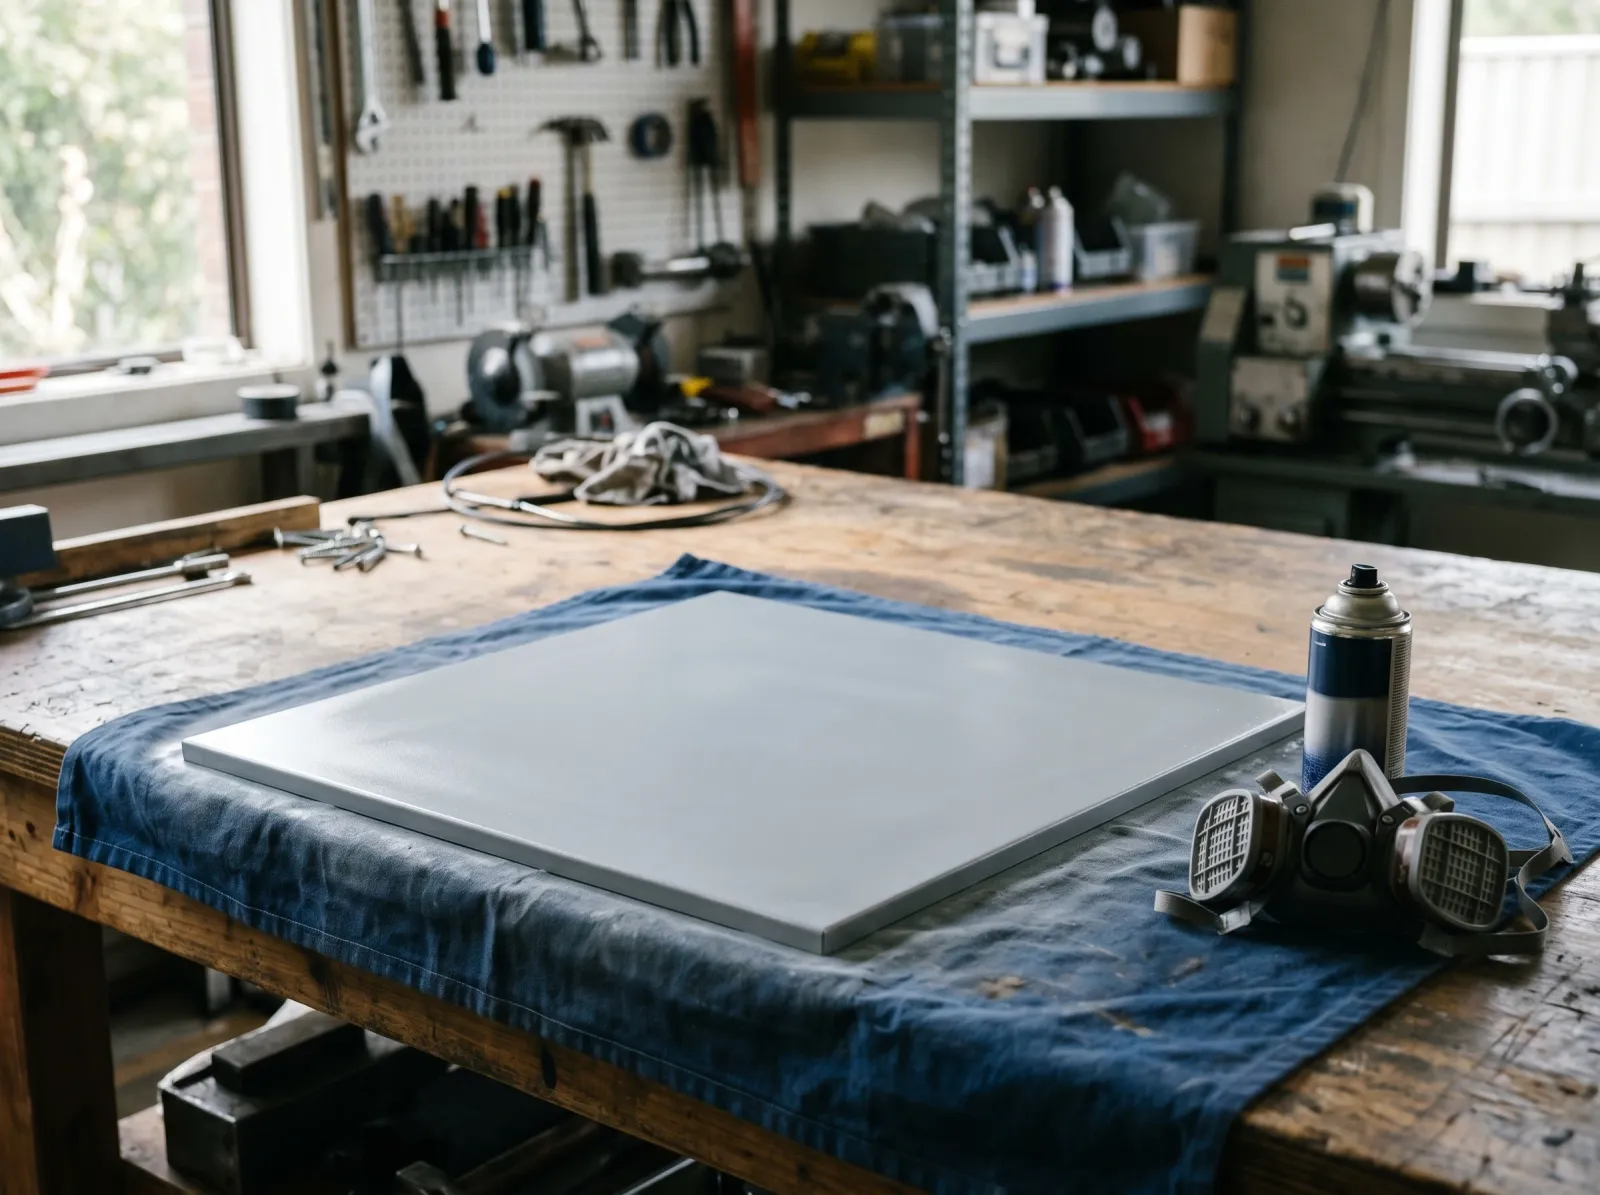
Self-etching or bonding primer, sprayed thin. Light enough to see the grain through it. Two thin beats one thick.
No primer, no job. A topcoat straight onto bare stainless has nothing to bite. The primer is the bridge.
Two primer paths work on stainless:
Self-etching primer. Rust-Oleum Self Etching Primer and similar products carry a mild phosphoric acid that micro-etches the metal as it dries, biting in chemically where the scuff bit in mechanically. This is the strongest grip you can get in a rattle can. Best choice for appliances, hoods, and anything that takes abuse. Spray it thin.
Bonding primer. INSL-X Stix is a waterborne urethane-acrylic that grips slick surfaces hard without an etch. It’s the friendlier option if you’re brushing or rolling, or if acid-based products make you nervous indoors. Stix bonds to glass and tile too, so stainless is well within its range. See the galvanized steel guide for more on bonding primers, since galvanized has the same no-tooth problem.
Skip plain PVA primer and skip any “paint and primer in one.” Neither is built to grab metal. For the difference between a true primer and a self-priming paint, see the primer-vs-paint-and-primer explainer.
Apply thin. You want a light, even film, light enough that you can still see the brushed grain through it. Two thin coats beat one thick coat every time on metal. A heavy primer coat sags, traps solvent, and dries soft underneath. Let it flash and recoat per the can, usually 15 minutes to an hour for a self-etcher.
Step 4: Topcoat the Right Chemistry

Two thin finish coats over the primer. Smooth, even, no runs at the bottom edge. Let it cure hard before it goes back in service.
Over the right primer, a few topcoats hold up on stainless:
DTM acrylic (direct-to-metal). A waterborne industrial coating built for metal. Good for shelving, brackets, exterior hardware, anything that won’t see a frying pan’s worth of heat. Sherwin-Williams Pro Industrial DTM is the common name here.
Two-part epoxy. The toughest film you can put on stainless. Chemical-resistant, hard, abrasion-resistant. Worth the mixing hassle on a high-wear surface like a counter edge or a commercial panel. It’s also the least forgiving to apply, so practice on scrap.
Appliance-grade aerosol enamel. For a fridge or dishwasher, appliance epoxy in a rattle can is the standard DIY answer. It’s formulated to bond over primer on metal and shrug off cleaning.
For an actual heat source (a range hood directly over burners, a stove panel), step up to high-heat engine enamel rated for the temperature. Regular topcoats yellow and crack near real heat.
Don’t reach for leftover wall paint, and don’t use the oil-based trim gloss in the basement. Wall paint has no business on a slick high-touch metal surface, and trim enamel isn’t built for it either. For SKU-level picks on tough metal-capable coatings, the garage and metal coating round-up covers the durable end of the category.
Step 5: Application Method
Spray wins on stainless. The surface is smooth and unforgiving, so brush marks and roller stipple show badly. An HVLP sprayer or quality aerosol cans lay down a glass-flat film. Hold the can 8 to 10 inches off, keep it moving, overlap each pass by half, and never pause in one spot. A pause is a run.
If you’re brushing because spraying isn’t an option, use a foam brush or a fine foam roller and the self-leveling end of your topcoat options. Lay it on thin and don’t overwork it. Going back over a setting film drags it and leaves tracks. Two thin coats, light hand, leave it alone between.
Either way: thin coats. The temptation on metal is to build film fast. Resist it. Thin films flash evenly and grip. Thick films sag, trap solvent, and dry soft underneath where you can’t see the problem until it peels.
Step 6: Dry, Recoat, and Cure
Touch-dry on a self-etching primer runs 15 to 30 minutes. Recoat the primer inside an hour or wait until the next day; the awkward middle window can wrinkle, so read the can.
Topcoat recoat is usually 1 to 4 hours for aerosol enamel, longer for DTM acrylic and epoxy. Two coats minimum.
Full cure is the part people blow. The film is dry to the touch in an hour but soft for days. Aerosol enamel and DTM reach real hardness in 5 to 7 days. Two-part epoxy can need a full week. During that window, don’t wipe it, don’t scrub it, don’t grab the handle, don’t push the appliance back into a tight slot where it rubs the cabinet. A soft film picks up every fingerprint and dent, and they lock in permanently.
Common Mistakes
- Painting over grease. The number-one failure. Stainless looks clean while still carrying fingerprint and cooking oil. Degrease with acetone on a fresh rag, glove up after. Miss it and the whole film peels.
- Not scuffing, or scuffing unevenly. A glossy spot is a spot the primer can’t grab. Scuff to a uniform dull matte and check it in raking light. Bright patches are future peel sites.
- Skipping primer. A topcoat alone slides right off slick stainless. Self-etching or bonding primer, no exceptions.
- One thick coat instead of two thin ones. Heavy coats sag, run at the bottom edge, and dry soft underneath. Always thin, always two.
- Handling it before full cure. Dry-to-touch isn’t cured. Grab the handle on day two and you press a permanent thumbprint into a soft film. Wait the full week on a high-touch surface.
- Wall paint or trim enamel as the topcoat. Wrong chemistry for slick high-touch metal. Use DTM, epoxy, or appliance enamel.
Maintenance and Longevity
A properly primed and topcoated stainless surface holds up well on low-touch items: shelving, brackets, exterior hardware, decorative panels. Expect 8 to 10 years on those before any refresh.
High-touch surfaces are a different story. A painted fridge door or dishwasher front sees hands all day, and the handles and lower door will show wear in 2 to 4 years. Plan on spot-recoating those zones rather than the whole appliance. Clean painted stainless with a soft cloth and mild soap, never an abrasive pad or a stainless-specific cleaner, since those strip coatings. If the film starts to chip or lift at an edge, catch it early: scuff the spot, re-prime, recoat. A chip left open lets moisture creep under the surrounding film, and then you’re stripping the panel. For chips that have already spread, the peeling paint fix walks through the repair.
The painted finish will never match factory stainless for toughness. If you skipped the degrease or the scuff to save twenty minutes, it bites you inside a year. Get those two right and the coating holds.
FAQ
Can you paint stainless steel? Yes, but adhesion is the whole job. Stainless is non-porous and carries a slick chromium oxide layer that paint slides right off. Degrease it, scuff it to a uniform dull matte, and prime it with a self-etching or bonding primer before any topcoat. Skip the scuff or the primer and it peels the first time someone leans on it.
Do you need to prime stainless steel before painting? Yes, always. A topcoat alone has nothing to bite into on bare stainless. Use a self-etching primer, which carries a mild acid that micro-etches the surface, or a high-grip bonding primer like INSL-X Stix. The primer is the bridge between slick metal and the finish coat, and it’s the single most-skipped step.
What kind of paint sticks to stainless steel? Over the right primer, a few chemistries hold: DTM acrylic, two-part epoxy, or an appliance-grade aerosol enamel made for metal. For a kitchen appliance, appliance epoxy in a rattle can is the common pick. Skip wall paint and skip oil-based trim gloss.
Can I paint a stainless steel refrigerator or dishwasher? You can. Pull the appliance out, lay the door flat if you can, degrease hard, scuff every inch, prime, and use appliance epoxy. Expect to recoat handles and the lower door in a few years. Plan on a long cure before you push it back and start grabbing the handle.
Why does paint peel off stainless steel? Two reasons, both prep. Grease or fingerprint oil left on the surface, or a still-glossy surface that gave the primer nothing to key into. Degrease with acetone on a fresh rag, scuff until there’s zero shine, prime within the hour. Miss either step and the film lets go.