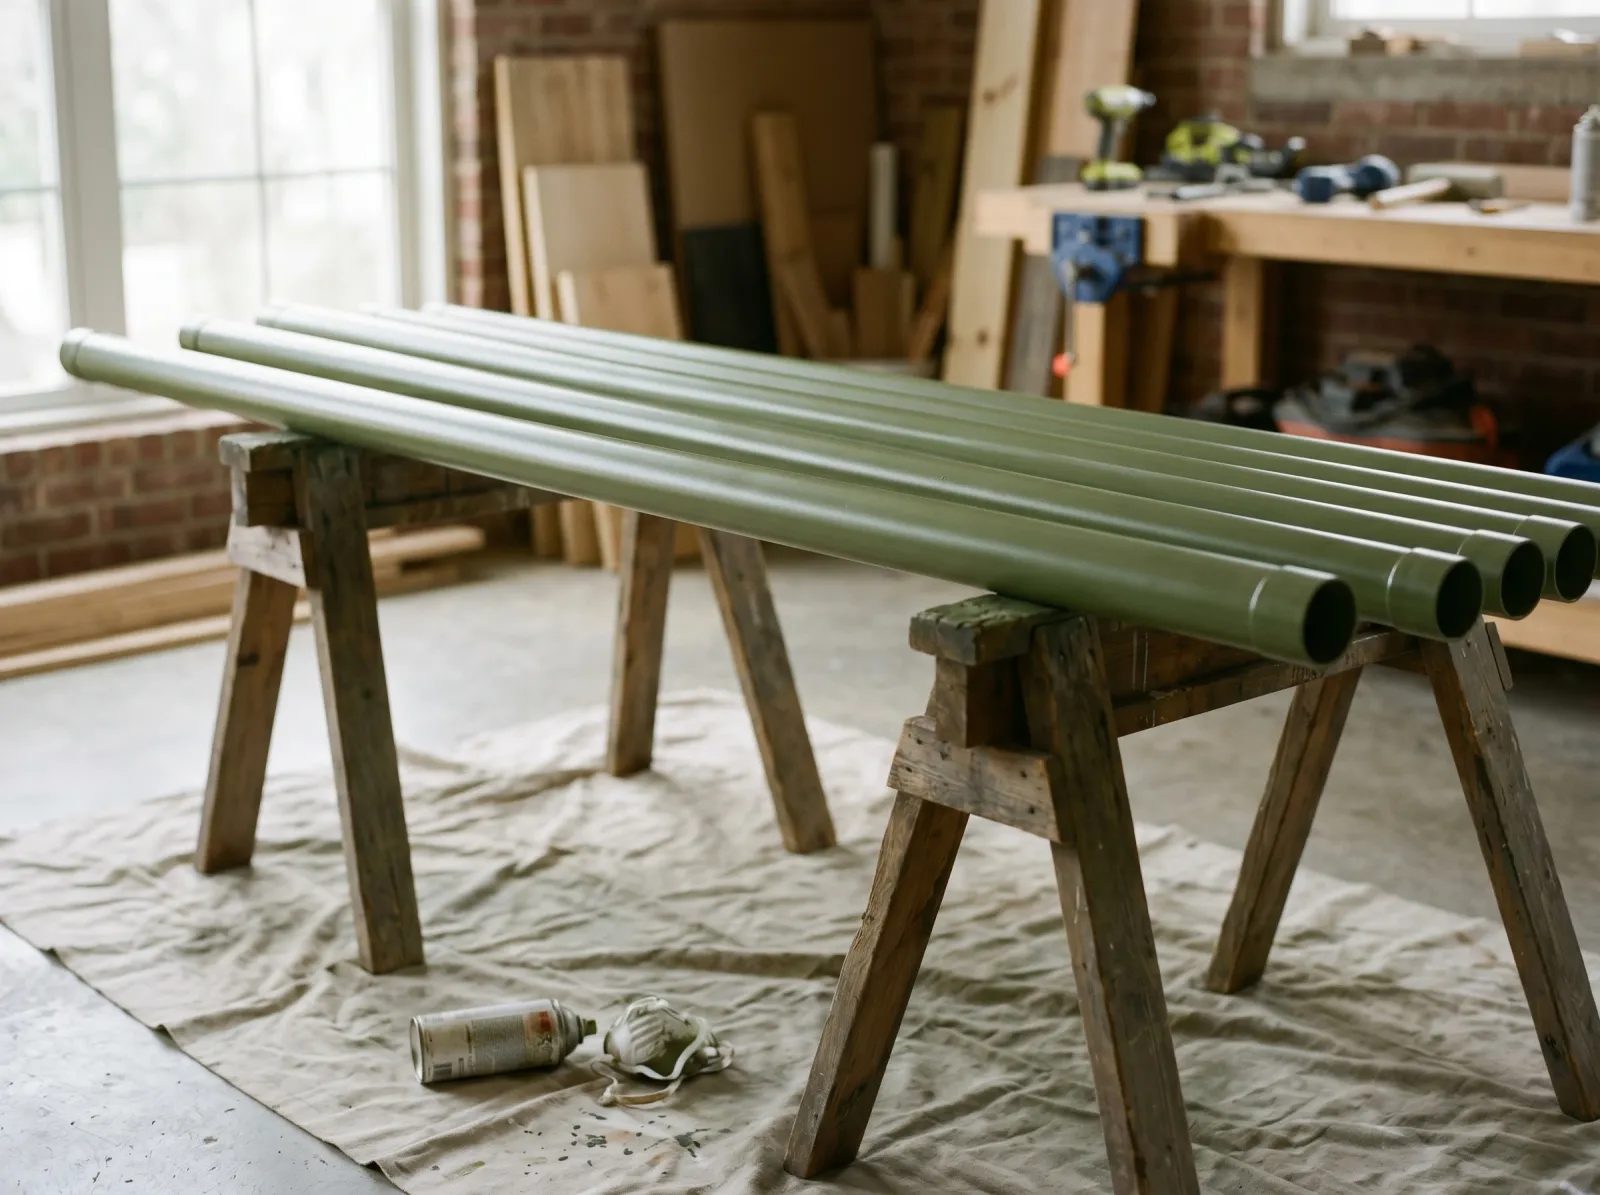
How to Paint PVC Pipe
How to paint PVC pipe so it stays on: why you scuff the gloss, which bonding primer grips plastic, and the spray technique that beats peeling and chipping.

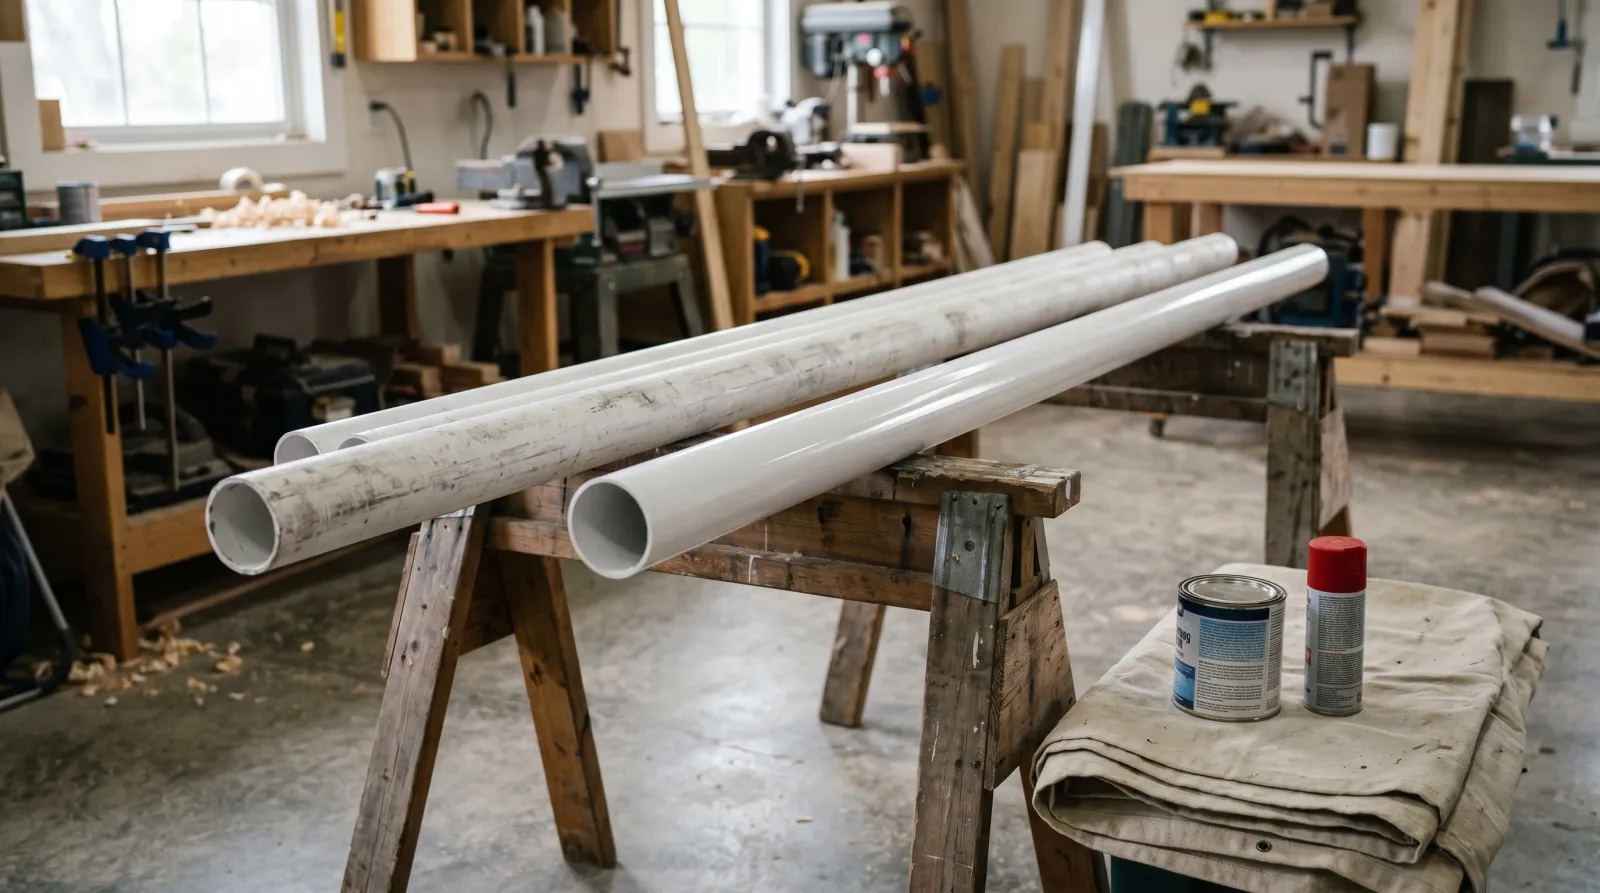
PVC is engineered to be slick. That’s good for water flowing through it and bad for paint trying to stick to it. Get the prep wrong and your fresh coat peels off in sheets the first time a sprinkler hits it. Get it right and a five-dollar spray can holds for years.
TL;DR
- Clean: degreaser, then a wipe with isopropyl alcohol to pull mold-release residue
- Scuff: 220-grit until the factory gloss goes dull. This is the whole job
- Primer: plastic-bonding primer (Krylon Fusion, Rust-Oleum Plastic Primer)
- Paint: plastic-rated spray, or 100% acrylic over a bonding primer if you brush
- Outdoors: UV-resistant topcoat, lighter colors on thin-wall pipe
- Cure: touch-dry in an hour, full cure 5-7 days before hard handling
- Skill: easy. The only way to fail is to skip the scuff
What PVC Pipe Actually Is
PVC is polyvinyl chloride, a rigid thermoplastic. The white pipe is plumbing and drain stock; the gray is electrical conduit; the cream-colored thicker stuff is CPVC for hot water. All of it comes out of the mold with a hard, glossy, chemically slick skin and a film of mold-release agent left over from manufacturing.
That slick skin is the problem. Paint needs something to grip, and a polished plastic surface gives it nothing. This is the same fight you get on vinyl siding, which is the same plastic family. Low surface energy, high gloss, paint slides off.
Why PVC Fights Paint
Two reasons, and they stack.
First, surface energy. PVC has low surface energy, which means liquids bead up on it instead of wetting out and flowing into the surface. Paint can’t anchor into a surface it can’t even spread across cleanly. That’s why a bonding primer matters here more than on almost any other substrate.
Second, the mold-release residue. Factory PVC carries a thin waxy film from the molding process. Paint over it and you’ve painted over wax. It looks fine for a week, then lifts.
There’s a third issue outdoors. Bare white PVC degrades under UV. The surface chalks, then the wall of the pipe turns brittle and can crack. A coat of paint actually protects the pipe by blocking the sun, so painting outdoor PVC isn’t only cosmetic.
Step 1: Clean It
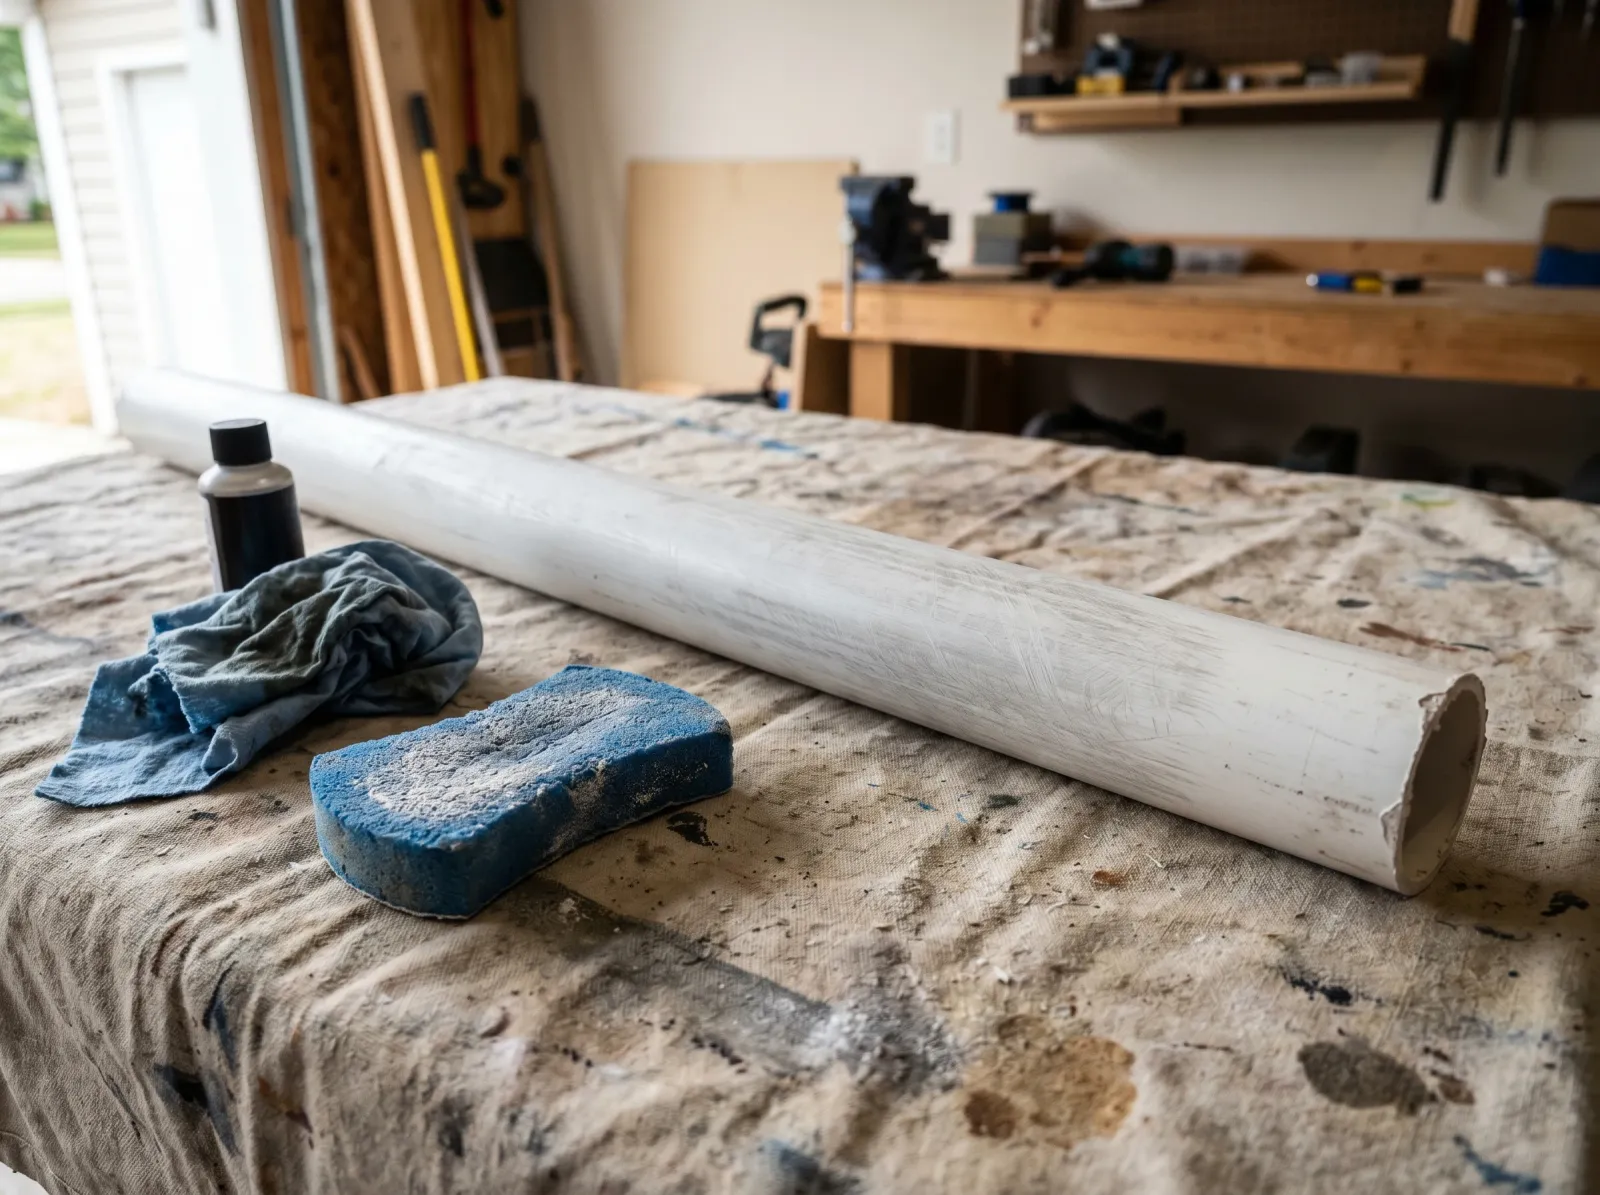
Wiped down, then 220-grit over the whole length until the factory shine goes flat. That dull haze is the grip.
Wipe the pipe down with a degreaser or a TSP-substitute solution on a rag. Get the grease, the handprints, and the marker lines off. Rinse and dry.
Then a second wipe with isopropyl alcohol or acetone on a clean rag. This pulls the mold-release film that the degreaser leaves behind. People skip this and wonder why a primed, painted pipe still peels. The wax was under everything.
Don’t soak printed pipe in acetone for long. It can soften the surface and smear the stamped markings into a mess. A quick wipe is all you want.
Step 2: Scuff the Gloss
This is the step that decides the job. Take a 220-grit sanding sponge to the entire surface and knock the shine off until the pipe looks evenly dull. You’re not removing material. You’re cutting microscratches into the gloss so the primer has a mechanical tooth to bite.
A dull, hazy surface across the whole pipe is the target. Any spot that’s still shiny is a spot where paint will lift. Rotate the pipe and check it in raking light to catch the shiny stripes you missed on the underside.
Wipe the dust off with a tack cloth or a damp rag, then let it flash dry. Sanding dust under primer is its own adhesion problem.
Step 3: Prime
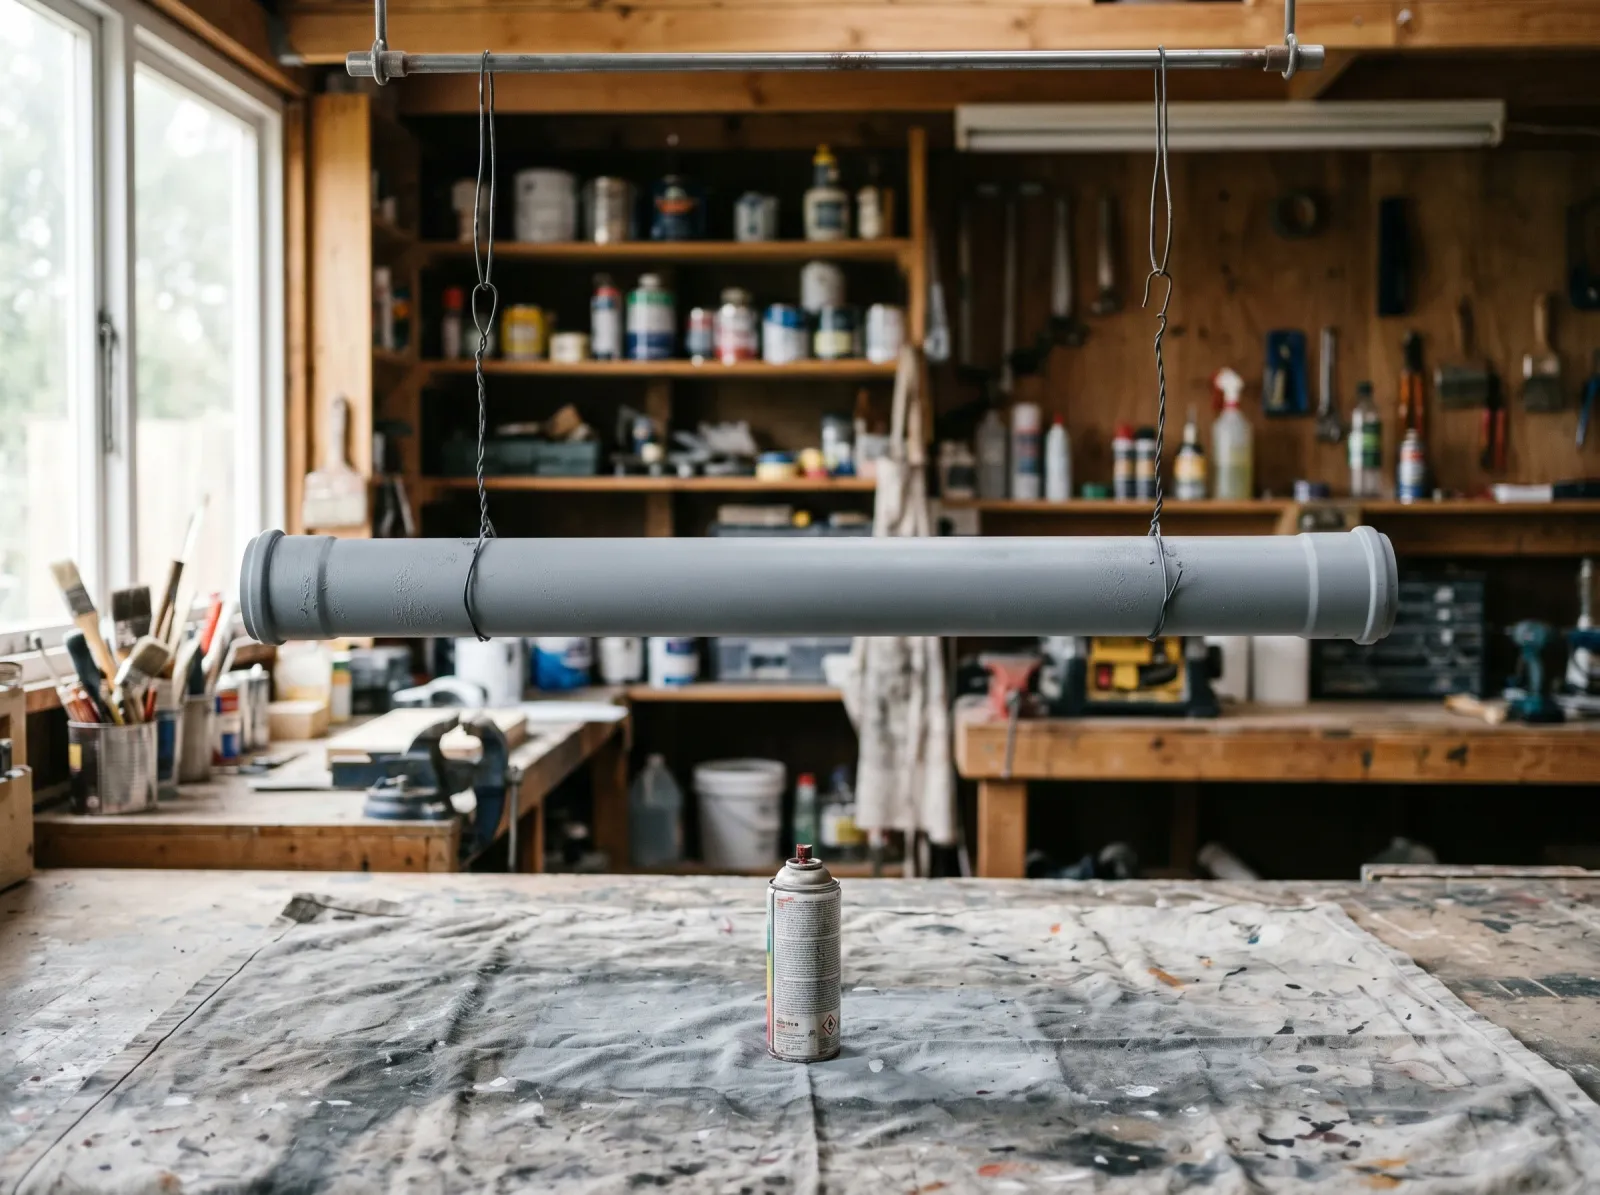
One thin coat of plastic-bonding primer, rotated so the back gets the same as the front. Thin beats thick on a round surface.
Use a primer built to bond to plastic. Krylon Fusion (it’s primer and paint in one, formulated for plastic), Rust-Oleum Specialty Plastic Primer, or Zinsser Bulls Eye 1-2-3 all grip scuffed PVC. Regular oil or PVA primer does not. Those are built for wood and drywall, and they’ll peel off plastic no matter how well you sanded.
Hang the pipe off two wire hangers or lay it across a couple of scraps so you can rotate it. A round surface has no flat side to rest on without smearing wet paint.
One thin, even coat. On a curved surface, thin is the rule because anything heavy runs down the underside and pools. Let it flash per the can, usually 15 to 30 minutes for a spray primer.
If you’re confident in a true plastic-bonding spray paint like Fusion, you can skip a separate primer and let the bonding spray do both jobs. For a brushed acrylic topcoat, prime first. Acrylic alone won’t bond to bare PVC even after scuffing.
For more on whether the primer is doing anything the topcoat can’t, see the plain-language breakdown of what a primer does.
Step 4: Paint
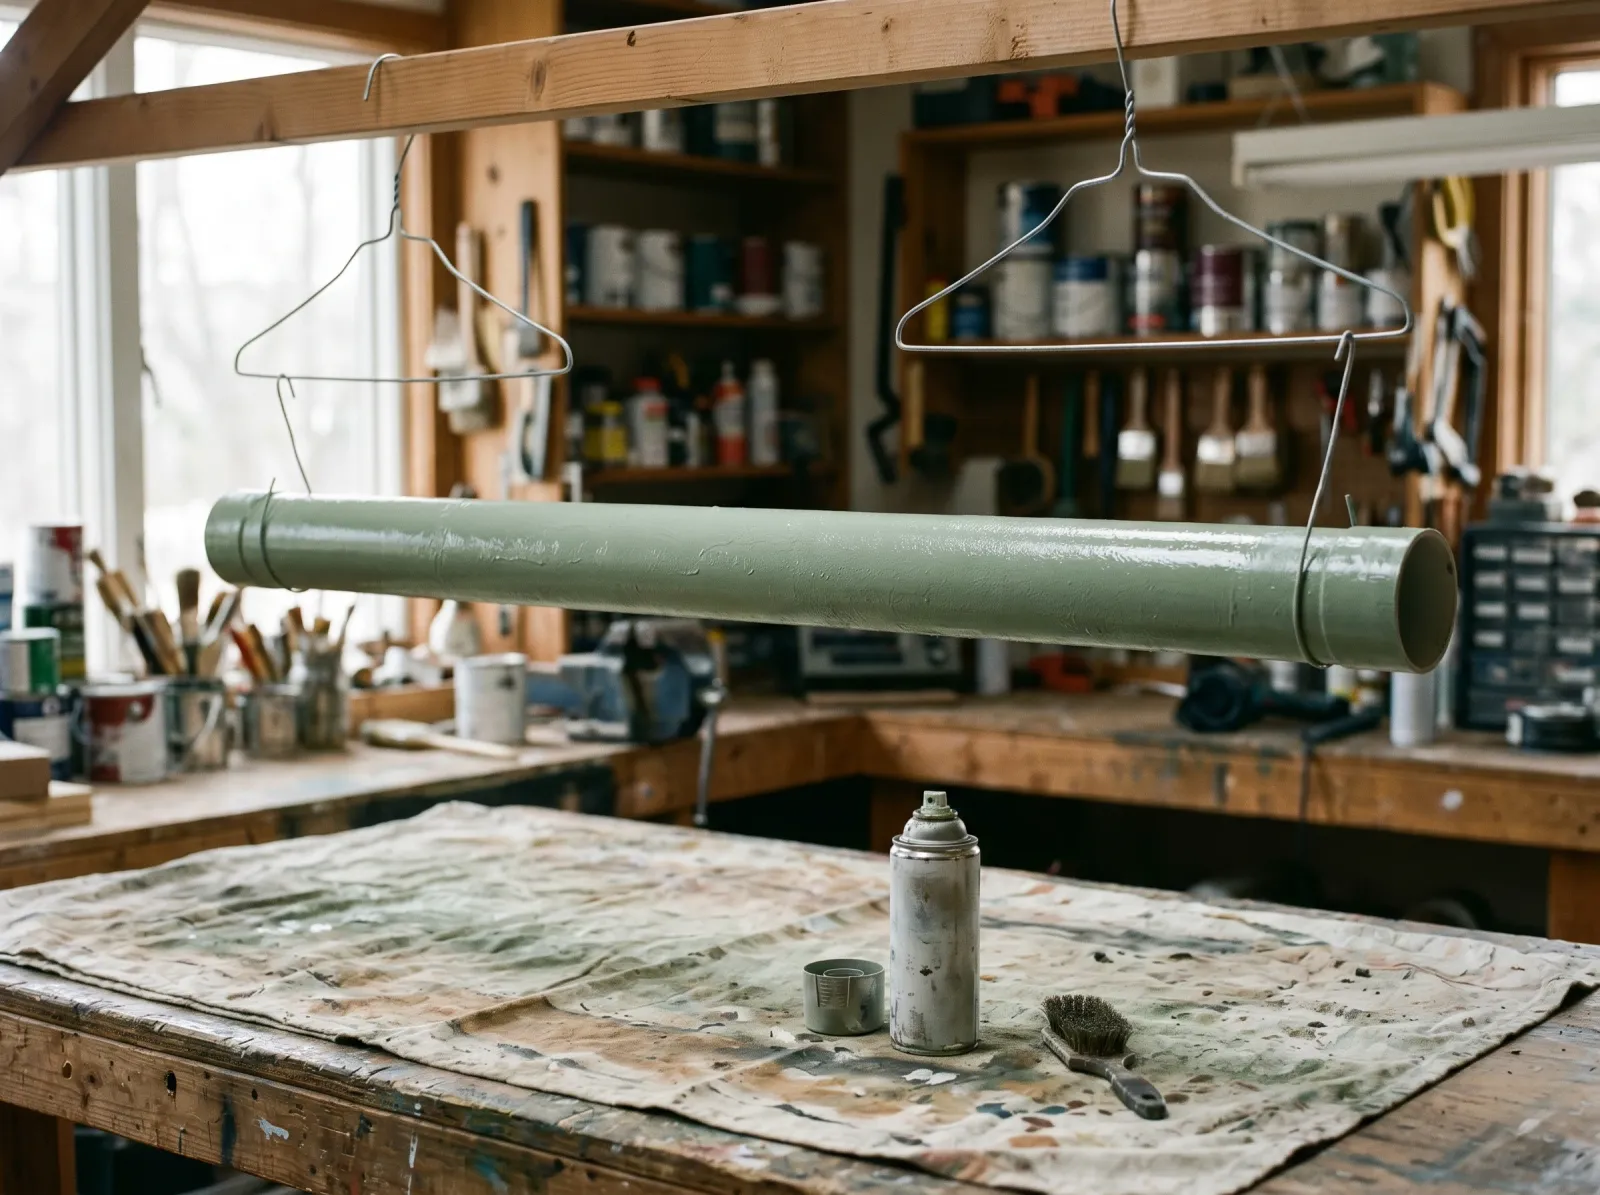
Light passes, kept moving. Two thin coats build better than one thick one that runs down the curve.
Spray is the cleaner method on round stock. A brush leaves drag marks on a curve and you’ll fight runs on the underside the whole time. If spray is an option, take it. The spray vs roll vs brush comparison covers when each one wins.
Spraying: hold the can 8 to 10 inches off the pipe and keep it moving. Light passes, overlapping each one by half. Don’t try to cover in one pass. The first coat will look thin and patchy. That’s correct. Rotate, hit the back, let it flash, then a second light coat. Two thin coats build an even film that won’t run; one heavy coat sags down the curve and dries with a drip line on the bottom.
Brushing: load a 2-inch angled sash brush light, lay the paint on in the direction of the pipe length, and don’t overwork it. 100% acrylic in satin or semi-gloss over the bonding primer. Tip off in long strokes and move on before it starts to set.
Color matters outdoors. Dark colors absorb heat, and thin-wall PVC can soften and sag in direct summer sun under a dark coat. Lean toward lighter colors on any pipe that’s load-bearing or holding a straight run outside.
Step 5: Cure
Even satin finish, no runs, no bare spots on the underside. Let it sit a week before you handle it hard.
Touch-dry on spray paint is 20 to 60 minutes. Recoat is either within the first hour or after a full 24 hours, never in between. Spray paint that’s flashed but not cured wrinkles if you hit it with a fresh coat in that middle window. Read the can.
Full cure runs 5 to 7 days. The surface feels dry fast but the film stays soft underneath. Clamp it, bury it, or scrub it before then and you’ll press marks into it that stay. Let it sit a week before the pipe goes back to work.
Common Mistakes
- Skipping the scuff. Result: paint peels off the gloss in sheets within a season. Fix is 220-grit until the whole pipe is dull. No shortcut on this one.
- Skipping the alcohol wipe. Result: mold-release wax stays under the paint and the film lifts even though you sanded. Wipe with isopropyl or acetone after cleaning.
- Using wood or drywall primer. Result: the primer itself won’t bond to plastic and the whole stack peels. Use a plastic-bonding primer only.
- One heavy coat instead of two thin ones. Result: runs and drips down the underside of the round pipe. Light passes, build it up slow.
- Painting inside a fitting before gluing. Result: paint kills the solvent-weld bond and the joint can fail under pressure. Keep paint off any surface you still need to cement.
- Dark paint on thin-wall outdoor pipe. Result: heat absorption softens and sags the pipe in summer sun. Go lighter outdoors.
Maintenance & Longevity
Painted indoor PVC holds its finish more or less forever, since nothing weathers it. Wipe it with mild soap and water when it gets dusty. Outdoors, a UV-resistant topcoat on properly scuffed and primed pipe runs 5 to 8 years before it needs a refresh, longer in shade.
Watch for chalking on the south face first, same as any exterior coating. When it dulls and chalks, clean it, scuff lightly, and lay one fresh coat. If paint is actually peeling rather than chalking, the prep failed somewhere underneath and you’re back to bare-substrate work. The peeling paint fix guide walks through scraping back to sound film before you repaint.
FAQ
Can you paint PVC pipe without sanding?
You can, but it peels. PVC comes off the mold with a slick, low-energy surface that paint can’t grip on its own. Scuffing with 220-grit gives the primer a mechanical tooth to hold. Skip it and even a bonding primer sits on top of the gloss and flakes off the first time something rubs it.
What kind of paint sticks to PVC pipe?
A plastic-bonding spray paint like Krylon Fusion or Rust-Oleum Paint for Plastic sticks directly with the least fuss. If you brush, use a plastic-bonding primer first, then 100% acrylic on top. Regular wall paint and oil-based paint both fail on bare PVC.
Does painted PVC pipe hold up outdoors?
Yes, with a UV-resistant topcoat over primer. Bare white PVC chalks and turns brittle in sun, and paint slows that down by blocking UV. Use an exterior spray rated for plastic. Dark colors absorb heat and can soften thin-wall PVC, so lean lighter outdoors.
How long does paint take to cure on PVC?
Touch-dry in 20 to 60 minutes for spray, recoat in an hour or after 24 hours. Full cure runs 5 to 7 days. The film is dry to the touch fast but stays soft underneath. Handle it before it cures and you’ll leave marks that lock in.
Can I paint PVC pipe that carries water?
The outside, yes. Don’t paint the inside of a potable line or the inside of a fitting that gets glued. Paint in the joint area kills the solvent-weld bond and the joint can fail. Paint the exterior only and keep it off the last inch near any cement joint.