How to Paint Over Polyurethane-Finished Wood (No Stripping)
How to paint over polyurethane without stripping: the deglossing step, why a bonding primer holds, and what makes the topcoat peel off slick wood in a year.

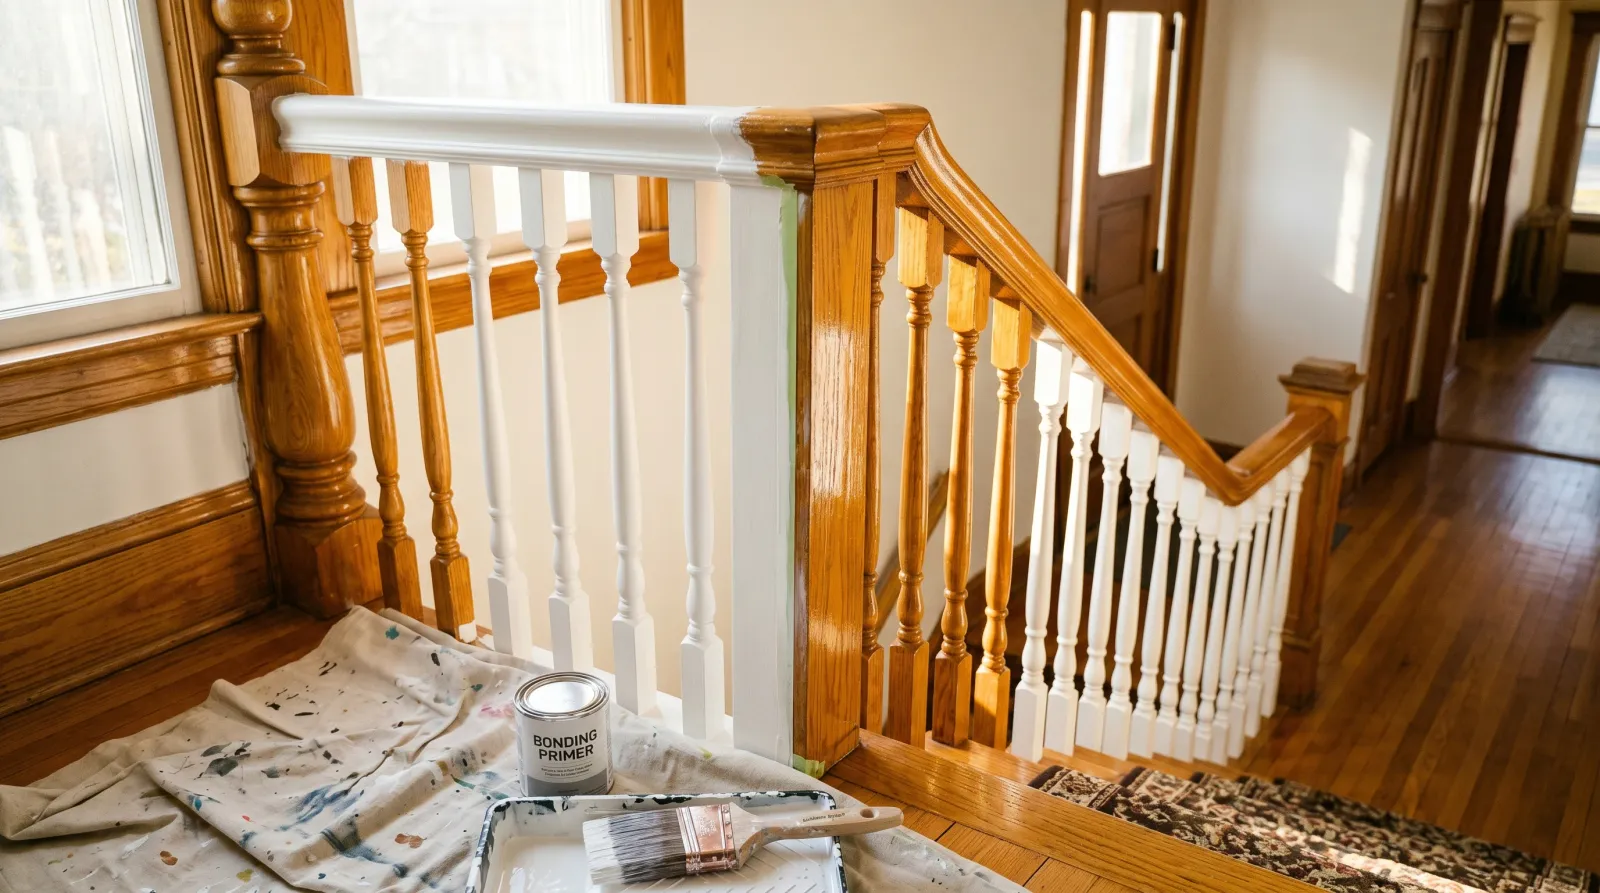
You don’t strip polyurethane to paint over it. You knock the gloss flat, prime with something that grips slick surfaces, and paint. Skip that grip layer and your fresh white trim peels off in sheets the first time someone leans on it.
TL;DR
- Don’t strip: a sound poly finish stays. Stripping is wasted work
- Clean: TSP wipe to pull off grease and hand oil, especially on railings
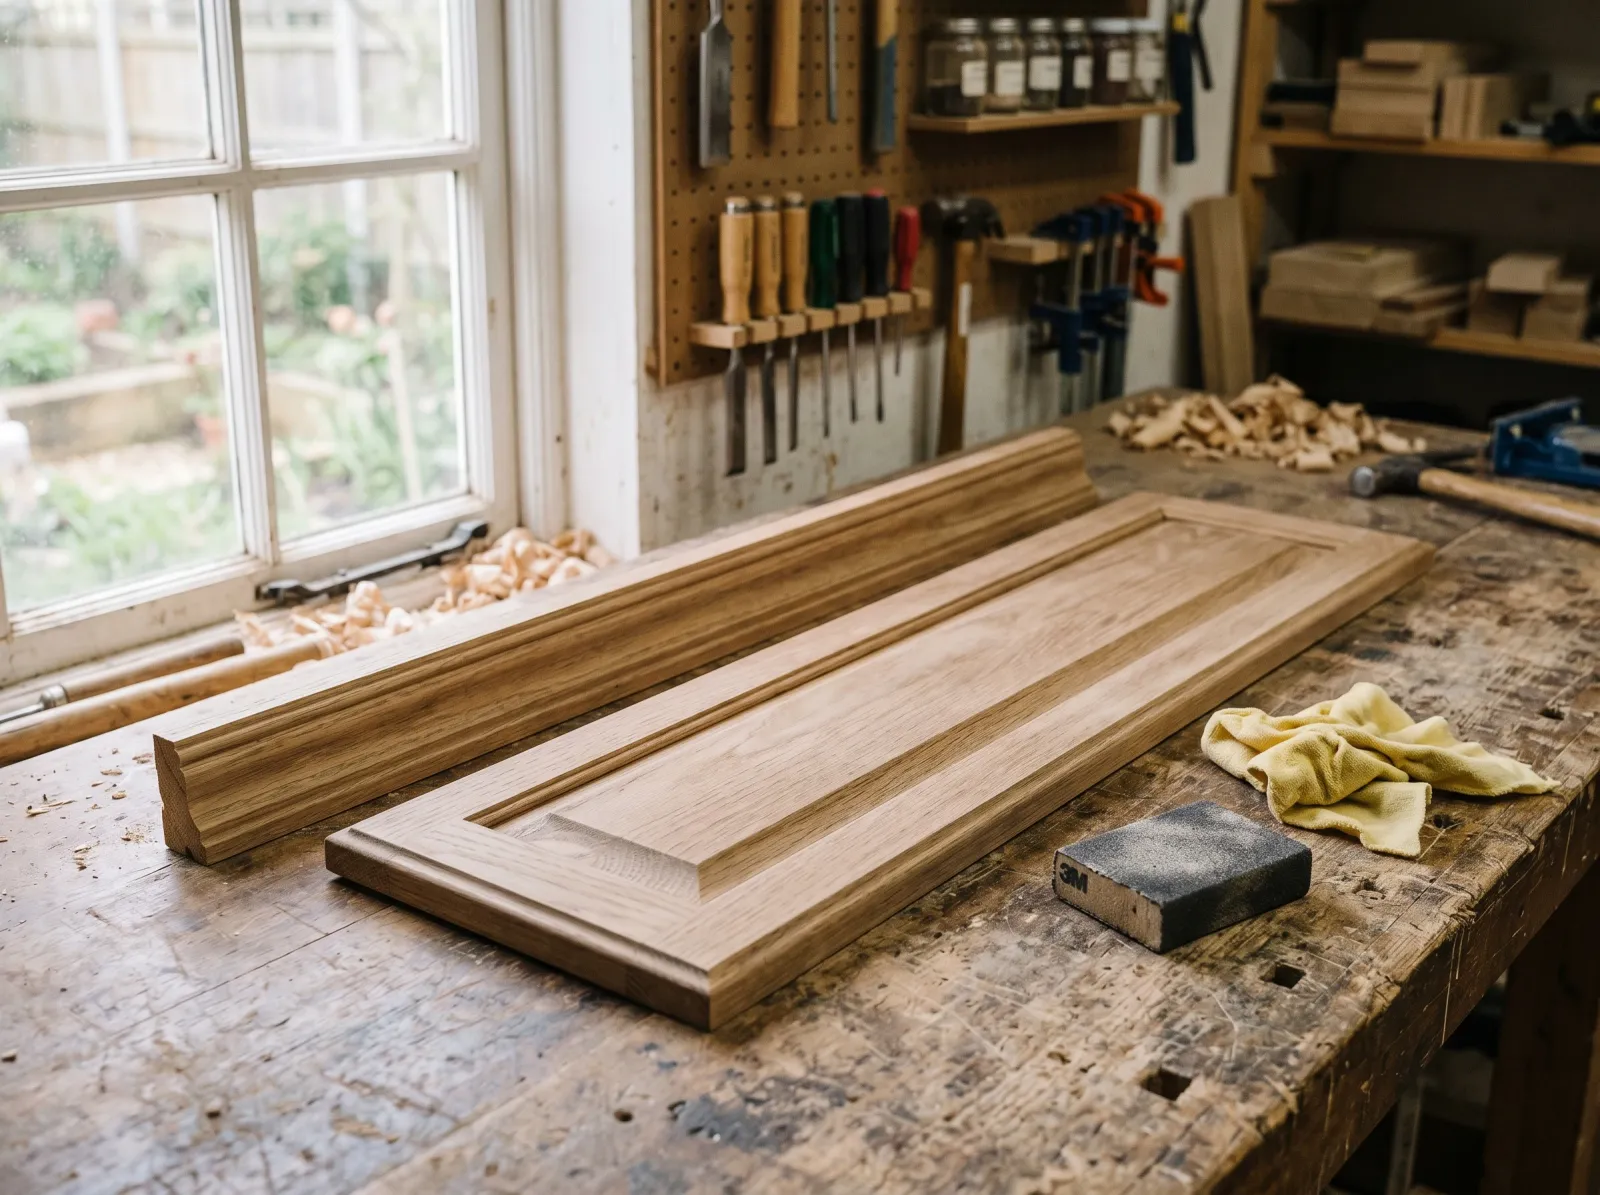
- Degloss: 220-grit sanding until the shine reads dull, or a liquid deglosser
- Prime: bonding primer (INSL-X Stix or Bulls Eye 1-2-3), one thin coat
- Block stains: Zinsser BIN over old stain bleed or smoke odor
- Paint: waterborne alkyd enamel or 100% acrylic trim paint, two coats
- Cure: 7-14 days before hard handling
- Skill: medium. The whole job rides on the degloss-and-bond step
What Polyurethane Finished Wood Actually Is
Polyurethane is a clear protective film that goes over stained or bare wood. Oil-based or water-based, it cures into a hard plastic shell that seals the grain and shrugs off water and scuffs. It’s what’s on most stained trim, banisters, doors, and store-bought furniture made since the 1970s.
That shell is the whole point and the whole problem. When you paint over poly, you’re not painting wood. You’re painting a sheet of cured plastic. Paint doesn’t soak in and grab the grain the way it does on bare wood. It has to bond to a slick, sealed, glossy surface, and gloss is the enemy of adhesion.
Why Polyurethane Fights Paint
Two reasons. Gloss and seal.
Gloss is slick by design. The smoother the surface, the less mechanical tooth there is for paint to key into. A high-gloss poly is about as grippy as a window. You can lay a beautiful coat of enamel right onto it and peel the whole thing off in a strip a week later. It looked perfect going on. It just never bonded.
Seal is the other half. Polyurethane closes the wood off completely, so a primer that works by soaking into the substrate has nothing to soak into. PVA wall primer, the cheap white stuff, is built to seal porous drywall and bare wood. On poly it sits on top like a film of dried glue and lets go with the topcoat. Same with most paint-and-primer-in-one products. They lean on the substrate doing half the bonding, and poly gives them nothing.
The fix for both is the same: degloss to create tooth, then use a primer chemistry built to grab slick surfaces. That’s a bonding primer, not a sealing one. For the difference between the two jobs primer does, see primer vs paint-and-primer-in-one.
Step 1: Clean It First
TSP wipe first, then 220-grit until the gloss reads dull and even. Dust pulled before anything else.
Old poly carries grease, hand oil, furniture polish, and sometimes silicone from years of dusting sprays. That stuff sits on the surface and wrecks adhesion worse than the gloss does. Silicone is the silent killer. It makes fresh paint crawl into little fisheyes that no amount of sanding fixes after the fact.
Wipe everything down with TSP or a TSP substitute, mixed per the label, on a damp rag. Railings and handrails get extra attention because they’re nothing but hand oil. Rinse with clean water, let it dry an hour.
Don’t sand first and clean second. Sanding grinds the grease and silicone into the scratches you just made. Clean, then sand.
Step 2: Degloss the Surface
This is the step that makes or breaks the job, so don’t rush it.
Sanding is the reliable way. Hit the whole surface with 220-grit, by hand or with a sanding sponge on profiles. You’re not trying to cut through the poly or get to wood. You want to scuff the gloss down to a uniform dull haze. When the whole surface reads matte and you can’t see your reflection in it anymore, you’re done. Vacuum the dust, then tack-cloth it.
A common worry: do you have to sand all the way through the finish? No. Sand through and you expose bare wood and old stain, which then bleeds and needs its own blocker. Light and even is the target, not aggressive.
Liquid deglosser is the backup. On a carved chair, a spindled railing, or detailed furniture where sanding every curve is a nightmare, a liquid deglosser like Klean-Strip Easy Liquid Sander does the chemical version. Wipe it on with a rag, let it sit the label time, wipe off. It softens the top of the gloss so primer can key in. It’s not as bulletproof as sanding, and it does nothing for grease, so you still clean first. But on intricate profiles it beats fighting sandpaper into every groove.
Either way the goal is the same. Kill the shine. A glossy surface you can see yourself in will not hold paint.
Step 3: Fill and Spot-Repair
Dents, gouges, and old nail holes get paintable latex wood filler now, pressed in with a putty knife, slightly overfilled, sanded flush at 220 once it’s dry. Don’t bother filling the grain pattern on open-grain woods like oak unless you want a perfectly smooth painted finish. If you do, that’s a separate grain-filler job.
If the old finish has water rings, smoke staining, or any discoloration that might telegraph through white paint, spot-prime those areas with Zinsser BIN shellac primer first. BIN locks down stains and odors that bonding primer alone won’t stop. Old furniture that smells of smoke or must gets a full BIN coat. It’s the only primer that reliably seals odor.
Step 4: Prime With a Bonding Primer
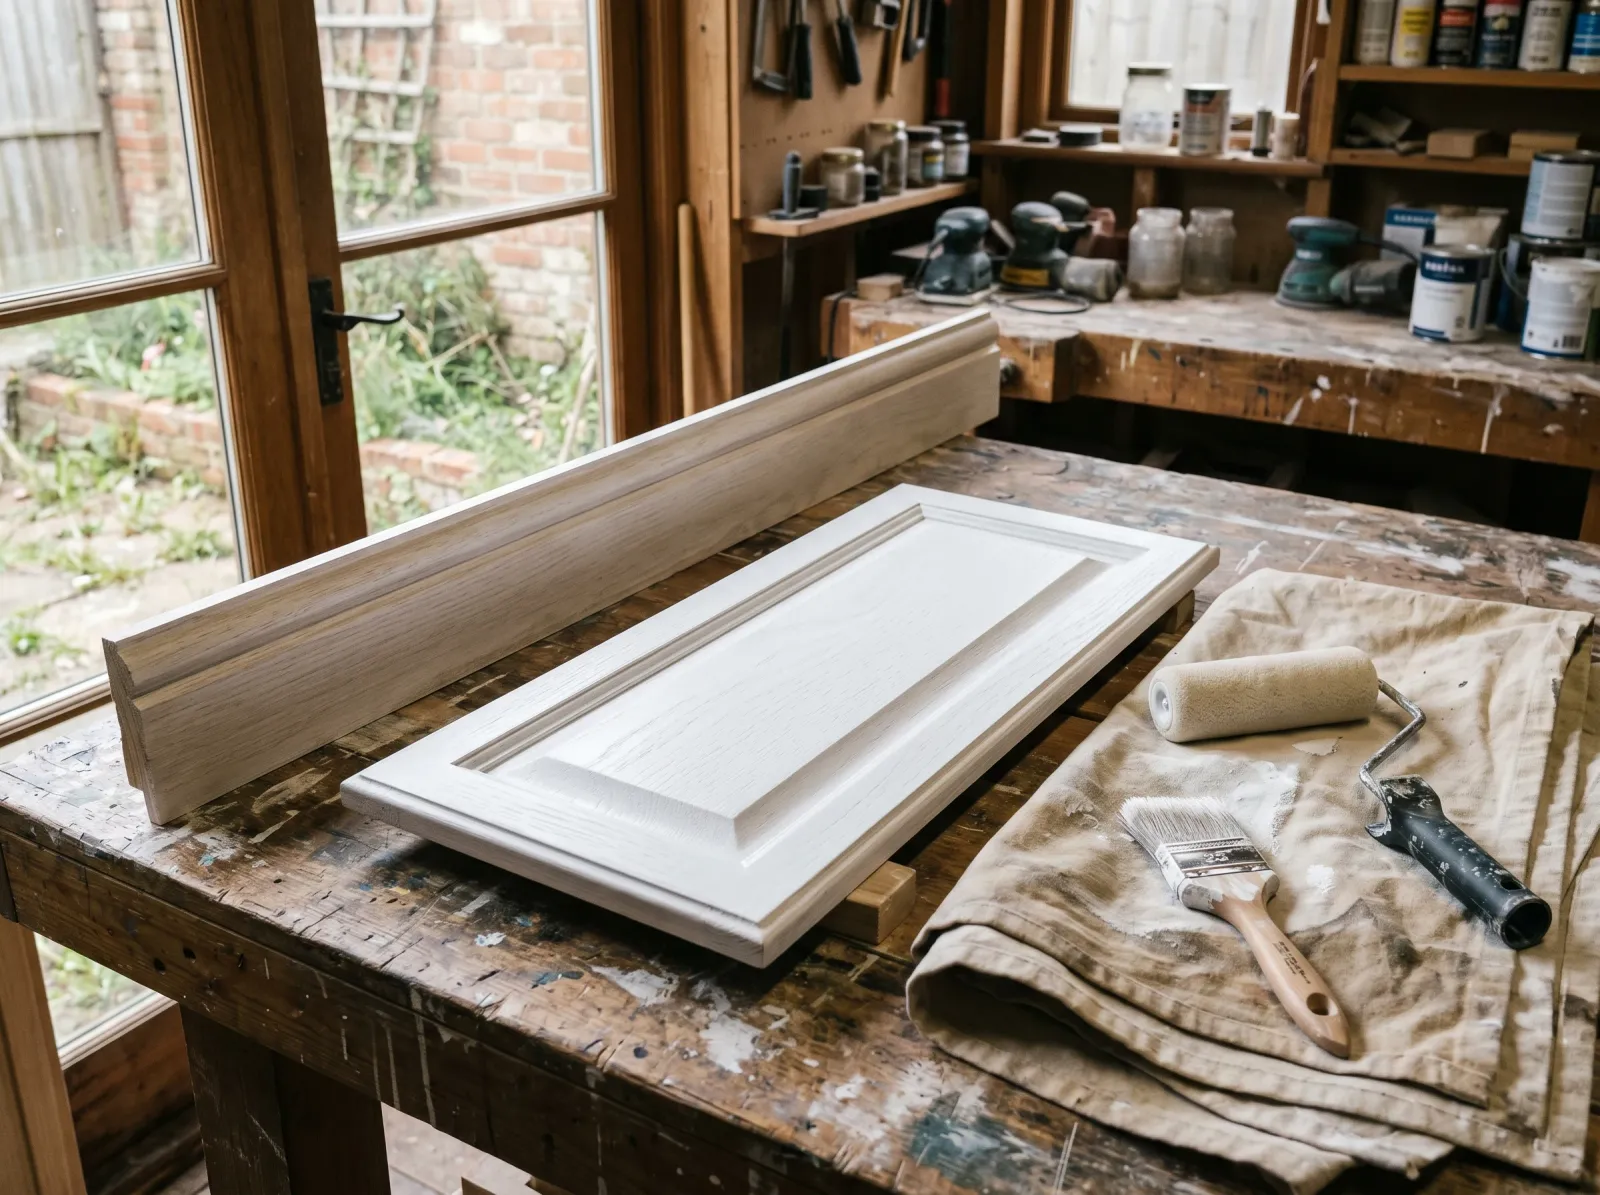
One thin, even coat of bonding primer. It looks chalky and flat. That’s the grip layer doing its job.
This is the layer that grabs the slick poly and gives your paint something to hold. Use a true bonding primer, not a wall primer.
INSL-X Stix is my default on poly. It’s an acrylic-urethane bonding primer built for glossy, hard-to-stick surfaces, and it grips harder than anything else in the box store. On railings, cabinet doors, and anything that gets touched and bumped, Stix is the call. Zinsser Bulls Eye 1-2-3 is the cheaper option and levels a touch nicer, fine for trim and baseboards that don’t take daily abuse.
One thin, even coat. It’ll look chalky and flat when it dries, which is correct. Bonding primer isn’t a finish, it’s a handshake between the poly and the paint. Recoat window is usually an hour for Stix, longer for 1-2-3. Read the can. A heavy gloppy coat of bonding primer actually bonds worse than a thin one, so resist the urge to build it.
Let it cure the full recoat time before paint. Bonding primers reach their grip by curing, not just drying to touch.
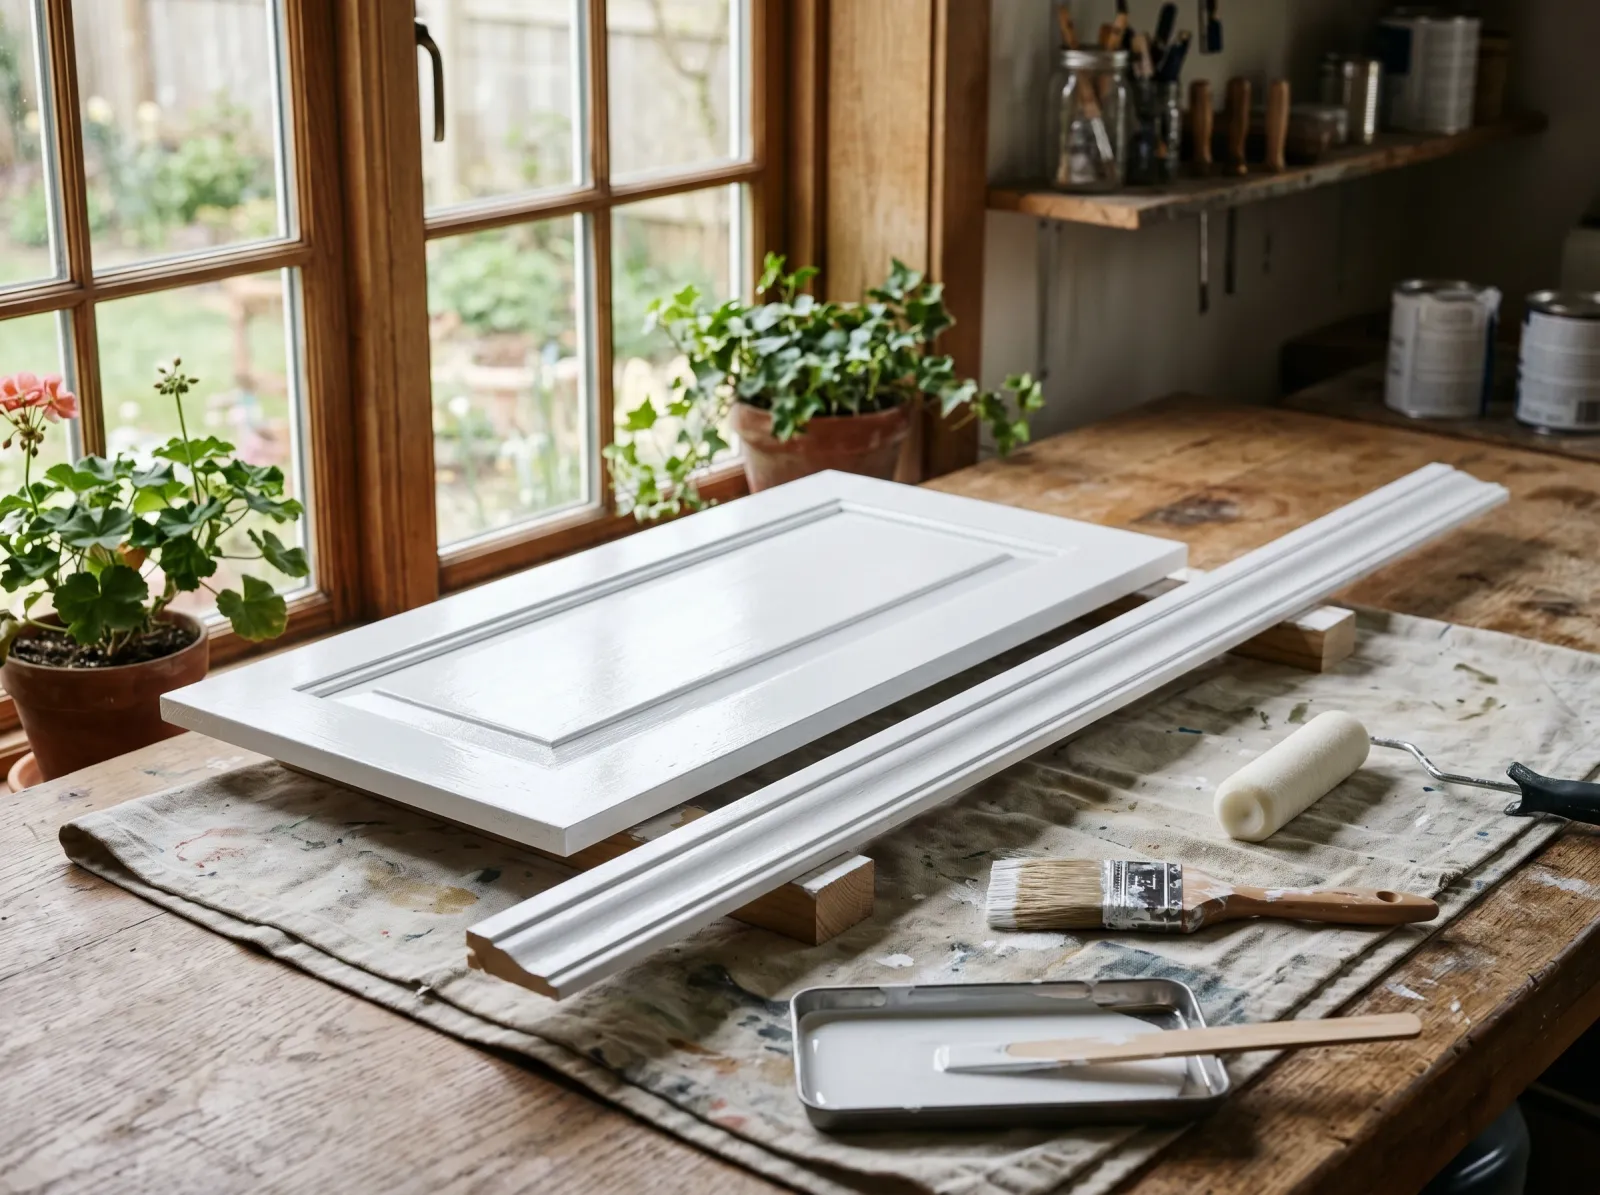
Step 5: Paint It
Brush the profiles, roll the flats while the brush work is still wet. Don’t stop in the middle of a rail.
Over a properly bonded primer, your paint choice is about durability and how the surface gets used.
Trim, doors, railings, cabinets: waterborne alkyd enamel. Benjamin Moore Advance or Sherwin-Williams Emerald Urethane Trim Enamel. These level out almost like oil, dry to a hard, washable film, and hold up to handling far better than wall paint. Satin or semi-gloss for trim, semi-gloss for cabinets and railings that get touched. For the SKU shortlist, see the best paint for interior trim and doors. The same picks work on cabinet doors and a banister.
Furniture and lower-traffic pieces: 100% acrylic in satin works, or chalk paint if you want a matte vintage look. Chalk paint grips slick finishes well on its own but needs a wax or clear poly topcoat to survive use. See what chalk paint actually is before you commit to it.
Brush the profiles and detail first with a 2- or 2.5-inch angled sash, then roll the flat sections with a small foam or microfiber roller while the brush work is still wet. Feather the brush-to-roller line. Don’t stop in the middle of a long rail or a door panel. Stopping mid-run is how you get lap marks that show the second a lamp hits them at an angle.
Two coats. Always two. One coat over primer looks thin and burnishes when you wipe it.
Step 6: Dry, Recoat, and Cure
Two coats. The enamel levels out and the old gloss is gone for good under a hard film.
Waterborne alkyd enamels are touch-dry in an hour or two. Recoat times run longer than the can suggests on trim work: 16 hours on Advance, 4 to 6 on Emerald Urethane. Crowding the recoat window is how you get a wrinkled second coat.
Full cure is the number that matters here, and it’s the one people ignore. These enamels take 7 to 14 days to reach full hardness, some up to 30. During that window the paint is soft. Don’t slam cabinet doors, don’t stack books on a freshly painted shelf, don’t grip a railing hard. A cured-too-soon enamel picks up dents and shiny burnish marks that lock in permanently. On cabinet doors especially, leave them propped open a few days so the edges don’t stick and tear when you finally close them.
Common Mistakes
- Skipping the degloss. Paint goes on beautiful, peels off in a sheet within weeks. The gloss gave it nothing to grab. Sand or use a liquid deglosser. No way around it.
- Using PVA wall primer on poly. It sits on top and lets go with the topcoat. Use a bonding primer (Stix or 1-2-3), not the cheap white sealer.
- Not cleaning off silicone and hand oil first. Fresh paint craters into fisheyes that no second coat covers. Clean with TSP before you sand, especially on railings.
- Sanding through to bare wood. Now you’ve got exposed stain that bleeds amber through white paint. Block it with BIN, or sand lighter next time. The goal is a dull haze, not bare wood.
- Loading on a thick primer coat. A heavy bonding primer coat bonds worse than a thin one and stays gummy. One thin even pass.
- Handling cabinet doors and railings before full cure. Soft enamel dents and burnishes. Wait the 7 to 14 days for high-touch pieces.
Maintenance and Longevity
Painted poly trim and doors, done right, hold their finish 8 to 12 years before they need anything. High-touch pieces like banisters and cabinet doors wear faster at the grip points and the edges, so expect a touch-up there around year five. Keep a labeled quart from the original can for it.
Clean with a damp cloth and mild soap, no abrasive pads, no harsh degreasers that soften the film. The failure you’ll see first is chipping at edges and corners where the bonding primer got thin or the surface wasn’t deglossed evenly. If a section starts peeling, that’s a prep problem under it, not a paint problem on top. Scuff it back to sound paint, re-bond, repaint that section. For the full peel diagnosis, see how to fix peeling paint.
Will it bite you in two years? Only if you painted onto bare gloss or skipped the bonding primer. Degloss it, bond it, give it time to cure, and the finish outlasts the next two owners.