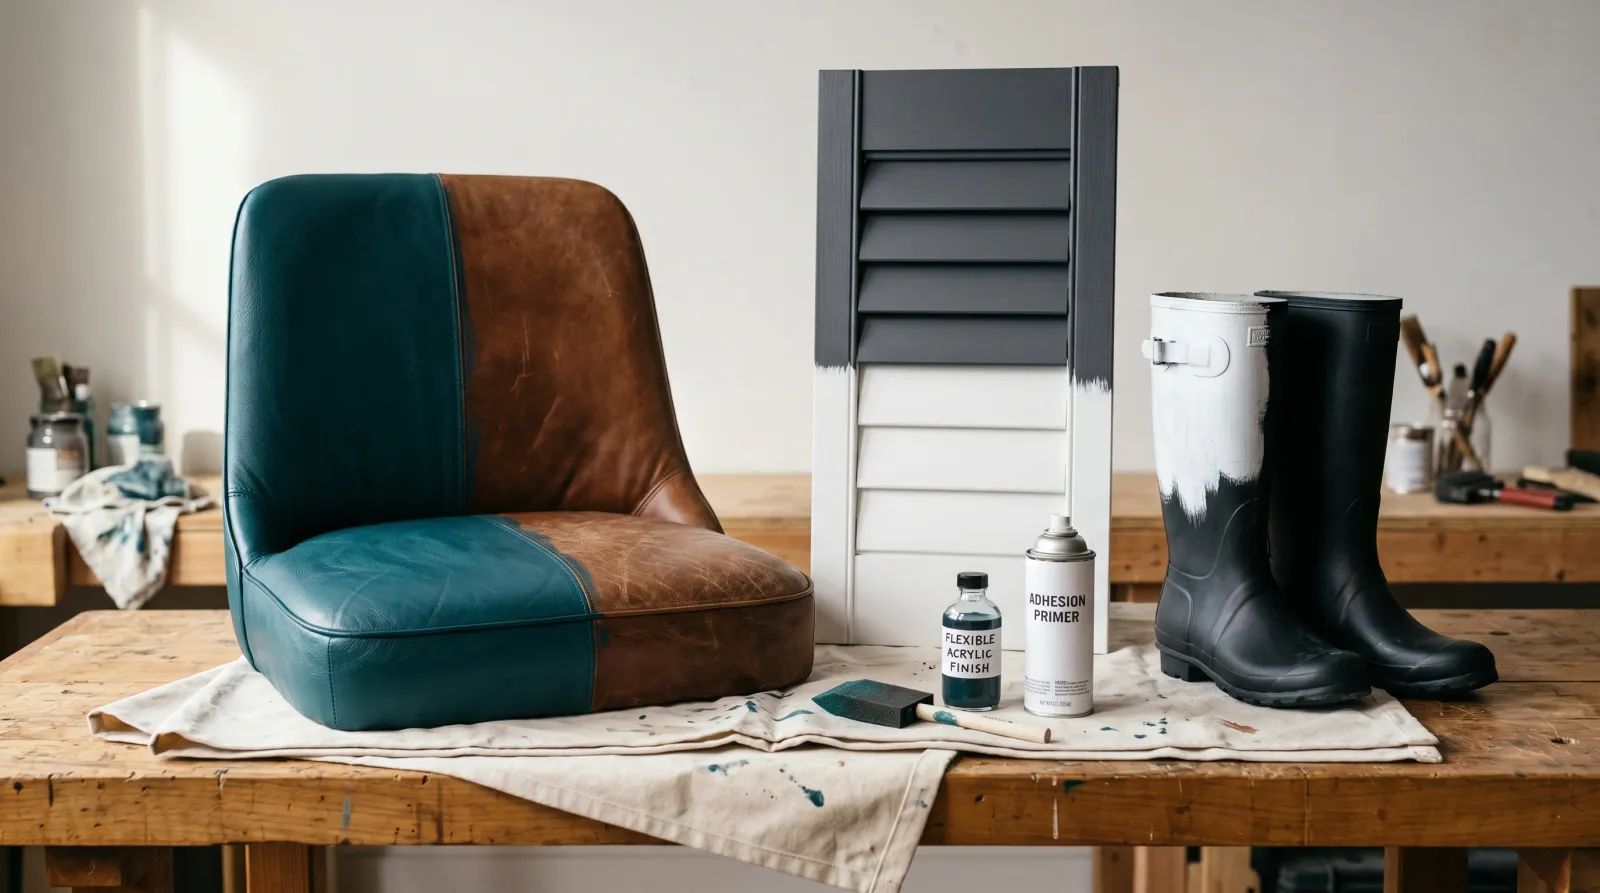
How to Paint Leather, Vinyl, and Rubber
How to paint leather and vinyl without cracking or peeling: the adhesion and flex chemistry behind flexible surfaces, plus the primer and finish that hold.

Most people who paint a leather chair or a pair of vinyl shutters notice the same thing a few weeks later: a fine network of cracks where the surface bends, and a flake lifting at an edge. The paint looked fine going on. Then it failed exactly where the material moved. That’s not bad paint. It’s the wrong film on a surface that won’t hold still.
TL;DR
- The enemy: these surfaces flex, and rigid paint cracks; they’re slick, and most paint won’t grip
- Clean first: strip mold-release oil (vinyl/rubber) or finish (leather) or nothing bonds
- Deglaze, don’t sand, leather: a leather preparer chemically opens the surface
- Primer: flexible adhesion primer (Krylon Fusion, Rust-Oleum Plastic, SEM Sand Free)
- Paint: flexible acrylic; leather-specific finish on genuine leather (Angelus, Fiebing’s)
- Method: thin coats, never thick. Three thin beats one fat
- Seal: flexible topcoat carries the abrasion and the flex
- Skill: medium. The prep and the flex math are the whole job
What Counts as a Flexible Non-Porous Surface
Leather, vinyl, and rubber sit in the same paint problem even though they’re chemically different. Leather is a protein matrix (collagen) that’s been tanned and usually sealed with a pigmented topcoat. Vinyl is polyvinyl chloride, a thermoplastic kept soft by plasticizers. Rubber is either natural latex polymer or a synthetic elastomer like EPDM or neoprene. What they share is the two traits that defeat ordinary paint: they bend, and their surfaces are slick.
A drywall surface is porous and stationary. Paint soaks into the pores, anchors there, and the wall never moves. None of that is true here. There’s nothing to soak into, and the surface is in motion every time you sit, fold, or step.
Why These Surfaces Fight Paint
Two problems, and they’re separate.
The first is adhesion. Vinyl and rubber come out of the mold coated in release agents, silicone or wax films sprayed into the mold so the part pops out clean. That film is still there when you buy the product, and it’s the reason a coating beads up and won’t stick. Leather carries its own slick layer: the factory finish, a clear or pigmented sealer that makes the hide wipeable. Paint can’t grip a sealer designed to repel spills. The reason for that is surface energy. These films are low-energy surfaces, and a waterborne paint with higher surface tension simply won’t wet them out. It pulls into beads instead of spreading into a continuous film.
The second is flex. This is the one that bites later. A cured paint film has a property called elongation, the percentage it can stretch before it tears. Wall paint and hard enamel sit around 10 to 50 percent elongation. Sounds like plenty, until you realize the crease in a car seat or the fold in a boot stretches the surface far past that with every use. When the substrate stretches more than the film can, the film cracks. Then water and wear get under the crack, and it peels.
So the paint you want has to do two things ordinary paint doesn’t: bond to a low-energy surface, and stretch several hundred percent without tearing. That’s why this is its own job and not “just paint it.”
Step 1: Clean Off the Film That’s Already There
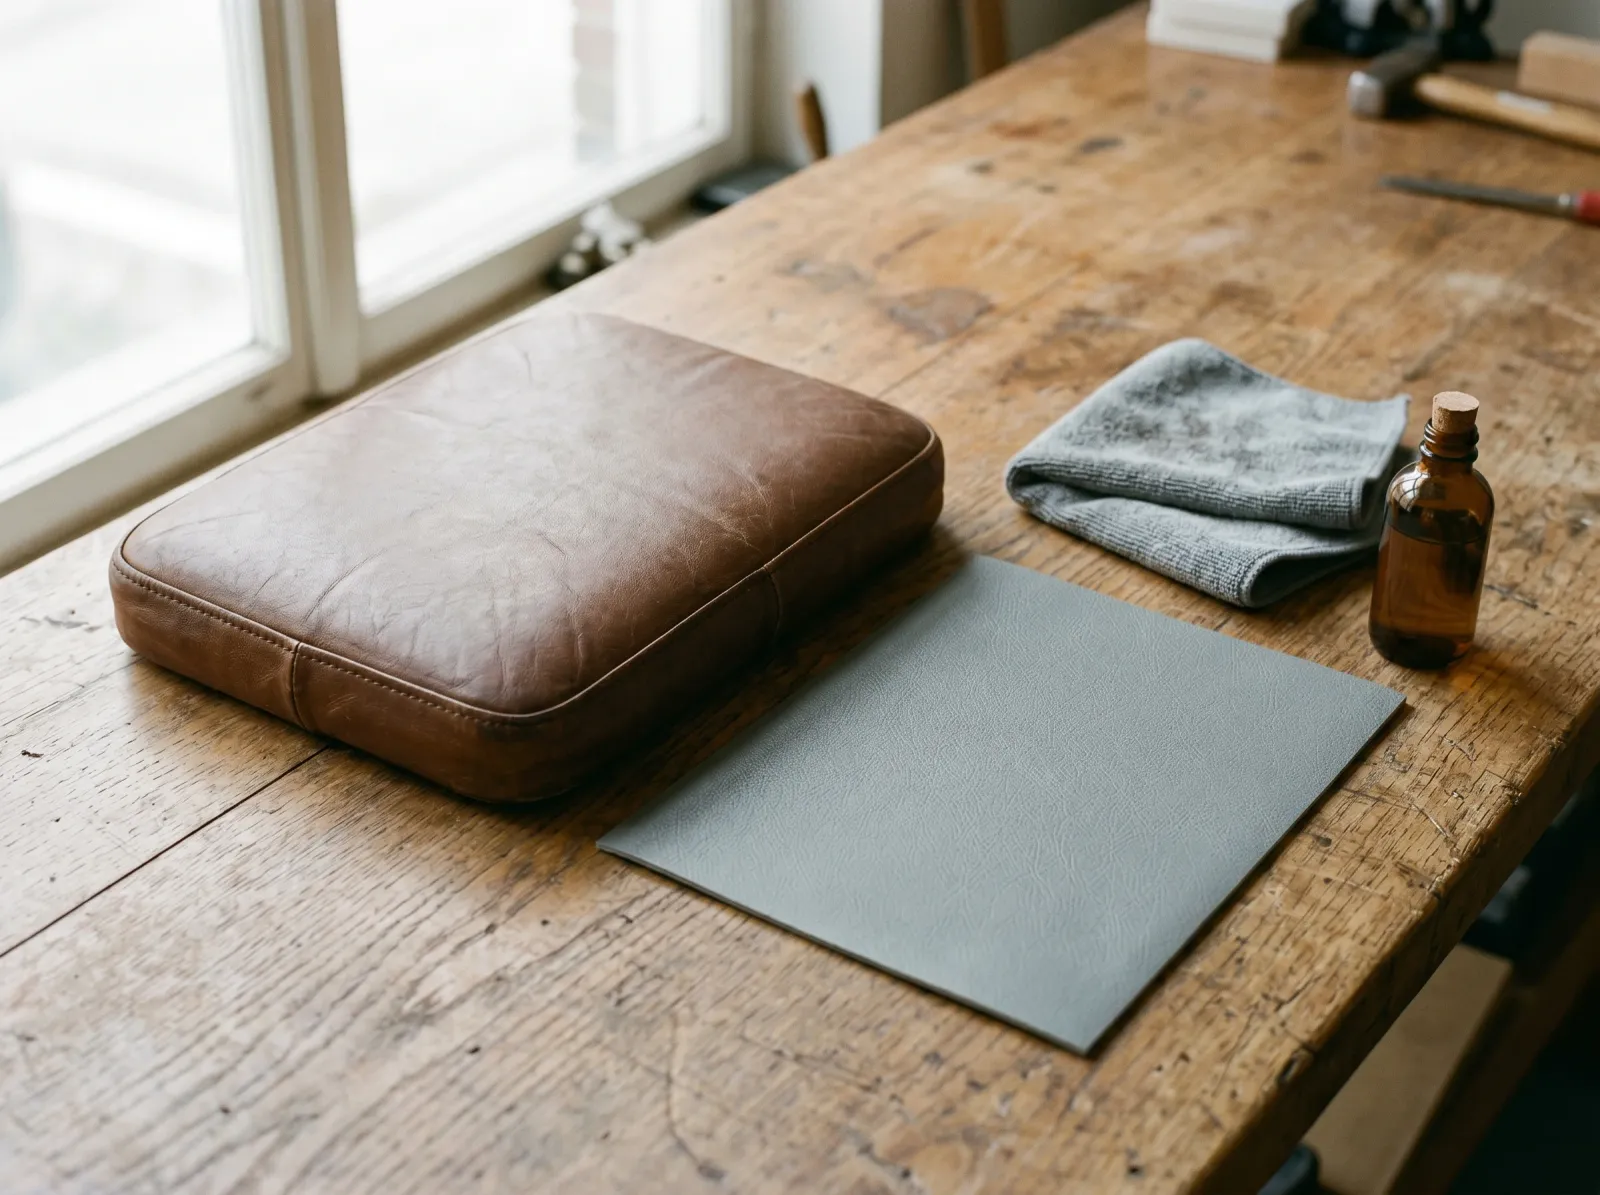
Every surface scrubbed to break the wax and mold-release film, then deglossed and masked. Adhesion fails on a dirty surface before it fails anywhere else.
Cleaning here isn’t tidiness. It removes the exact film blocking adhesion.
Vinyl and rubber: scrub with warm water and a degreasing dish soap, rinse, then wipe down with isopropyl alcohol or a dedicated vinyl/rubber prep cleaner. The alcohol pulls the last of the mold-release oil and any plasticizer that has migrated to the surface. Wipe in one direction with a clean cloth, flip to a fresh face often, and let it flash off. If your cloth keeps coming away slightly oily, keep going. That oil is the failure point.
Leather: clean with saddle soap or a mild leather cleaner first to lift body oils and surface dirt. Genuine leather then needs a deglazer (sometimes sold as a leather preparer or deglaze), a solvent that strips the factory finish so the new color can key in. Faux leather (which is really vinyl) skips the deglazer and gets the alcohol wipe instead. Knowing which one you have matters; a magnet won’t help, but genuine leather has a grain that varies and a faint hide smell, while bonded or faux leather is uniform and plasticky.
Skip this step and nothing downstream saves you. The best flexible paint in the world peels off mold-release oil in a month.
Step 2: Degloss or Scuff the Surface
You’re not trying to remove material. You’re breaking the gloss to give the primer mechanical and chemical grip.
On vinyl and rubber, a light pass with a 320-grit scuff pad or a gray Scotch-Brite, just until the shine dulls to an even haze. Or use a liquid deglosser if the part is too contoured to scuff evenly. On leather, the deglazer from Step 1 does this chemically; you don’t abrade leather, because sanding tears the grain.
Wipe the dust or deglosser residue with alcohol again. Then stop touching the surface with bare hands. Skin oil is a low-energy film too, and you’ve just spent two steps removing exactly that. Gloves from here on.
Step 3: Lay Down a Flexible Adhesion Primer

A thin coat of flexible bonding primer, sprayed in light passes. The film has to bend with the substrate, so thin and even beats thick and proud.
Primer is where adhesion gets solved. An adhesion primer is formulated with a lower surface tension and aggressive bonding resins that wet out a slick plastic or rubber surface and grip it. This is the same family of bonding primers used to paint laminate cabinets and slick melamine, and the chemistry is identical to what you’d reach for on a melamine surface: solve adhesion at the primer, not at the topcoat.
For vinyl and rubber, the workhorses are spray adhesion primers built for plastics: Krylon Fusion (which is a self-priming flexible paint, so it doubles as primer and color), Rust-Oleum’s plastic primer, or SEM products from the auto trim world. SEM in particular is built for the flexing vinyl and plastic inside cars, which is the same problem as a vinyl couch.
For genuine leather, you usually skip a separate primer. The deglazer opens the finish, and a true leather paint like Angelus is formulated to bond directly to deglazed leather. Adding a hard primer under leather paint can actually stiffen the film and work against you.
Spray or brush the primer thin. A thick primer coat is the first thing to crack, because a thick film is stiffer than a thin one of the same material. Two thin passes, flashing between, beat one heavy coat. Let it cure per the can before color.
Step 4: Build Color in Thin Flexible Coats
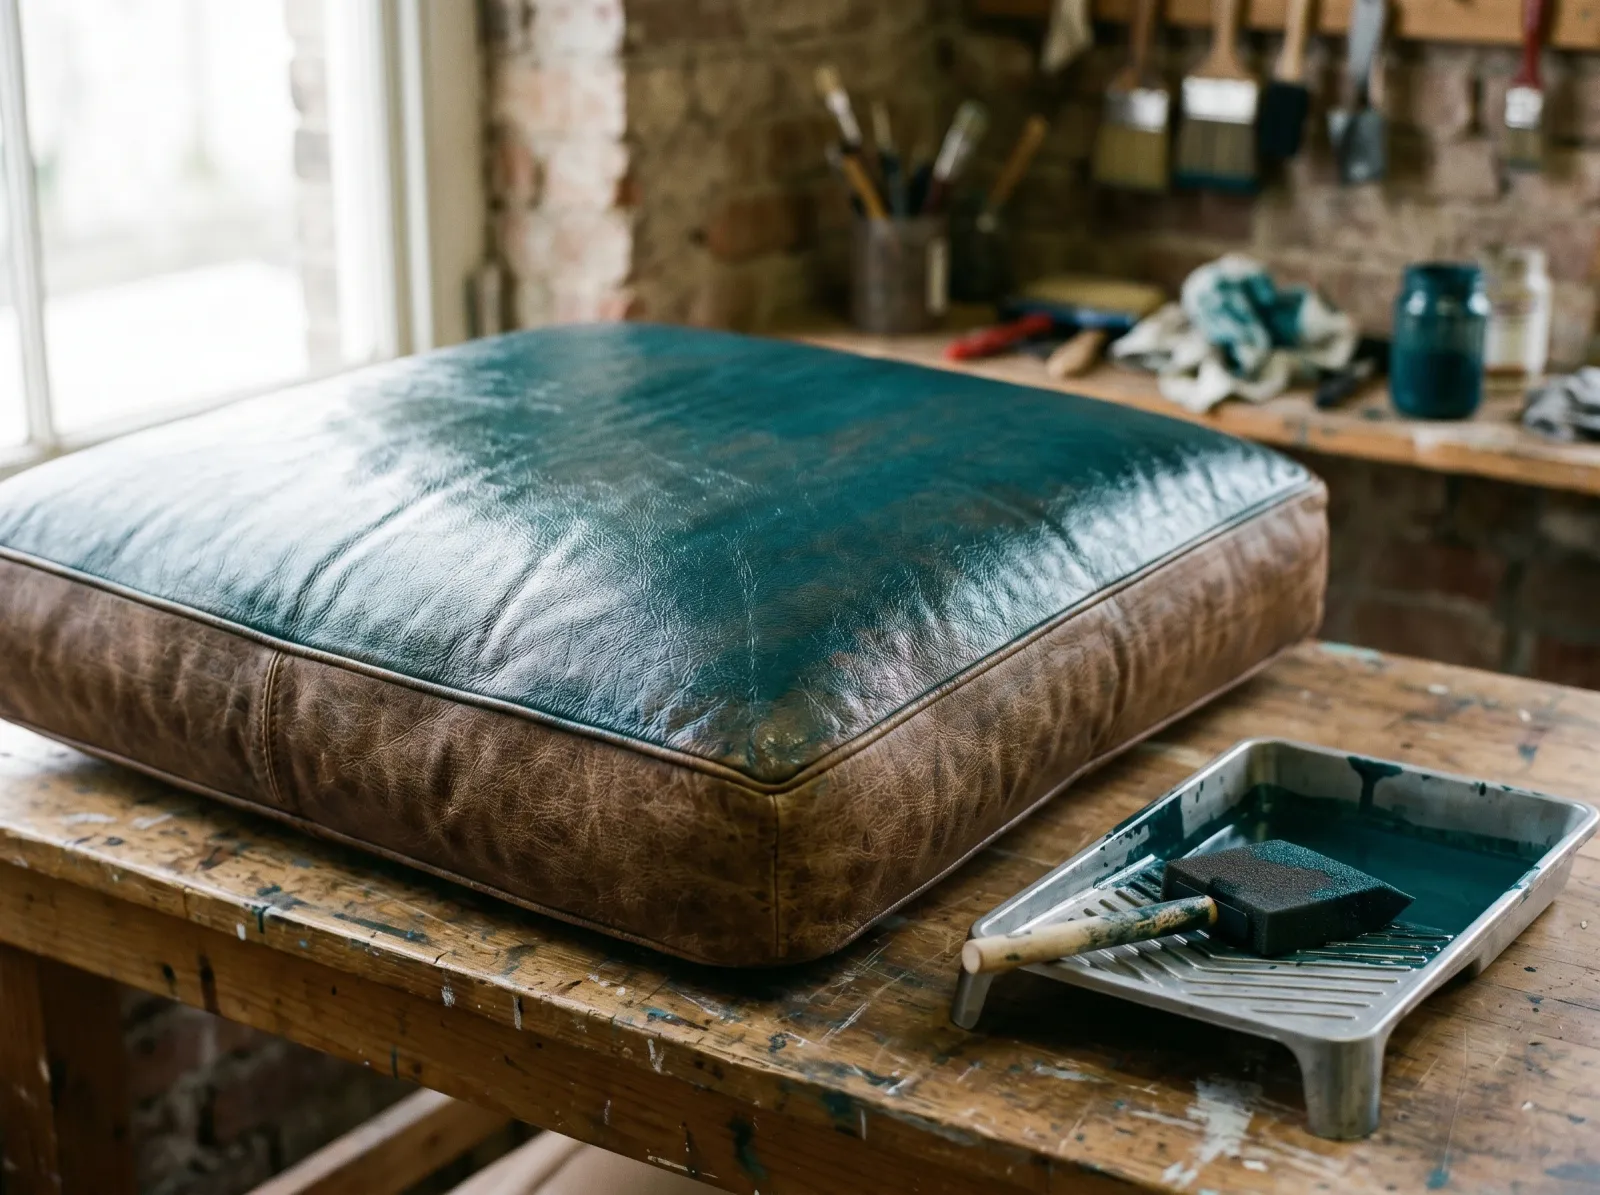
Thin color coats over the primer. Three thin beats one thick every time on a surface that moves.
The rule that governs this whole step: thin coats stay flexible, thick coats go brittle. The reason is film formation. A thin acrylic film coalesces fully and the binder chains stay free to move and stretch. A thick film traps stress as it dries and ends up with internal tension, less elongation, and more crack risk the moment the substrate flexes.
Genuine leather: use a leather-specific acrylic finish. Angelus Leather Paint is the standard for shoes, jackets, and bags; Fiebing’s makes a heavier-bodied leather dye and paint line. Thin the first coat slightly with water or the brand’s thinner and wipe it on with a soft cloth or foam applicator so it sinks into the grain. Build three to five thin coats, drying between. A hair dryer on low speeds the flash without overheating the hide.
Vinyl and rubber: use a flexible acrylic or a vinyl-and-fabric paint. If you primed with Krylon Fusion, you can topcoat with Fusion or any flexible acrylic. Spray large flat panels (vinyl shutters, siding-style panels) and brush the contours. Same rule: thin, even, multiple coats. Foam rollers and HVLP spray both lay a thinner film than a brush and crack less on flexing parts.
If you’re matching this to an exterior vinyl job rather than furniture, the prep logic carries straight over to the vinyl siding guide, with one added rule out there: never paint vinyl siding a color darker than the original, because the extra solar heat absorption warps the panel. Indoors, on furniture, that constraint goes away.
Step 5: Seal With a Flexible Topcoat
The color coat carries the look. The topcoat carries the wear.
On leather, a leather finisher (sold in matte, satin, and gloss by Angelus and Fiebing’s) is acrylic and flexes with the hide while adding abrasion resistance. Two thin coats. On vinyl and rubber, a flexible acrylic clear or a polyurethane rated for flexible substrates does the same job. The sheen is your call; gloss shows wear sooner on high-touch surfaces, satin hides it. For how sheen behaves under wear and light, the sheen guide walks through the tradeoffs.
Skipping the topcoat is the single most common reason painted shoes and chair arms wear through in weeks. The pigment in the color coat isn’t built to take direct abrasion. The finisher is.
Step 6: Cure Before You Flex It
Touch-dry and cured are not the same thing, and this matters more on flexible surfaces than on a wall.
Most flexible acrylics are touch-dry in 30 minutes to an hour and recoatable in a few hours. Full cure, where the binder has fully crosslinked and the film reaches its rated elongation, takes longer. Plan on:
- Light-flex items (vinyl panels, shutters, decor): 24 to 48 hours before handling.
- High-flex items (shoes, car seats, chair cushions, boots): 3 to 7 days before hard use.
During cure, don’t fold, sit on, or wear the item. A film that’s still soft will crack at a crease and lock that crack in permanently. Cold and humidity stretch the timeline; acrylic crosslinking slows below about 60°F.
Common Mistakes
- Using wall paint or hard enamel. Low elongation. It cracks at the first fold and peels from there. Use a flexible acrylic or a leather-specific finish built to stretch.
- Skipping the alcohol/deglazer wipe. Mold-release oil on vinyl and rubber, factory finish on leather. Paint beads up or flakes off within a month. Strip the film first, every time.
- One thick coat instead of several thin ones. A thick film is brittle and traps drying stress. It cracks where the surface bends. Three thin coats stay elastic.
- Sanding genuine leather. Tears the grain and leaves a fuzzy surface the paint can’t level over. Deglaze leather chemically; reserve scuffing for vinyl and rubber.
- No flexible topcoat on high-wear items. The color coat abrades through fast on shoes and chair arms. Seal it with a finisher that takes the wear.
- Flexing it before full cure. A creased crack in a soft film is permanent. Wait out the cure on high-flex items, even when the surface feels dry.
Maintenance and Longevity
A sealed, properly prepped flexible paint job lasts years on low-flex decor and one to three years on the surfaces you bend daily: shoes, seats, chair arms, boots. Failure shows up first as a shine or burnish where the topcoat is wearing thin, then as fine cracks at the high-flex creases. Catch it at the shine stage and you can scuff and reseal just that spot. Let it crack and you’re back to bare prep.
Clean painted leather and vinyl with a damp cloth and mild soap, never solvent cleaners, which can re-soften the acrylic. Recondition genuine leather sparingly; heavy leather conditioners are oils that can creep under the paint at the edges. For furniture and decor that doesn’t flex much, expect a decade out of the finish. For anything you wear or sit in, plan to refresh the high-touch zones every couple of years.
When a painted surface starts lifting at an edge despite good prep, the cause is almost always moisture getting under the film through a crack, the same mechanism behind peeling paint on any substrate: water finds the weak point and pries the film off from underneath.
FAQ
Will paint crack on leather and vinyl? Only if the paint is too rigid or applied too thick. These surfaces flex constantly, so the film has to flex with them. A flexible acrylic or a leather-specific finish stays bonded through that movement; a hard enamel cracks at the first fold. One thick coat is brittle; three thin coats stay elastic.
Do you have to sand leather or vinyl before painting? You deglaze leather, you don’t sand it. A leather preparer strips the topcoat chemically so the new color can bond. Vinyl and rubber get a light scuff with a 320-grit pad, plus an isopropyl alcohol wipe to remove mold-release residue. The goal is the same on each: kill the slick factory film so the primer can grip.
What kind of paint works on rubber? A flexible acrylic over a plastic-and-rubber adhesion primer. Rubber moves more than almost any household surface, so the film has to be elastic. Krylon Fusion and Rust-Oleum’s flexible formulas bond once the mold-release oil is cleaned off. Avoid hard enamels and oil-based paint; they flake the first time the part bends.
Can you paint a vinyl or leather couch? Yes, with a vinyl-and-fabric flexible paint and patience. Clean it, deglaze or scuff it, work thin coats over the whole piece, and seal it with a flexible finisher. Expect three to five thin coats for even color and a full week of cure before heavy use. The seam edges and cushion folds take the most flex, so that’s where thin even coats earn their keep.