How to Paint Cast Iron — Radiators, Pans, and Vintage Hardware
Painting cast iron without the failure: wire-wheel thick rust, convert what's left with Rust Reformer, prime with Stops Rust, finish with two coats of DTM acrylic.

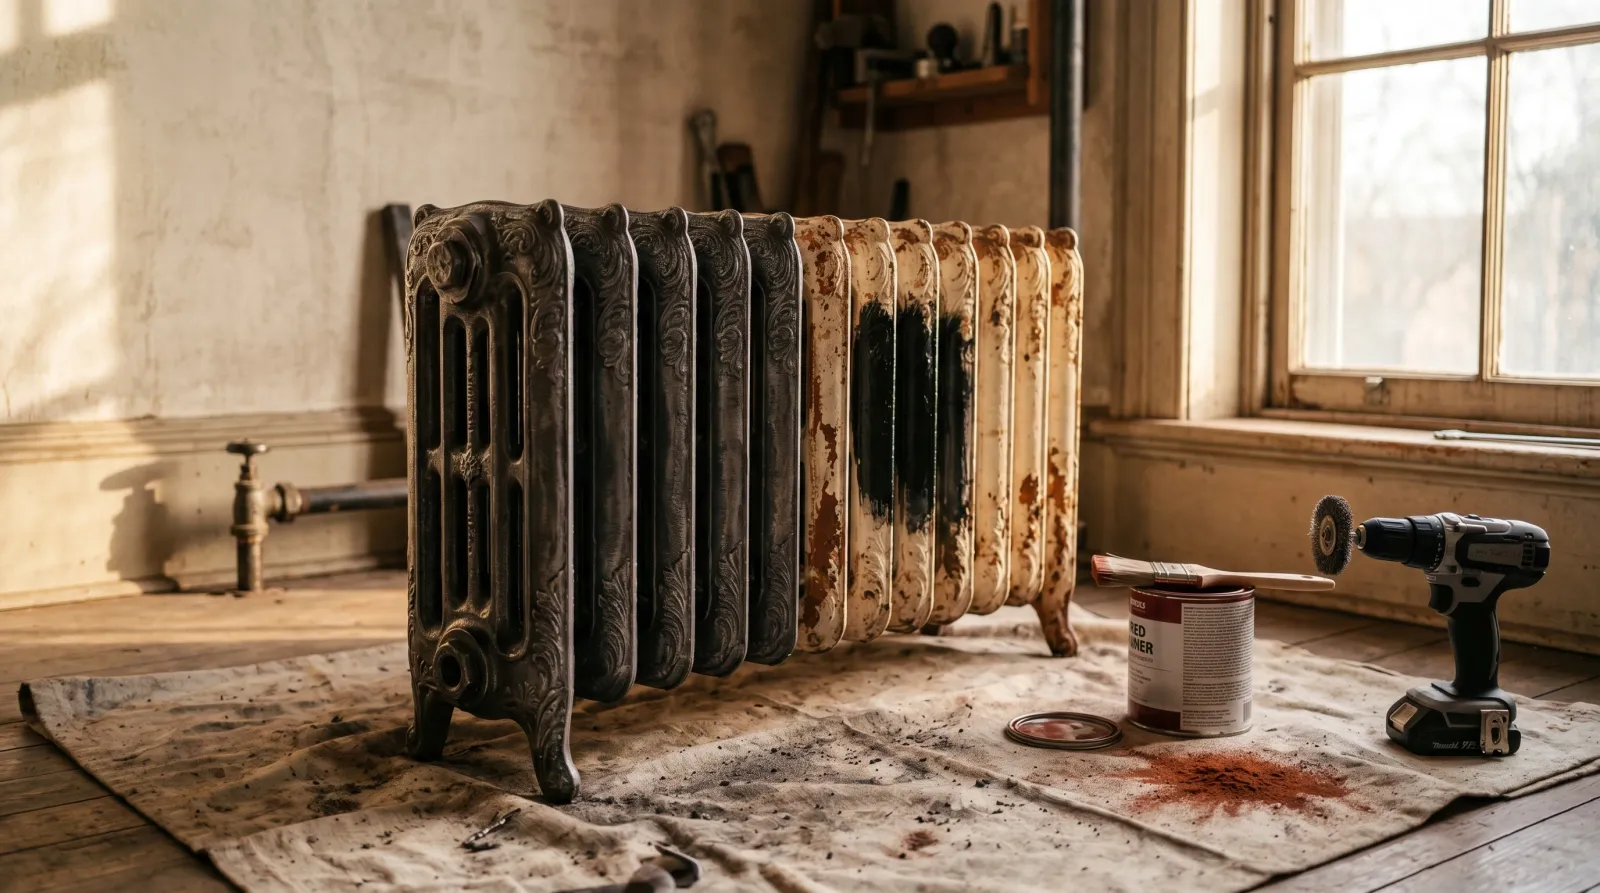
A cast iron radiator that’s been painted six times since 1925 is mostly paint at this point. Chalky cream over chalky beige over chalky off-white, every layer a little stickier than the one before because nobody let the last coat cure before throwing on the next. The job isn’t a paint job. It’s a strip-and-rebuild, and the rules are the same as any rusted ferrous metal: take off what’s loose, convert what stays, prime with something that hates oxygen, and topcoat with acrylic that won’t bake brown the first time you turn the heat on.
TL;DR
- Prep: Wire-wheel the thick rust and any flaking old paint back to sound substrate. Brush Rust-Oleum Rust Reformer over light surface rust you can’t grind off.
- Primer: Oil-based rust-inhibitive primer. Rust-Oleum Stops Rust, two coats on bare iron, one on previously-painted sound surfaces.
- Paint: 100% acrylic DTM topcoat. SW Pro Industrial DTM, Behr Premium Plus DTM, or Rust-Oleum Professional DTM. Two coats.
- Cure: 24 hours between coats. 7 days before you turn the heat back on. 30 days before a deep clean.
- Skill: Medium. The fiddle is getting between the fins.
What Is Cast Iron, and Why Does It Show Up in Houses?
Cast iron is iron poured into a sand mold with 2 to 4% carbon and a little silicon. It’s brittle, holds heat like nothing else, and was the default for radiators, pipework, bathtubs, and decorative hardware from 1880 through about 1955. The high carbon content is why it’s heavy, why it rings dull instead of bright when you tap it, and why it rusts differently from rolled steel. The rust forms a tighter, blacker crust on cast iron than the flaky orange you see on a steel railing.
Most readers here are looking at an old radiator. The same prep applies to vintage door hardware, cast iron stove parts (cold side only), garden urns, and the legs of an enameled tub. Skillets and Dutch ovens are a different conversation — those stay seasoned, not painted.
Tools and Materials
The shopping list lives in the frontmatter. The non-obvious item is the long-handled radiator brush. Without it, the fins on the back bank of a two-row rad don’t get paint and the rust restarts there inside a year. Buy the brush. It’s twelve dollars and saves the job.
Why Cast Iron Is Tricky
Three things make cast iron different from a flat steel panel.
It’s porous at the casting surface. The sand mold leaves a slightly rough skin called “casting scale” that traps moisture and gives rust a place to hide. Wire-wheeling exposes fresh metal but also opens up the porosity, so you have to prime fast before flash rust starts.
It moves with heat. A radiator goes from 65°F to 195°F twice a day in heating season. The paint film has to flex through that swing without micro-cracking. Standard interior latex doesn’t; it embrittles and crazes within two winters. DTM acrylic does.
It carries a hundred years of layered paint. The 1925 lead-based enamel, the 1948 alkyd, the 1971 vinyl, the 1995 latex somebody slapped on without sanding. Each layer fails differently, and pulling at a chip can take six layers off in a sheet that exposes bare rust underneath. Test before you sand.
Step 1 — Lead Test, Then Prep
Anything painted before 1978 is presumed lead until a swab says otherwise. A 3M LeadCheck swab costs four dollars at the hardware store. Scratch through the paint layers down to the substrate, rub the swab, watch for the color change. If it goes red, you’re a contractor under EPA’s RRP rule and you don’t dry-sand in an occupied room. Even as a homeowner, use a P100 respirator, mask the floor with plastic, and keep kids and pregnant adults out.
Lead test first. Every time. Even on a rad you think is from 1965.
Step 2 — Strip and Wire-Wheel
The strategy depends on the condition you’re starting from.
Light Surface Rust on Sound Paint
If the radiator is 70% sound paint with 30% surface bloom, you don’t need to strip it. Wash with a TSP substitute to cut decades of dust and skin oil. Scuff the whole surface with 220-grit. Spot-grind the rust pockets back to bare metal with a 3-inch crimped wire wheel. Feather the edges between bare iron and sound paint with 220 so the primer doesn’t telegraph a hard line.
Thick Scaling Rust or Flaking Paint
This is where most old rads land. Pull the radiator off the wall if you can, lay it on sawhorses, and go after it with the knotted wire wheel on a drill. Knotted is faster on layered rust and old enamel than crimped. The bottom rail and the back face of the fins are where the worst rust hides. Angle grinder with an 80-grit flap disc for the flat front faces where the wire wheel polishes instead of cuts. Stop the second you see clean dark grey iron.
Work from the worst rust outward. Don’t grind from clean paint into rusted paint or you’ll over-work the sound edges. Hand wire brush gets into the casting recesses where neither the drill nor the grinder fits.
How Clean Is Clean Enough?
70 to 90% bright iron is the realistic target on a pitted radiator. The tight residual rust deep in the casting pores is what the converter step is for. Don’t burn an extra two hours fighting the last 10%.
Step 3 — Convert the Rust You Couldn’t Grind Off
What stays after the wire wheel gets chemically converted. Rust-Oleum Rust Reformer is the right tool for cast iron because it’s tannic-acid-based, dries to a black paint-ready film in 40 minutes, and doesn’t need a water rinse the way phosphoric-acid converters (Ospho, Corroseal) do. On a radiator you’ve moved indoors, no-rinse matters.
Brush it on with a cheap chip brush. The acid eats good bristles. Hit every pit twice. Let it cure 24 hours before primer even though the label says less. Cast iron porosity holds moisture; give the conversion film time to harden through.
Don’t use the aerosol Rust Reformer on a whole radiator. The aerosol film is too thin to carry the system. The brush-on quart is the right product here.
If pits are deeper than a dime’s edge, fill them with JB Weld SteelStik before primer. Sandable in an hour, paintable in two. Leveling the pits is what stops the topcoat from telegraphing every crater under raking afternoon light from the window.
Step 4 — Prime With Stops Rust
Rust-Oleum Stops Rust, oil-based alkyd, is the standard primer for cast iron radiators and has been for forty years. It penetrates the converted surface, chokes off oxygen at the iron, and gives the acrylic topcoat something to bite. Brush it on with the same 2-inch angled sash you’ll use for the topcoat. Two coats on bare wire-wheeled iron. One coat over sound previously-painted areas after a 220-grit scuff.
Recoat at 24 hours between primer coats. Topcoat-ready at 24 hours for the same brand of topcoat, 48 hours if you’re crossing chemistries to a DTM acrylic from a different maker. Skip this window and the soft primer stays soft under acrylic, and your fingernail leaves a mark in the topcoat at month two.
Waterborne metal primers (Sherwin-Williams Pro-Cryl, INSL-X Aqua-Lock) are fine on sound previously-painted radiators. On bare wire-wheeled and converted cast iron, the oil-based alkyd holds up longer. Use the oil here.
For the broader SKU conversation, see the best primer round-up.
Step 5 — Topcoat: Two Coats DTM Acrylic
DTM acrylic is the right chemistry for radiator service. It bonds to primed metal, flexes through the 130°F daily heat swing without crazing, and holds color where alkyd enamel ambers in a year.
Sherwin-Williams Pro Industrial DTM Acrylic Coating in satin or semi-gloss is the contractor default. Full SW deck, low VOC, levels well with a sash brush. Behr Premium Plus DTM is the Home Depot answer, cheaper, narrower color range, performs respectably on a residential radiator. Rust-Oleum Professional DTM is the right call if you can get the radiator outside and spray it; the aerosol lays a smoother film between fins than any brush.
Two coats. Always two coats. The first coat looks like coverage; the second is what gives you 4 to 6 mils of dry film and survives the season. Lay it on heavy with the 2-inch sash on the flat front face and the 1-inch on scrollwork and valves. The long-handled radiator brush is how you get between the fins from above. A 3-inch foam pad slid down between them is the alternative.
Step 6 — Dry, Recoat, Heat-On
Touch-dry: 1 to 2 hours for DTM acrylic at 70°F and 50% humidity. Recoat: 4 hours. Full cure: 14 days under normal conditions before any scrub or deep clean.
Don’t turn the heat on for 7 days. The acrylic is hard enough to handle at 24 hours, but full crosslink takes a week, and heating a half-cured film bakes the solvent out unevenly and you get micro-bubbles in the surface. The radiator can stay cold for a week in March or October. Don’t paint a rad in January unless you have a backup heat source for the room.
Common Mistakes
- Skipping the lead test. Old radiator paint is presumed lead until you prove otherwise. The swab is four dollars. The fine for ignoring RRP is not.
- Painting over loose, flaking paint. Whatever bonds to a flake is going down with the flake. Wire-wheel back to sound substrate every time, even on the parts nobody sees.
- High-heat engine enamel. It’s for 600°F exhaust manifolds. On a 195°F radiator it stays tacky and underperforms a standard DTM acrylic. Skip the high-heat aisle.
- Turning the heat on at day two. The film looks dry. It isn’t crosslinked. Heat at day two bakes solvent out and the surface micro-bubbles within a heating season.
- One coat of topcoat. One coat is half the mil thickness. The film fails at year three instead of year ten. Two coats is the whole job.
Maintenance and Longevity
A properly-prepped, two-coat DTM acrylic system over Stops Rust primer holds up 10 to 15 years on an interior cast iron radiator in a normally-heated house. Bathrooms run shorter, 6 to 10 years, because steam and water accelerate everything.
Dust the rad twice a heating season. A long-handled radiator brush gets the fins; a vacuum brush attachment finishes the job. Don’t spray cleaners directly on the painted surface; mist a microfiber cloth and wipe. Pollen, skin oil, and combustion soot are what eat the topcoat between full repaints. If you see a rust freckle bleeding back through at year four, that’s a pinhole where the primer didn’t cover. Sand it with 220, dab Stops Rust, dab topcoat. Twenty-minute fix.
The thing that’ll bite you in two years: the underside of the bottom return fitting where you didn’t wire-wheel because nobody sees it. Condensation pools there in summer when the system is cold, rust restarts there first, and the new paint lifts from the back. Spend the extra hour with the hand wire brush on the parts nobody sees. That’s where the system lives or dies.