How to Test Paint for Lead Before Scraping
A lead paint test before you scrape pre-1978 paint keeps toxic lead dust out of the air. How swab kits and lab tests work, and how to read the result safely.

If your home was built before 1978 and you’re about to scrape or sand old paint, stop and test it first. Paint sold before 1978 often used lead as a pigment and a drier, and a scraper or sander turns that intact film into fine lead dust you breathe and track through the house. The test is cheap, takes ten minutes, and decides how you’re allowed to remove the paint. This is the rare paint problem where the diagnosis has to come before you touch the surface.
TL;DR
- Lead paint was banned in US homes in 1978. Anything older should be treated as lead until a test proves otherwise.
- The hazard isn’t the intact paint. It’s the dust. Dry scraping and sanding aerosolize lead, and inhaled or ingested lead dust is the real exposure.
- Two ways to test: a chemical swab kit (3M LeadCheck or D-Lead, both EPA-recognized) for a fast yes, or a mailed paint chip to an accredited lab for a definitive number.
- A positive on any layer means stop dry-scraping. Switch to wet methods, containment, and HEPA cleanup, or have a certified pro do it.
- A swab negative isn’t the last word. Swabs read only the layers you exposed; cut through to bare wood or send a chip if you need certainty.
Does This Match What You’re Seeing?
You don’t diagnose lead by looking. You diagnose it by the home’s age and then confirm with a test. What the surface looks like only tells you how urgent the test is.
- Built before 1978, any condition: test before you scrape. Age is the trigger, not appearance.
- Thick, built-up paint that cracks in a scaly, alligatored pattern: old layered oil paint, a common lead-era look.
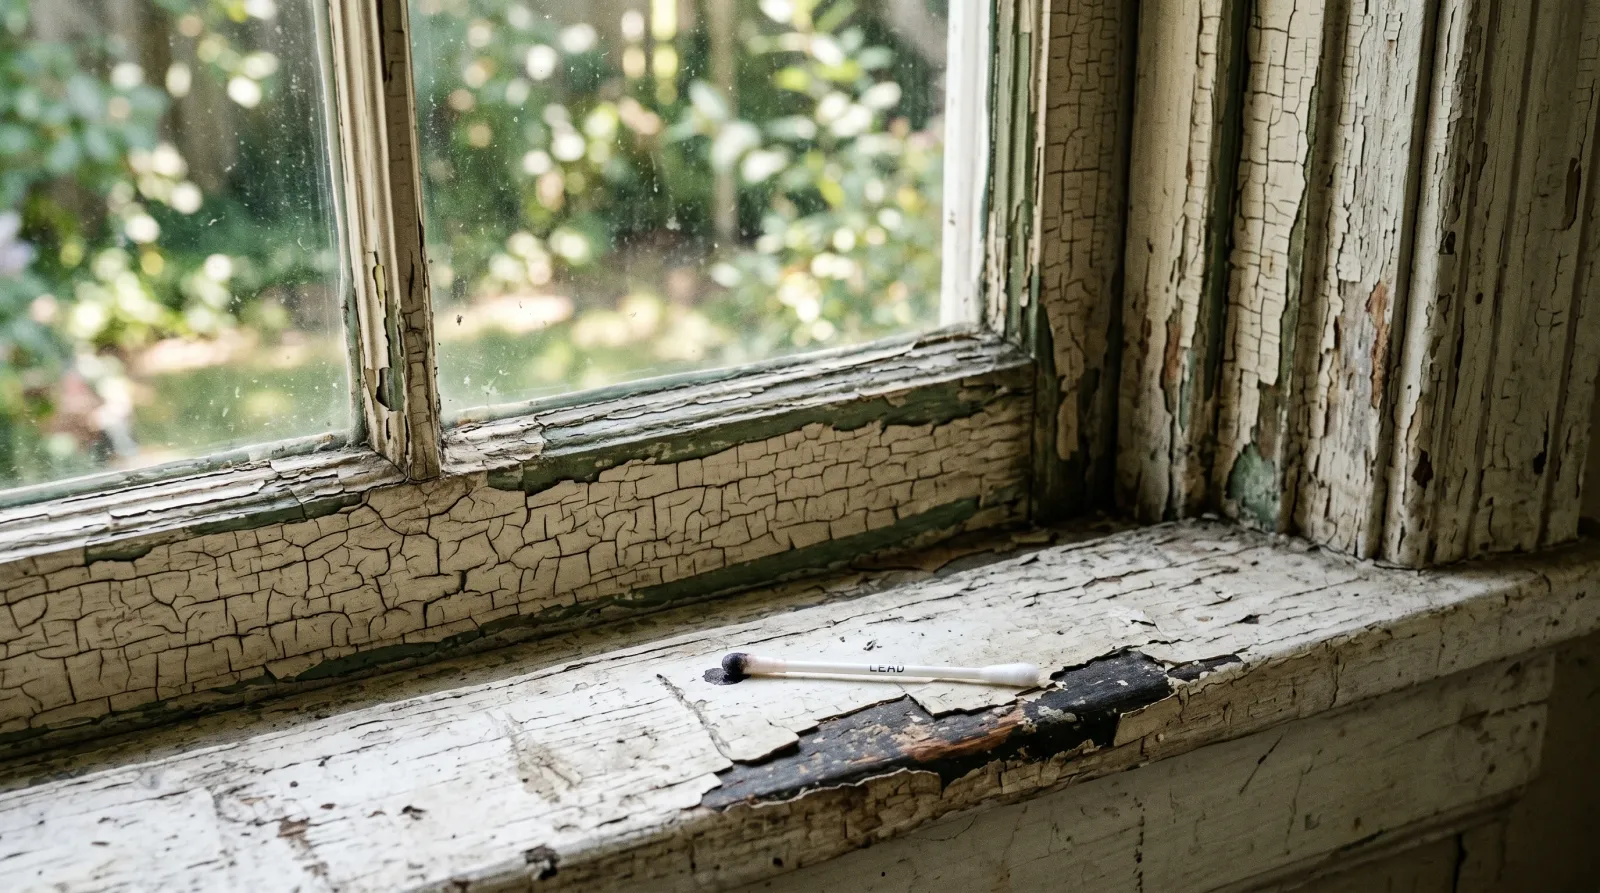
- Paint chipping or chalking on its own around window sashes, doors, stair rails, and porches: these high-friction and weathered spots are where lead paint sheds first, and where children’s exposure usually starts.
- Bright historic colors under newer coats: the deep yellows, reds, and whites of mid-century paint often carried the most lead.
One look people confuse with a lead problem: blistering is paint lifting in bubbles from heat or trapped moisture, a bond failure covered in how to fix blistering paint, and it tells you nothing about lead either way. Chalking can itself carry lead on a pre-1978 home, so don’t pressure-wash chalky old siding around a garden or play area before testing. Neither look rules lead in or out. Only the test does.
How Serious Is This?
Lead is the one paint problem here where the honest severity is high, and not because of the paint. It’s the dust.
- Pre-1978 home, paint intact, you’re only repainting over it: low risk while the surface stays sealed. Clean, prime, recoat without disturbing the old film and you’ve encapsulated it.
- Pre-1978 home, you intend to scrape or sand: high risk until tested. Dry abrasion is the worst thing you can do to lead paint, because it converts a stable solid into respirable dust.
- Young children or a pregnant person in the home: treat any disturbance as high. Children absorb a far larger fraction of ingested lead than adults, and there’s no level of lead in a child’s blood considered safe.
With most paint failures you can start work and course-correct. With lead, the wrong first move contaminates the room before you know there was a problem. So the test comes first.
Why This Matters (the Root Cause)
Lead got into paint on purpose. It was a fine white pigment (lead carbonate, “white lead”) that gave excellent hide and durability, and lead compounds also acted as driers that sped the oxidative cure of oil-based paint. Those are genuine performance reasons, which is why lead paint was the premium product for over a century. The film it forms is hard, opaque, and long-lived. Intact, it isn’t reaching into the air.
The problem is what lead does to people. It’s a cumulative neurotoxin that doesn’t break down, and the body mistakes it for calcium and stores it in bone. The exposure pathway that matters indoors is dust: particles small enough to inhale, or to settle on floors, sills, and toys and then reach a child’s mouth on a hand. You don’t have to eat a paint chip. The fine dust from one afternoon of dry sanding is plenty.
Here’s the connection to scraping. A solid paint film locks lead into a matrix. Sanding and dry scraping shatter that matrix into micron-scale particles and loft them. A heat gun run too hot is worse: above roughly 1,100°F lead fumes, and the vapor is far more readily absorbed than dust. The act of removal, done the common way, is the act that frees the lead. That’s why the federal Renovation, Repair, and Painting (RRP) rule built its protocol around containment and wet methods, walked through in the RRP rule explained.
You can’t easily change whether an old house has lead in the paint. You control whether a disturbance aerosolizes it. The test is how you find out which fight you’re in.
The Fix: Testing Before You Scrape
Work in order. The goal is a reliable answer about lead before any tool touches the paint.
Step 1. Decide Whether You Even Need to Test
If the home was built in 1978 or later, skip lead testing and treat this as an ordinary repaint. If it was built before 1978, assume lead and test. The probability climbs with age: roughly a quarter of homes from 1960 to 1978 have some lead paint, about half from 1940 to 1960, and the large majority before 1940. When you’re unsure of the build year, test. For the background on age cutoffs and disclosure, see testing pre-1978 homes for lead.
Step 2. Pick the Right Test for the Job
You have three real options, and they answer different questions.
- Chemical swab kit (fast, cheap, do-it-yourself). A rhodizonate-based swab like 3M LeadCheck or a sulfide-based D-Lead kit changes color on contact with lead. Both are EPA-recognized as meeting its false-positive and false-negative thresholds. Best for a quick yes on a specific spot. Browse the options in the best lead test kits round-up.
- Mail-in paint chip lab test (definitive, cheap, slower). You collect a small chip and send it to an accredited lab, which returns a concentration in parts per million. This catches every layer in the chip and removes the swab’s guesswork. About $25 to $50 and a few days.
- Certified inspector with XRF (thorough, no cutting). A handheld X-ray fluorescence analyzer reads lead through all layers without disturbing the paint, surface by surface. This is the route before a gut renovation or when you need documentation. A few hundred dollars.
For a single trim run you’re about to scrape, a swab plus a confirming chip is plenty.
Step 3. Expose Every Layer Before You Swab
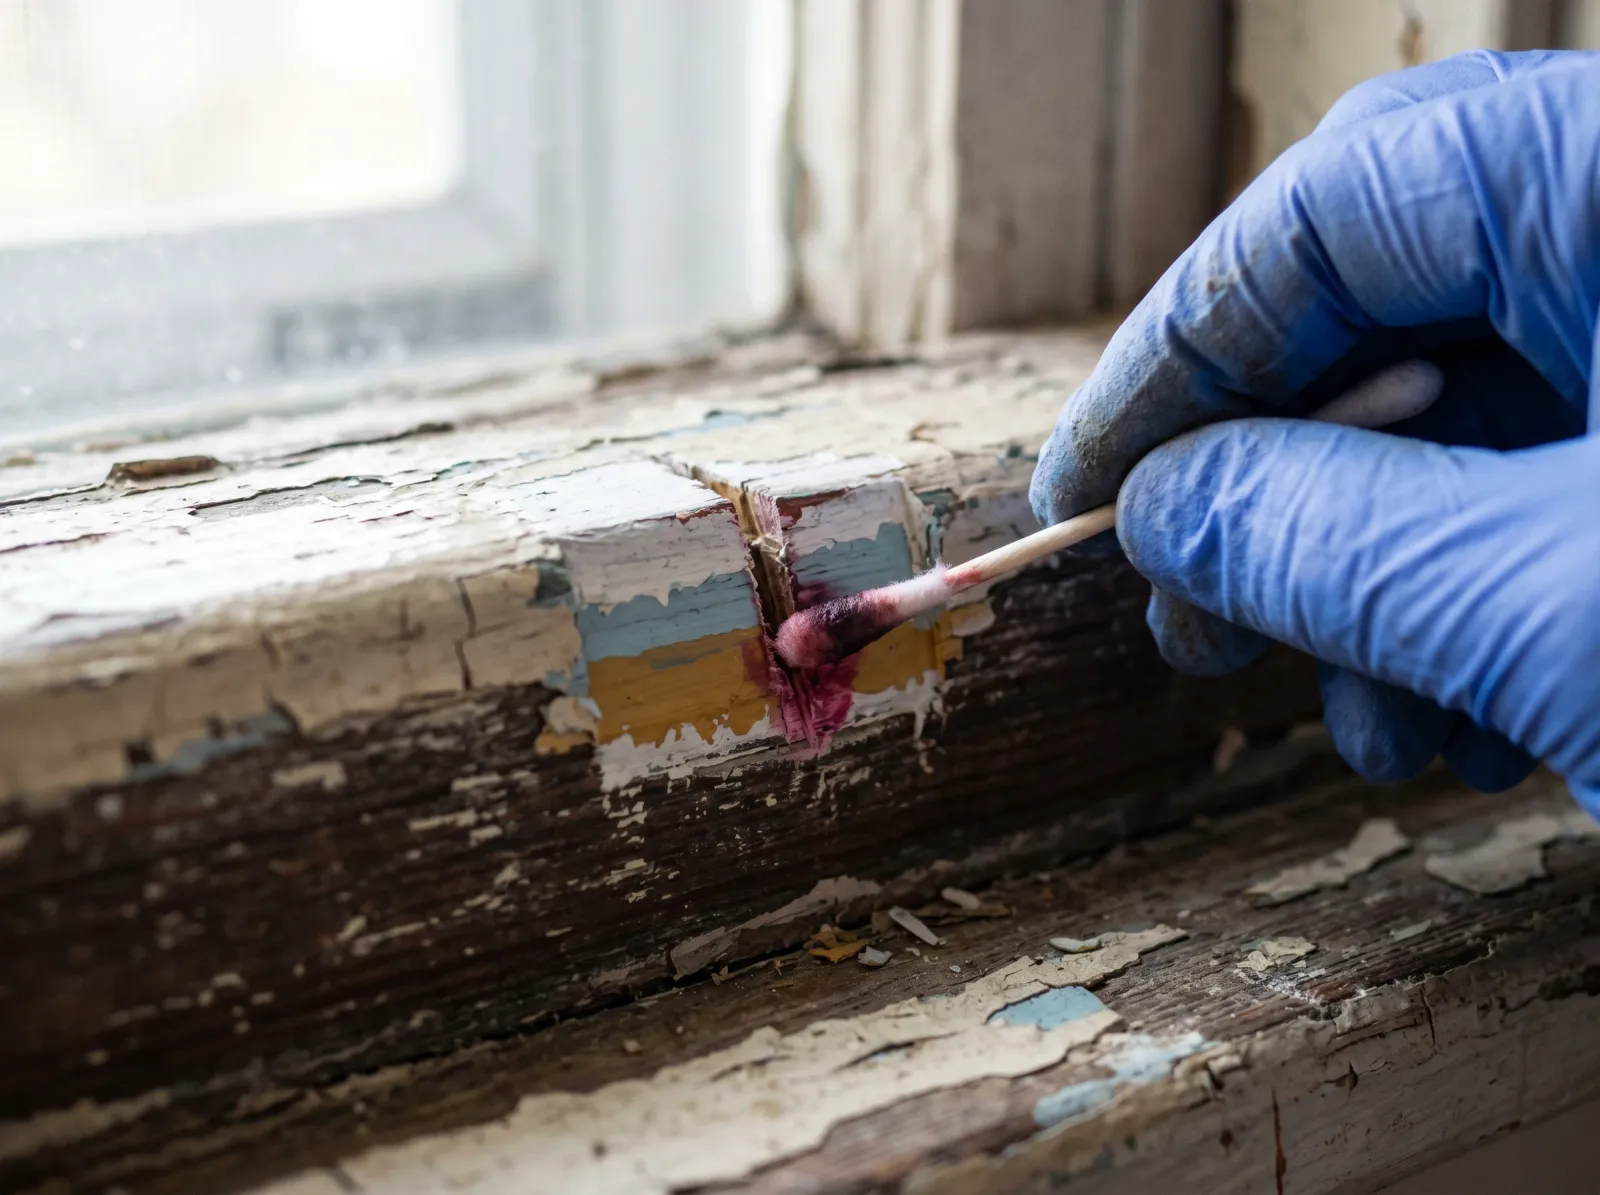 Cut a small notch through all the paint down to bare wood so the swab contacts every layer, not just the top color.
This is the step people skip, and it’s why swabs get a bad reputation. A swab only reacts with the layers it physically touches. Rub it on an unbroken surface and you’re testing the newest coat, while the lead usually sits in an older, deeper layer. Before swabbing, use a utility knife to cut a small angled notch down through all the paint to bare substrate, exposing the edge of every layer at once, then run the swab across that cut. Follow the kit’s confirmation card too, since every kit ships a verification swatch to prove the chemistry is live.
Step 4. Collect a Chip Correctly if You’re Sending It to a Lab
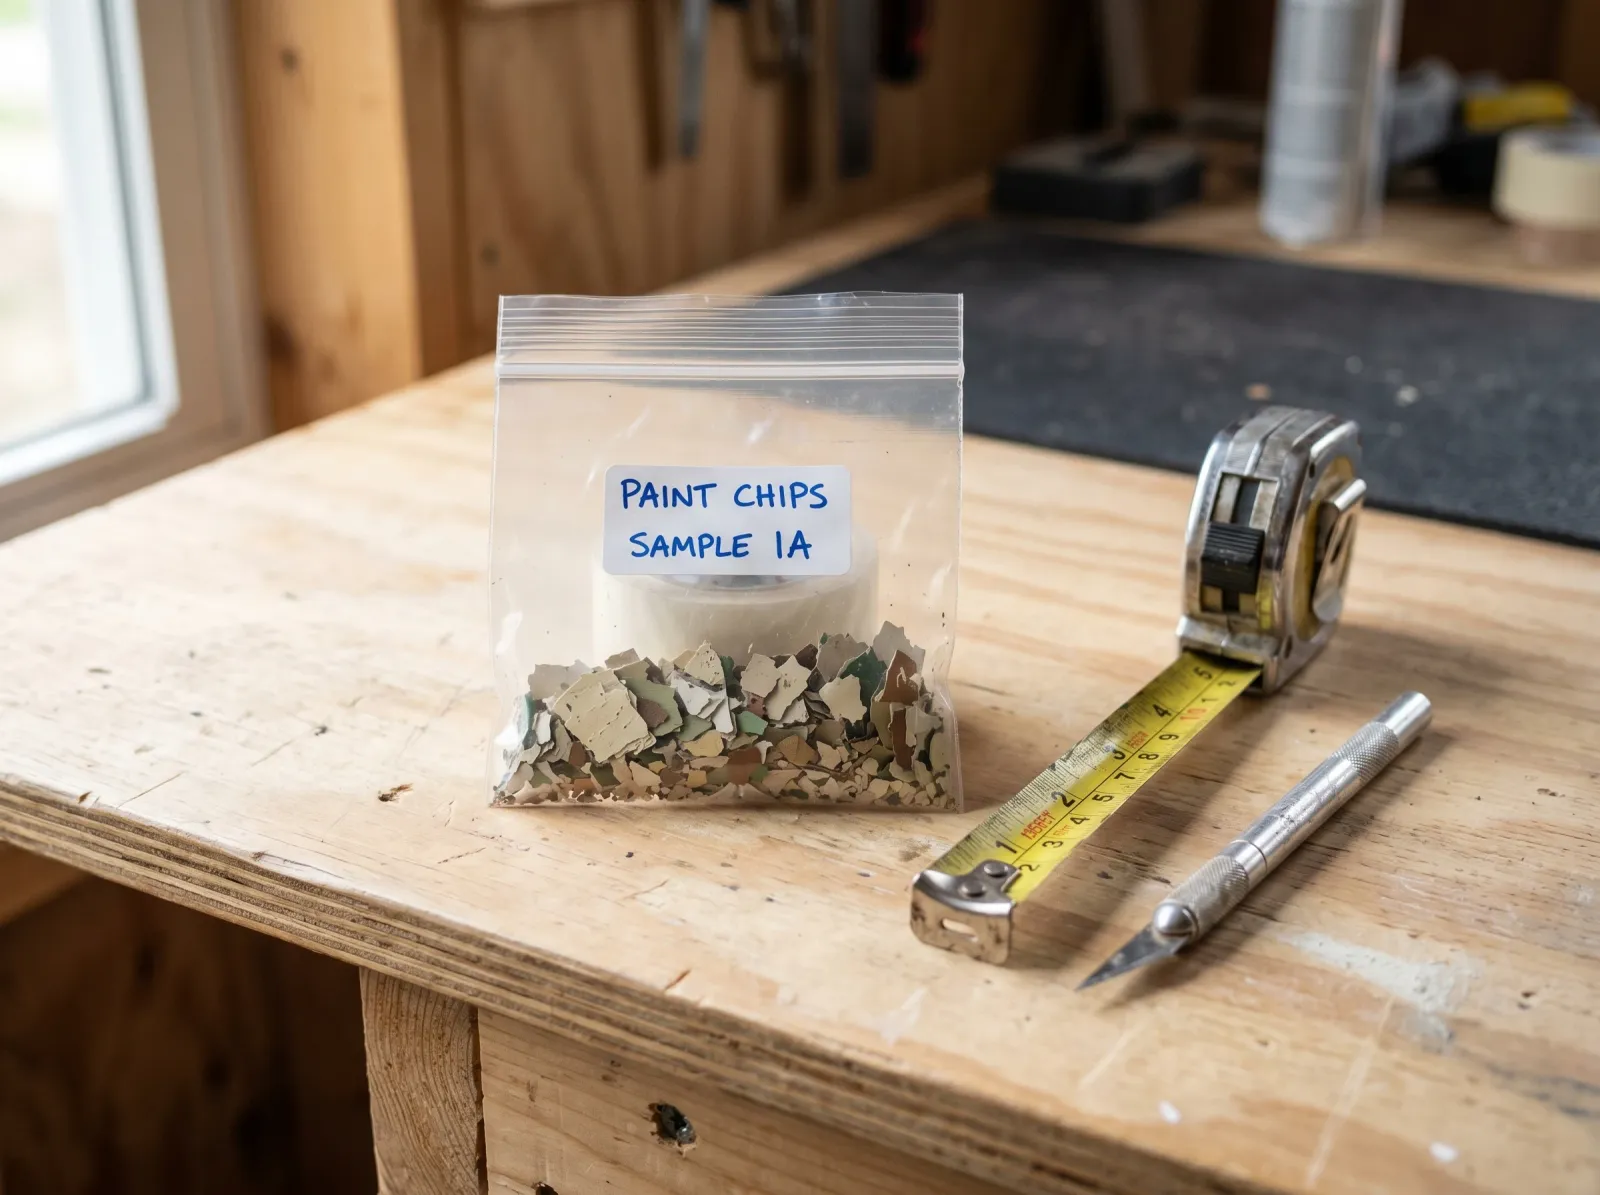 Take all layers down to the substrate, seal the chips in a labeled bag, and note the location before mailing.
A lab result is only as good as the sample. Wear gloves and a respirator, mist the area to hold down dust, and remove a quarter-sized chip that includes all paint layers down to the wood or plaster. Seal it in a labeled zip bag, note the room and surface, and follow the lab’s submission form. Don’t sand to collect a sample. The point of testing is to avoid making dust.
Step 5. Read the Result, Then Choose Your Removal Method
A swab that turns its signal color, or a lab number at or above the federal hazard standard, means lead is present.
- Positive, and you must remove the paint: no dry scraping, no power sanding, no open-flame or high-heat stripping. Use wet hand-scraping, chemical strippers, or a low-temperature infrared stripper kept below the fuming point, all under plastic containment with HEPA cleanup. The method comparison is in lead paint removal methods.
- Positive, but the surface is sound: the safest fix is often to not remove it at all. Stabilize and encapsulate it under a fresh coat, since intact paint isn’t the hazard.
- Negative on a swab: good, but the swab only saw the layers you exposed. If certainty matters (children in the home, a deep multi-layer stack), confirm with a chip or an inspector before you scrape.
Safety
Wear nitrile gloves and an N100 or P100 respirator rated for lead particulate whenever you cut, chip, or disturb pre-1978 paint, even just to sample it. A surgical or dust mask doesn’t stop lead-sized particles. Lay plastic to catch chips, mist surfaces to suppress dust, and clean up with a HEPA vacuum and wet wiping, never a household vacuum or a dry broom. Never burn or torch lead paint, and never run a heat gun hot enough to fume it. Keep children and pregnant people out of the work area entirely, and wash up and change clothes before contact with them.
Common Mistakes
- Swabbing the top coat only. You test the newest paint and miss the leaded layer below. Cut a notch through every layer first.
- Trusting a single negative swab on a deep stack. Swabs read what they touch. Confirm with a chip when certainty matters.
- Sanding to collect a sample. That makes the exact dust you’re trying to avoid. Cut a chip, don’t abrade.
- Pressure-washing chalky exterior paint before testing. On a pre-1978 home that spreads lead-bearing chalk across the yard.
- Assuming new paint on top makes scraping safe. A scraper reaches the leaded layer regardless of what’s over it.
- Skipping the test because the home “isn’t that old.” If you don’t know the build year, you don’t know it’s safe.
Prevention
You can’t change whether a pre-1978 house has lead. You can change whether it ever becomes a problem.
- Encapsulate instead of strip when the paint is sound. A stable, well-bonded old film is safest left in place under a fresh coat. Removal is the risky move, so only strip when the surface is failing or in the way.
- Maintain friction and impact surfaces. Window sashes, jambs, door edges, and stair rails grind paint to dust through normal use. Keep these sealed and intact, because that’s where exposure begins.
- Keep paint from chipping in the first place. Fix the moisture and adhesion problems that make old paint fail, so it isn’t shedding chips on its own.
- Test before any renovation that disturbs paint, not just full repaints. Drilling, sawing, and demo on old painted surfaces release lead too.
- Hire RRP-certified contractors for pre-1978 work. Federal rules require lead-safe practices on these homes, and a certified crew brings the containment and test discipline with them.
When to Call a Pro
- A confirmed positive over a large area, or where dry removal can’t be avoided, so a certified lead-abatement contractor handles containment and disposal.
- Any pre-1978 renovation with young children or a pregnant resident in the home, where the cost of a mistake is a child’s lead exposure.
- Friction and impact surfaces, like windows and stairs, that need stripping rather than encapsulation, because these generate the most dust.
- A whole-house picture before a gut renovation, which a certified inspector with an XRF analyzer reads layer by layer without disturbing anything.
- Suspected lead in soil around the foundation from decades of shed exterior paint, which needs soil testing, not a paint swab.