How to Block Rust Stains Before Painting
Rust ghosts through latex and oil primer alike. Find the iron source, treat it with a converter, then seal with BIN shellac. Two topcoats and the stain stays buried.

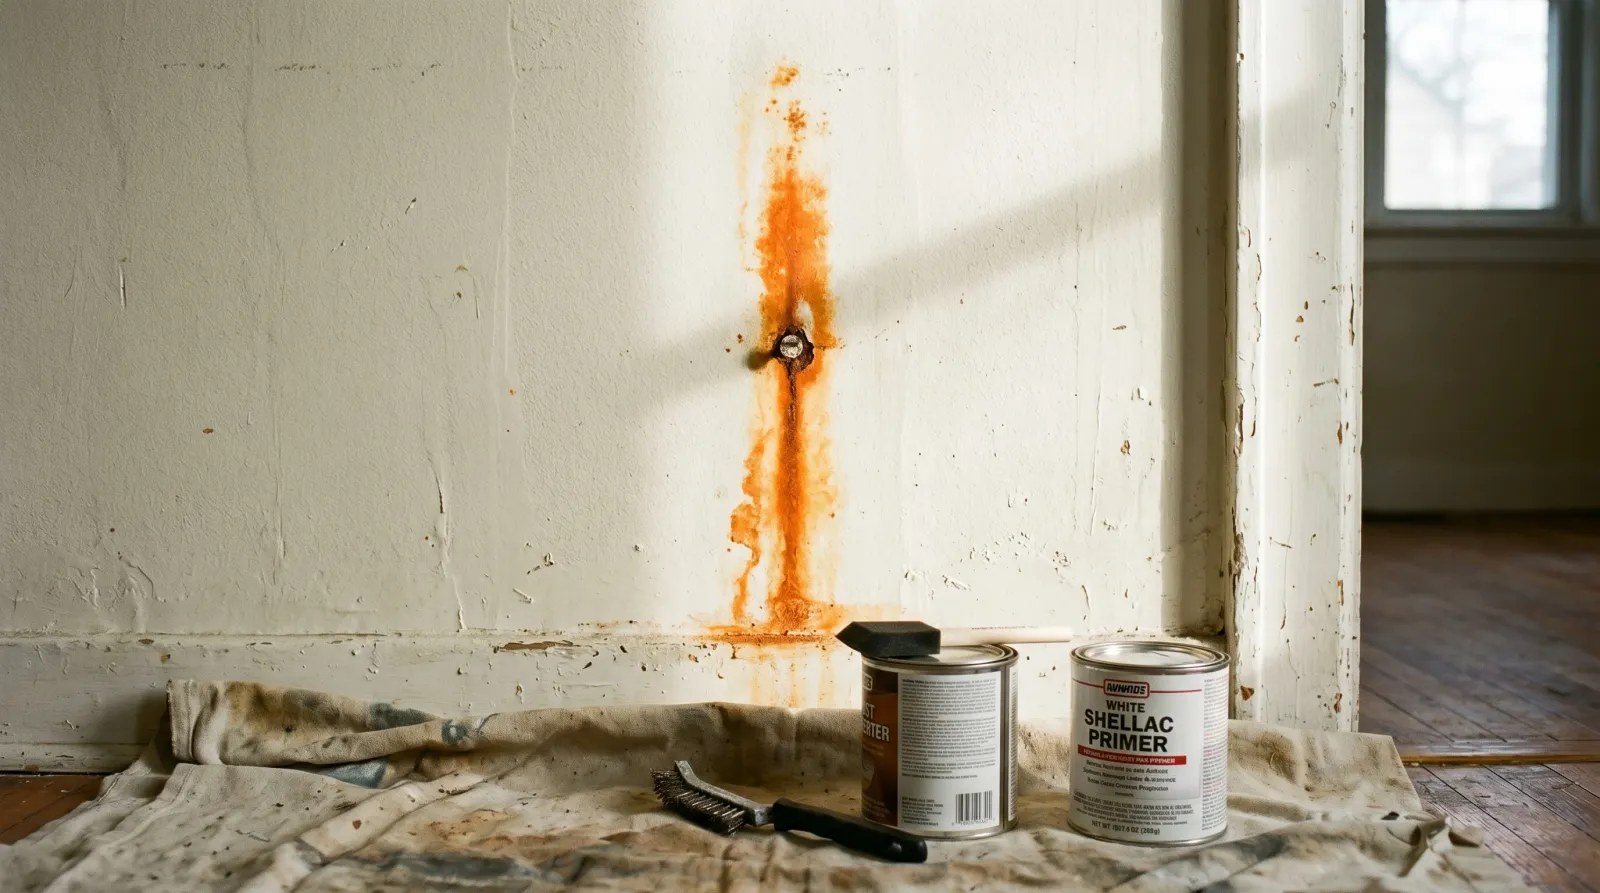
Orange-brown streak running down a wall from a single point. A halo of rust bloom around a nail head. A vertical bleed line on an exterior soffit that looks like the wall is crying iron. That’s a rust stain, and painting over it with anything water-based is how you spend Saturday twice.
The fix isn’t a thicker topcoat. The fix is finding the iron that’s bleeding, neutralizing it, and locking it under a solvent-based barrier. The sequence is what holds. Here it is.
Does This Match What You’re Seeing?
Rust ghosts have a few flavors and they want slightly different fixes. Confirm which one you have before you start.
- Tight orange ring around a single point on drywall, often a popped nail or screw head. That’s an interior fastener oxidizing slowly. Easiest case.
- Vertical orange streak running down a wall or soffit from a nail, screw, or vent screw. Same source, but water has been moving down the substrate and carrying iron with it. Find the moisture path too.
- Rust-colored bloom in a concrete floor or basement wall. Embedded rebar oxidizing. Steel inside the concrete is expanding as it rusts and the stain is the warning shot before the concrete spalls.
- Orange splotches on exterior fiber-cement or stucco around metal flashing. Galvanic corrosion at the flashing, or fastener heads bleeding. Either way it’s an exterior weatherproofing question, not just a paint question.
If the wall is wet to the touch, the stain is iron-plus-water and you need the source fix before the paint fix. Dry stain on a dry wall is the simple case.
How Serious Is This
Mostly cosmetic. The wall itself is fine. The rust is the visible end of a corrosion process that has its own timeline — a popped nail head will take years to eat through the drywall paper. Embedded rebar in concrete is a different story. If you see orange on a poured wall or floor and the concrete around it is cracking, that’s structural and you need an engineer, not a primer.
Two real warnings. Don’t sand rust dry in a confined space — iron oxide dust isn’t friendly to lungs and a respirator with a P100 cartridge is cheap insurance. And in pre-1978 houses where rust is bleeding through old painted trim, the layer underneath is often lead. Test before you touch a sander.
Why Rust Bleeds Through Latex
Iron oxide is mildly soluble in water. Not as soluble as nicotine tar, but soluble enough that any water-based film painted on top of it picks up pigment as it dries. The iron migrates into the wet topcoat and ends up at the surface when the water leaves. That’s why latex over rust looks fine for an hour and orange by the next morning.
The other half of the problem is ongoing corrosion. Even if you seal the visible stain perfectly, an active rust source underneath keeps producing new iron oxide. Steel in contact with moisture and oxygen rusts continuously. Six months later, more pigment, same stain, same wall. Stopping the bleed means stopping the source first, then sealing what’s already there.
Alkyd primer does a partial job. The mineral-spirit carrier doesn’t mobilize iron the way water does, but rust still bleeds through oil primer often enough that most pros won’t warranty against it. Shellac is the right answer here, same as for nicotine, water rings, and knot bleed in pine. Different stain, same chemistry, same can.
The Fix
Step 1. Find the Source and Stop the Corrosion
This is the step that gets skipped, and skipping it is why the stain comes back.
For interior drywall, the source is almost always a fastener. Popped nail, drywall screw that broke through to the paper, picture-hanger embedded in the wall, or a brad nail in trim that wasn’t galvanized. Find it. Look for the centerpoint of the stain and probe with a magnet. A magnet will tell you where the iron is to within an inch.
For exterior walls, it’s flashing screws, ungalvanized brads, or sometimes an old hose bib or sprinkler line behind the siding. For concrete floors or basement walls, the source is usually rebar within an inch of the surface or an embedded structural anchor.
Once you’ve located it, your options are remove, replace with stainless, or treat in place. Remove and replace is the durable fix on accessible interior fasteners — set the old one deeper, drive a new stainless or galvanized screw an inch over into solid framing, patch the original hole. If you can’t get to the source (rebar in concrete, fastener buried in lath plaster), you treat in place with a converter in Step 2.
If the wall is damp, the moisture is part of the source. Pin meter to confirm. Dry walls average 5 to 12% on the meter. Above 15%, find the leak before you paint anything.
Step 2. Wire Brush and Rust Converter
Wire-brush any loose rust scale off the surface until you’re down to either bright metal or tightly bonded oxide. Don’t go ham on drywall paper — light pressure with a brass brush is enough to lift the loose stuff without tearing the paper. Vacuum the dust.
Then apply a rust converter. Two products lead this category. Rust-Oleum Rust Reformer is the easy spray-on version, available at every hardware store, dries to a flat black phosphate film in 20 minutes. Corroseal is the contractor pick if you have a quart or a gallon to do — brush or roll it on, dries to a flat black or dark grey, slightly tougher film. Both work by reacting with the iron oxide and converting it to a stable iron phosphate that doesn’t bleed and doesn’t rust further.
Apply one coat per the label, let it dry for the full recommended dwell time (Rust Reformer wants 24 hours before you topcoat, Corroseal asks for similar). The film looks dark and ugly. That’s fine — it’s getting buried.
Wear gloves and eye protection. Open a window. Never mix rust converter with bleach, ammonia, or any household acid like vinegar. Phosphoric acid is the active ingredient in most converters and it doesn’t play well with other chemistry.
Step 3. One Coat of BIN Shellac Primer
This is the step that makes the fix permanent. Zinsser B-I-N is the white-label shellac primer. Shake the can hard, pour into a clean tray, roll it on with a 3/8 inch nap microfiber. Cut in around the spot with a synthetic brush first, then roll while the cut-in is still wet. Don’t stop in the middle of a wall. Lap marks set fast in shellac.
For a small stain — single nail bleed, one ring on a ceiling — you can spot-prime with the can’s built-in brush or a foam brush instead of mixing a tray. Hit the converted spot plus four inches in every direction. The extra inches matter because some of the iron has migrated outward in the original water path.
Touch-dry in 15 minutes, recoat in 45 at 70°F. For a deeper or older stain, give it a second thin coat after the first flashes off. Two thin coats hold better than one thick one.
Ventilate. The alcohol fumes are sharp until the film flashes. Wear an organic-vapor respirator if you can’t get cross-flow ventilation, especially in a closet or a basement. Pets and kids out of the room until it gases off.
Step 4. Two Coats of Topcoat
Once BIN is dry, anything you want goes on top. Standard interior latex in your chosen sheen, two coats, four hours between. The shellac has locked the rust and the converter has neutralized the source. The topcoat is purely about color and finish now.
Eggshell on walls, flat on ceilings, semi-gloss on trim. Cut in the corners first, roll while the cut-in is still wet, lay off in long strokes. The hard work is already under the topcoat.
Recommended Product
Zinsser B-I-N Shellac-Base Primer. It’s the only primer most painters will warranty against rust bleed-through over a treated substrate. One quart spot-primes a whole house worth of small stains; one gallon covers about 350 square feet for full-wall jobs. Buy the can. Don’t substitute.
Find it on Amazon · Zinsser brand review
Prevention
Most rust stains are preventable on the next cycle. Use stainless or hot-dipped galvanized fasteners for any future drywall patch, trim install, or exterior siding job. They cost an extra few cents per screw. The math is obvious.
For exterior work, every fastener that lives in a wet zone — flashing screws, deck-board nails, gutter screws, siding nails on the rain side of the house — should be stainless or coated specifically for exterior use. Standard zinc-plated drywall screws used outside will bleed inside a year.
Inside the wall cavity, the rust risk is moisture. If the wall has had a leak, fix the leak and dry the cavity before you close it up. Wet steel inside a wall rusts on a slow clock that ends with an orange ghost on your finish paint. Vapor barriers, working flashing, and gutters that send water away from the house are the real prevention. Paint is the cleanup, not the cure.
When to Call a Pro
- Concrete walls or floors with rust bleed and visible cracks or spalling. Rebar corrosion has expanded enough to push the concrete apart. That’s a structural engineer’s call, not a paint job.
- Whole-soffit or whole-wall exterior rust streaking on a multi-story house. Diagnosis means a ladder, and finding which flashing screw is failing is its own skill.
- Pre-1978 home with rust ghost through old painted trim that’s chipping or chalking. Lead test first. EPA RRP rules apply once you start sanding.
- Rust returning within months of a properly done BIN-and-topcoat sequence. That means the source is still active and bigger than a single fastener — embedded steel, a hidden leak, or a galvanic reaction you haven’t found.