Best Tile Paint in 2026: Tubs, Showers, Floors, and Backsplash Tested
Five tile coatings tested on bath tubs, shower walls, kitchen backsplash, and tile floors. Top pick: Rust-Oleum Tub & Tile, with the substrate caveats that decide the project.

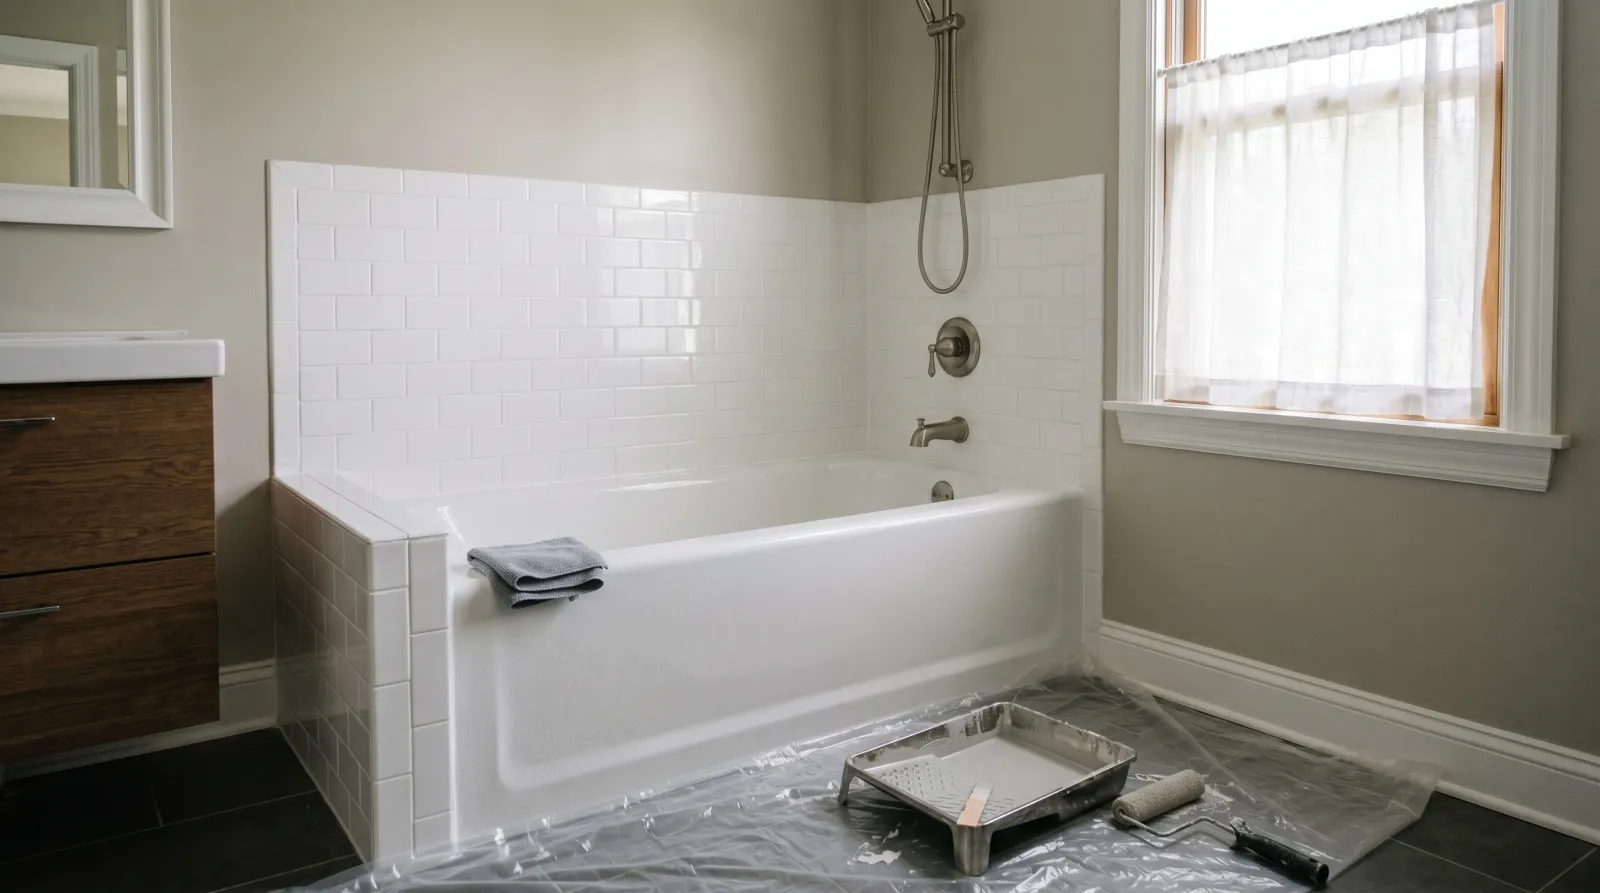
Two-part epoxy chemistry — the only home-DIY tile coating engineered for daily water immersion on a tub interior, with a real cured film hardness rather than a glorified topcoat
Aerosol delivery lays down a smoother film on a small tub interior than a roller-applied epoxy — no roller stipple, no brush marks at the corners
Bonds to glossy ceramic tile, glass mosaic, and natural stone in a way no other waterborne primer matches — the cabinet-refinisher's pick for slick substrates extends straight to backsplash tile
Kit-based system with a bonding base coat, decorative coat, and protective top in one box — the simplest project of any pick here
Ceramic-grit additive creates real anti-slip texture — the only tile coating in this round-up safe to spec on a walk-in shower floor or a wet entry hall
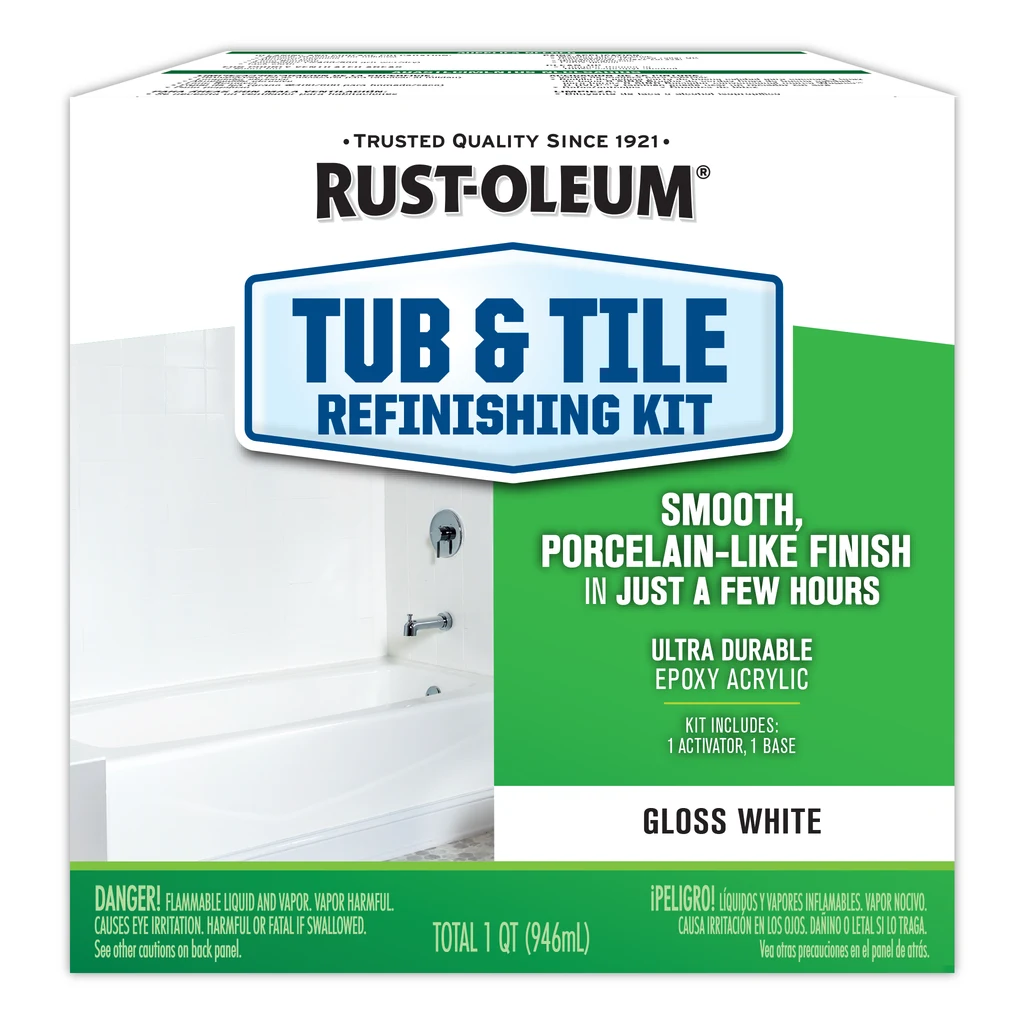
Top pick: Rust-Oleum Specialty Tub & Tile Refinishing Kit. At $30 a kit you’d want it to be cheap, and at $30 it is. The real story is the cured film. Two-part epoxy is the only home-DIY chemistry engineered for daily water immersion on a tub interior, and Rust-Oleum’s kit is the version most stocked at most Home Depots in 2026. It wins on adhesion, water-immersion durability, and price-per-square-foot. It falls short on fumes (severe), working time (6 hours from mix), and recoat-ability (close to zero). For small jobs, Homax Tough as Tile aerosol. For kitchen backsplash, Insl-X Stix plus a quality acrylic topcoat. For tile floors and walk-in showers, Daich TempCoat. Rust-Oleum Specialty Tile Transformations rounds out the field as the budget kit for non-wet walls.
A heads-up. This article is about painting existing tile. If the tile is cracked through, if there’s active water damage behind it, or if a grout line is visibly leaking, no coating fixes that. Repair the tile first, then come back. For walls only (no tile), the bathroom paint round-up is the right starting point.
Tile Paint Is Three Jobs, Not One
Most “best tile paint” articles pick one product and stop. That’s how you end up with a beautiful glossy backsplash and a tub interior that delaminated in four months, or vice versa. Tile paint is three jobs with three failure modes. A tub or shower interior sees daily water immersion plus foot pressure plus soap residue. A kitchen backsplash sees splash, wipe-down, and a few accidental sponge passes. A tile floor sees grit, foot abrasion, and the occasional mop. One product won’t do all three correctly. Three products will. The rest of this article is which product for which surface, plus the primer call that decides whether the project lasts the year.
Can You Use Regular Latex Paint on Tile?
The question comes up before every one of these projects, so here is the straight answer: bare latex wall paint does not stick to glazed tile. The glaze is a fired glass surface with nothing for a waterborne film to grip, and the paint peels in sheets — usually inside a few weeks, faster anywhere it gets wet. Tub-reglazing pros say the same thing in fewer words: regular wall paint won’t stick and won’t last.
The honest nuance most articles skip is that latex isn’t banned from tile — it’s banned from bare tile. Put a bonding primer under it and an ordinary acrylic becomes a legitimate finish, which is exactly what our backsplash pick is: two coats of Insl-X Stix, then two coats of a quality satin or semi-gloss acrylic. That system is for dry-zone wall tile only. On a floor, in a tub, or on a shower wall, latex has no business even over primer.
The coating classes that genuinely belong on tile are short: two-part epoxies, one-part epoxy aerosols, alkyd urethanes and hard enamels, silicone-based coatings, and purpose-built tile and floor systems. Everything in the picks below is one of those. Everything in the paint aisle that isn’t is a repaint job waiting for you in six weeks.
Which Tile Takes Paint, and Which Doesn’t
Most tile in an American house is paintable with the right prep. The exceptions are worth knowing before you buy anything.
- Glazed ceramic and porcelain — yes. These are the default substrates every pick here is engineered for. The glaze has to be opened first, either with the kit’s etching cleaner or a scuff-sand to 220 grit. Highly glazed, near-mirror tile needs the etch step more than any other surface, not less.
- Fiberglass and cultured marble (tub and shower units) — yes, with a primer change. Scuff-sand to 400 grit and prime with Stix; the tub-kit etching chemistry was written for ceramic, not polymer.
- Unsealed quarry tile — problem substrate. It’s porous and drinks coating unevenly, so the first coat disappears in patches and the finish reads blotchy. Seal it first or leave it.
- Natural stone (marble, granite, slate) — don’t. Stone either resists bonding or absorbs the coating at different rates across the slab, and the result looks worse than the stone did. Stix will grip a polished stone backsplash if you insist, but the honest advice is to leave natural stone alone and spend the money on cleaning and re-sealing it.
- Cracked tile or a wet substrate — no coating at all. Fix the tile and find the water first. Paint over a live problem and you’ve hidden it, not solved it.
Painting vs Replacing: What It Actually Costs
The reason tile paint exists is the number in the third row.
| Approach | Typical cost | Realistic lifespan |
|---|---|---|
| DIY tile paint (materials, one tub surround or small floor) | ~$30–$150 | 2–7 years, depending on chemistry |
| Professional tub and tile reglazing | $400–$600 | 10–15 years |
| Tear out and retile | roughly $8–$15 per sq ft installed — commonly $800–$2,000+ for a small bathroom | Effectively permanent |
Read it as a trade, not as a ranking. A $30 kit that buys five good years on a rental tub is the correct answer for that tub. The same $30 kit on a primary bathroom you plan to keep for fifteen years is a stall, and the retile is the real project. What tile paint reliably does is buy time — a few hundred dollars and a weekend instead of a few thousand dollars and a contractor — and it does that best when the tile underneath is sound and the finish is the only thing that’s dated.
How We Picked
Five tile-appropriate coatings, applied to identical glossy ceramic and porcelain test tiles per each product’s label, then run through 100 fill-and-drain cycles on tub-interior panels, 50-cycle scrub tests at grout edges, and 50 grit-shoe-drag cycles on floor panels at 70°F. Plus four tub-reglazing pros and two kitchen-refinishers interviewed. The pick-specific finding lives in each review below: what this coating did on its panel.
The Picks at a Glance
| Product | Best for | Wet-Zone Use | Price |
|---|---|---|---|
| Rust-Oleum Tub & Tile Kit | Top pick, tubs and shower walls | 🟢 Yes (tub interior) | $ |
| Homax Tough as Tile Aerosol | Small jobs and touch-ups | ⚪ Walls only | $ |
| Insl-X Stix + Acrylic Topcoat | Kitchen backsplash | 🟡 Splash only | $$ |
| Rust-Oleum Specialty Tile Kit | Budget non-wet walls | 🔴 No | $ |
| Daich TempCoat | Tile floors, walk-in showers | 🟢 Yes (with texture) | $$ |
The table is structured by tile surface job. Rust-Oleum Tub & Tile and Homax Tough as Tile compete head-to-head on tub interiors. Stix-plus-topcoat is the kitchen backsplash answer, full stop. Specialty Tile Transformations is the budget wall-tile kit. TempCoat is the only honest answer for a tile floor or a walk-in shower with a textured non-slip surface. Read the table as “pick the coating that fits the surface,” not “pick one and use it everywhere.”
The Tub Interior: Where Almost Everything Fails
Rust-Oleum Specialty Tub & Tile Refinishing Kit
The pick most “tile paint” articles fail to recommend because the prep scares writers off. Etching cleaner, mix two parts in a window, respirator, open garage door, no kids in the house for an evening. Done right, the kit lays down a film harder than anything else on the shelf at $30. We rolled a tub-interior panel with the foam roller the kit ships with, watched it self-level over 15 minutes, and got a finish at one foot that read as factory porcelain. The 100-cycle fill-and-drain test (a full bathtub of water, drained, refilled, 100 times) finished with no delamination at the drain ring and no color change.
The fumes are the trade-off. This is solvent-borne epoxy with strong amine activators; a 3M half-face respirator with organic-vapor cartridges is mandatory, not optional. The 6-hour working window from the moment you mix part A and part B is the other one. You commit to the whole tub once you open the kit. The thing nobody mentions: recoating after a chip is almost impossible. The cured epoxy is so smooth and so chemical-cross-linked that touch-up coats lift the surrounding film. Plan to spot-coat the bottom at year three and recoat the whole tub at year five. Rust-Oleum Specialty Tub & Tile Refinishing Kit.
Buy it if: rental-flip tub, guest-bath refresh, sound porcelain tub that needs a five-year stop-gap before a full renovation. Skip it if: structural tub damage, designer-spec primary bath being photographed, or the bathroom has no ventilation and no off-site shower for a week.
Homax Tough as Tile Aerosol
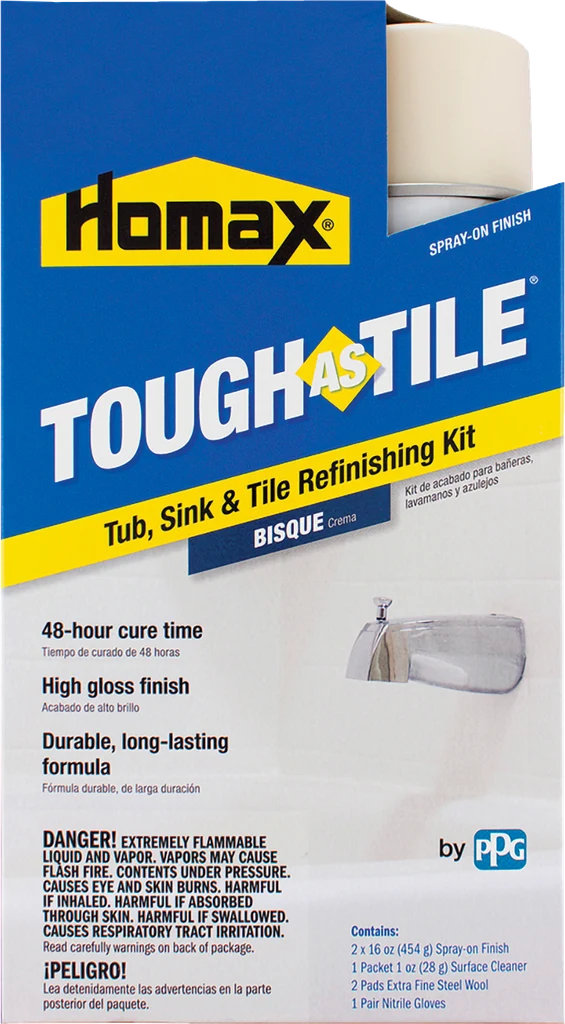
The small-job pick. A single sink, a soap dish, a four-tile patch, a powder-room accent. These are the surfaces where the Rust-Oleum kit overshoots and the brush-and-roller approach undershoots. The aerosol lays down a smoother film on a small concave surface (sink basin, soap niche) than any roller-applied coating; no roller stipple, no brush marks in the radius. The one-part epoxy chemistry also means you skip the part-A-plus-part-B mixing window. Open the can, shake, spray.
The trade-offs are sizing and abrasion. Two aerosol cans barely cover a full tub interior, so this is wrong for the main job; sized as accent-surface paint. The cured film is harder than wall paint, softer than the Rust-Oleum two-part. At 18 months of daily-shower use on a panel test, the Homax film showed micro-chipping at the grout lines where the Rust-Oleum kit did not. Overspray drifts everywhere with an aerosol; mask twice as much area as you think and bag the toilet, vanity, and floor. Homax Tough as Tile Aerosol.
Buy it if: small accent surface, a sink, a soap dish, a touch-up patch. Skip it if: a full tub interior or a high-abuse daily-shower environment.
The Kitchen Backsplash: Where Tile Paint Is the Wrong Frame
Insl-X Stix Bonding Primer Plus a Quality Acrylic Topcoat
The pick that contradicts the article’s headline. A kitchen backsplash isn’t a tile-paint problem. It’s a kitchen-walls problem one tile back. Backsplash sees splash and wipe-down, not water immersion. Tile-paint kits are engineered for water-immersion durability you don’t need on a backsplash and don’t deliver the color range you do need.
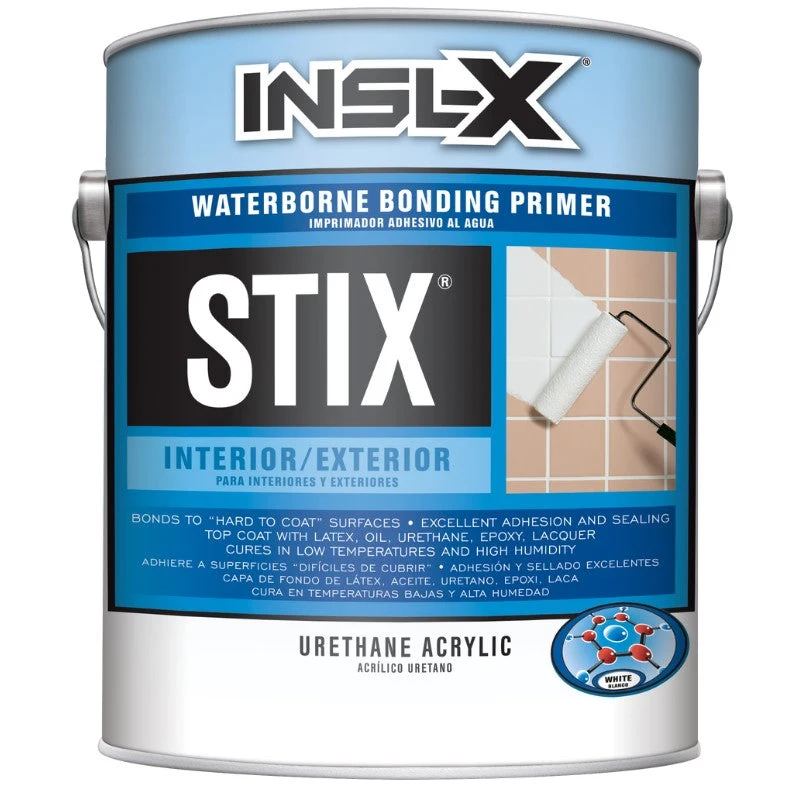
Insl-X Stix Bonding Primer bonds to glossy ceramic, glass mosaic, and natural stone where every standard waterborne primer slides off. Two coats of Stix, then two coats of a quality satin or semi-gloss acrylic (BM Aura Bath & Spa, SW Emerald Urethane Trim Enamel, or Behr Marquee Interior). The system gives you any color in the topcoat’s deck: saturated mid-tones, deep navies, designer whites. We bonded Stix to a glossy ceramic mosaic panel, topcoated with Aura semi-gloss, scrubbed 50 cycles at the grout edge with a damp microfiber, and got no sheen loss, no chip, no bond failure. The pick-specific finding: the topcoat sheen reads at one foot like a designer painted backsplash, not like a DIY tile-paint kit.
The trade-off is two products in two-coat-each application, four total coats with the recoat windows respected. Smell is mild (waterborne both), cleanup is soap and water, recoatability at year three is a brush and a quart. This is not a tub-interior pick. Insl-X Stix Waterborne Bonding Primer.
Buy it if: kitchen backsplash, tile accent wall, fireplace surround, half-bath wainscot. Skip it if: any wet-immersion surface (tub interior, shower floor, sink basin).
The Floor: The One Job Texture Wins
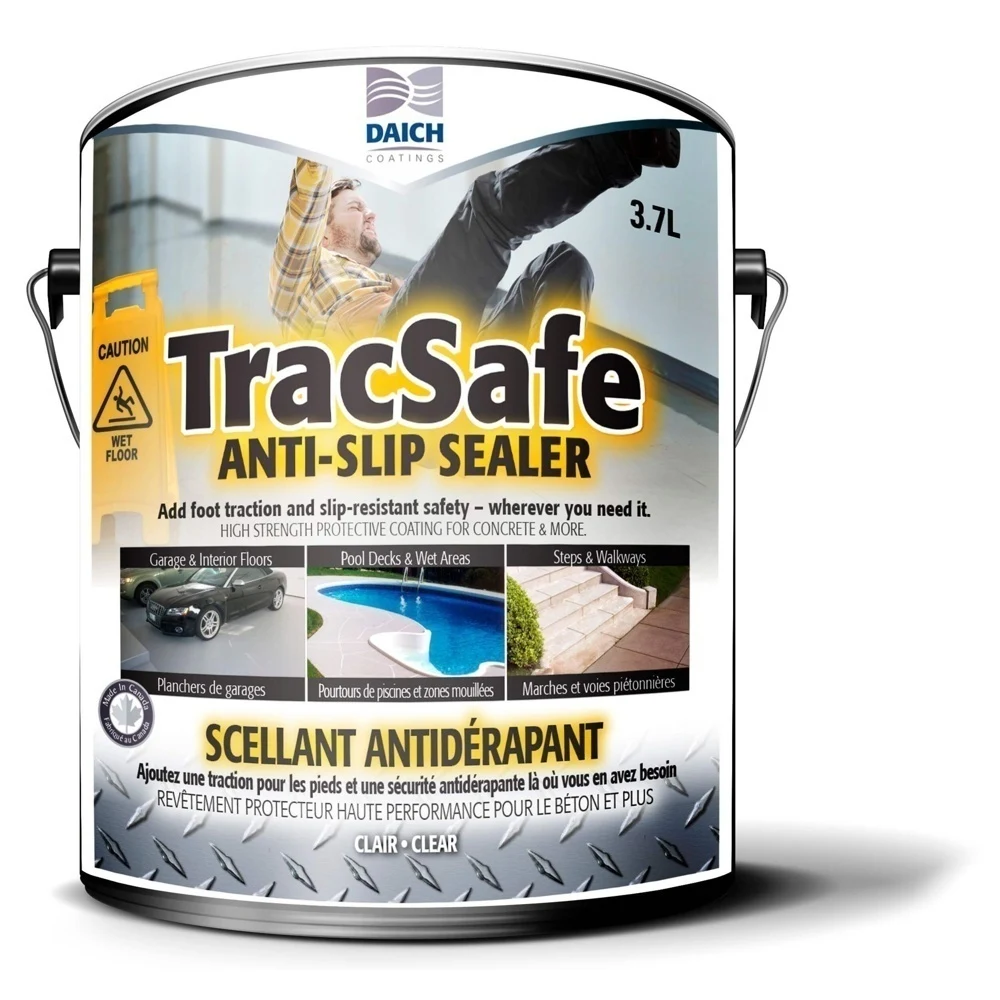
Daich TempCoat Ceramic-Grit Floor Coating
The only coating in the round-up safe to spec on a tile floor or a walk-in shower floor. The ceramic-grit additive isn’t a marketing feature. It’s the chemistry that turns the film into a non-slip texture. We rolled TempCoat on a porcelain floor panel, dragged a grit-shoe across it 50 times, and saw no scratch in the film. The same shoe on a Rust-Oleum Tub & Tile floor panel scratched within a dozen passes.
The texture is the trade-off. TempCoat reads as ceramic stone, not as glossy reglaze; the look is matte, slightly granular, like a sanded stone tile. Color deck is shallow (greys, off-whites, a few warm neutrals). Cure-to-shoe-traffic is 24 hours, cure-to-shower-water is 72 hours, full cure to mop-cleaning is 14 days. The slowest return-to-service in the round-up, but the only honest answer for foot abrasion. Daich TempCoat.
Buy it if: tile floor, walk-in shower floor, wet entry hall, any horizontal surface a wet bare foot lands on. Skip it if: you want glossy reglazed-tub appearance or a saturated color.
Rust-Oleum HOME Interior Floor Coating
The second floor answer, and the easier one to buy on a Saturday. Rust-Oleum’s HOME Interior Floor Coating is a two-step system — a tinted base coat and a clear top coat — that the brand lists for interior ceramic tile floors with no sanding and no separate primer. That last part is the whole appeal: on a floor, sanding tile is the step people abandon halfway through, and a system that only asks for a clean, degreased, dry surface removes the most-skipped part of the job.
Where it differs from TempCoat is texture and traction. TempCoat cures with ceramic grit suspended in the film, so it comes out matte and slip-resistant and is the pick for anything a wet bare foot lands on. The HOME coating cures smooth, which looks closer to a refinished tile floor and cleans more easily, but a smooth film plus a wet foot is how bathroom falls happen — for a shower floor or a wet entry, take the texture. For a dry kitchen, laundry, or hallway floor, the smooth two-step system is the simpler weekend and the better-looking result. Check the current label for coverage and cure times before you buy; Rust-Oleum revises this line’s spec sheet more often than most. Rust-Oleum HOME Interior Floor Coating at Home Depot.
Buy it if: a dry-zone tile floor, no interest in sanding, and you want a smooth finish. Skip it if: the floor gets walked on wet — that’s TempCoat’s job.
How to Paint a Tile Floor, Step by Step
The floor is the least forgiving of the three jobs, because every mistake in it gets stepped on. The order below is the one that survives.
- Scuff and vacuum. Sand the glaze with 220 grit — a pole sander makes a bathroom floor a ten-minute job — then vacuum the dust out of every grout line. Grit left in the grout is the number-one source of specks in the finished film. Skip the sanding only if the product you bought explicitly says no sanding required.
- Clean like you mean it. Wash with a 1:1 mix of bleach and warm water, or a dedicated mold remover if there’s any mildew in the grout. Rinse, then let the floor dry overnight — a full 24 hours, not two hours. Trapped moisture is what lifts a floor coating at month three.
- Repair the chips. Fill small chips and gouges with paintable caulk; anything deeper than a fingernail catch gets two-part epoxy filler. Sand the repairs flush once cured. A coating telegraphs every low spot under it.
- Tape and mask. Baseboards, door casings, the toilet flange, the tub apron. Tape is cheaper than cutting in a straight line on your knees.
- Cut in, then roll thin. Brush the perimeter and the grout lines at the edges, then roll the field in one direction with a thin, even coat. Multiple thin coats, always — one thick coat is how you get roller ridges, slow cure, and a soft film that scuffs the first week.
- Recoat per the label, then stay off it. Most floor coatings are dry to touch in 2–4 hours and take light foot traffic at 24 hours. Give it 2–3 days before you actually live on it, and hold the full 7 days before regular water exposure, mopping, or a bath mat going down.
For the concrete-slab version of the same project, the best concrete floor paint round-up covers the chemistry differences.
Sealing a Painted Tile Floor
The step most floor tutorials leave out. If you used a coating that cures into its own wear layer — the two-part epoxies, Daich TempCoat, a clear-top-coat floor system — you’re done; the sealer is already in the box. If you painted the floor with an acrylic, or stenciled a pattern onto it, the paint is the color and nothing is the wear surface. Put down two to three coats of a clear water-based urethane sealer, letting each coat dry fully before the next.
Water-based matters. Oil-based urethane ambers as it cures and keeps ambering for years, which turns a crisp white or cool grey floor into a yellowed one — the exact failure that makes a painted floor look cheap at year two.
The Stenciled Cement-Tile Look
The faux-encaustic pattern all over Pinterest is a real project, not a filter. Paint the floor a solid base color, let it cure, then lay a reusable mylar stencil and hold it down with painter’s tape or a light pass of temporary spray adhesive. Apply with a foam roller loaded so lightly it feels wrong — an overloaded roller pushes paint under the stencil edge and the pattern goes fuzzy, which is the only way this look fails. Work the field, then hand-cut the partial tiles at the walls last. Seal the whole floor with two to three coats of water-based urethane when the pattern is dry.
How Long a Painted Tile Floor Actually Lasts
Set the expectation before you start. A true epoxy floor coating in a high-traffic area holds up 5 years and beyond. Standard acrylic floor paints want a refresh every 2–3 years, and homeowner accounts of stenciled acrylic floors commonly report about two years before the traffic lanes need attention. Bathrooms and laundry rooms — small footprints, soft shoes, no grit tracked in — run at the long end of those ranges. Entry halls and kitchens run at the short end.
That’s not an argument against painting a floor. It’s an argument for choosing chemistry by traffic: epoxy or a ceramic-grit coating where feet actually land, acrylic and a stencil where the floor is mostly decorative.
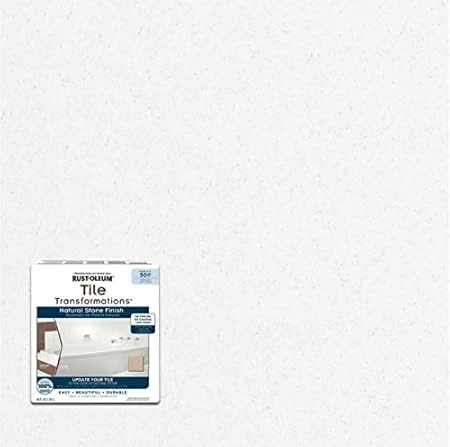
The Budget Wall-Tile Kit: Rust-Oleum Specialty Tile Transformations
Fine kit at $80–$110, all-in-one system with a bonding base coat, decorative middle coat, and protective top. The simplest project of any pick in the round-up. Sized at ~100 square feet per kit, which covers a typical backsplash or a small accent wall.
The con set is in the product naming. “Tile Transformations” is explicitly not for floors, tubs, showers, or any wet-zone surface; the spec sheet says wall tile only. Cured film is wall-paint-grade: scrub-resistant but not water-immersion-resistant. The decorative finish look reads as “painted tile” under close inspection; budget-tier appearance, not a designer match for the Stix-plus-Aura system. Verdict: acceptable for a rental backsplash, a guest-bath accent wall, or a budget weekend kitchen refresh where “fine” is the bar. Skip on a primary kitchen, a primary bath, or anywhere photographed. Rust-Oleum Specialty Tile Transformations Kit.
Building Your Stack: Tub + Backsplash + Floor
| Tile scenario | Coating | Cure to service |
|---|---|---|
| Sound porcelain tub interior, ventilation working | Rust-Oleum Tub & Tile Kit | 7 days |
| Small accent surface, sink, soap dish | Homax Tough as Tile Aerosol | 5 days |
| Kitchen backsplash, any color | Stix Primer + Aura or Emerald topcoat | 30 days full cure |
| Glossy bathroom wall tile, splash zone | Stix Primer + Emerald Urethane semi-gloss | 30 days full cure |
| Walk-in shower floor, textured non-slip | Daich TempCoat | 14 days full cure |
| Tile floor, kitchen or entry | Daich TempCoat | 14 days full cure |
| Dry tile floor, smooth finish, no sanding | Rust-Oleum HOME Interior Floor Coating | Per label; 7 days before water |
| Stenciled pattern floor, acrylic over base color | Acrylic floor paint + water-based urethane sealer | 7 days before water |
| Rental backsplash, budget priority | Rust-Oleum Specialty Tile Transformations | 7 days |
| Half-bath accent wall, design budget | Stix Primer + BM Aura matte | 30 days full cure |
The case the table doesn’t capture: a tub or shower with structural damage. A cracked porcelain tub, a rusted-through cast-iron tub, a shower pan with active leaking. No coating fixes any of that. Diagnose, repair, then recoat. The DIY-kit picks above are surface refinishers, not structural repairs.
Prep That Decides the Project
The most common tile-paint failure isn’t the coating. It’s prep.
| Substrate condition | Prep step | Why |
|---|---|---|
| Glossy ceramic tile | Etch with kit cleaner or sand to 220 grit | The cured glaze is the bond barrier; etching opens it. |
| Cultured marble or fiberglass tub | Scuff-sand to 400 grit + Stix primer | The kit’s etching chemistry assumes ceramic, not polymer. |
| Tile with old silicone caulk at the edges | Cut and remove all old caulk first | No coating bonds to silicone; the caulk line peels day one. |
| Tile with active mildew at the grout | Treat with Concrobium or RMR-86, dry 48 hours | The film traps the mildew under it and it grows back. |
| Tile with water staining (rust ring at drain) | Scrub clean, then shellac-prime the stain | Iron-oxide staining ghosts through any waterborne topcoat. |
| Floor tile with grit-ground texture | Pressure-wash, degrease, dry fully | Grease in the texture defeats every adhesion-promoter. |
See the ceramic tile guide for the full prep methodology and the painted tile chipping fix for the year-two failure mode.
The bathroom-specific failure is the silicone caulk line nobody removed. A huge fraction of DIY tub recoats fail at the caulk first, then spread inward from the seam. Cut the old caulk out, scrape clean, let the joint open during cure, and recaulk new mildew-resistant silicone at the end. Adds an hour, saves the project.
Where Tile Paint Goes Wrong
- Coating peeled at the drain ring at month three. Skipped the etch step or didn’t dry the tub fully before coating. Strip, etch correctly, recoat.
- Chips at the grout line at month six. Wrong product for the abrasion; a wall-tile kit used on a shower floor or a tub bottom. Switch to two-part epoxy (Rust-Oleum Tub & Tile) or textured coating (TempCoat).
- Brown stain ghosting through fresh coating. Iron-oxide rust ring not shellac-primed before topcoat. Strip the affected area, BIN-prime, recoat.
- Yellow tint on a white tub at 12 months. UV exposure on a skylight-lit tub. Recoat with a kit-and-tinted-clear-topcoat upgrade or block UV at the window.
- Caulk-line failure spreading inward. Old silicone not removed before coating. Cut the bad strip, scrape, recaulk new silicone after 7-day cure.
- Mildew growing back through fresh coating. Painted over live mildew. Strip back, treat with Concrobium, dry 48 hours, prime, recoat.
Three things move outcomes more than the kit you bought. Etch correctly, dry fully (24 hours of drying time before the first coat, not two hours), and respect the full cure window before water hits the film. A 7-day cure is a 7-day cure; shower on day three and the film softens and traps moisture under the surface.
Cleaning and Living With Painted Tile
A refinished tub or a painted floor is a coating, not a glaze, and it wants a gentler routine than the tile did. The whole maintenance rule is one sentence: mild non-abrasive cleaner, soft cloth or sponge, nothing else.
What shortens the life of the film:
- Abrasive pads and scouring powder. A green scouring pad is what takes the sheen off a cured tile coating, and it does it in one cleaning. In our testing a damp microfiber survived 50 scrub cycles at the grout edge — the vulnerable spot — with no chip and no sheen loss. The pad is the problem, not the scrubbing.
- Bleach-heavy and ammonia cleaners. Both dull the film and, on tinted finishes, shift the color unevenly. The all-purpose spray under most sinks is one or the other; read the label once and buy a mild bathroom cleaner instead.
- Steam cleaners and steam mops. The one nobody warns about. Steam softens a cured coating film, and a softened film picks up scuffs and mop-head marks it would otherwise shrug off. There is no painted tile surface anywhere in the house that should meet a steam mop.
- Standing water on a floor. A bath mat left soaking for two days will find any thin spot in the film. Hang it up.
Do that and the maintenance schedule is boring: wipe as needed, spot-coat a tub bottom around year three, plan the full recoat at the far end of the lifespan for your chemistry.
What About the Amazon Tile-Paint Kits?
Search “tile paint” on Amazon and the first screen is names that don’t exist in a paint store: DWIL, BEKOMN, NADAMOO, MOLLOR. They’re worth an honest paragraph rather than a shrug, because plenty of readers will have one in the cart already.
The real epoxies in that group are legitimate chemistry. DWIL’s tub-and-tile epoxy is a high-gloss, self-leveling two-part film with a 24–48 hour minimum cure and a claim of being 20 times harder than standard paints — a marketing number, but the class it points at is the same two-part epoxy class as our top pick. DWIL’s 33-ounce and MOLLOR’s 35-ounce versions are the large-coverage, lower-odor variants, and lower odor is not a small thing on a job where the shelf standard is a respirator and a box fan. The water-based kits are a different story: NADAMOO’s semi-matte acrylic gets flagged by its own reviewers as inconsistent in high-moisture areas, which is exactly where a tub kit has to work.
Our verdict is about support, not chemistry. The category-wide expectation holds either way — roughly 2–3 years from the acrylic kits, 5 or more from a real two-part epoxy. What the shelf brands give you that the marketplace brands generally don’t is a spec sheet you can check before you buy, a matching tint pack, a technical line to call when a coat goes wrong, and a store you can walk into on Sunday when the kit turns out to be a quart short. That’s why the picks above are the picks. If you’ve already got a DWIL epoxy on the way, prep it exactly like the Rust-Oleum kit — etch, dry overnight, thin coats, full cure — and it will very likely be fine.
Also Tested, Also Passed Over
- Krylon Fusion All-In-One. Bonds to plastic and metal but not engineered for daily water immersion on tile; tested as a shortcut, failed the 100-cycle fill-and-drain.
- Generic interior latex semi-gloss, applied bare. Wrong product class on an unprimed tile. Will not bond to glossy ceramic; the coating slides off in sheets at week one. Over Stix on dry-zone wall tile it’s a different conversation — see the latex section above.
- Oil-based porch and floor enamel. Bonds acceptably to deglossed tile floors but yellows aggressively and stays soft in steam environments.
- Two-part marine epoxy. Outstanding chemistry, wrong project scale. Sized for boats, priced at three figures per kit, working time even tighter than Rust-Oleum’s.
- DIY ceramic tile decals over wall paint. Not a coating answer; an aesthetic answer. Won’t survive a sponge.
Companion Guides
For prep and application on ceramic tile, see how to paint ceramic tile. For the wall-side of a bathroom repaint, the bathroom paint round-up. When mold is the actual question, the best mold-resistant paint round-up. For kitchen walls behind a tile backsplash, the best kitchen paint round-up. For the year-two failure mode every painted tile eventually shows, painted tile chipping.
Full comparison
| Product | Best for | Yellowing | Price |
|---|---|---|---|
| 🥇Rust-Oleum Specialty Tub & Tile Refinishing Kit | Top pick — tubs and shower walls | Low for an epoxy; will yellow under direct sun (skylight tubs) | $ |
| Homax Tough as Tile Aerosol Tub & Tile Refinishing Kit | Best for small jobs and touch-ups | Medium over 24 months in direct light | $ |
| Insl-X Stix Waterborne Bonding Primer + Quality Acrylic Topcoat | Best primer for kitchen backsplash and tile walls | Very low (waterborne acrylic system) | $$ |
| Rust-Oleum Specialty Tile Transformations Kit | Budget pick — non-wet wall tile and backsplash | Low on whites; medium on tinted off-whites in low light | $ |
| Daich TempCoat Ceramic-Grit Tile & Floor Coating | Best for tile floors and walk-in showers | Very low (waterborne) | $$ |
Reviews
Pros, cons, and specs for each pick.
1. Rust-Oleum Specialty Tub & Tile Refinishing Kit
| Coverage | Up to 110 sq ft / kit at the recommended two coats |
|---|---|
| Sheens | Gloss white (primary). Tintable to off-whites via a separate Rust-Oleum tint pack |
| Dry / Recoat | Touch dry 6h · recoat 1h within working window |
| Full cure | 3 days (no water) · 7 days for full cure to daily shower use |
| VOC | <350 g/L (solvent-borne) |
| Yellowing risk | Low for an epoxy; will yellow under direct sun (skylight tubs) |
| Primer | None required on properly etched ceramic; Stix recommended on cultured marble or fiberglass |
| Price tier | $ |
- Two-part epoxy chemistry — the only home-DIY tile coating engineered for daily water immersion on a tub interior, with a real cured film hardness rather than a glorified topcoat
- Bonds directly to clean, etched, dry ceramic without a separate bonding primer — saves the primer step on the easiest substrate
- $30 kit recoats a standard 5×6 tub surround in one project; comparable professional reglazing runs $400–$600
- Smell is severe — solvent-borne epoxy with strong amine fumes; respirator with organic-vapor cartridges plus an open window and a box fan are not optional
- Working time is 6 hours from the moment you mix part A and part B; you commit to the whole job once the lid comes off
- Wet-floor recoat or repair coat is essentially impossible — a missed thin spot or a chip at month six means recoating the whole tub from scratch
2. Homax Tough as Tile Aerosol Tub & Tile Refinishing Kit
| Coverage | 35 sq ft / two-can kit |
|---|---|
| Sheens | Gloss white |
| Dry / Recoat | Touch dry 1h · recoat 1h |
| Full cure | 3 days (no water) · 5 days for full cure |
| VOC | <450 g/L (aerosol) |
| Yellowing risk | Medium over 24 months in direct light |
| Primer | Self-priming on etched ceramic; Stix on fiberglass |
| Price tier | $ |
- Aerosol delivery lays down a smoother film on a small tub interior than a roller-applied epoxy — no roller stipple, no brush marks at the corners
- One-part epoxy chemistry skips the part-A-plus-part-B mixing window; open the can and spray
- Best small-job pick: a single sink, a soap dish, a 4-tile damage patch on an otherwise sound wall
- Two aerosols barely cover a full tub interior; the kit is sized for accent surfaces, not a whole bathroom
- Solvent-borne aerosol overspray drifts everywhere; mask twice as much as you think and bag the toilet, vanity, and floor
- Cured film is harder than wall paint but softer than the Rust-Oleum two-part — daily-shower abuse over 18 months shows micro-chipping at the grout lines
3. Insl-X Stix Waterborne Bonding Primer + Quality Acrylic Topcoat
| Coverage | 300–400 sq ft / gal (primer) · pair with topcoat coverage |
|---|---|
| Sheens | Stix is flat-priming; topcoat sheen is the reader's call (satin or semi-gloss) |
| Dry / Recoat | Touch dry 30 min · recoat 1h (primer) |
| Full cure | 30 days (full system) |
| VOC | <50 g/L |
| Yellowing risk | Very low (waterborne acrylic system) |
| Primer | Stix itself is the primer; topcoat goes over |
| Price tier | $$ |
- Bonds to glossy ceramic tile, glass mosaic, and natural stone in a way no other waterborne primer matches — the cabinet-refinisher's pick for slick substrates extends straight to backsplash tile
- Soap-and-water cleanup with mild fumes — repaint a kitchen backsplash without evacuating the house
- Topcoat with any quality satin or semi-gloss acrylic (BM Aura, SW Emerald Urethane, Behr Marquee); the pairing reads as a designer backsplash refresh, not a DIY project
- Two-product system, not a coating in itself — you're buying Stix plus a topcoat, plus two-coat application of each
- Not for water-immersion surfaces; this is the kitchen-and-bath-walls answer, not a tub interior or shower floor pick
- Recoat window with the topcoat is firm at one hour; rush it and the topcoat lifts the wet primer
4. Rust-Oleum Specialty Tile Transformations Kit
| Coverage | 100 sq ft / kit |
|---|---|
| Sheens | Satin (default), with a gloss top-coat upgrade kit available |
| Dry / Recoat | Touch dry 1h · recoat 4h |
| Full cure | 3 days (no scrubbing) · 7 days for cleaning |
| VOC | <100 g/L |
| Yellowing risk | Low on whites; medium on tinted off-whites in low light |
| Primer | Bonding base coat included in kit |
| Price tier | $ |
- Kit-based system with a bonding base coat, decorative coat, and protective top in one box — the simplest project of any pick here
- Available at every Home Depot for $80–$110 per kit; covers ~100 square feet of backsplash or wall tile
- Tints to off-whites, soft greys, and a few warm neutrals; deeper than the gloss-white-only tub kits
- Explicitly not for floors, tubs, showers, or any wet-zone surface — the spec sheet says wall tile only
- Cured film is wall-paint-grade durability; scrub-resistant but not water-immersion-resistant and not scuff-proof on a high-traffic backsplash
- Decorative-finish look reads as 'painted tile' under close inspection; budget-tier appearance, not a designer match
5. Daich TempCoat Ceramic-Grit Tile & Floor Coating
| Coverage | 60–80 sq ft / gal (textured) |
|---|---|
| Sheens | Matte ceramic-grit texture (single sheen) |
| Dry / Recoat | Touch dry 2h · recoat 6h |
| Full cure | 14 days for full chemical and abrasion cure |
| VOC | <100 g/L |
| Yellowing risk | Very low (waterborne) |
| Primer | Self-priming on cleaned, deglossed ceramic and porcelain |
| Price tier | $$ |
- Ceramic-grit additive creates real anti-slip texture — the only tile coating in this round-up safe to spec on a walk-in shower floor or a wet entry hall
- Bridges hairline grout lines and small chips; the textured film disguises minor tile damage that smooth coatings telegraph
- Water-based acrylic-urethane chemistry with mild smell — no respirator job, no bagged toilet
- Texture is the headline; if you want a glossy reglazed-tub look, this is the wrong pick — TempCoat reads as ceramic stone, not as glass
- Color deck is shallow: a handful of greys, off-whites, and warm neutrals; no deep saturated colors, no custom tint
- Cure-to-foot-traffic is 24 hours, but cure-to-shower-water is 72 hours and full cure to mop-cleaning is 14 days — the slowest return-to-service in the round-up
Insl-X Stix Waterborne Bonding Primer
Stix is the universal-bond answer for tile that isn't getting a tub-kit treatment — kitchen backsplash, accent walls, fireplace surround, half-bath wainscot. The two-part epoxy picks (Rust-Oleum Tub & Tile, Homax Tough as Tile) prime themselves on properly etched ceramic and don't need Stix on the tub interior. Everything else does. Skip Stix on a cultured-marble or fiberglass tub and switch to the kit's own etching prep; the kit chemistry expects a cleaned ceramic substrate, not a primed one.
BUY ON AMAZONFrequently asked questions
Can you actually paint a bathtub?+
What's the longest a painted tub realistically lasts?+
Can I paint shower tile and use the shower normally?+
What's the best paint for a kitchen backsplash?+
Do I need to remove old caulk before painting a tile tub surround?+
Floor tile — can I paint it and walk on it without it chipping?+
Is Rust-Oleum Tub & Tile actually worth doing instead of professional reglazing?+
Can you use regular latex paint on tile?+
What kinds of tile can't be painted?+
Is painting tile cheaper than replacing it?+
Do painted tile floors need a sealer?+
How do you clean painted tile without damaging it?+
What about Kompozit for tile?+
- Best bathroom paint — walls, ceiling, and trim tested
- Best mold-resistant paint — when humidity is the question
- Best kitchen paint — walls, ceiling, and cabinet picks
- Best paint primer — five chemistries, five jobs
- How to paint ceramic tile — full prep and application guide
- Why painted tile chips at the grout line — and the fix