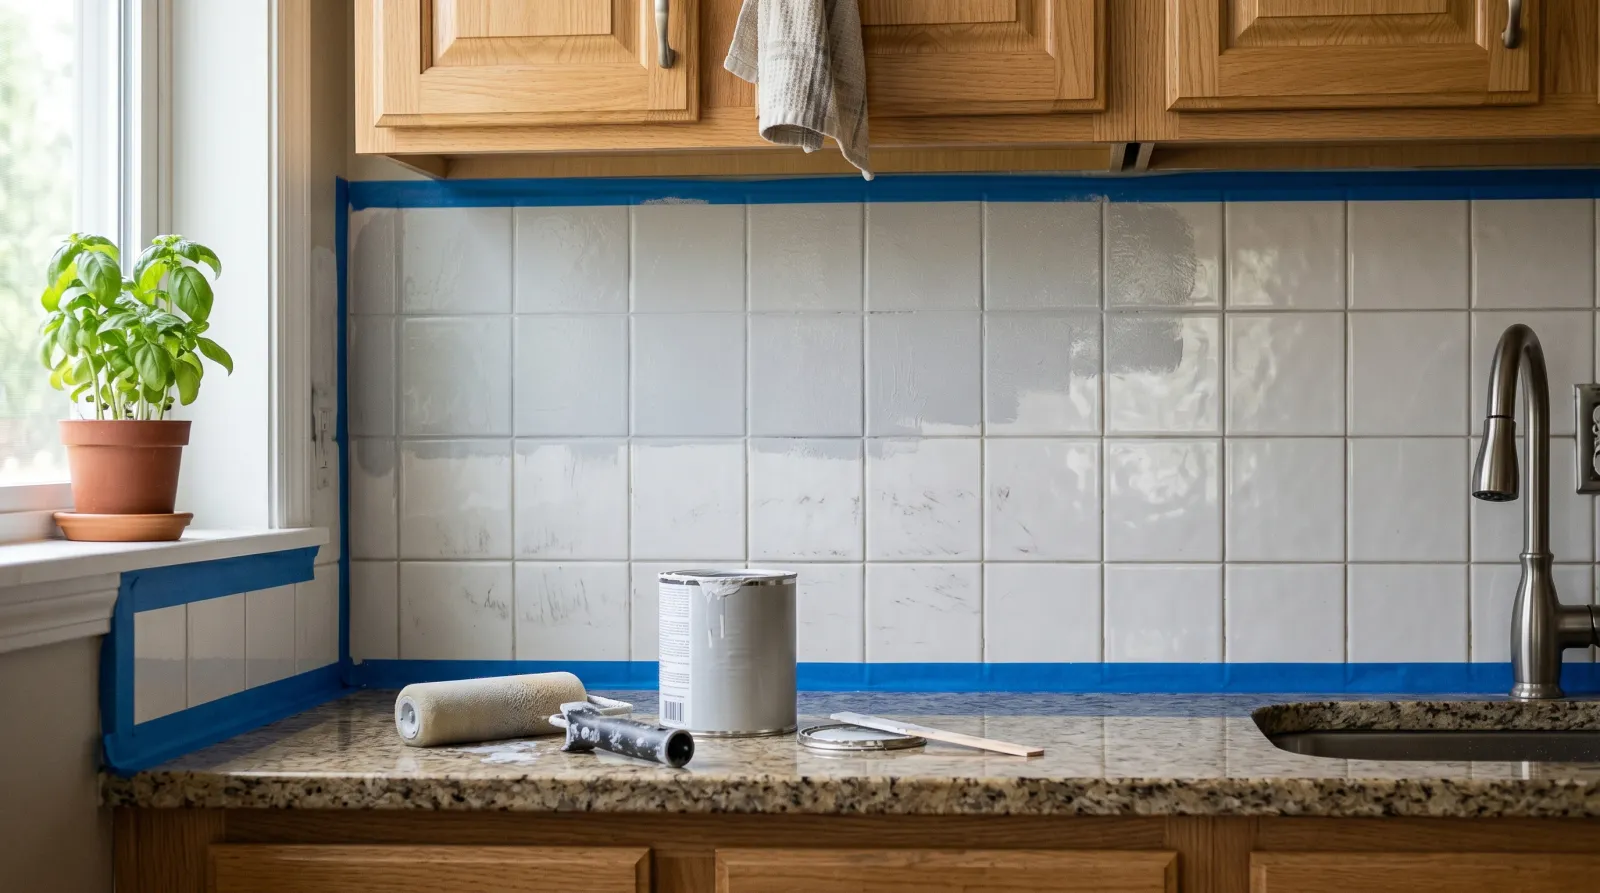
How to Paint Ceramic Tile: Floor, Wall, and Backsplash
Ceramic tile takes paint only if you bond it right. Full prep, primer, and topcoat guide for floors, walls, and backsplashes — what holds and what peels.

Ceramic tile is a bond-or-fail substrate. The glaze is glass. Paint slides off glass. Either you cut into the surface and put a real bonding primer down, or the topcoat peels off in sheets the first time someone wipes it.
TL;DR
- Sand: 220-grit over the whole surface until uniformly dull
- Deglosser: wipe with Klean-Strip Easy or Wil-Bond after sanding
- Prime: INSL-X Stix — one full coat, brush and roll
- Paint (floor): two-part epoxy enamel, two coats
- Paint (wall / backsplash): waterborne urethane enamel, two coats
- Cure: 7 days before scrubbing; floors get 72 hours before furniture
- Skill: hard. Not the painting — the prep
What Is Ceramic Tile?
Ceramic tile is fired clay with a vitrified glaze layer fused on top. The body is porous; the glaze is glass-smooth and chemically inert. Most residential floor and wall tile sold in the US is either standard ceramic (water absorption 3–7%) or porcelain (water absorption under 0.5%, harder, less porous body). For paint purposes both behave the same way at the surface: the glaze rejects everything that isn’t a true bonding primer. Grout lines are different — cementitious, porous, and they grab paint like sponges. That mismatch is the source of half the failures.
Tools and Materials
Materials:
- INSL-X Stix bonding primer (1 quart covers a backsplash, 1 gallon covers a small bathroom floor)
- 220-grit sanding sponges (5–6 for an average backsplash, 10+ for a floor)
- Klean-Strip Easy Liquid Sander Deglosser or Wil-Bond
- TSP or a heavy-duty degreaser (Krud Kutter Original works)
- Two-part epoxy enamel for floors — Rust-Oleum RockSolid or INSL-X Tough Shield
- Waterborne urethane enamel for walls — Benjamin Moore Advance or Sherwin Emerald Urethane
- Painter’s tape (3M Blue 2090 for a clean countertop edge)
- Tack cloths
Tools:
- 4-inch foam roller for face areas
- 2-inch Wooster Silver Tip angled brush for grout lines and corners
- Shop vacuum with a HEPA filter
- Knee pads if you’re doing a floor
- Rubber gloves and a respirator with organic-vapor cartridges for the epoxy
Why Tile Is Tricky
Ceramic glaze is the smoothest, hardest, most chemically resistant residential surface a homeowner will ever try to paint. It was designed to reject everything — water, grease, mildew, coffee, you. That’s good for a tile floor and bad for paint adhesion.
Three failure modes show up over and over:
The glaze stays glossy somewhere, primer doesn’t grip there, the topcoat peels in a hand-sized sheet six months in. The grout absorbs primer at a different rate than the tile face, so the cured film prints a checkerboard of slightly different sheens. Water finds a pinhole in a wet zone — shower, tub deck, around a sink — and undercuts the whole coating. None of these are paint problems. They’re prep problems.
Where You Can Paint Tile and Where You Can’t
Paintable: kitchen backsplash above the counter, bathroom walls above the wainscot line, laundry-room floor, mudroom floor, half-bath floor, decorative fireplace tile, kitchen floor in a low-traffic house. Behind the backsplash splash zone counts as paintable too — the water that hits it dries in minutes and the film never stays wet long enough to soften.
Not paintable in any honest way: shower walls, shower floors, tub surrounds, tub decks, around the inside lip of a swimming pool, sauna interiors. Standing water and soap film will break any topcoat at the grout line within a season. Don’t argue with this. The right answer in a shower is re-tile, re-grout, or a tub liner.
Edge cases: a tile floor in a mudroom that gets wet boots in winter is fine if you put down a runner. A backsplash behind a sink is fine. A backsplash behind a range that catches direct grease spatter is borderline — degrease aggressively before any repaint and expect a 3–5 year refresh cycle.
Step 1 — Clean and Degrease

TSP solution wiped on, scrubbed in, rinsed clean. The film of cooking grease and skin oil comes off invisibly — and primer will not bond over it.
Mix TSP per label (usually 1 tablespoon per gallon of warm water) or use a ready-mix degreaser. Wipe the whole surface, scrub the grout with a stiff nylon brush, rinse twice with clean water, let dry overnight. Skip this on a kitchen backsplash and the grease film will fight every other prep step you do. I’ve stripped two backsplashes back to bare tile because someone primed over hood-vent residue.
Pull old caulk at countertop and tub edges. Replace it after the topcoat cures — caulk over fresh paint, never under it.
Step 2 — Sand the Glaze

Whole surface scuffed uniformly dull. Any spot that still catches light is a future peel.
220-grit sanding sponge over every square inch of tile face. You’re not removing material. You’re scratching the glaze just enough that primer has tooth to grip. Work in 2-foot sections, hold the sponge flat, scrub in circles until the gloss reads matte. Catch the edges and the grout-line shoulders — the lip where tile meets grout is where amateur jobs fail first.
When you think you’re done, hit the surface with a low-angle flashlight. Any glossy spot you missed is a future failure. Go back over it.
Vacuum every speck of dust. Wipe with a damp microfiber. Let dry one hour.
Step 3 — Deglosser
Klean-Strip Easy Liquid Sander Deglosser or Wil-Bond. Soak a clean cotton rag, wipe the tile in 2-foot sections, let flash off (about 15 minutes). The deglosser softens whatever sanding missed and gives the primer a chemically active surface to bite into. On older glazed tile this step is the difference between a 1-year paint job and a 5-year one.
Ventilate. The fumes are real. Open windows, run a box fan.
Step 4 — Prime with INSL-X Stix

One full coat of Stix, foam roller on the face, brush in the grout lines. Reads uniform white when it’s right.
INSL-X Stix is the primer that earns this surface. It’s a urethane-acrylic bonding primer designed for slick substrates — glass, ceramic, melamine, glossy oil-based existing paint. Stix is what professional cabinet refinishers use on factory-finished surfaces, and tile is the same problem with grout lines added.
One full coat is enough. Foam roller for the face, 2-inch angled brush to push primer into every grout line. Don’t try to build film thickness in one coat — Stix is designed to grip thin. If you can still see ghost tile color through the primer, that’s fine. It’s a bonder, not a hider.
Dry 4 hours at 70°F. Don’t recoat early. If you topcoat at 2 hours the Stix isn’t cured and the system never reaches full bond strength. I’ve seen it.
Skip Stix and use a generic latex primer here and you’ll see the failure within a year. There is no equivalent off-the-shelf product that bonds as reliably to ceramic glaze. Kilz Adhesion is the closest second; XIM Advanced Bonder works too but is harder to find.
Step 5 — Topcoat
The topcoat depends on what the tile does.
For floors — two-part epoxy enamel. Rust-Oleum RockSolid Floor Coating, INSL-X Tough Shield, or Sherwin-Williams Tile-Clad H.S. Two coats, foam roller for the face, brush for grout lines and edges, 16 hours between coats. Mix only what you can use in 90 minutes — epoxy pot-life is real and a half-pot of dead epoxy is expensive trash. Single-part porch and floor paint does not hold under foot traffic on tile. Don’t substitute.
For walls and backsplashes — waterborne urethane enamel. Benjamin Moore Advance, Sherwin Emerald Urethane, or PPG Breakthrough. Two coats, foam roller for the face, 2-inch brush for grout lines and corners. Sixteen hours between coats on Advance, four on Emerald Urethane. These hybrid enamels cure to a hard, scrubbable film with low odor and they level under a brush better than the alternatives. See the bathroom paint round-up for the specific picks tested for moisture and scrub.
Sheen: satin or semi-gloss on walls and backsplashes. Anything matte on tile reads wrong and shows every fingerprint. Floors are limited to whatever sheen the epoxy ships in — usually semi-gloss to gloss.
Step 6 — Cure
Numbers, not vibes.
Walls and backsplashes (Advance / Emerald Urethane): touch-dry in 2 hours, recoat at 16 hours (Advance) or 4 hours (Emerald Urethane), light-use wipe at 7 days, full cure at 30 days. Don’t scrub for two weeks.
Floors (two-part epoxy): touch-dry in 4–6 hours, foot traffic at 24 hours, furniture at 72 hours, full chemical cure at 7 days. No wet mopping for 14 days. The epoxy gets harder week-over-week through the first month — every day you stay off it is a day of bond strength you keep.
Re-caulk countertop and tub edges with 100% silicone after the topcoat is cured. Use a paintable acrylic-silicone hybrid if you’ll want to repaint over the caulk later.
Common Mistakes
- Skipping the deglosser. Sandpaper alone misses the low spots in the glaze pattern. Result: peel-up at year one along the deepest gloss-textured tile. Fix: redo from prep.
- Latex primer instead of Stix. Generic latex primer does not grip ceramic glaze. The paint film looks fine for months, then peels off in hand-sized sheets the first heavy wipe-down. There is no rescue — strip and re-prime.
- Single-part floor paint on a tile floor. Porch and floor enamel is built for concrete and wood, not glazed ceramic. Foot traffic prints shoe patterns into the cured film within 6 months. Use a true two-part epoxy.
- Painting shower walls anyway. Standing water and soap film attack the topcoat at the grout line. The job fails inside a season and the strip-down is brutal. Re-tile instead.
- Recoating too soon. Stix wants 4 hours, epoxy wants 16, Advance wants 16. Recoat at 2 hours on any of these and the cured film never reaches full bond strength. You won’t see the failure for a year, but it’s baked in the day you painted.
- Forgetting the back edge of the backsplash strip. Water migrates behind the bottom-row tiles and lifts the paint from underneath. Pull the bottom row of caulk, paint the back edge of those tiles, re-caulk.
Maintenance and Longevity
A properly bonded tile paint job lasts 5–8 years on walls and backsplashes, 3–5 years on a residential floor with a runner over the heavy-traffic zone. Bare tile floor with no rug, daily foot traffic, you’re looking at 2–3 years before the high-wear path needs a touch-up. Wipe with a soft cloth and warm water — no abrasive cleaners, no scrub pads, no Magic Eraser. Spot-touch chips with a small brush from the same can; epoxy floor chips need the original two-part system, so save a small mix-jar leftover if you can.
The failure point is almost always a chipped corner or a grout-line crack that lets water under the film. Catch chips early. Touch them up the week you see them — not the year.