How to Apply Venetian Plaster
How to apply Venetian plaster at home: prep, troweling technique, burnishing for that soft marble glow, and the light conditions that make or break the finish.

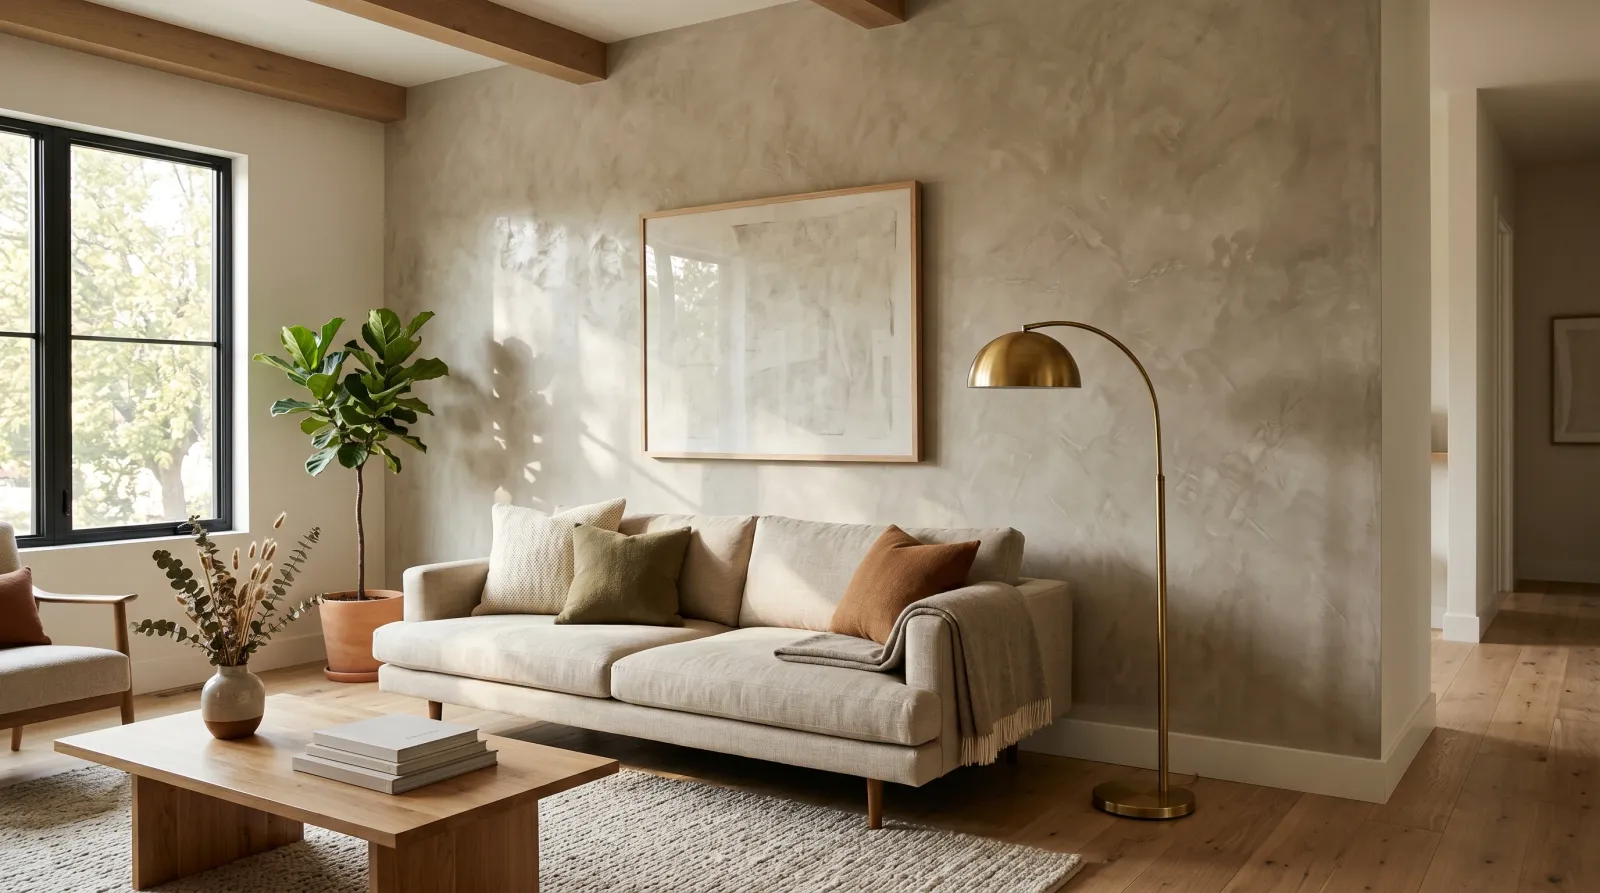
There’s a wall in every room that wants to be more than a flat color. The one the afternoon light crosses, the one behind the sofa, the one your eye lands on when you walk in. Paint gives that wall a color. Venetian plaster gives it a surface, something that catches the light, holds a little depth, and shifts as the sun moves through the room. In the morning it reads cool and quiet. By four o’clock the same wall warms up and the cloudy tonal variation comes alive.
That’s the thing nobody tells you up front. You’re not painting a wall. You’re building a surface that does something different at every hour you live there.
What You’ll Get
An accent wall with the soft, dimensional look of polished stone. Subtle clouds of light and shadow under a low satin sheen, the kind of finish that reads expensive and a little old-world. One weekend of work for a single wall, plus a few days for the plaster to settle and harden.
Honest Take on Difficulty and Time
Venetian plaster sits in the middle. It’s more forgiving than people fear and more involved than rolling a coat of paint. The good news: the mottled finish hides the small inconsistencies that would scream on a flat paint wall. A slightly uneven trowel stroke becomes part of the texture instead of a flaw.
The motion is a wrist thing, not a muscle thing. Once your hand finds the rhythm, and it finds it faster than you’d think, the wall goes quickly.
Plan on a full weekend for one accent wall. Saturday for prep and the first two coats with dry time between. Sunday for the final coat and the burnish. Then leave it alone for a few days before you hang anything or lean furniture against it.
Do a sample board before you touch the wall. A scrap of drywall or a 2-by-2-foot piece of MDF, primed and plastered the same way. It teaches your wrist the move and it shows you exactly how the color reads once it’s burnished, which is never quite how it looks wet in the tray.
What You’ll Need
Plaster and Primer
A gallon of Venetian plaster covers about 100 square feet across the two or three coats this finish needs. For a beginner, an acrylic-based product like Behr Premium Plus Venetian Plaster is the friendliest. It stays workable longer and cleans up with water. A lime-based plaster (Marmorino, Firenze, the traditional stuff from a tile-and-stone supplier) gives a deeper, more authentic stone look and a harder cure, but it sets faster and is less patient with a first-timer.
Under the plaster, a tinted primer earns its place. Have the paint counter tint a quart of acrylic primer to roughly match your plaster color. A matching base means that if a thin spot of plaster lets the wall show through, it won’t flash white at you. For wall prep specifics on older surfaces, the plaster painting guide covers patching and sealing in detail.
Tools
The trowel is the one tool you don’t improvise. A stainless steel Venetian plaster trowel with rounded corners, 4 or 6 inches wide. The rounded corners matter, because square corners dig lines into the wet plaster every time you lift off. A smaller flexible spreader handles corners and tight spots. Add a roller and brush for the primer, fine sandpaper to knock down ridges between coats, and a stack of clean lint-free cotton rags for the burnish.
Skip the cheap plastic trowel that comes bundled with some kits. It flexes wrong and leaves chatter marks. A $20 stainless trowel is the difference between a finish that looks like stone and one that looks like a stucco ceiling.
Step 1 — Prep the Wall and Prime
 Patched, taped, and primed in a color close to the plaster so no thin spot flashes white later.
Venetian plaster needs a smooth, clean, sound surface. Fill every nail hole and ding with spackle, scrape it flush, let it dry, and sand smooth. Wipe the wall down so there’s no dust or grease. Tape off the trim, the ceiling line, and any adjacent wall.
Roll on the tinted primer and cut in the edges with the brush. Let it dry fully. The primer does two jobs: it gives the plaster something to grab, and it hides behind any thin spots so the color stays consistent.
Watch out for glossy old paint underneath. If the existing wall has a satin or semi-gloss sheen, the primer needs to grip it, so a quick scuff with a fine sanding sponge first helps the whole stack bond.
Step 2 — Trowel the First Skim Coat
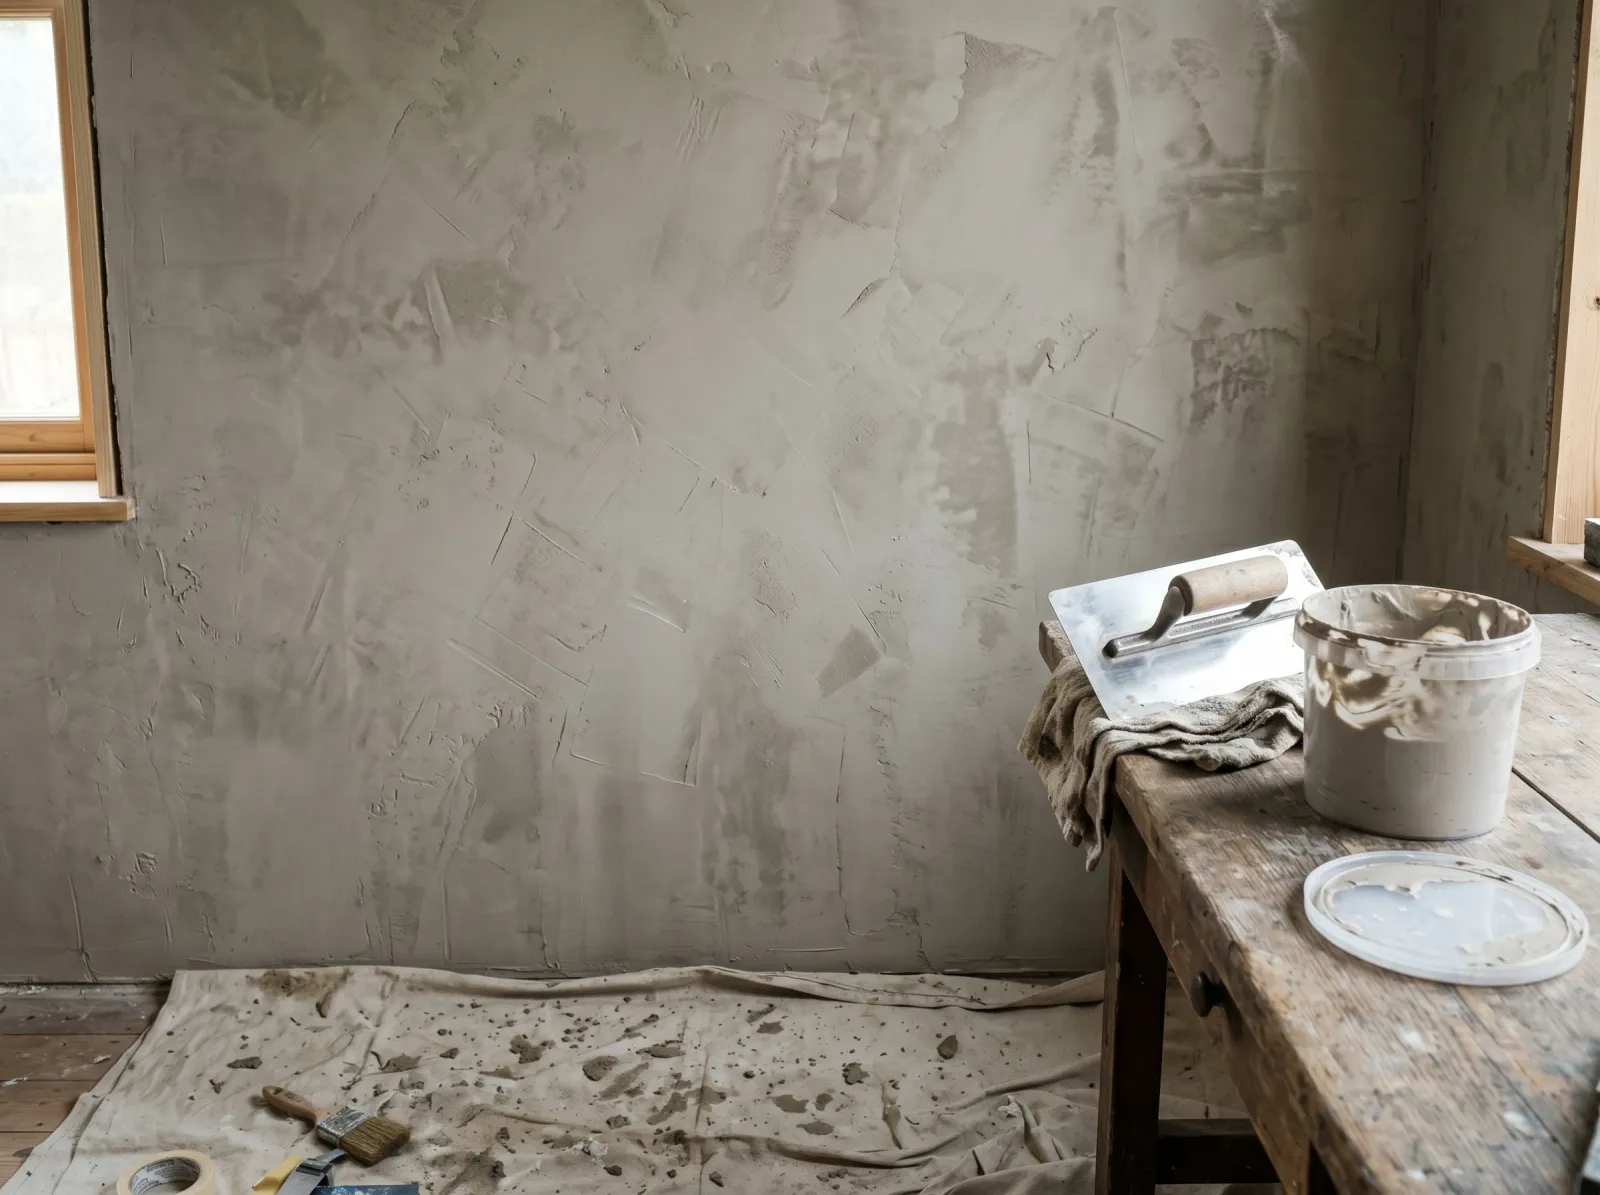 The base coat goes on thin and looks patchy. That’s exactly right. It’s a foundation, not the finish.
Load a small amount of plaster onto the trowel with the spreader. Hold the trowel at a low angle, around 15 to 30 degrees off the wall, and pull it across in short, slightly curved, overlapping strokes. Change direction often, going up, across, then diagonal. You’re not trying to cover the whole wall smoothly. You’re laying down a thin, slightly random base.
Keep it thin. A skim, not a layer cake. You’ll see the primer through it in places, and that’s fine.
Watch out for going back over a stroke that has started to set. Once the plaster begins to firm up, dragging the trowel through it tears the surface. Move on and fix it on the next coat. Let this coat dry the full time on the can, usually a few hours.
Step 3 — Build the Second Coat
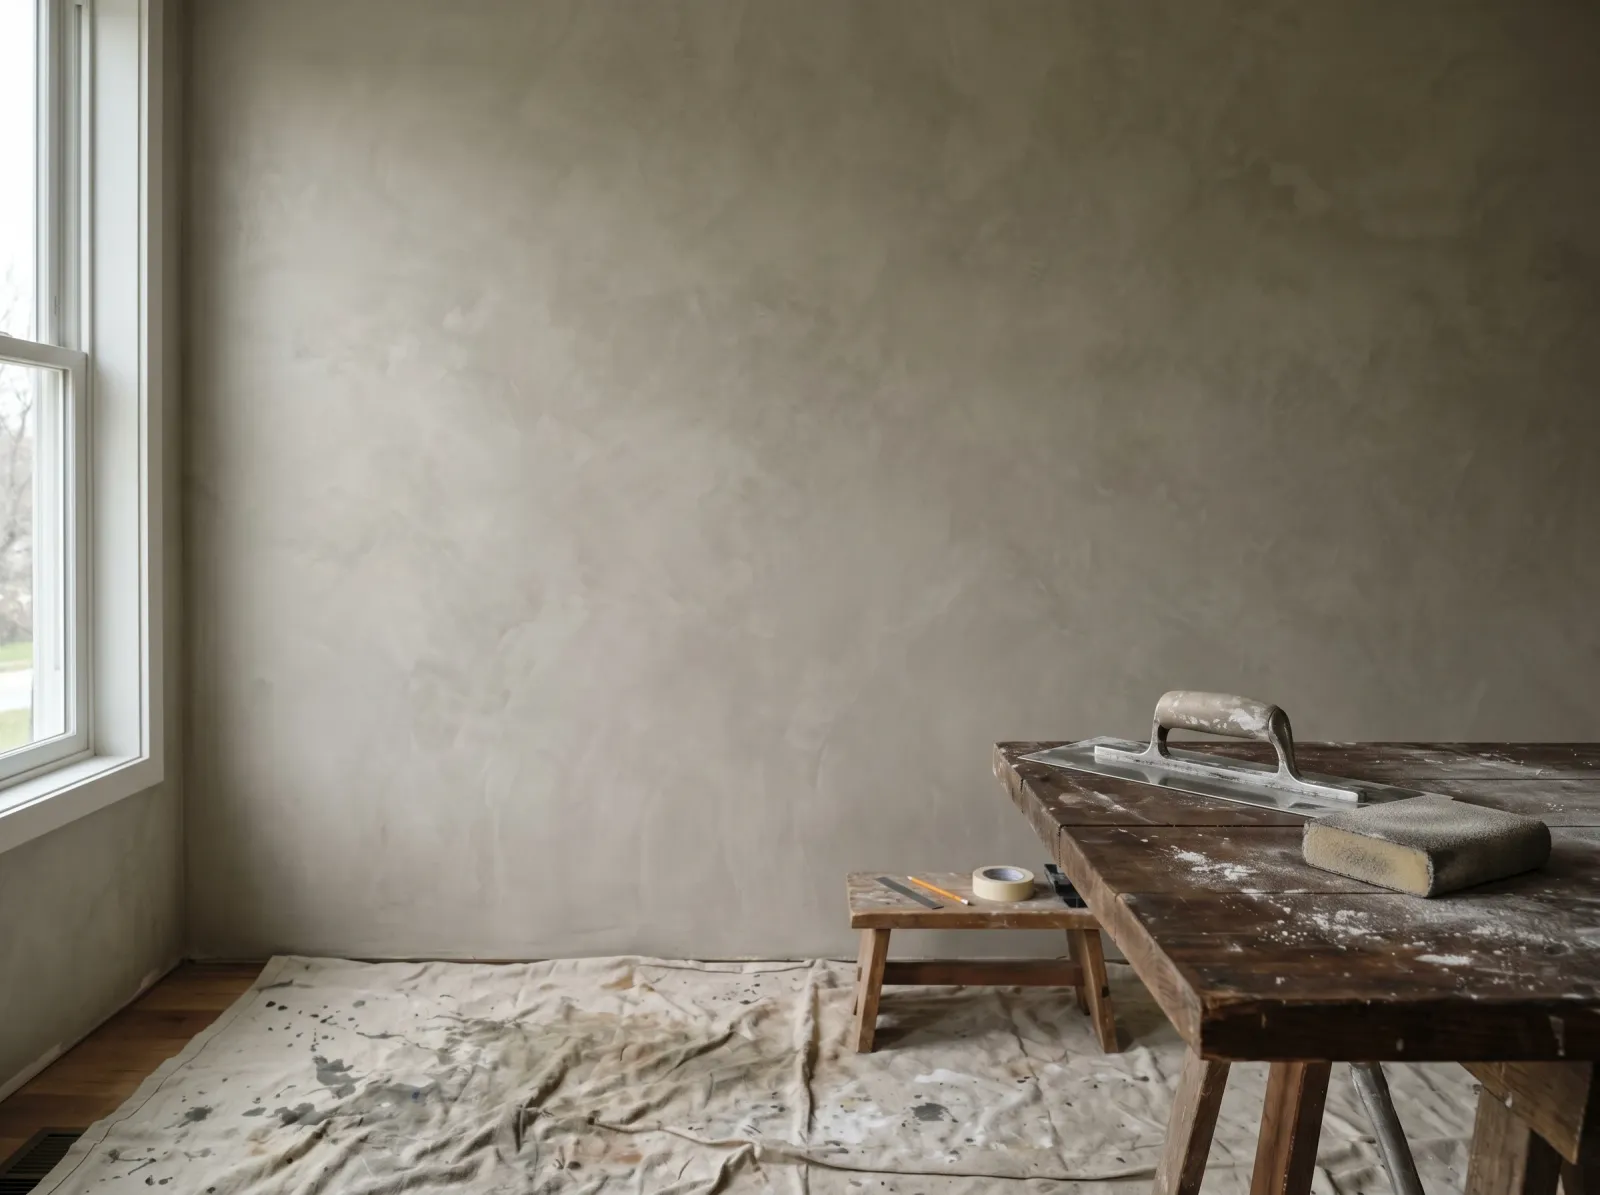 The second coat fills the low spots and the cloudy depth starts to appear. A light sanding takes off the sharp ridges.
Before the second coat, run a fine sanding sponge lightly over the wall to knock down any sharp ridges the first coat left behind. Wipe the dust.
Now trowel on the second coat the same way, thin and overlapping and changing direction, but tighter and more deliberate. This is the coat that builds the look. As you work, hold the trowel a touch flatter and apply a little more pressure on the trailing edge to start compressing the surface. The cloudy, layered depth that makes Venetian plaster read like stone comes from these crossing strokes catching the light differently. Let it dry.
For real depth, add a third coat, applied very thin, once the second is dry and lightly sanded. Three thin coats beat two thick ones every time. Thick plaster shrinks as it dries and cracks.
Step 4 — Burnish to a Polish
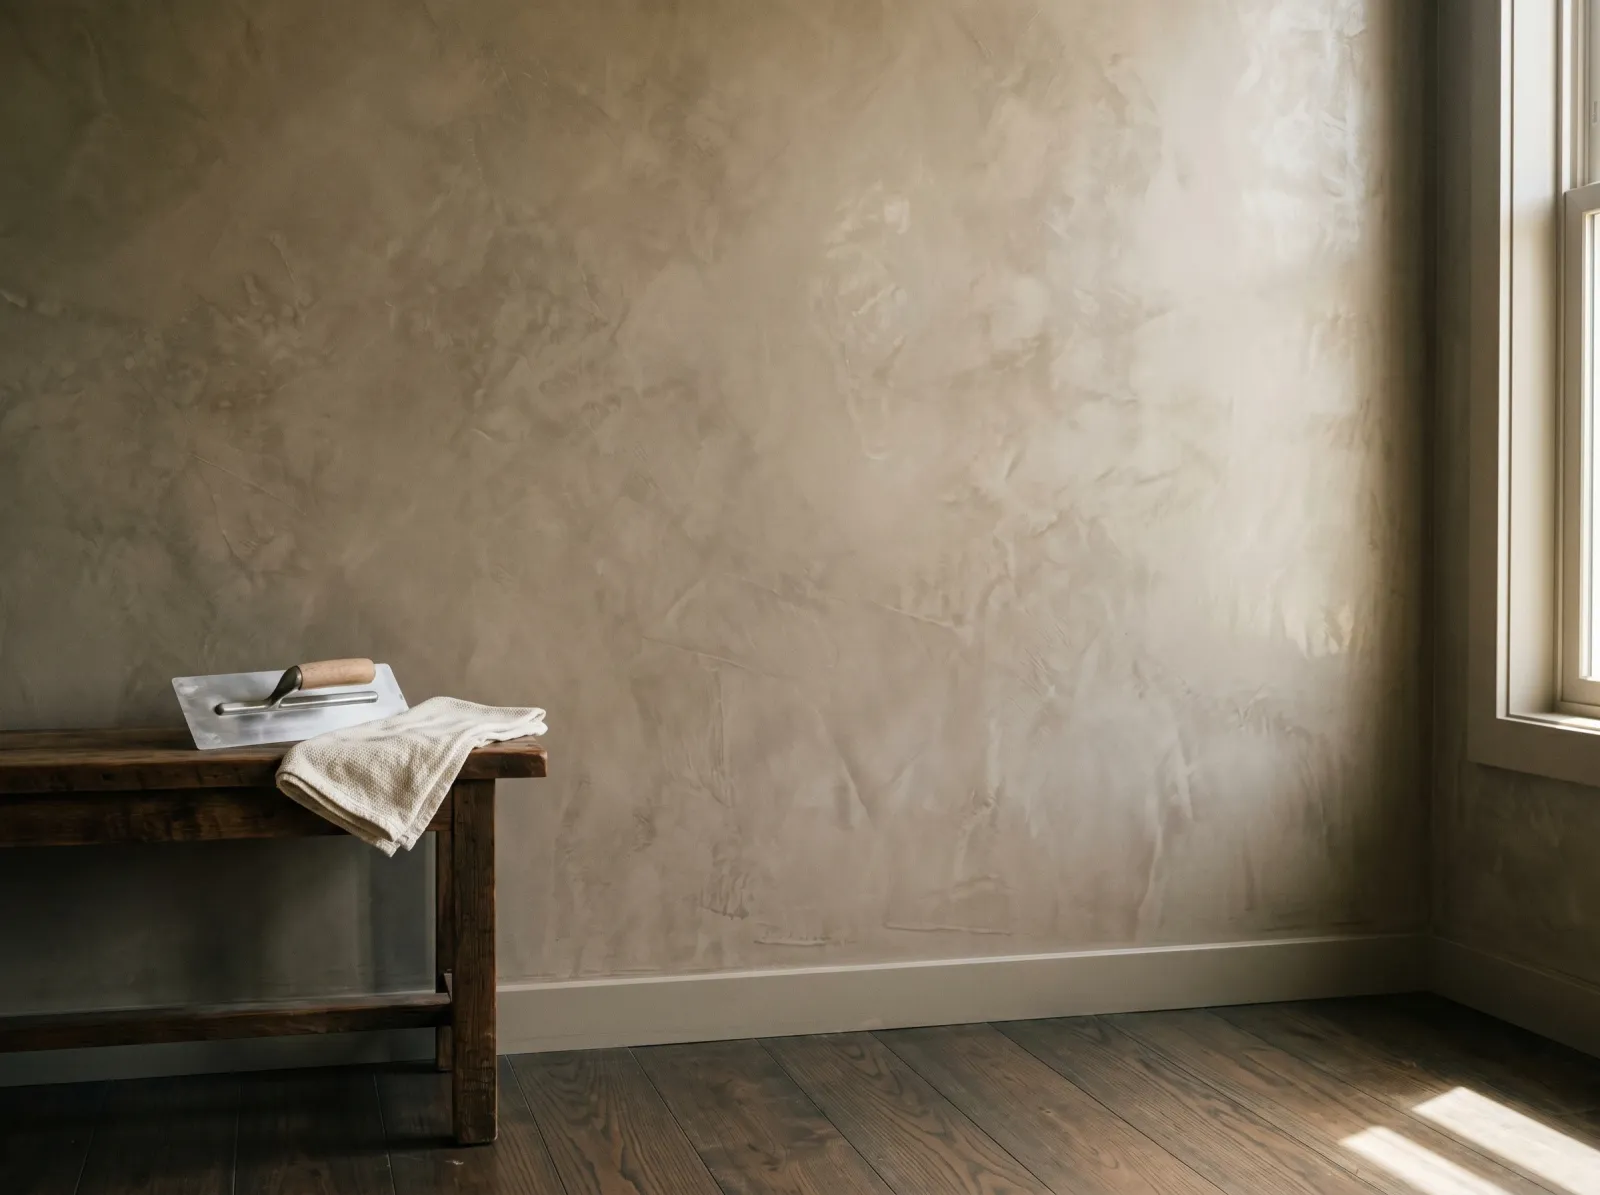 Working the flat of a clean trowel over the dry surface at a low angle brings up the sheen. Chalky becomes soft stone.
This is where the wall transforms. Once the final coat is fully dry, take a clean, dry trowel and hold the flat of the blade almost parallel to the wall. Work it over the surface in small circular or back-and-forth motions with light, steady pressure. The friction compresses and smooths the plaster, and the sheen comes up under your hand.
Burnish the whole wall evenly. Spend a little more time on the spots that catch the most light, because that’s where the eye lands. The harder and longer you burnish, the more sheen you build, from a soft eggshell glow to an almost marble polish, depending on how much you want.
Watch out for burnishing too early. If the plaster is even slightly damp, the trowel smears it instead of polishing it. Give it the full cure time the can specifies. Patience here is the whole difference between dull and luminous.
Step 5 — Seal and Reset the Room
 A coat of clear wax on the spots that get touched, then the room goes back together.
A burnished living-room or bedroom wall that nobody touches doesn’t strictly need a sealer. The compressed surface is durable on its own, and the bare matte-to-satin stone look is the reason you did this.
Anything you’ll touch, splash, or wipe wants protection. Apply a thin coat of clear paste wax with a soft cotton rag, let it haze, then buff it out with a clean rag. The wax adds water resistance and a slightly deeper warmth to the color. In a bathroom, seal the splash zones around the sink and tub the same way. Keep the plaster out of the inside of a shower; that’s tile territory.
Then pull the tape slowly at a 45-degree angle, take up the drop cloth, and put the room back together. Live with it through a full day of changing light before you decide where the art goes.
How Does Venetian Plaster Compare to Limewash?
People mix these up, and they shouldn’t, because they want completely different things from a wall.
| Venetian plaster | Limewash | |
|---|---|---|
| Look | Polished, dimensional, stone-like | Soft, chalky, cloudy matte |
| Sheen | Eggshell to high polish | Dead flat |
| Application | Troweled in thin coats | Brushed on loosely |
| Texture | Smooth, burnished | Slightly powdery, washy |
| Feel | Modern luxe, old-world stone | Weathered, faded, rustic |
If you want sheen and depth and a surface that feels like marble, plaster. If you want that powdery, sun-faded European-cottage look, read up on limewash instead. For exterior masonry and mineral-paint situations where breathability matters, the masonry and mineral paint round-up covers the options.
Common Mistakes
- Troweling the plaster on too thick. Thick coats shrink and crack as they cure, and they never burnish to a clean sheen. Thin, thin, thin. Multiple thin coats build the depth, not one heavy one.
- Going back over plaster that’s started to set. Dragging the trowel through half-set plaster tears it into ugly furrows. If you missed a spot, leave it and catch it on the next coat. Never rework a setting surface.
- Burnishing before it’s dry. The shine only comes up off a fully cured surface. Polish damp plaster and you just smear it dull and flat. Wait the full dry time, then burnish.
- Skipping the sample board. Wet plaster in the tray looks nothing like burnished plaster on the wall, and the color shifts again under wax. A 2-by-2-foot test panel saves you from finishing a whole wall in a color that reads wrong by late afternoon.
- Using square-cornered drywall tools. A taping knife or square trowel digs hard lines into the wet plaster on every lift-off. Rounded corners are not a detail. They’re what makes the strokes blend into texture instead of scoring it.
Cure Schedule
| Time after the final coat | What’s safe |
|---|---|
| A few hours | Touch dry; ready to burnish if fully dry |
| 24 hours | Apply wax or sealer |
| 3 days | Hang art, lean furniture |
| 2-4 weeks | Full cure; the plaster reaches its final hardness |
Lime-based plaster keeps hardening for weeks as it carbonates and actually gets tougher over time. Acrylic plaster reaches usable hardness faster. Either way, treat the wall gently for the first few days.
Maintenance and Touch-Ups
A burnished Venetian plaster wall holds up for a long time. 15 to 20 years indoors isn’t unusual, longer than most paint, because the surface is compressed and dense rather than a thin film sitting on top.
Dust it with a soft dry cloth. For a sealed wall, wipe with a barely damp cloth. Skip abrasive cleaners and scrubbing pads; they’ll scratch the polish.
A scuff or a small chip is the trickiest part to repair invisibly, because the cloudy pattern is unique to how you troweled it. Feather a little plaster into the damaged spot with the small spreader, let it dry, and burnish just that area, blending the strokes outward into the surrounding texture. From across the room it disappears. Up close, the forgiving mottled finish does you a favor here too. This is one more reason a wall over a furniture run reads better than one at eye level by a doorway where every ding shows.
Cost Breakdown
| Item | $ |
|---|---|
| Venetian plaster, 1 gallon | $45-$90 |
| Tinted primer, 1 quart | $15 |
| Stainless trowel + spreader | $30 |
| Wax or sealer | $20 |
| Tape, drop cloth, sandpaper, rags | $20 |
| Total | $130-$175 |
Acrylic plaster lands at the lower end. A lime-based Marmorino from a stone supplier runs higher, and a full pro install of the same wall would be $800 and up, which is exactly why this is worth a weekend of your own time.
FAQ
Is Venetian plaster hard for a beginner to apply? It’s more forgiving than it looks and harder than rolling paint. The motion is a wrist thing, and the mottled finish hides small mistakes. Start on an accent wall and do a sample board first.
How many coats of Venetian plaster do I need? Two thin coats minimum, three for real depth before you polish. Thin coats every time, because thick plaster cracks as it dries.
Can you put Venetian plaster in a bathroom? Yes, but seal the splash zones with clear plaster wax or a dedicated sealer so water can’t spot it. Keep it out of the inside of a shower stall.
Do I need to seal Venetian plaster? Not on a wall nobody touches. Yes on anything you’ll touch or splash, so wax it. Test the wax on your sample board first, since it warms the color slightly.
What’s the difference between Venetian plaster and limewash? Plaster is troweled thick and burnished to a stone-like polish. Limewash is brushed on thin and dries chalky and matte. Different look, different tools.
Why does my Venetian plaster look dull instead of polished? You skipped the burnish or burnished too soon. The shine comes from working a clean trowel over fully cured plaster at a low angle. Let it dry completely, then polish.