How to Paint a Tile Floor
Painting a tile floor that actually holds up: deglaze the surface, lock it down with a bonding primer, two thin coats, and a clear topcoat that takes foot traffic.

A painted tile floor lives or dies on one thing: adhesion. Tile is glazed, which is a polite word for glass. Nothing sticks to glass on its own. So when somebody tells you their painted floor peeled in sheets after one winter, they didn’t pick the wrong color. They skipped the prep that gives the primer something to grab.
Get the adhesion right and a painted floor holds for years. Get it wrong and it’s a weekend you spent making the floor look worse. This guide is the order that holds up.
What You’ll Get
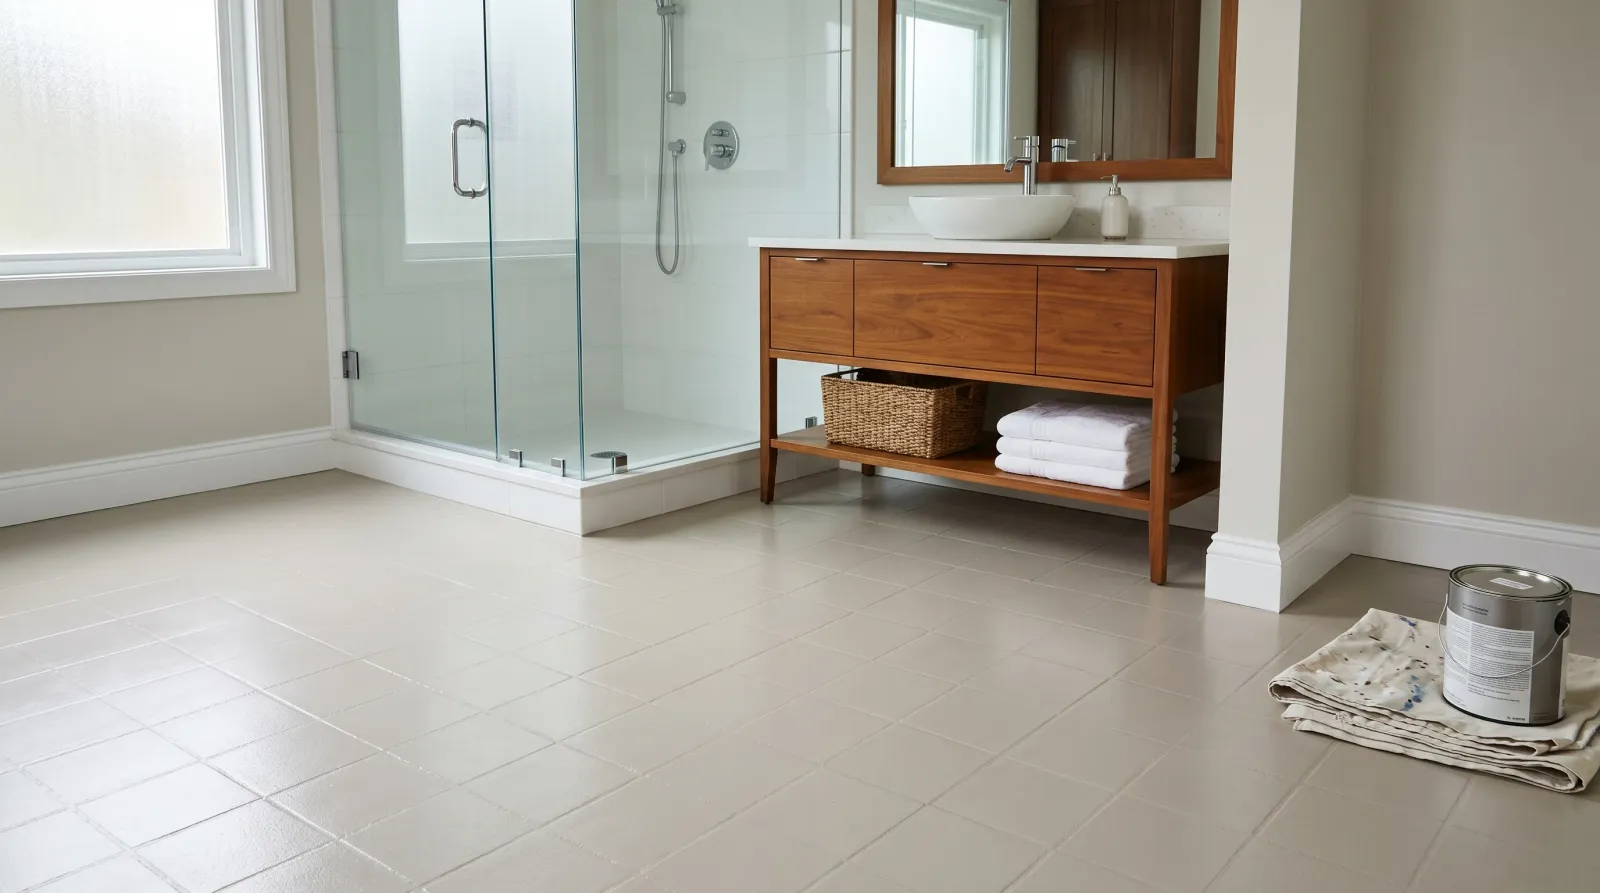
A solid, single-color floor over your old dated tile, sealed under a clear wear layer that takes shoes and a damp mop. It won’t pass for real tile up close, but in a bathroom or a laundry room it reads as a clean, intentional finish.
Honest Take on Difficulty and Time
This is the hardest project in the bathroom, and most of the difficulty is patience, not skill. The painting is easy. The cure time is what gets people.
Realistic schedule for a small bathroom or laundry floor: a half-day to clean and deglaze, a half-day for primer and the first color coat, a second color coat the next morning, then a topcoat. After that you wait. Light traffic at 24 hours, real traffic at a week.
If anyone tells you it’s a Saturday-afternoon job, they’re not counting the dry windows between coats. There are four of them, and rushing any one is how the whole floor fails.
What You’ll Need
Paint and Primer
Three products, in this order. A bonding primer rated for slick surfaces, like INSL-X Stix or Zinsser Bulls Eye 1-2-3 Plus. This is the layer that bites the deglazed tile. Then the color: a porch-and-floor enamel for a low-traffic bathroom, or a 2-part epoxy floor kit (Rust-Oleum EpoxyShield or similar) for a kitchen that takes more abuse. Then a clear water-based floor polyurethane in satin, the wear layer that keeps the shoe off the color.
Don’t reach for leftover wall paint. Wall paint has no abrasion resistance. It’ll burnish gray under your heels in a month. For the SKU picks, see the best tile paint round-up. If you’re weighing a self-priming product to skip a step, read primer vs paint-and-primer-in-one first. On a floor, you want the dedicated bonding primer. This is one place the all-in-one shortcut doesn’t hold.
Tools
A 9-inch roller frame with a 1/4-inch nap sleeve. Low nap for a floor, so the finish lays flat instead of stippled. A 2.5-inch angled brush for the grout lines and the edges. A random-orbit sander to deglaze fast, a shop vac for the dust, painter’s tape, knee pads, and a box fan for ventilation.
Knee pads are not optional. You’ll be down on this floor for hours and the epoxy fumes off the kit are real. Picks for the roller are in the best paint rollers round-up.
For the material-level prep details on ceramic specifically, the ceramic tile prep guide goes deeper than I will here. This page is the floor project; that page is the substrate.
Step 1 — Clean, Deglaze, and Tape
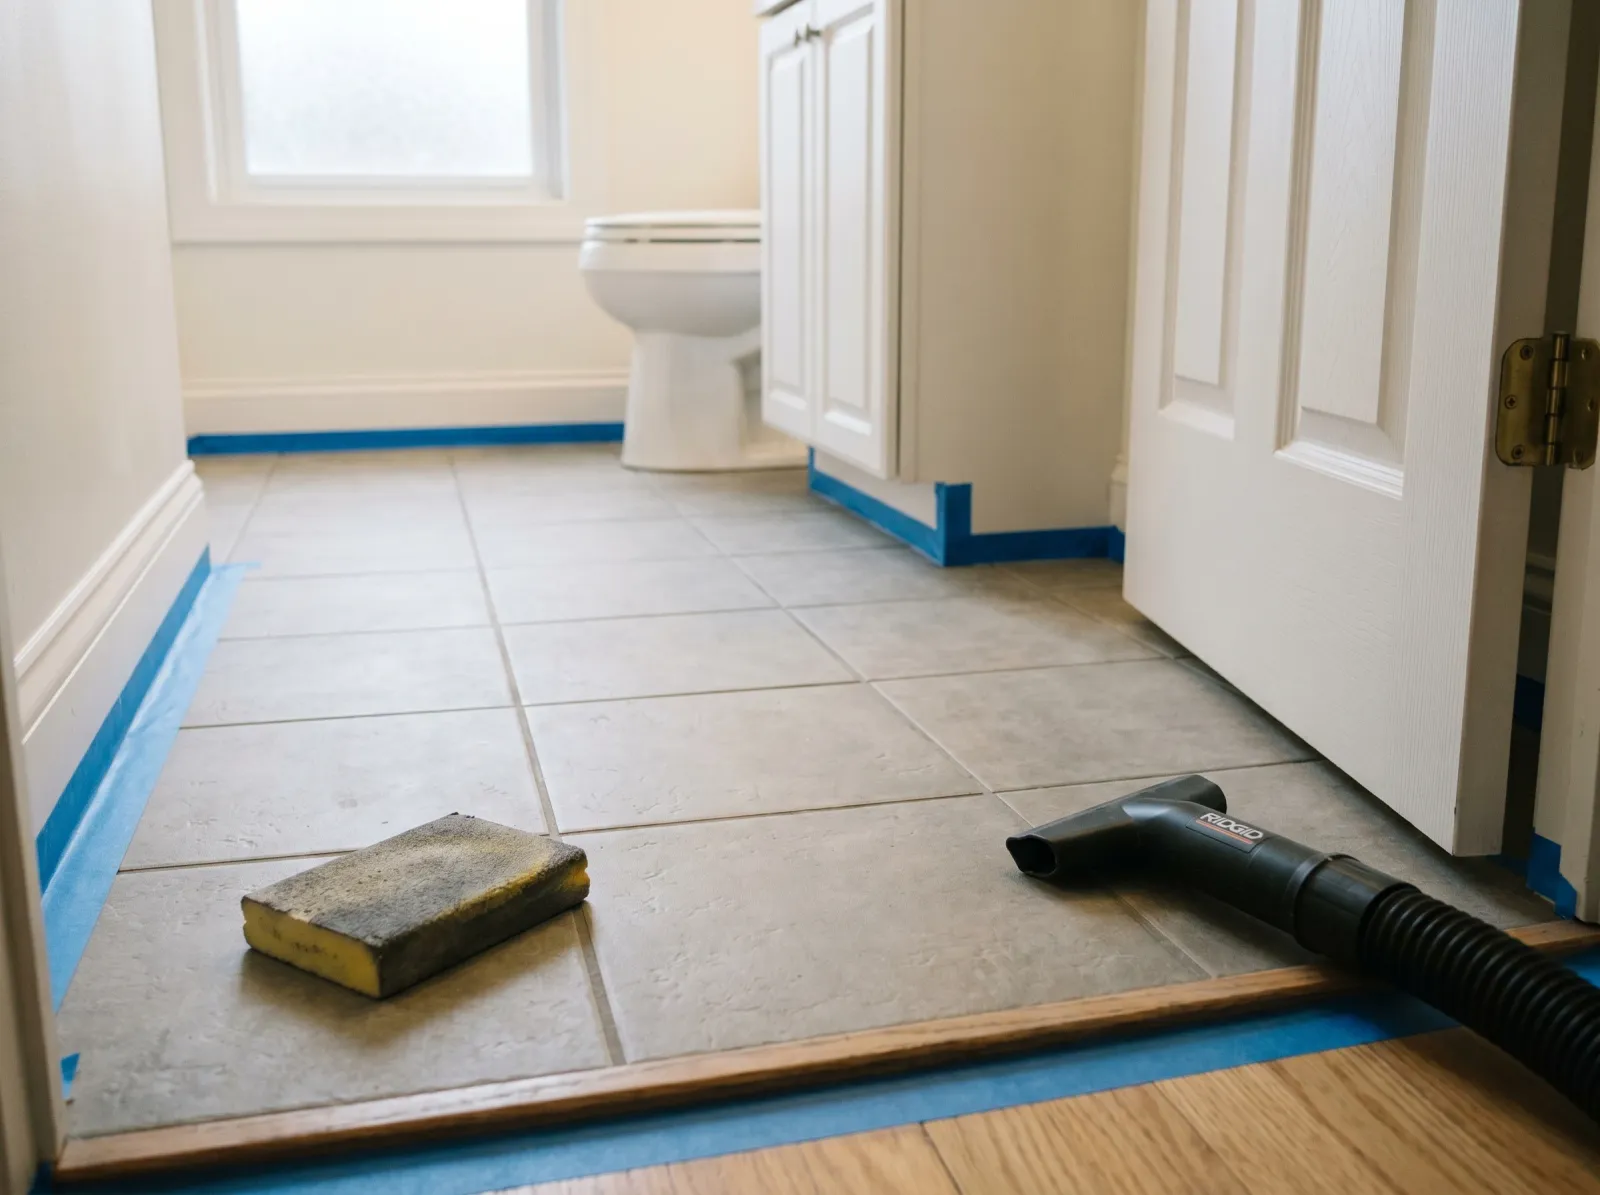
Tile scrubbed clean, the glossy glaze knocked down with sandpaper, baseboards and threshold taped off.
Scrub the whole floor with TSP substitute or Krud Kutter and a stiff brush. Bathroom floors carry a film of soap scum and body oil, grout lines especially. Rinse with clean water and let it dry.
Now deglaze. Hit every tile and every grout line with 120-grit until the shine is gone and the surface feels dull and toothy. You’re not grinding through the glaze, just killing the slick. Vacuum the dust, then wipe with a tack cloth until the rag comes away clean.
Tape the baseboards and the door threshold. Pull the toilet if you want a clean job around the base, or tape it carefully if you don’t.
Watch out for the dust. Sanding glaze throws fine grit everywhere, and a single speck under the primer telegraphs through every coat. Vacuum, tack, then tack again.
Step 2 — Prime With a Real Bonding Primer
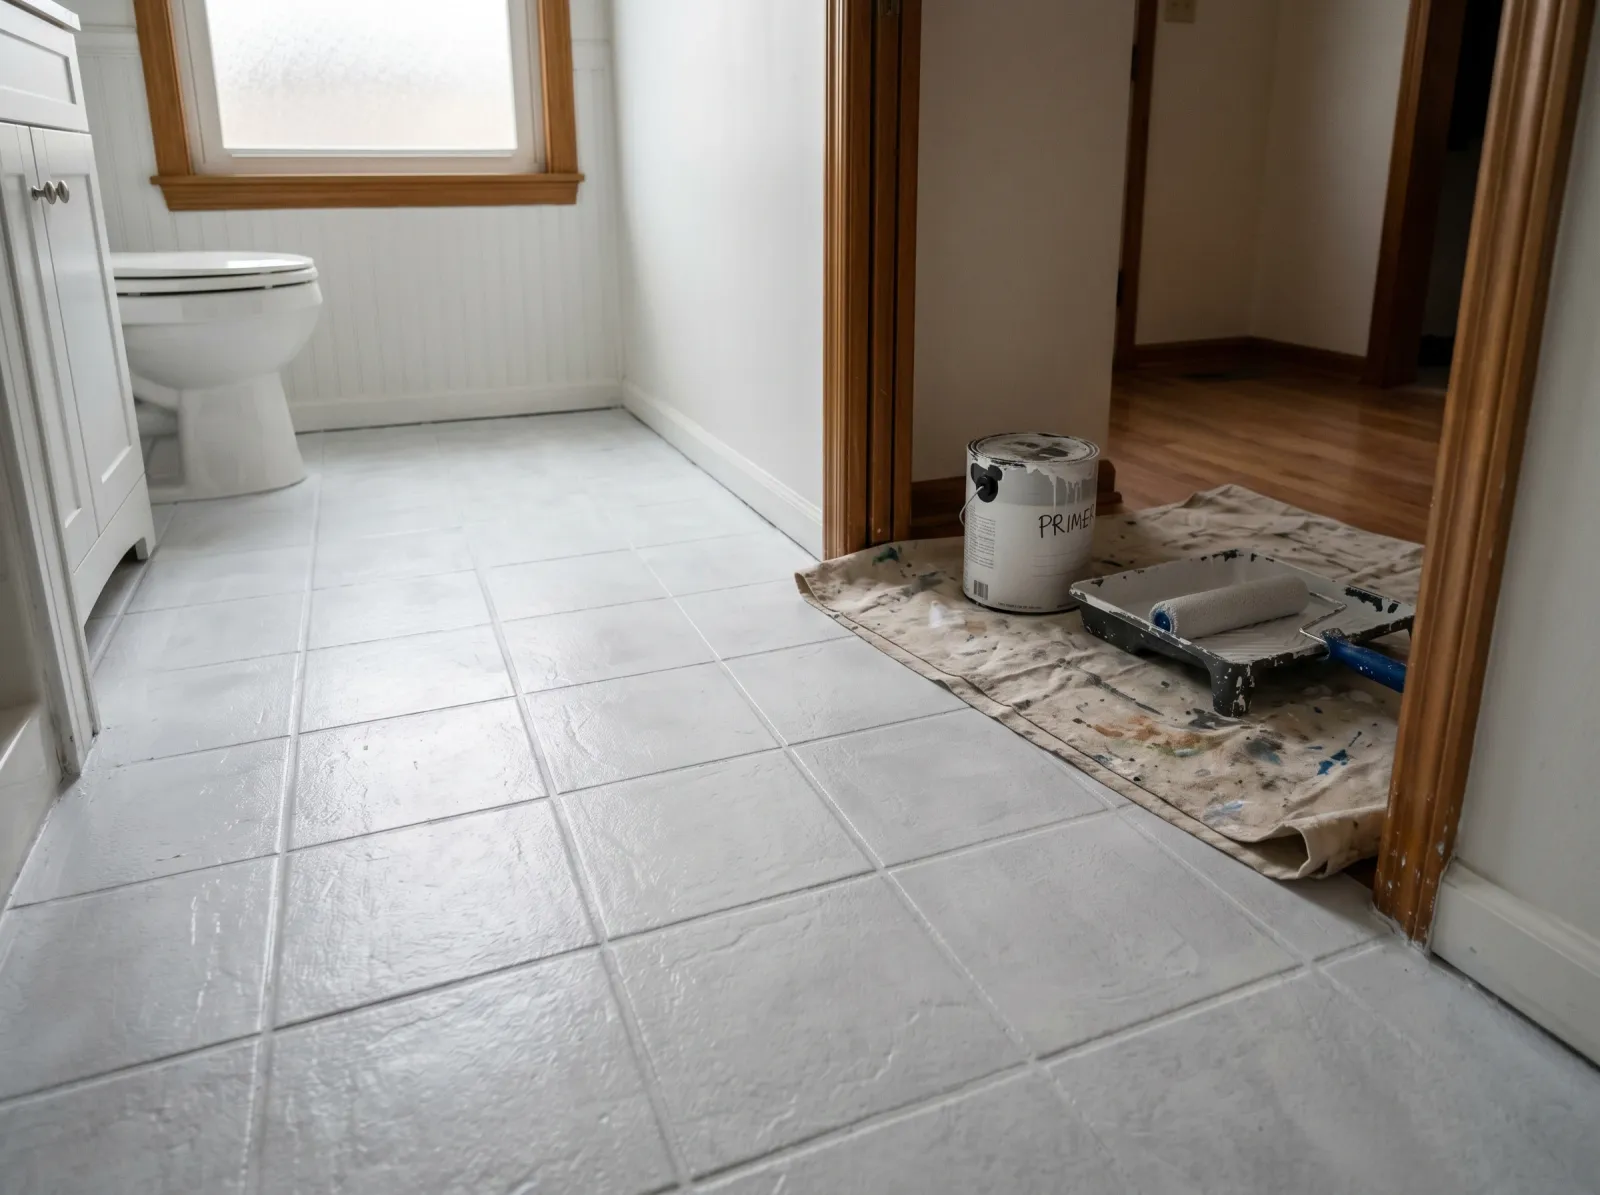
One thin coat of adhesion primer locks to the slick tile. Grout lines cut in with the brush first.
Cut the grout lines in first with the brush. The roller skips over recessed grout and leaves bare channels, so the brush gets in there before the roller touches the field.
Then roll one thin coat of bonding primer across the whole floor. Thin. A heavy primer coat doesn’t grip better, it just stays soft underneath and gives the color something weak to sit on. Work from the far corner toward the door so you don’t paint yourself in.
Let it cure the full time on the can before you recoat. Stix wants a few hours, longer if the room is cold and damp, which a bathroom usually is. Run the box fan.
Watch out for holidays in the grout lines. A holiday is a missed spot the brush skipped. Catch them now. Bare grout under the color coat is where peeling starts.
Step 3 — First Color Coat, Thin

Floor enamel rolled thin in one direction. Patchy and translucent now — that’s normal.
Cut in the grout and edges with the brush, then roll the field in one direction with the low-nap sleeve. The first coat will look thin and blotchy with primer showing through. That’s how it’s supposed to look. Don’t pile on more to fix it.
Two thin coats beat one thick one every time on a floor. A thick coat skins over on top while it’s still soft underneath, and soft paint under a topcoat dents when you step on it. If you’re running an epoxy kit, mix only what you’ll use in the pot-life window on the box. Mixed epoxy sets in the tray whether you’ve used it or not.
Let it dry the recoat time on the can. Touch a knuckle to an edge. Dry and not tacky means you’re clear for the second coat.
Step 4 — Second Color Coat, Then Topcoat
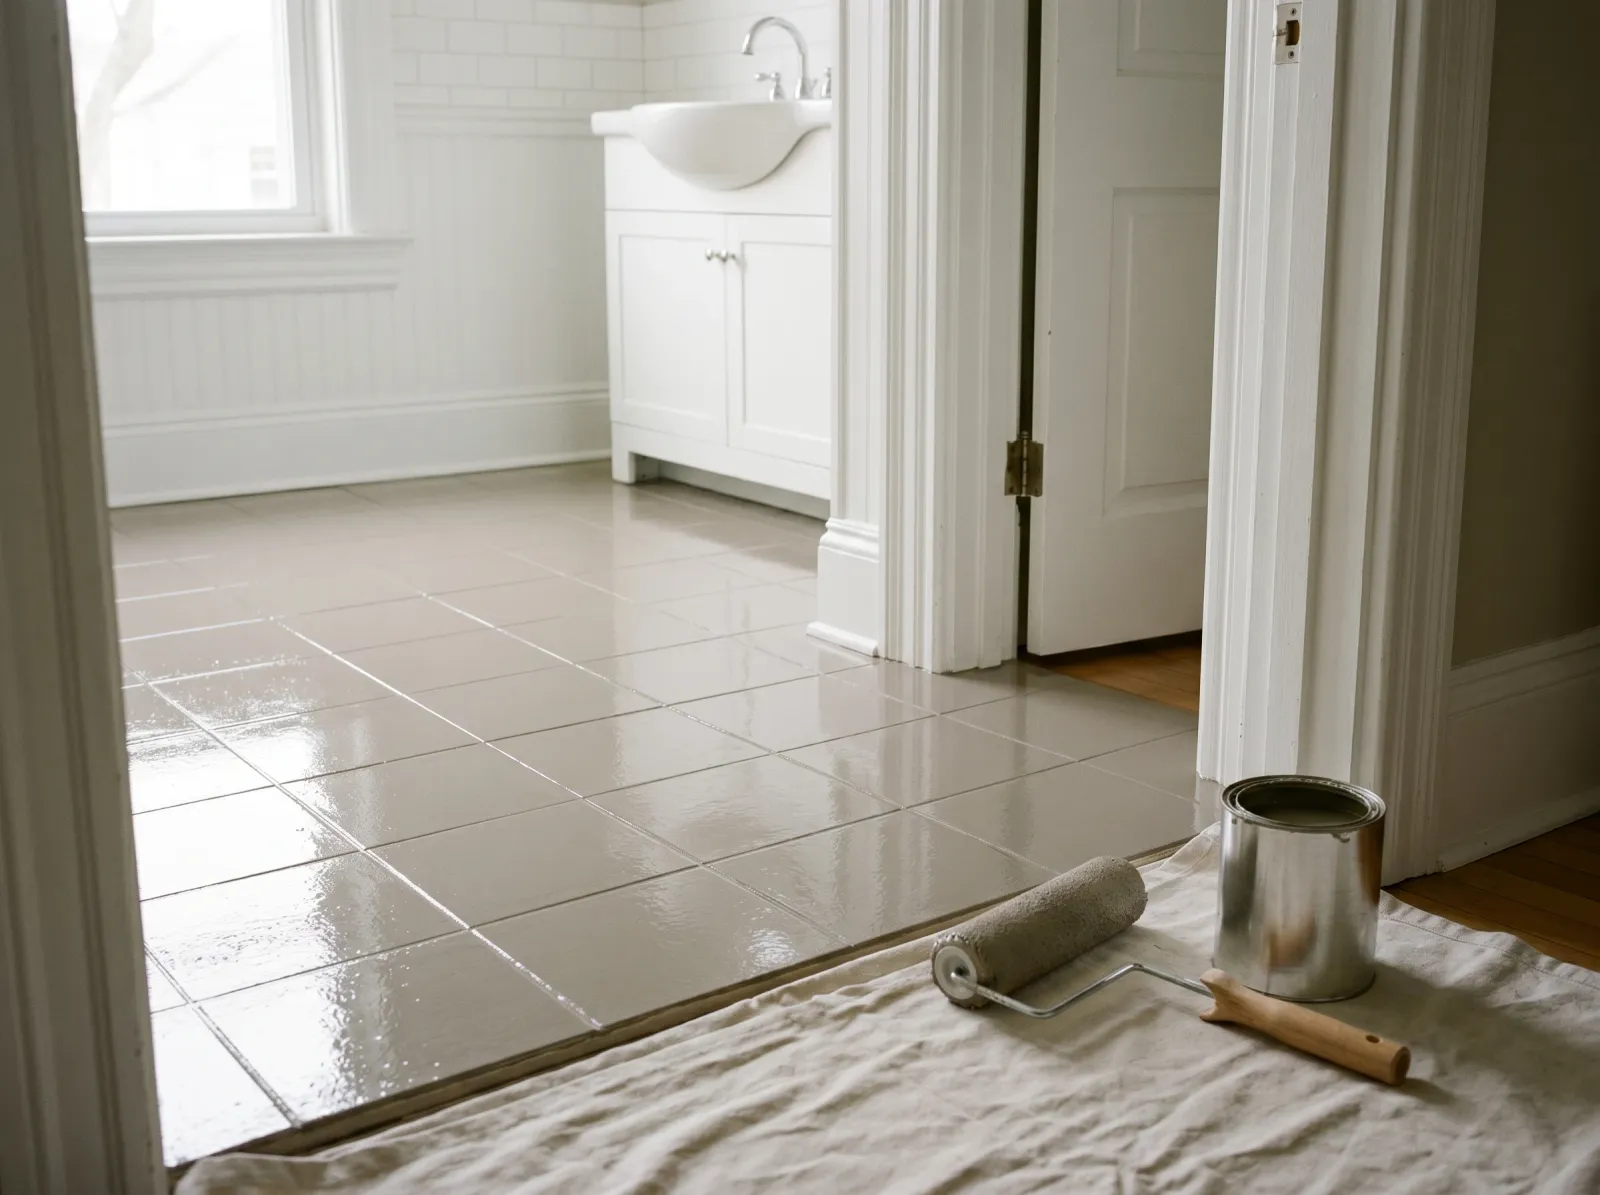
Two color coats cured, then a clear satin floor poly goes over the top as the wear layer.
Second color coat goes down the same way: cut in the grout, roll the field in one direction. This is the coat where the color fills in and goes even. If you still see patchiness after it dries, you rolled too thin. A third light coat fixes it.
Now the part people skip and then regret: the clear topcoat. Once the color has cured (give it a full day, not the minimum recoat window), roll a coat of clear satin floor poly over the whole floor. This is the wear layer. The shoe rides on the poly, not on the color, and that’s what buys you years instead of months.
Watch out for lap marks in the clear coat. Clear poly shows every overlap once it’s down. Keep a wet edge, roll in one direction, and don’t go back over a section that’s started to set. For why a wet edge matters, the same physics behind lap marks on walls applies here.
Step 5 — Pull Tape and Wait
Tape pulled, bath mat and vanity back, floor cured and walkable.
Pull the tape while the topcoat is still slightly tacky, at a 45-degree angle, slow. Bone-dry poly cracks where the tape edge sits and lifts a ragged line off the floor.
Then leave it alone. This is the hardest step because the floor looks finished and you want to use the room. Socks-only after 24 hours. Shoes and the bath mat back at 7 days. No wet mopping for 30. The film is dry to the touch days before it’s hard enough to take a heel.
Common Mistakes
- Skipping the deglazing. This is the one that kills the whole job. Primer can’t grip a slick glaze. The color lifts off in sheets at the door threshold, where the most feet land, usually within the first wet season. Scuff every tile dull before anything goes down.
- No clear topcoat. Color paint without a wear layer burnishes gray under shoes in weeks. The poly is the floor. The color is just underneath it.
- Coats too thick. A heavy coat stays soft below the skin and dents under foot. Two or three thin coats cure hard. One thick coat never does.
- Walking on it too soon. Touch-dry is not cured. Step on it at hour six and you leave a sole print baked into the finish for good. Wait the week.
- Painting grout lines with the roller only. The roller bridges the recessed grout and leaves bare channels. Bare grout is a peel point. Brush the lines in first, every coat.
Cure Schedule
| Time after the topcoat | What’s safe |
|---|---|
| 1 hour | Pull the painter’s tape while tacky |
| 4 hours | Touch dry, don’t step on it |
| 24 hours | Light foot traffic in socks |
| 7 days | Shoes, bath mat, furniture back |
| 30 days | Full cure, wet mop, scrub |
Maintenance and Touch-Ups
A painted bathroom or laundry floor holds 3 to 5 years before the topcoat dulls in the traffic lane. A kitchen with an epoxy base and a poly topcoat can push longer. The first place it shows wear is the doorway and in front of the sink, because that’s where the shoes pivot.
When the clear coat starts to dull, you don’t redo the color. Scuff the worn poly with 220-grit, wipe it clean, and roll a fresh coat of clear over the top. That’s a one-hour refresh that resets the wear layer without touching the color underneath. Keep a labeled quart of the topcoat for it.
For a chip down to the tile, scuff the edges, dab a little bonding primer, then color, then clear. Feather the edge so the repair blends.
Cost Breakdown
| Item | $ |
|---|---|
| Bonding primer, 1 quart | $20 |
| Floor enamel or epoxy kit, 1 gallon | $35–$70 |
| Clear floor poly, 1 quart | $25–$45 |
| Sandpaper, tape, tack cloths | $15 |
| Roller, sleeves, brush, tray | $20 |
| Total | $115–$170 |
A small bathroom runs the low end. A kitchen floor needs more of everything and an epoxy kit, so figure higher. Either way it’s a fraction of demo-and-retile.
If you’re weighing this against painting the bare slab in a basement or garage instead, the concrete floor guide covers that substrate, and it’s a similar adhesion story with a different primer.
What’ll Bite You in Two Years
The floor won’t peel if you deglazed and topcoated. What it’ll do is dull in the traffic lane, right at the door, and you’ll start noticing it before anyone else does. That’s the topcoat wearing, not the color failing, and it’s the easy fix: scuff and re-clear, one hour. People who never topcoat in the first place don’t get that easy fix. They get a worn-through gray path down to the primer, and that means starting over. Put the clear coat on. Keep a quart for the refresh. Then this floor outlasts the reason you painted it.