How to Sponge-Paint a Wall
Sponge painting a wall the right way: two tones that read as soft texture, not 1990s ragging. Color pairing, glaze ratios, and the dab pattern that looks intentional.

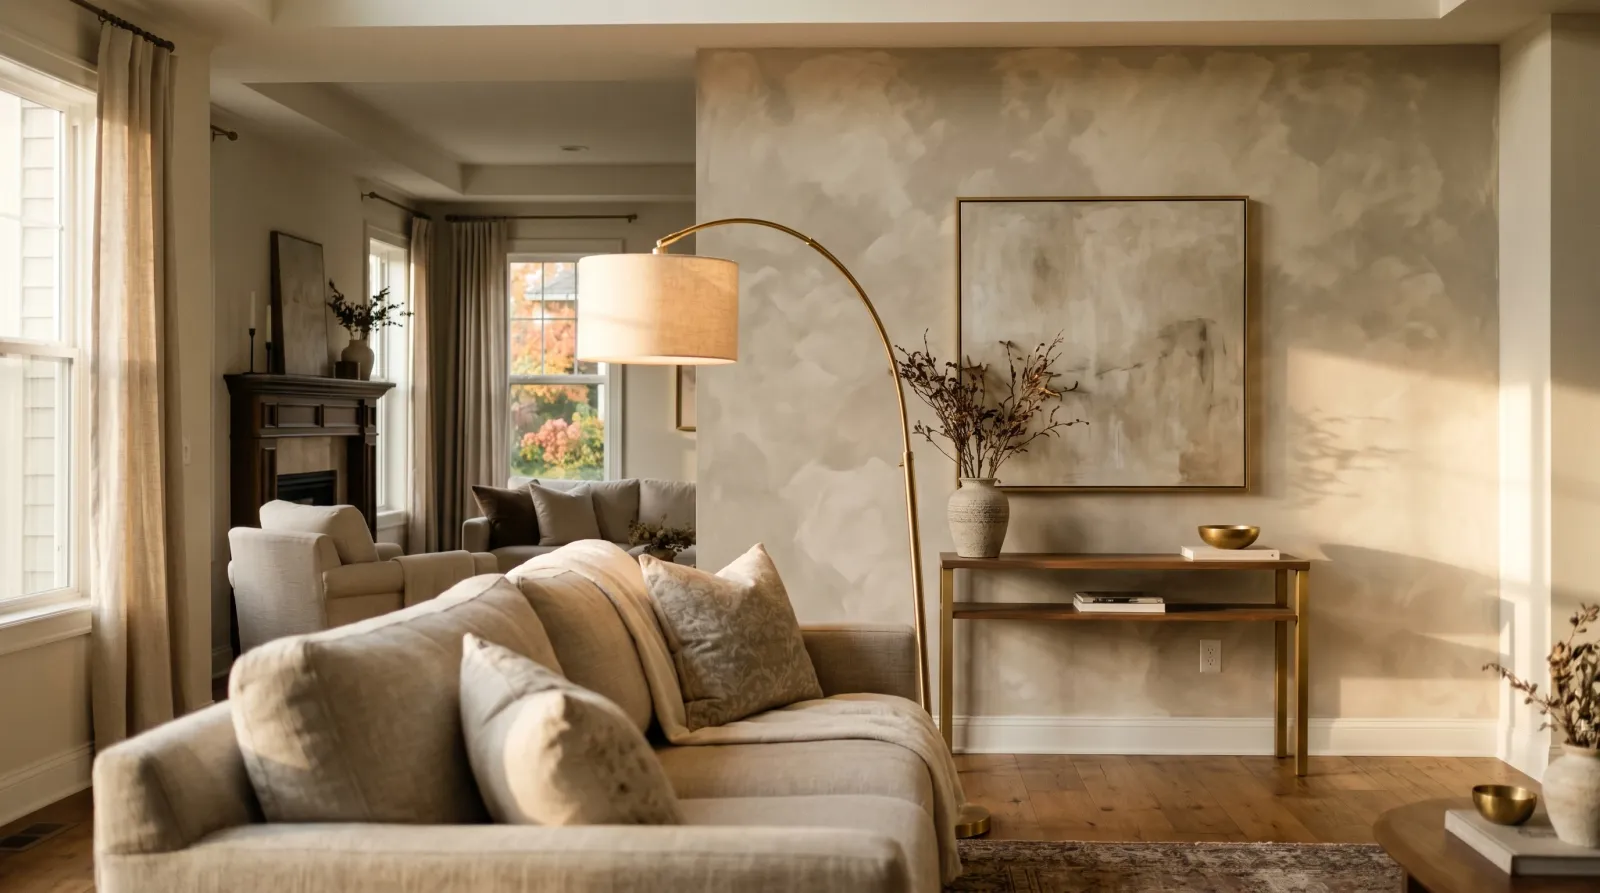
A sponge finish gets a bad name from one specific version: two colors that fight, dabbed on thick in a pattern you can almost see the grid of, the kind of wall that dated a dining room by 1998. That is not the only way to do it. Take two tones that sit a half-step apart, thin the top one into a translucent glaze, and work it on with a light hand, and the wall stops reading as spots. It starts reading as soft movement, the way old lime plaster catches afternoon light and seems to breathe a little.
That is the version worth your weekend. Close colors, a light touch, and a sponge that never prints the same mark twice.
What You’ll Get
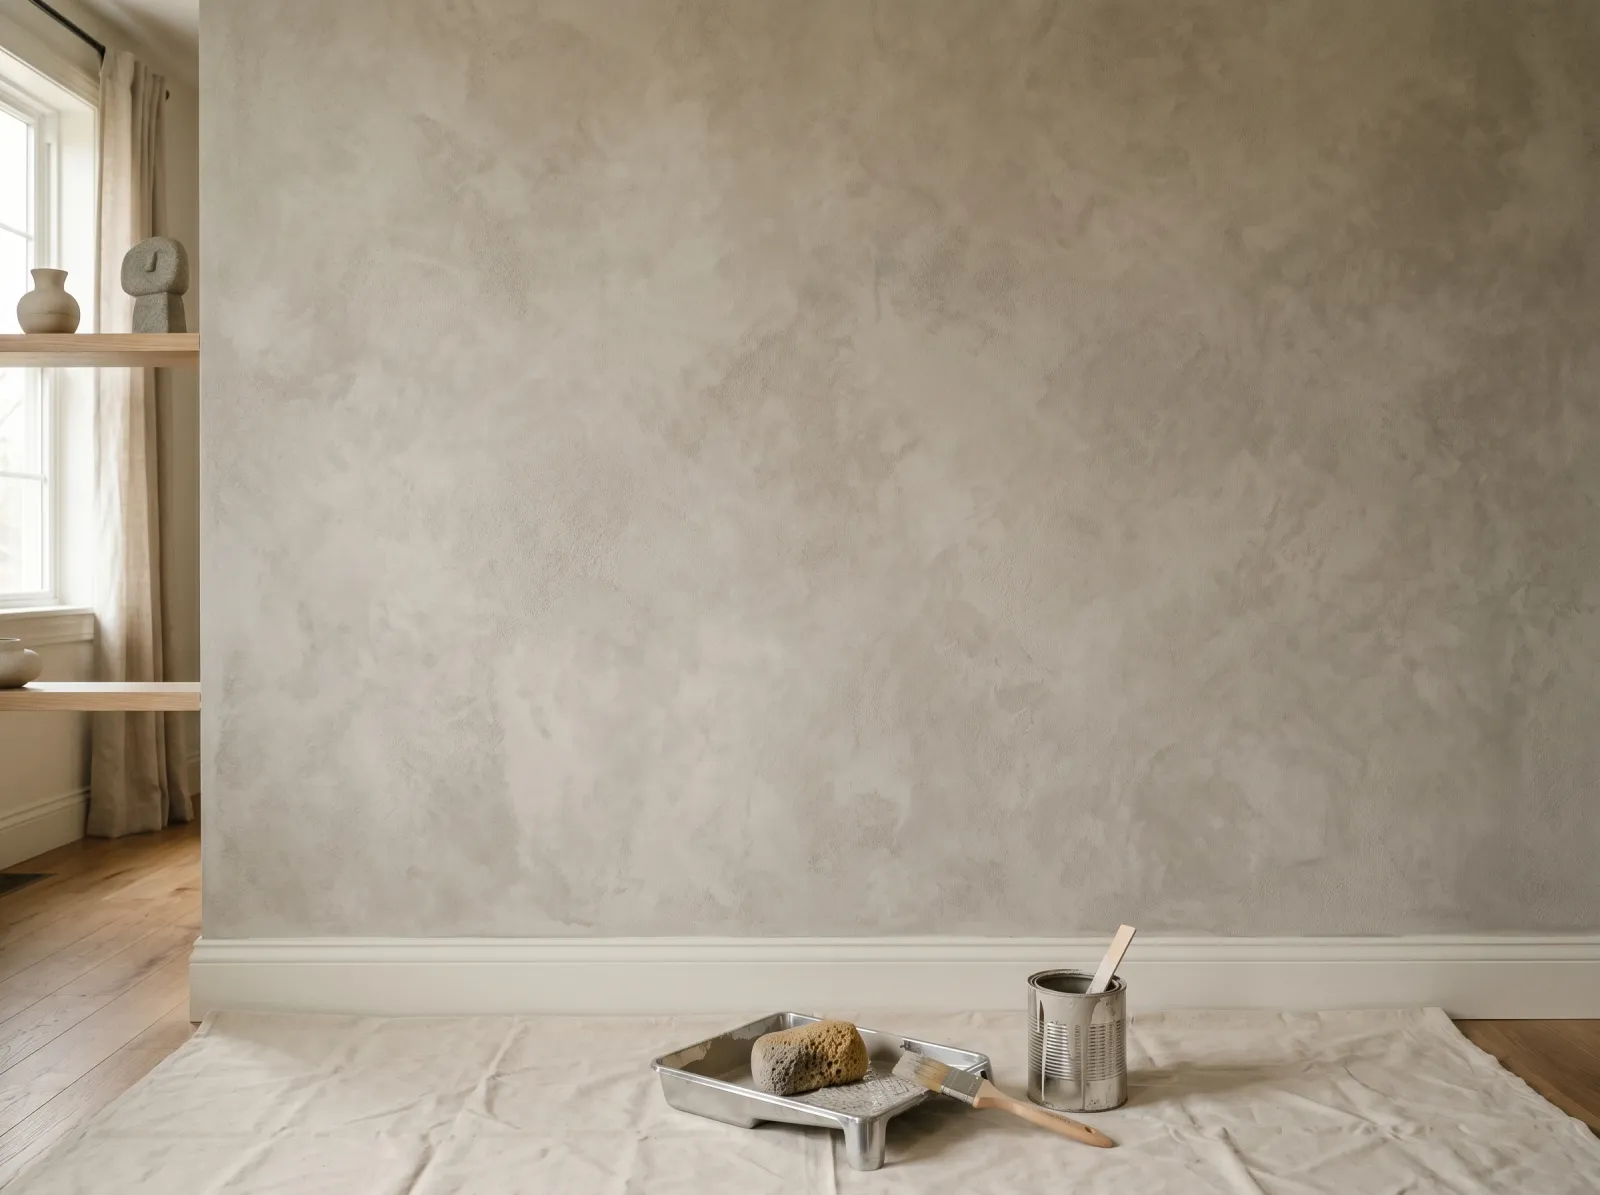
One accent wall with a soft, cloudlike two-tone texture that reads as depth rather than pattern, finished in a weekend with about six hours of actual work.
Honest Take on Difficulty and Time
This is one of the more forgiving paint projects, because the whole point is irregularity. There is no straight line to keep, no lap mark to chase. If a section looks too heavy, you soften it. If it looks too bare, you add a few dabs.
What it asks of you is patience and a good eye for when to stop. The most common failure is overworking the wall until the texture turns to mud. Six hours over two days: roll and cure the base on day one, sponge the glaze layer on day two.
What You’ll Need
Paint and Glaze
A 1-gallon can of base-coat wall paint in eggshell or satin (a low-shine finish that gives the glaze something to grip without going dead-flat). This is your lighter ground color. Then a 1-quart can of a second color, one or two steps deeper on the same paint-chip strip. Close tones read as texture. Far-apart tones read as a mistake.
The third thing, and the one most people skip, is clear latex glaze. Glaze is a translucent medium you mix into the second color. It slows the dry time so you can blend, and it thins the pigment so the base shows through. Without glaze you get dabs. With it you get the soft mottled plaster look that makes the whole thing worth doing.
For picking your two tones, the undertones guide is worth a read first. The pairing only sings if both colors share an undertone. A warm greige over a warm greige glows. A warm base under a cool top tone goes muddy and grey. If you are still deciding between eggshell and satin for the base, see the sheen guide.
Tools
A natural sea sponge is the one tool you cannot fake. Its irregular holes are what keep the print from repeating. A flat kitchen sponge stamps the same shape over and over and the eye catches it instantly. Then a 9-inch roller and a 3/8-inch sleeve for the base coat, a 2.5-inch angled brush for cutting in, a flat tray for loading the sponge, a water bucket, and gloves.
Roller picks live in the best paint rollers round-up if your base coat needs to go on glass-smooth before the texture goes over it.
Step 1 — Roll an Even Base Coat
 The lighter ground color rolled on smooth and fully dry. Everything you sponge later lives on top of this.
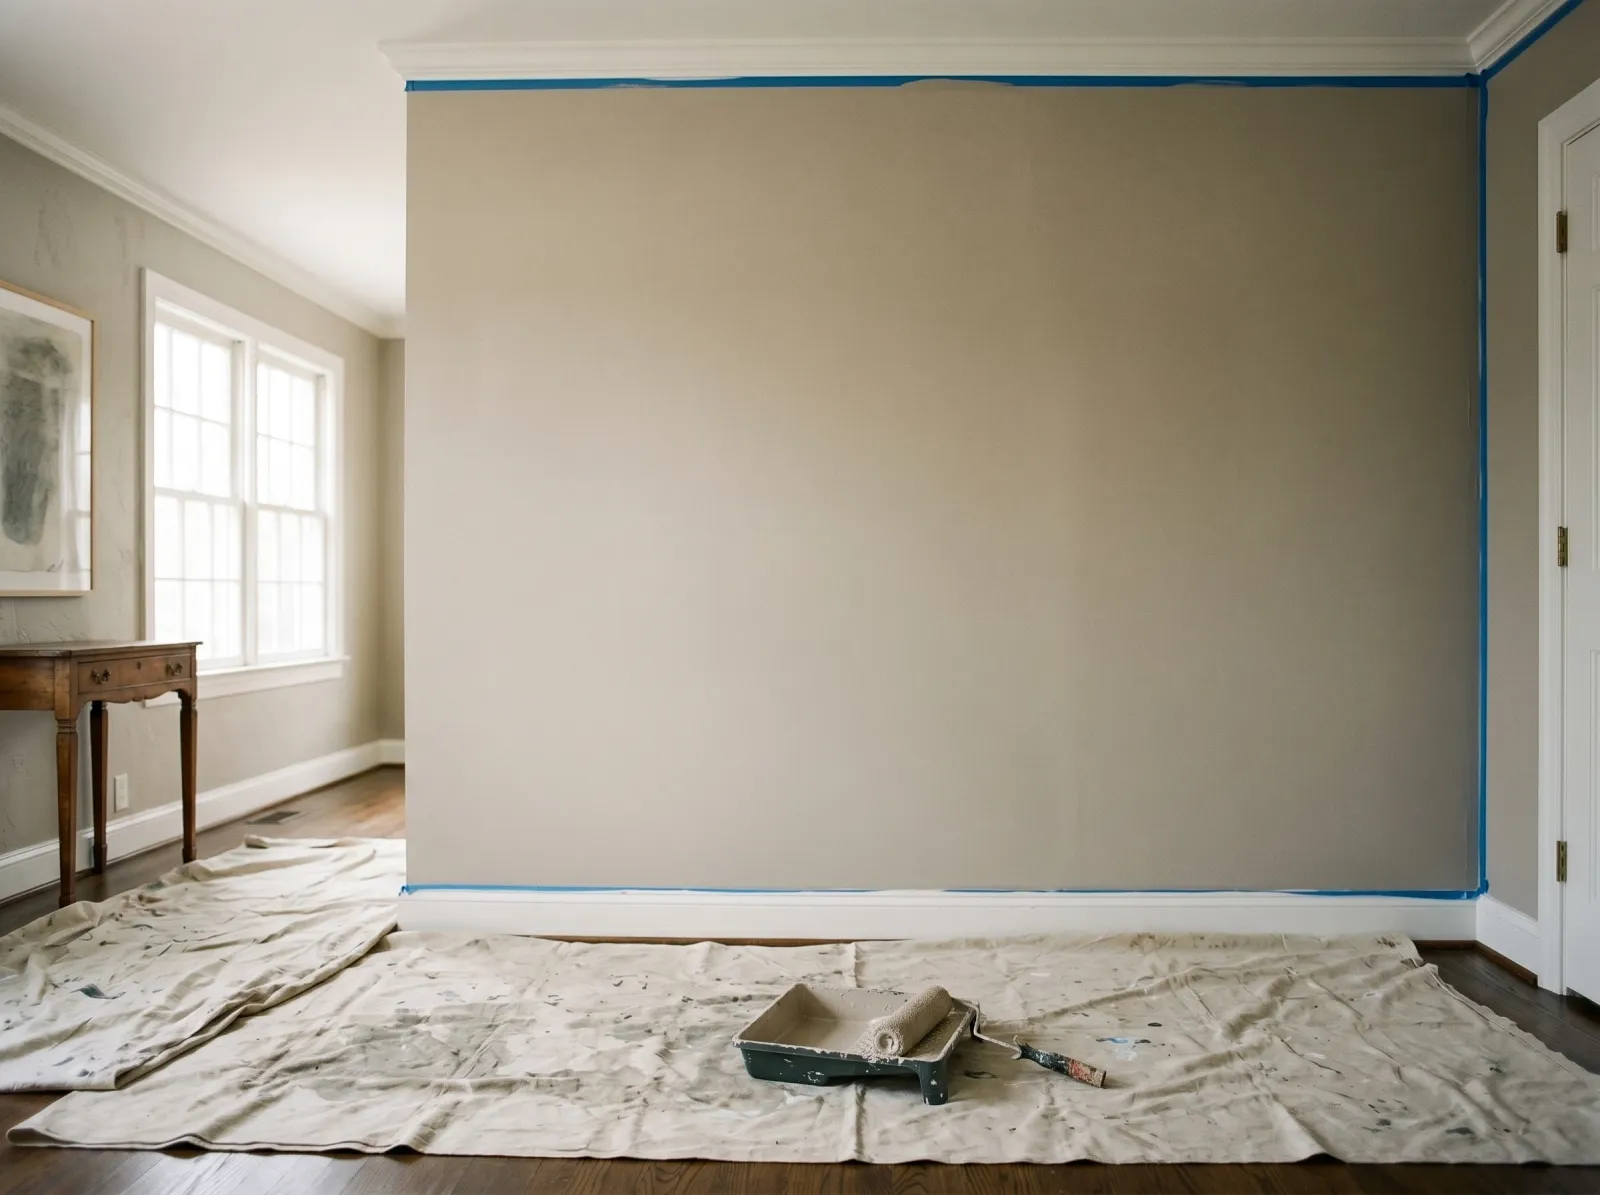
Patch any nail holes with spackle, sand smooth with the 220 sponge, and tape off the ceiling line, baseboards, and any adjoining walls. Lay the canvas drop cloth along the floor.
Roll the lighter color on as your base, cutting in the edges with the angled brush first. Two coats if the wall is changing color, one if you are refreshing a similar tone. This base shows through the glaze on every inch of the finished wall, so it has to be even. A patchy base reads as a patchy sponge job no matter how careful you are on top.
Watch out for roller stipple in the base coat. Lay off each section with light final strokes in one direction so the surface is smooth. Let it cure overnight before you sponge.
Step 2 — Mix the Glaze and Load the Sponge
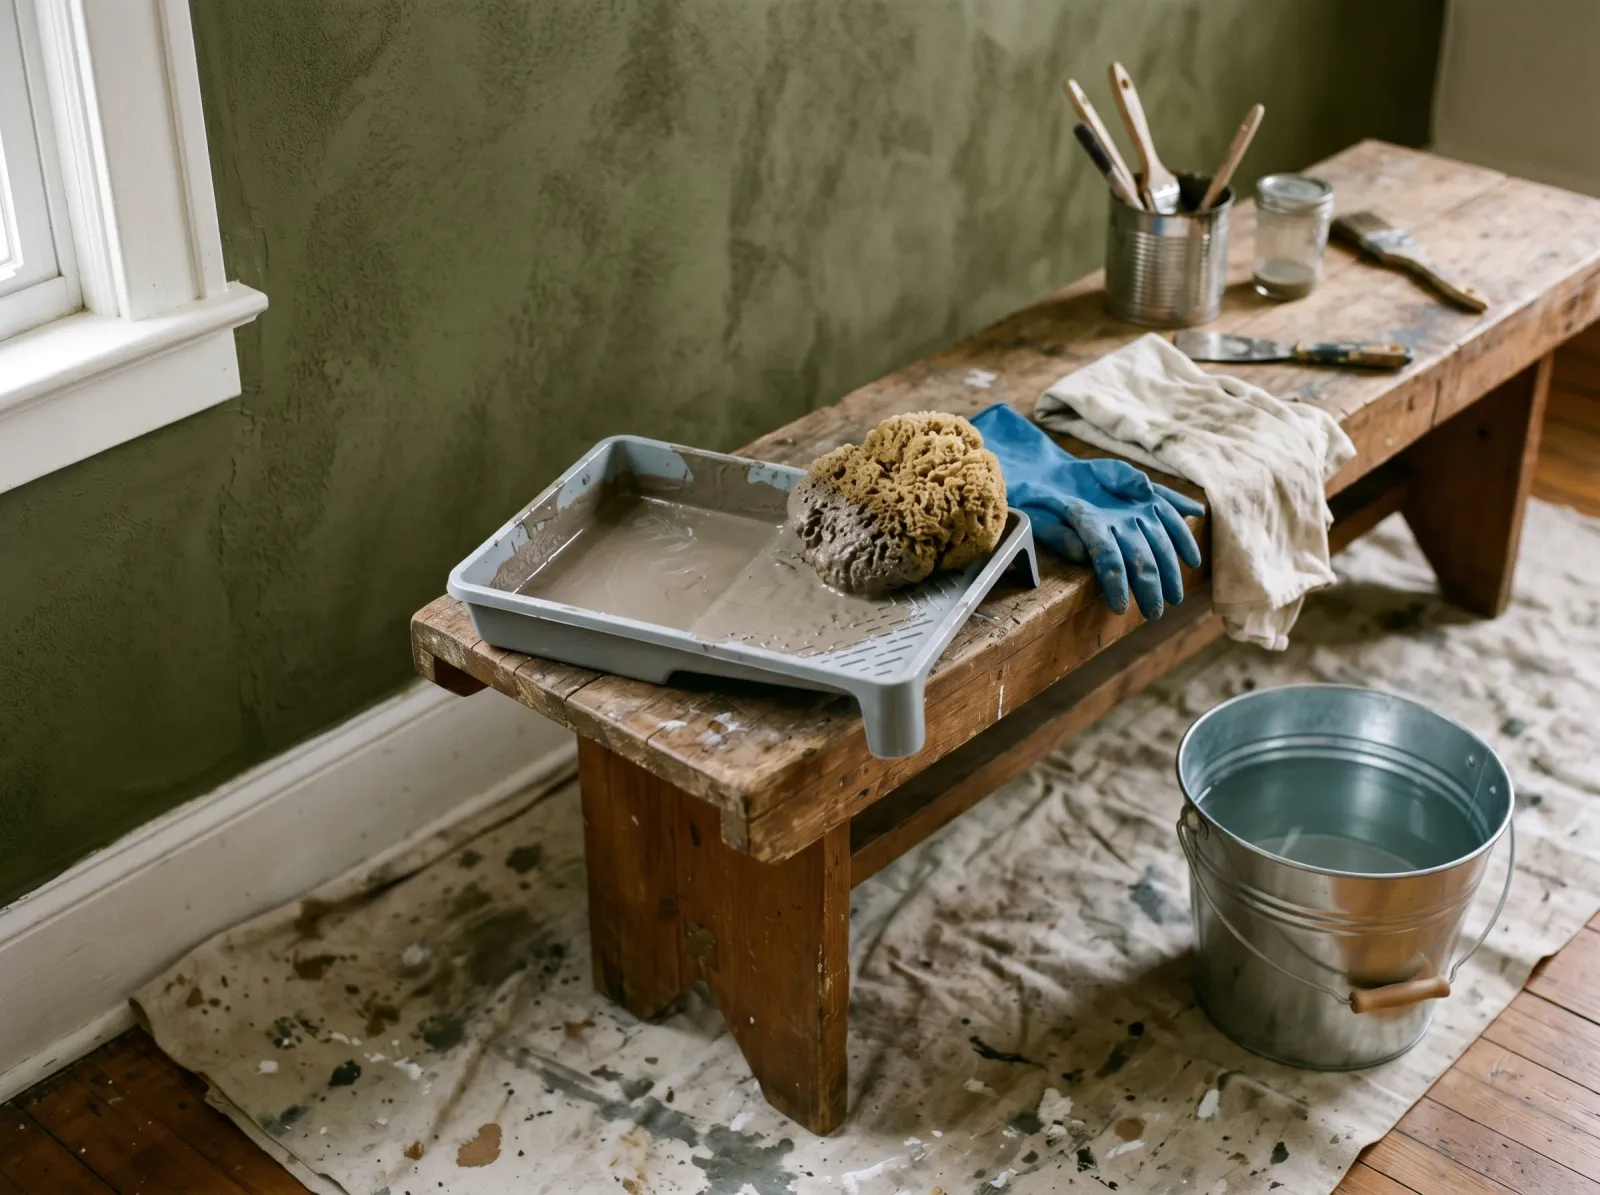 The deeper tone cut with clear glaze, a sea sponge, and a water bucket for wringing. The glaze is what buys you blending time.
In the flat tray, mix the deeper color with clear glaze. Start around one part paint to four parts glaze for a soft, sheer effect. More paint gives you a stronger contrast. The ratio is a feel, not a formula, so mix a small batch and test it on a scrap of cardboard or an offcut of drywall before you commit.
Dampen the sea sponge with water and wring it out hard. A damp sponge releases color more evenly than a dry one. Dip just the face of the sponge lightly into the glaze, then blot it once on a clean part of the tray. You want the sponge barely loaded. An overloaded sponge dumps a dark wet clump that you will be fighting for the next ten minutes.
Step 3 — Dab On the First Passes
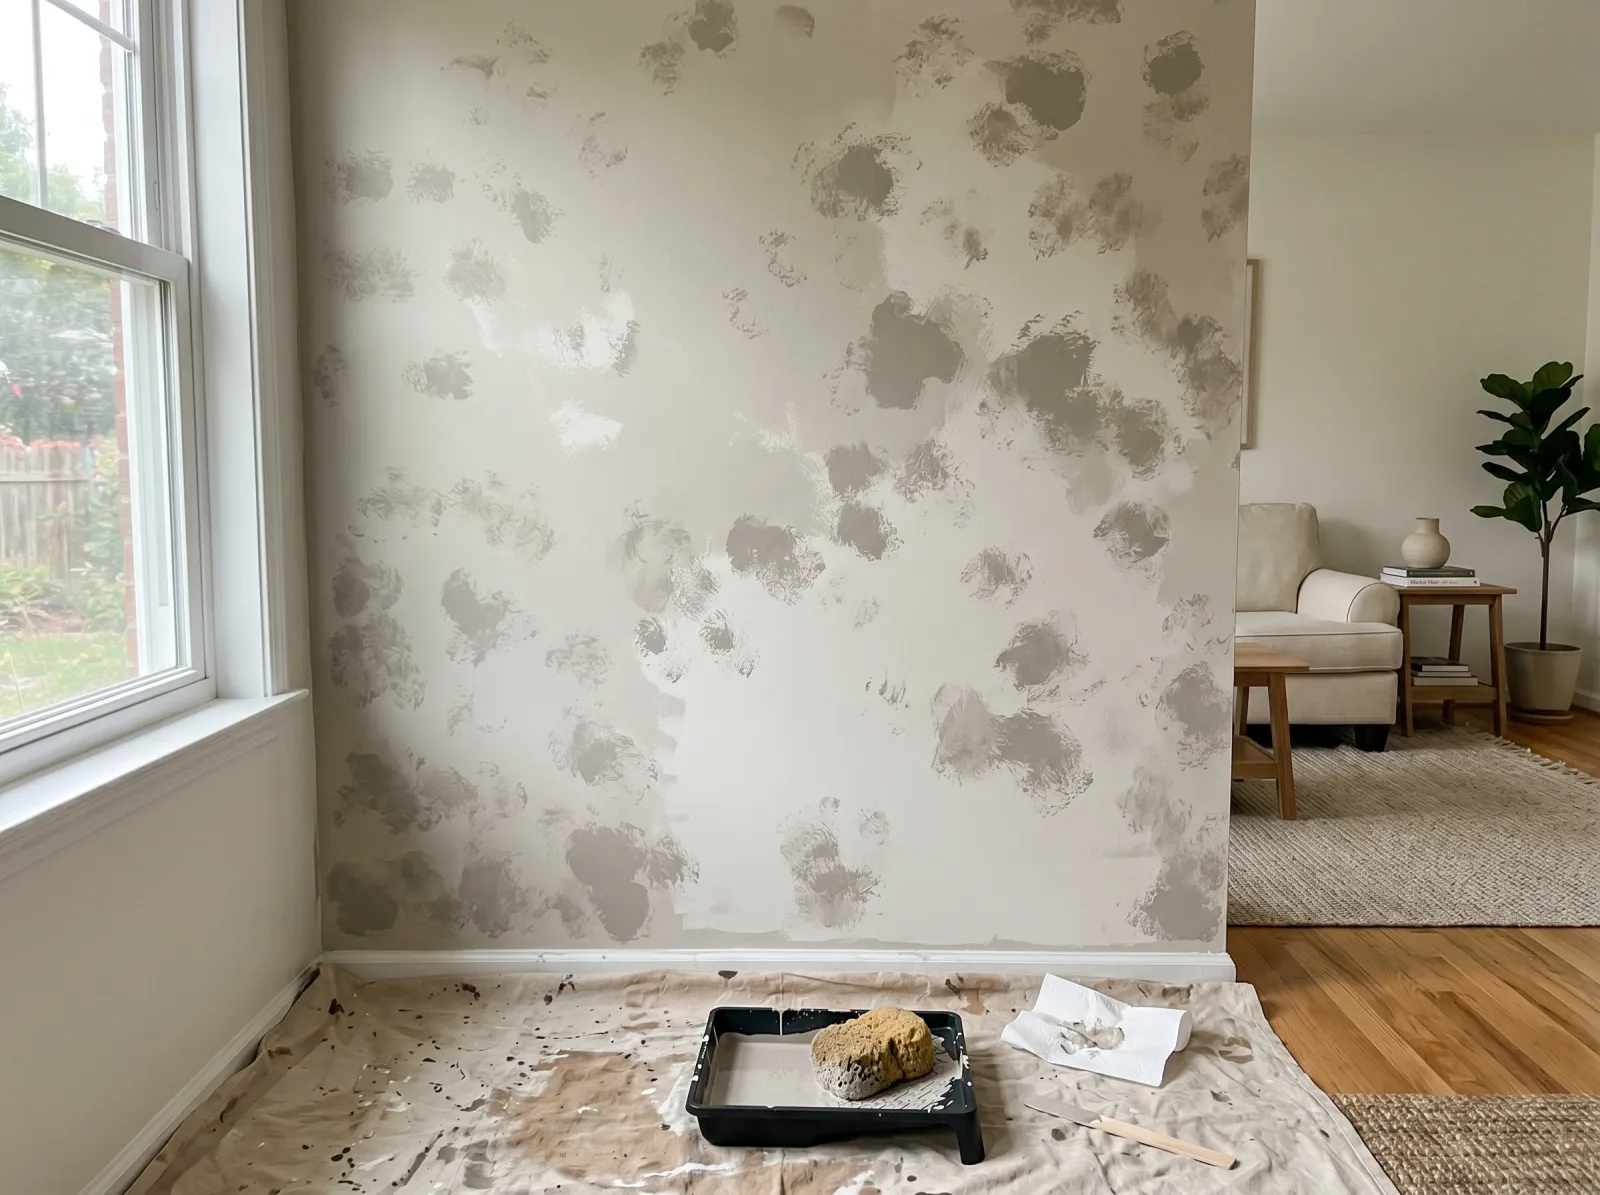 Light scattered dabs, the sponge turned between every touch so no two prints line up. The base still shows through.
Touch the sponge to the wall lightly and lift it straight off. Then turn your wrist before the next touch so the sponge meets the wall at a new angle every time. This is the single move that keeps the finish from looking stamped. Same angle twice in a row and your eye finds the repeat.
Work loose and scattered. Leave plenty of base color showing between the marks. The wall at this stage should look too sparse, almost unfinished, with the deeper tone floating over the lighter ground. Resist the urge to fill it solid. You can always add more.
Watch out for working in tidy rows. Move around the wall, drop a dab here, three feet over, back again. Randomness is the whole effect, and humans default to grids when they are not paying attention.
Step 4 — Fill, Soften, and Read the Wall
 The dabs worked across the full field and softened where they crowd, even corner to corner with no hard clusters.
Now build the density up to where you want it, still keeping the sponge lightly loaded. Where marks crowd into a dark cluster, pounce a clean damp section of sponge over them to soften and lift some color while the glaze is still open. The glaze stays workable for several minutes, which is your window to blend.
Step back often. Walk to the far side of the room and squint. From across the room you stop seeing individual dabs and start seeing the overall field, which is the only view that matters. Check it in the right light too: a sponge finish that looks balanced under a work lamp can go blotchy in low afternoon sun. Look at the wall at the hour you actually live in the room.
Keep the texture consistent from corner to corner. No bare gaps, no heavy crusts. When the whole wall reads as soft even movement, stop. Overworking past this point is how the finish turns to mud.
Method Variant — Two Tones or Three
Most walls want exactly two colors: a base and one glaze tone. If you want more depth, add a third tone that sits between the two, sponged on lightly after the second has set. Three close tones build a richer, more plaster-like wall, but the rule tightens: all three must share the same undertone and stay within a narrow value range. Add a third color that strays warmer or cooler and the whole thing muddies. For a first try, stay with two.
Common Mistakes
- Two colors that fight. A light-and-dark pairing reads as spots, not texture. Pull two chips that sit one or two steps apart on the same strip and share an undertone. This is the difference between soft plaster and a leopard.
- An overloaded sponge. Dump too much glaze in one spot and you get a dark wet blot that drags the whole wall toward muddy. Blot the sponge on the tray before every pass. Barely loaded is correct.
- Not turning the sponge. Repeat the same angle and the print repeats with it, and the eye locks onto the grid. Turn your wrist between every single touch.
- Skipping the glaze. Straight paint dries too fast to blend and sits opaque on the surface. The result is dabs you can count, not the translucent layered look. Clear latex glaze is the cheap part and the part that matters most.
- Overworking the wall. Past a certain point, more sponging blends everything into a flat smudge and you lose the movement entirely. When it looks like soft even texture from across the room, put the sponge down.
- Sponging all four walls. The texture closes in and reads busy, especially in a smaller two-tone scheme where one feature wall would have carried the room. One wall.
Cure Schedule
| Time after final glaze coat | What’s safe |
|---|---|
| 1 to 2 hours | Touch dry; don’t lean anything on it |
| 24 hours | Hang light art, move furniture back against the wall |
| 7 days | Wipe gently with a barely-damp cloth |
| 30 days | Full cure; the glaze hardens and stops being delicate |
Maintenance and Touch-Ups
A glazed sponge wall holds up about as long as a standard eggshell wall, 7 to 10 years in a living room. The texture actually hides scuffs and small marks better than a flat solid color does, a quiet bonus in a hallway or an entry.
Touch-ups are the trade-off. You can’t just dab one spot and have it disappear, because the glaze layer is built from overlapping translucent marks. For a small ding, feather a little base color on first, let it dry, then sponge a few light glaze dabs over it and blend into the surrounding texture. Keep a labeled jar of both colors and a scrap of the original sea sponge so the print matches. For a large damaged area, re-base and re-sponge the whole wall corner to corner; a half-wall repair always shows a seam.
Cost Breakdown
| Item | $ |
|---|---|
| Base-coat wall paint, 1 gallon eggshell | $35 |
| Second color, 1 quart | $18 |
| Clear latex glaze, 1 quart | $15 |
| Natural sea sponge | $10 |
| Tape, drop cloth, sanding sponge | $17 |
| Total | $95 |
Numbers assume you already own a roller and brush. If the base color is already on the wall and in good shape, drop the gallon and you are closer to $45 for one accent wall.